
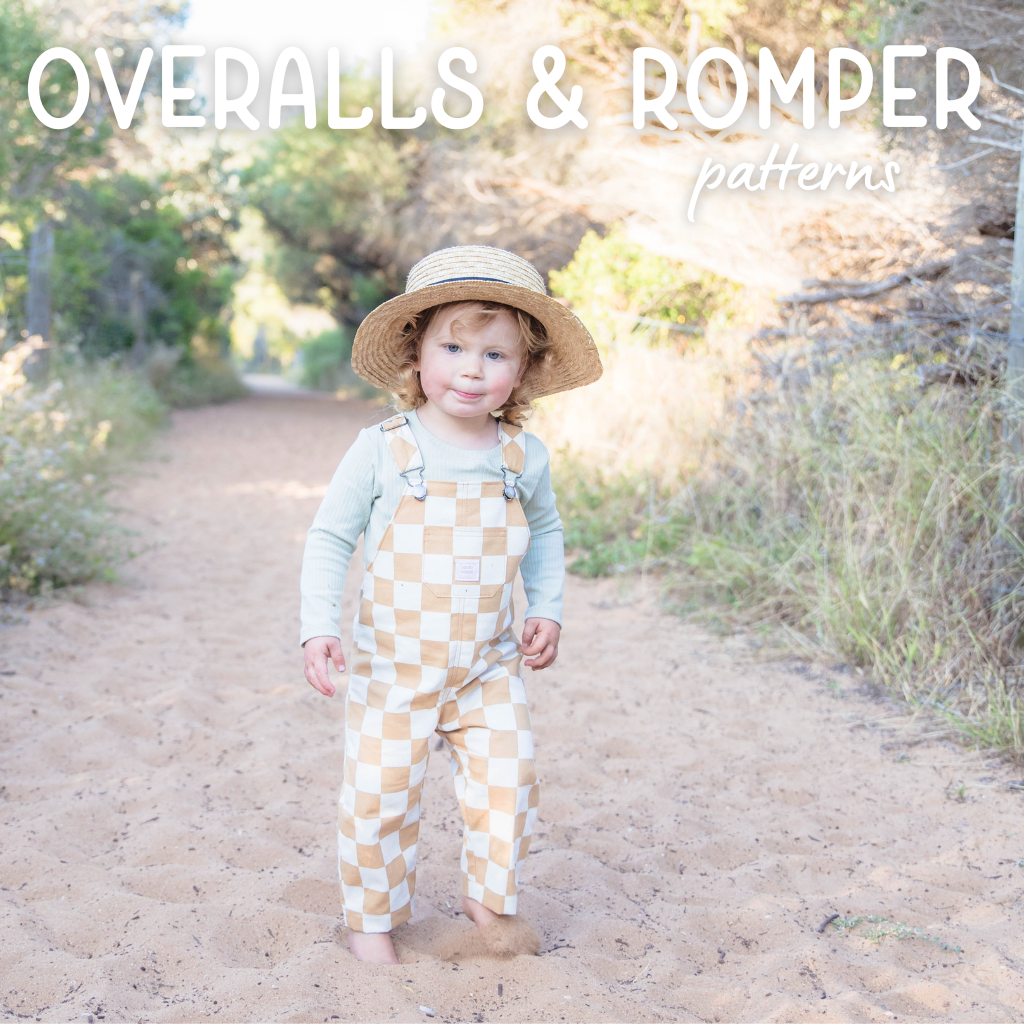


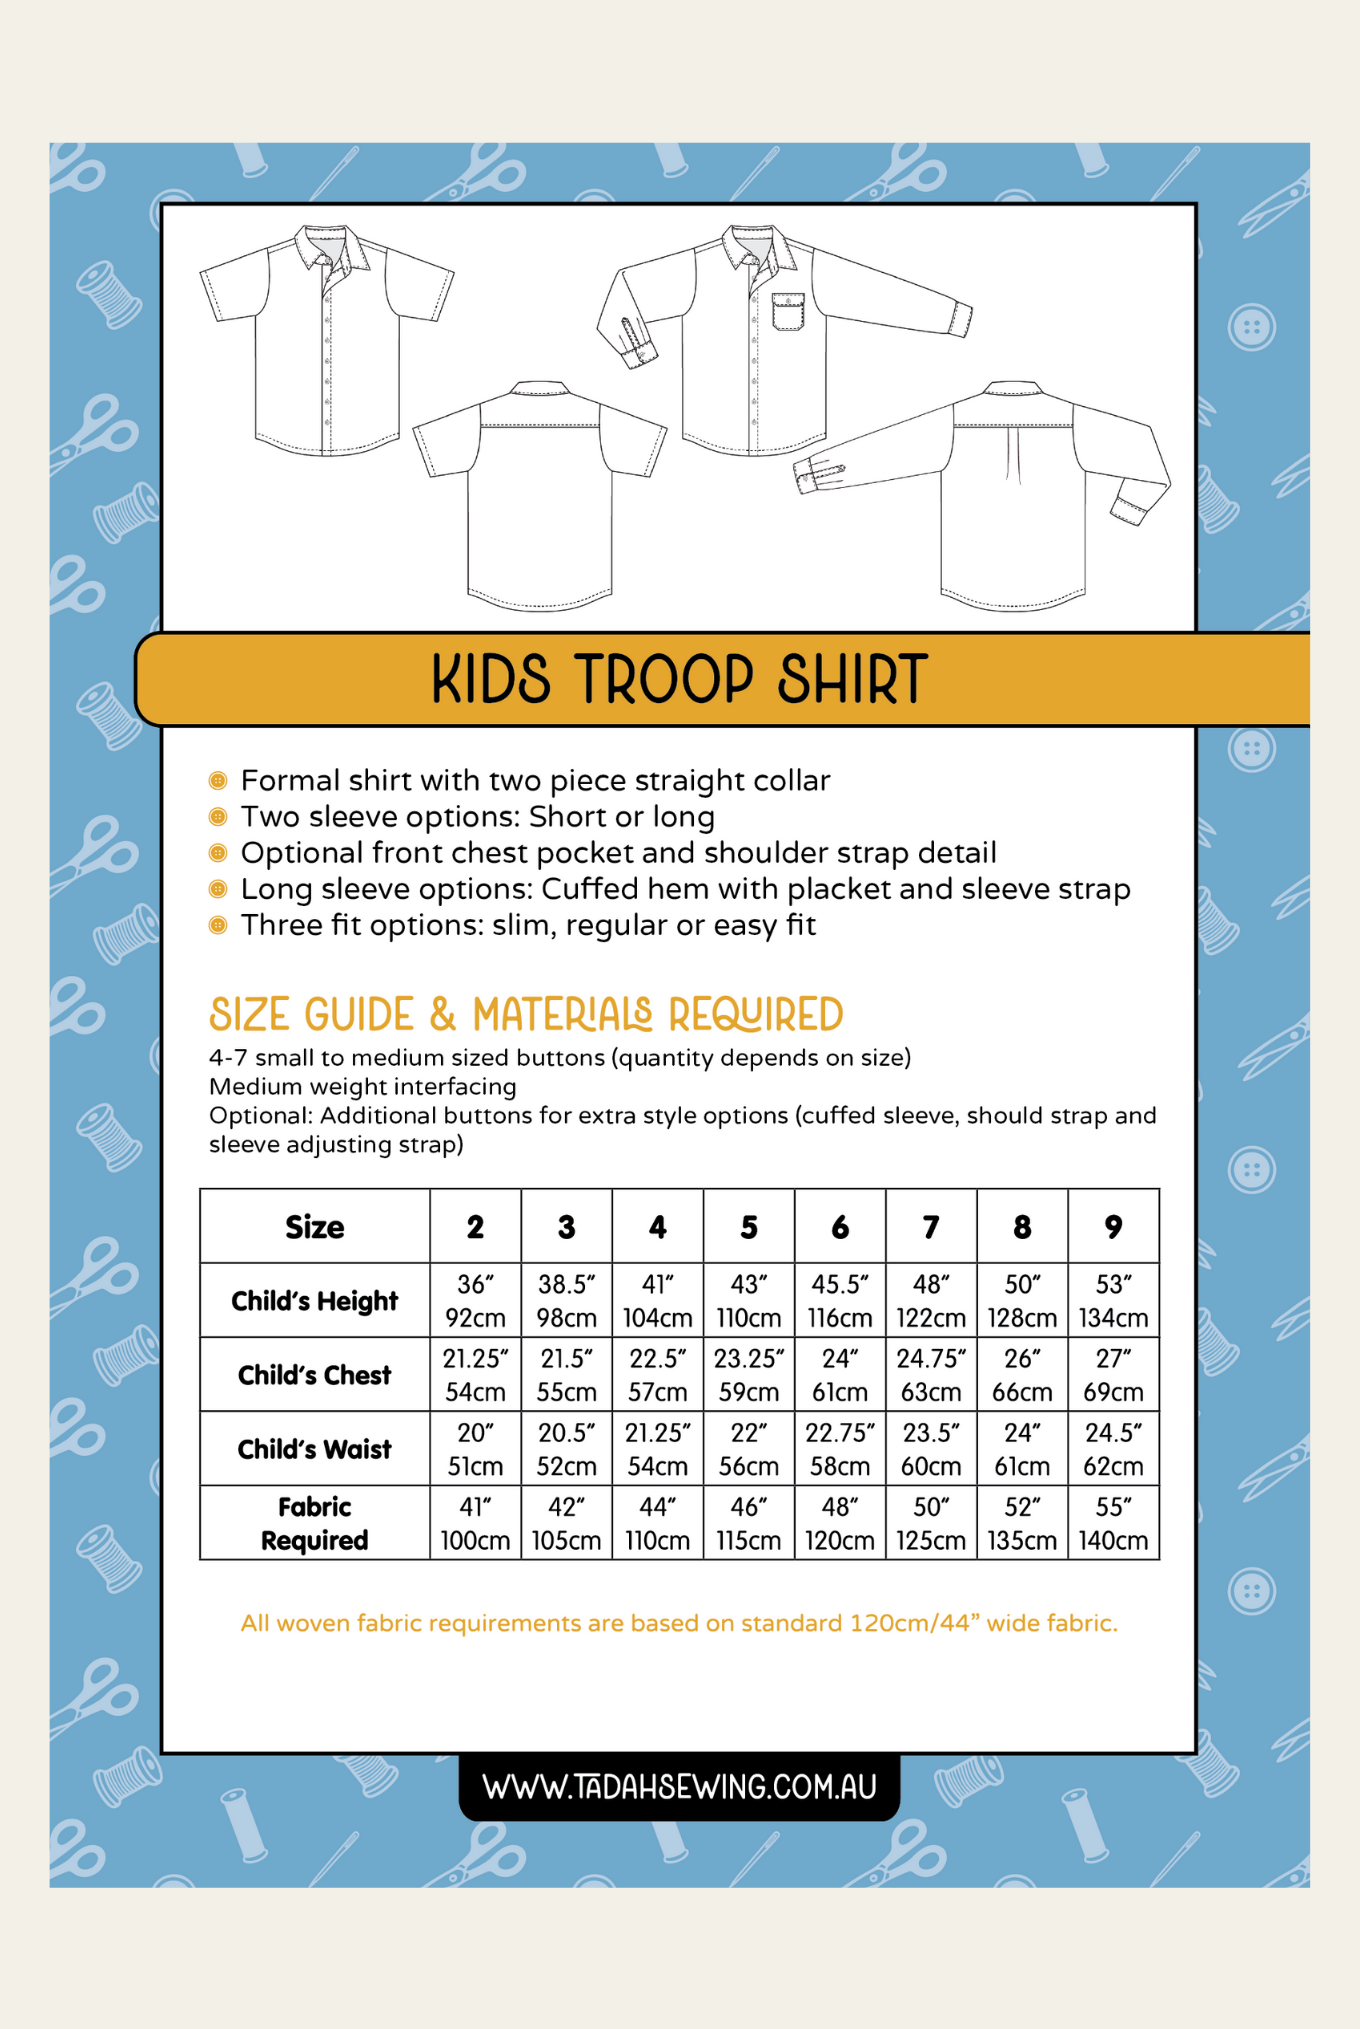
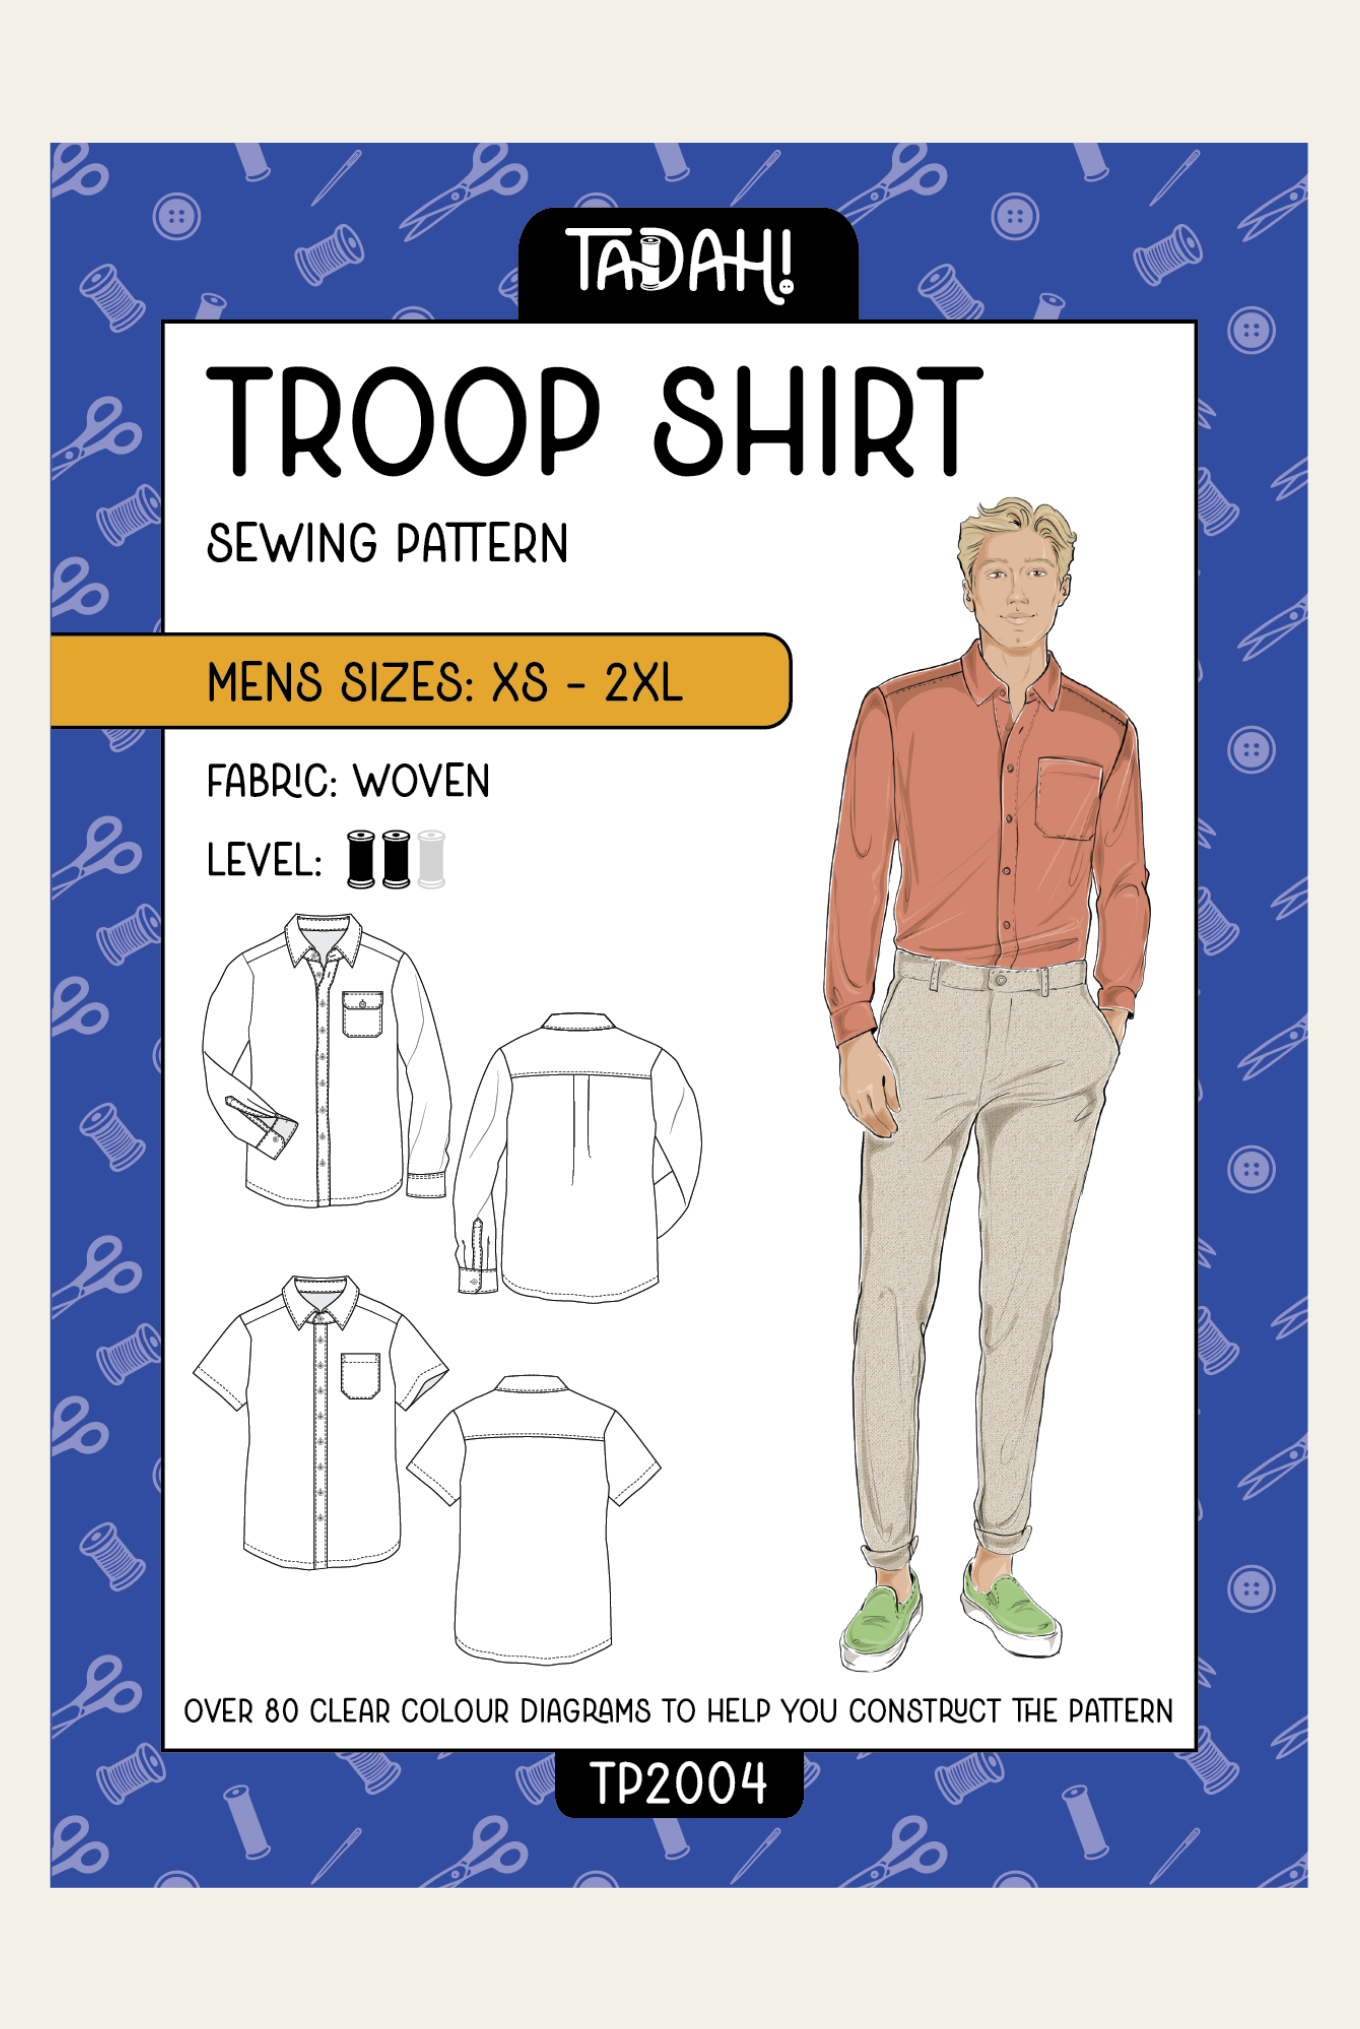
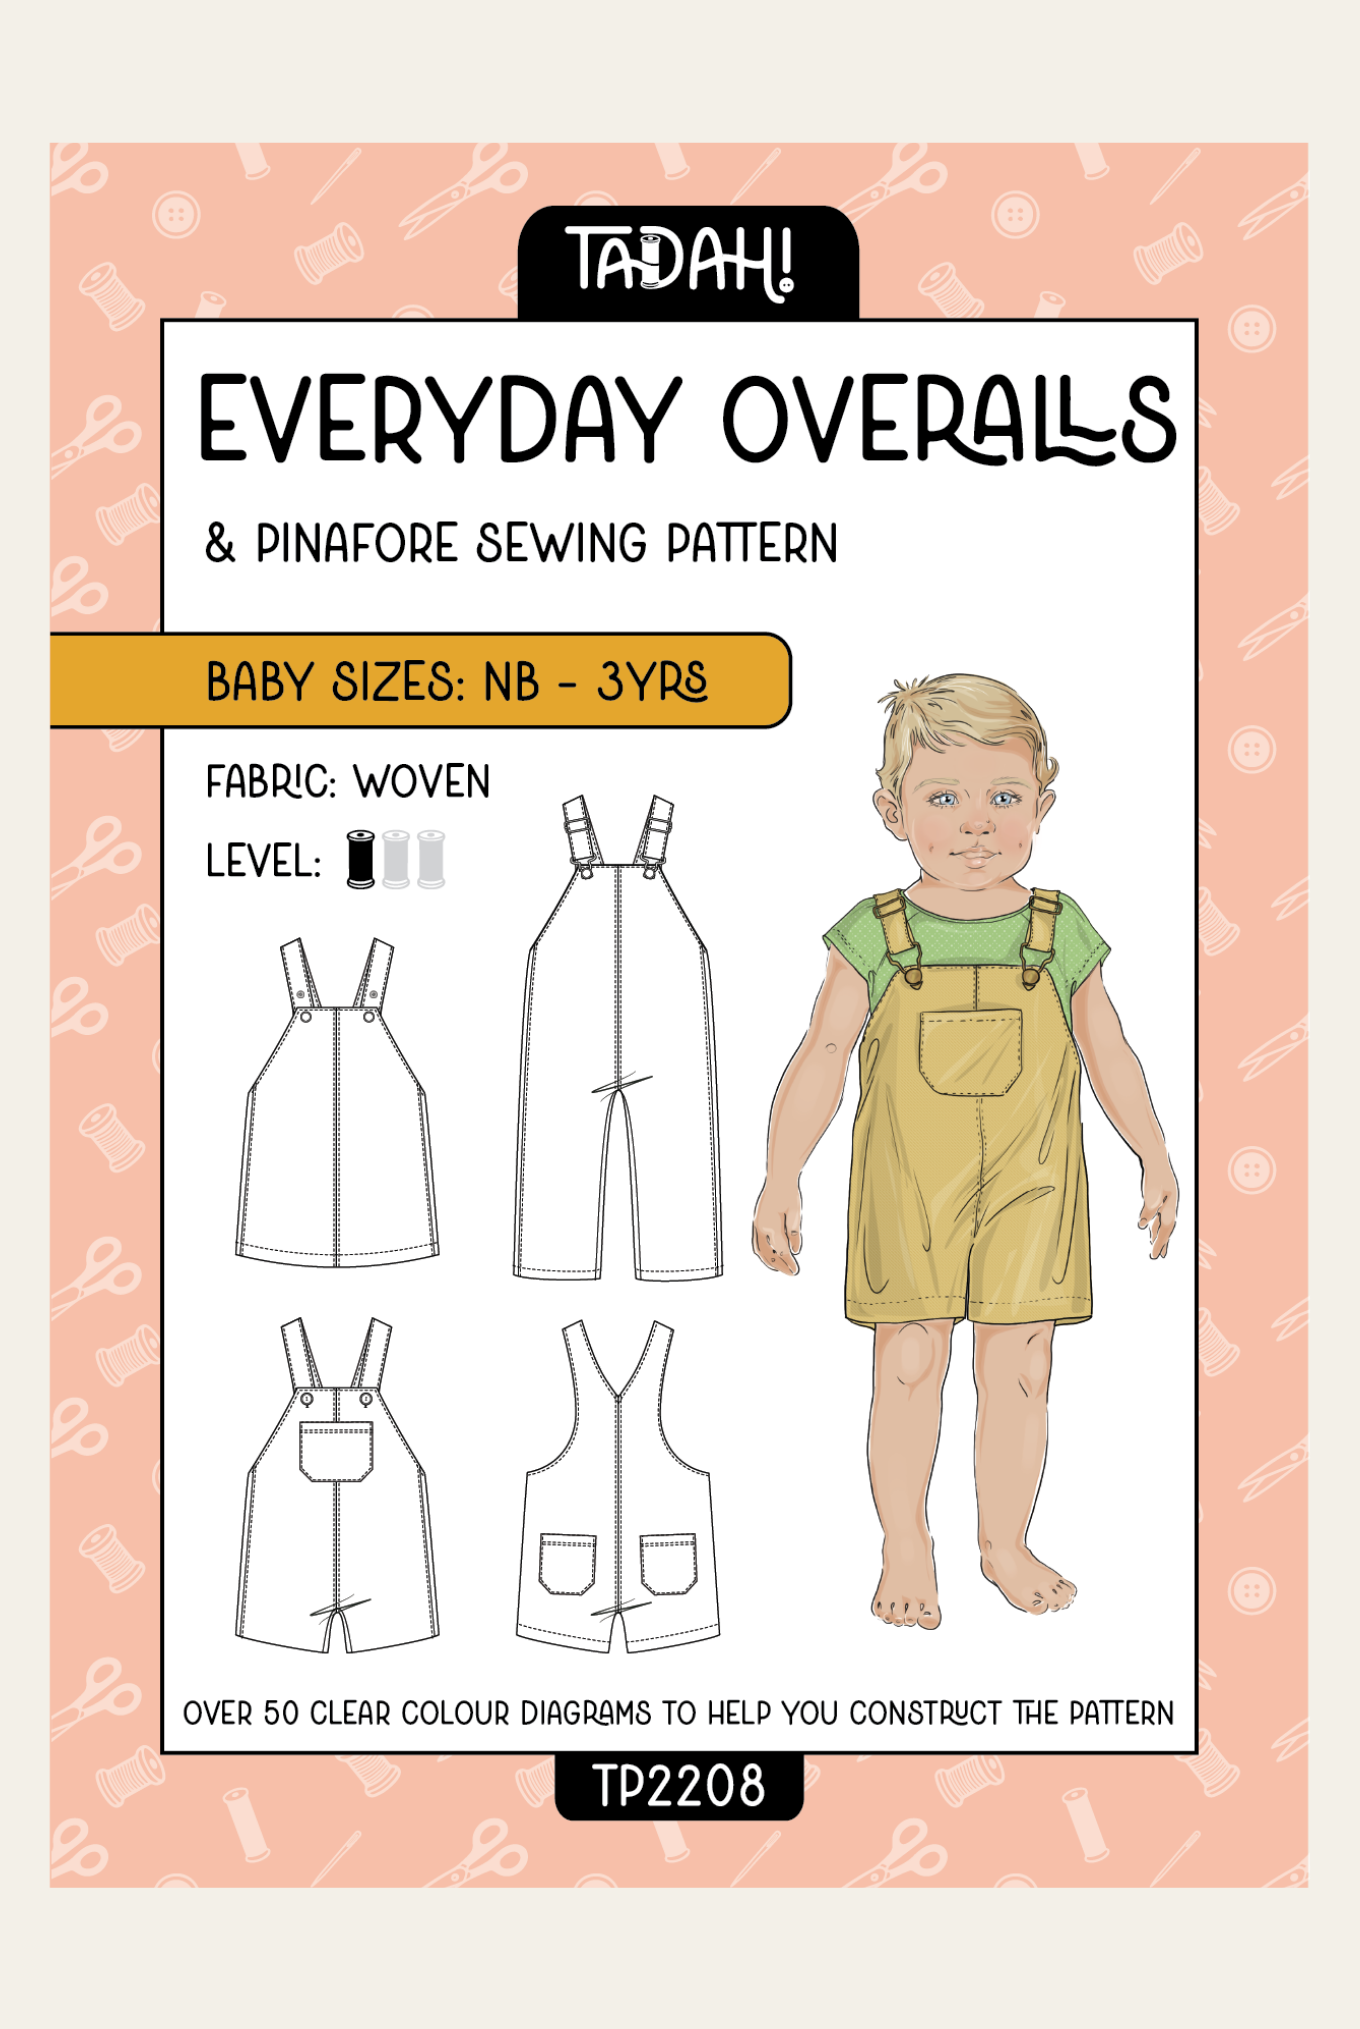
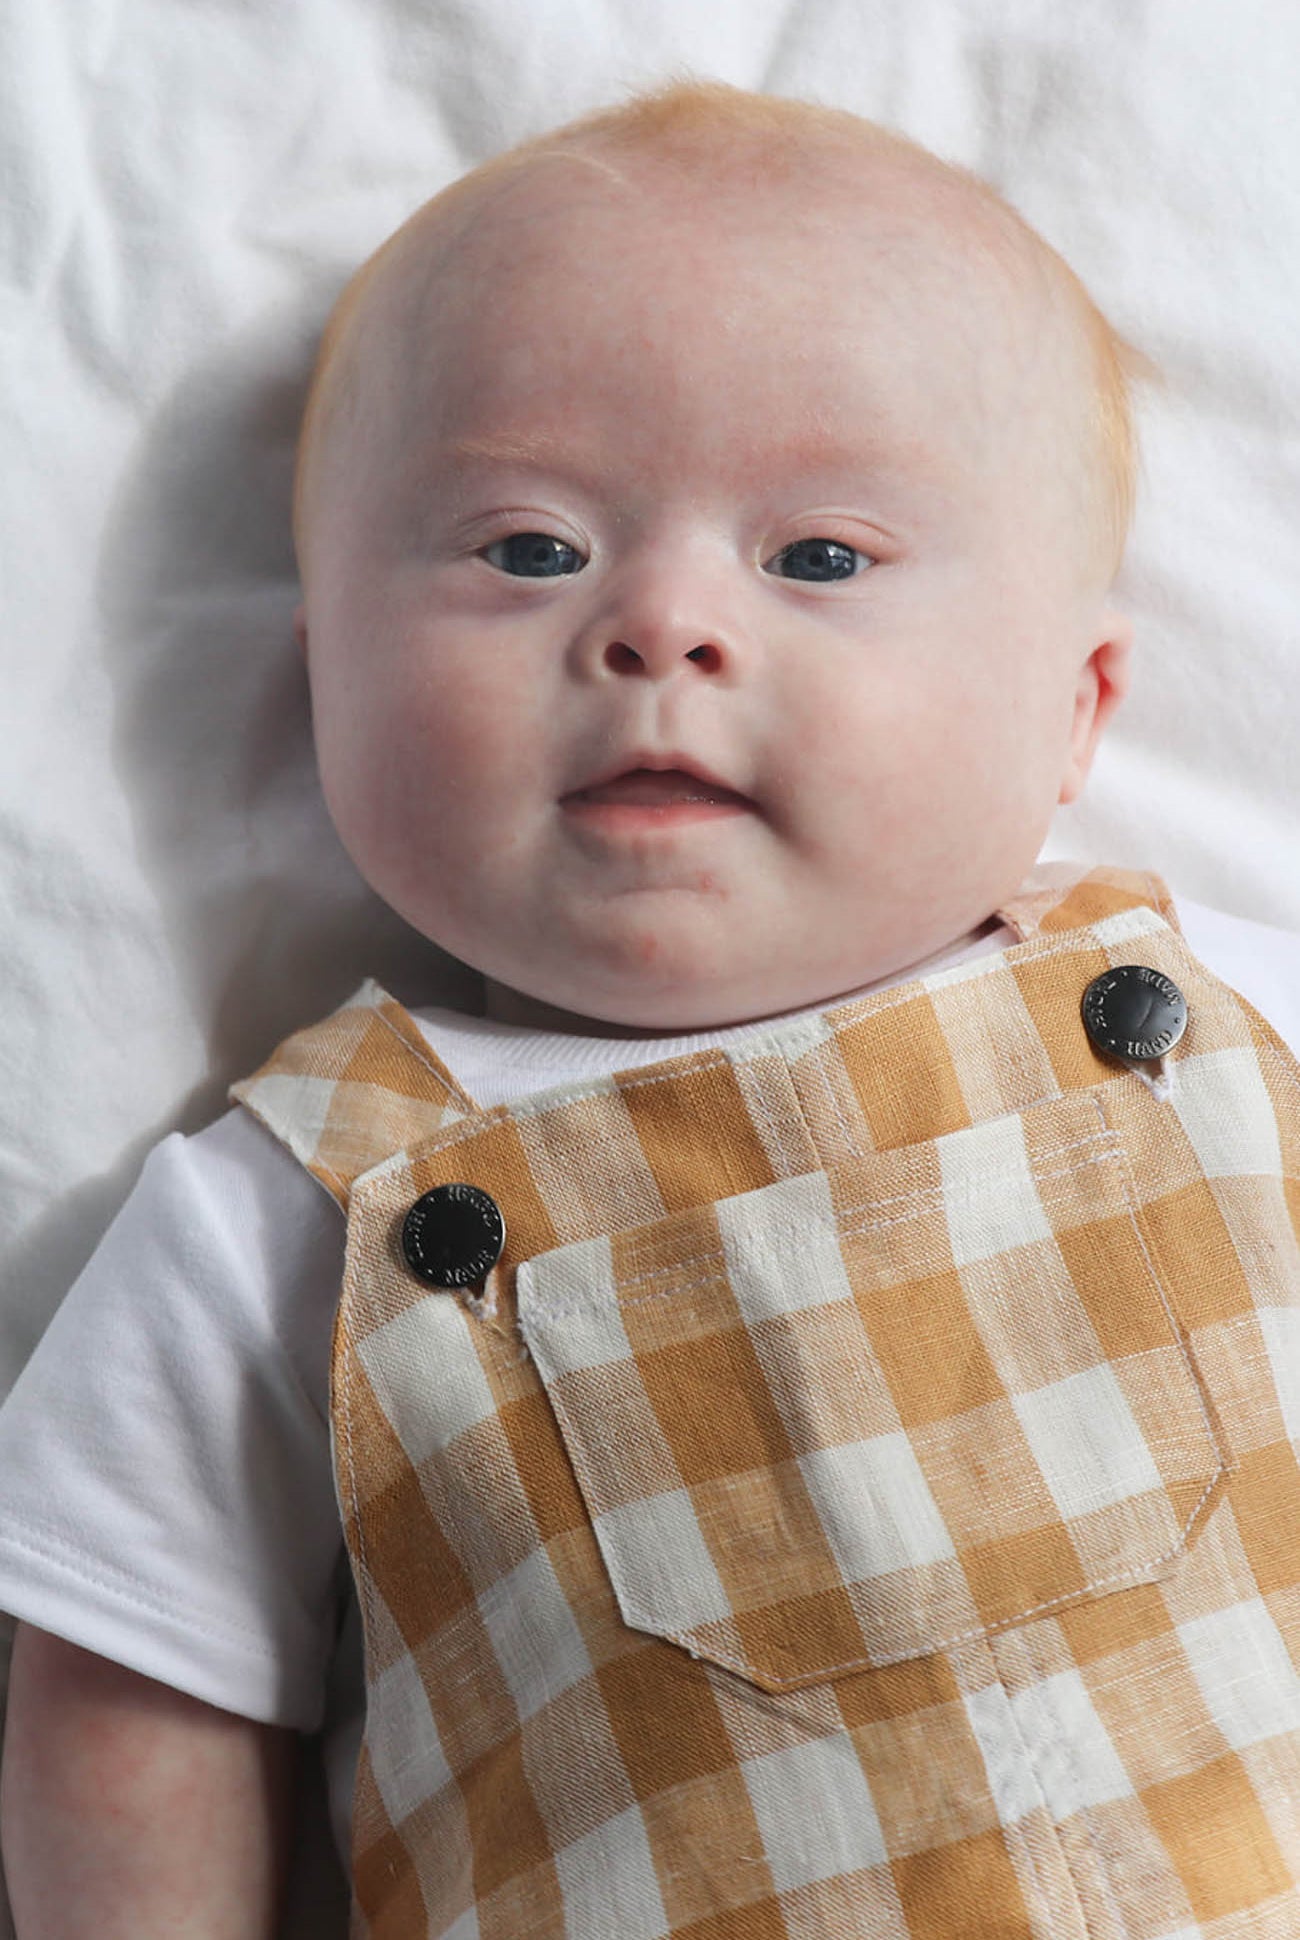
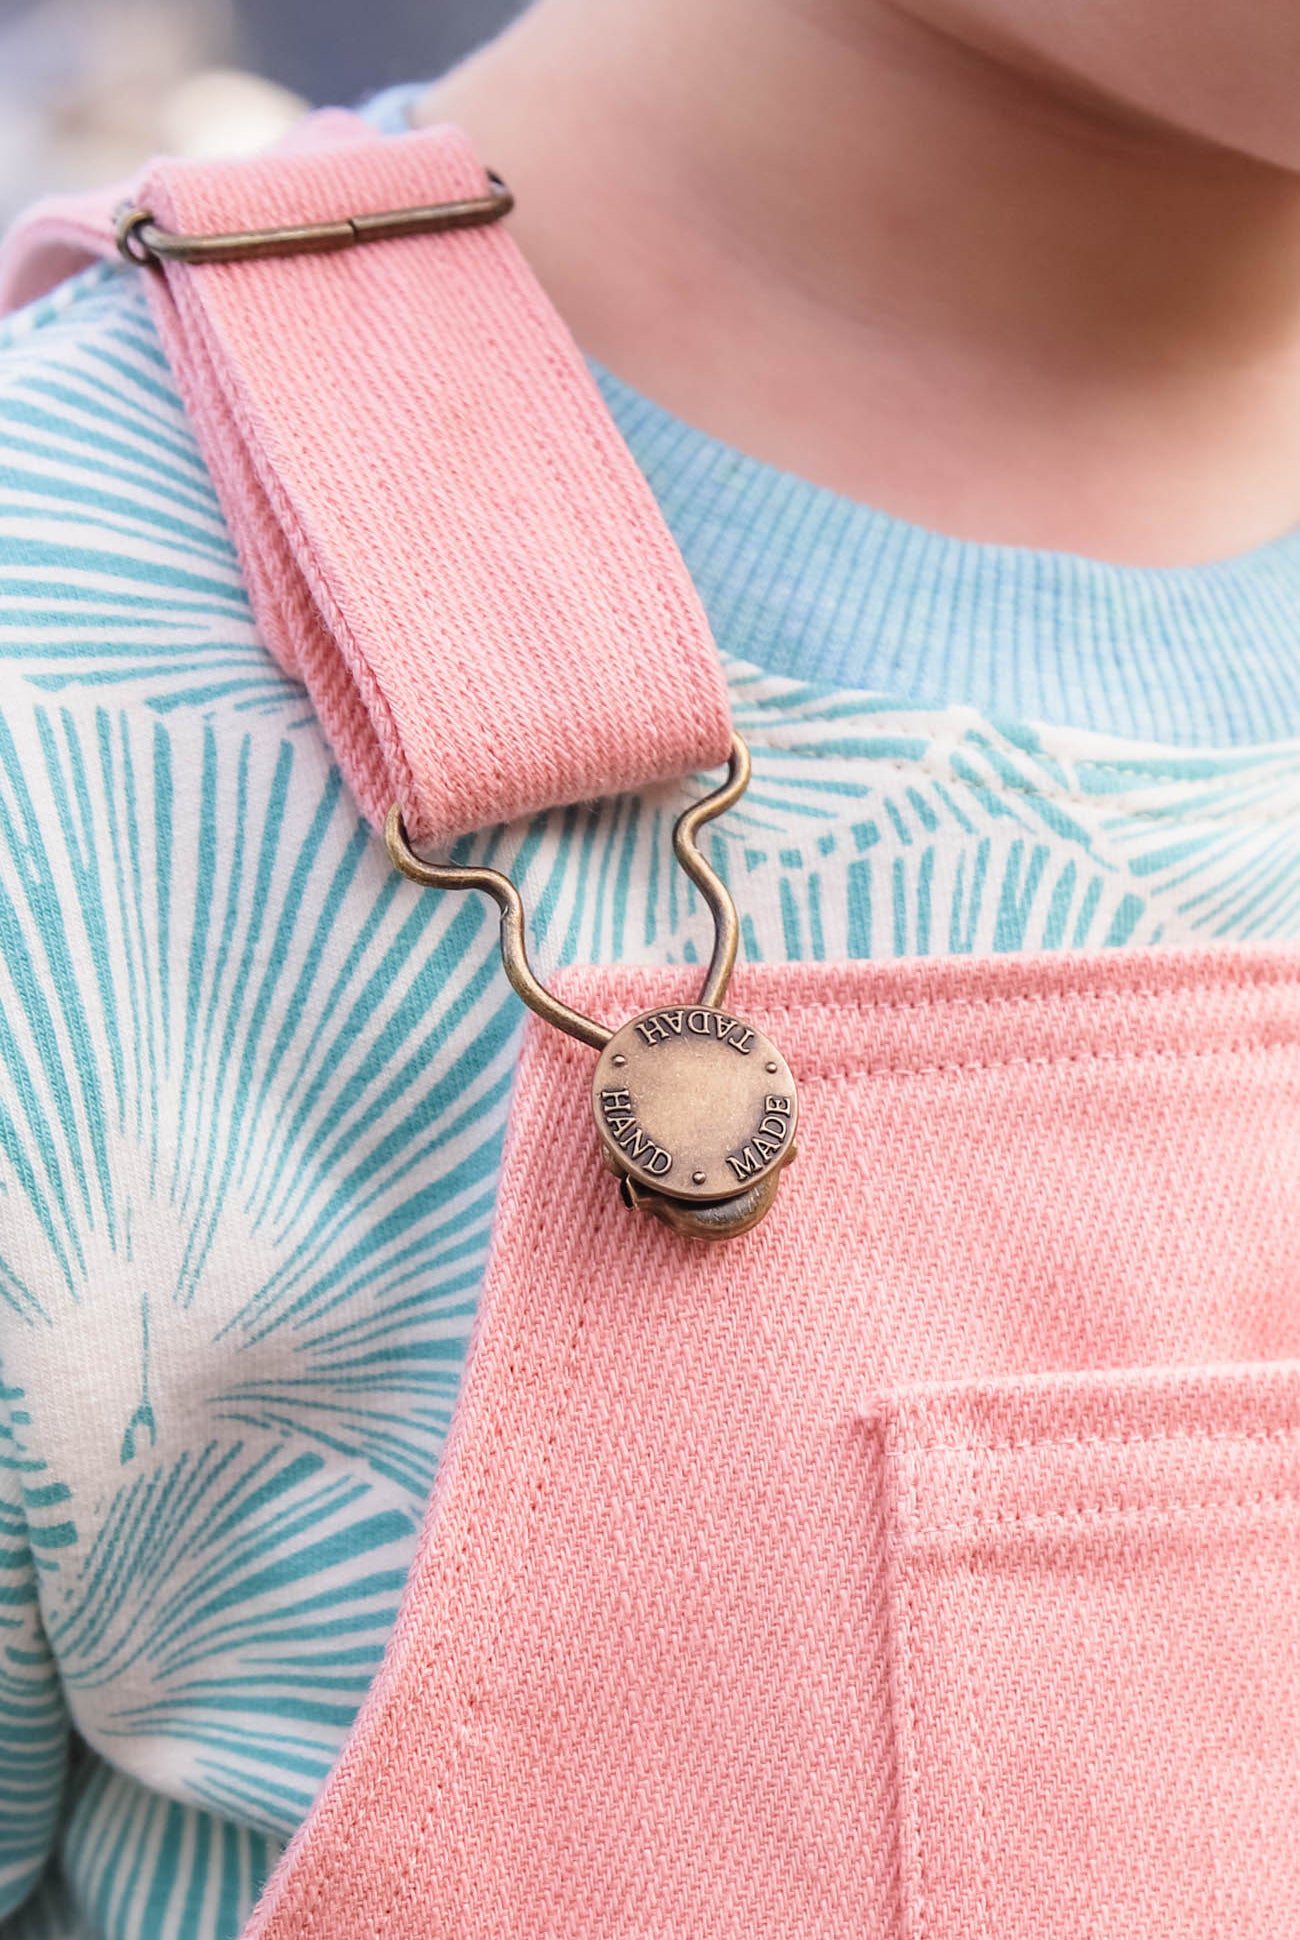
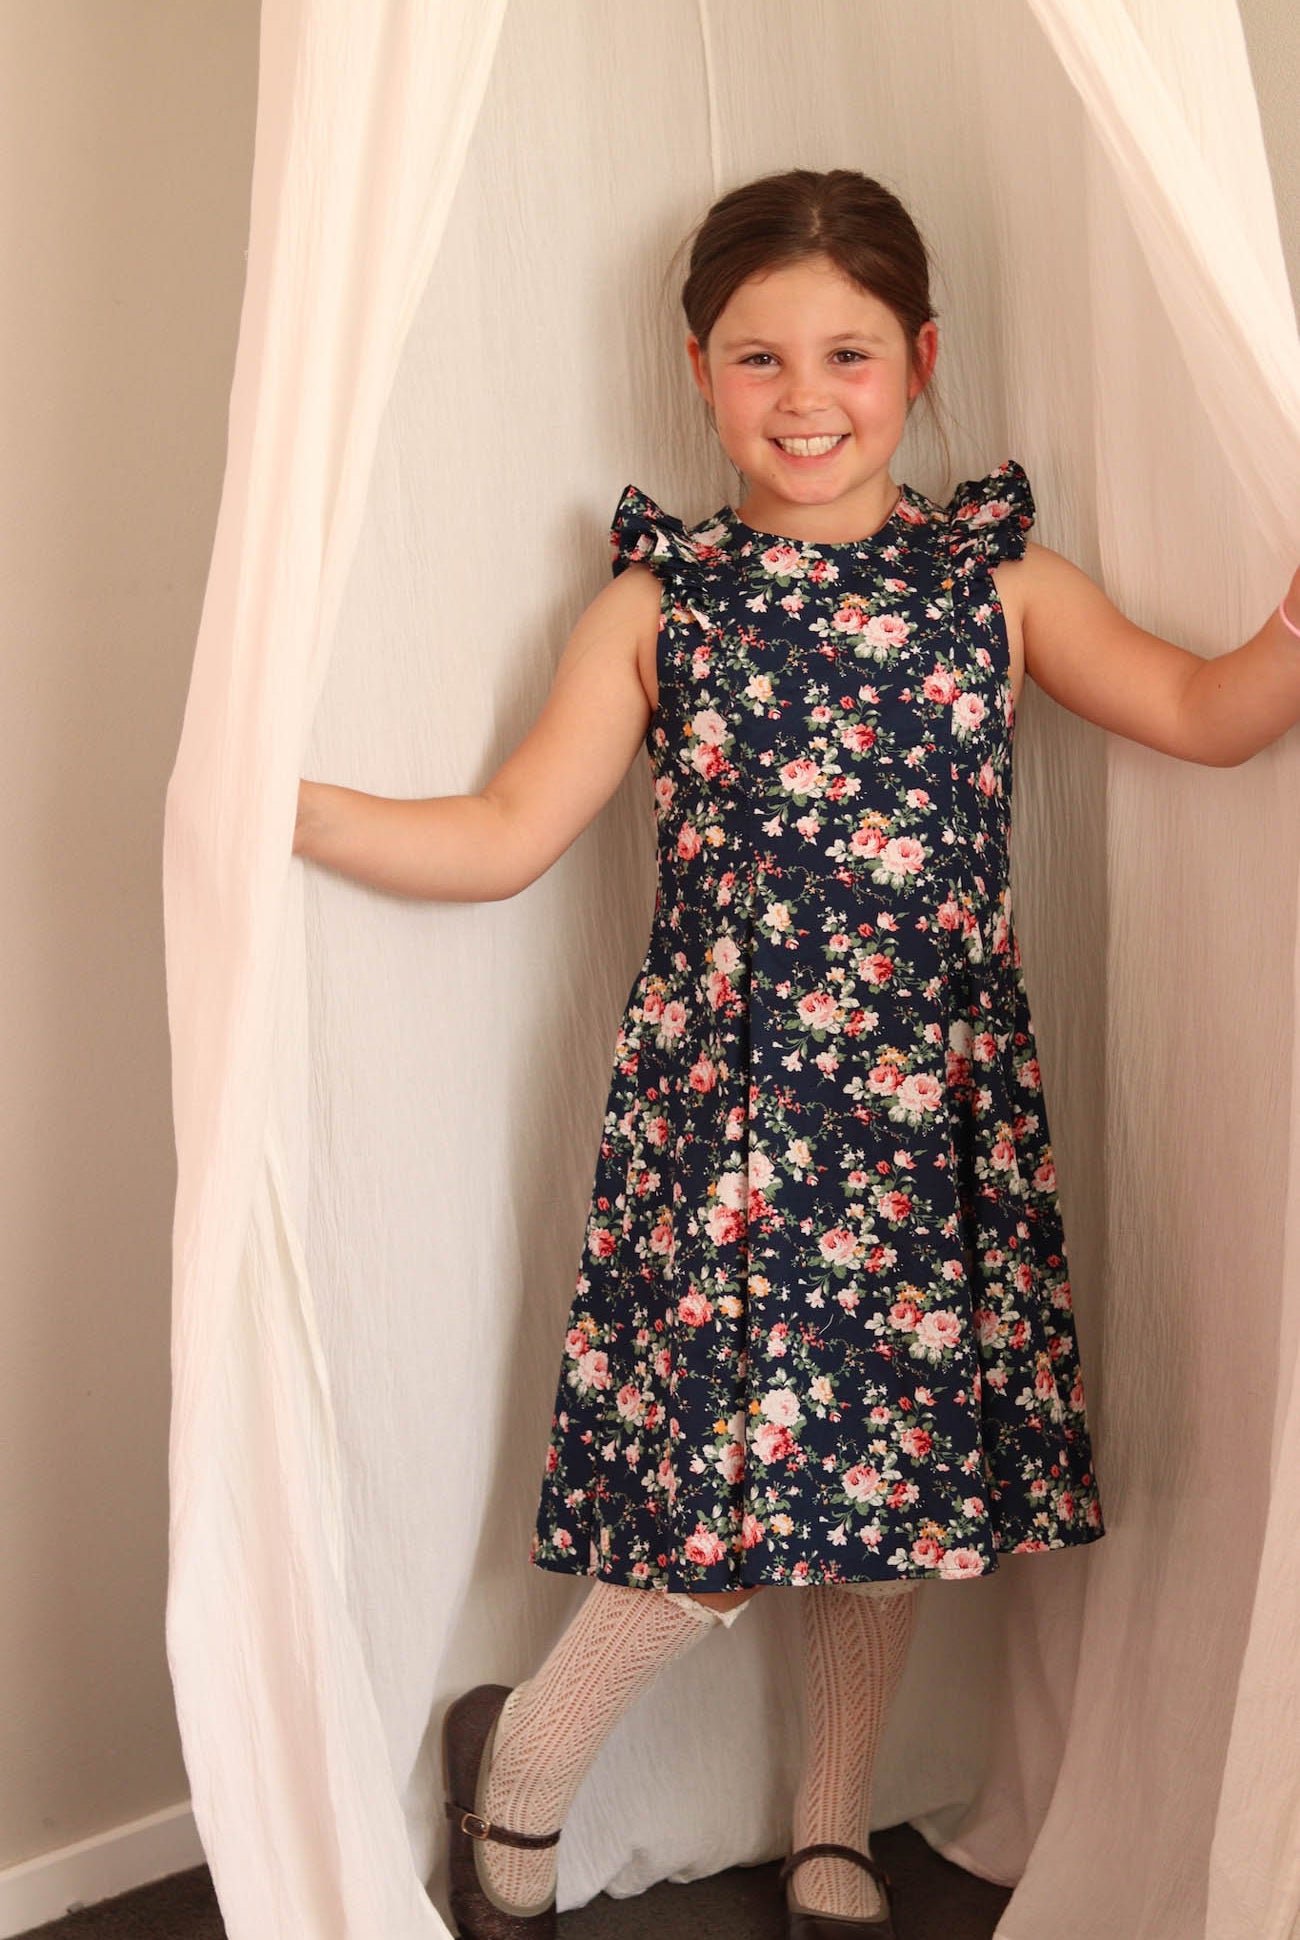
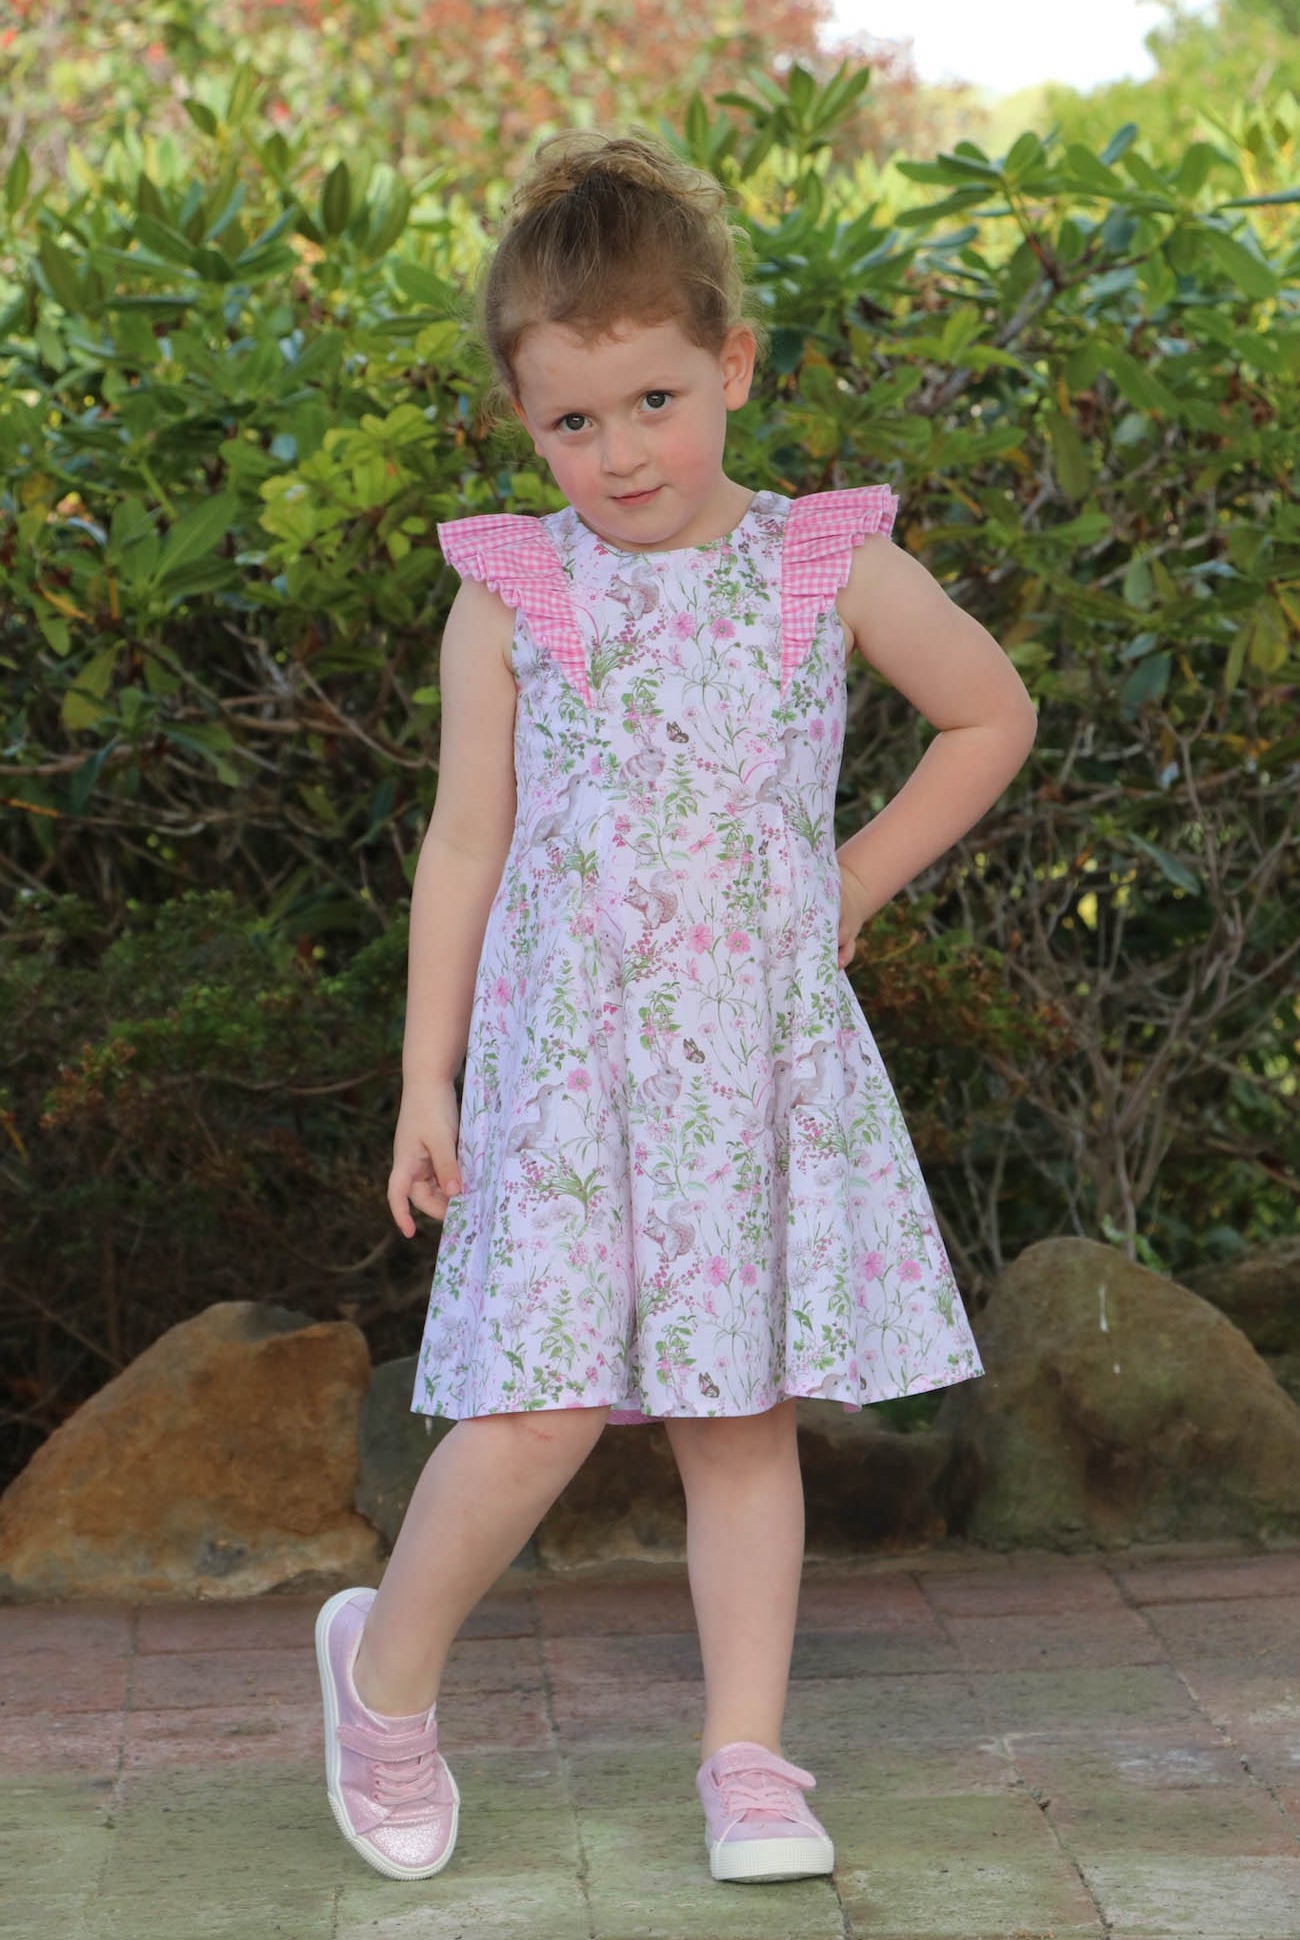
Hi everyone,
I know loads of you have been waiting for this one, I myself can't wait to try it out because it's so totally cute! A huge, big, loud thank you to Sandra from Sweet Lily Boutique for sharing this with us.
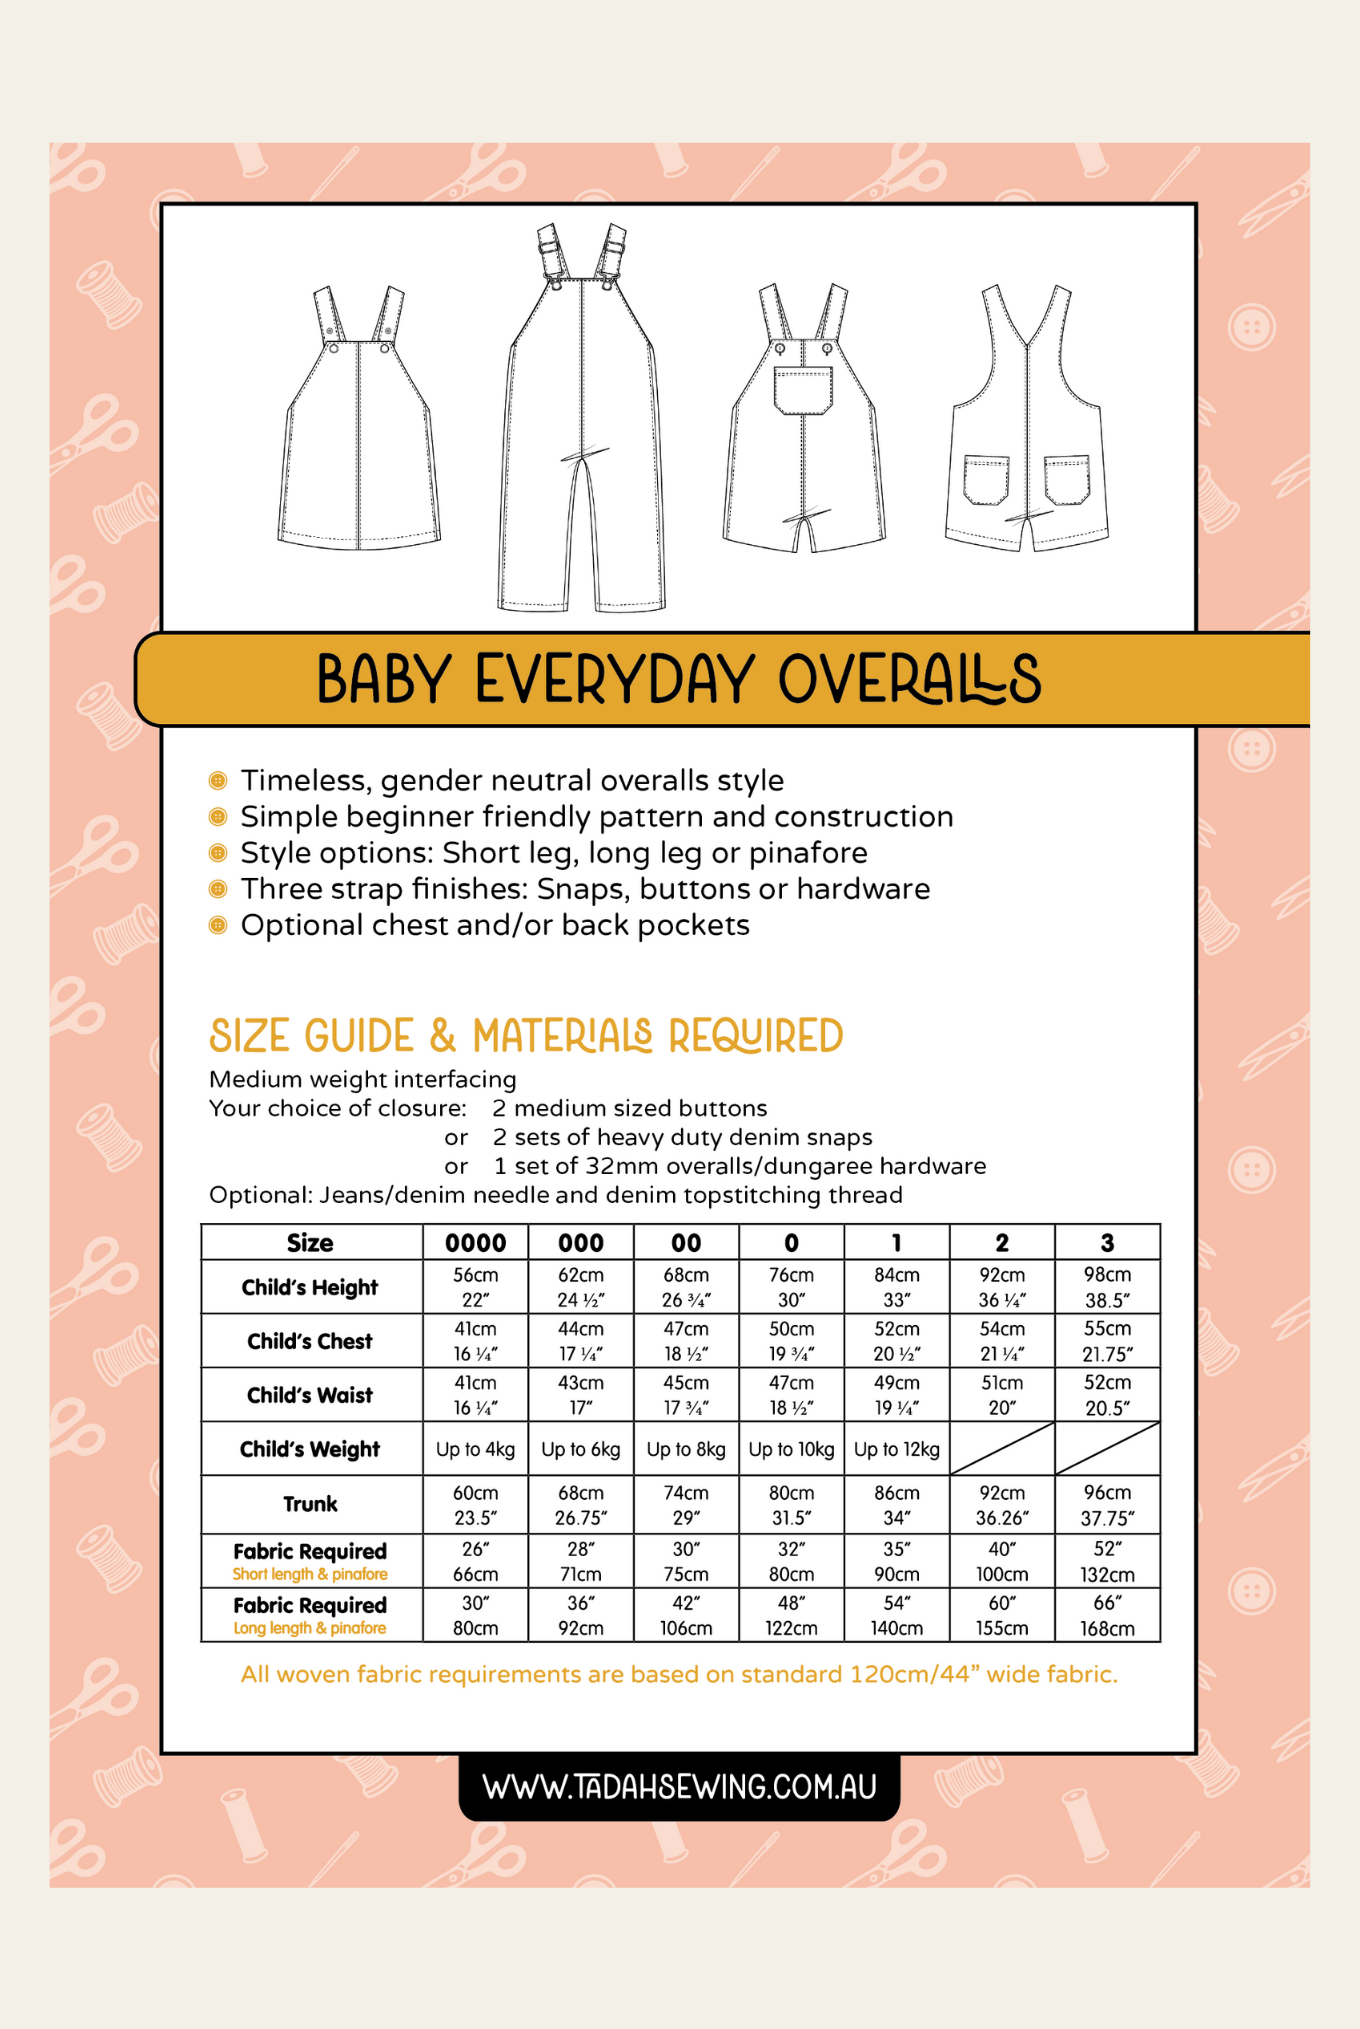
PLEASE NOTE: there may be some Product Safety Guidelines that cover cords on childrens wear that you will need to investigate prior to making/selling any garments.
So here goes...
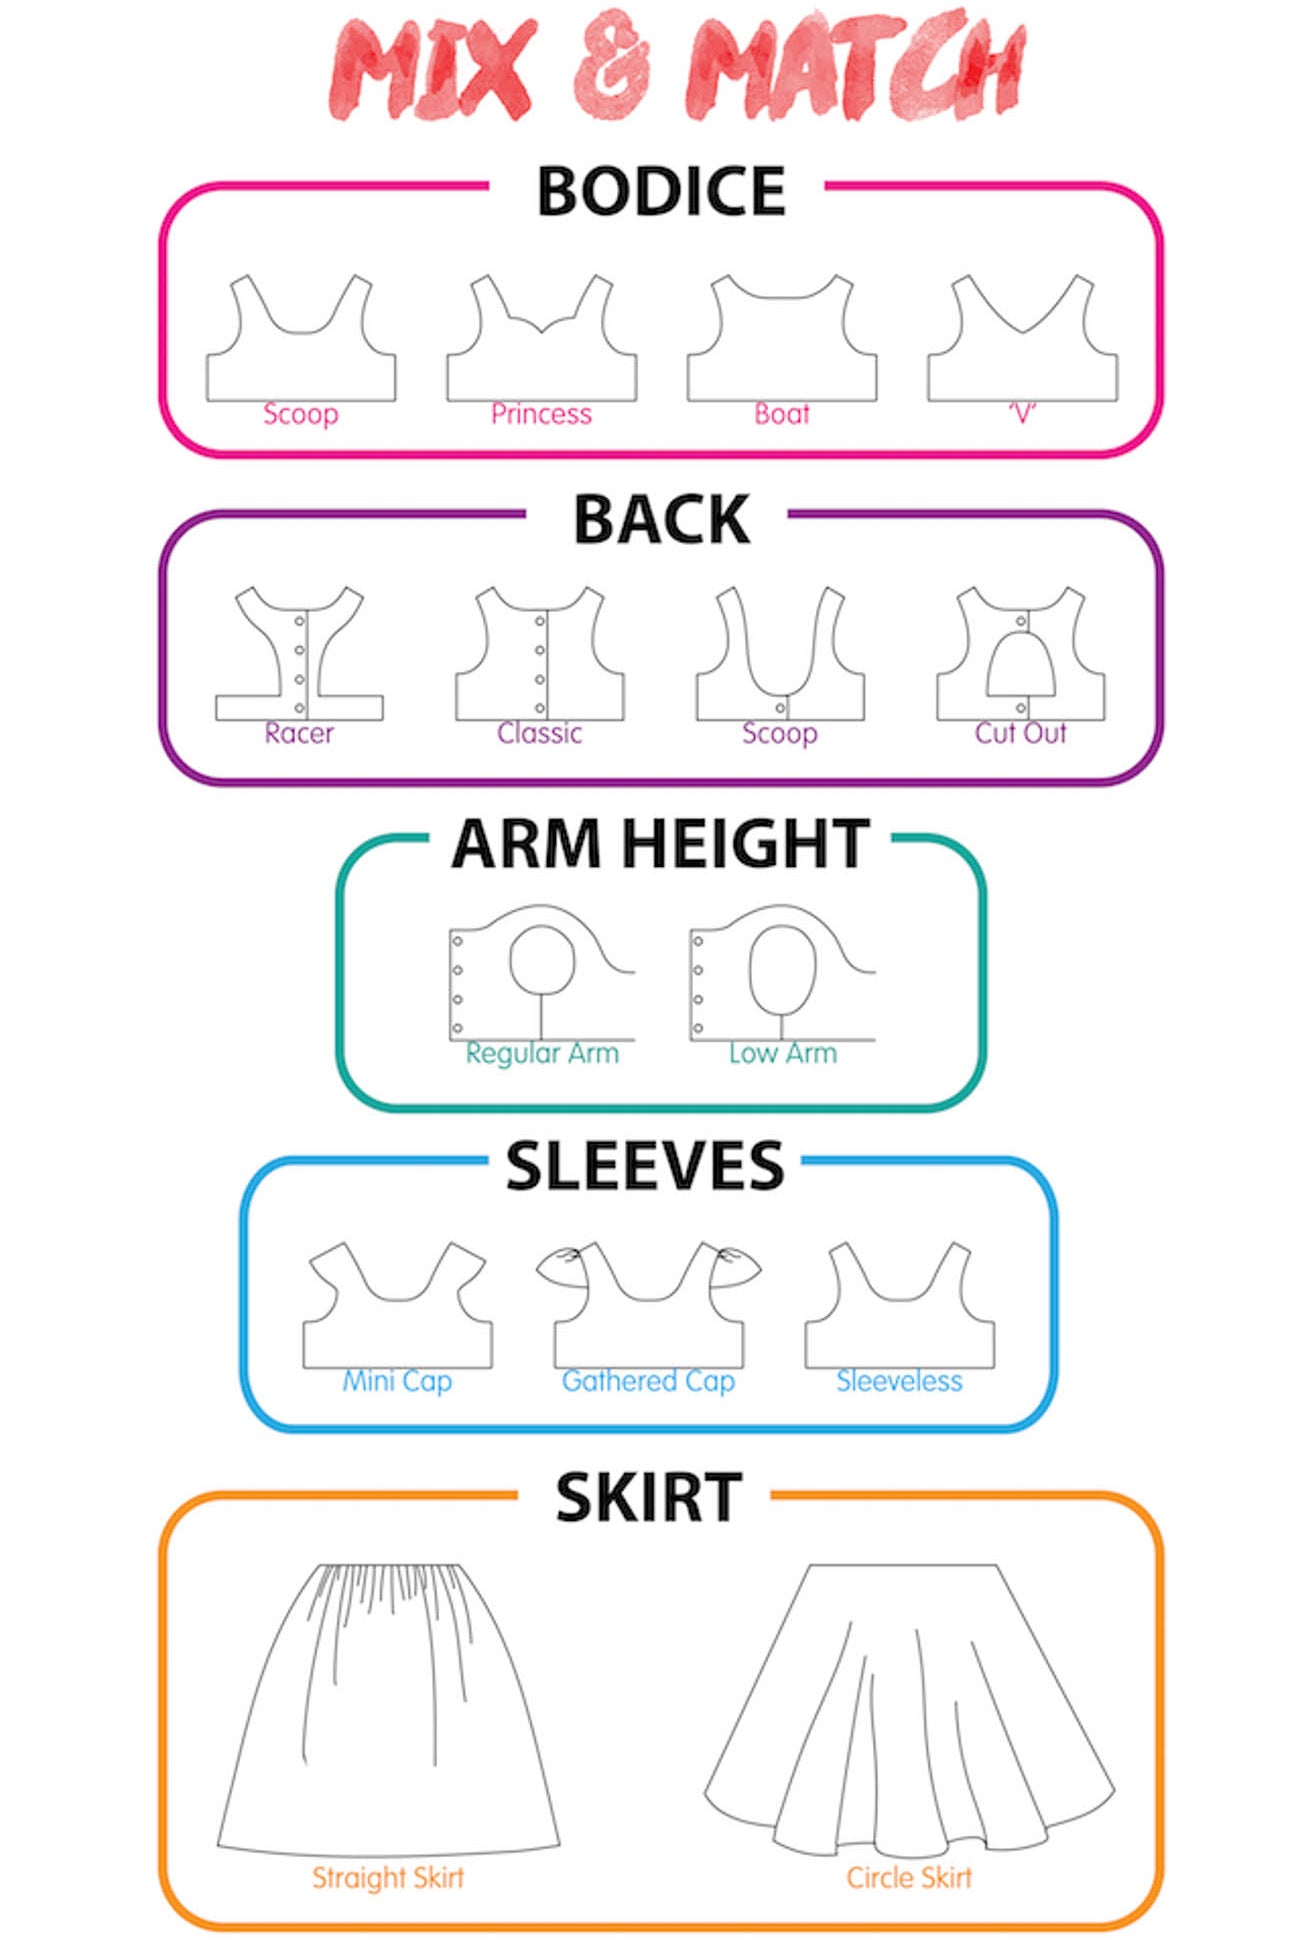
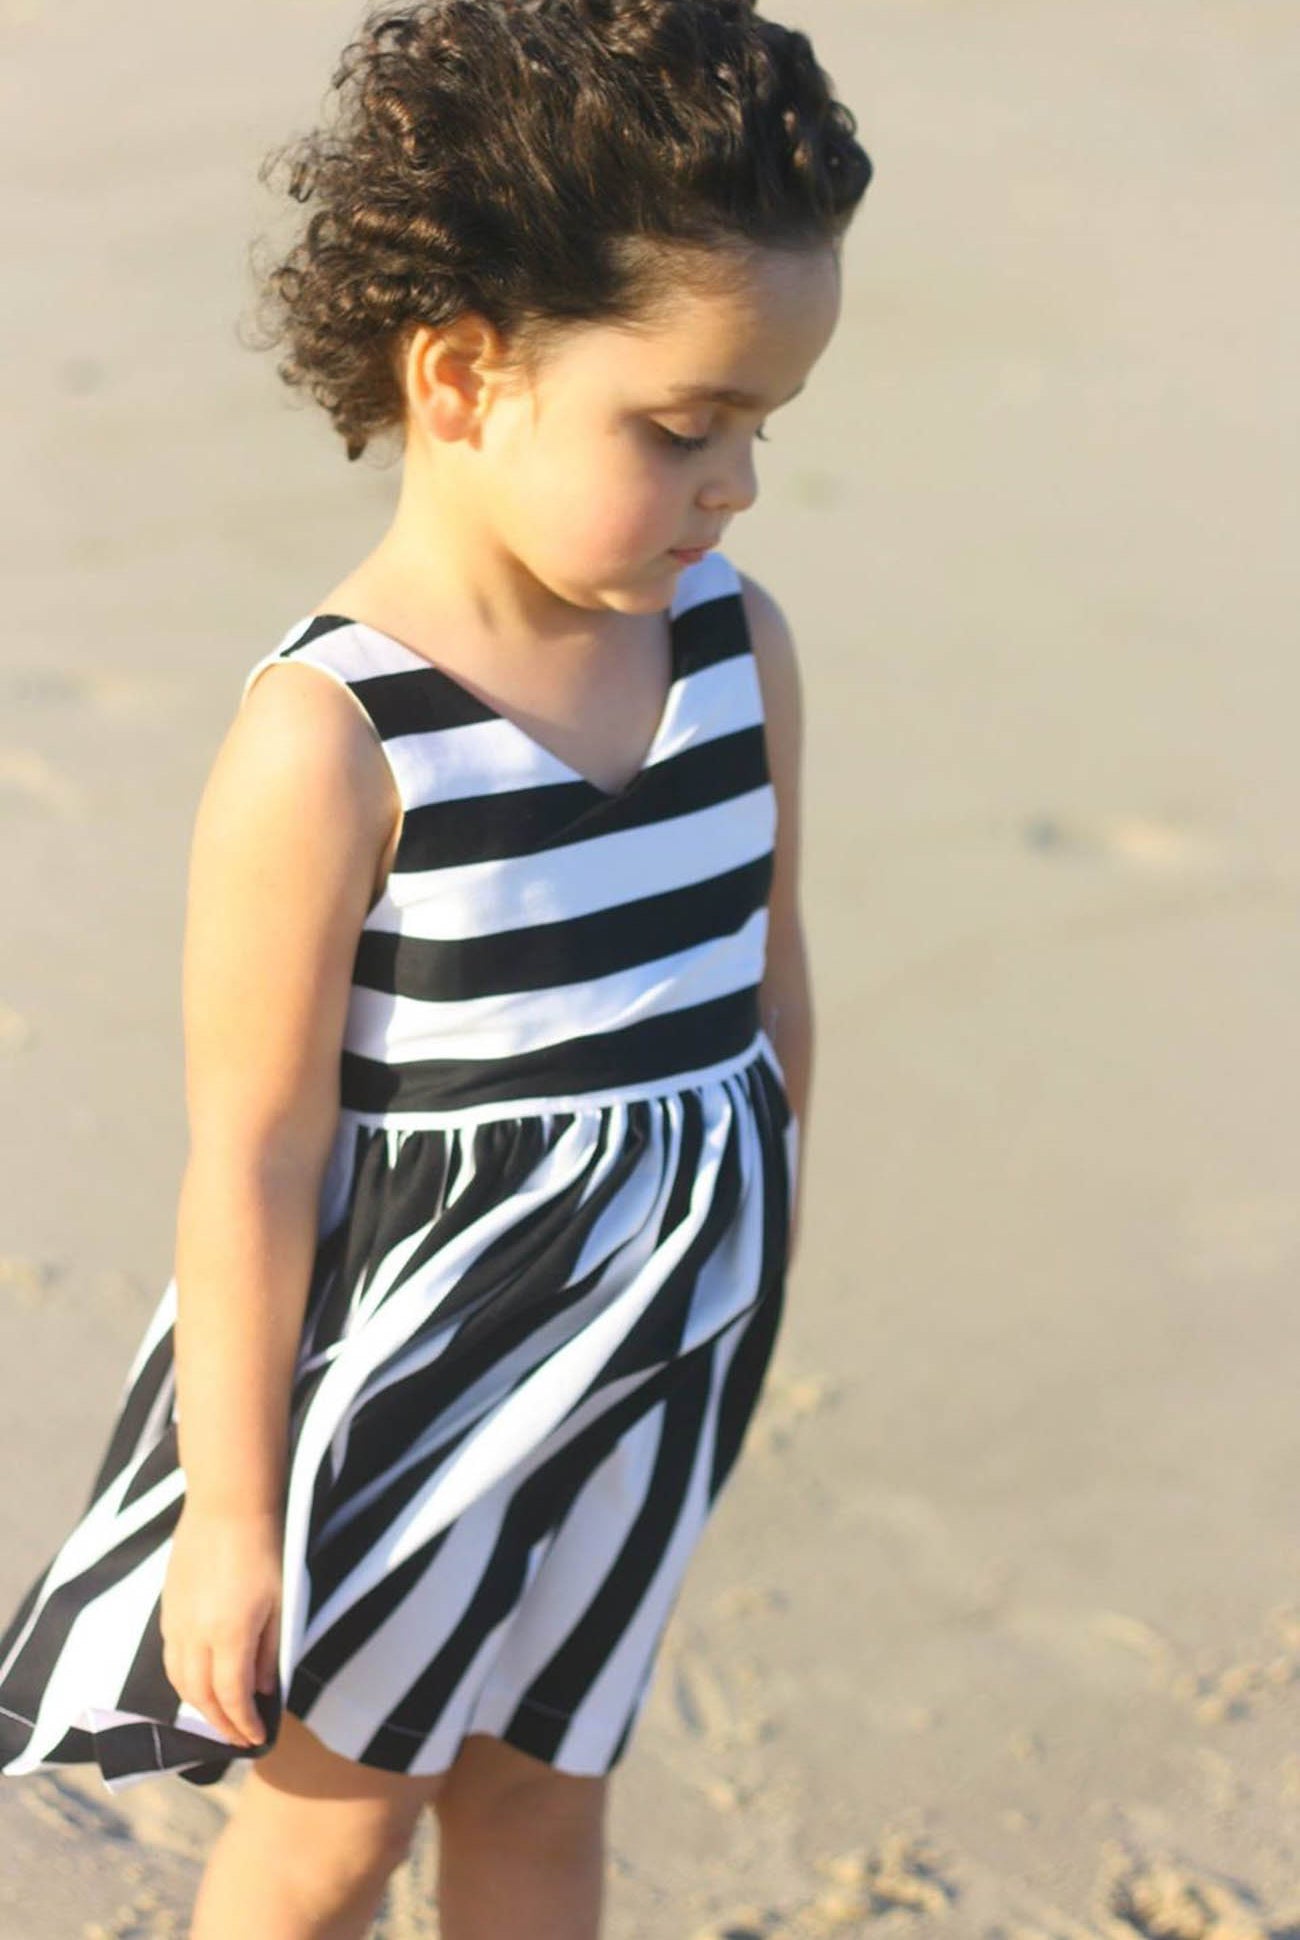
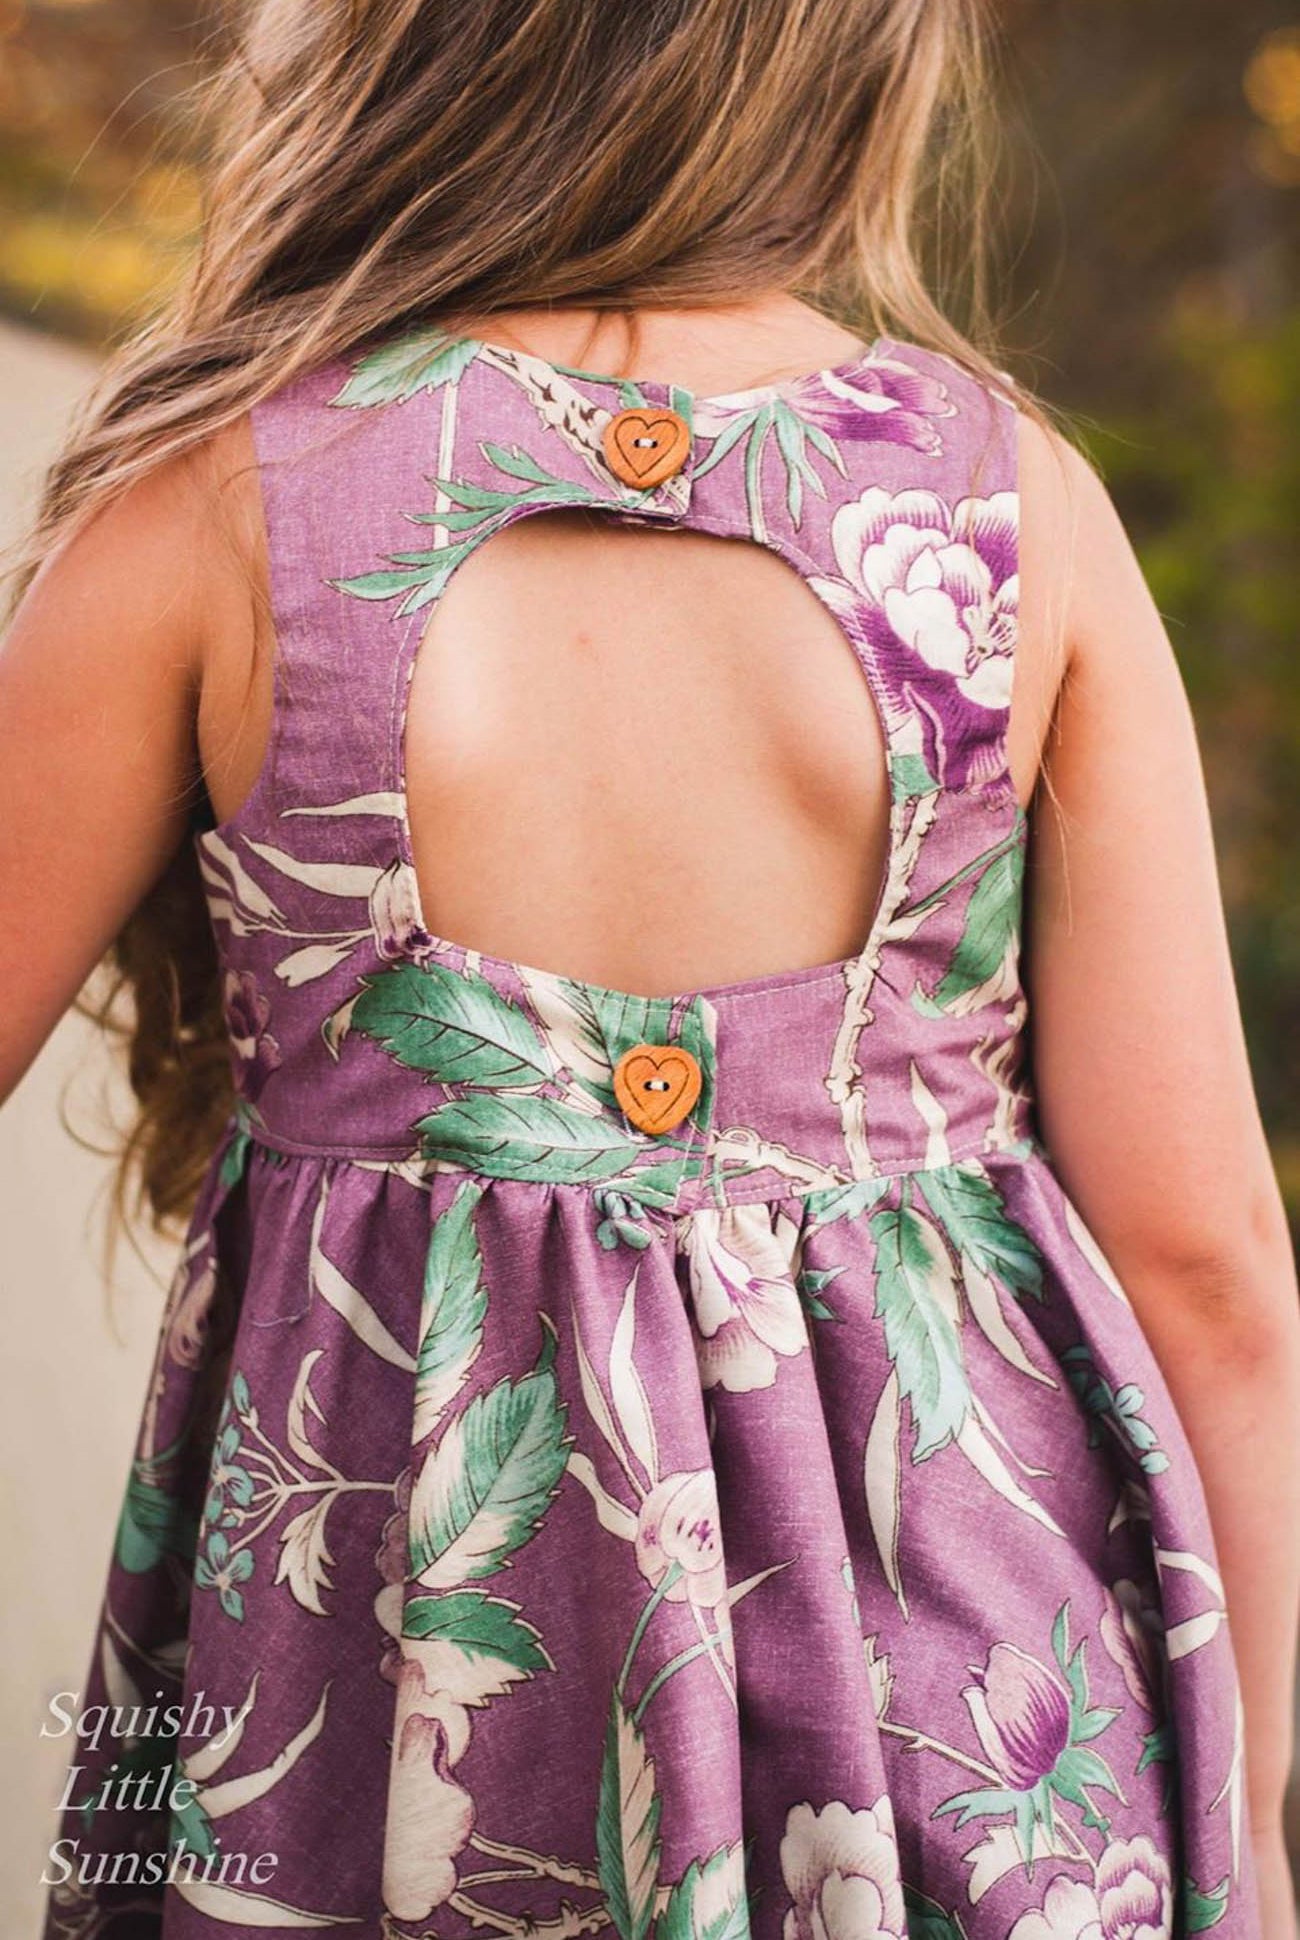
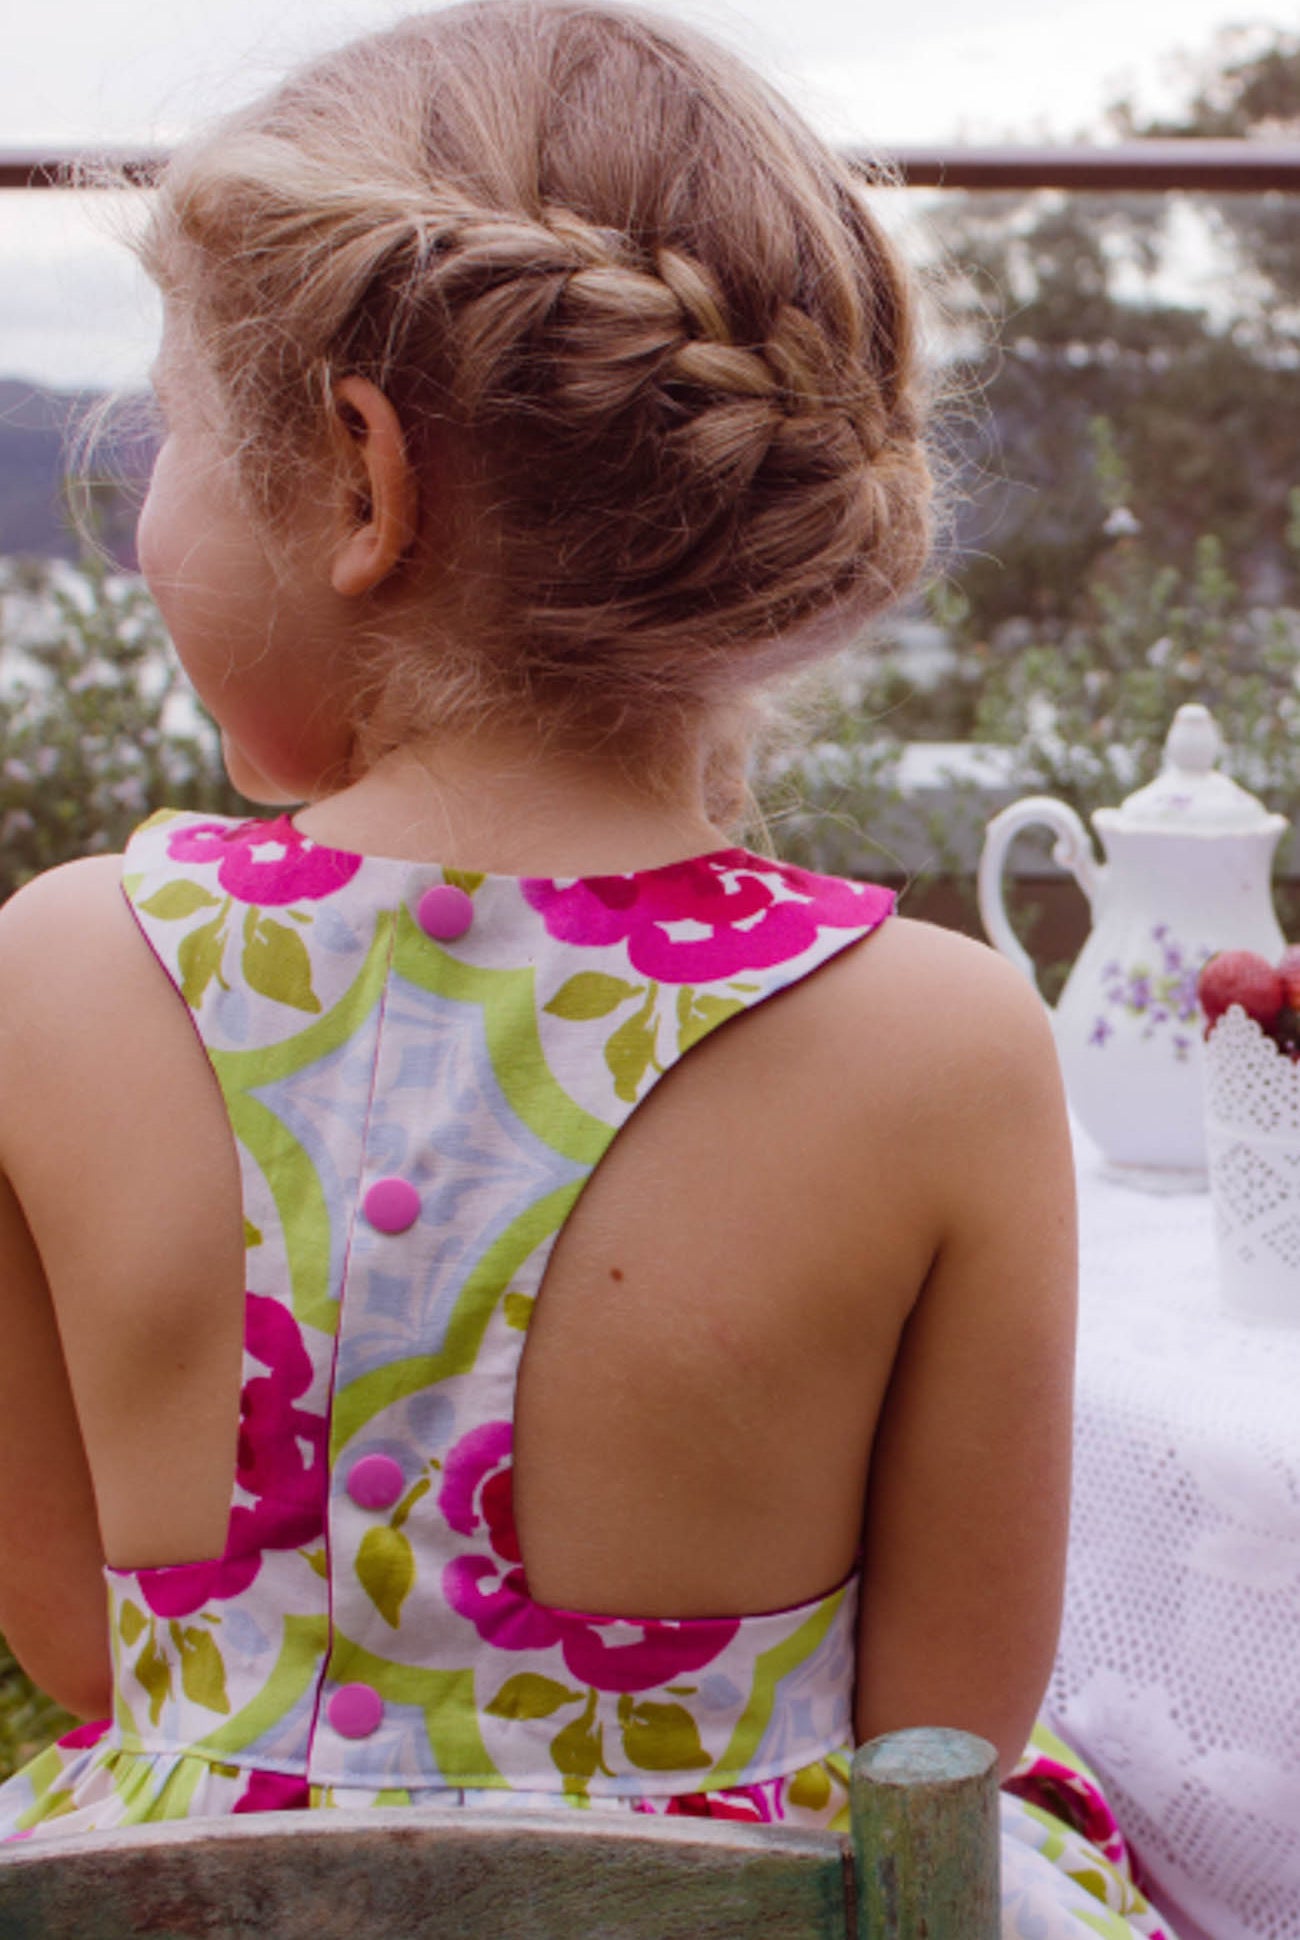
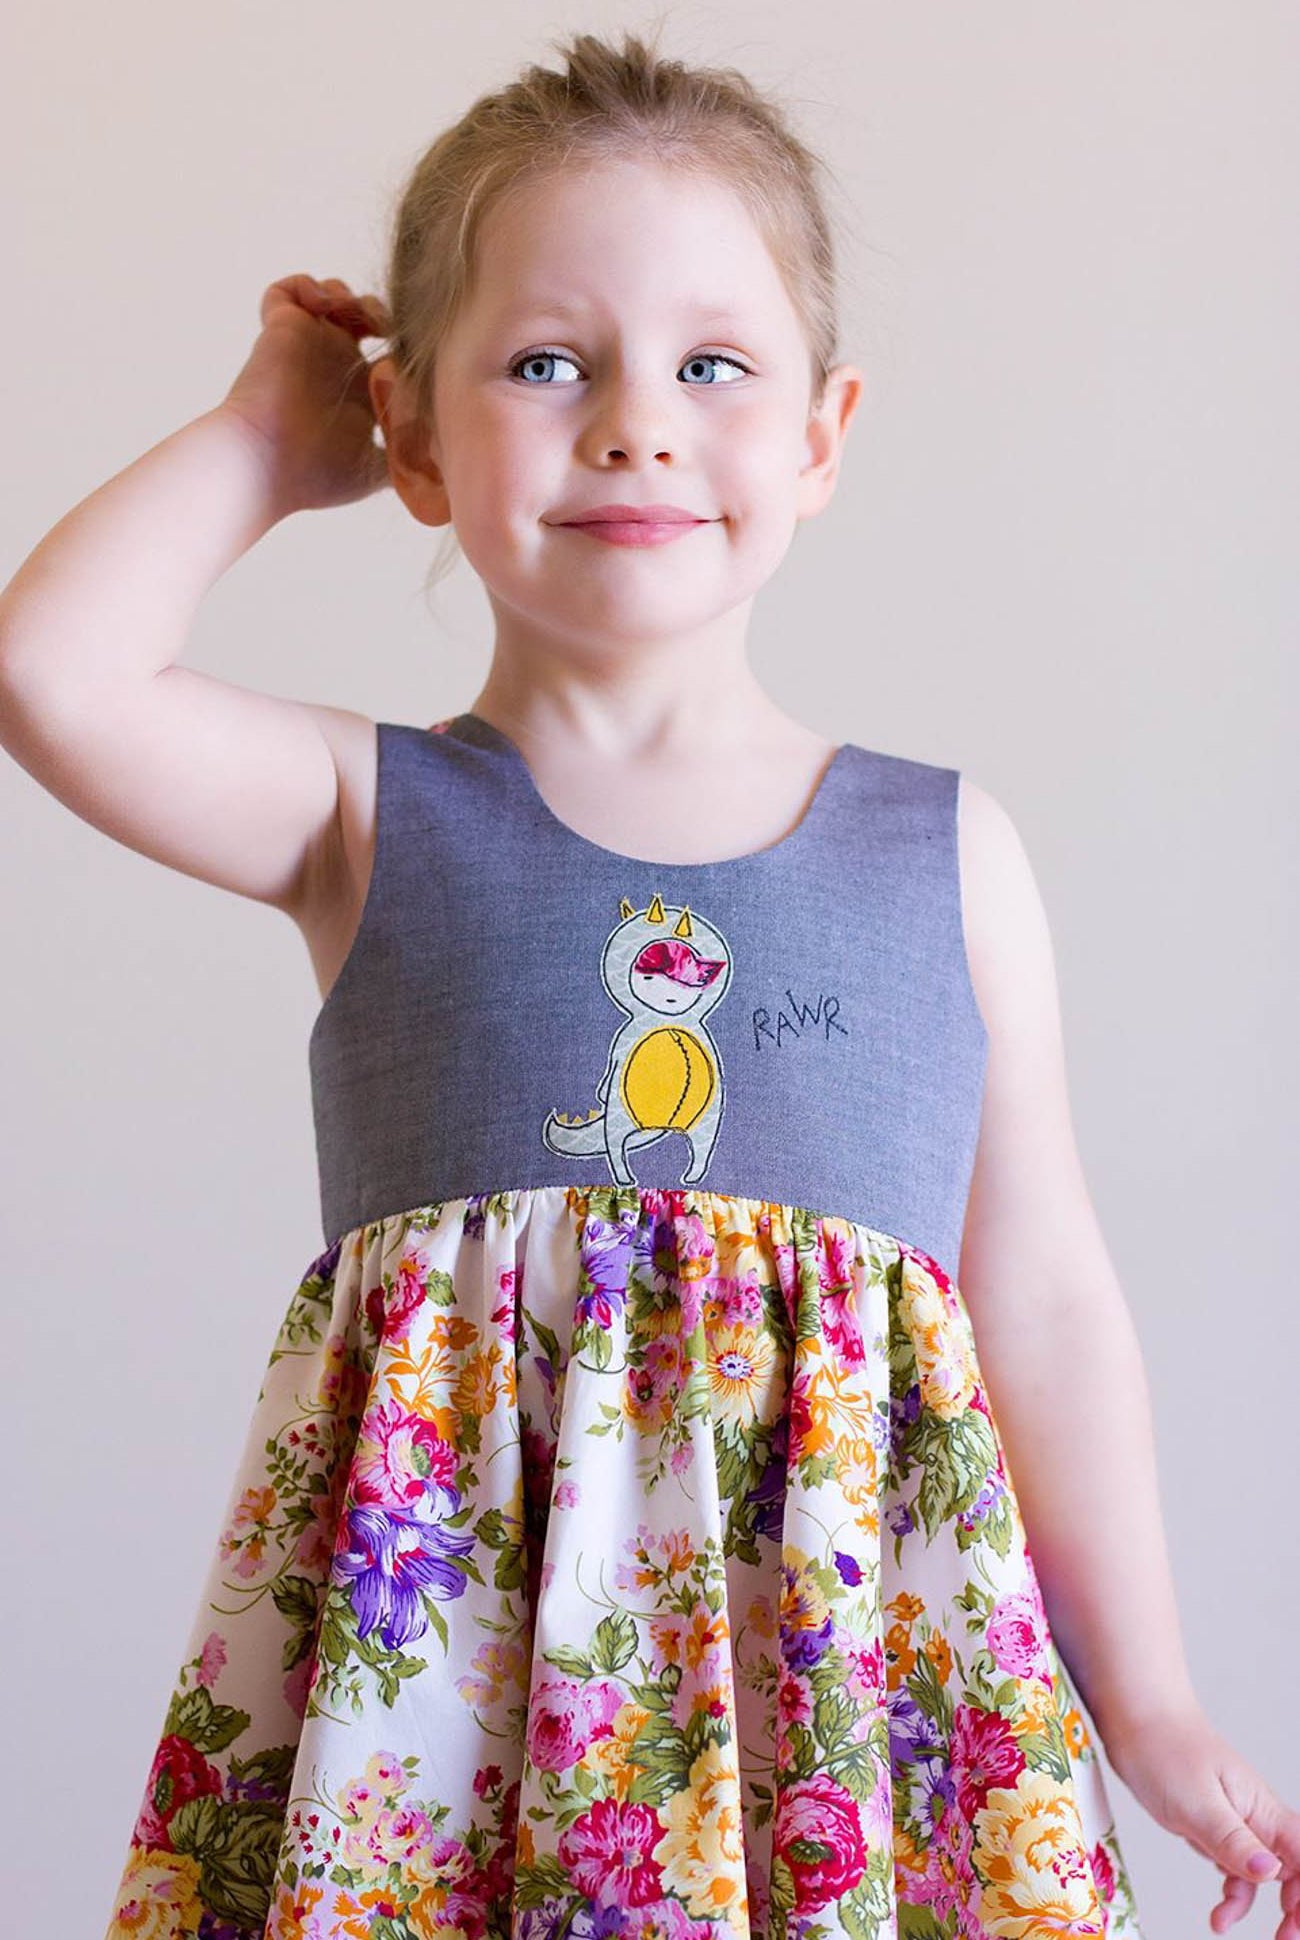
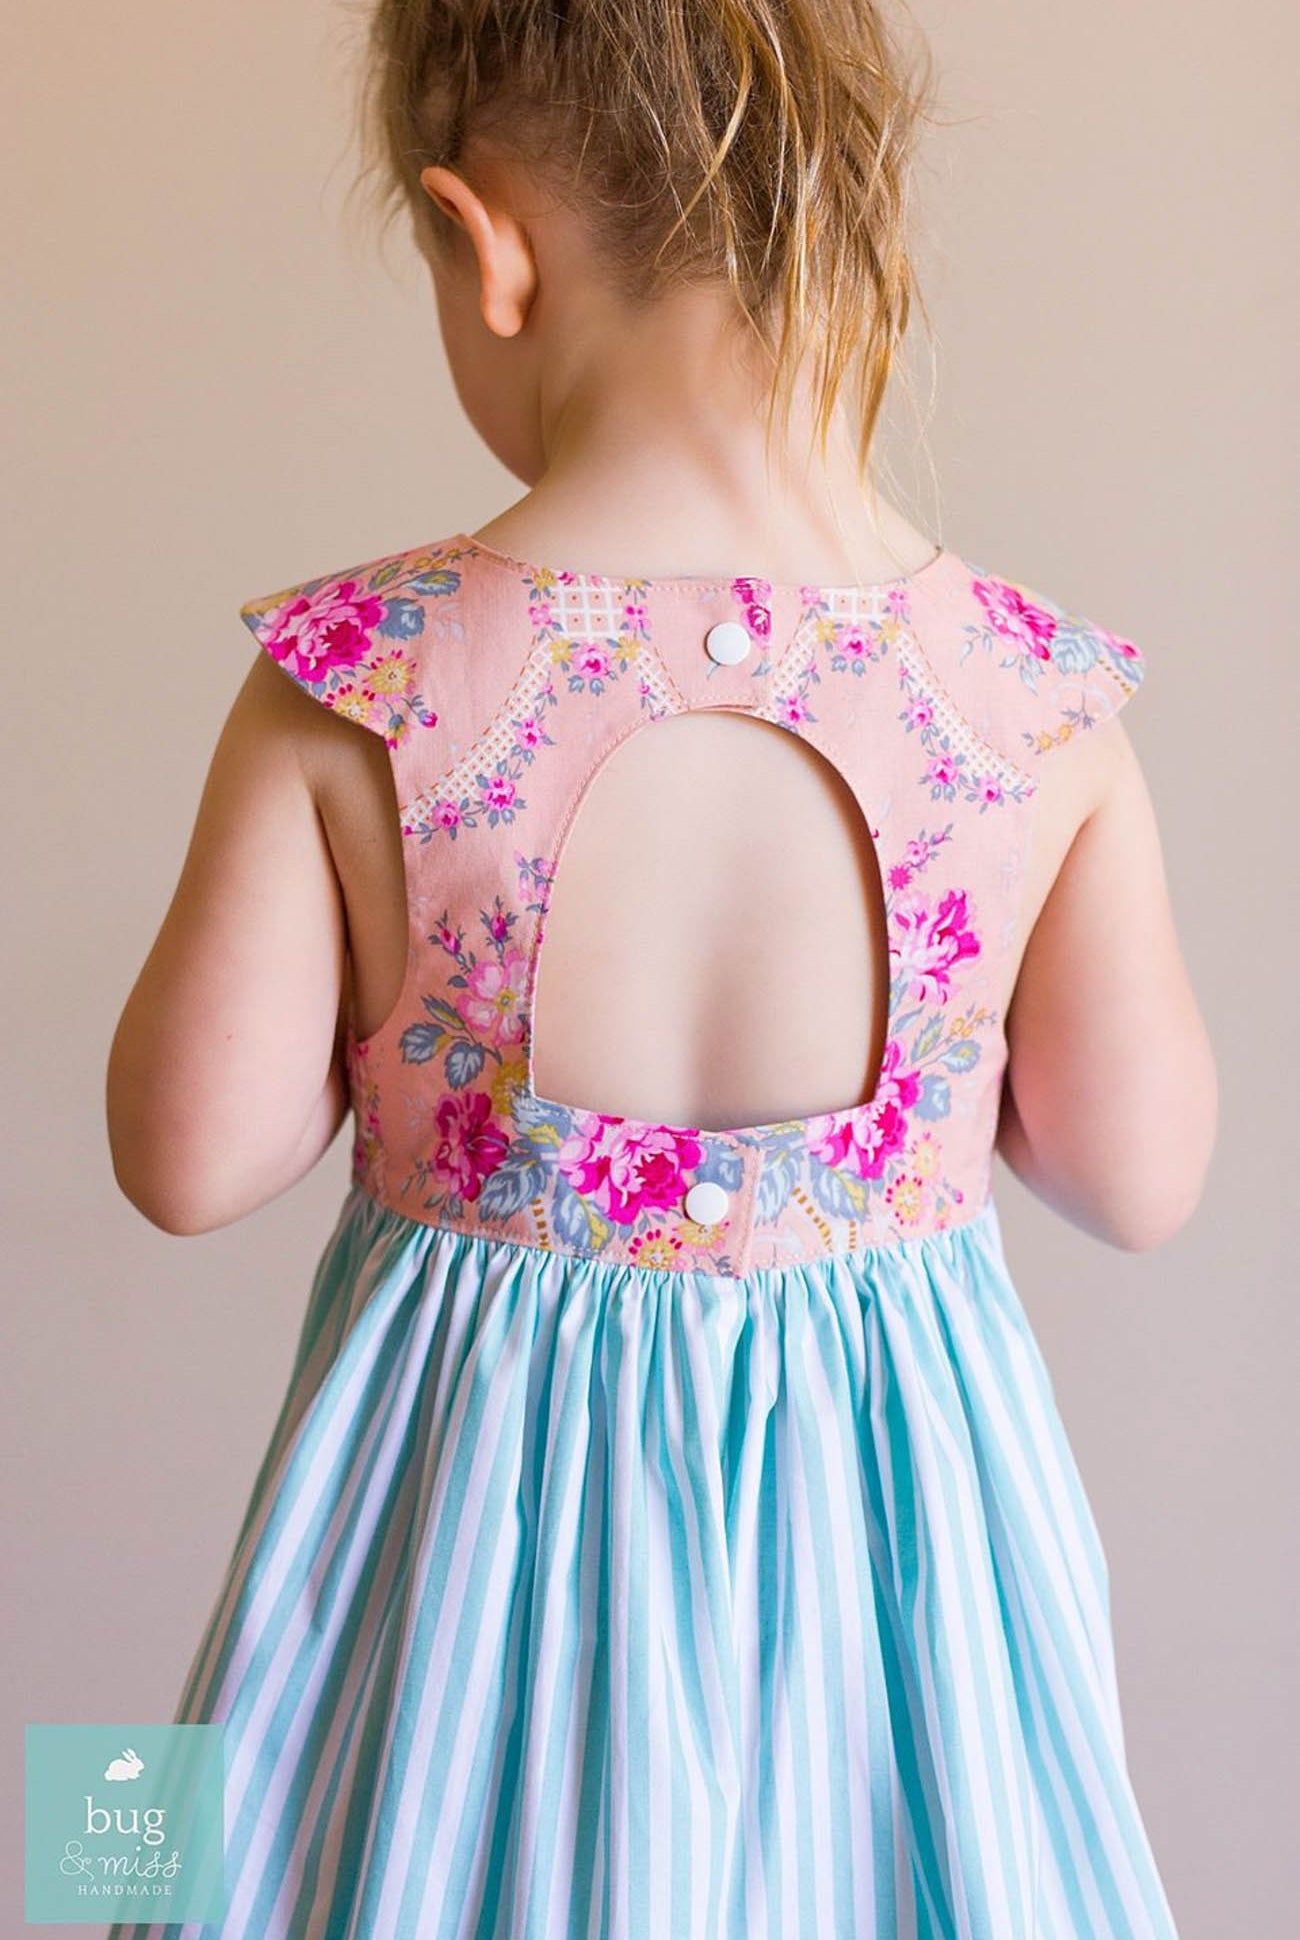
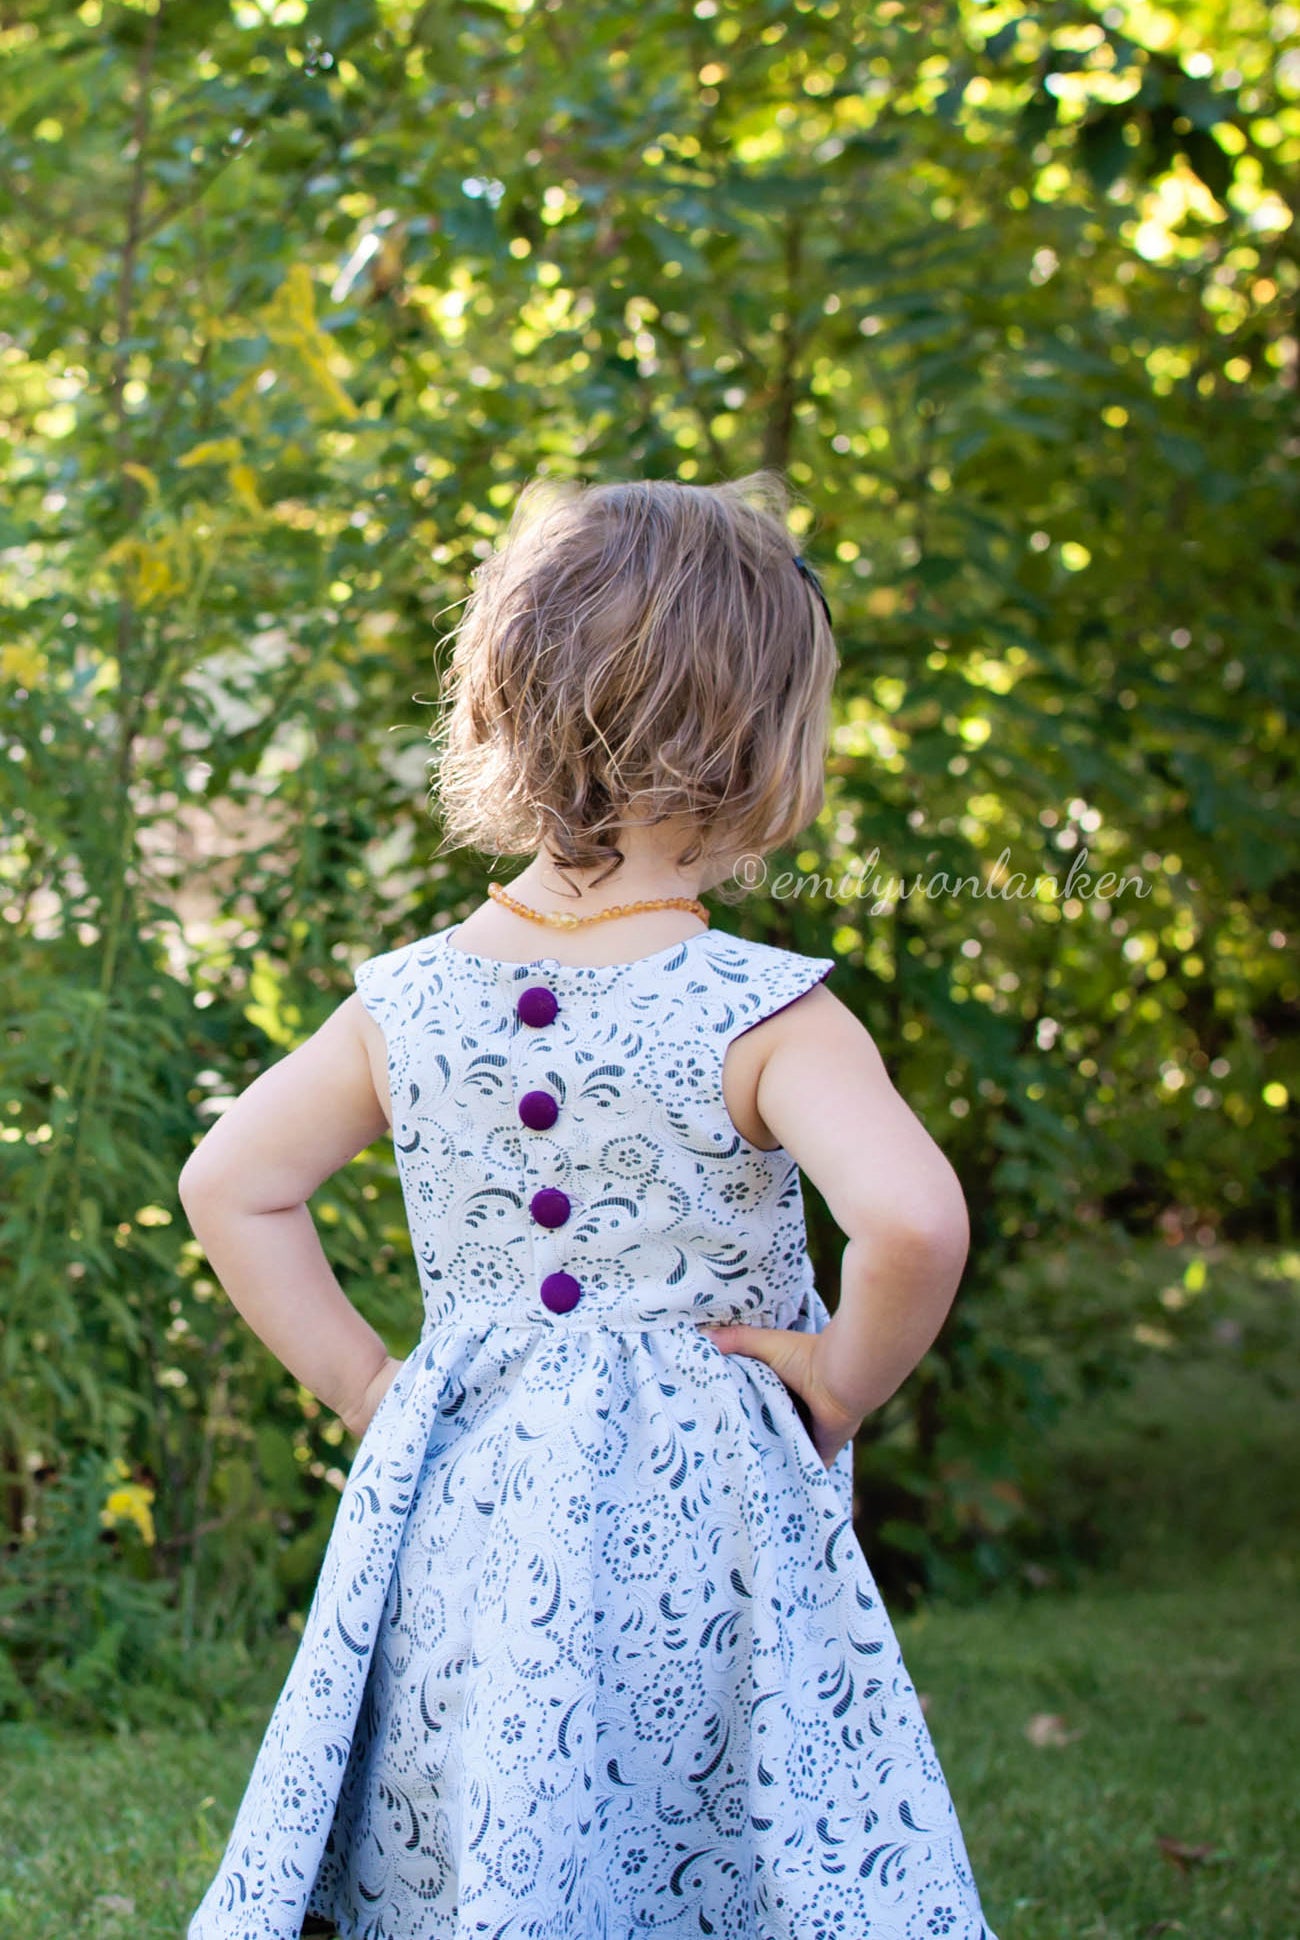
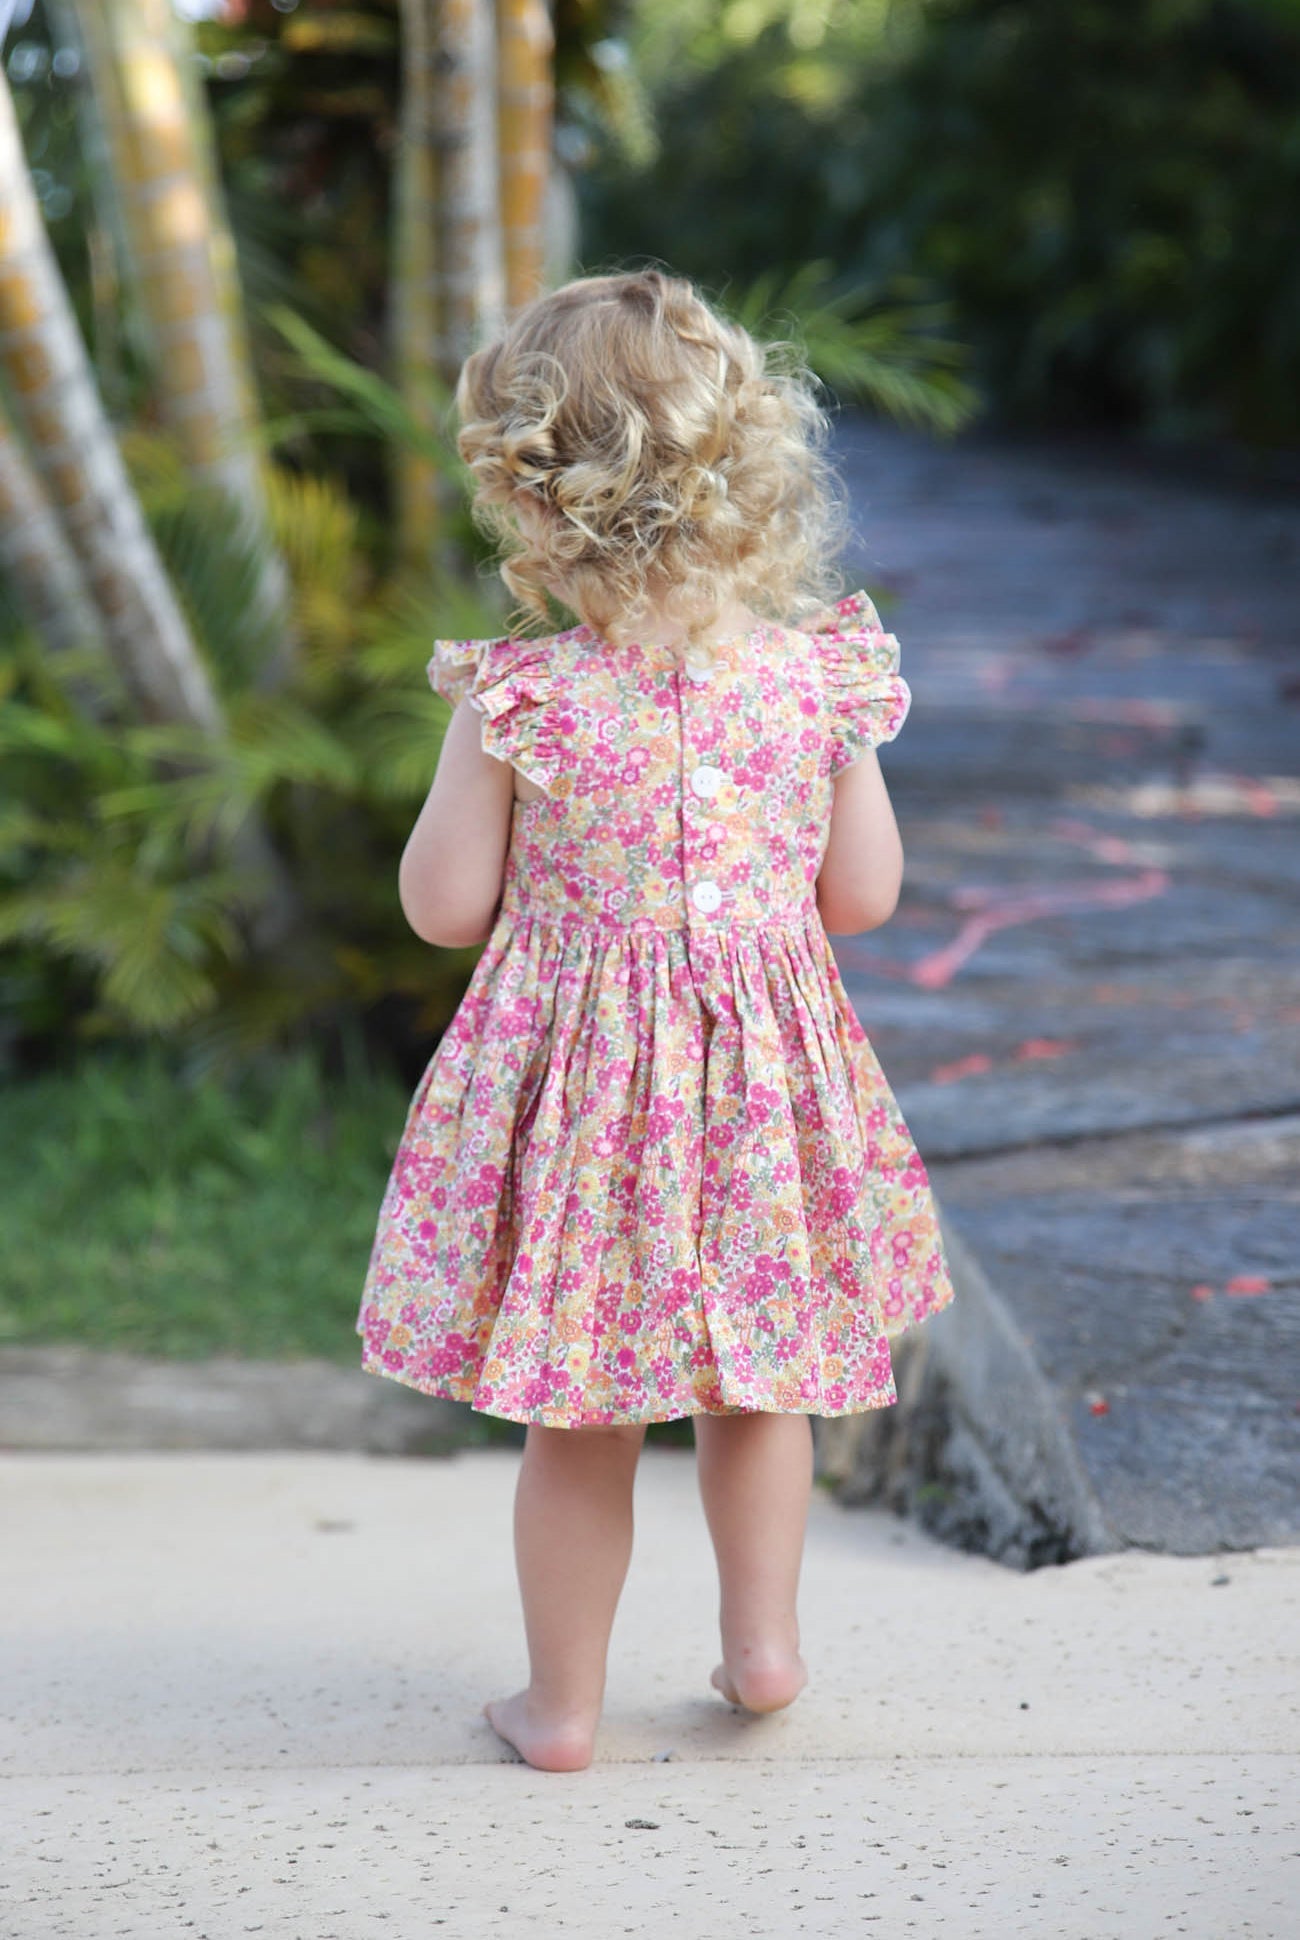
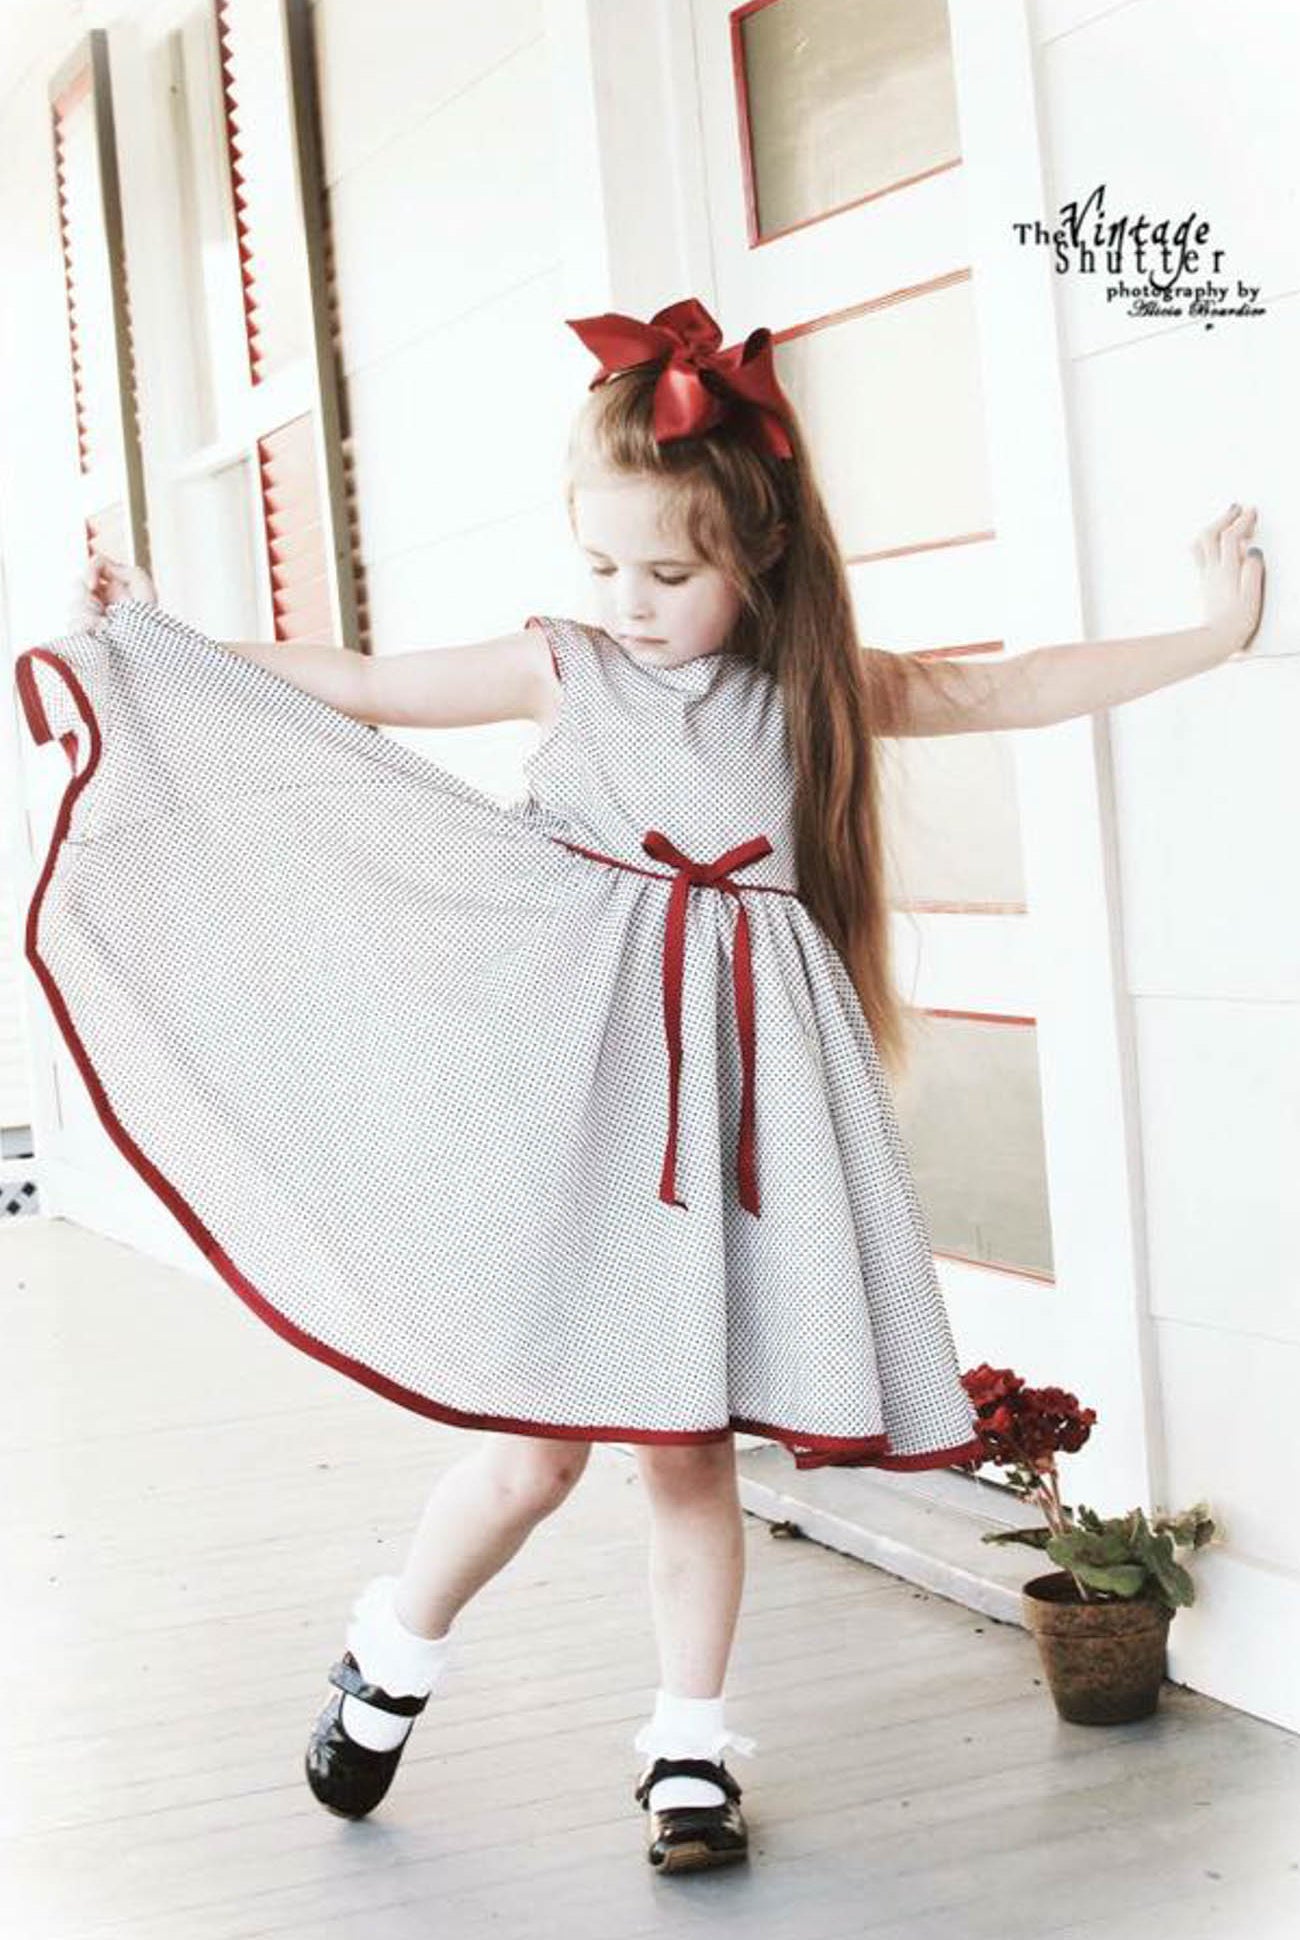
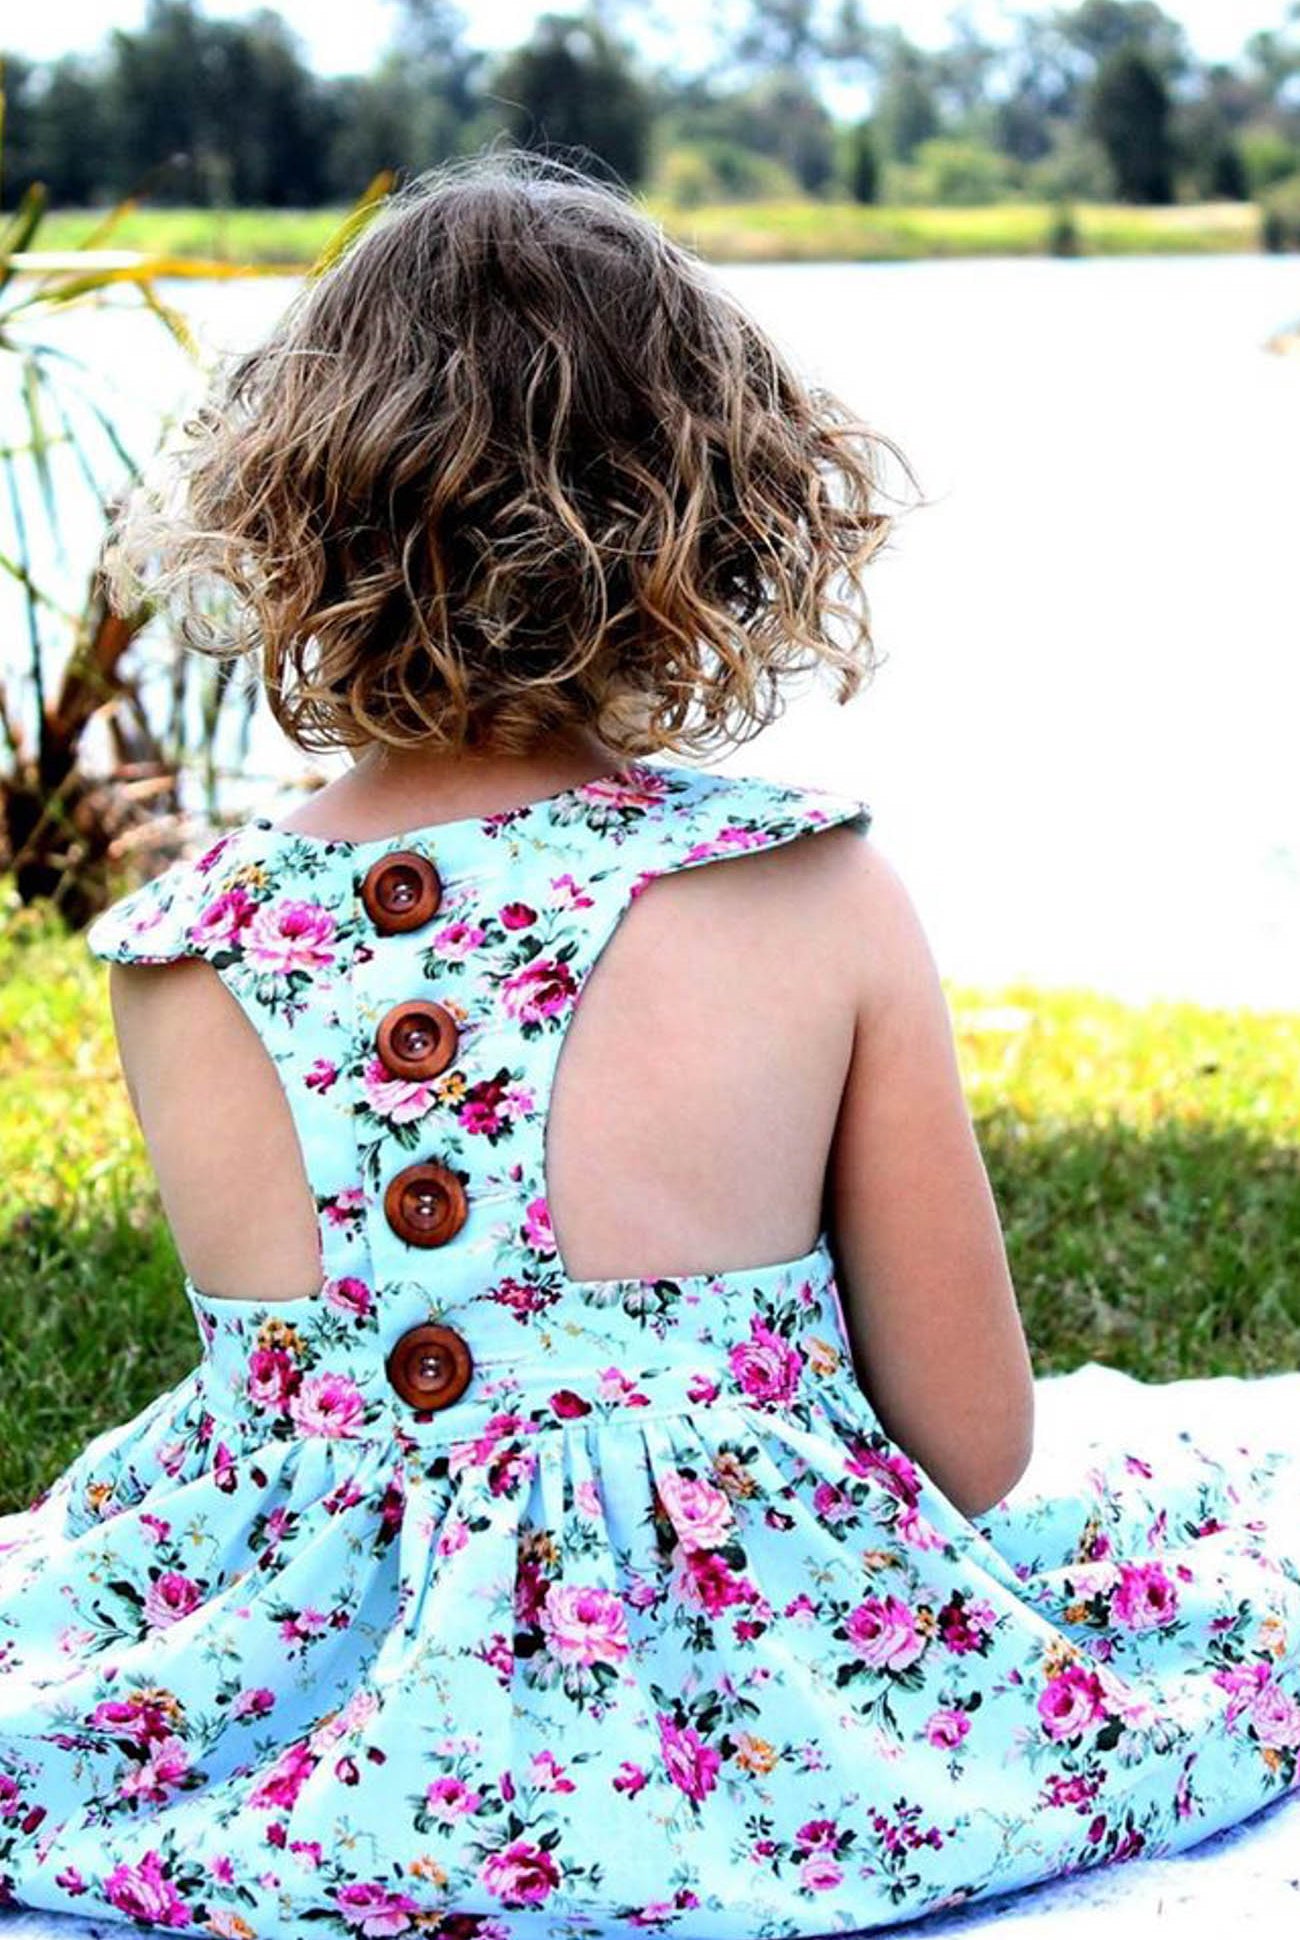
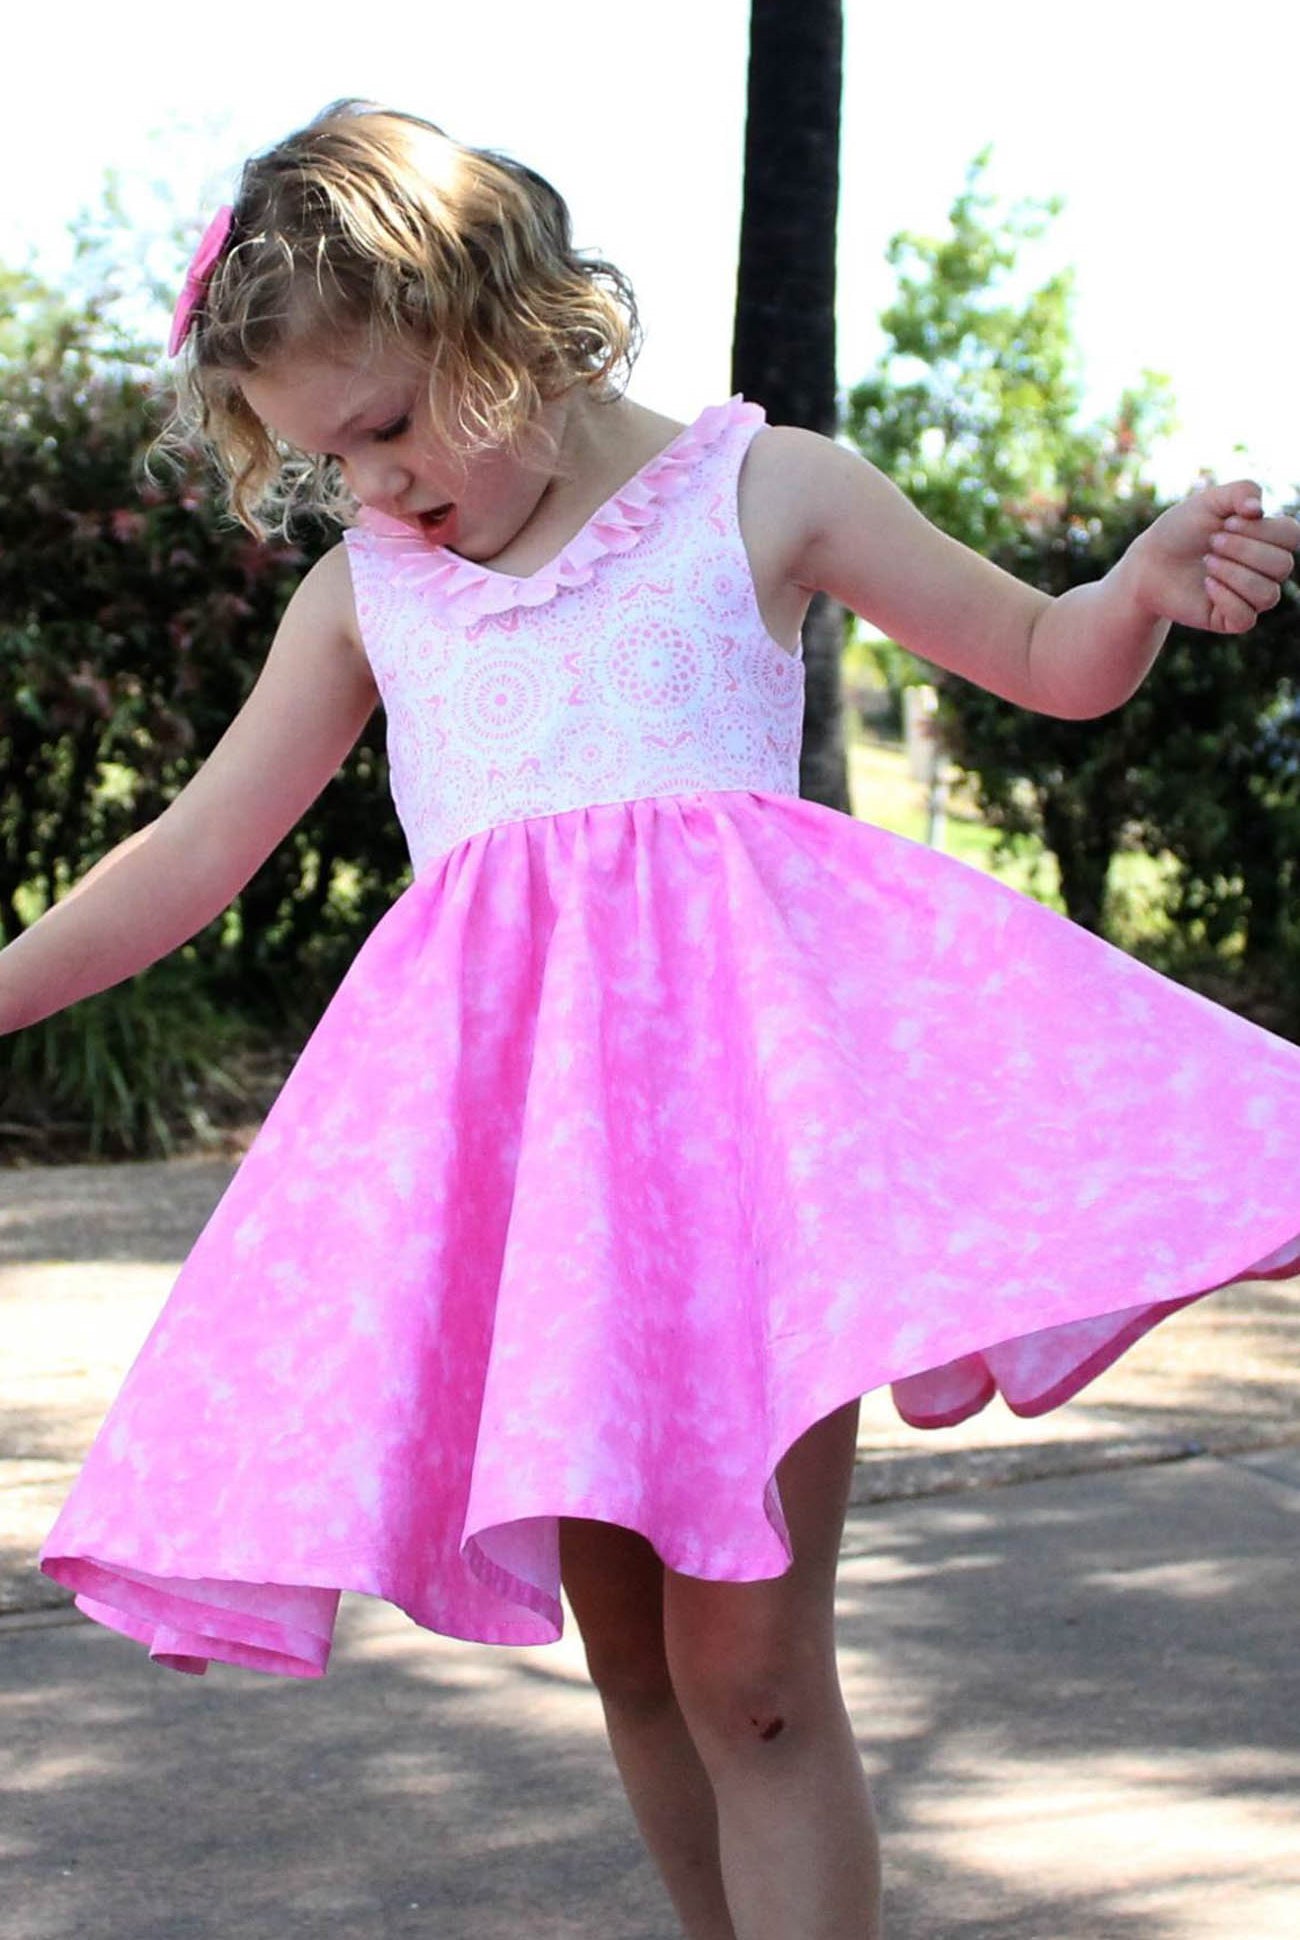
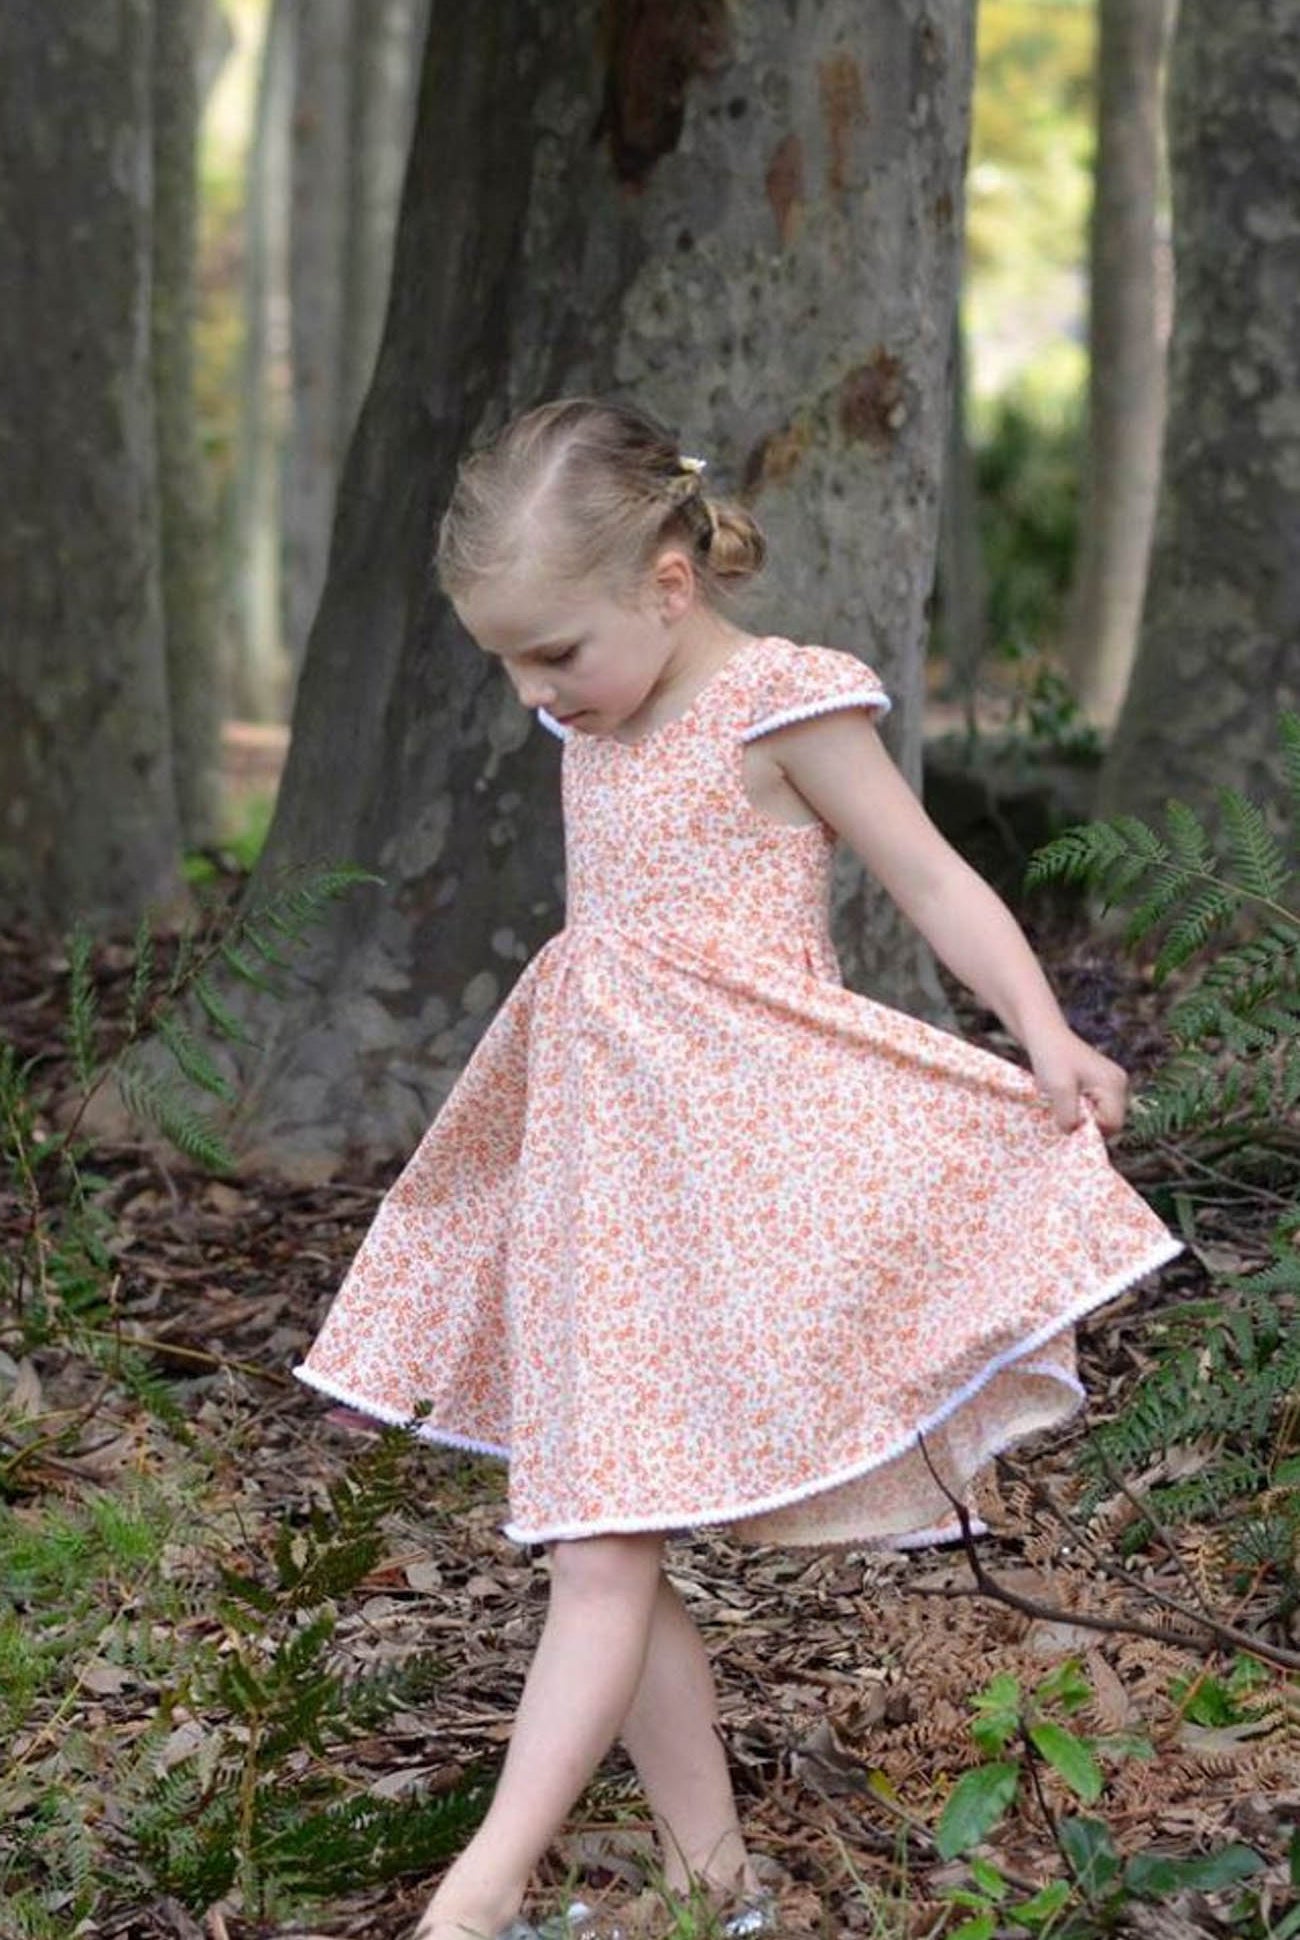
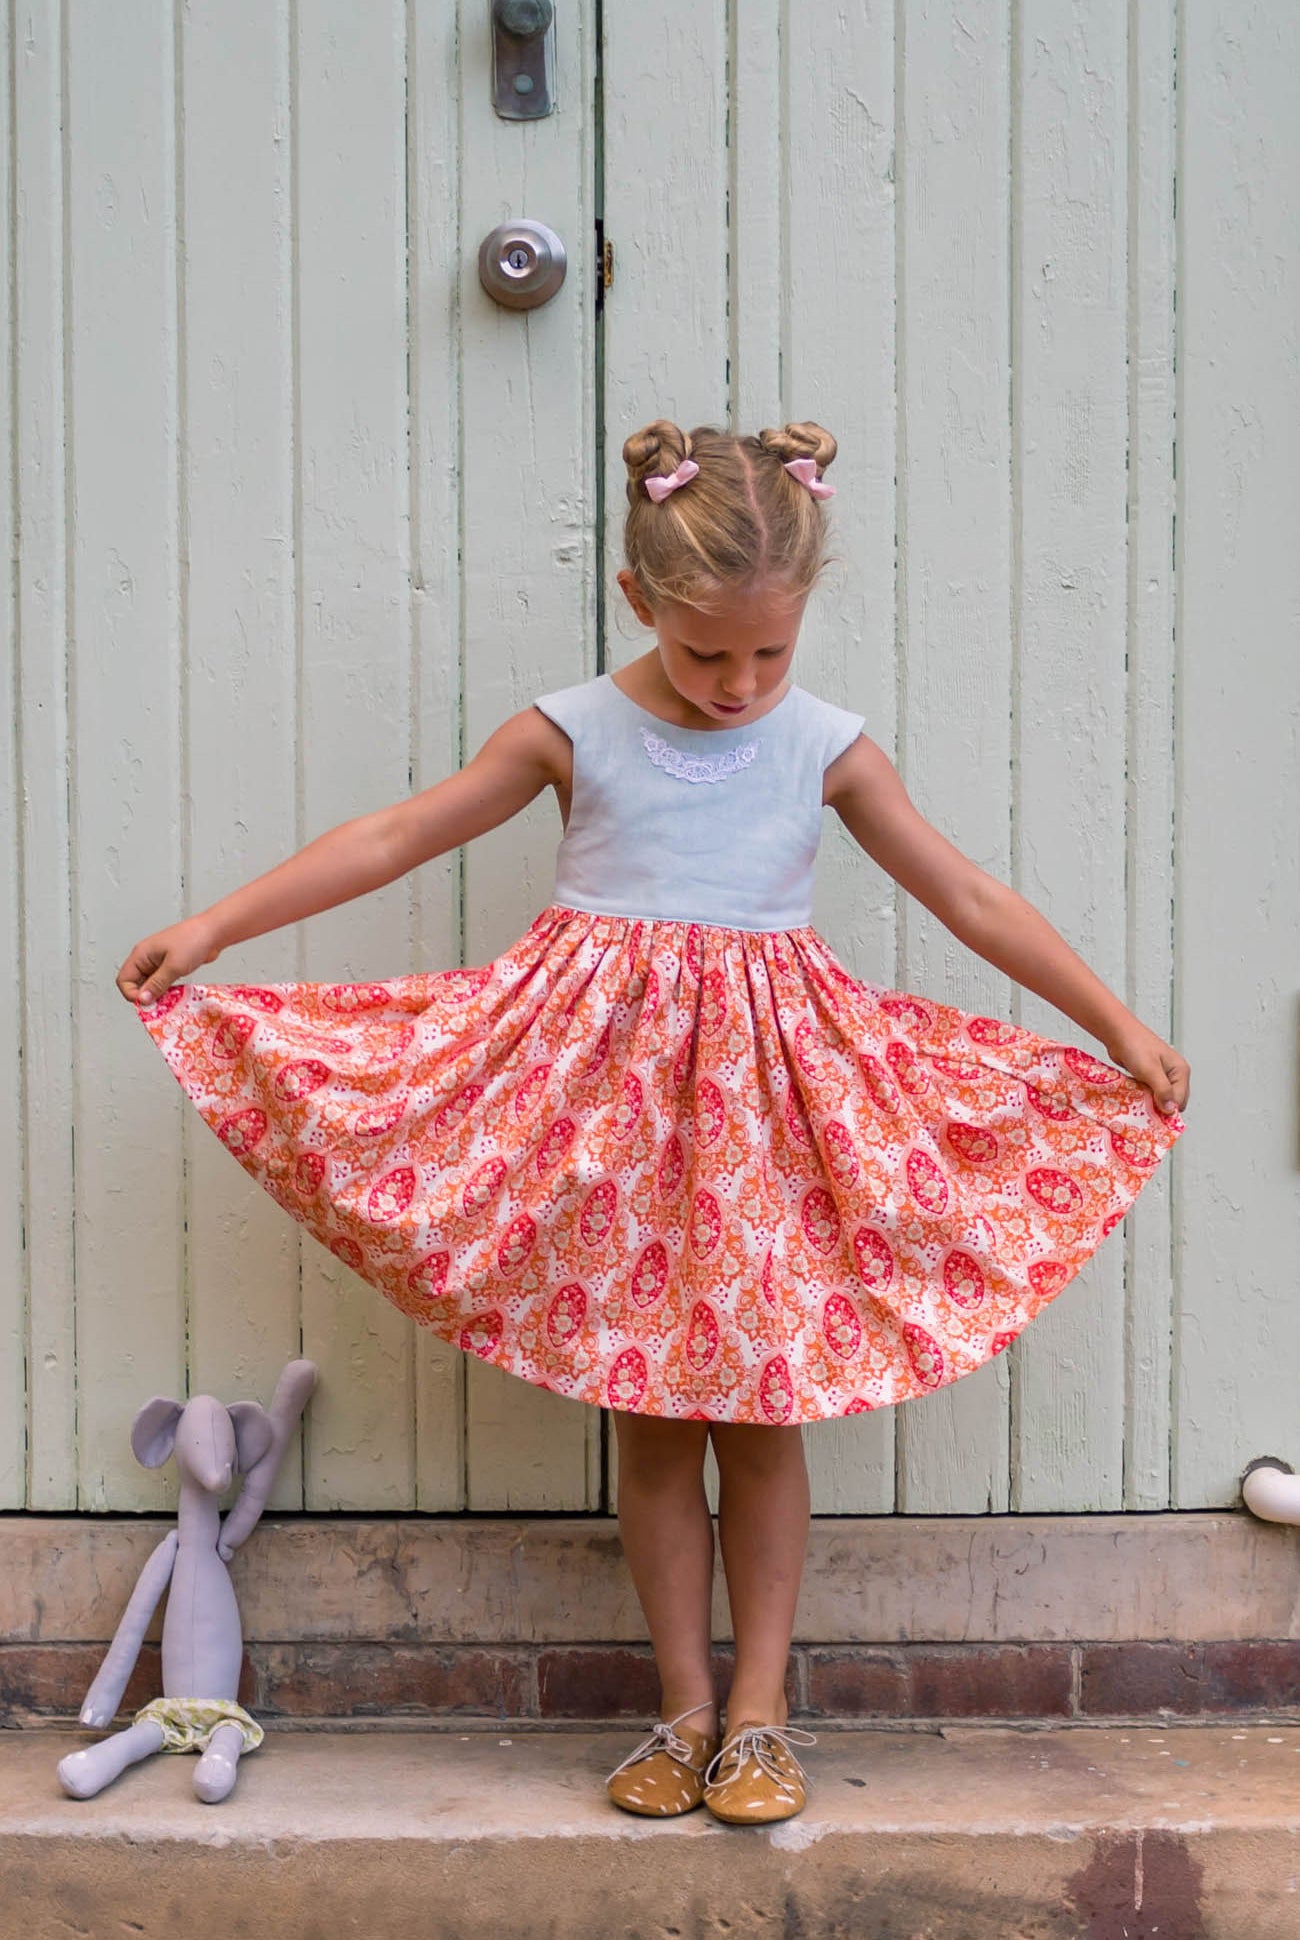
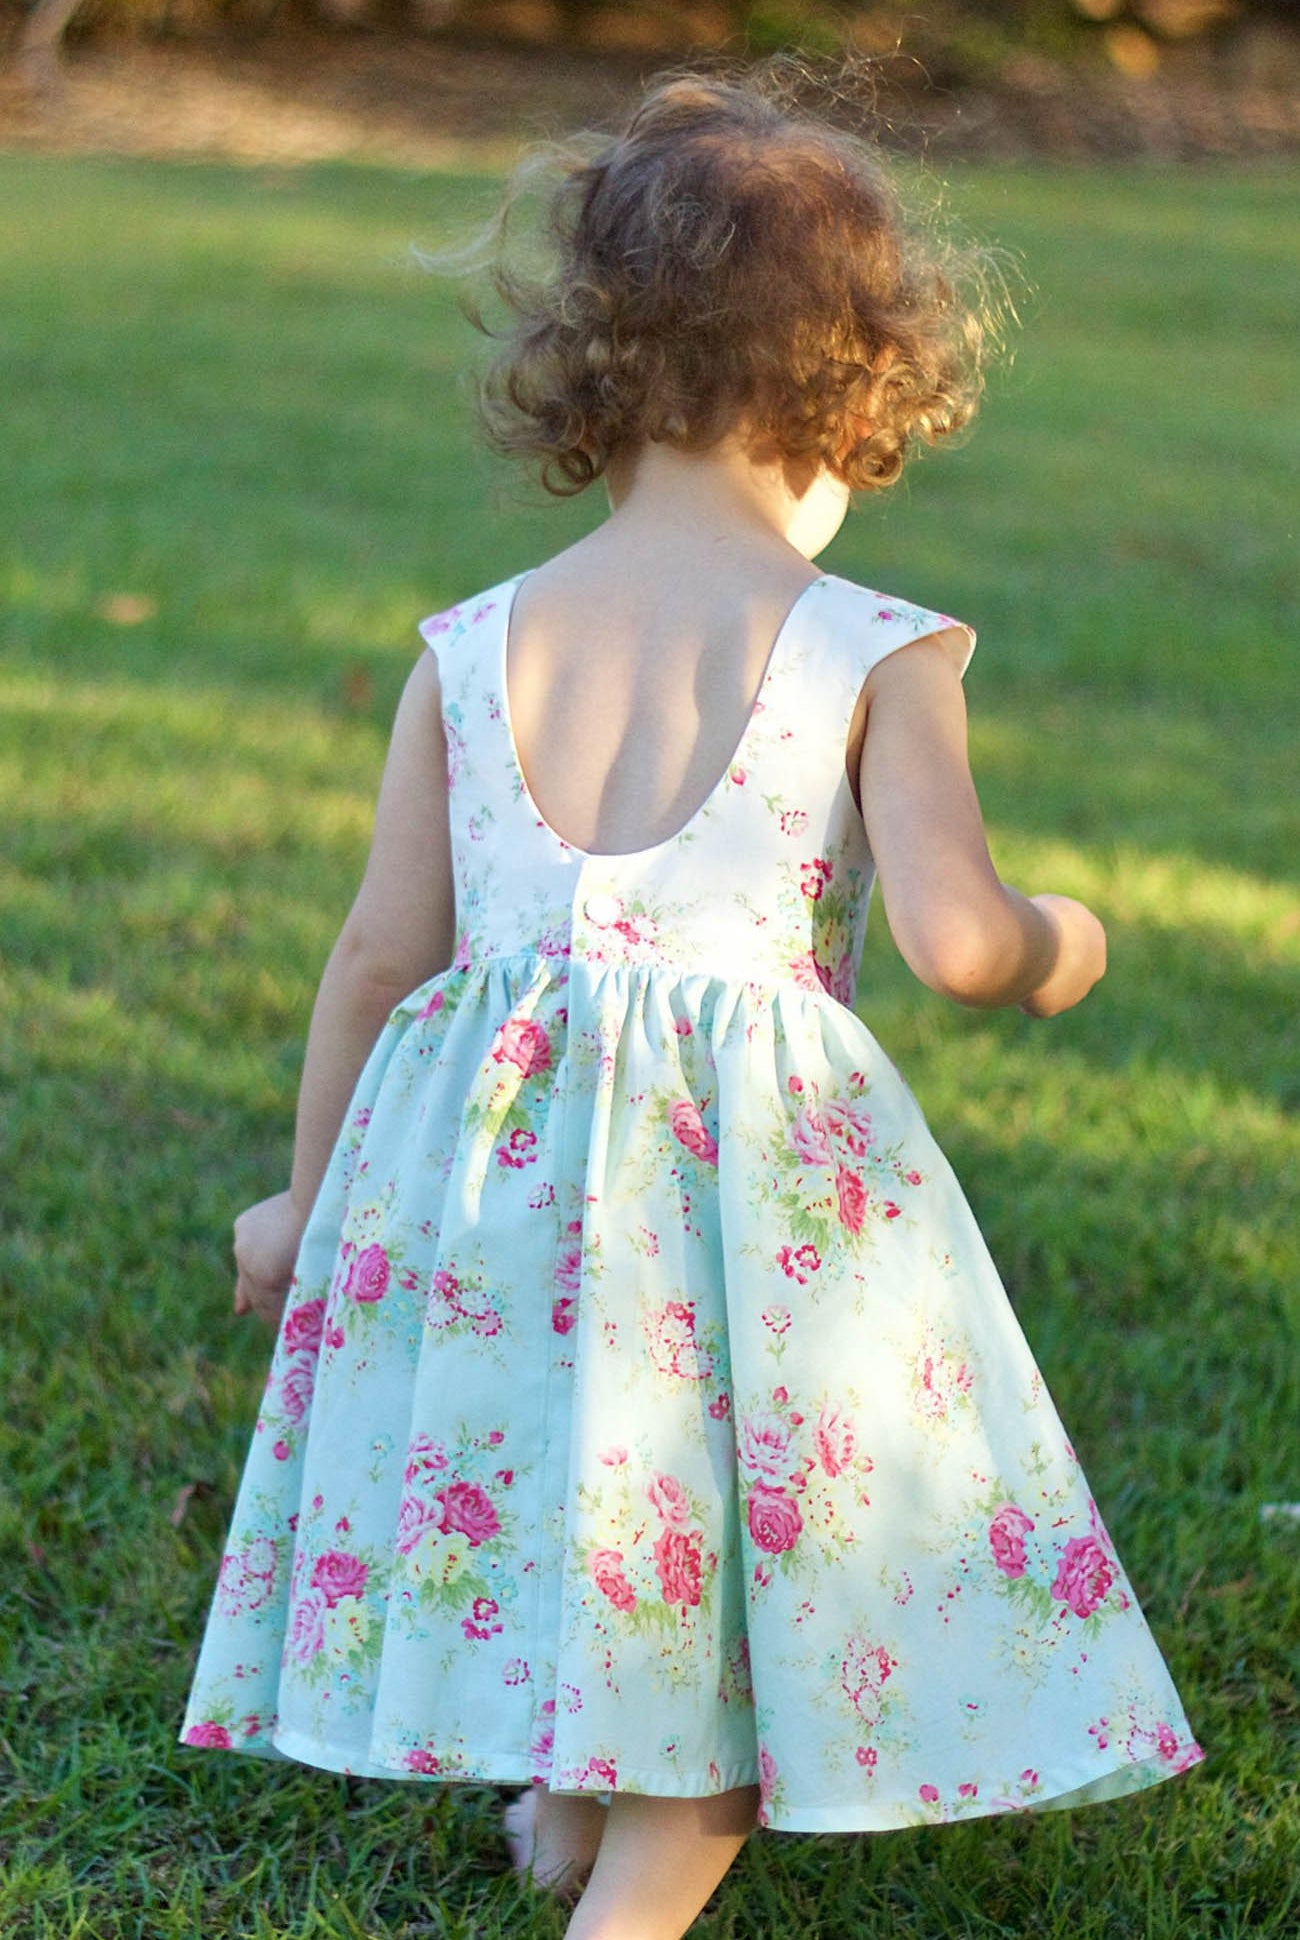
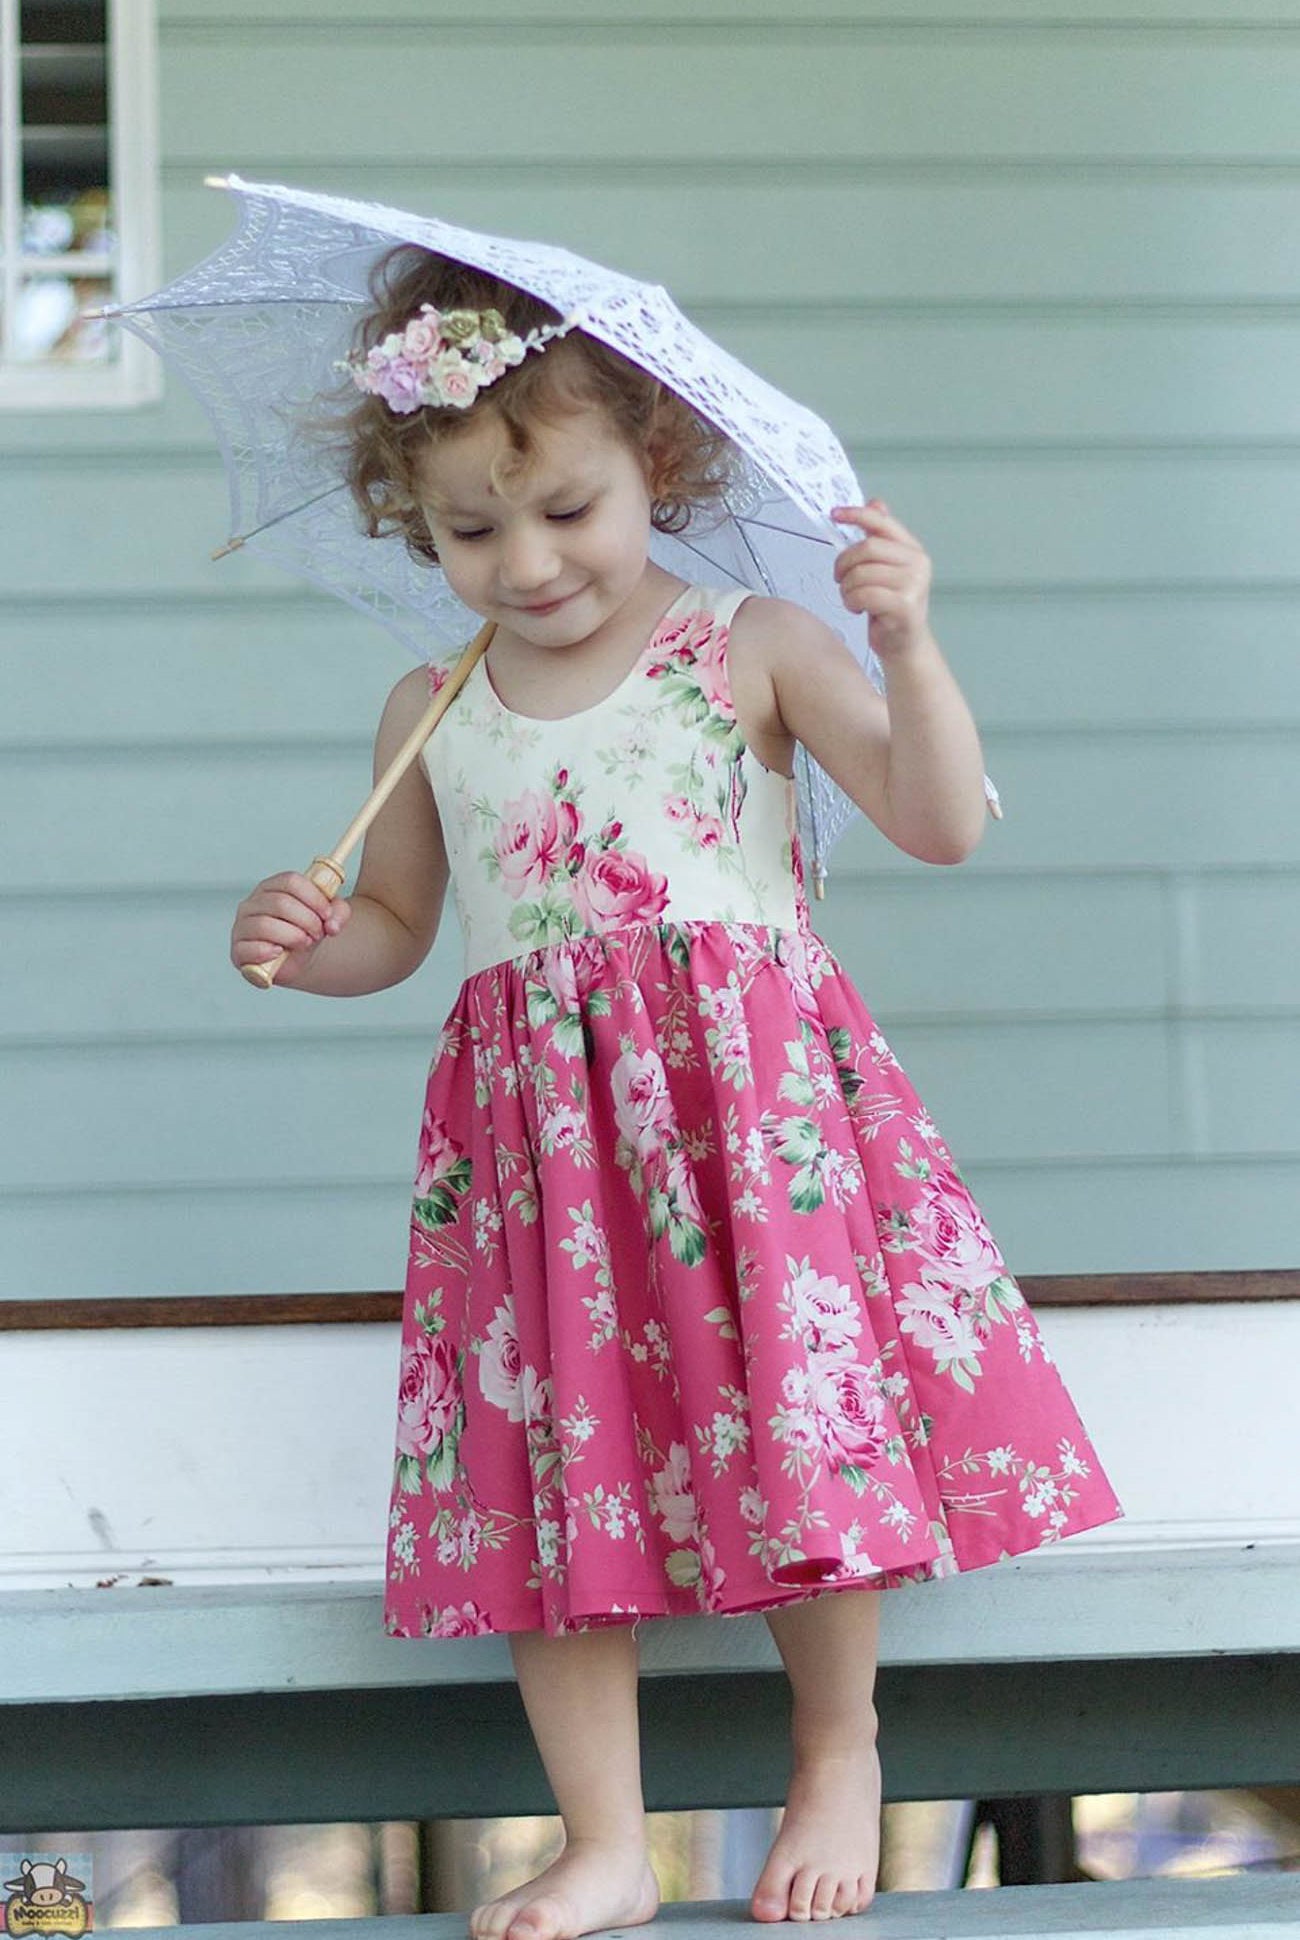
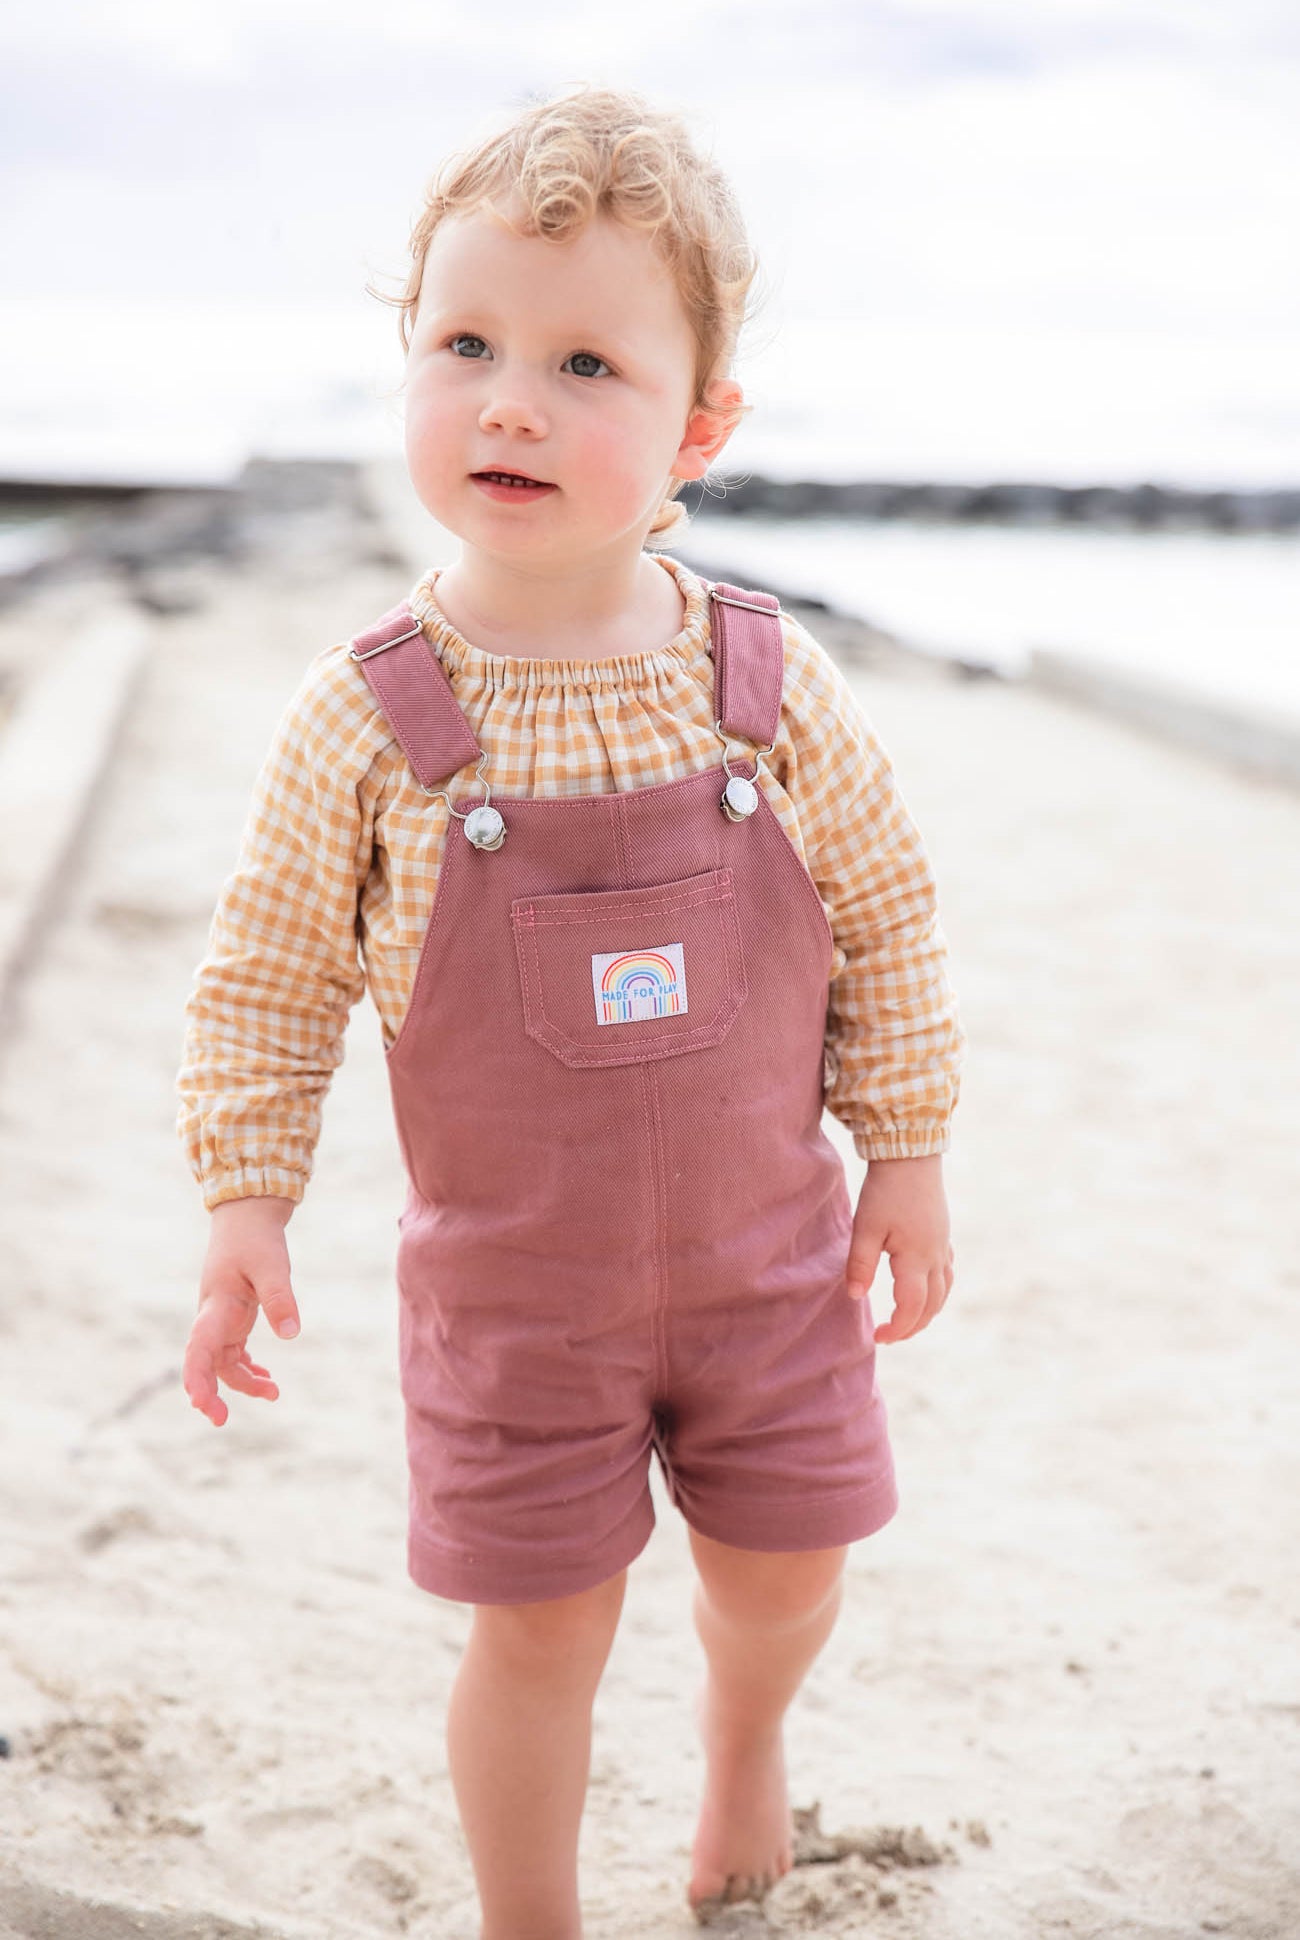
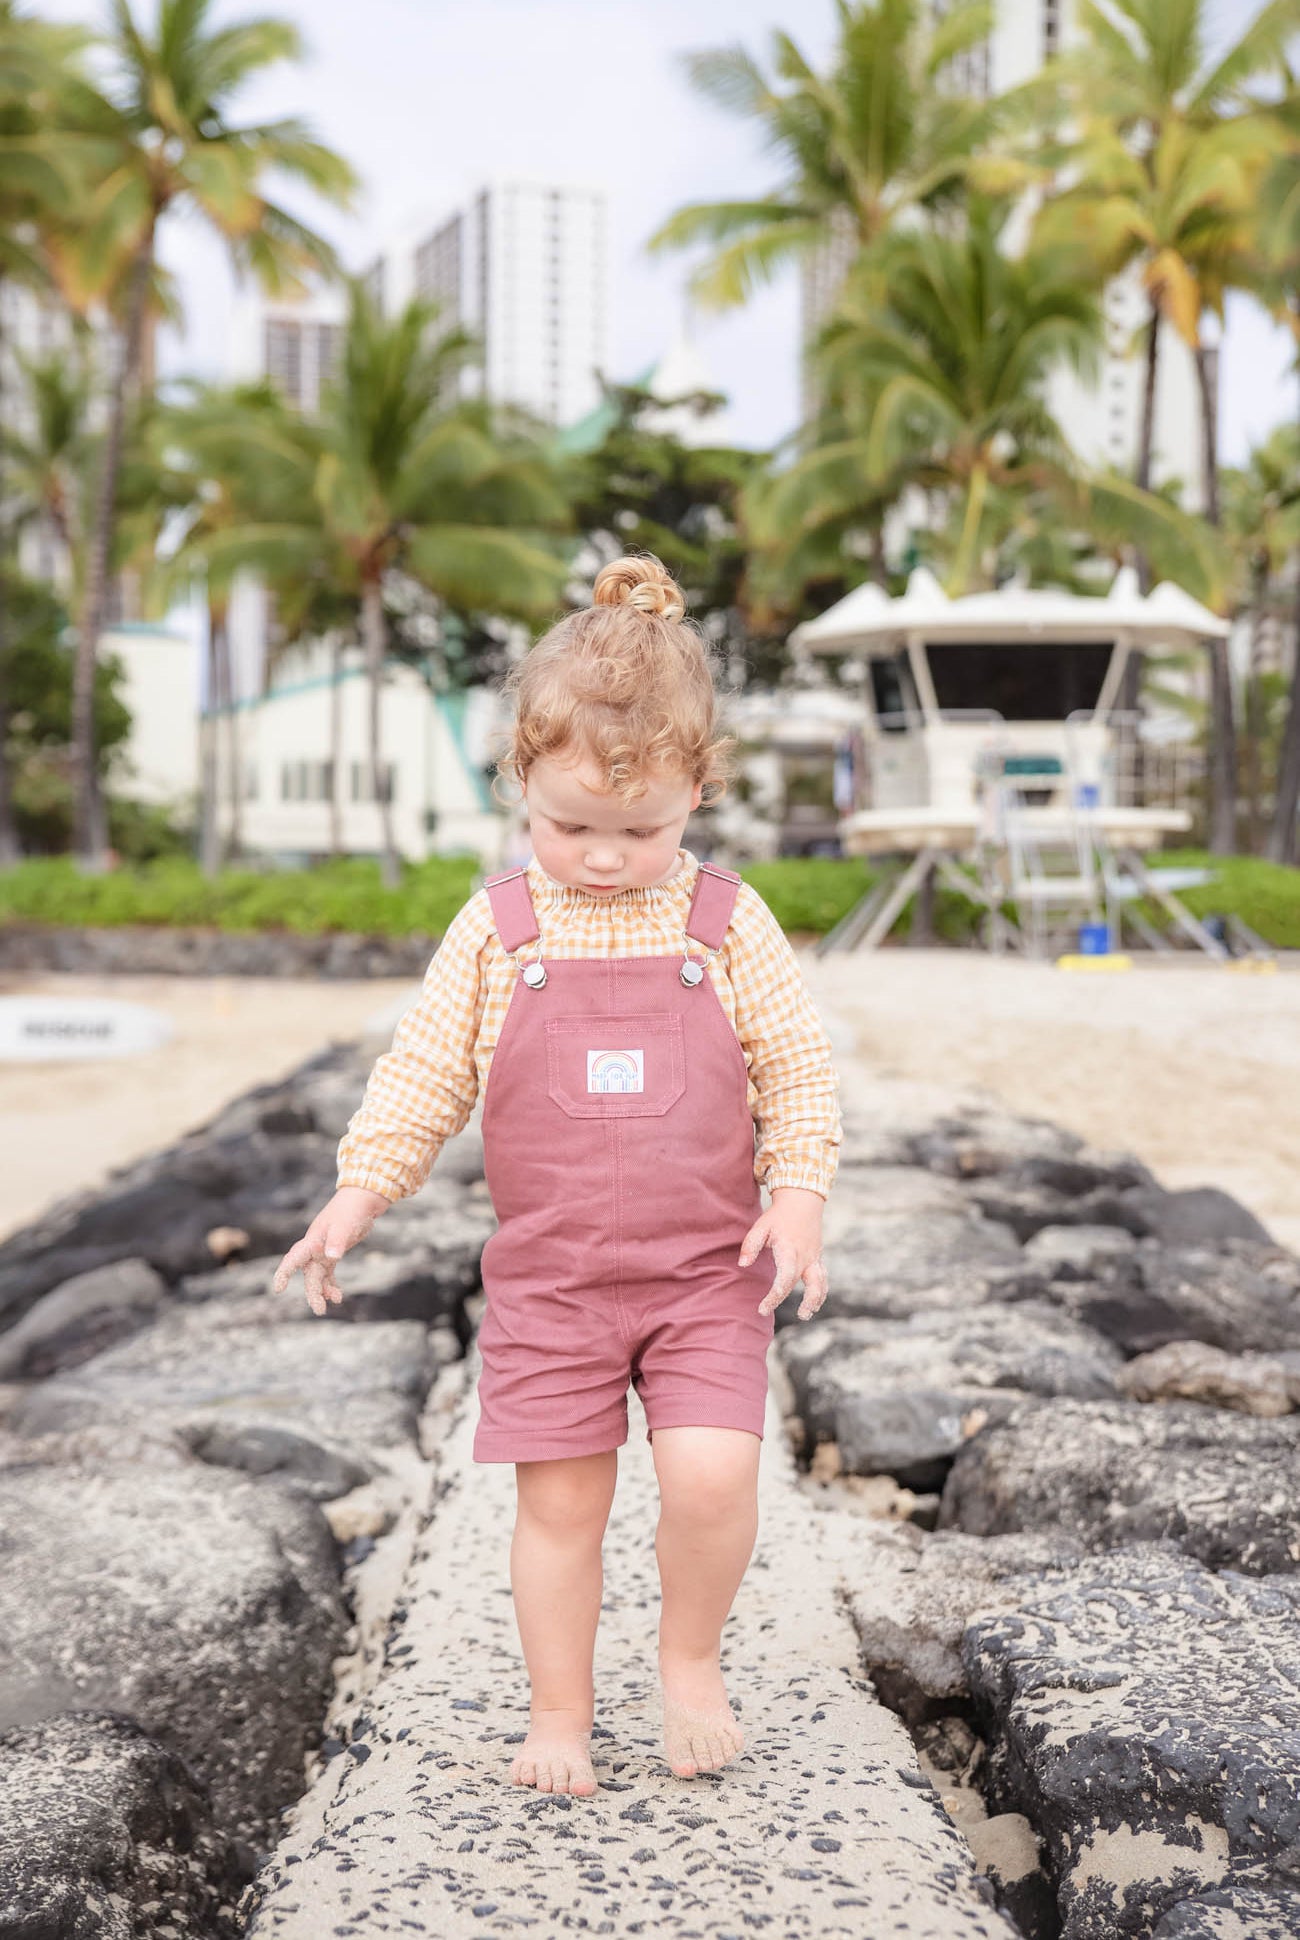
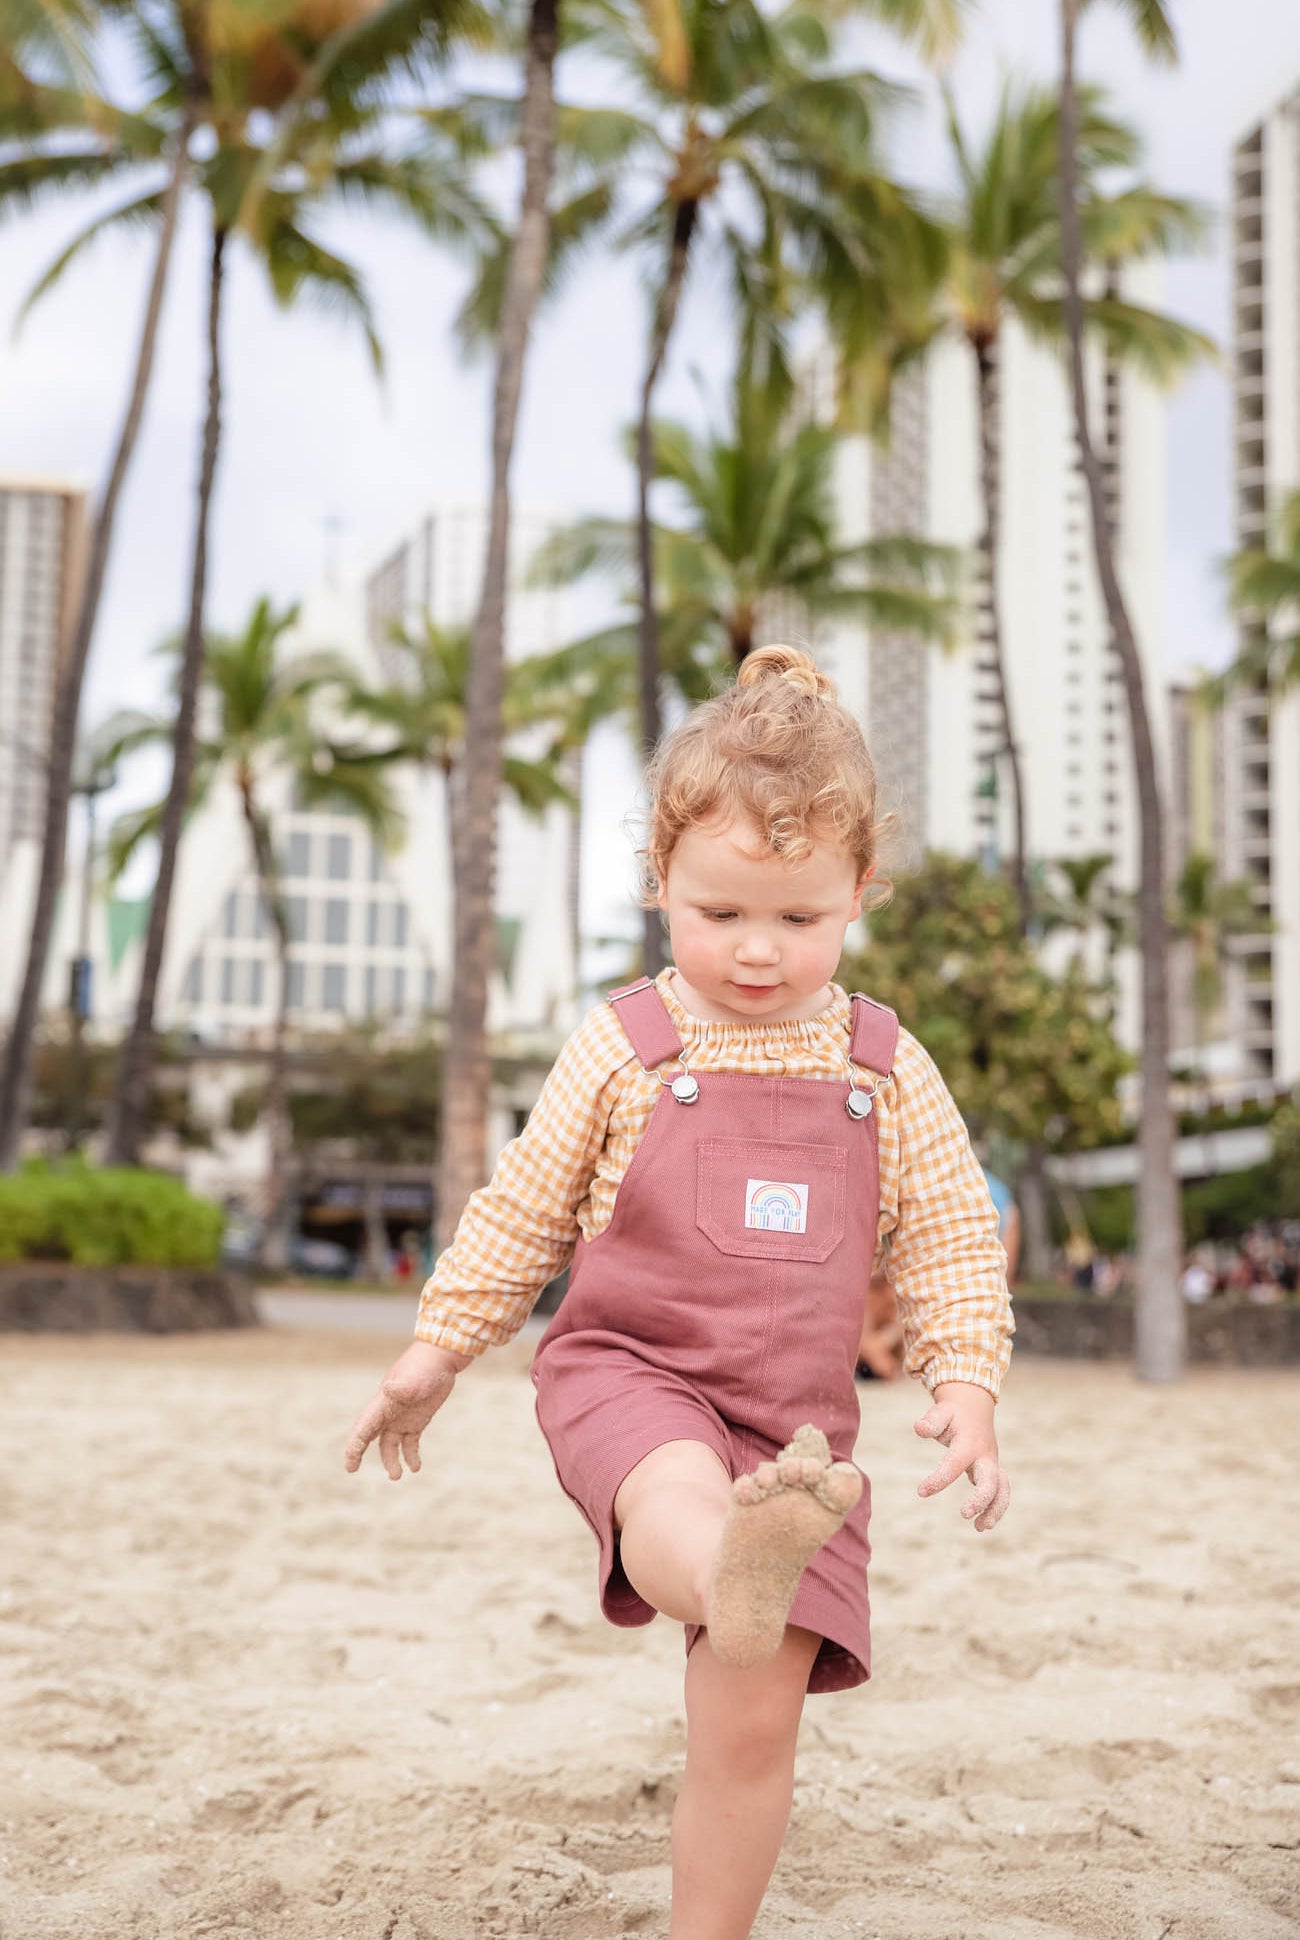
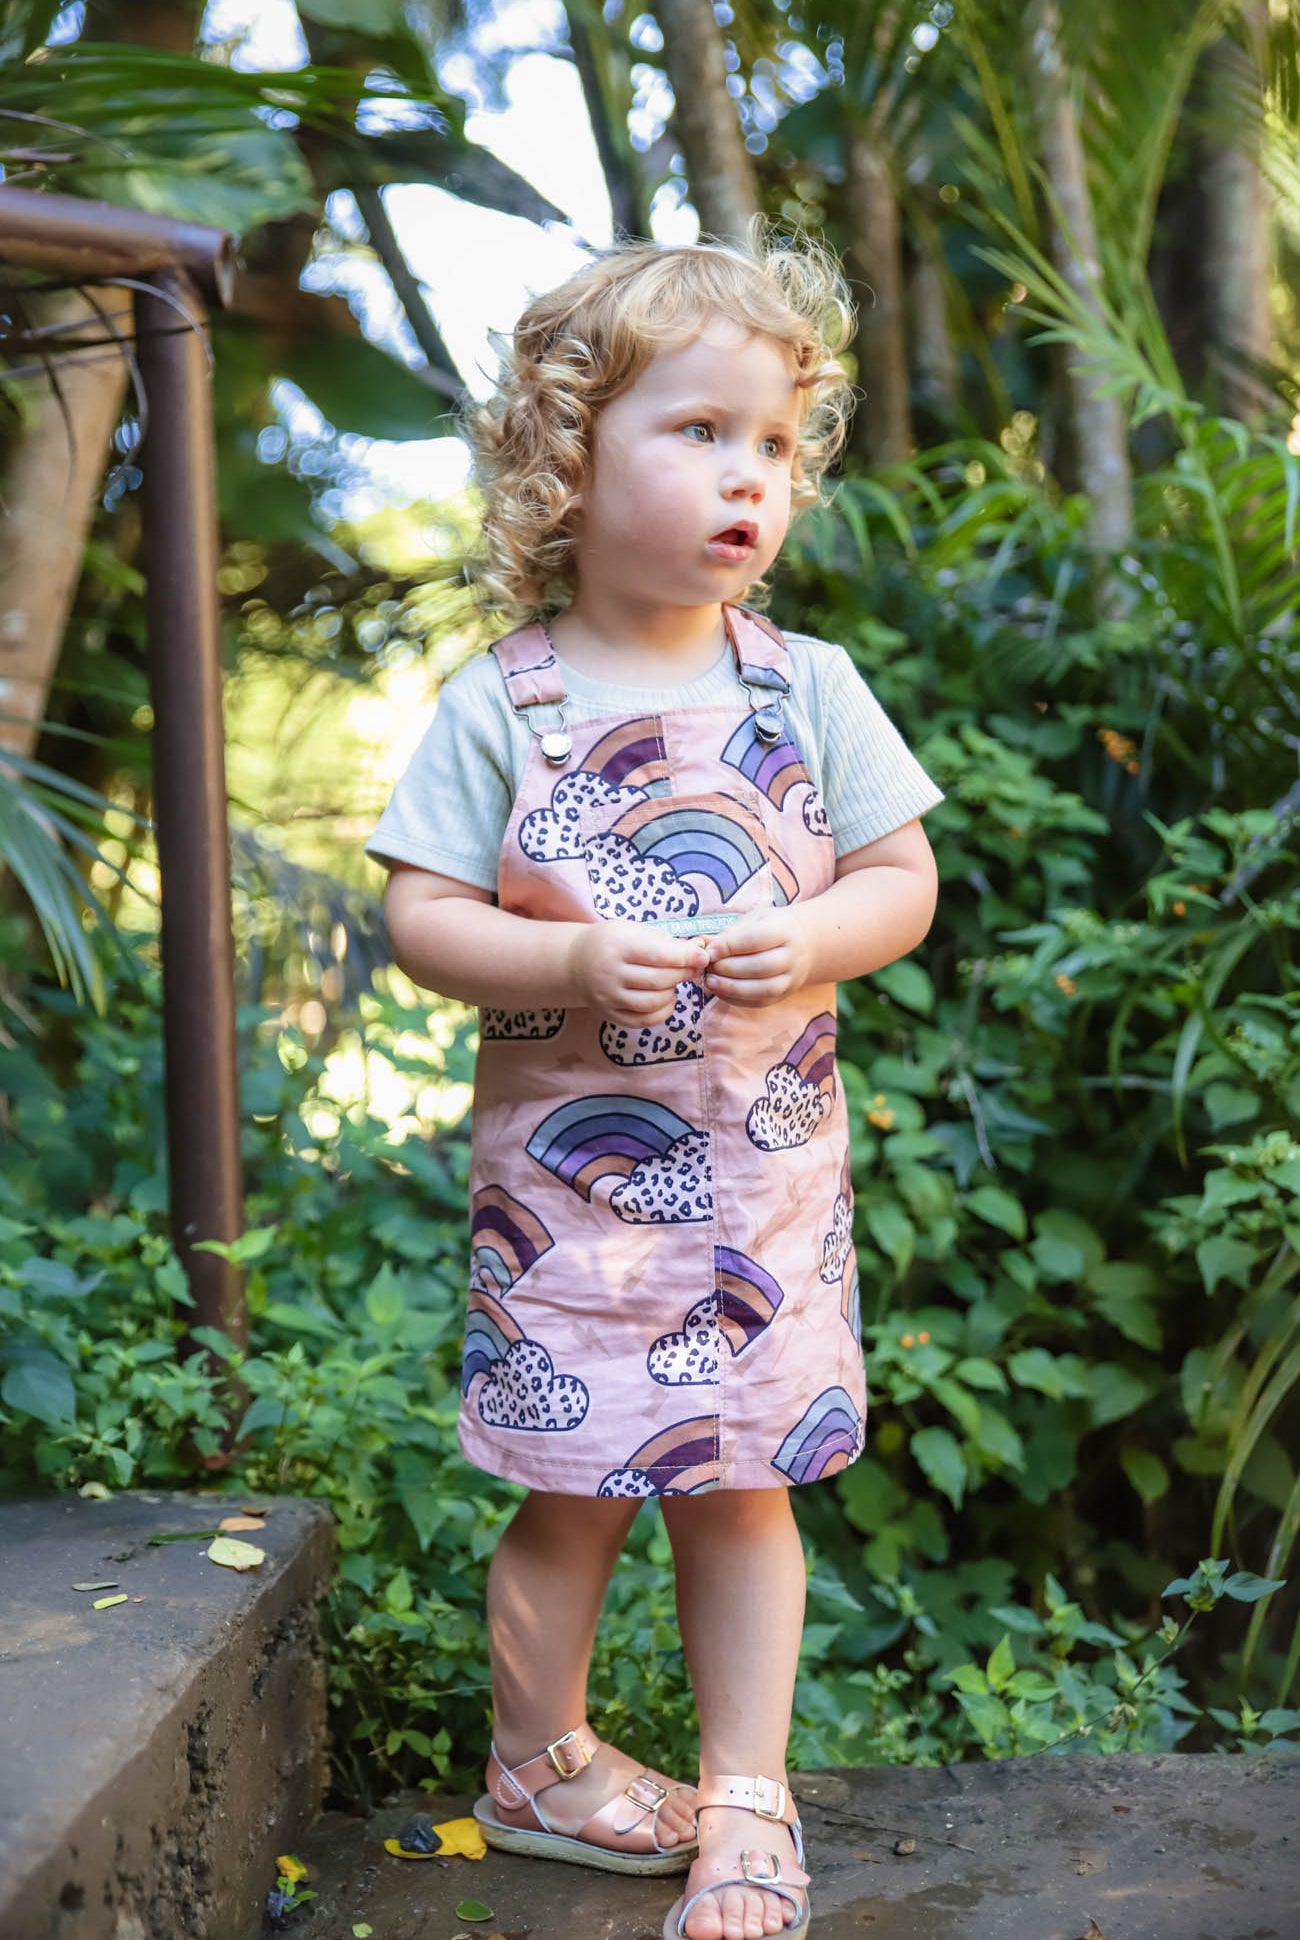
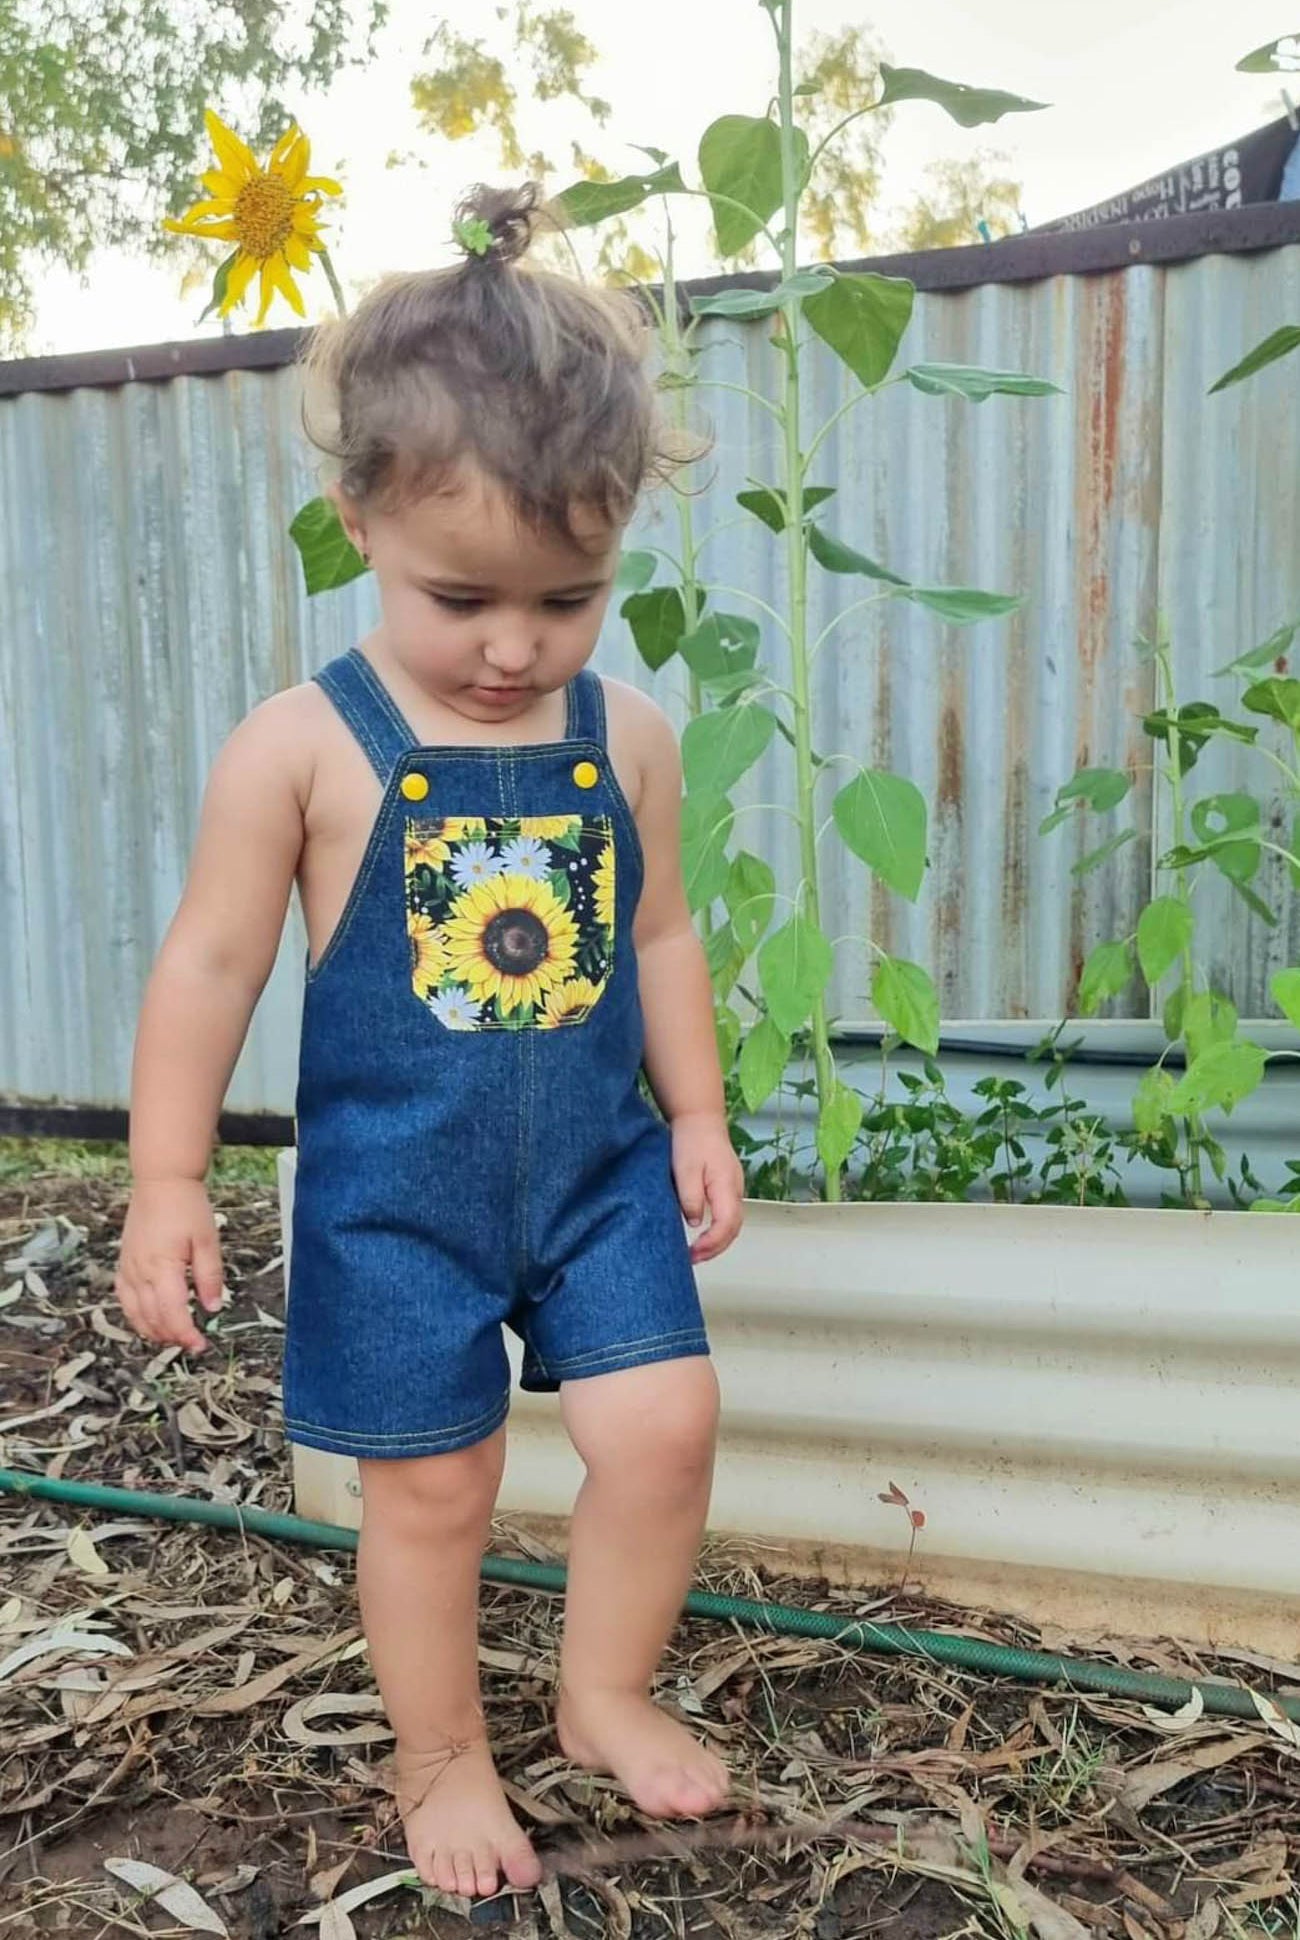
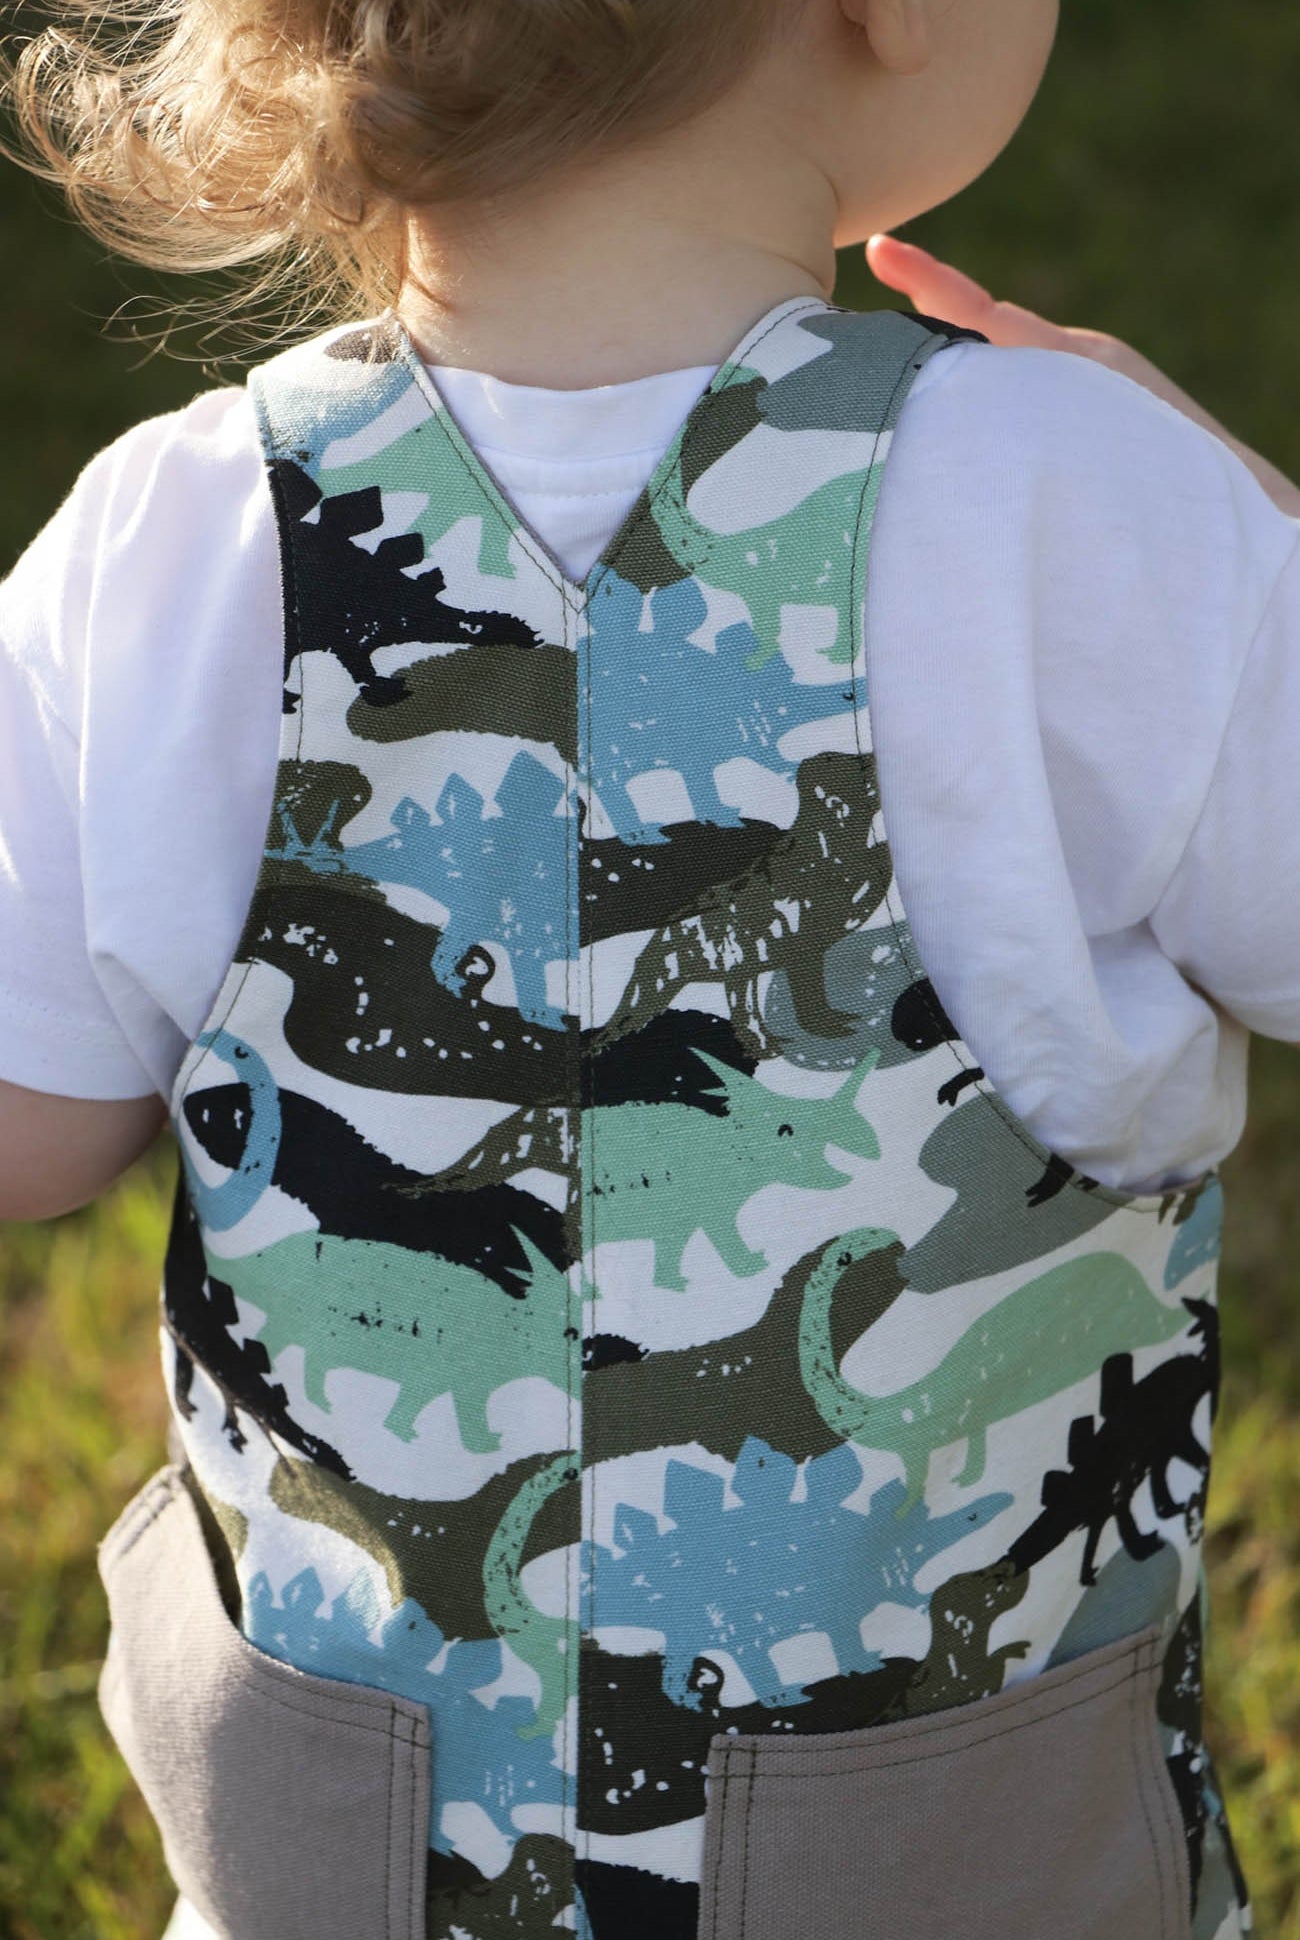
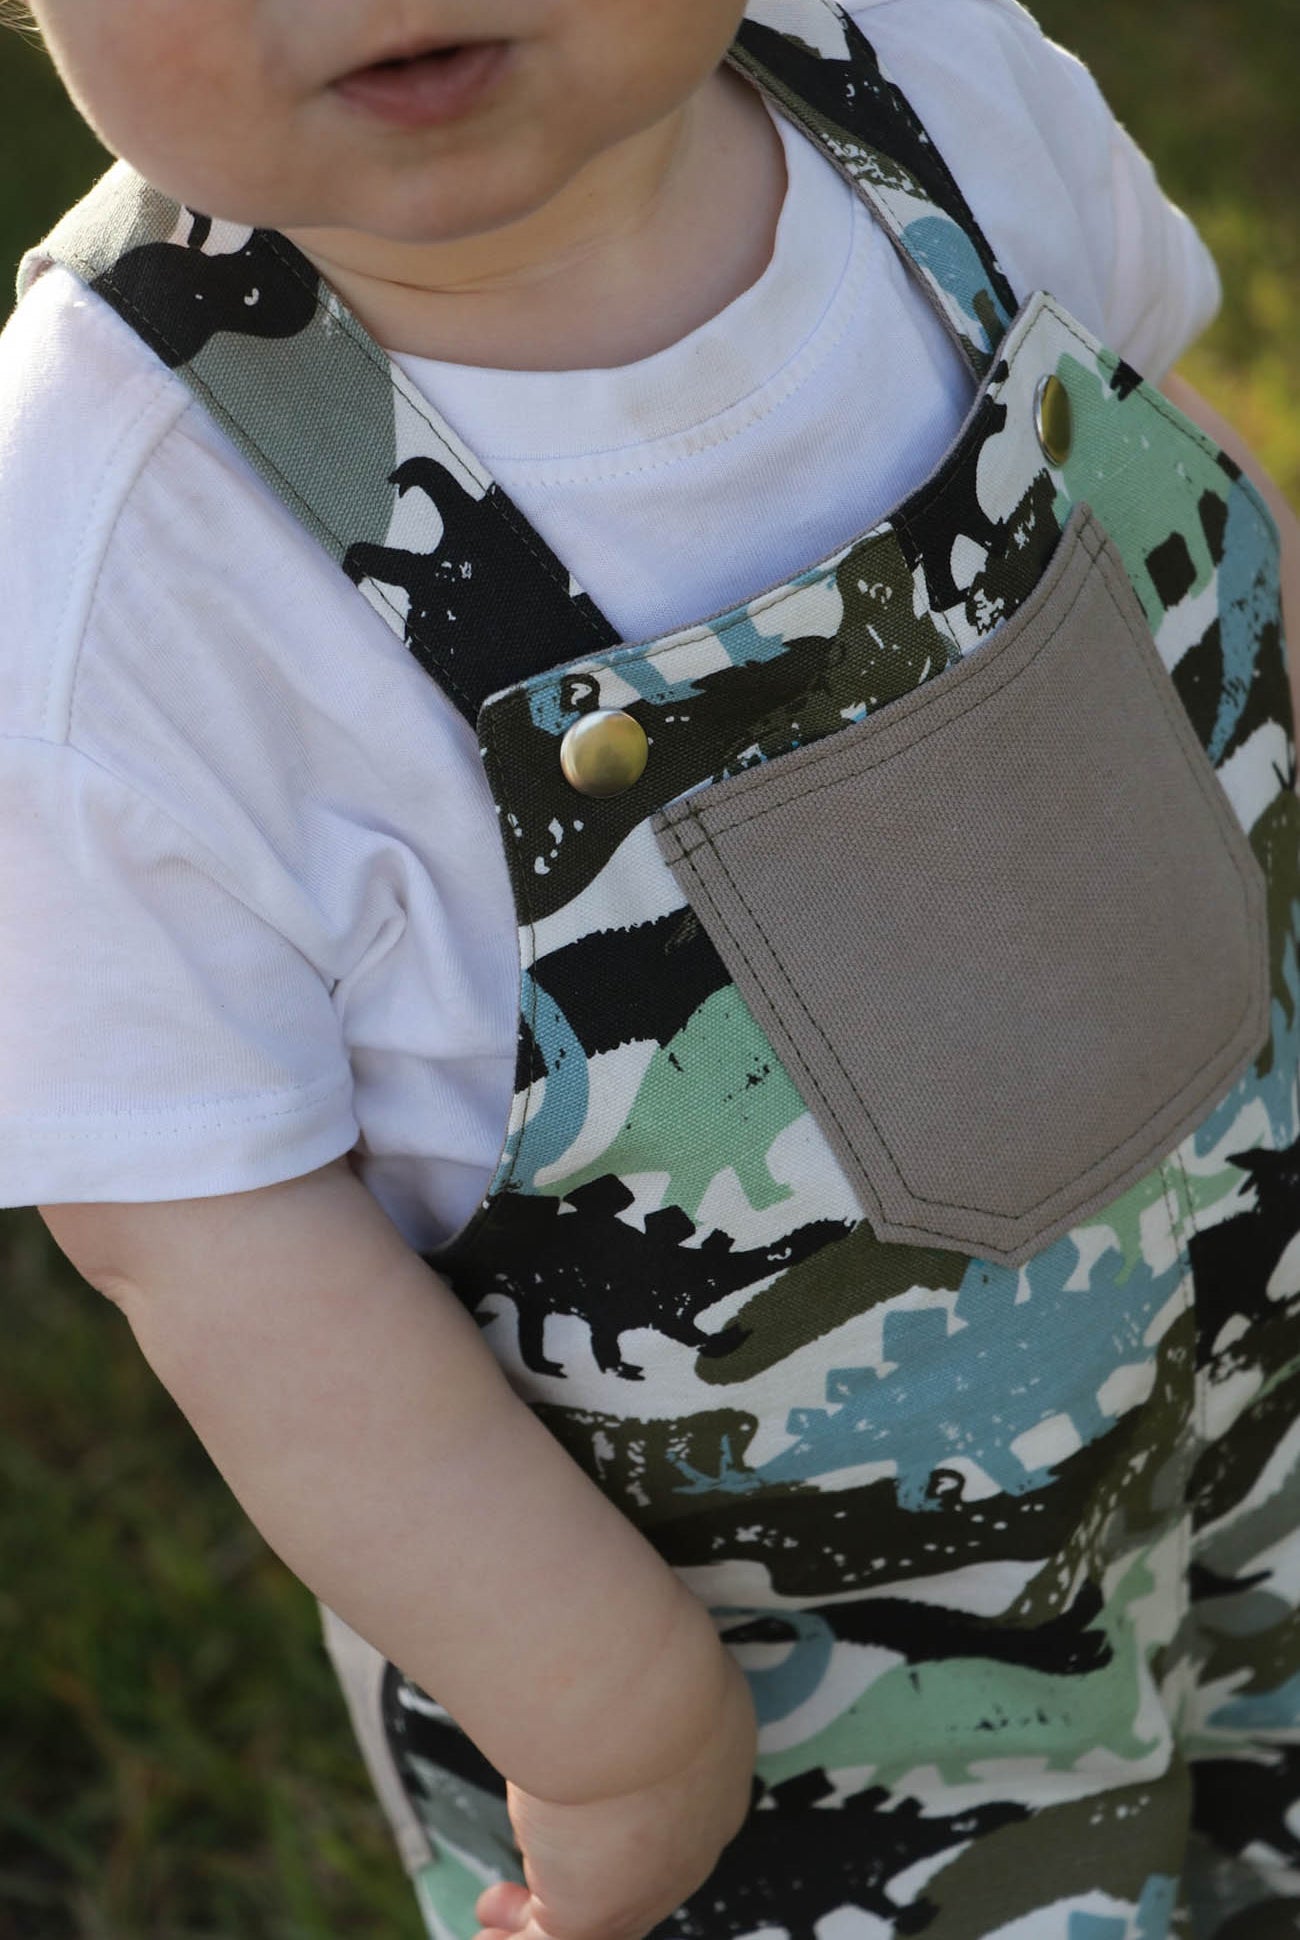
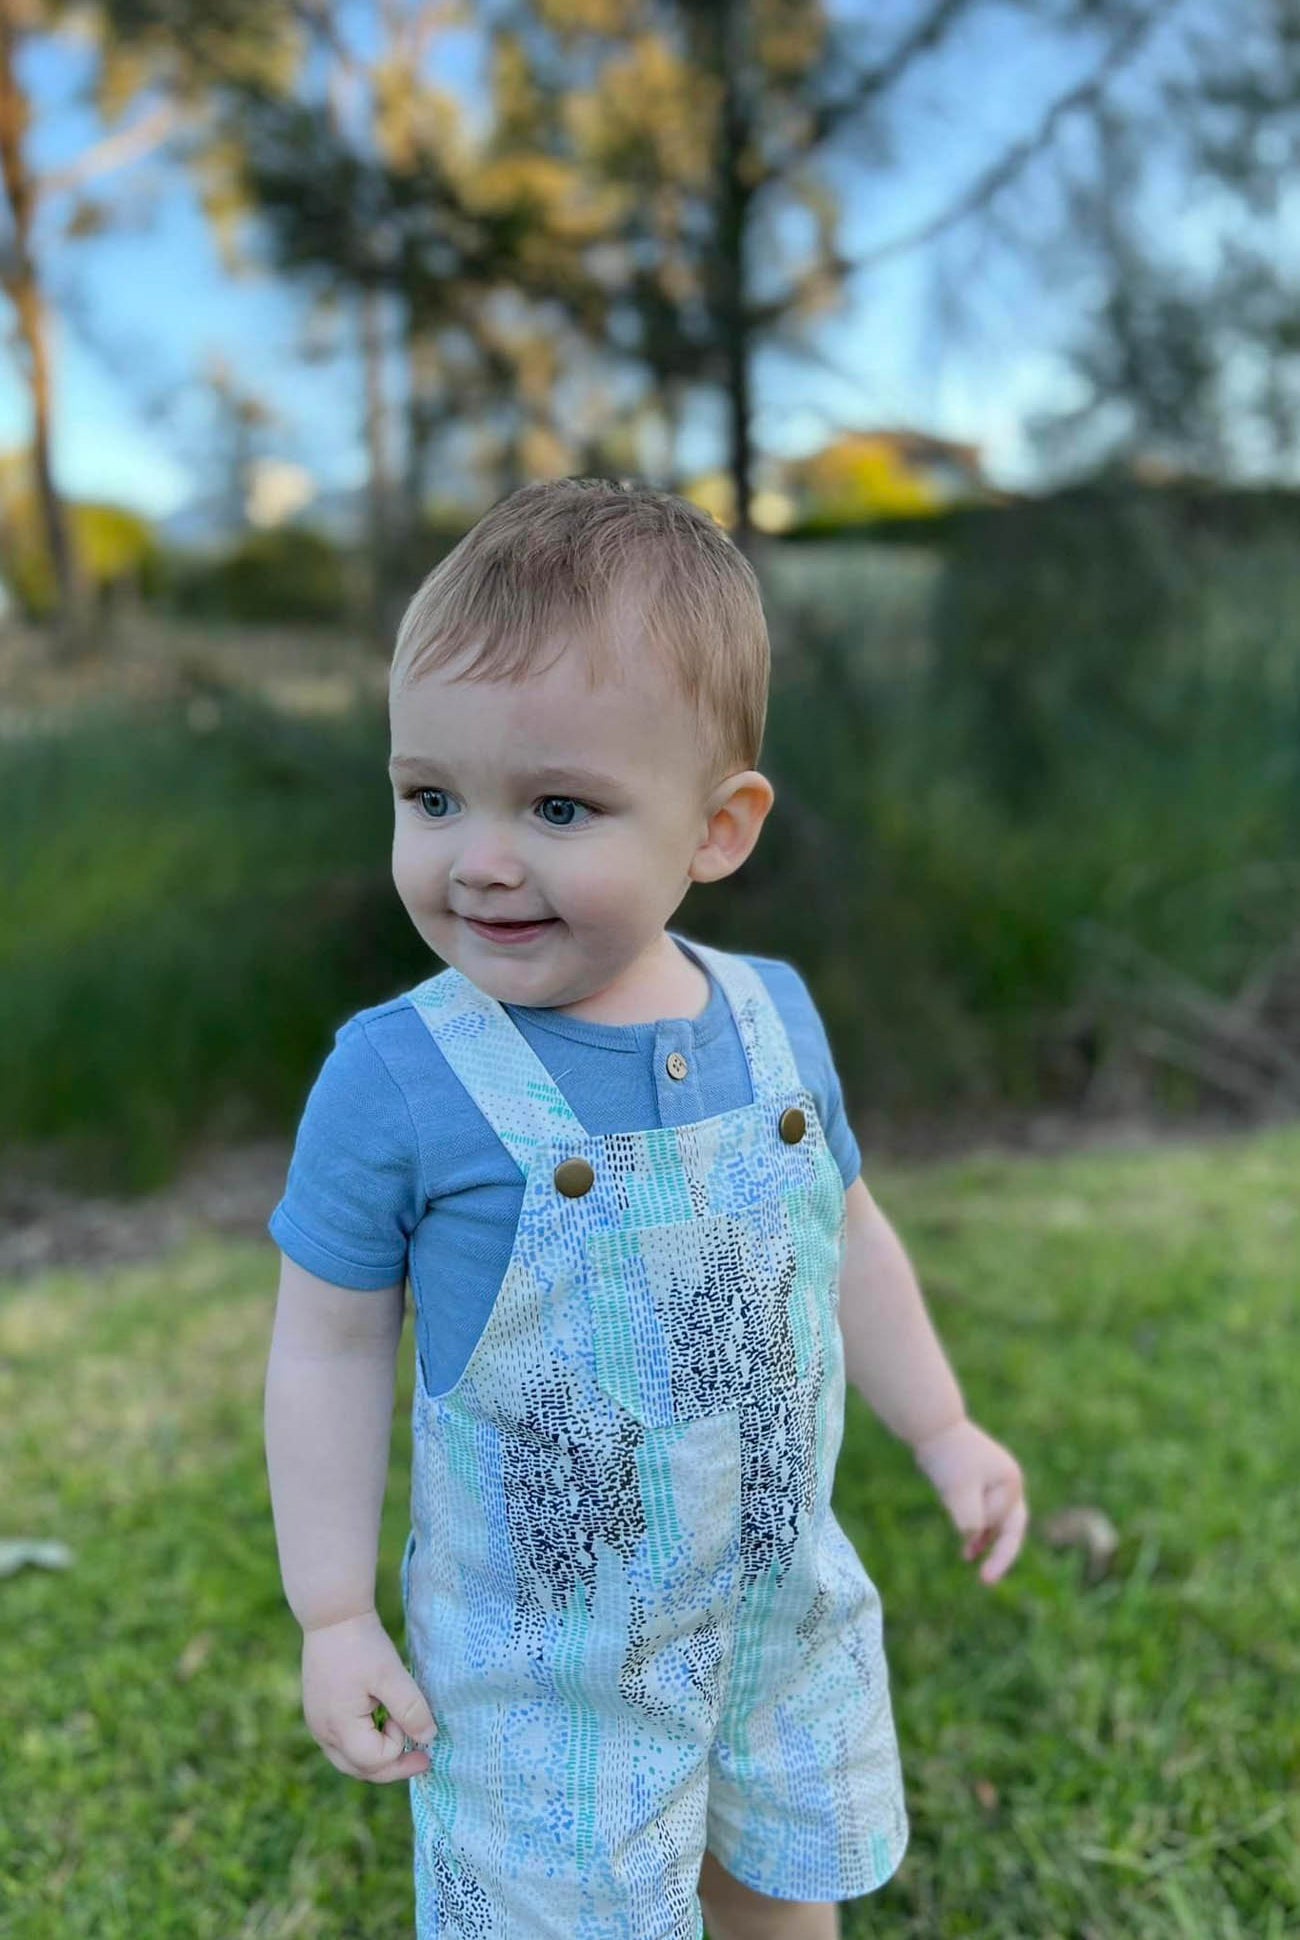
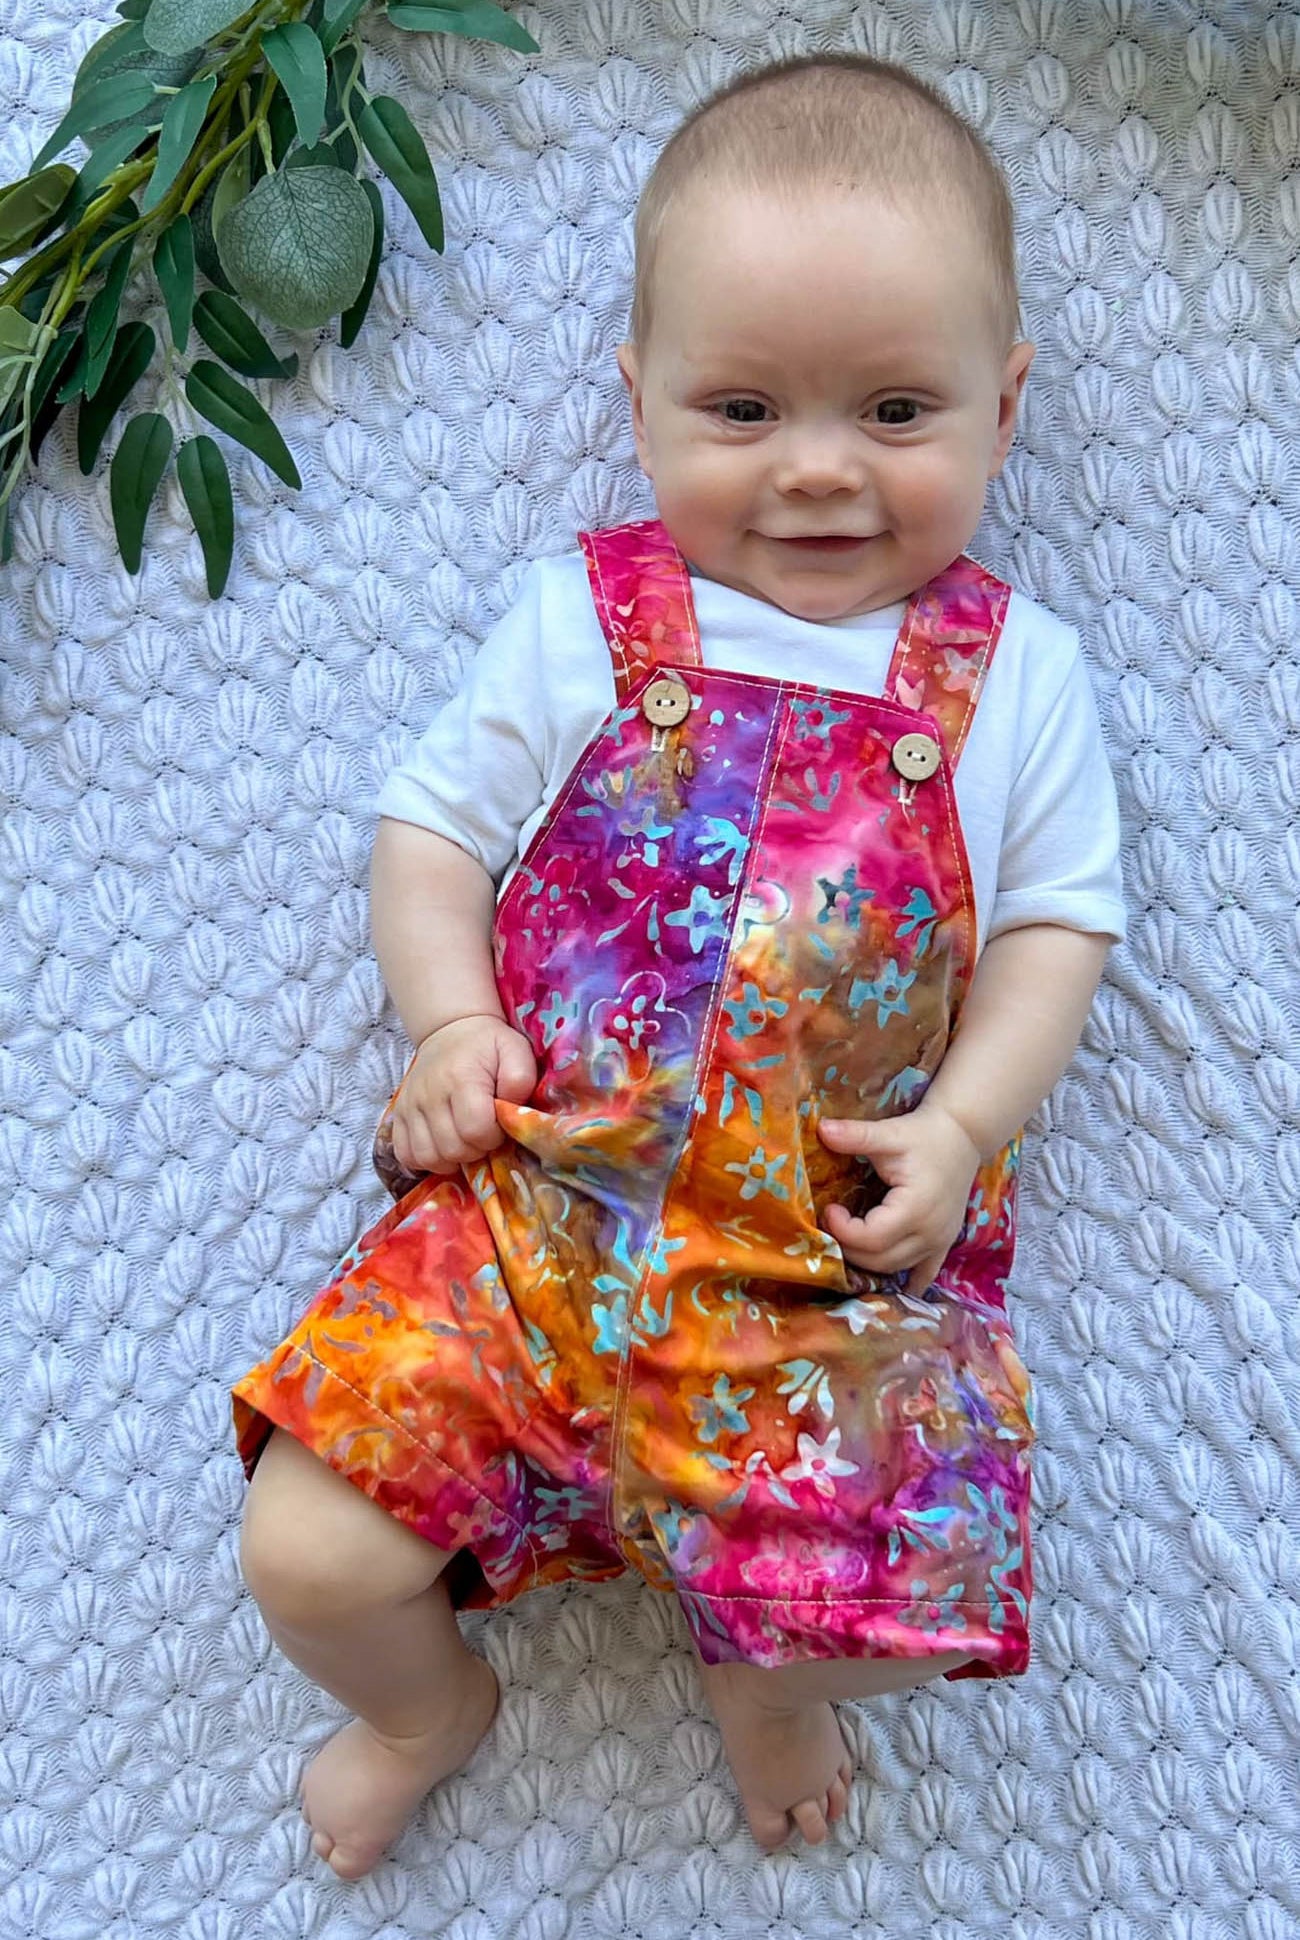
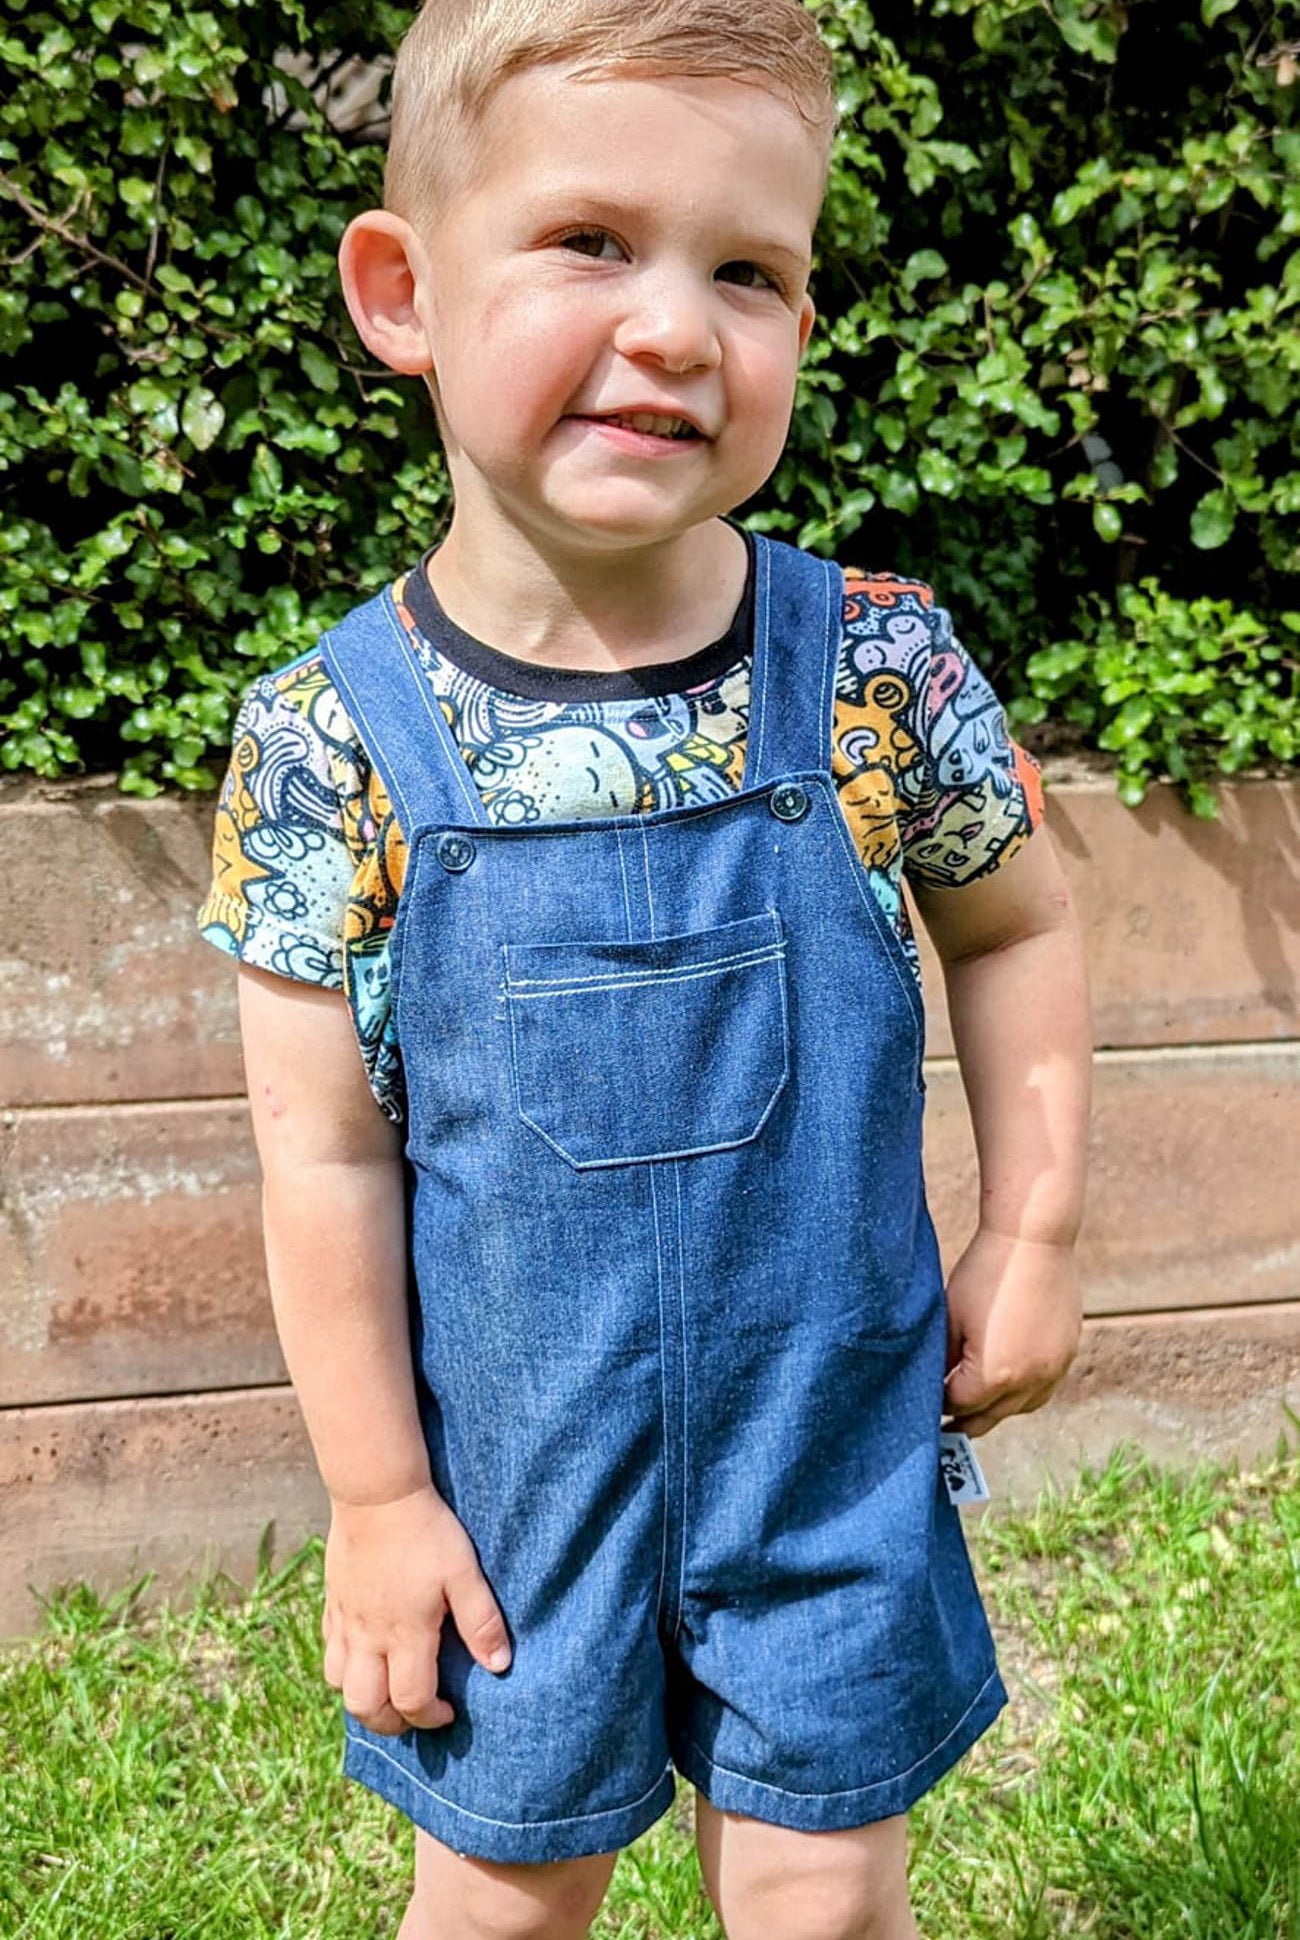
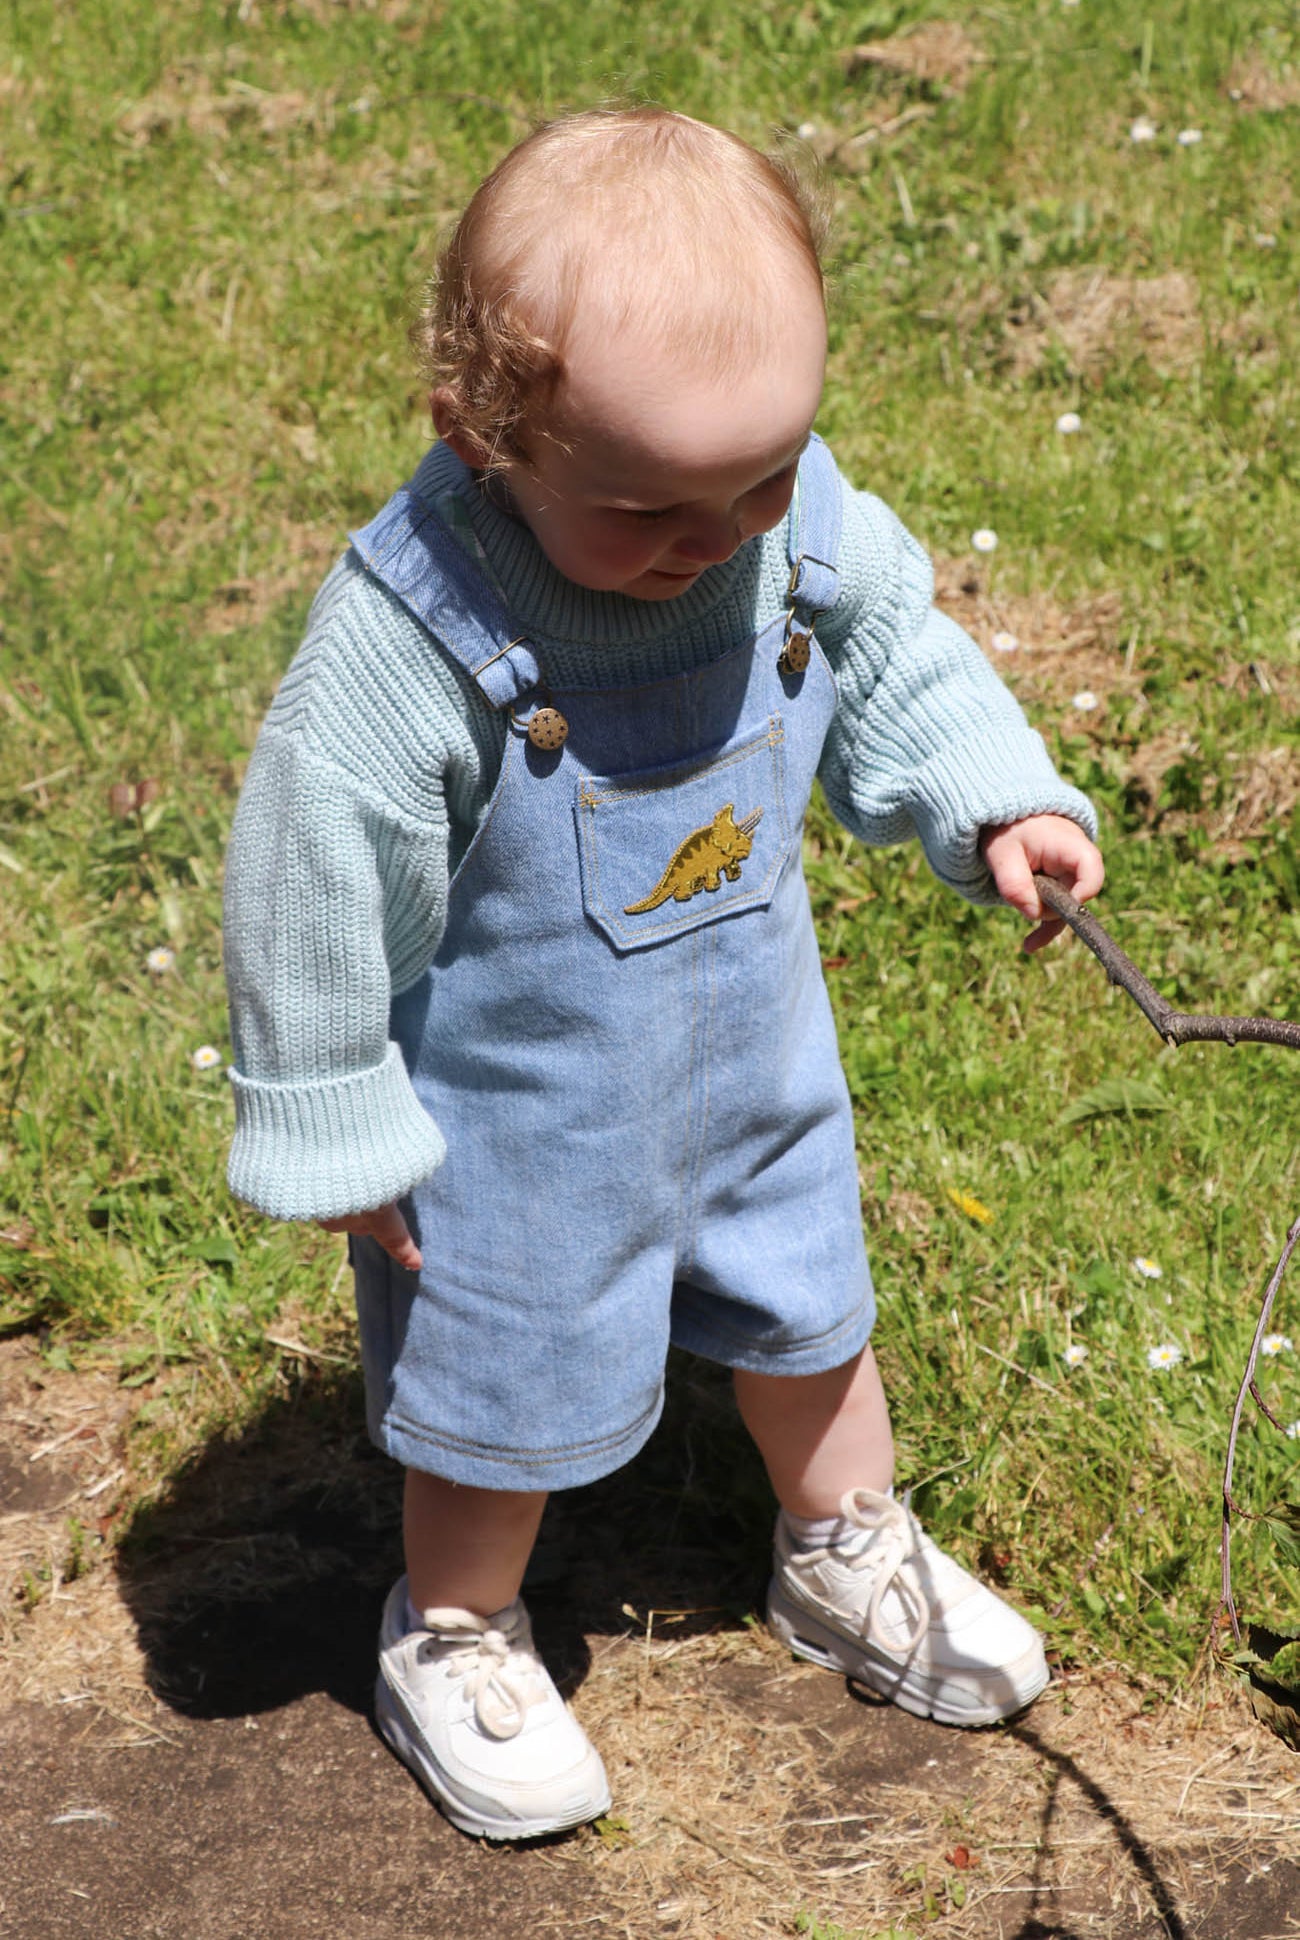
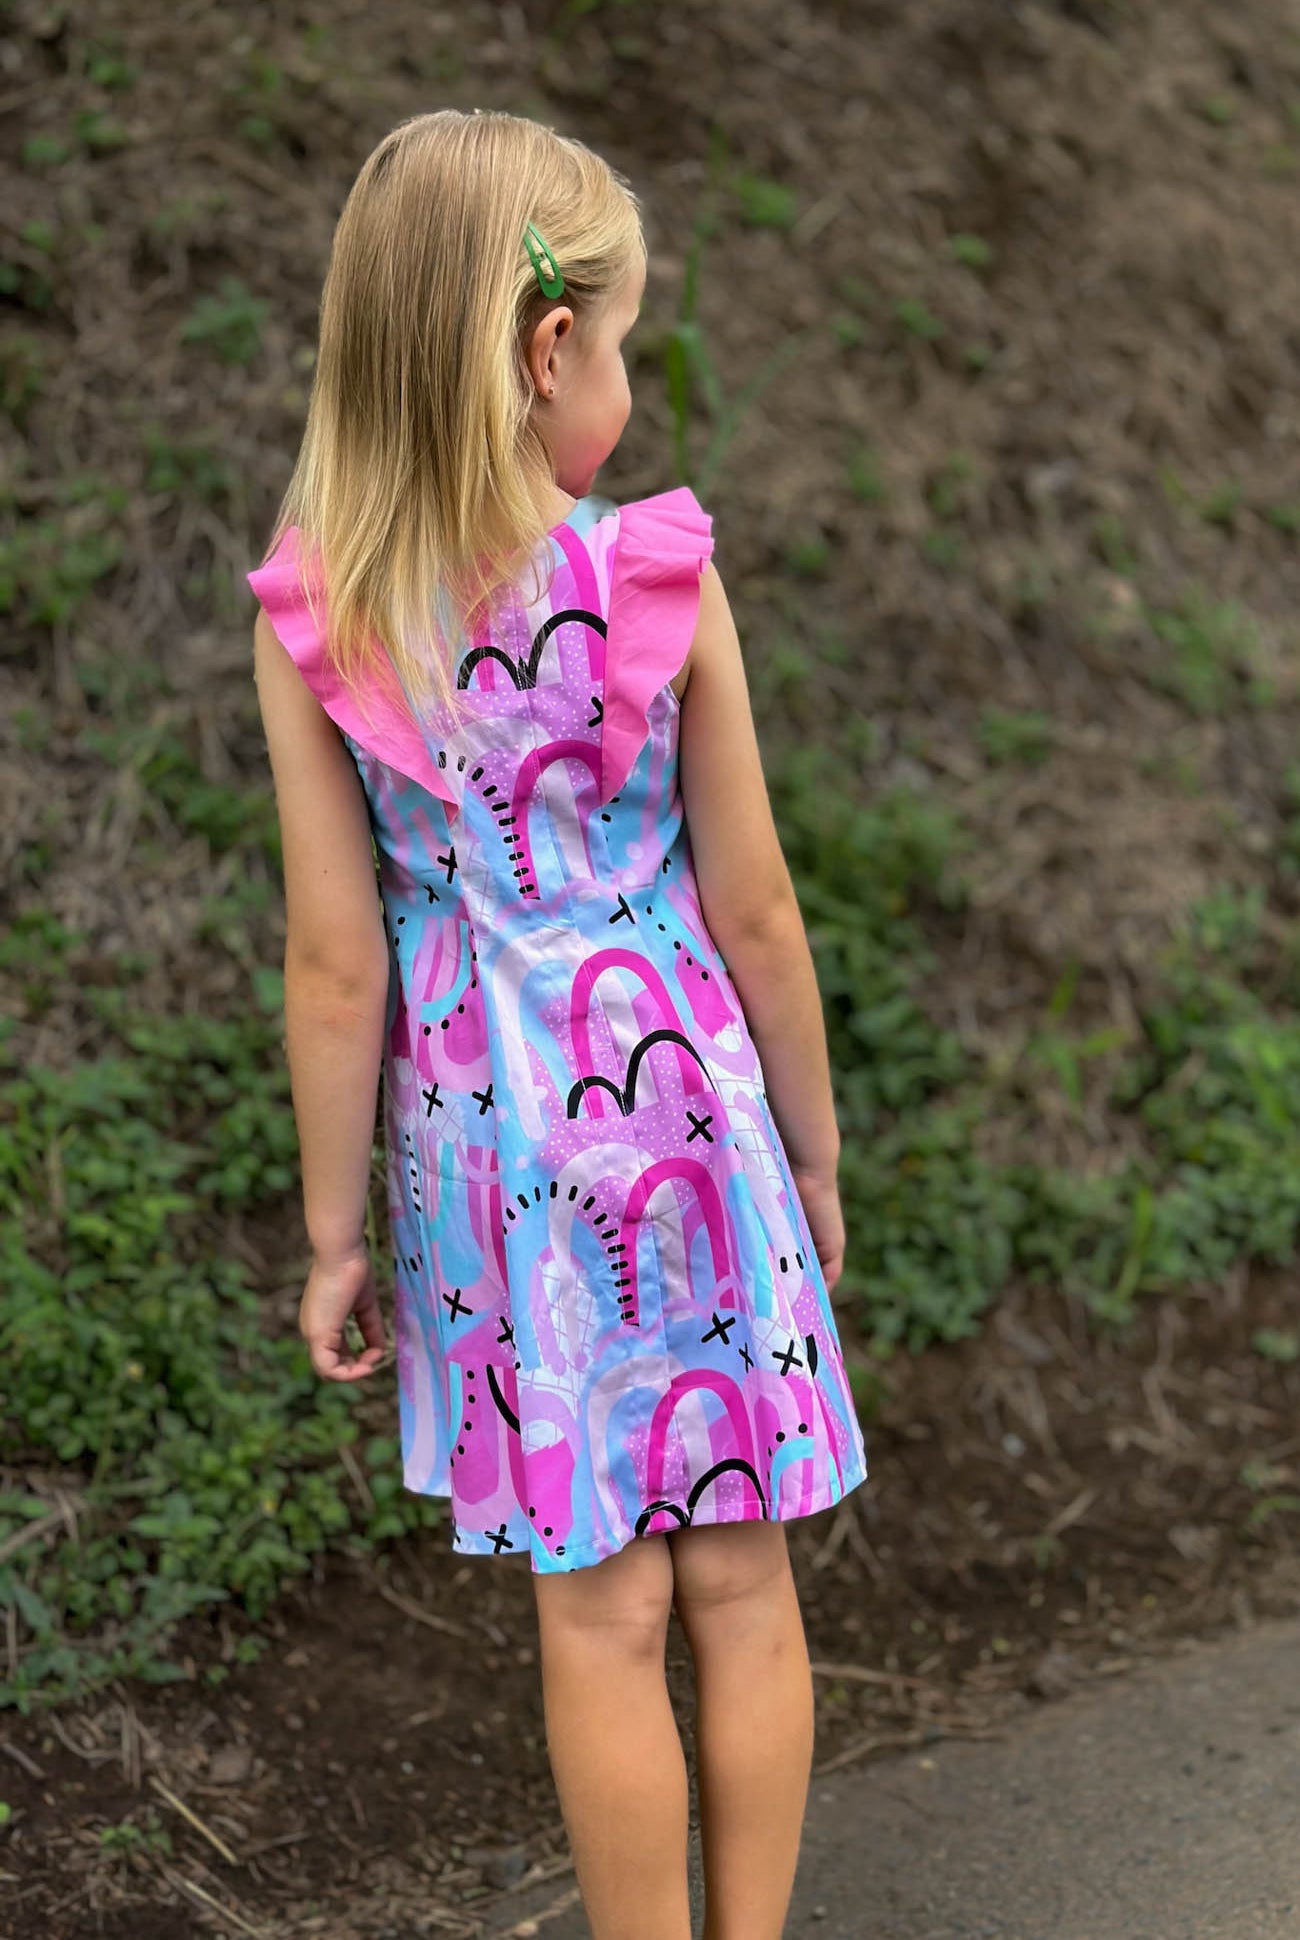
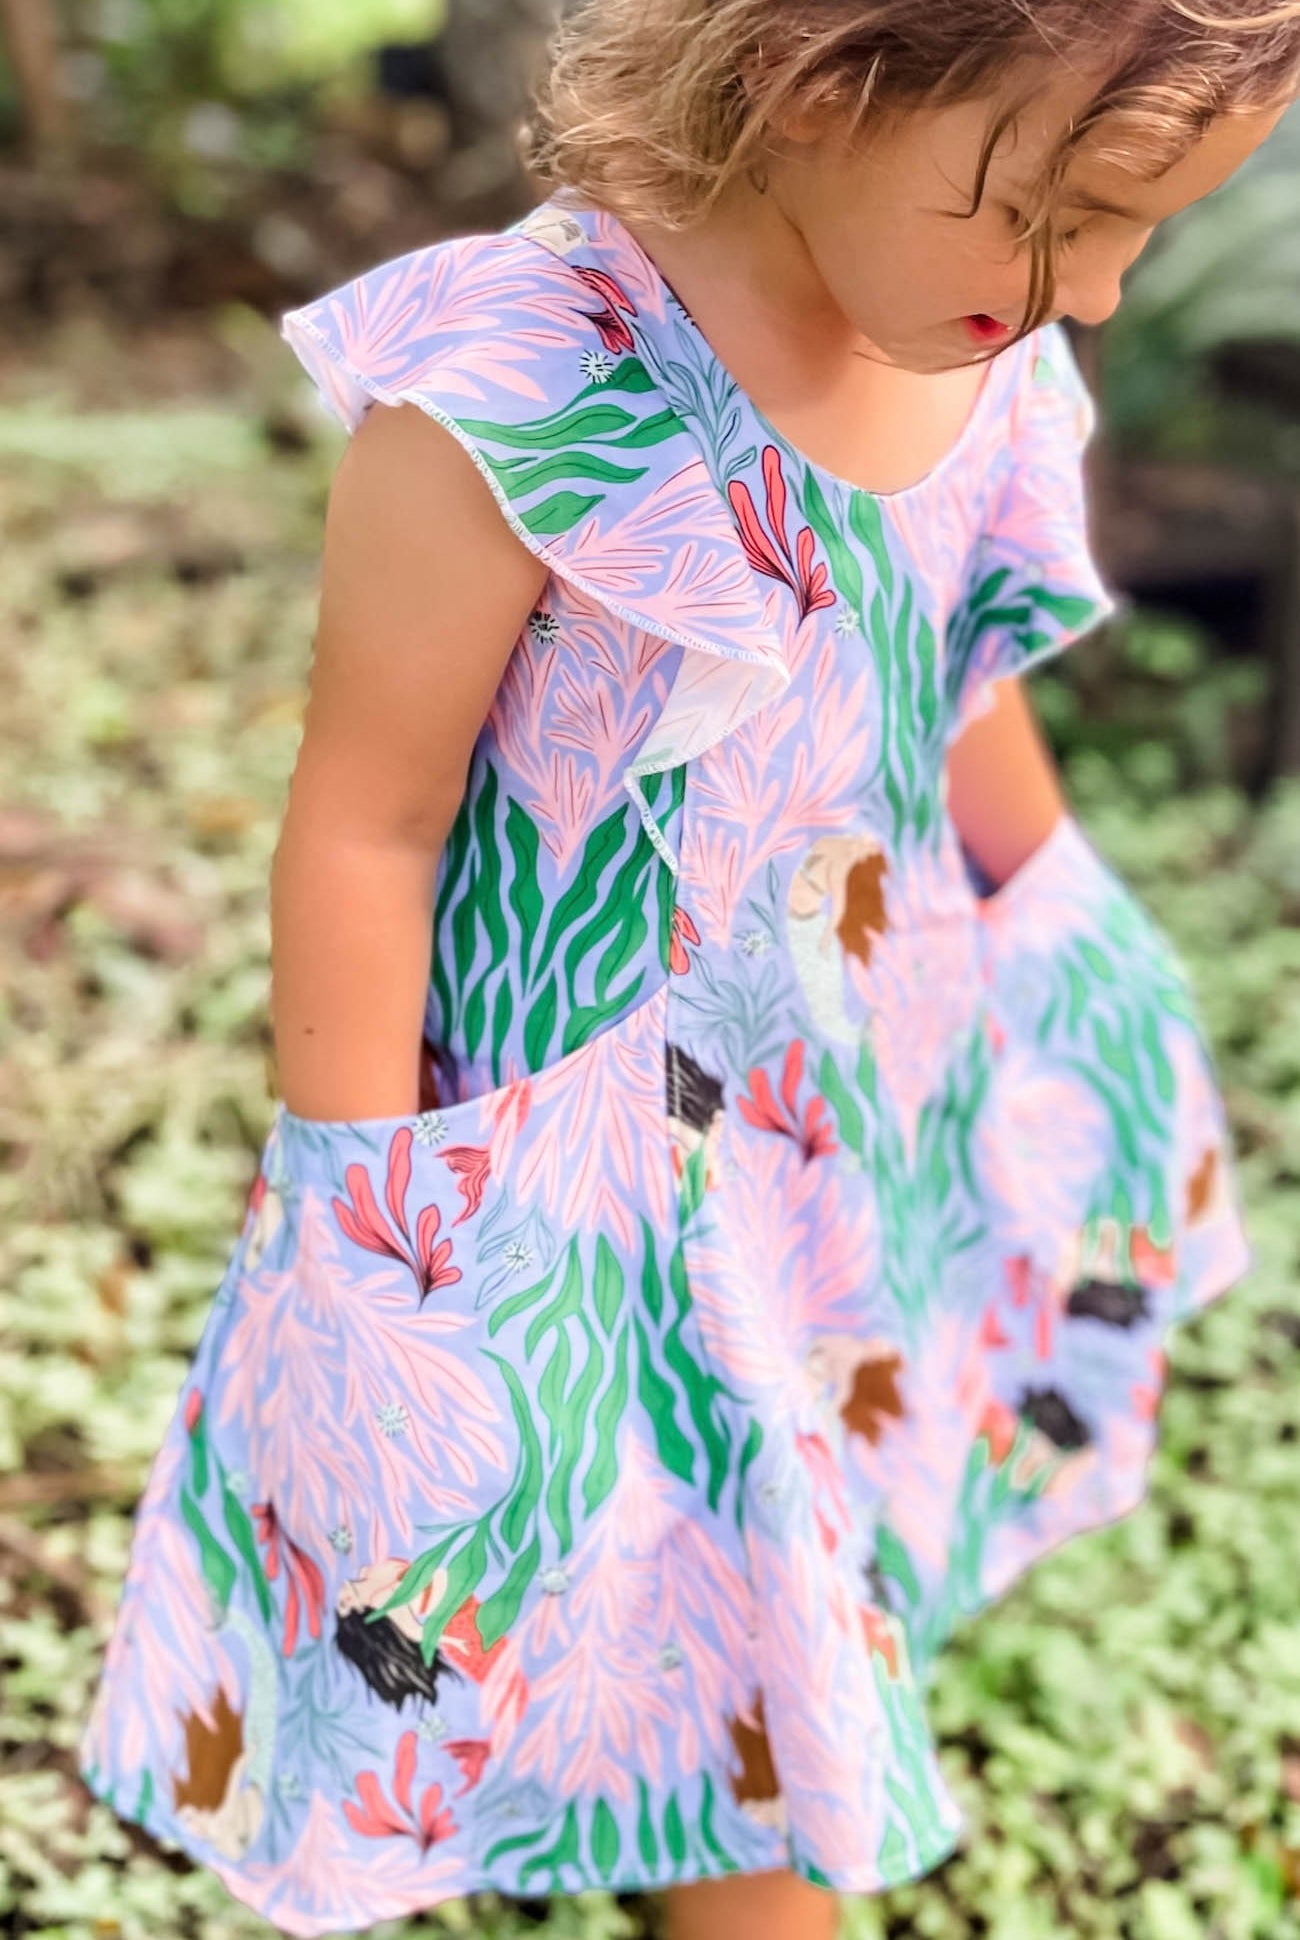
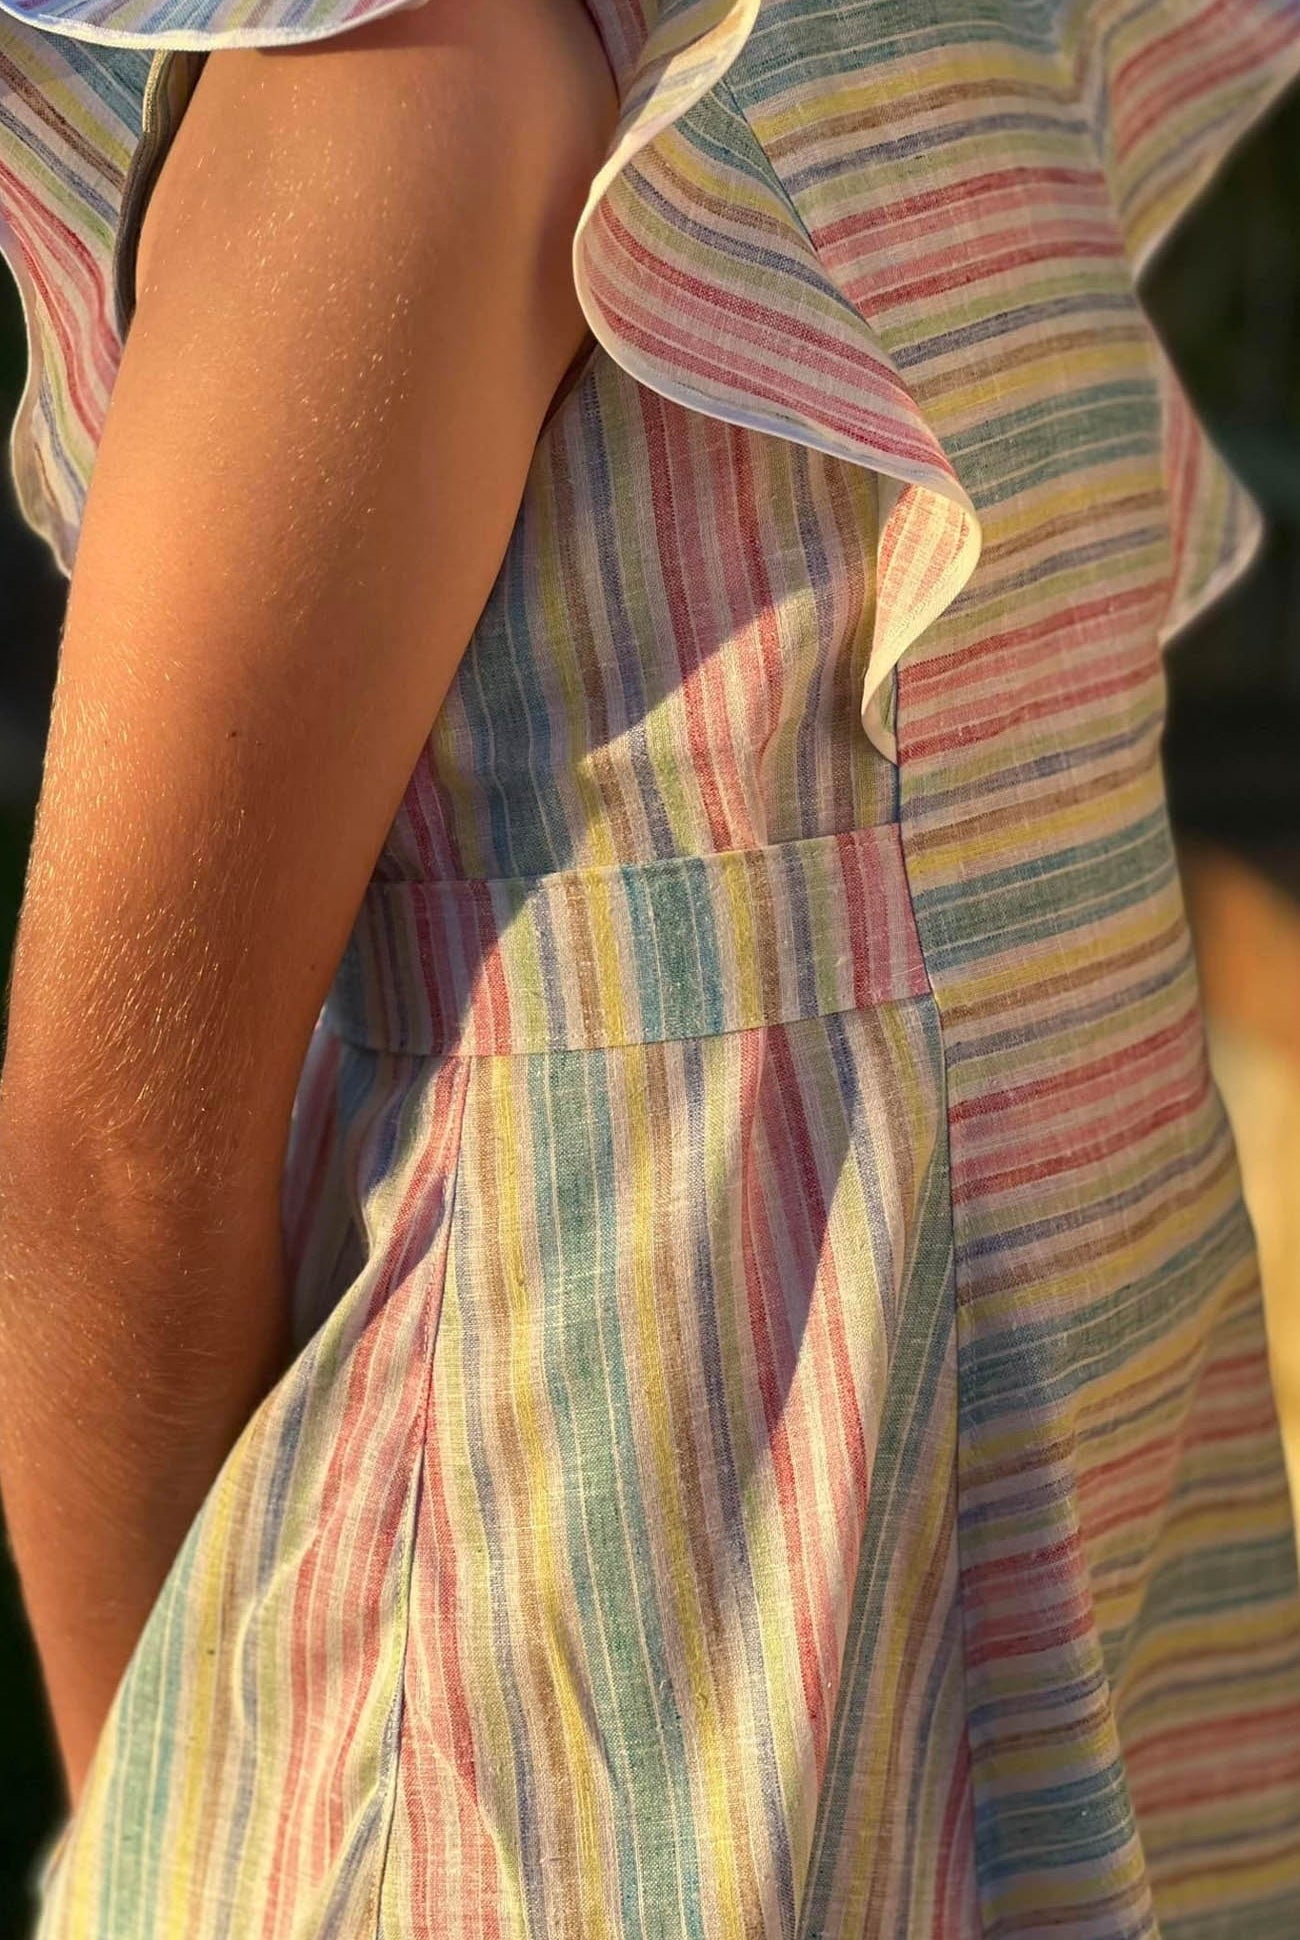
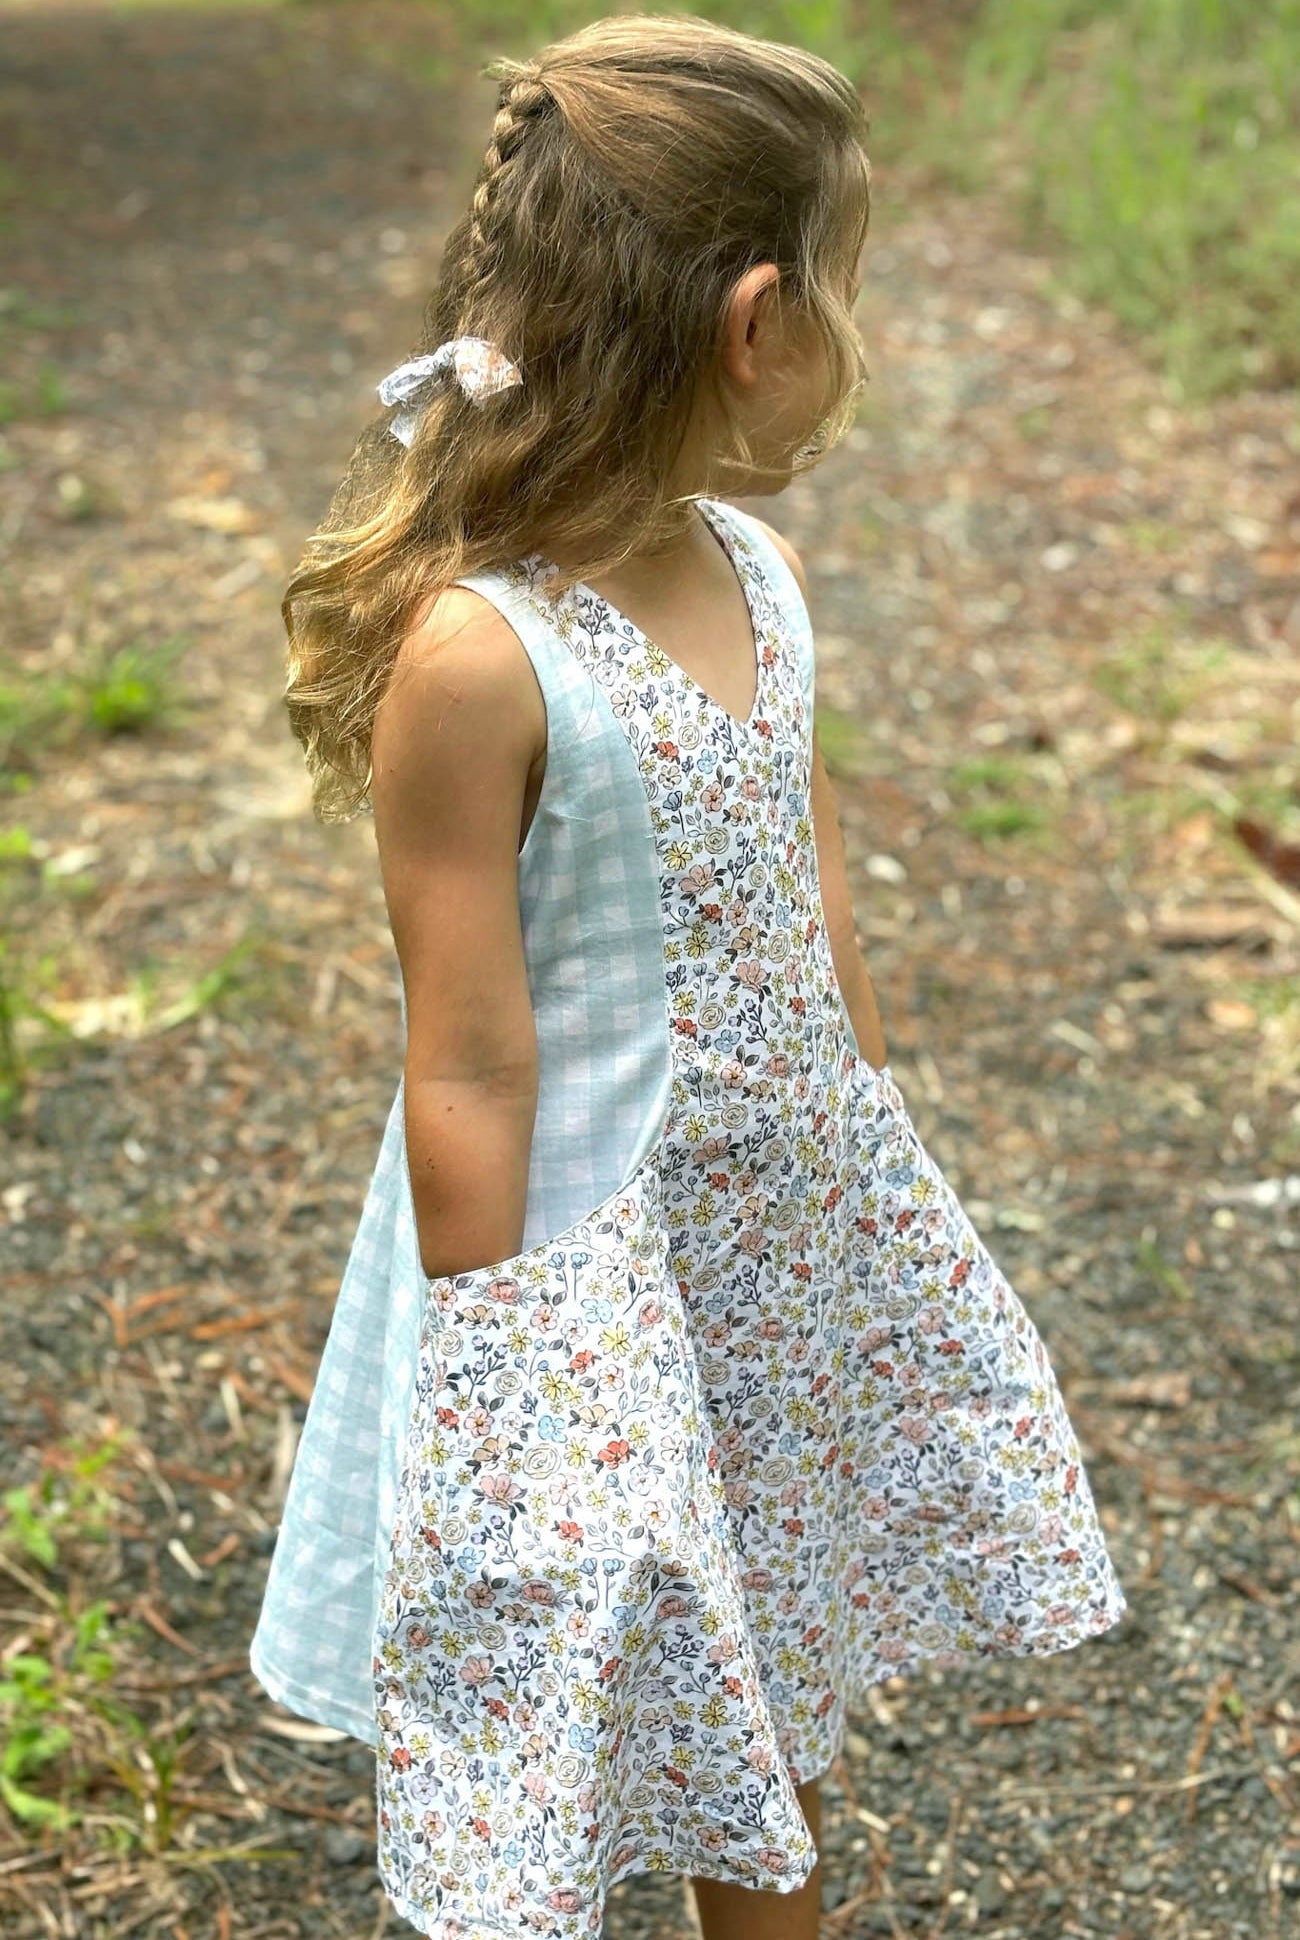
Seaside Playsuit / Top and Dress bias neckline hack.
Step 1.
Cut out all your fabric pieces according to your pattern, excluding your back piece as we will be cutting this one a little differently. Instead, you will want to add on 1cm for seam allowance before cutting the back piece on the fold. To do this, measure in 1cm from the folded edge of fabric and this is where you will place your back piece. Pin and cut.
(See photos 1 and 2).


Step 2.
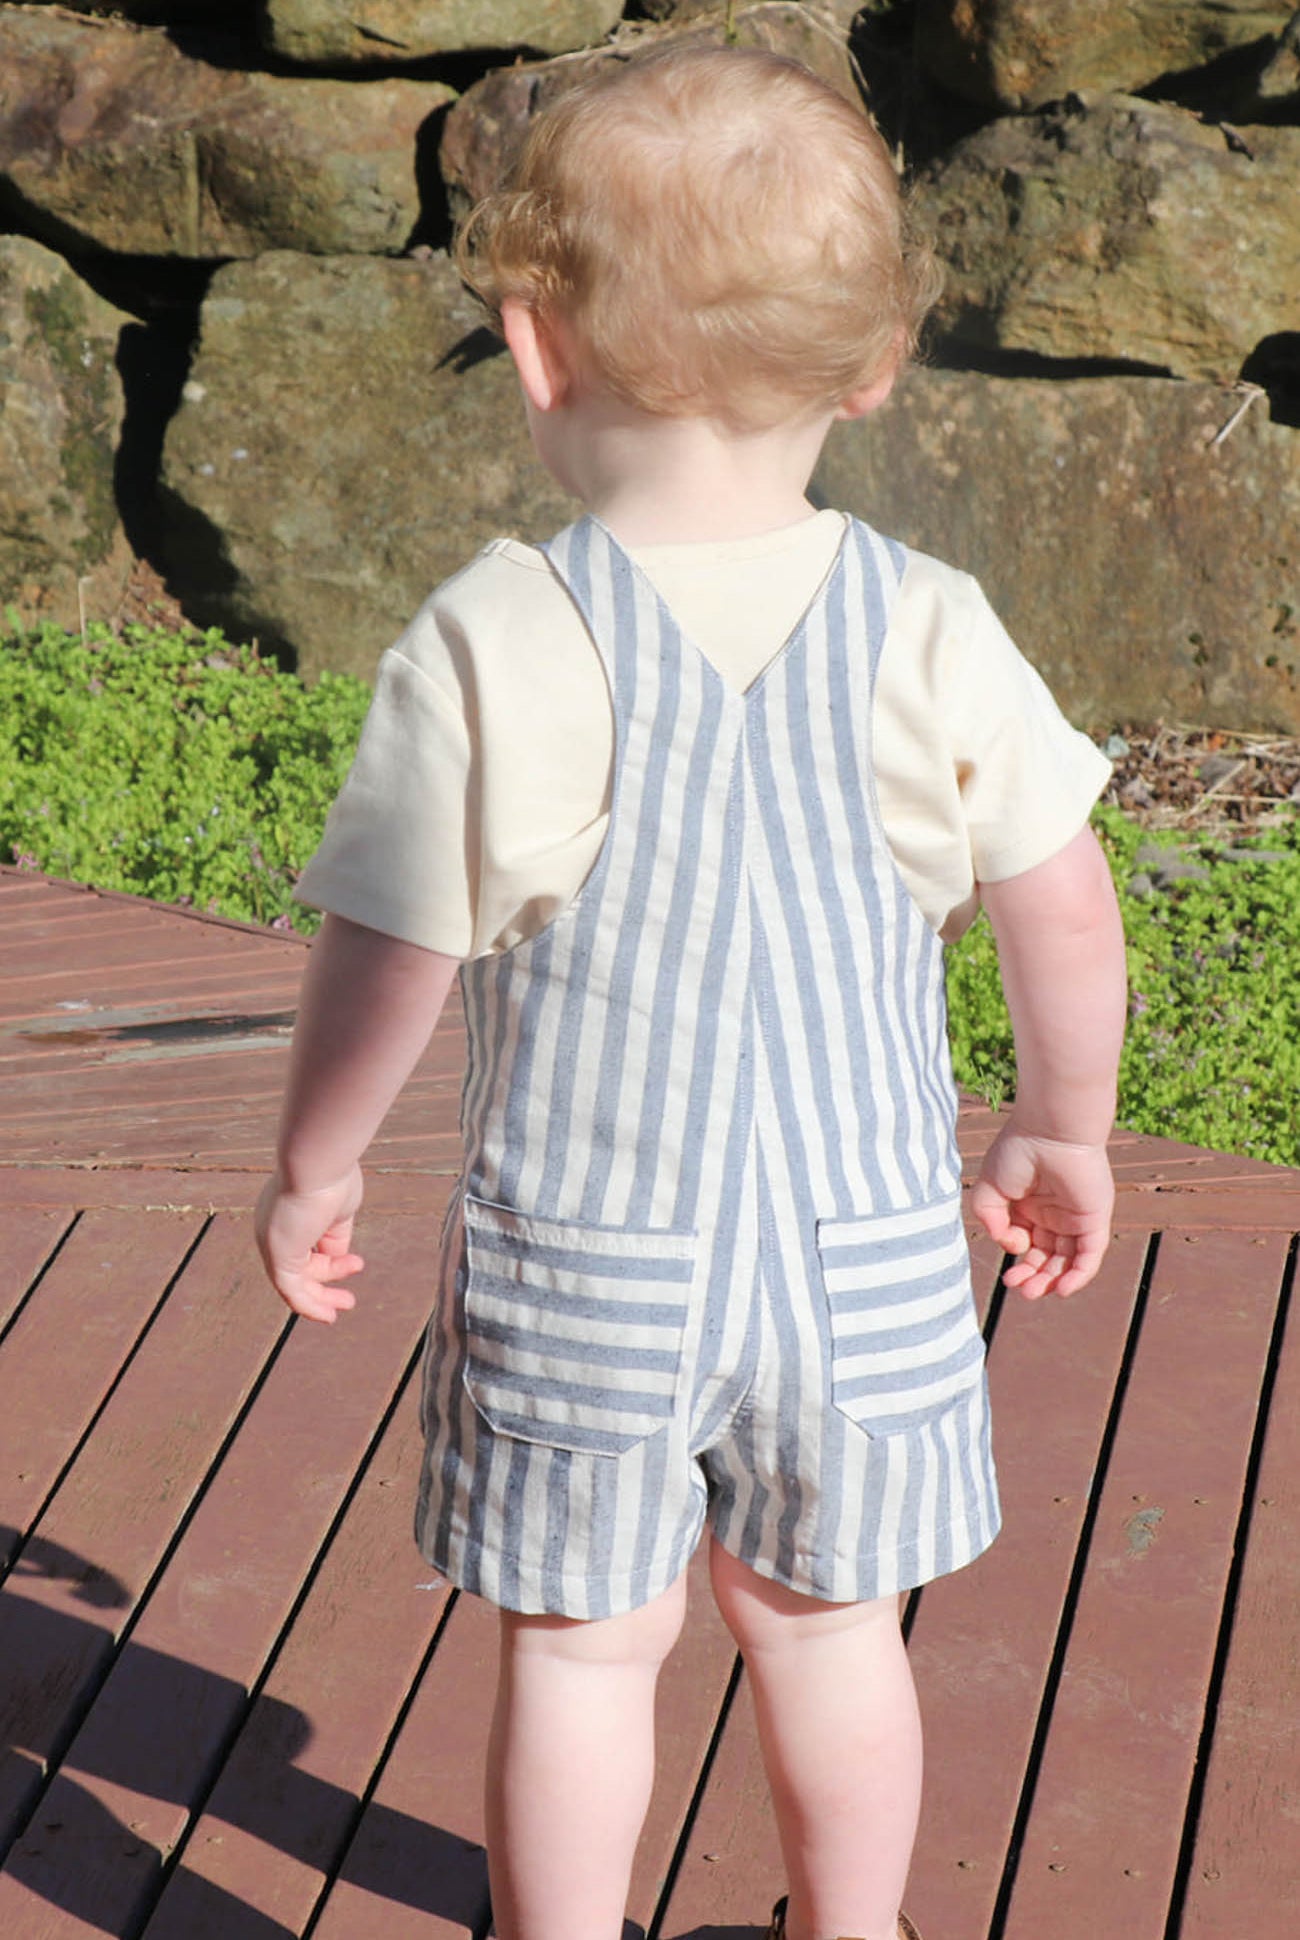
Cut your back piece in half. See photo 3 and 4.


Step 3.
Next, you need to make your bias tape. I cut my bias tape in 2” width strips and use my bias tape machine. There are some great tutorials available online for how to cut bias tape really easily. Use the chart below for the length of bias tape you need.

Bias Tape all ready to be pressed.

Going through the machine.

Beautiful bias tape ready to use.

Step 4.
Overlock the two inside edges of the back playsuit.

Step 5.
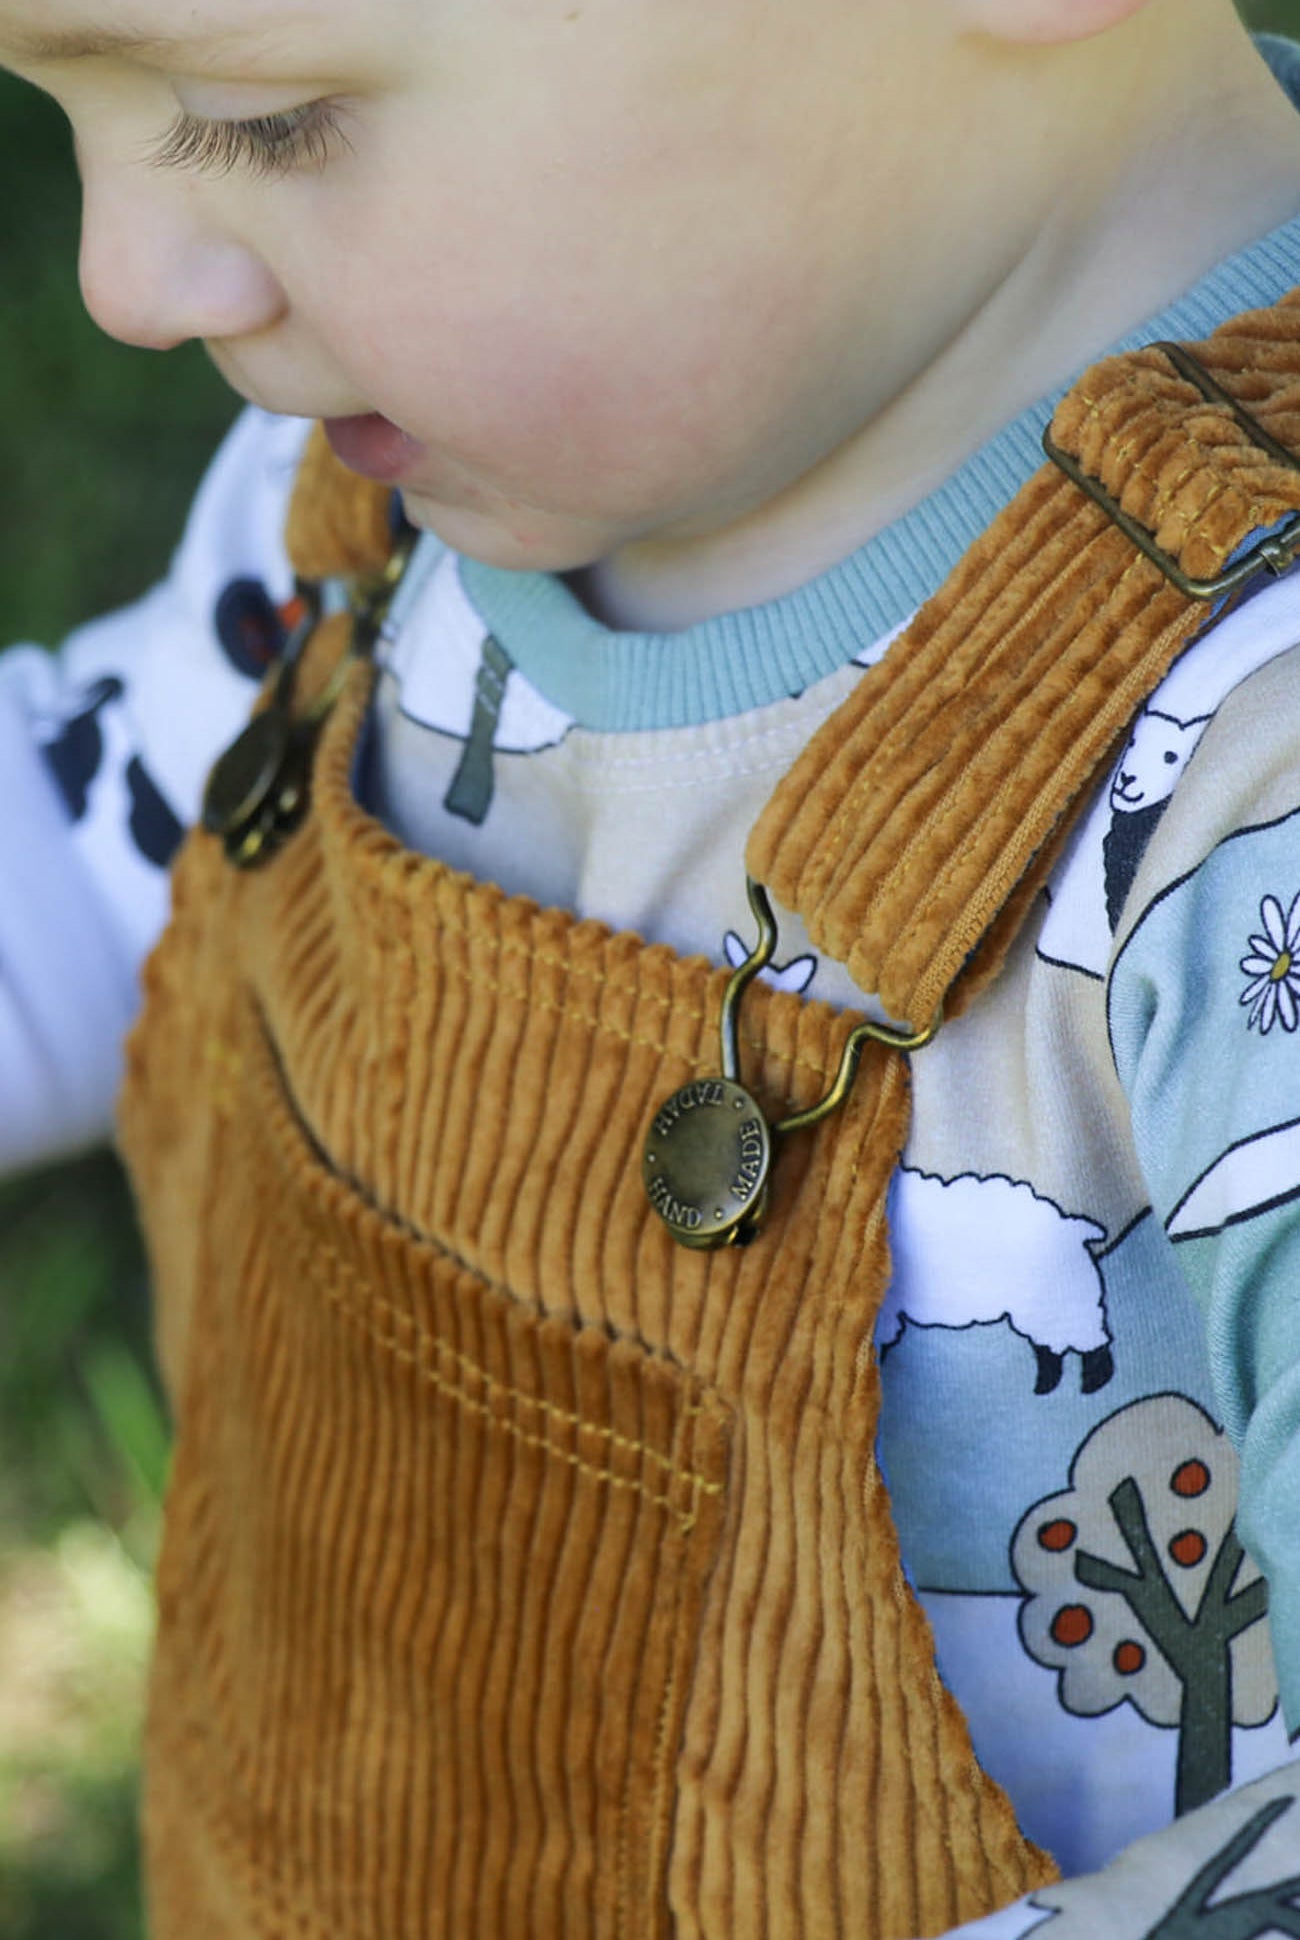
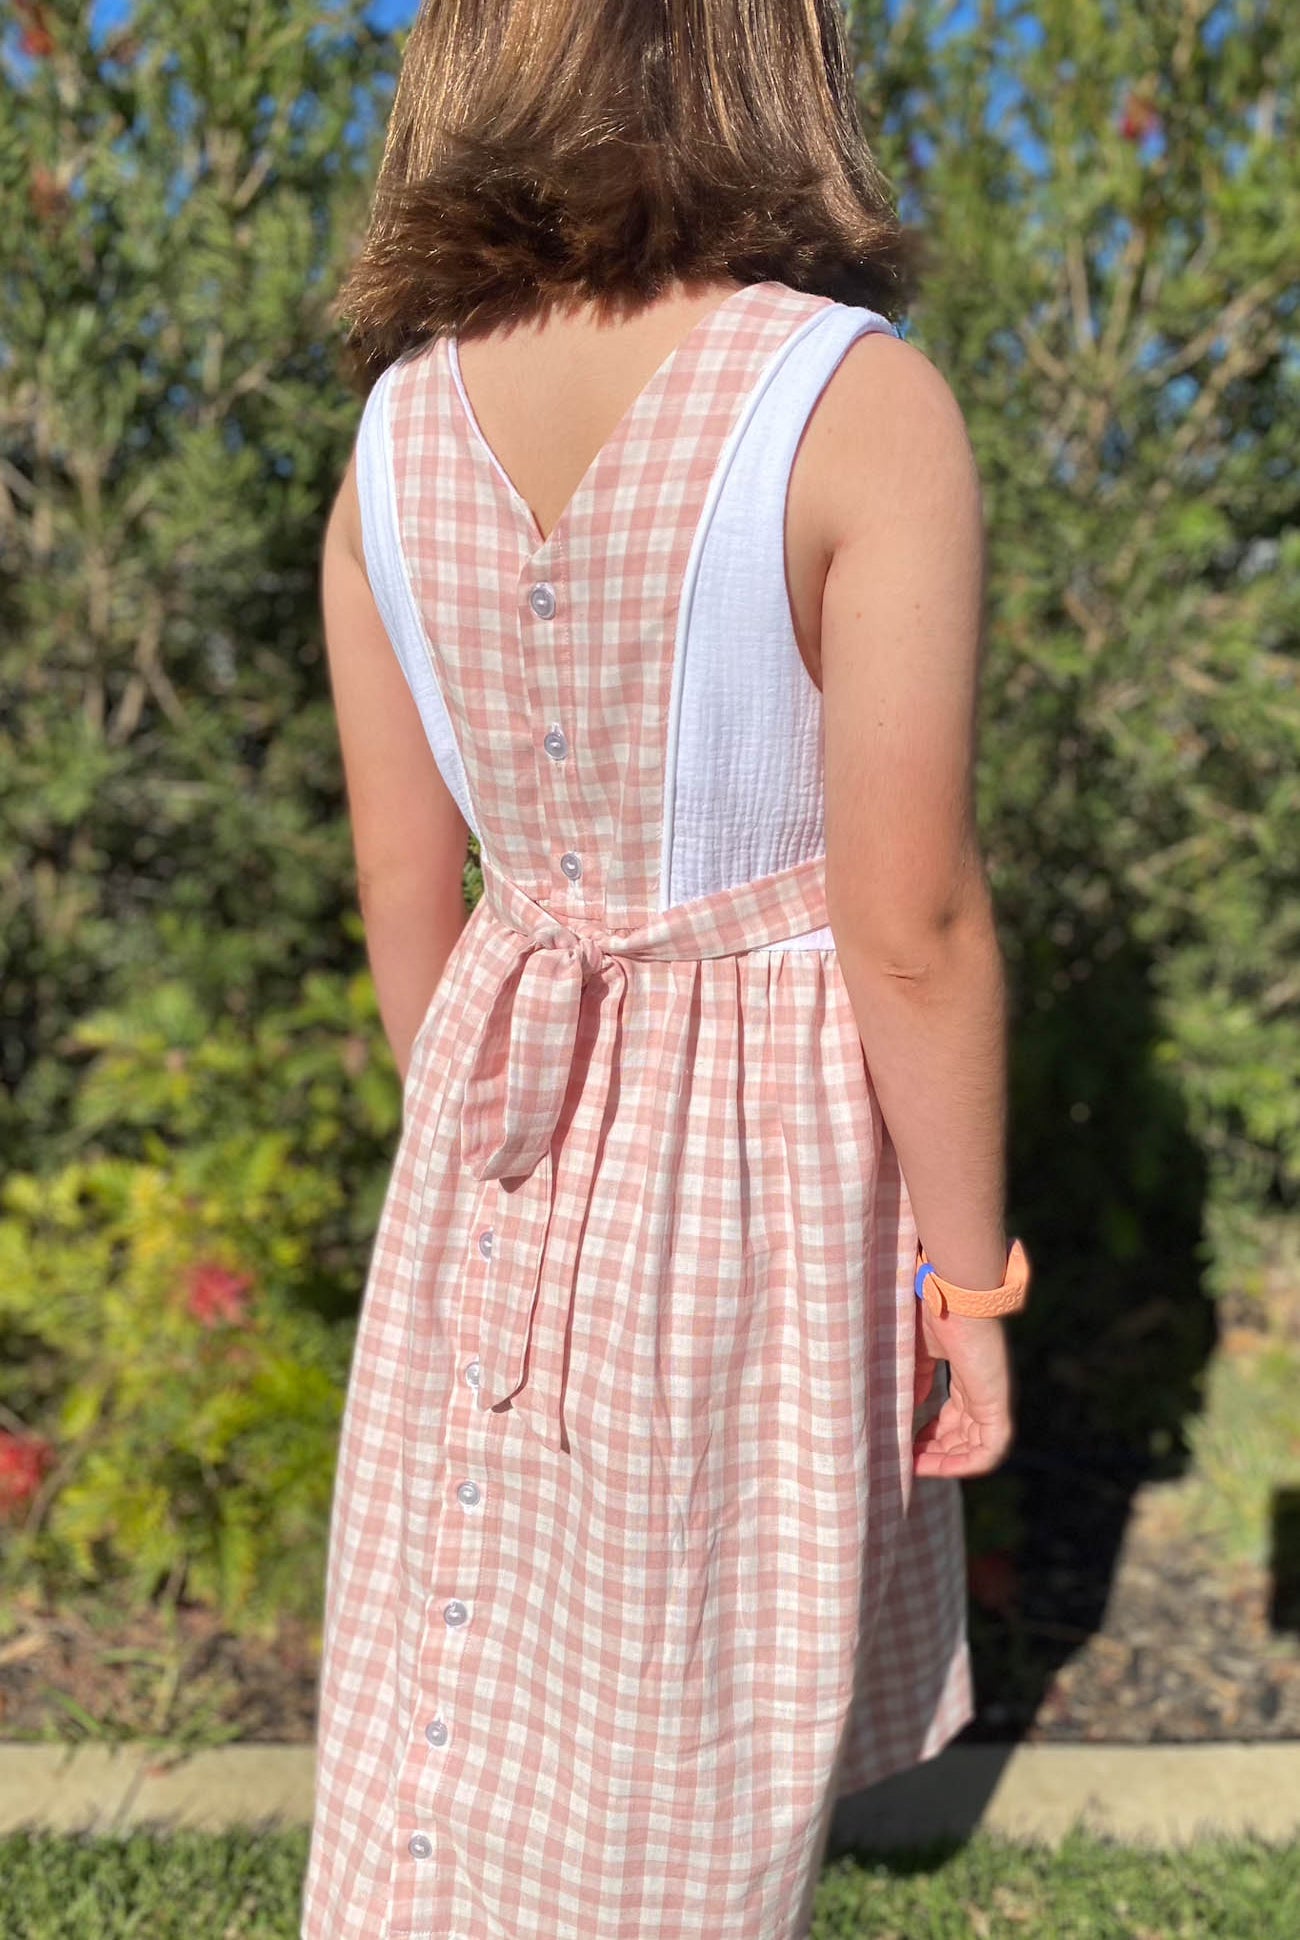
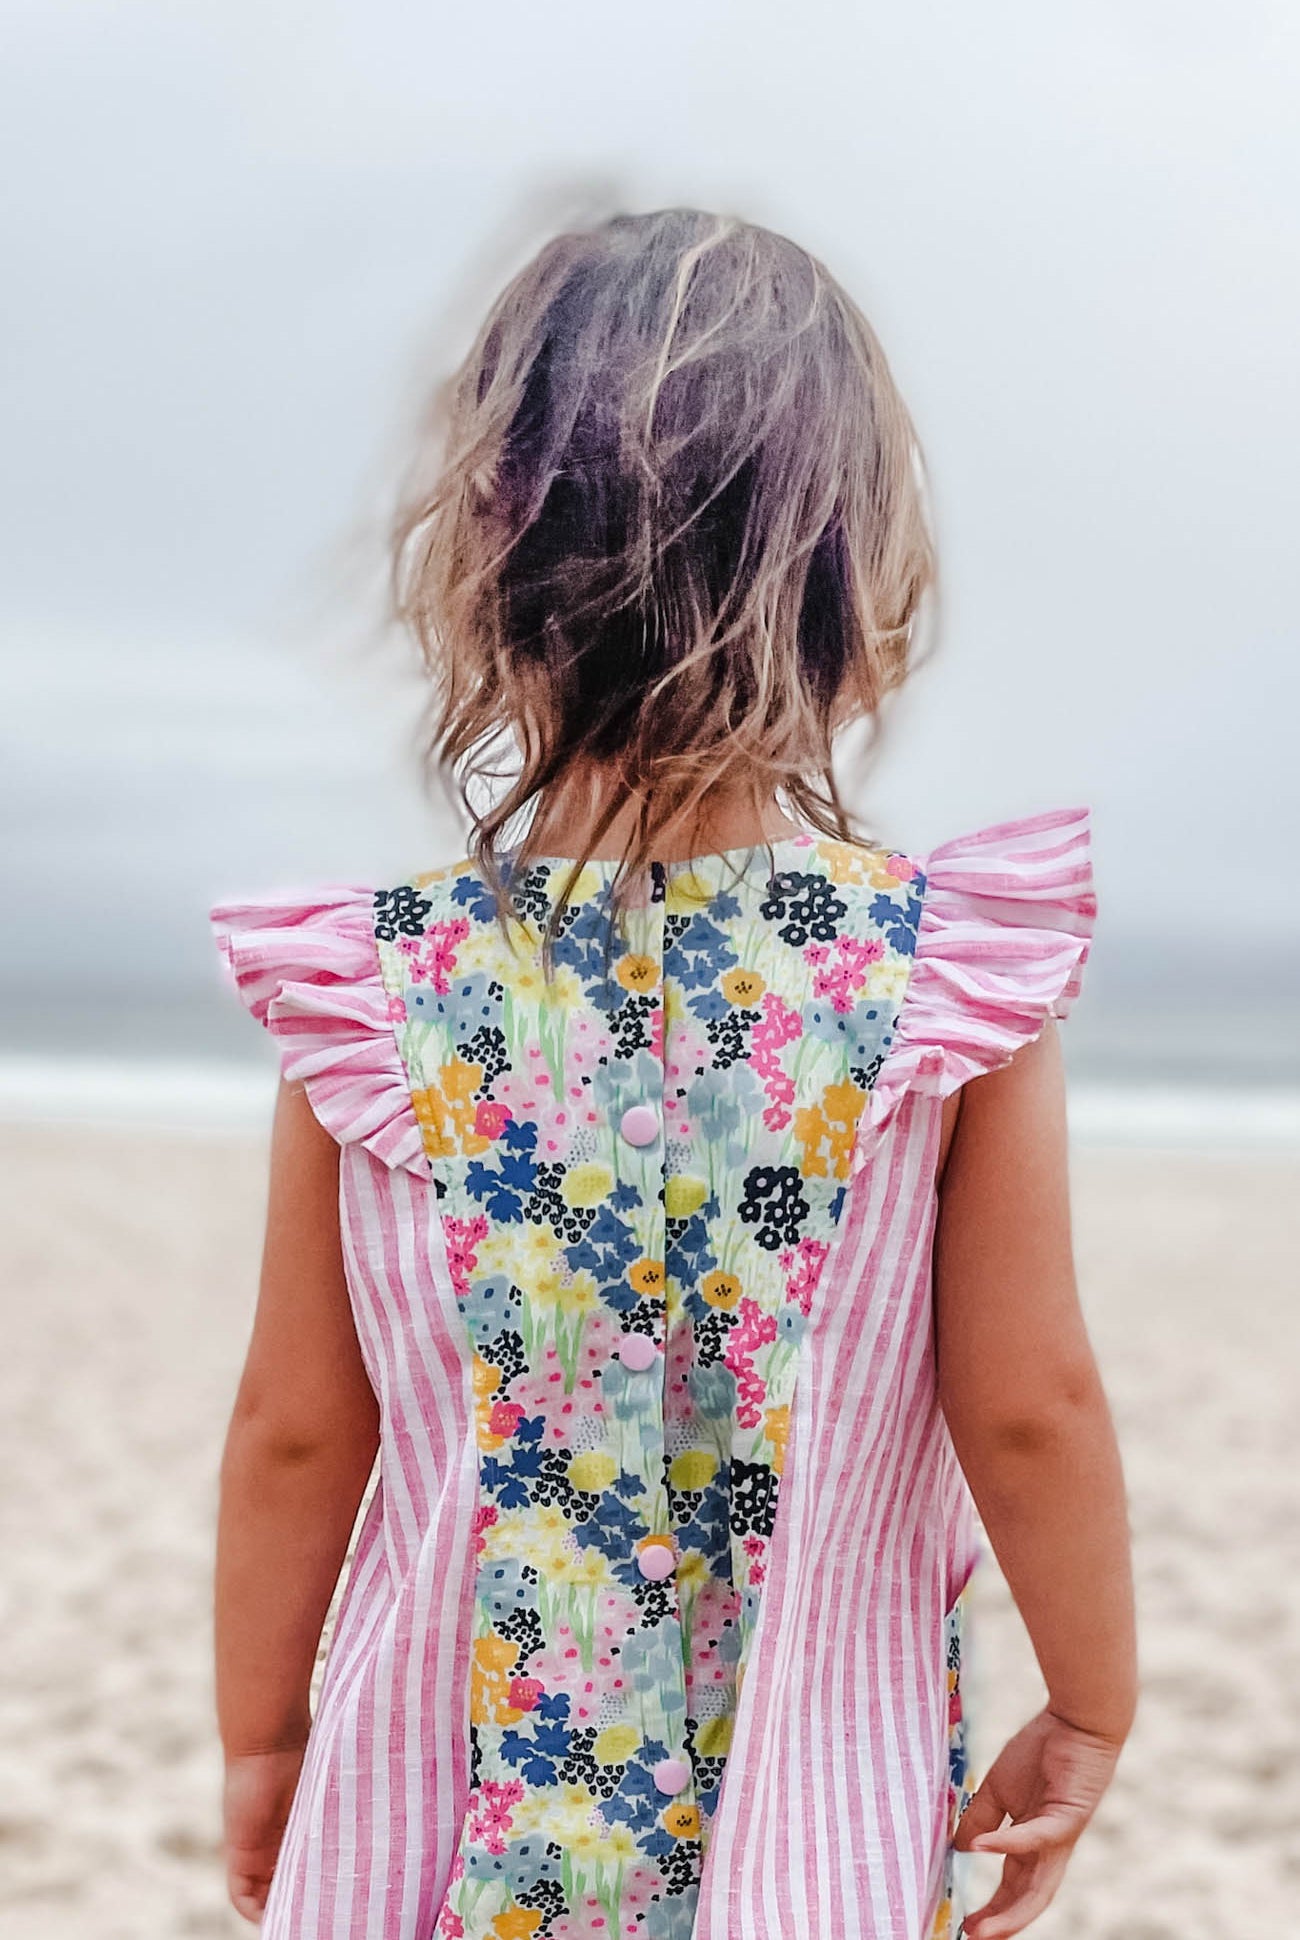
Now place the two back pieces right side together and pin. Measure down 3.5” from the top for sizes 0000 – 1 and 4” for sizes 2 and up. Make a small mark. Sew with a 1cm seam allowance from the mark all the way to the bottom. Make sure you backstitch a few times at the start. It is very important that you add on the 1cm seam allowance, not only so that the pattern stays true to size, but also so that your two snap panels align perfectly.

Step 6.
Press seams open.

Step 7.
Topstitch around the slit ¼” away from the edge.

Step 8.
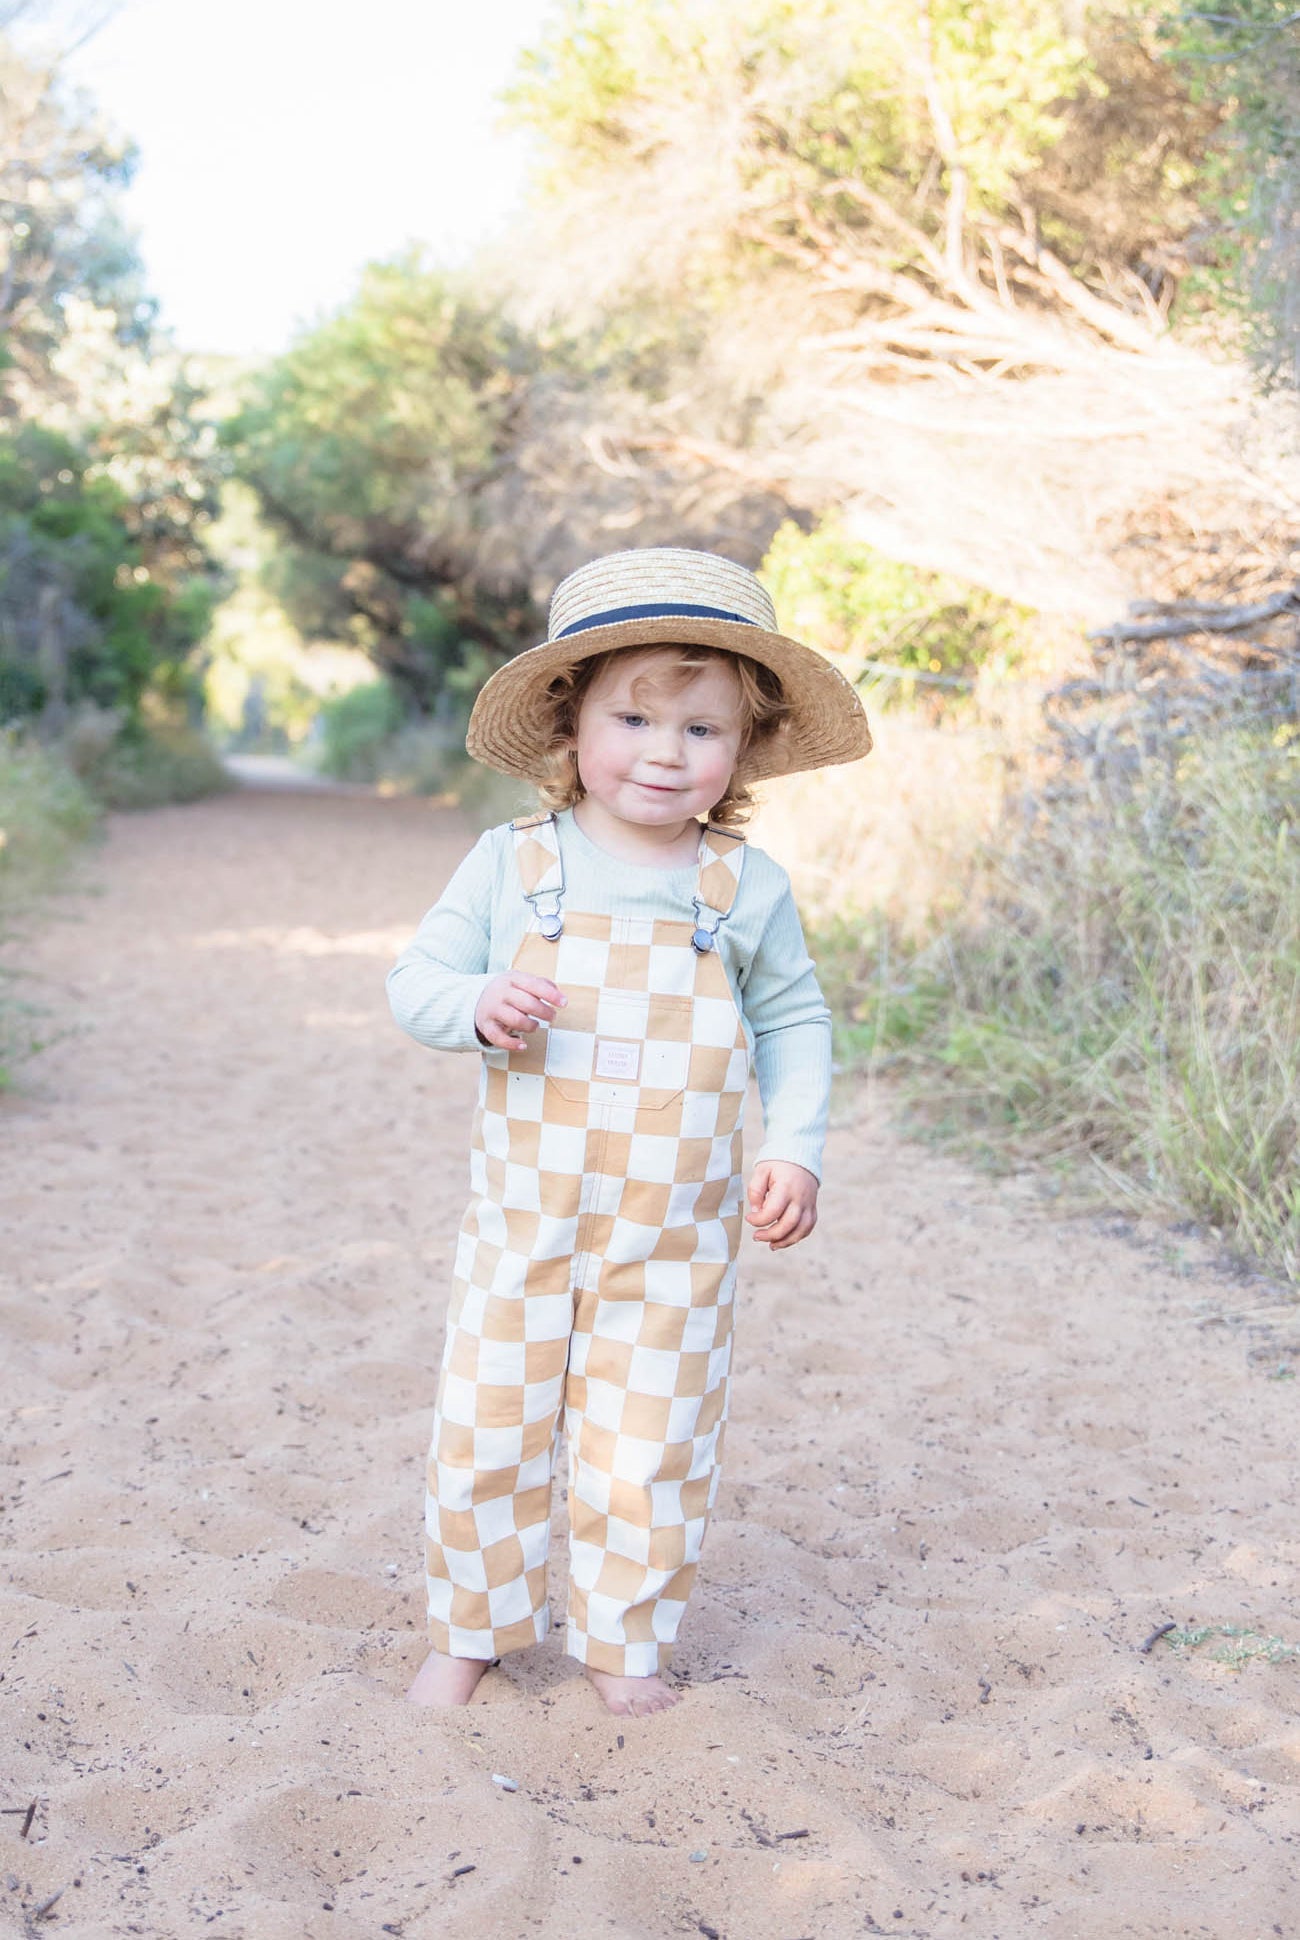
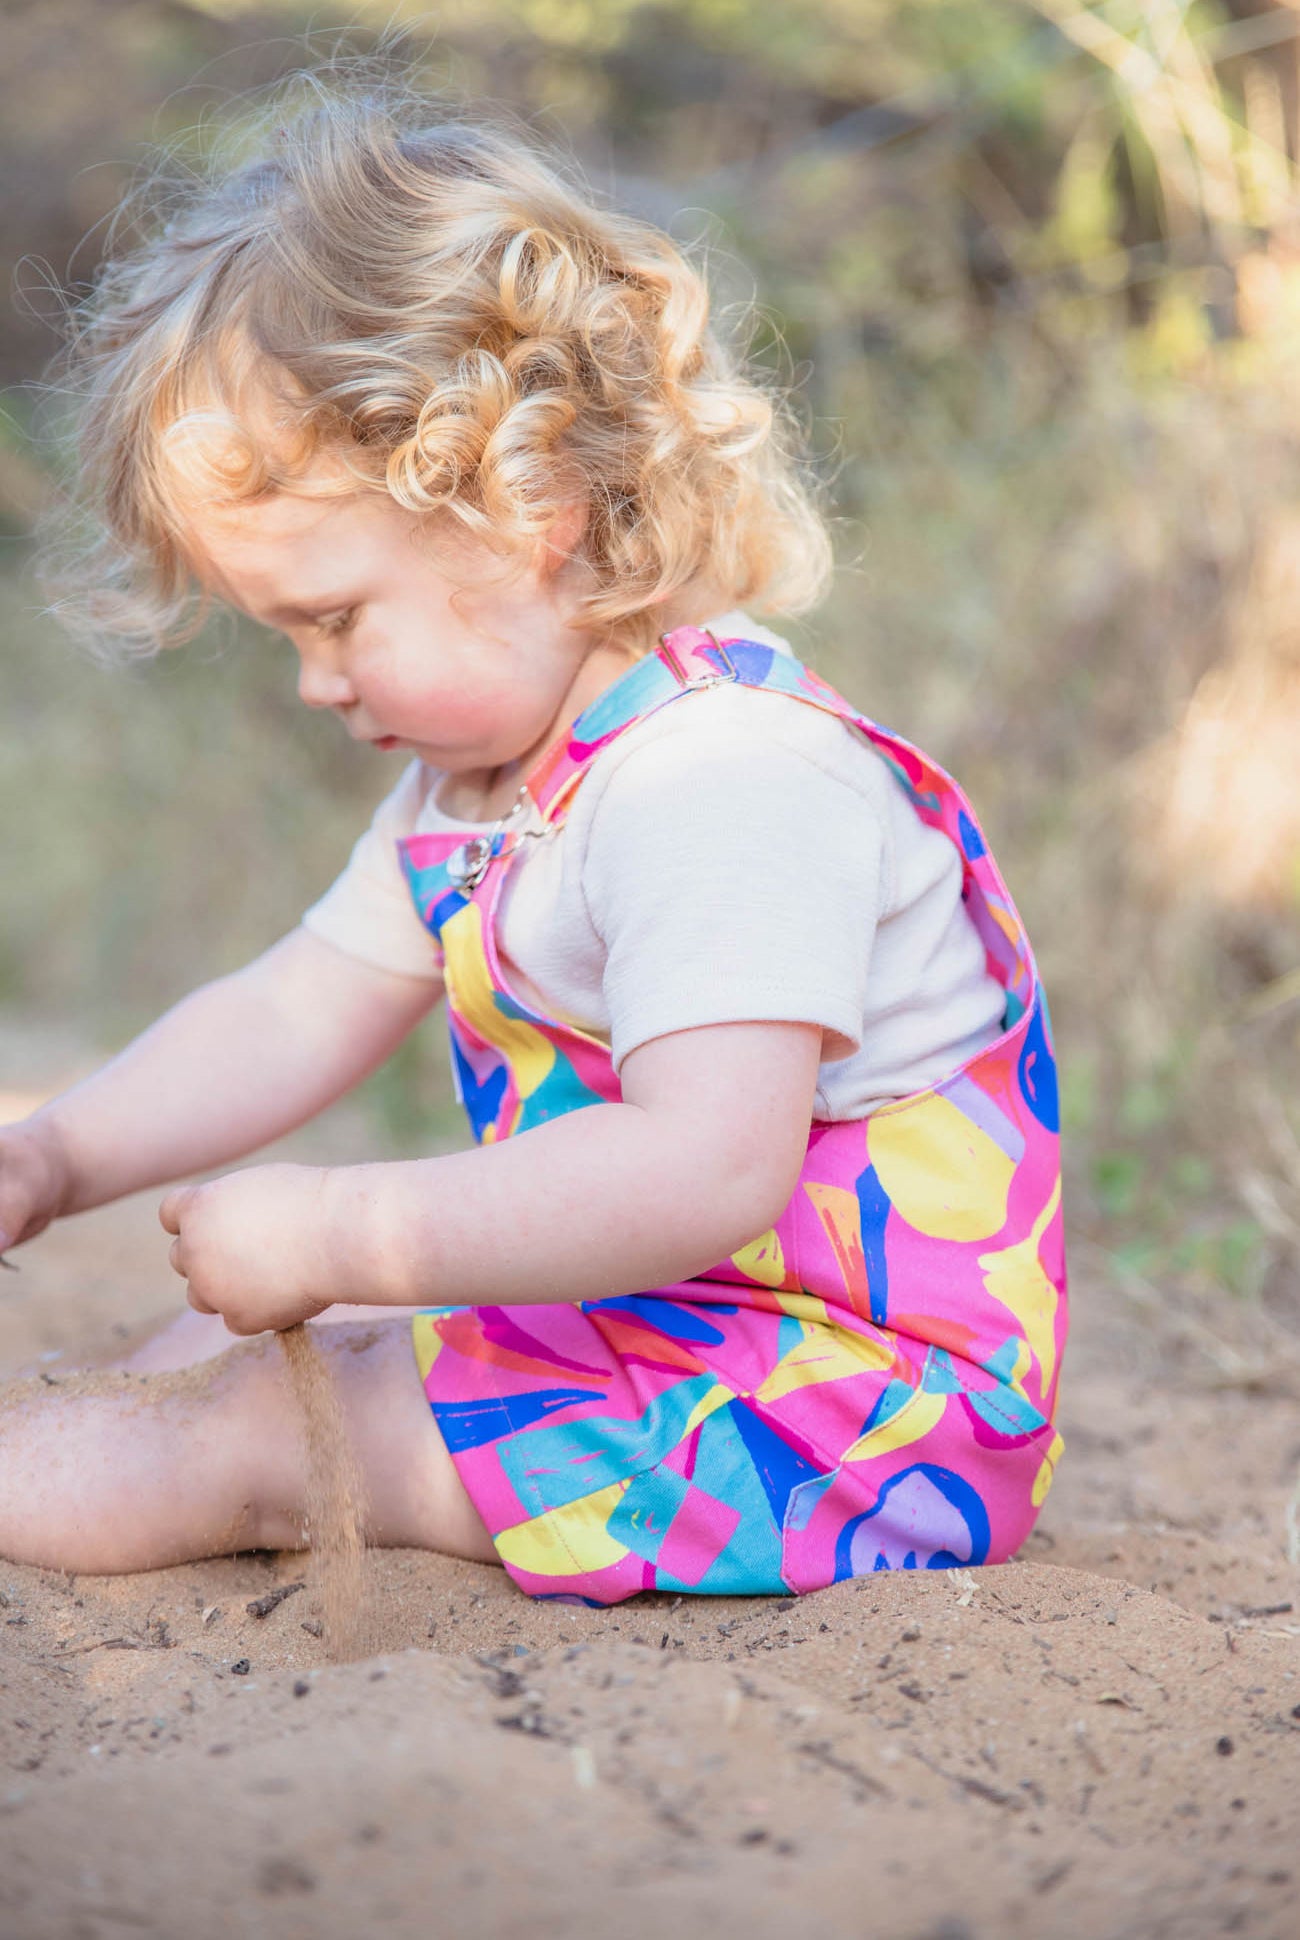
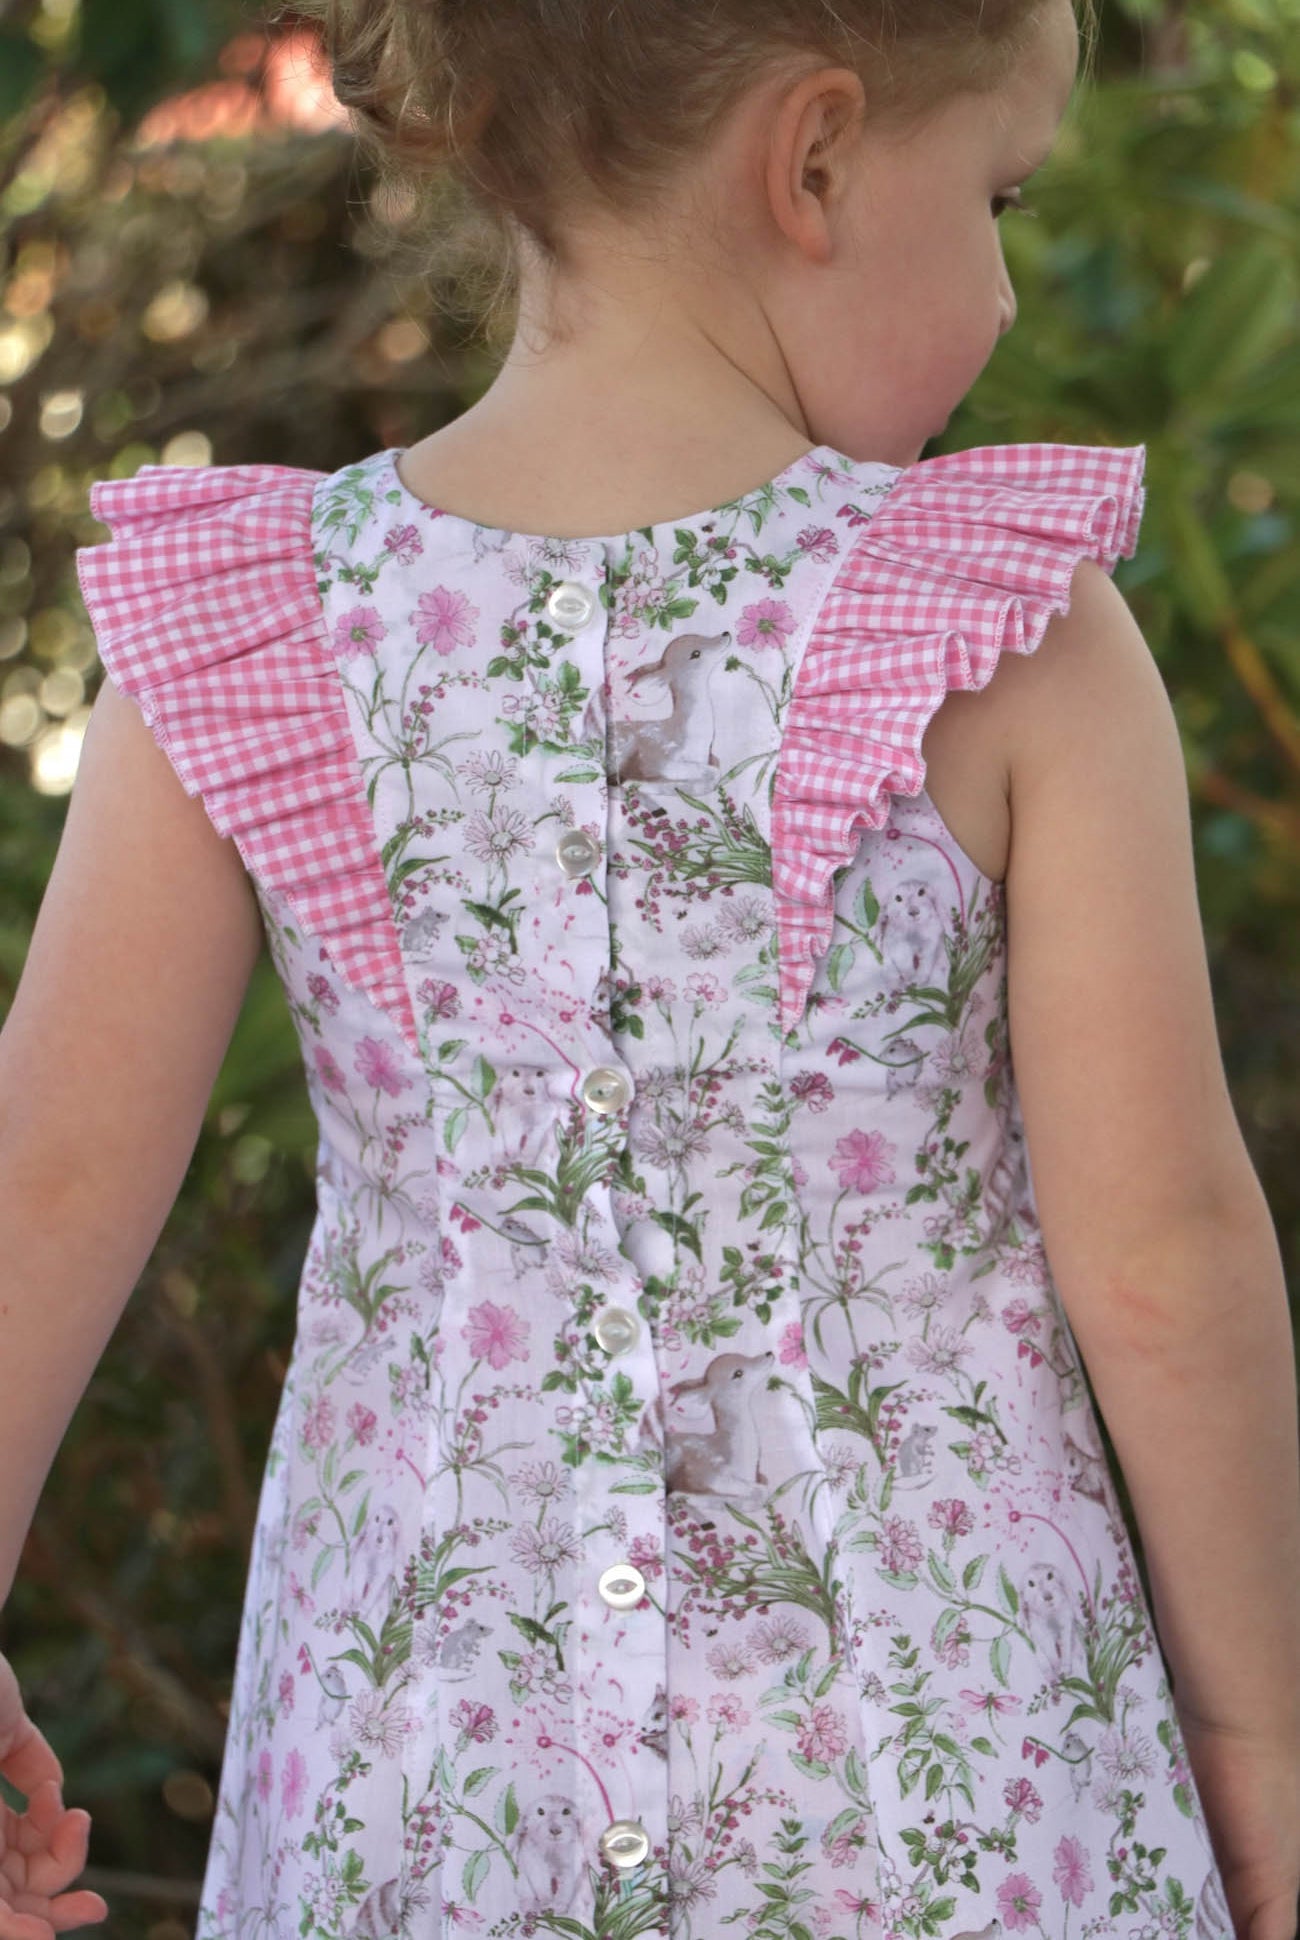
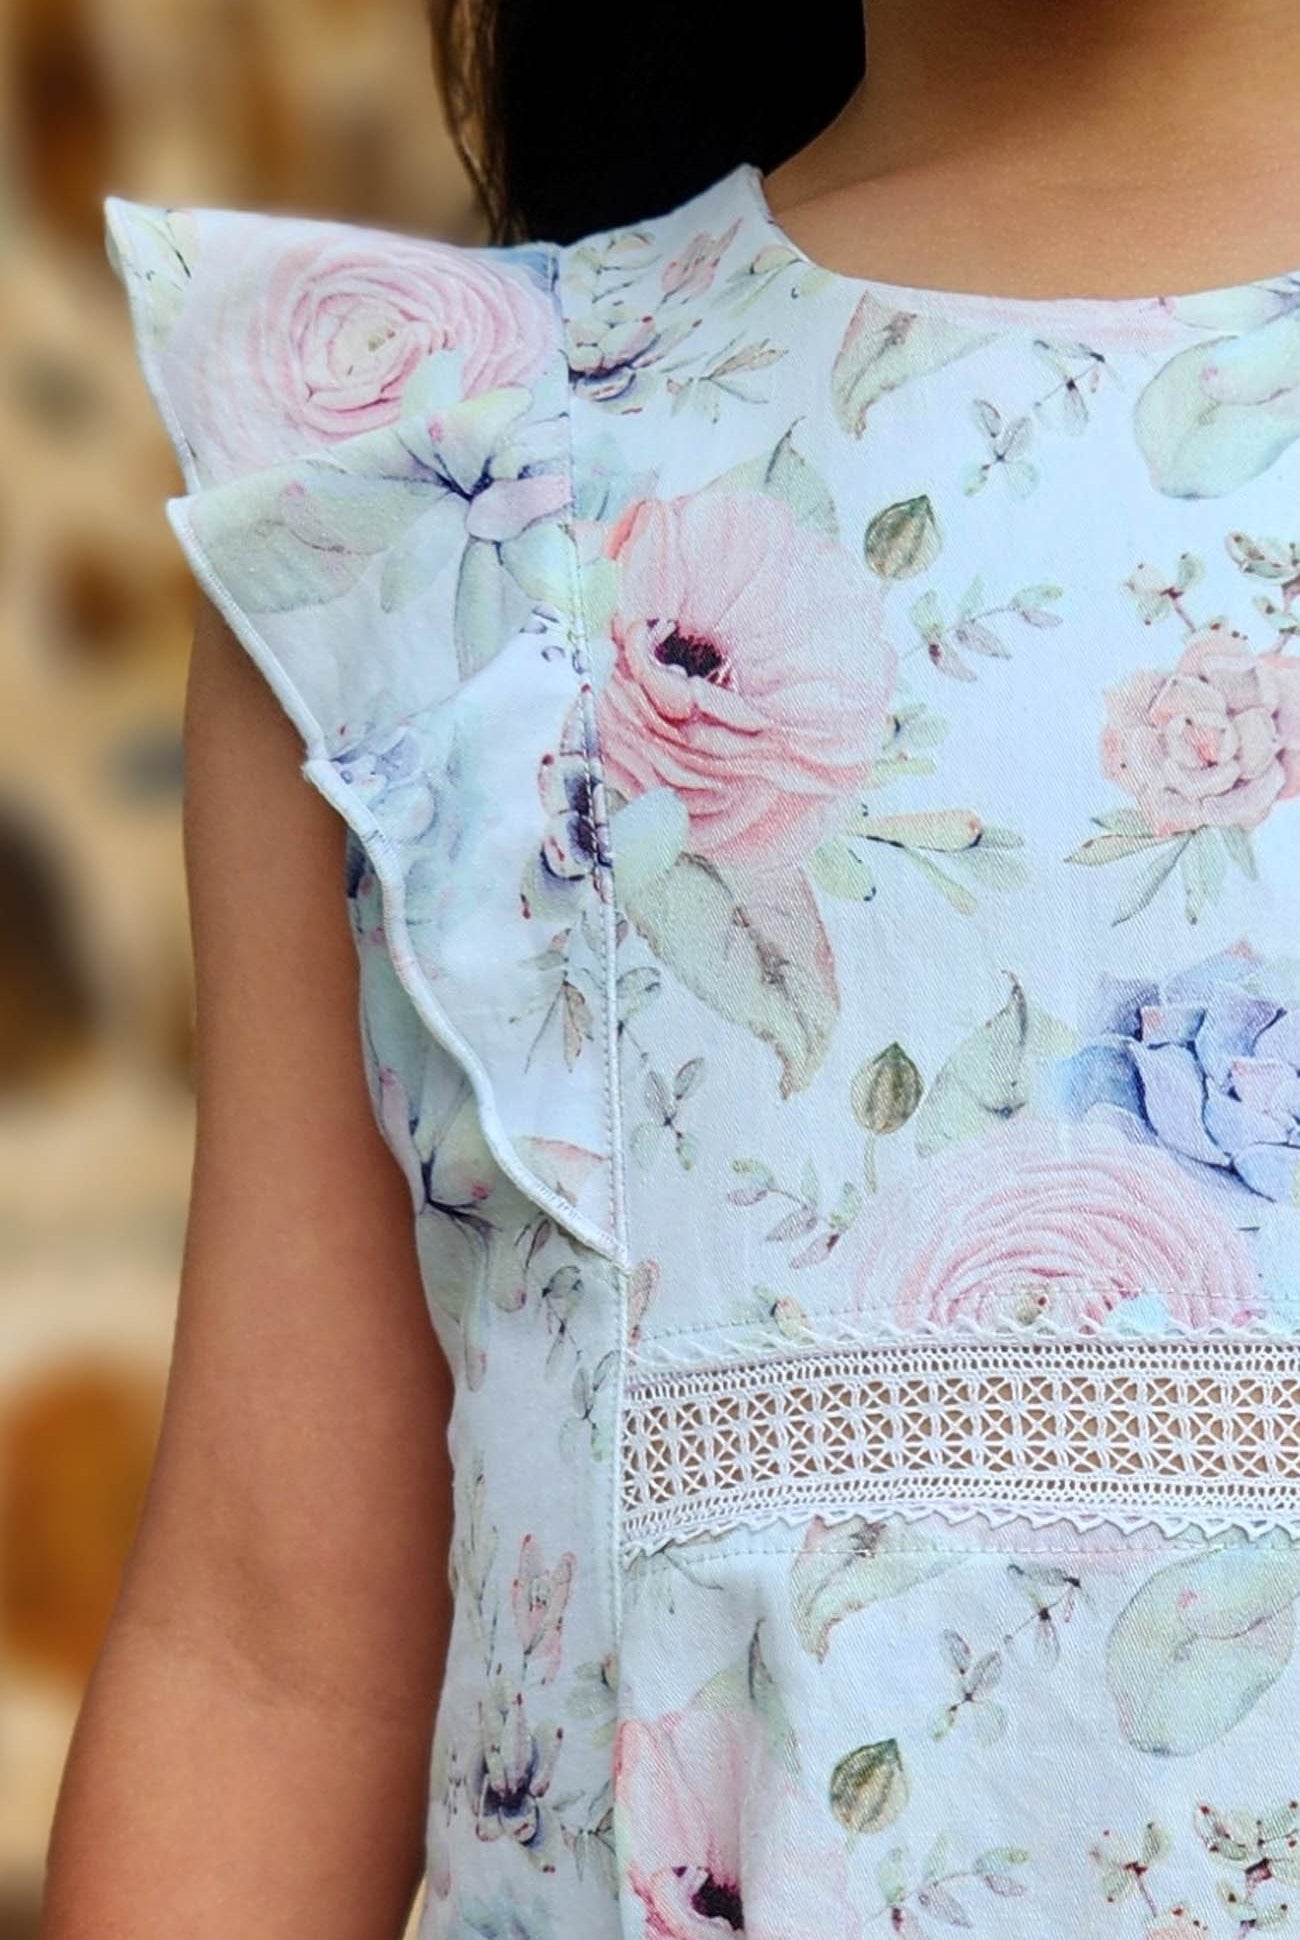
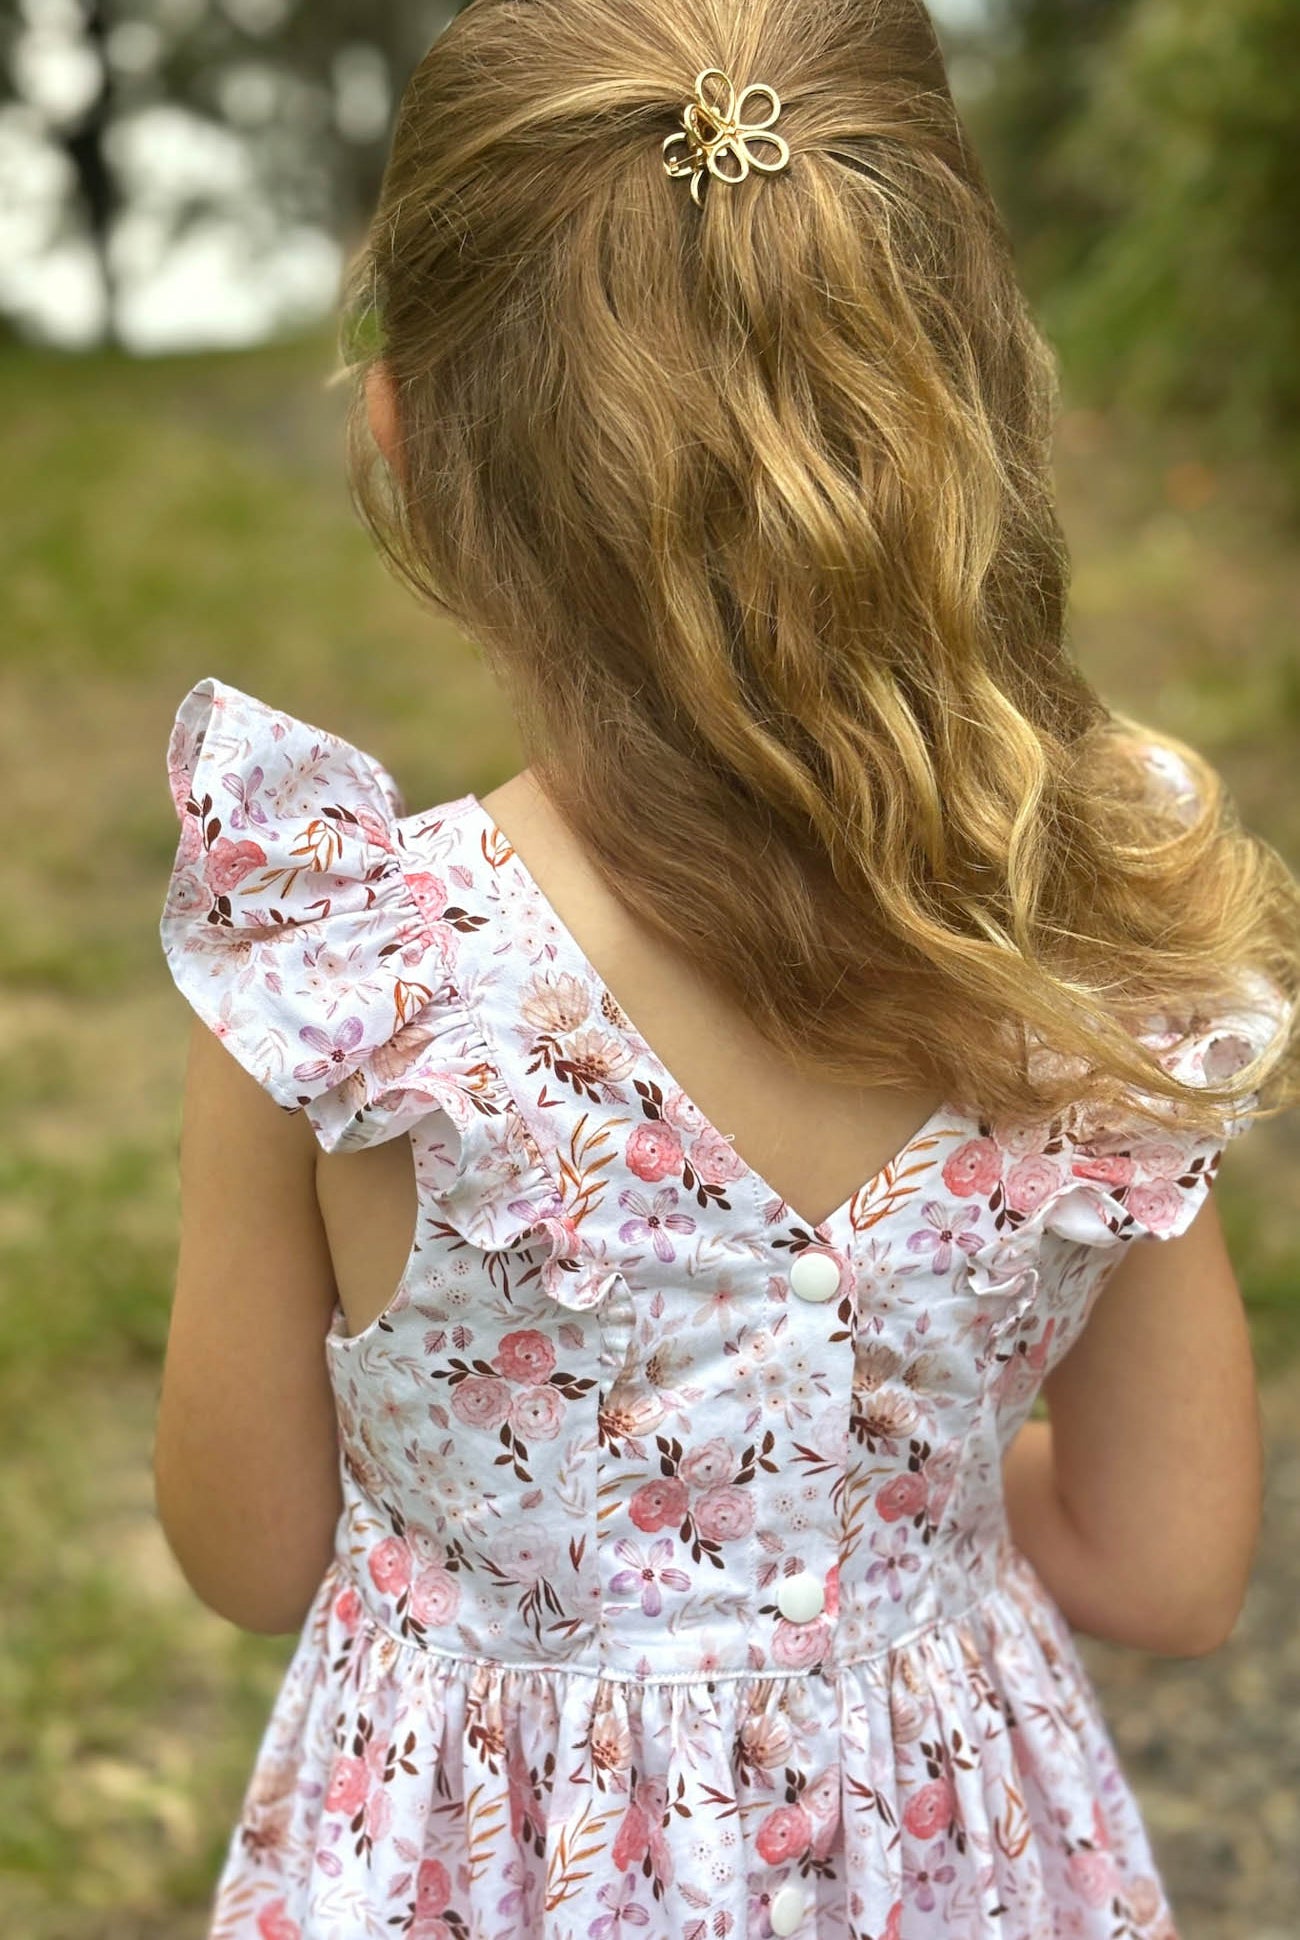
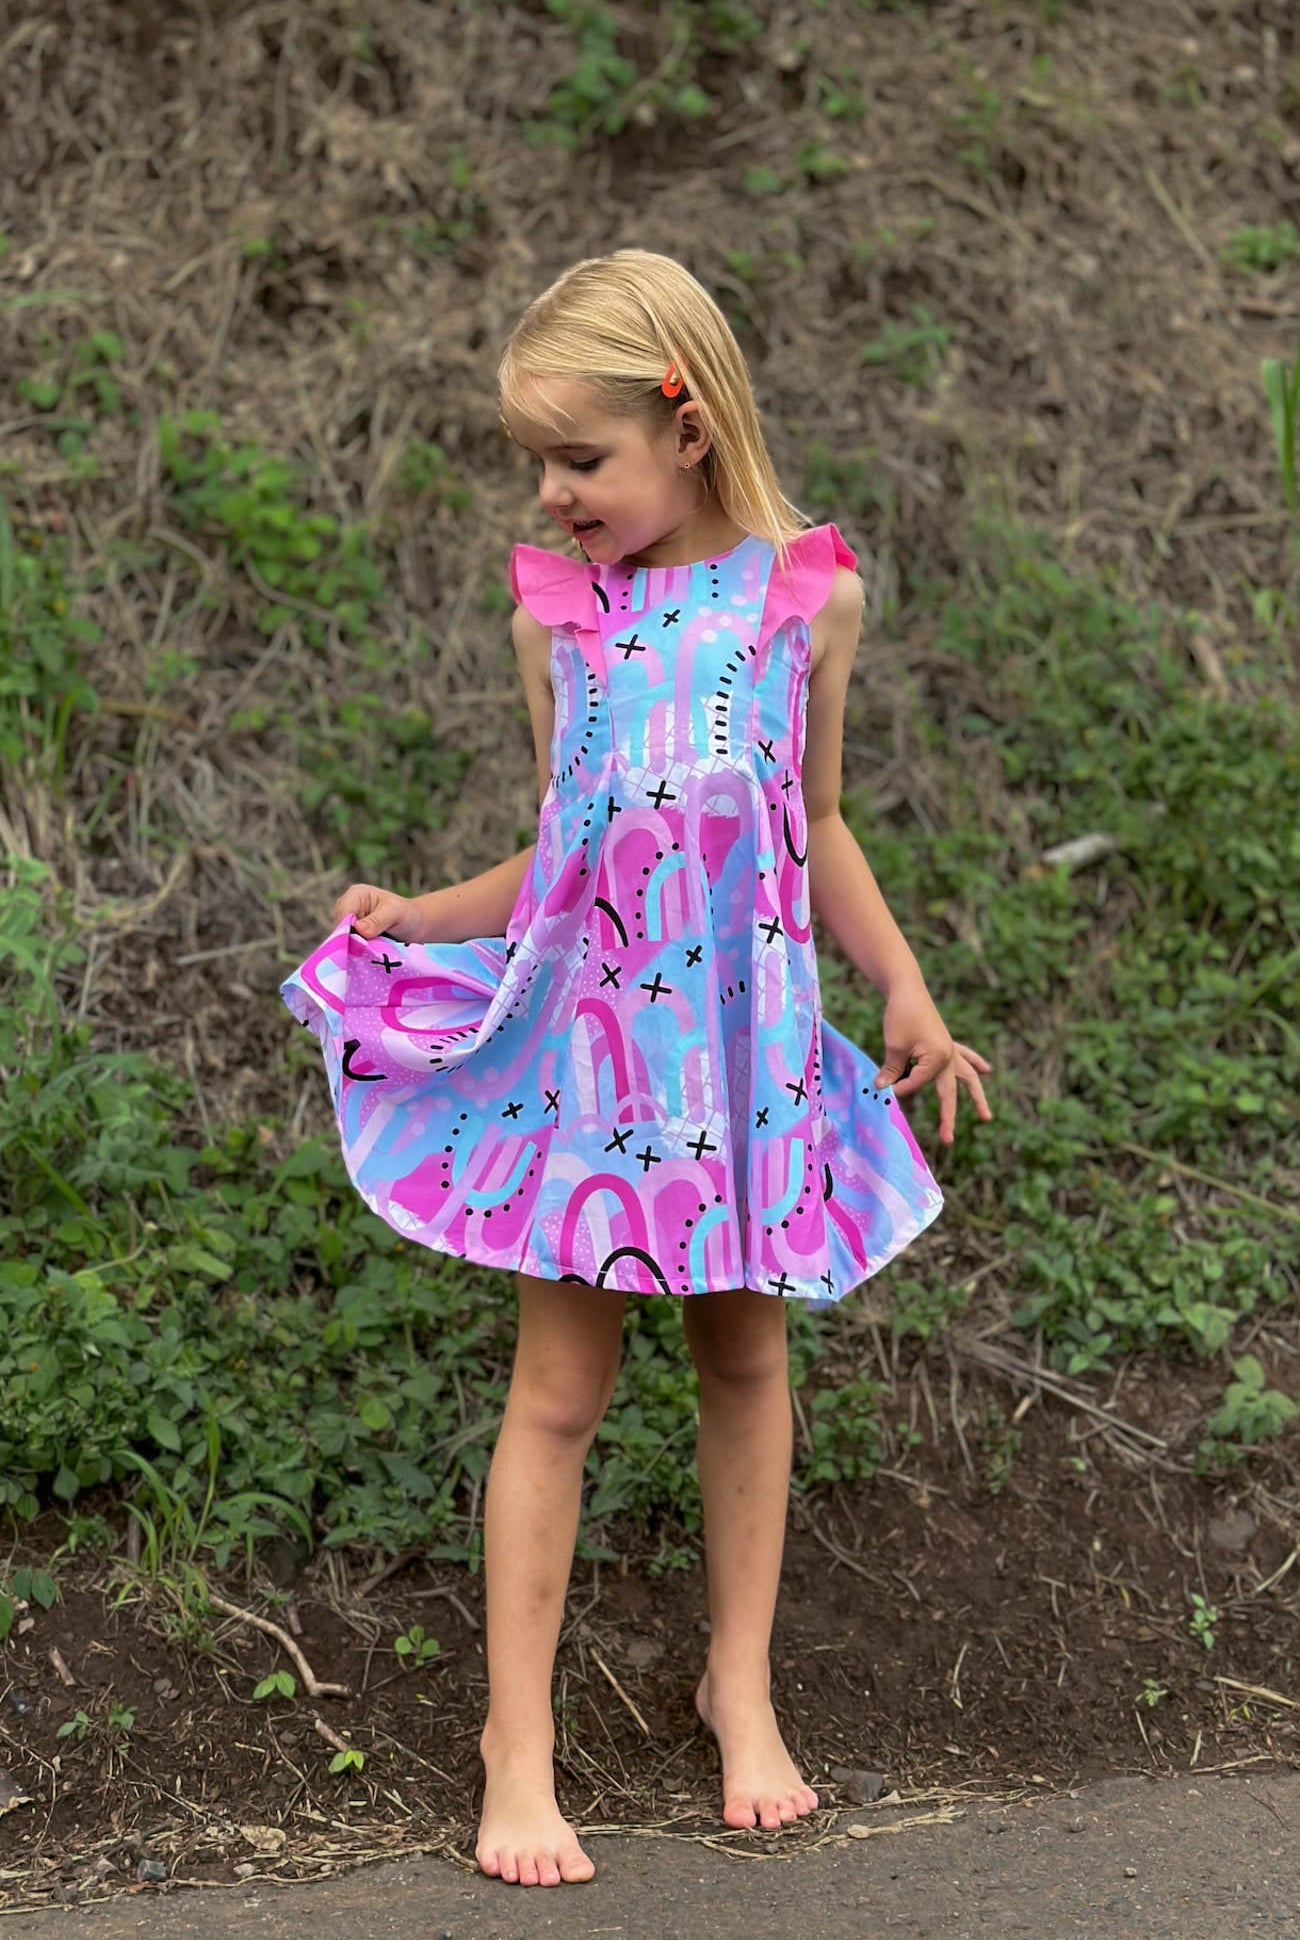
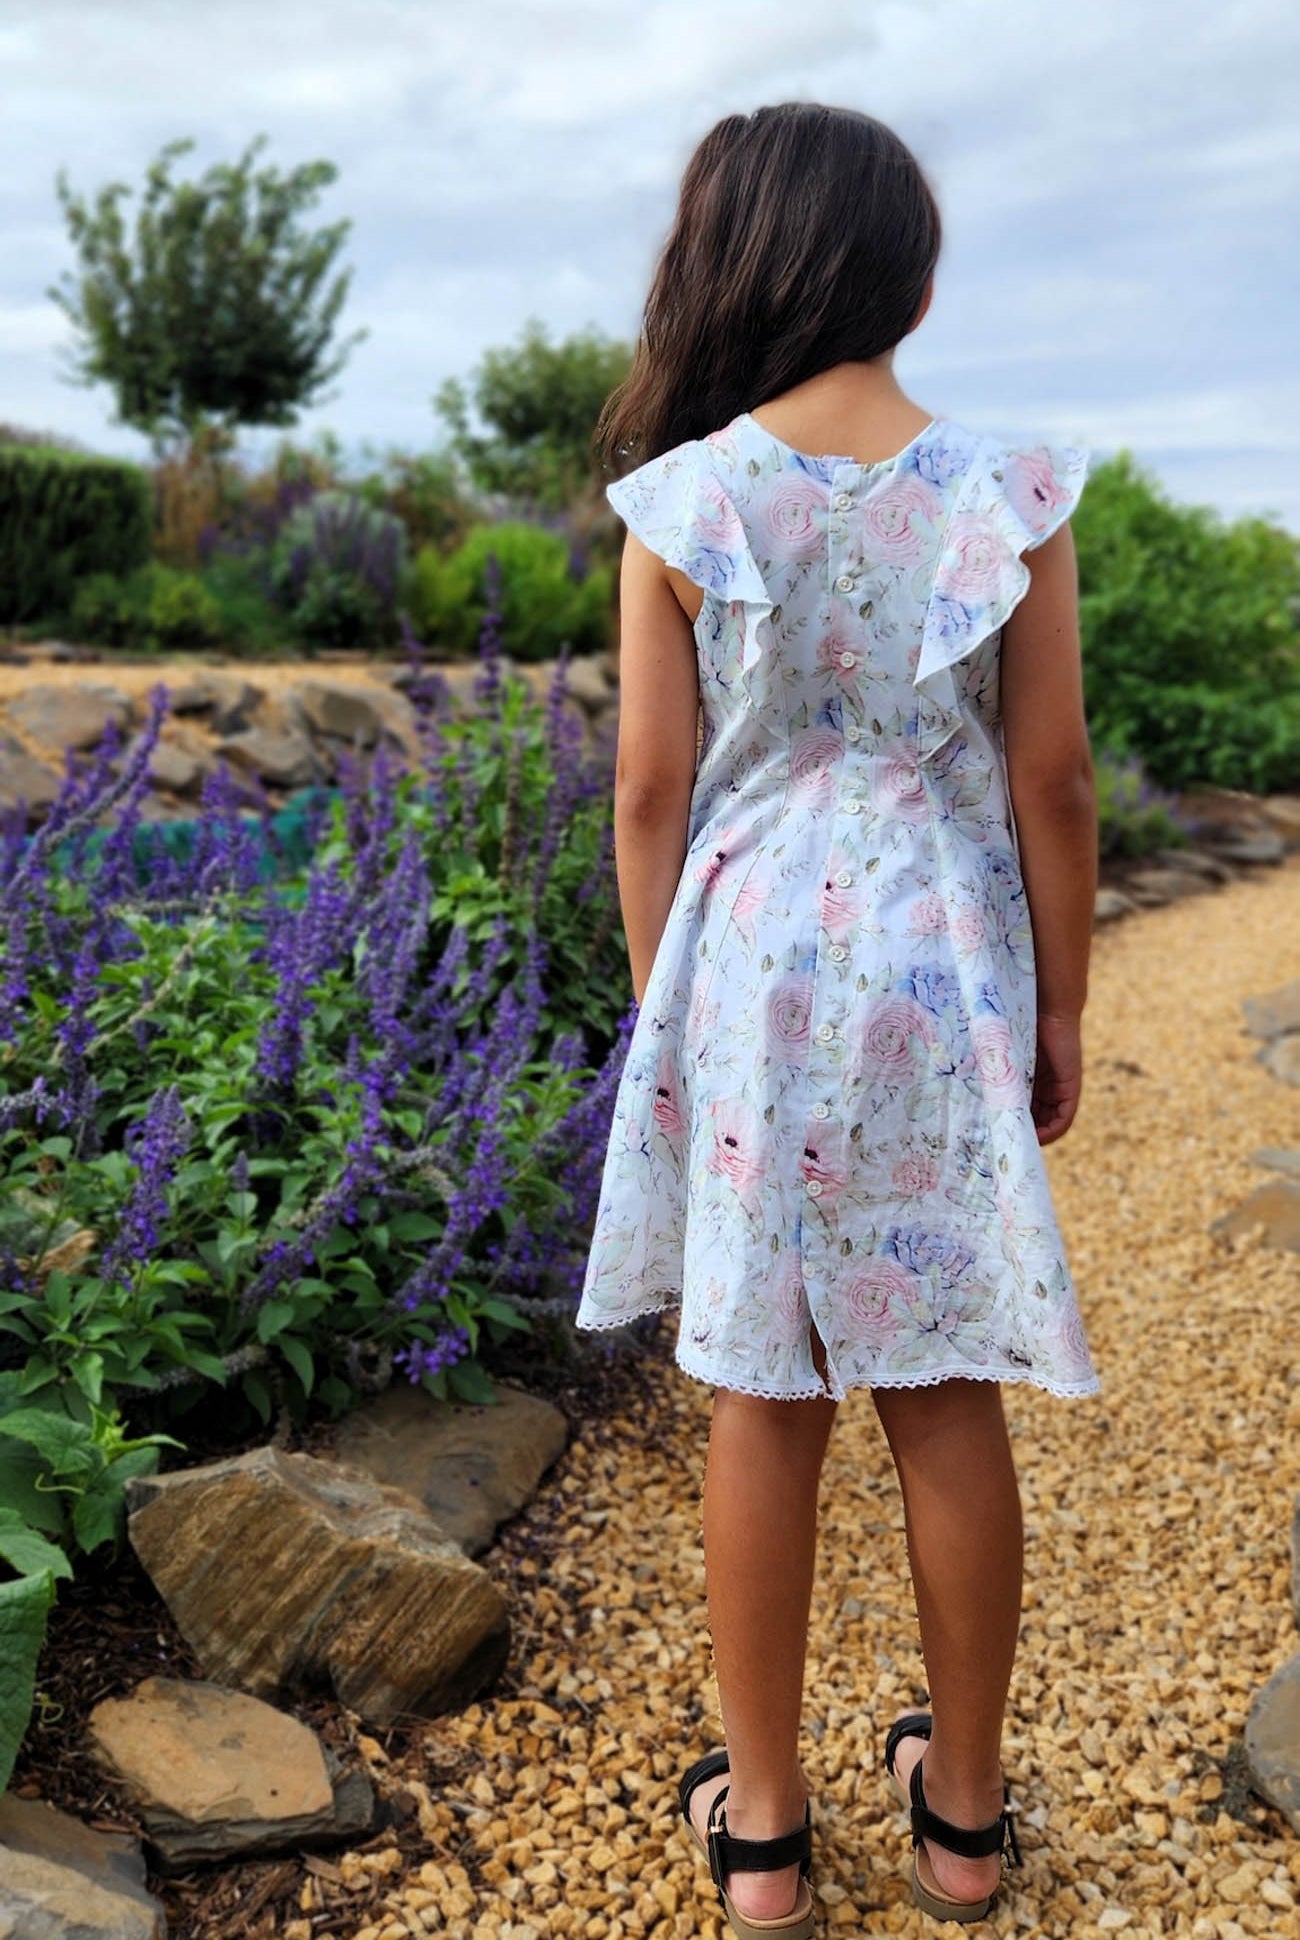
Now you can complete the playsuit/top or dress as per the pattern instructions, but do not complete the neckline yet.

Everything completed, except for the neckline.
Step 9.
Make a mark in the center of your front playsuit piece. Now you want to gather your neckline. I use a gathering foot to do all my gathering, but if you prefer to gather by hand, then baste two rows of stitches along the top of the neckline. Now, take your bias tape and fold it in half lengthwise to find the middle. Make a mark with your pen. Then you will need to use the table below to determine the length you need to gather to. (This measurement is basically the neck elastic measurement, less ½” ).


Once you have the center of your bias tape marked, halve the measurement given in the table above and measure this amount either side of your Centre line and mark with a pen.
Step 10.
Gather your neckline to the measurement given in the table above.

Step 11.
Pin the Centre of the bias tape to the Centre of the front playsuit. Right sides together. Pin all the way along the neckline making sure that the back ends of your playsuit match the marks you made earlier on each side.

Step 12.
Now, sew on your bias tape following the fold line. (1/2” seam allowance).

Step 13.
Next, trim your seam allowance by half.
This is a very important step if you want a very neat and perfect finish.

Step 14.
Press seam allowance up towards the top of the bias tape. (away from the neckline).

Step 15.
Find your centre mark on your bias tape, this is where you will start. Fold the top of the bias tape over towards the inside of the playsuit, making sure the edge sits just on top of the stitch line and press with your iron.
Center mark…

Stitch line…

Step 16.
Apply some fabric glue along the seam allowance of the neckline. Fold your bias tape in half, so that half of the bias tape sits on the front and the other half sits over to the back. Make you’re your bias tape sits exactly on top of the stitch line.


Step 17.
Press and pin as you go.


Step 19.
Once you have pinned and glued it all in place, you want to trim the ends into a point to give the ends a sharp look.

Fold over the end and then fold the bias tape in half. Press and pin.

Step 20.
Now you want to topstitch the bias tape 1/8” from the edge on the right side of the playsuit, removing the pins as you go so you don’t run over them.


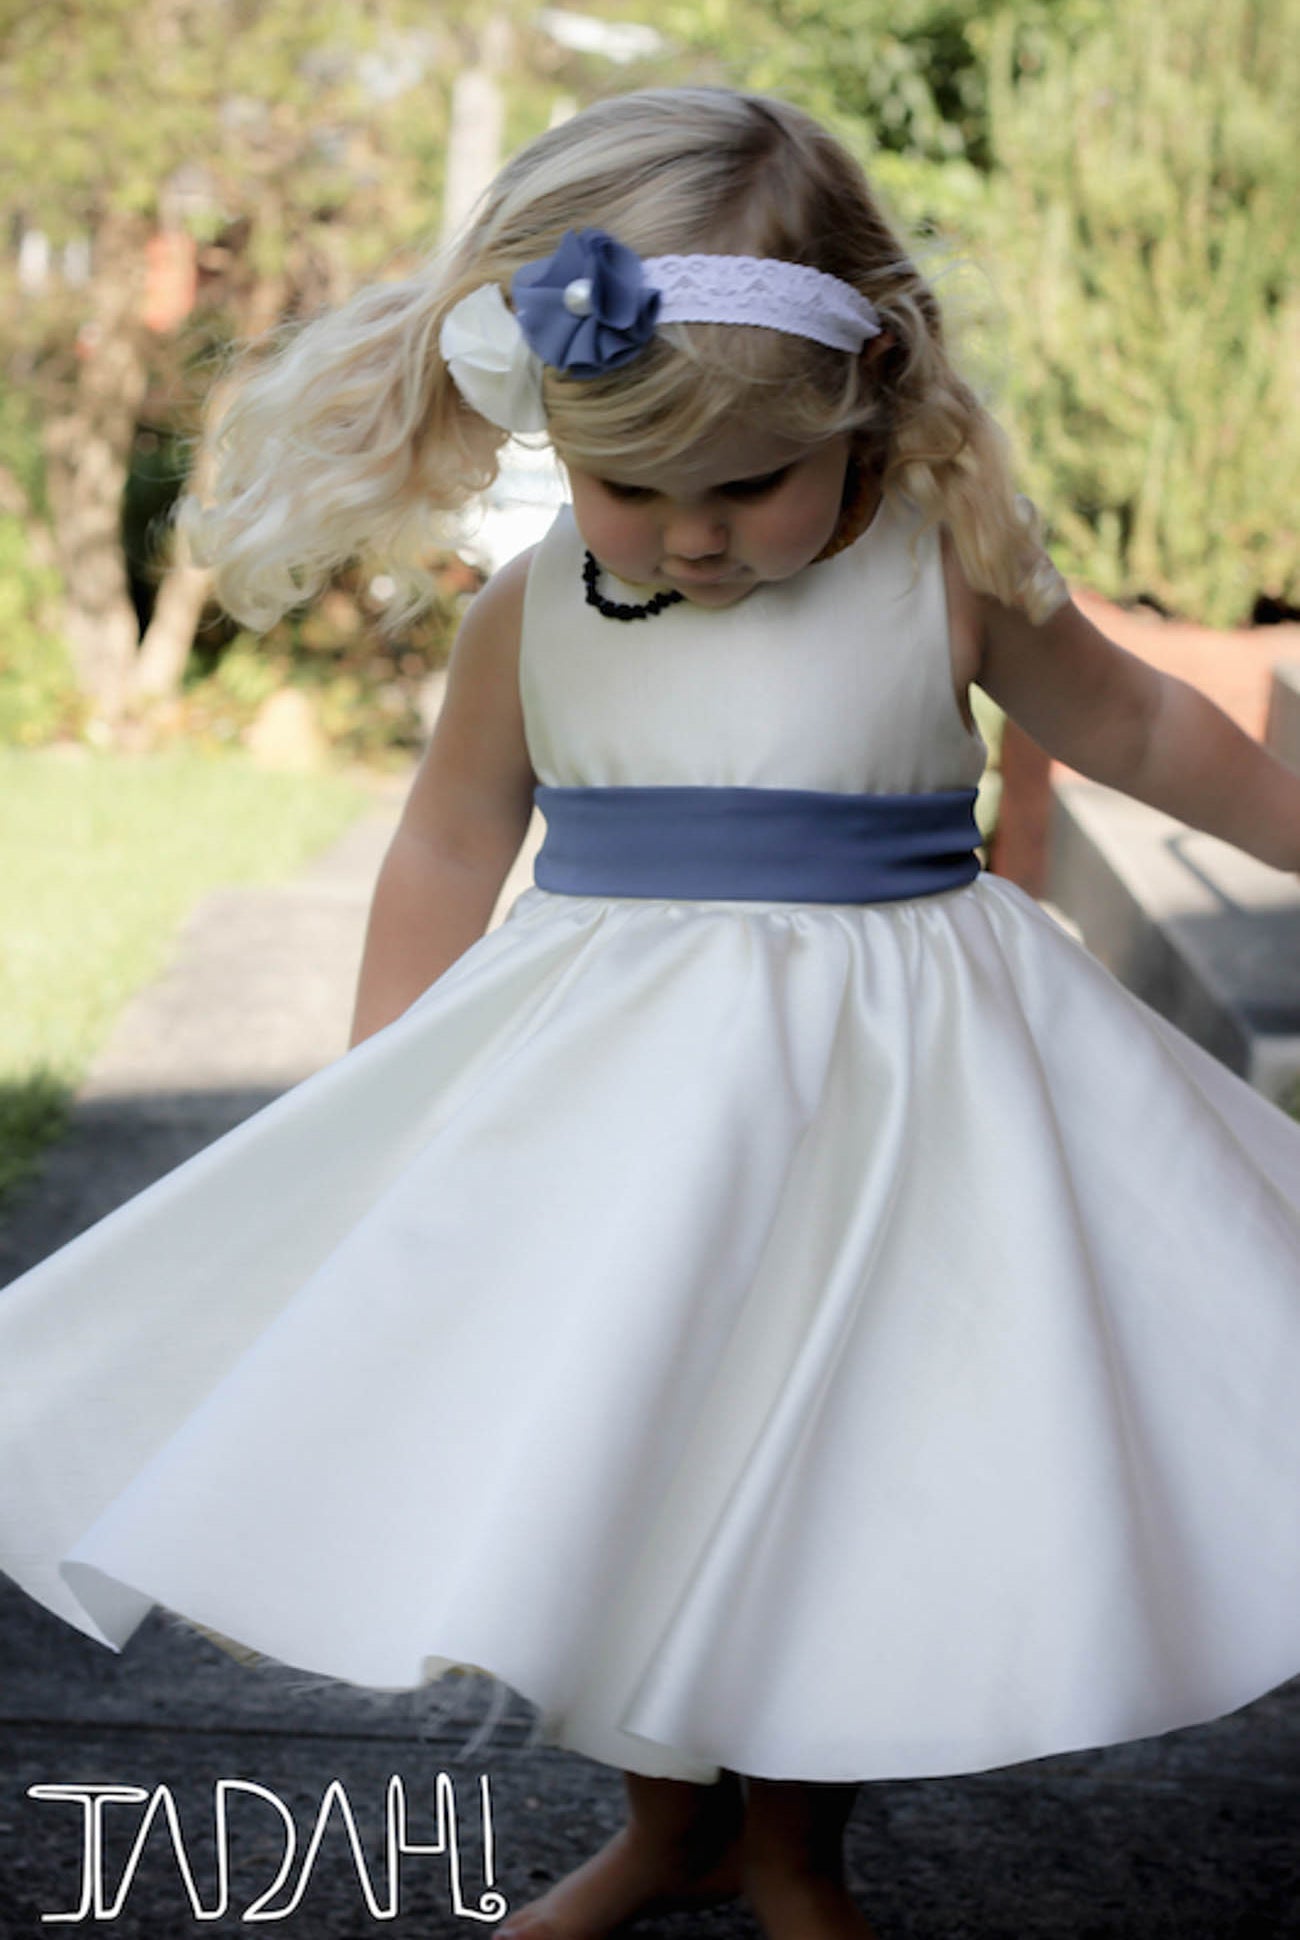
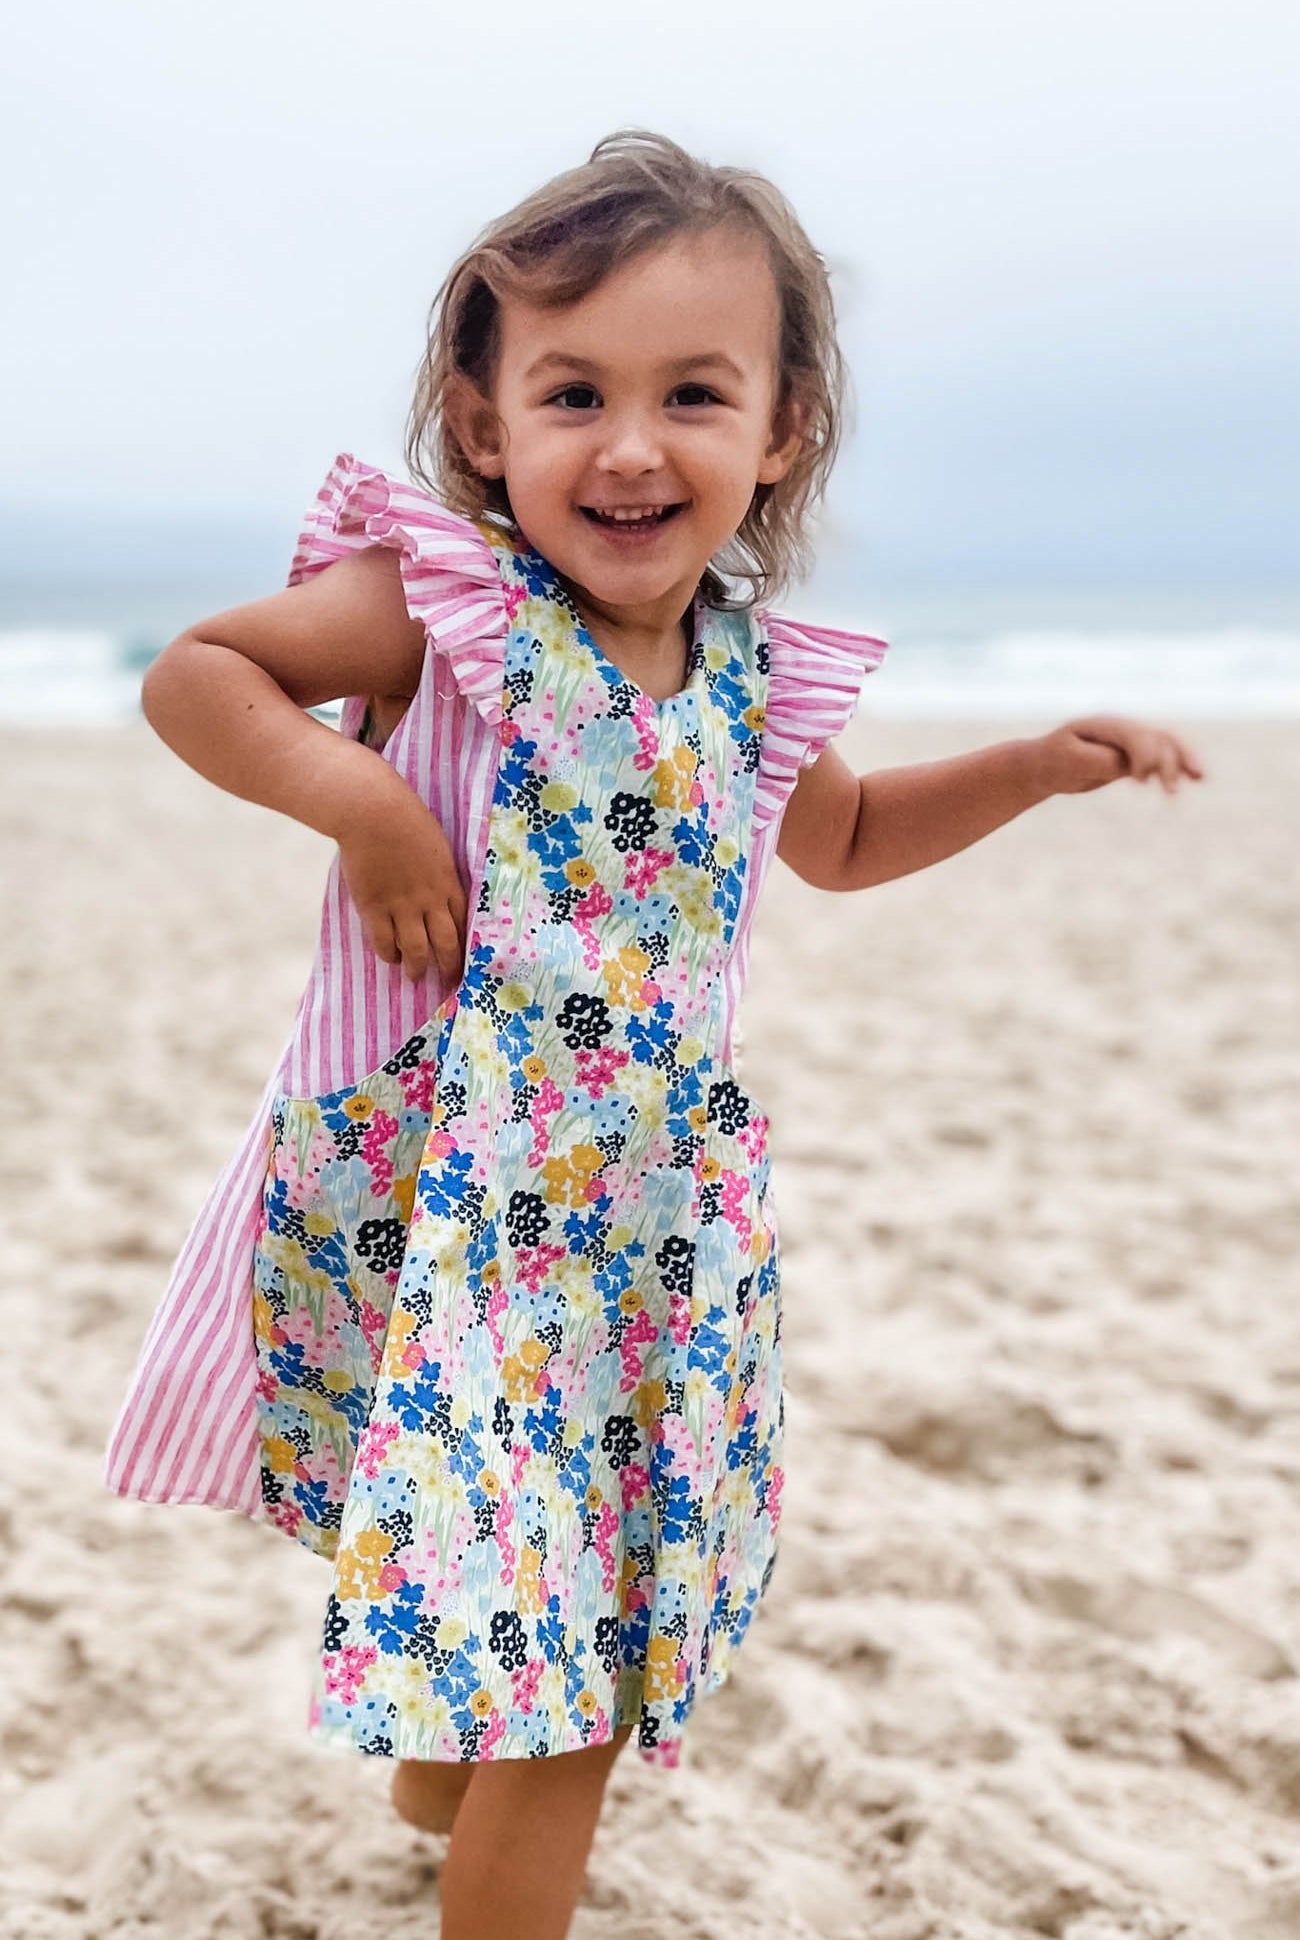
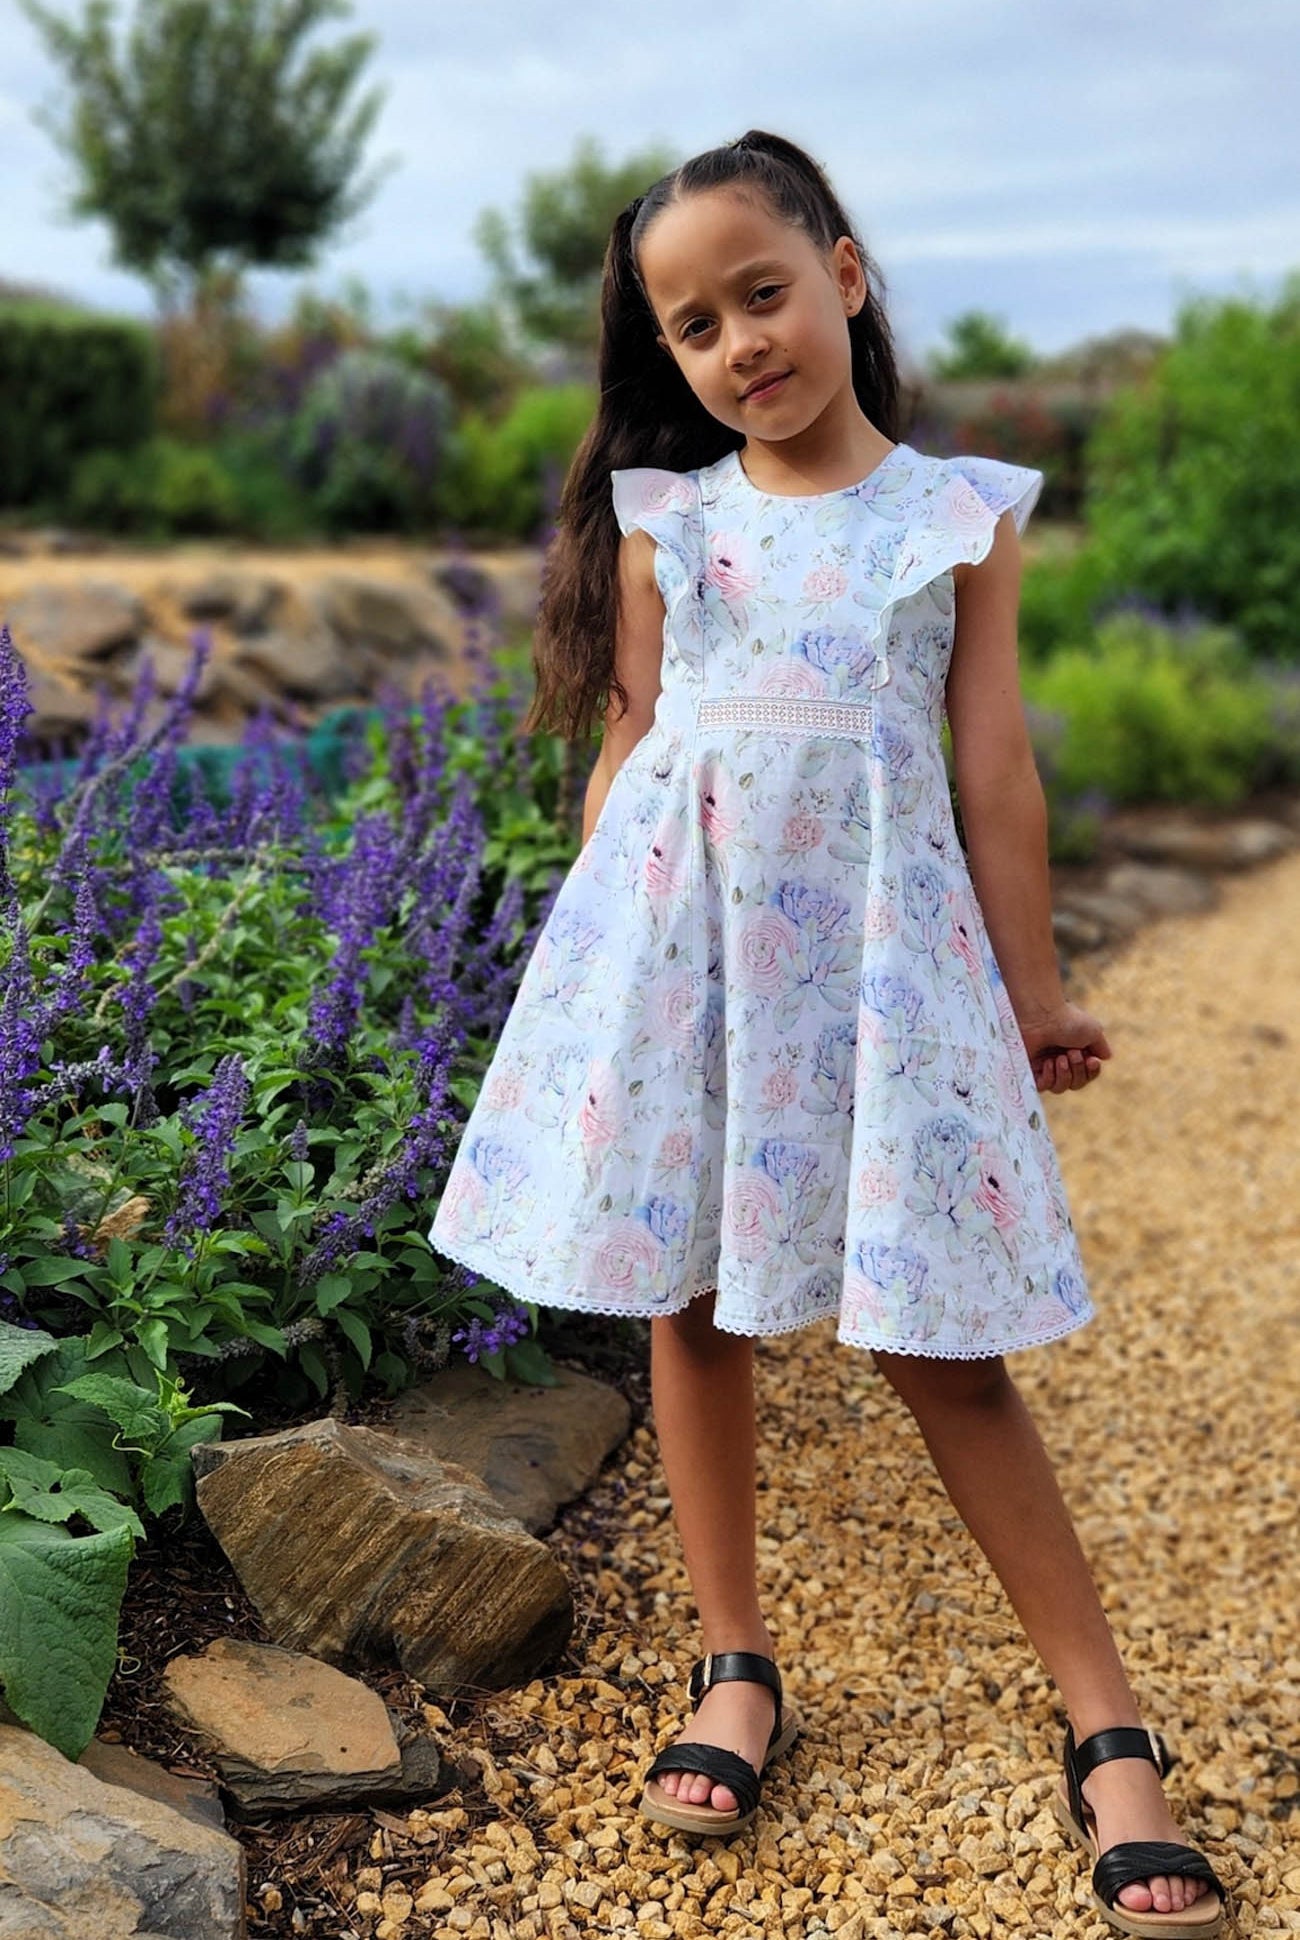
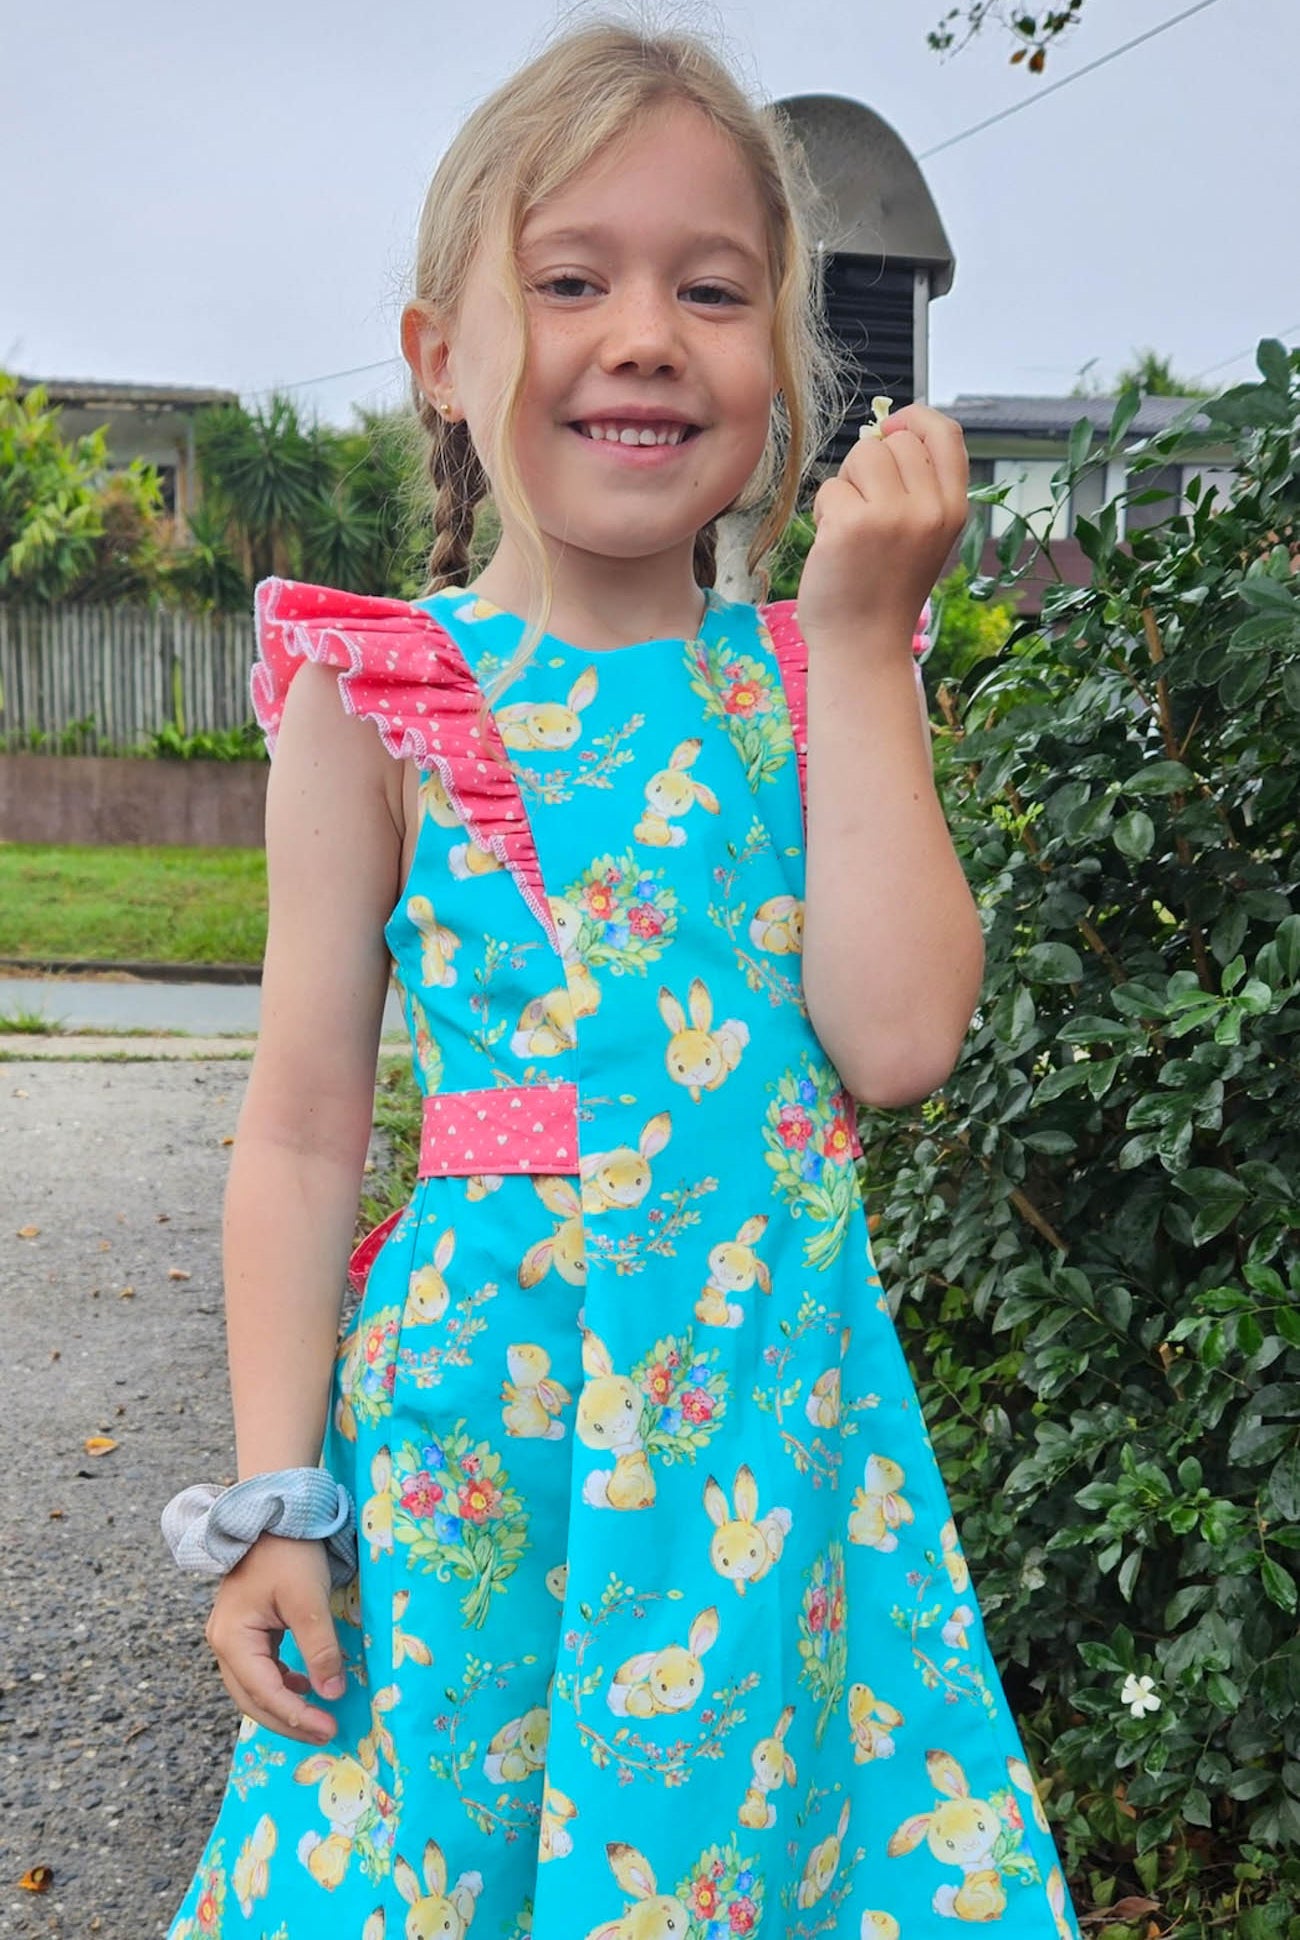
And Tadah!!!
Hope you all enjoy, and a huge thank you once more to Sandra <3
T xx
DISCLAIMER
Please remember that it is your responsibility to carry out your own research to determine whether or not any Standards (voluntary or otherwise) apply to the garments that you make. If any Standards do apply, irrespective of your geographical location, then you must fully comply with those Standards. Tadah Patterns will not be responsible for any failure of a reader to comply with any Standards that may apply.


Comments
Just gorgeous Tanya (as always!) any tips on using the gathering foot? Is it slightly adjustable compared to the ruffler & you can make it fit your bias/measurements?
Thanks xx