


Hi All!!
I thought I'd do a post on the blog for those of you who don't have Facebook
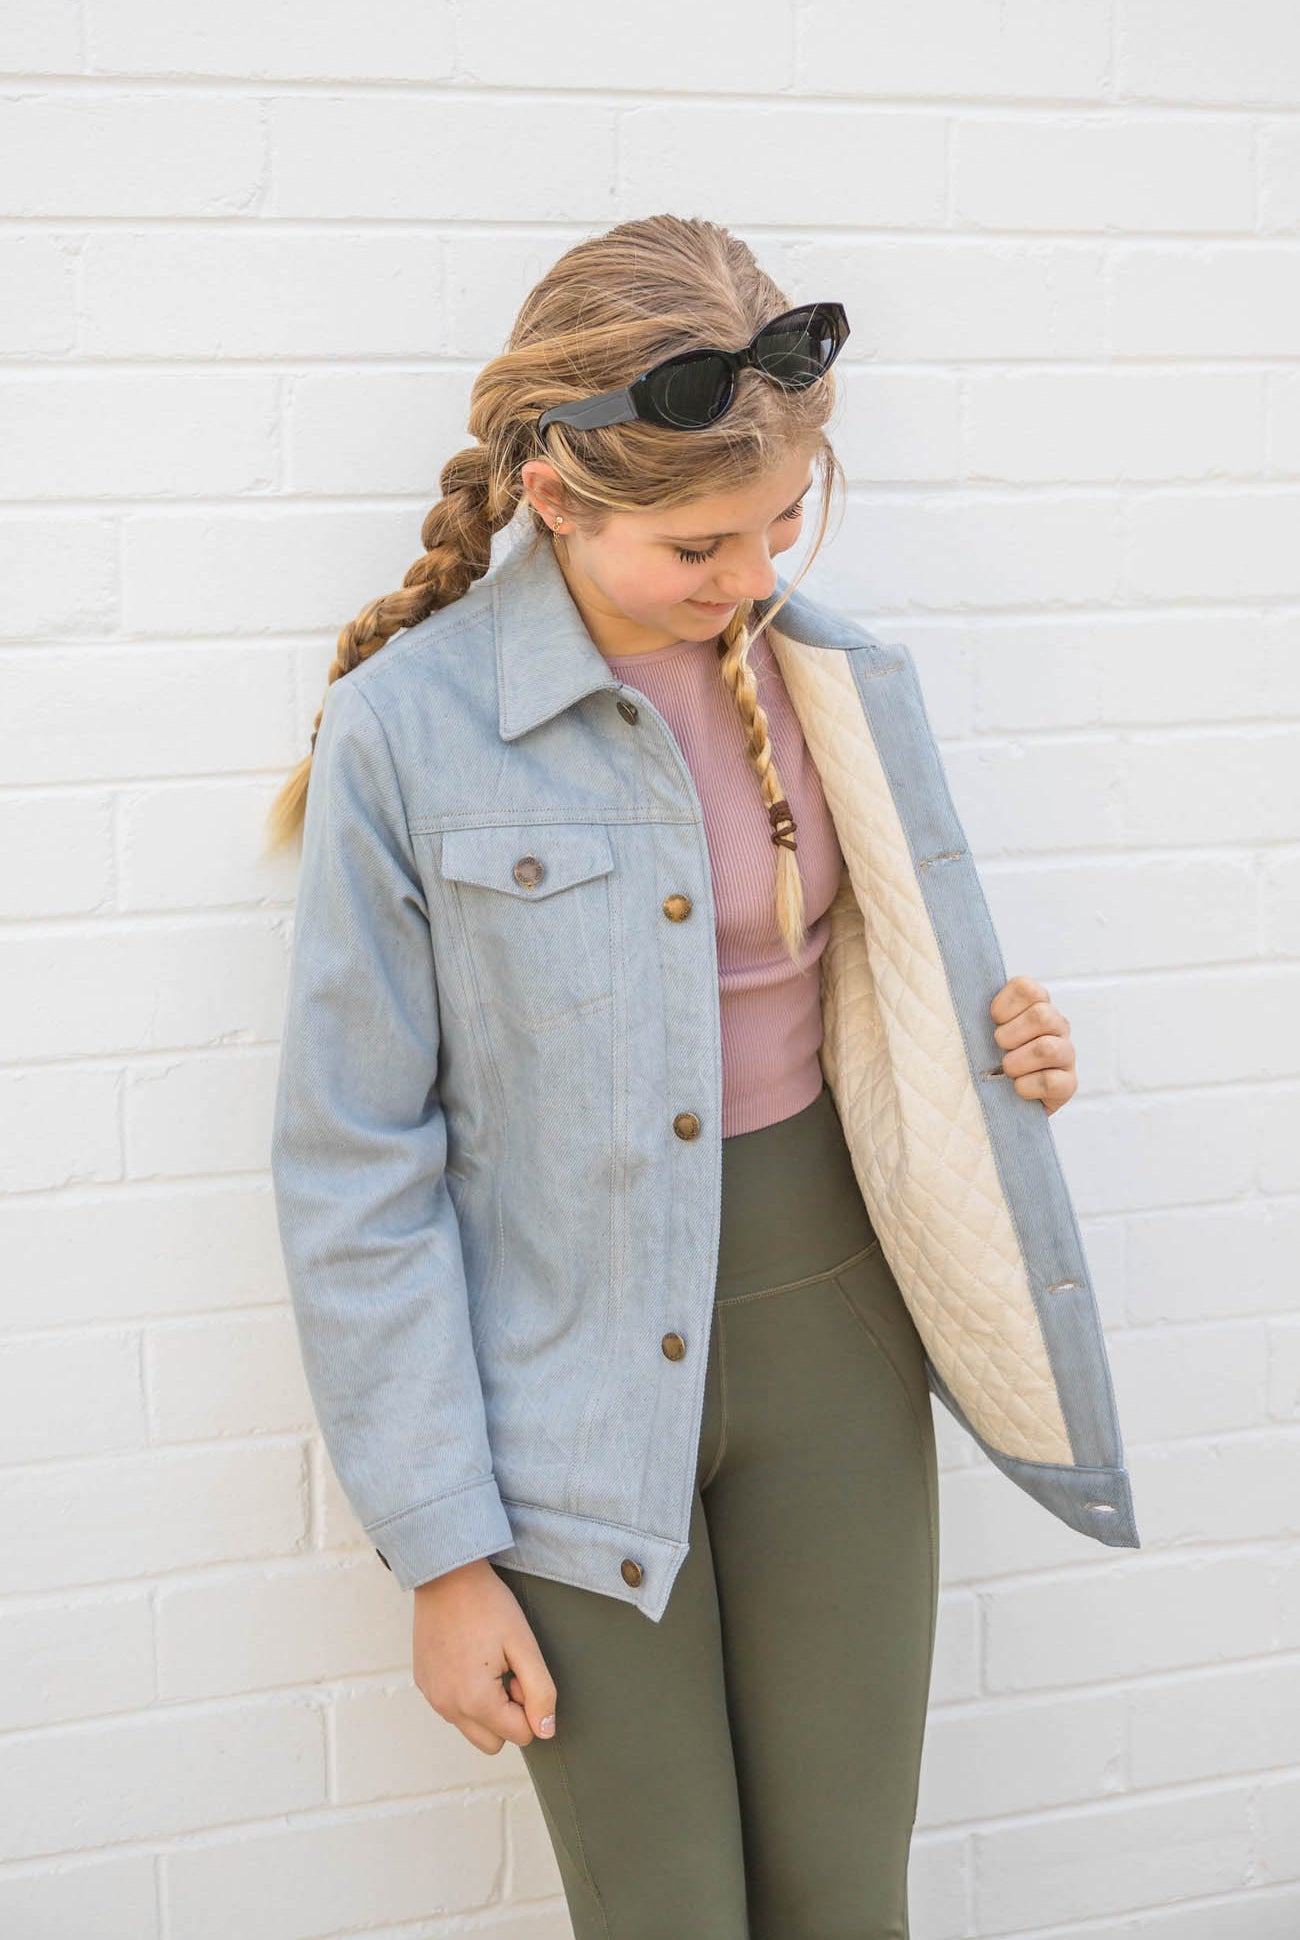
Today is day 1 of our sew-along and we're putting together the lining today.
For those of you making the Pro-Finish you will need to complete steps 18-27 and for those of you doing the Quick-Finish you'll need to complete steps 24-27
For all Day 1 questions, comments and photos please post in the comments of this post so we can all find it again later
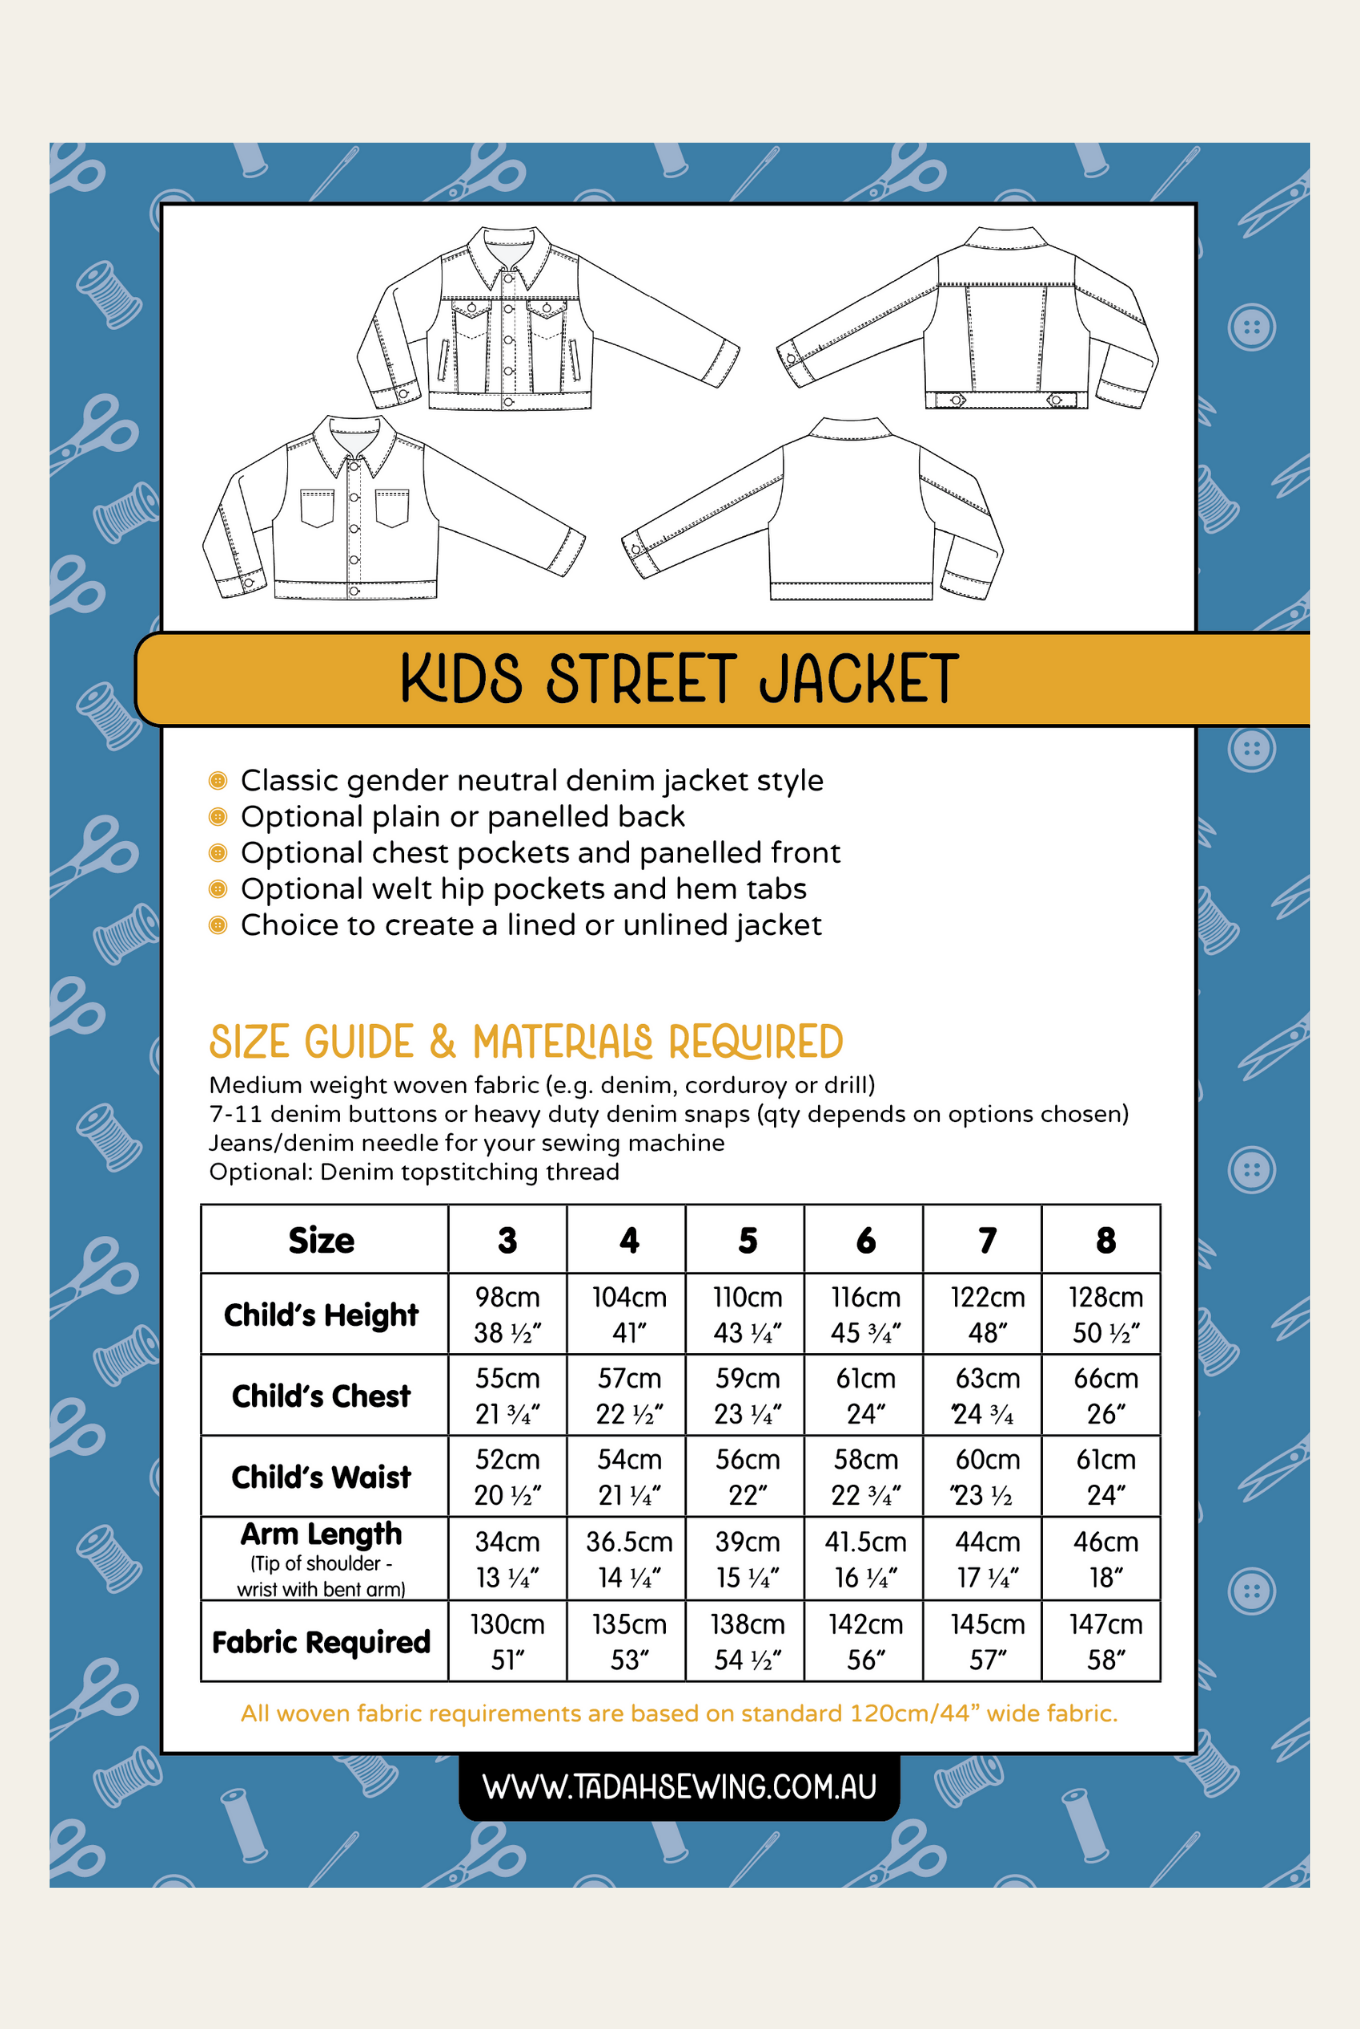
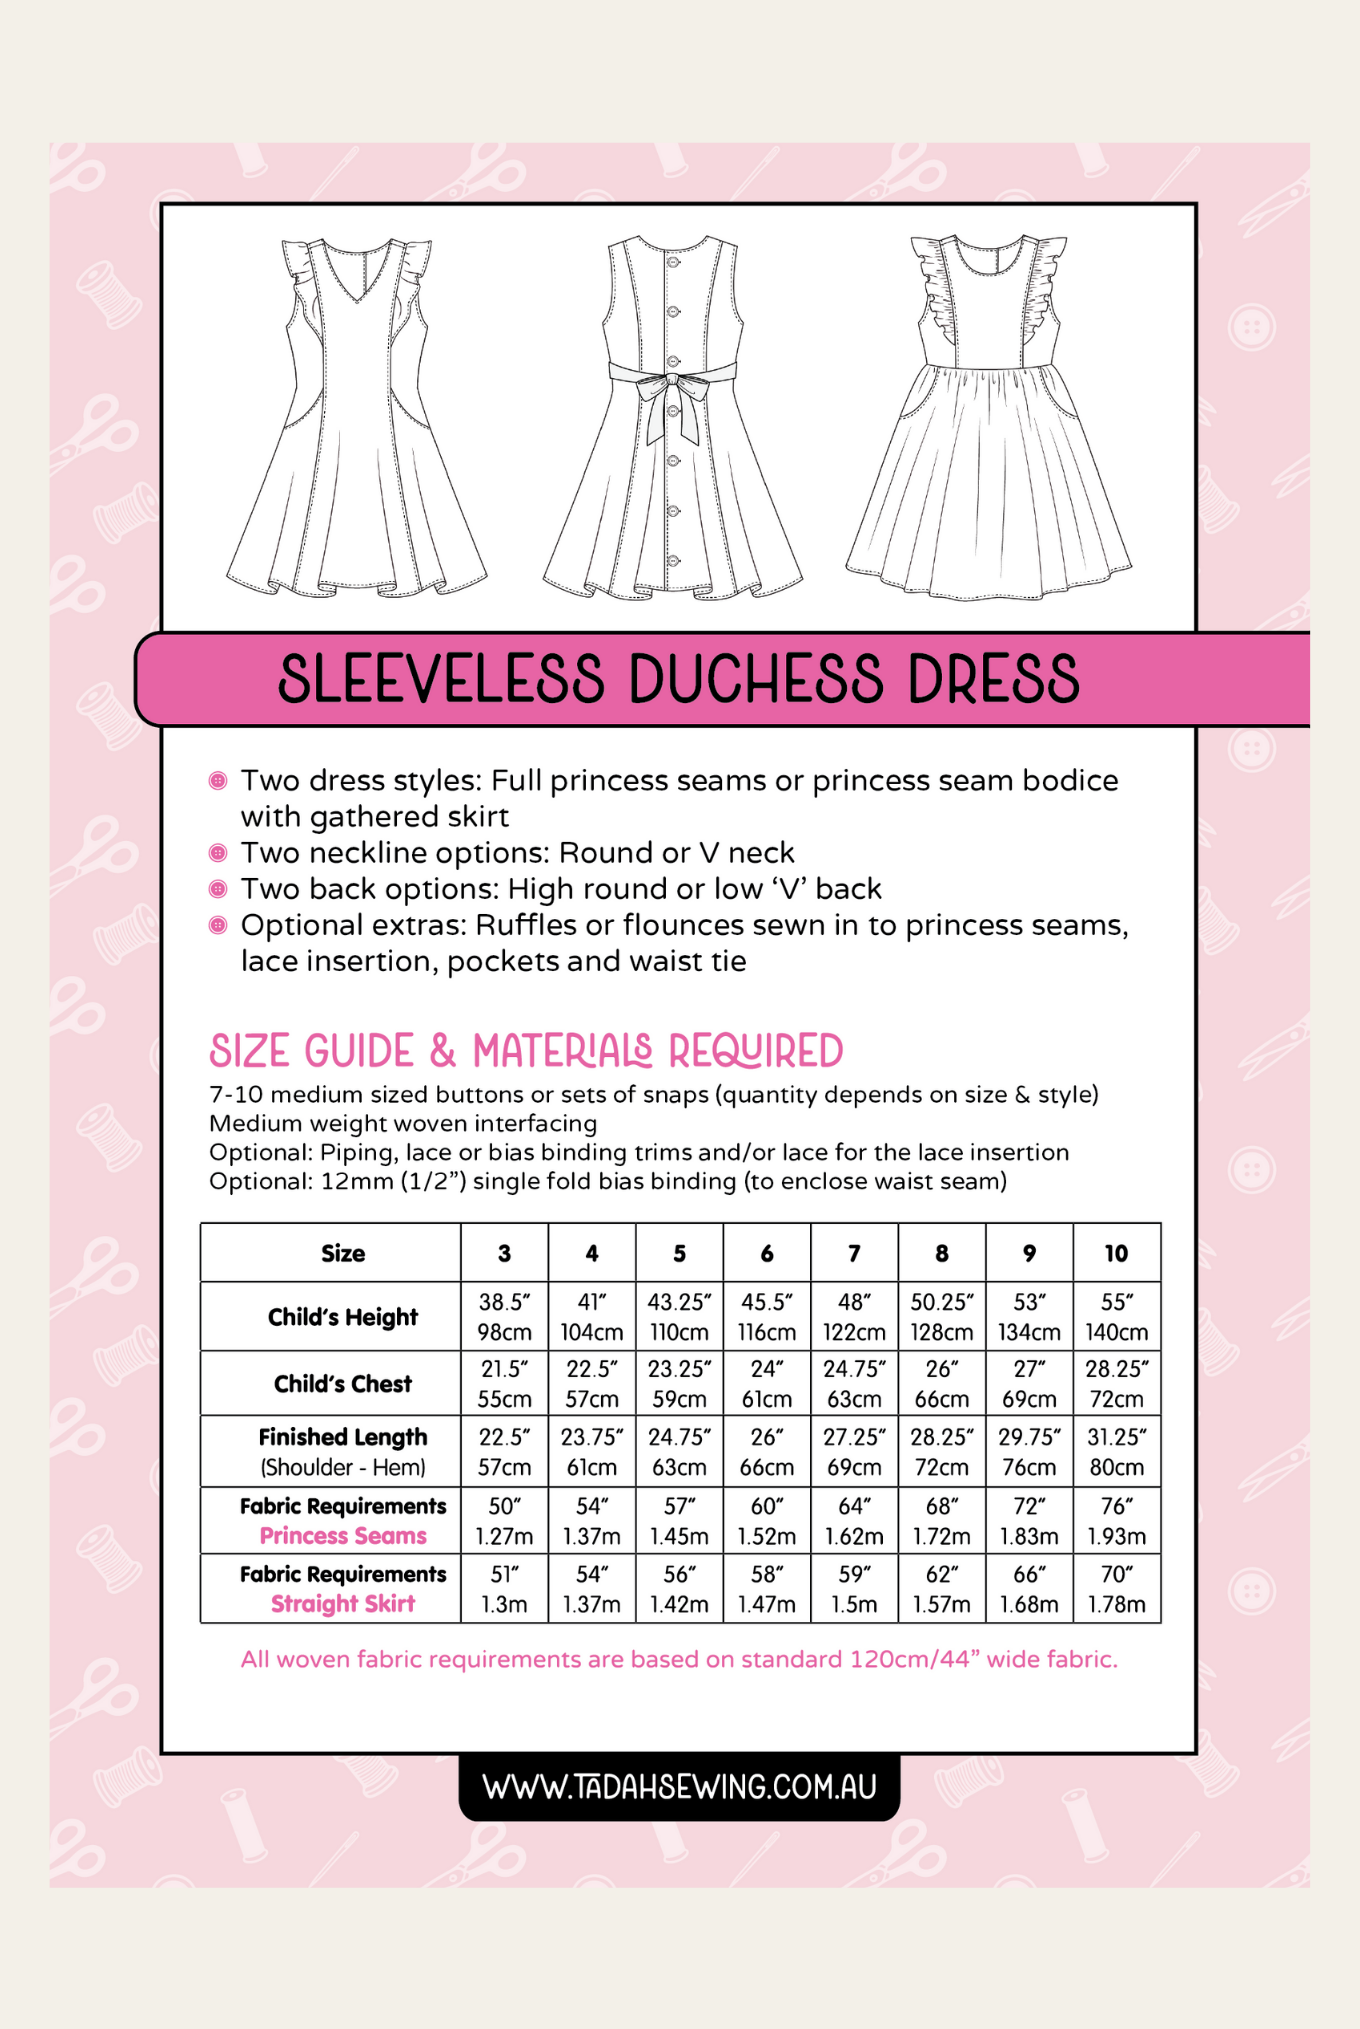
Please note: the seam allowance for this pattern is 1/2"

So, let's start with sewing our front and back together at the shoulder seams and press the seams open. You need he back lining, front lining and sleeve lining pieces for today.

Make sure you mark out the front of your sleeve and the centre seam notch

Do this for both sleeves. They are not symmetrical so you'll need to make sure the front notch matches the front lining piece.

I like to pin my centre seam and my end and then work slowly to get them even and flat

Pin all the way for both sleeves

Sew on with a 1/2" seam allowance. Make sure your needle is down so when you're going around the curves you stay in the same spot. If your machine has a speed button - this is when you need to put it down to slow speed so you take it easy :) hehe

Just a point to note - the pinning of the sleeve will keep your sections in place but you will need to stop/start to readjust and make sure none of your sleeve or lining shoulder is bunched up.
Make sure you press at the end of each step!
Press your sleeve seams AWAY from the sleeve

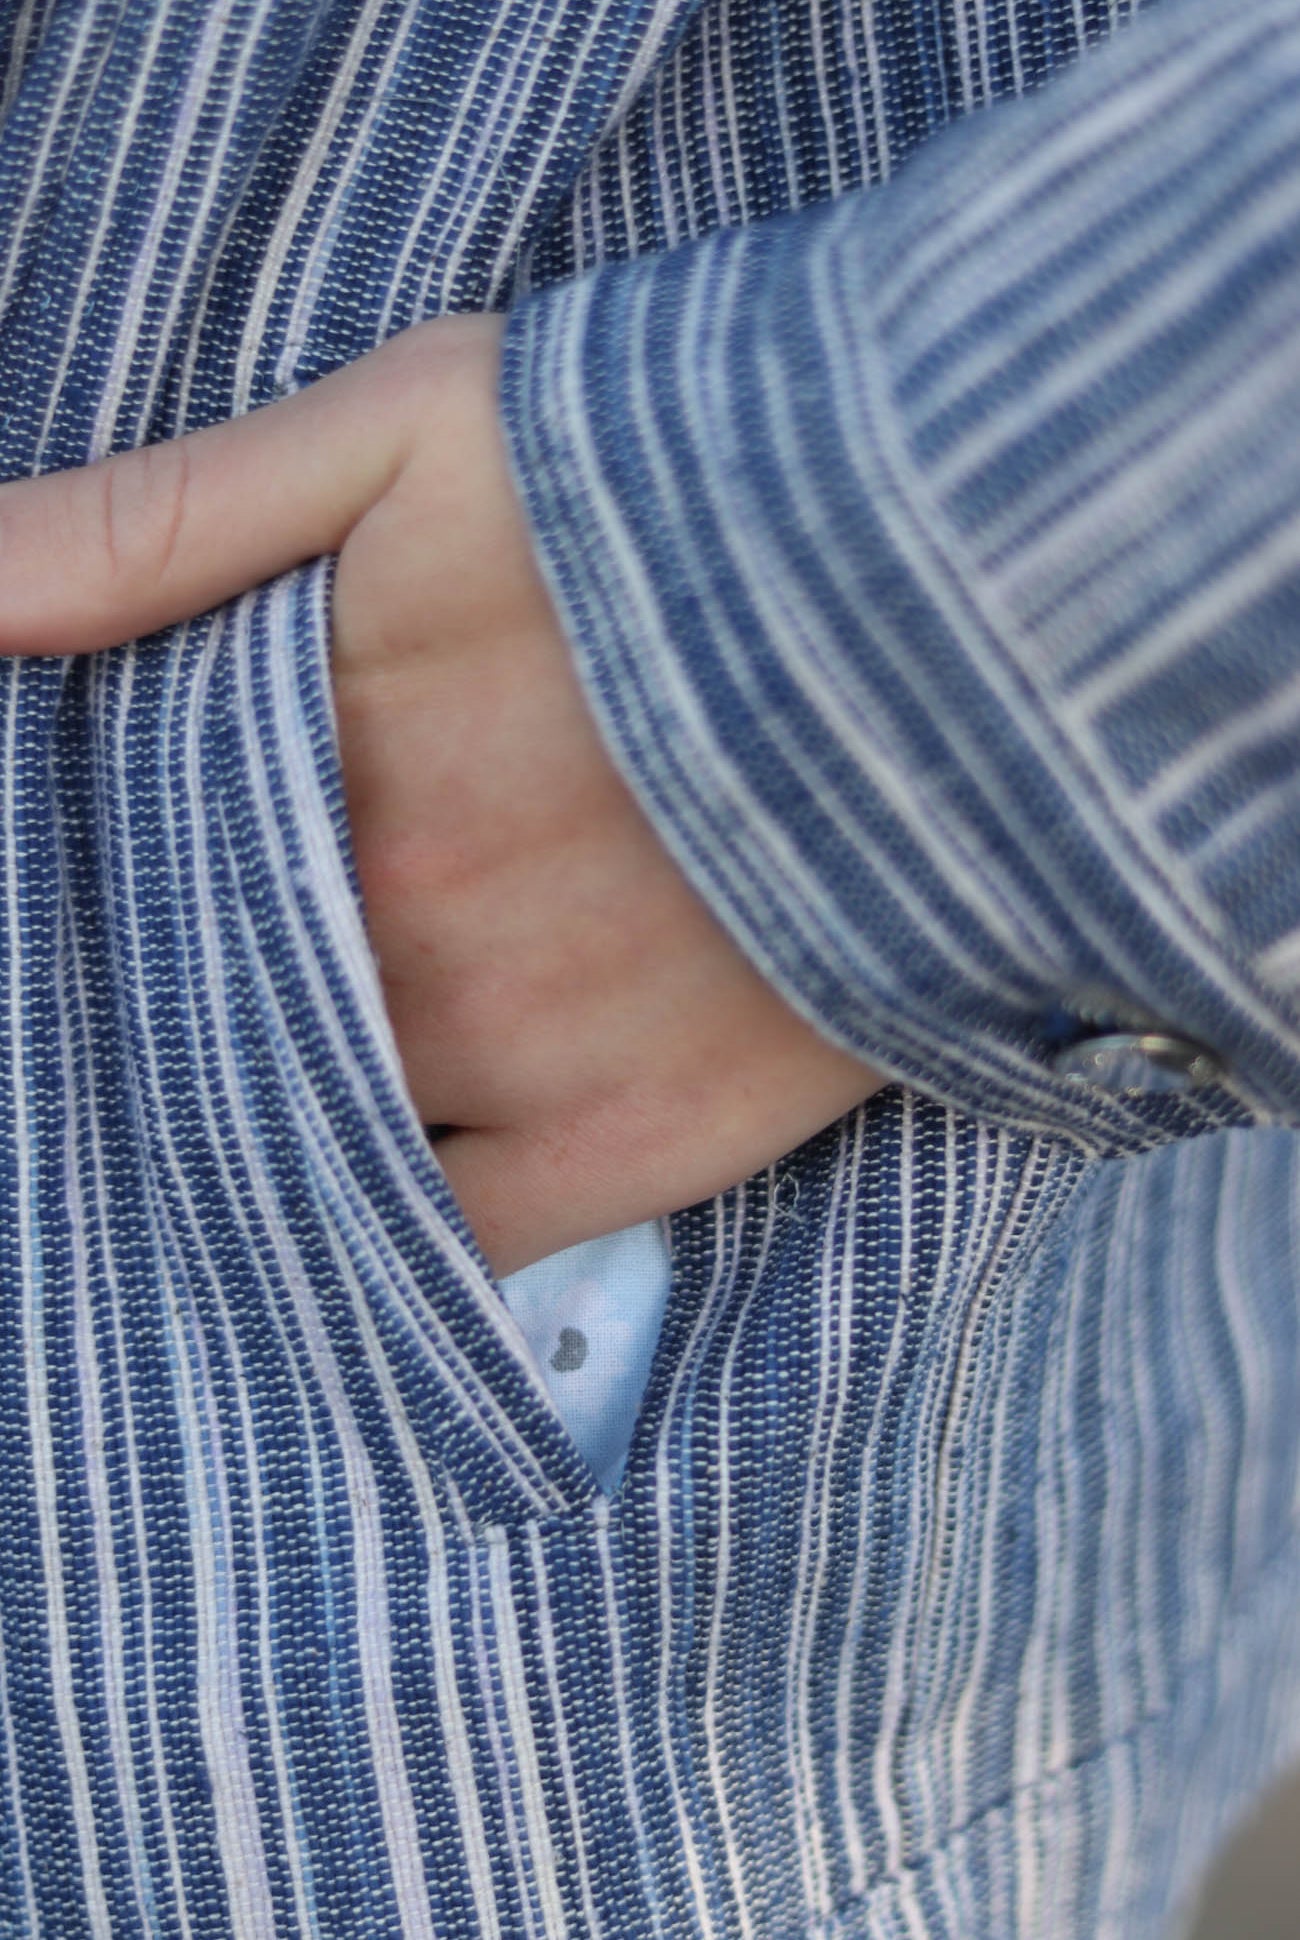
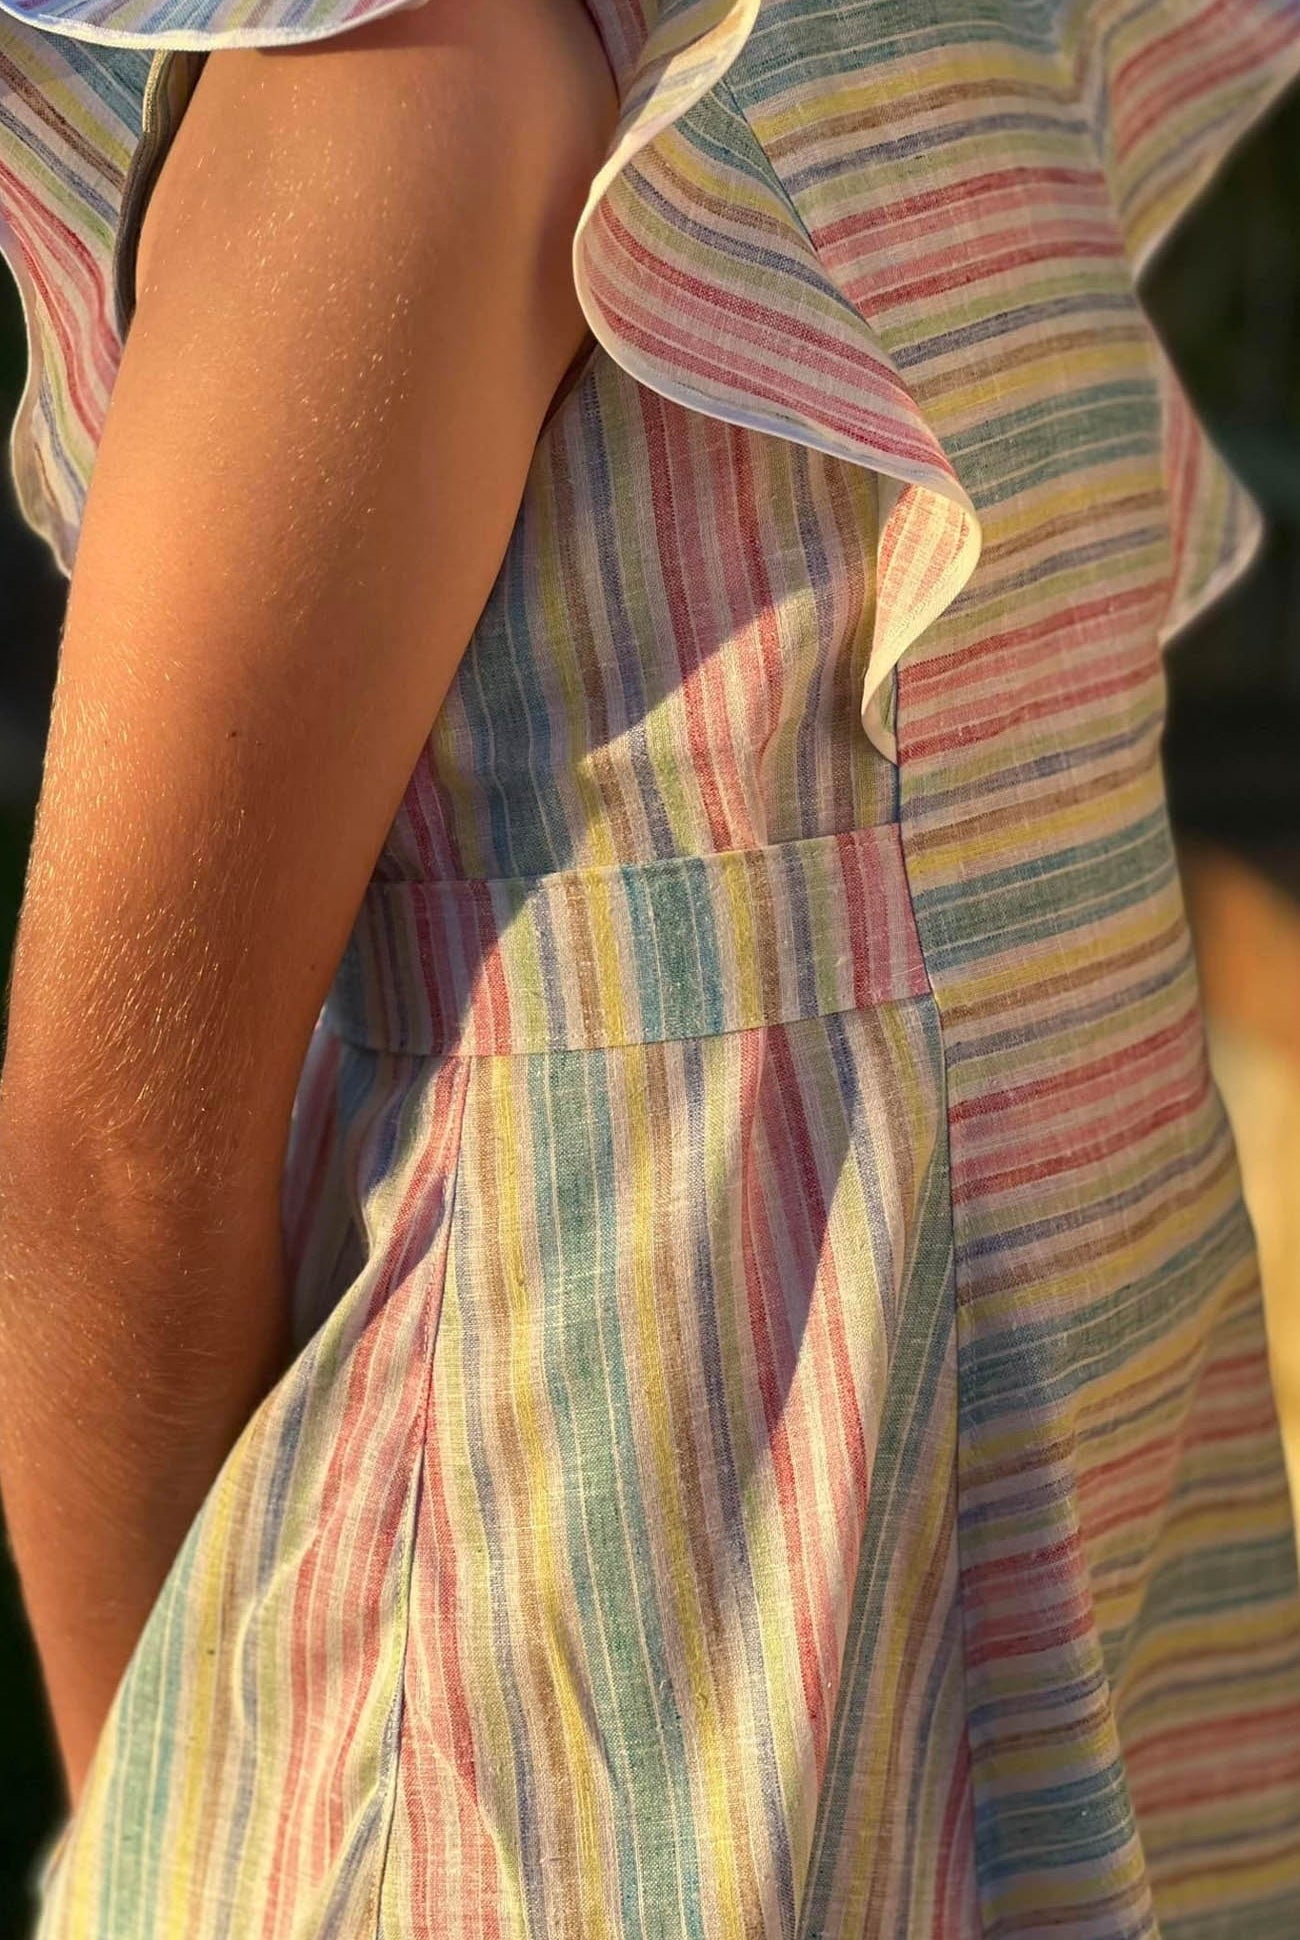
Fold your lining with right sides together and pin at the under arm seam, then continue to pin your sleeves and sides together (spot the small photobombed clinging to my leg)

We then sew these seams down with a 1/2" seam allowance
DONT FORGET TO LEAVE A 6" gap on one side so we can turn out the coat at the end
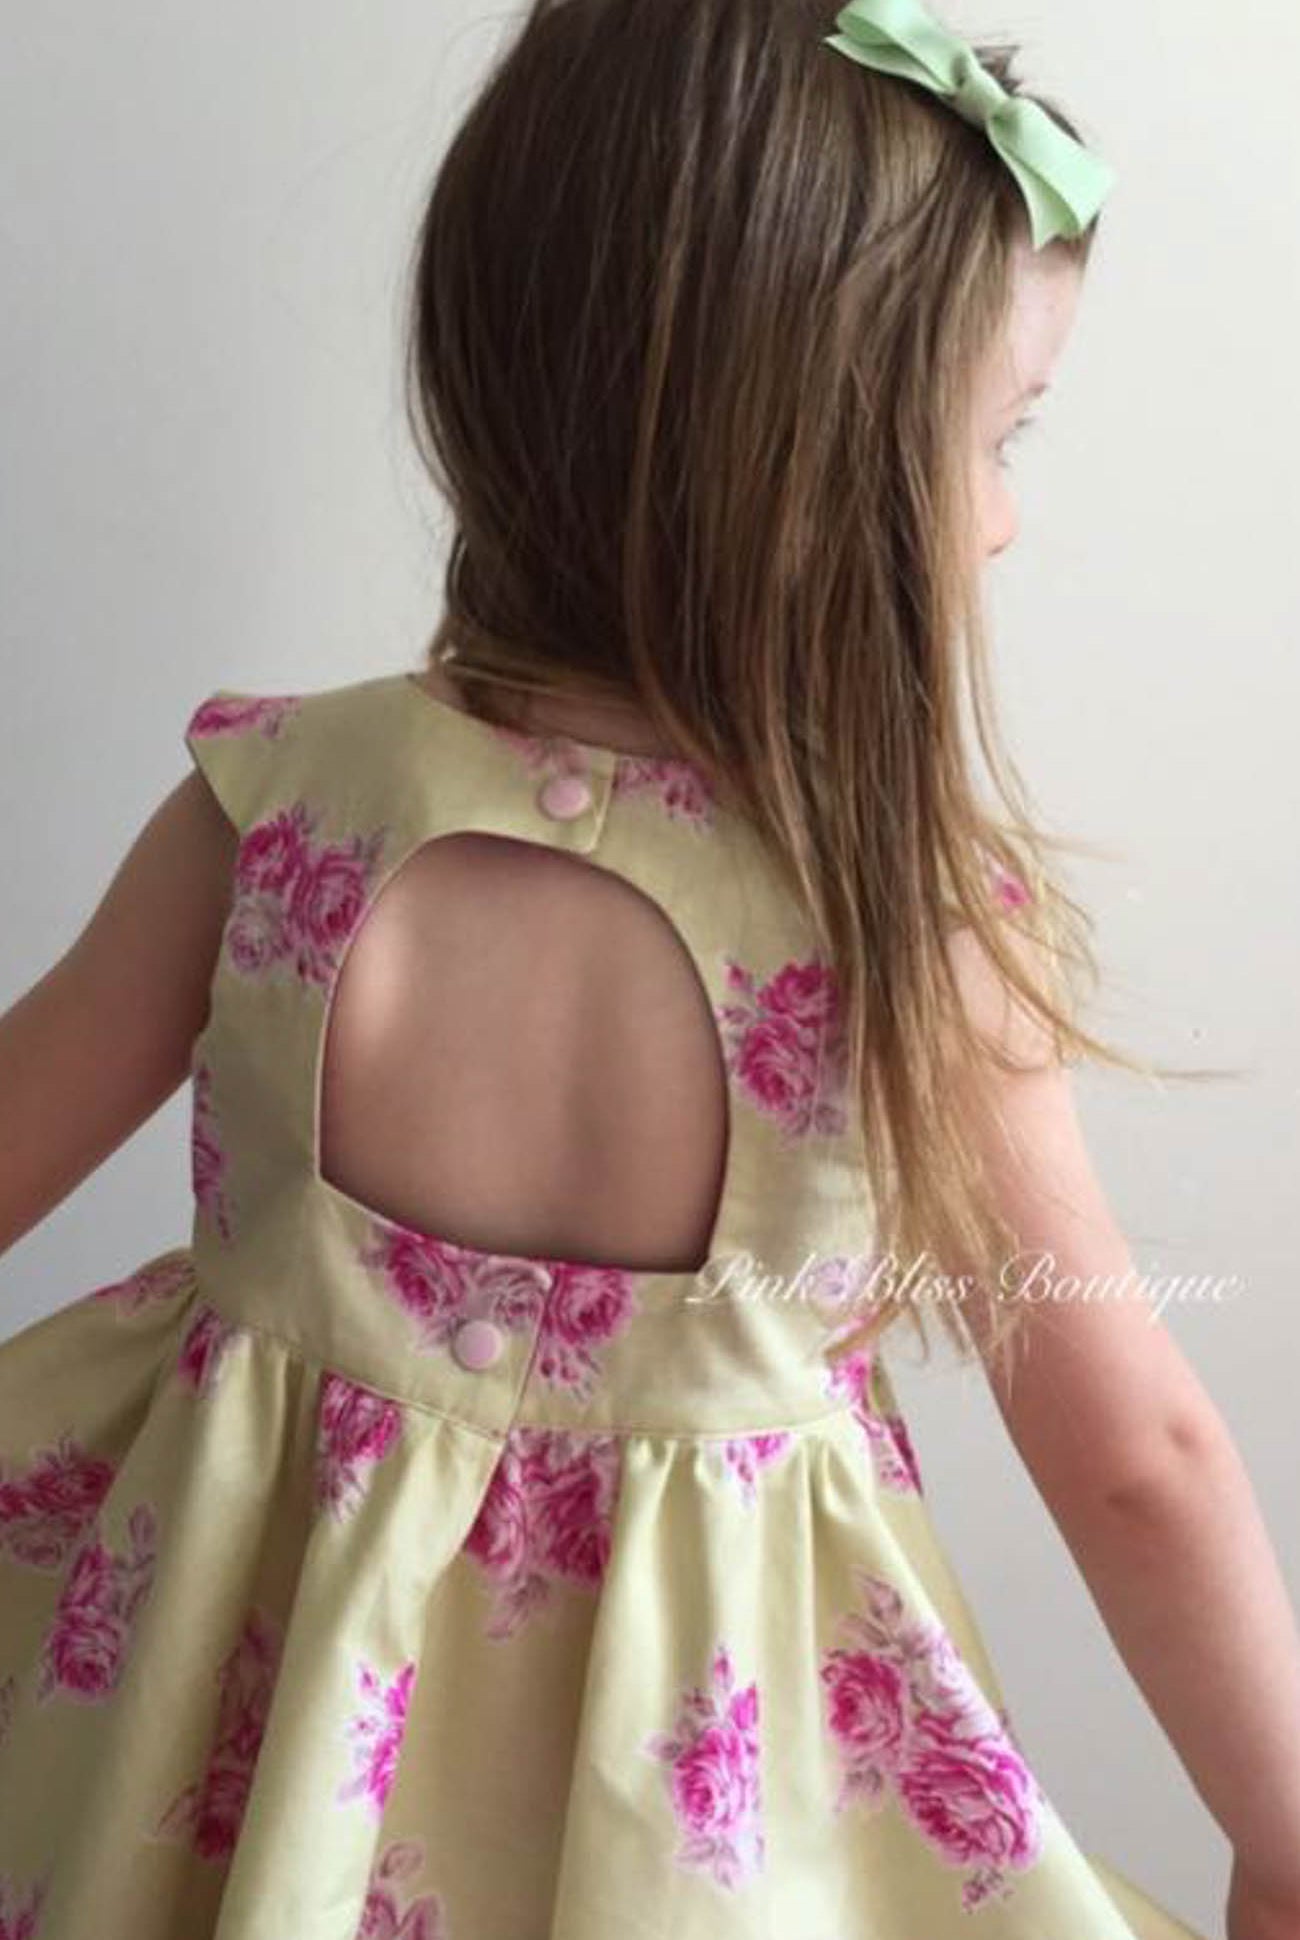
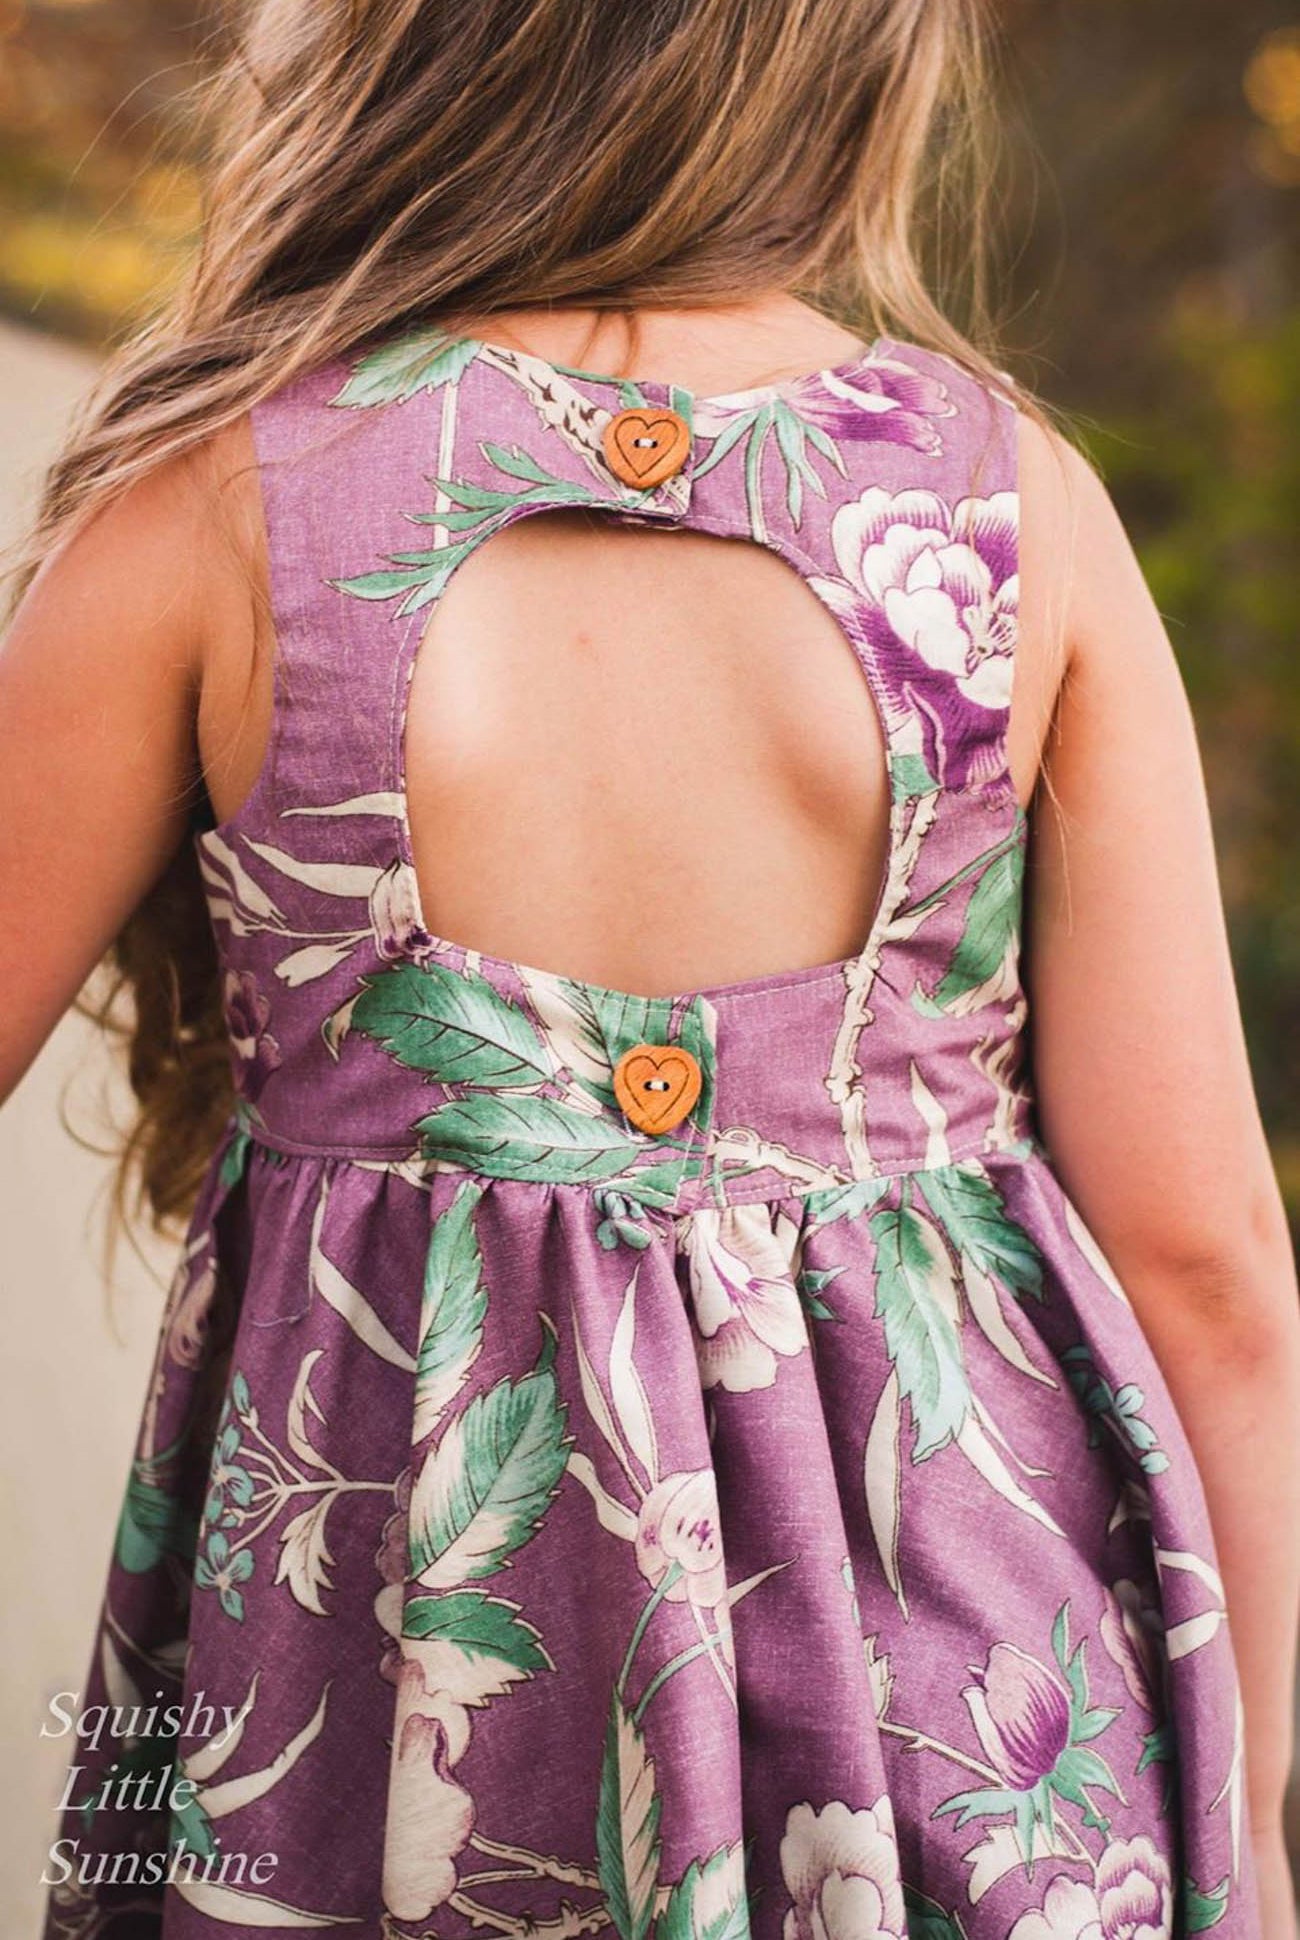
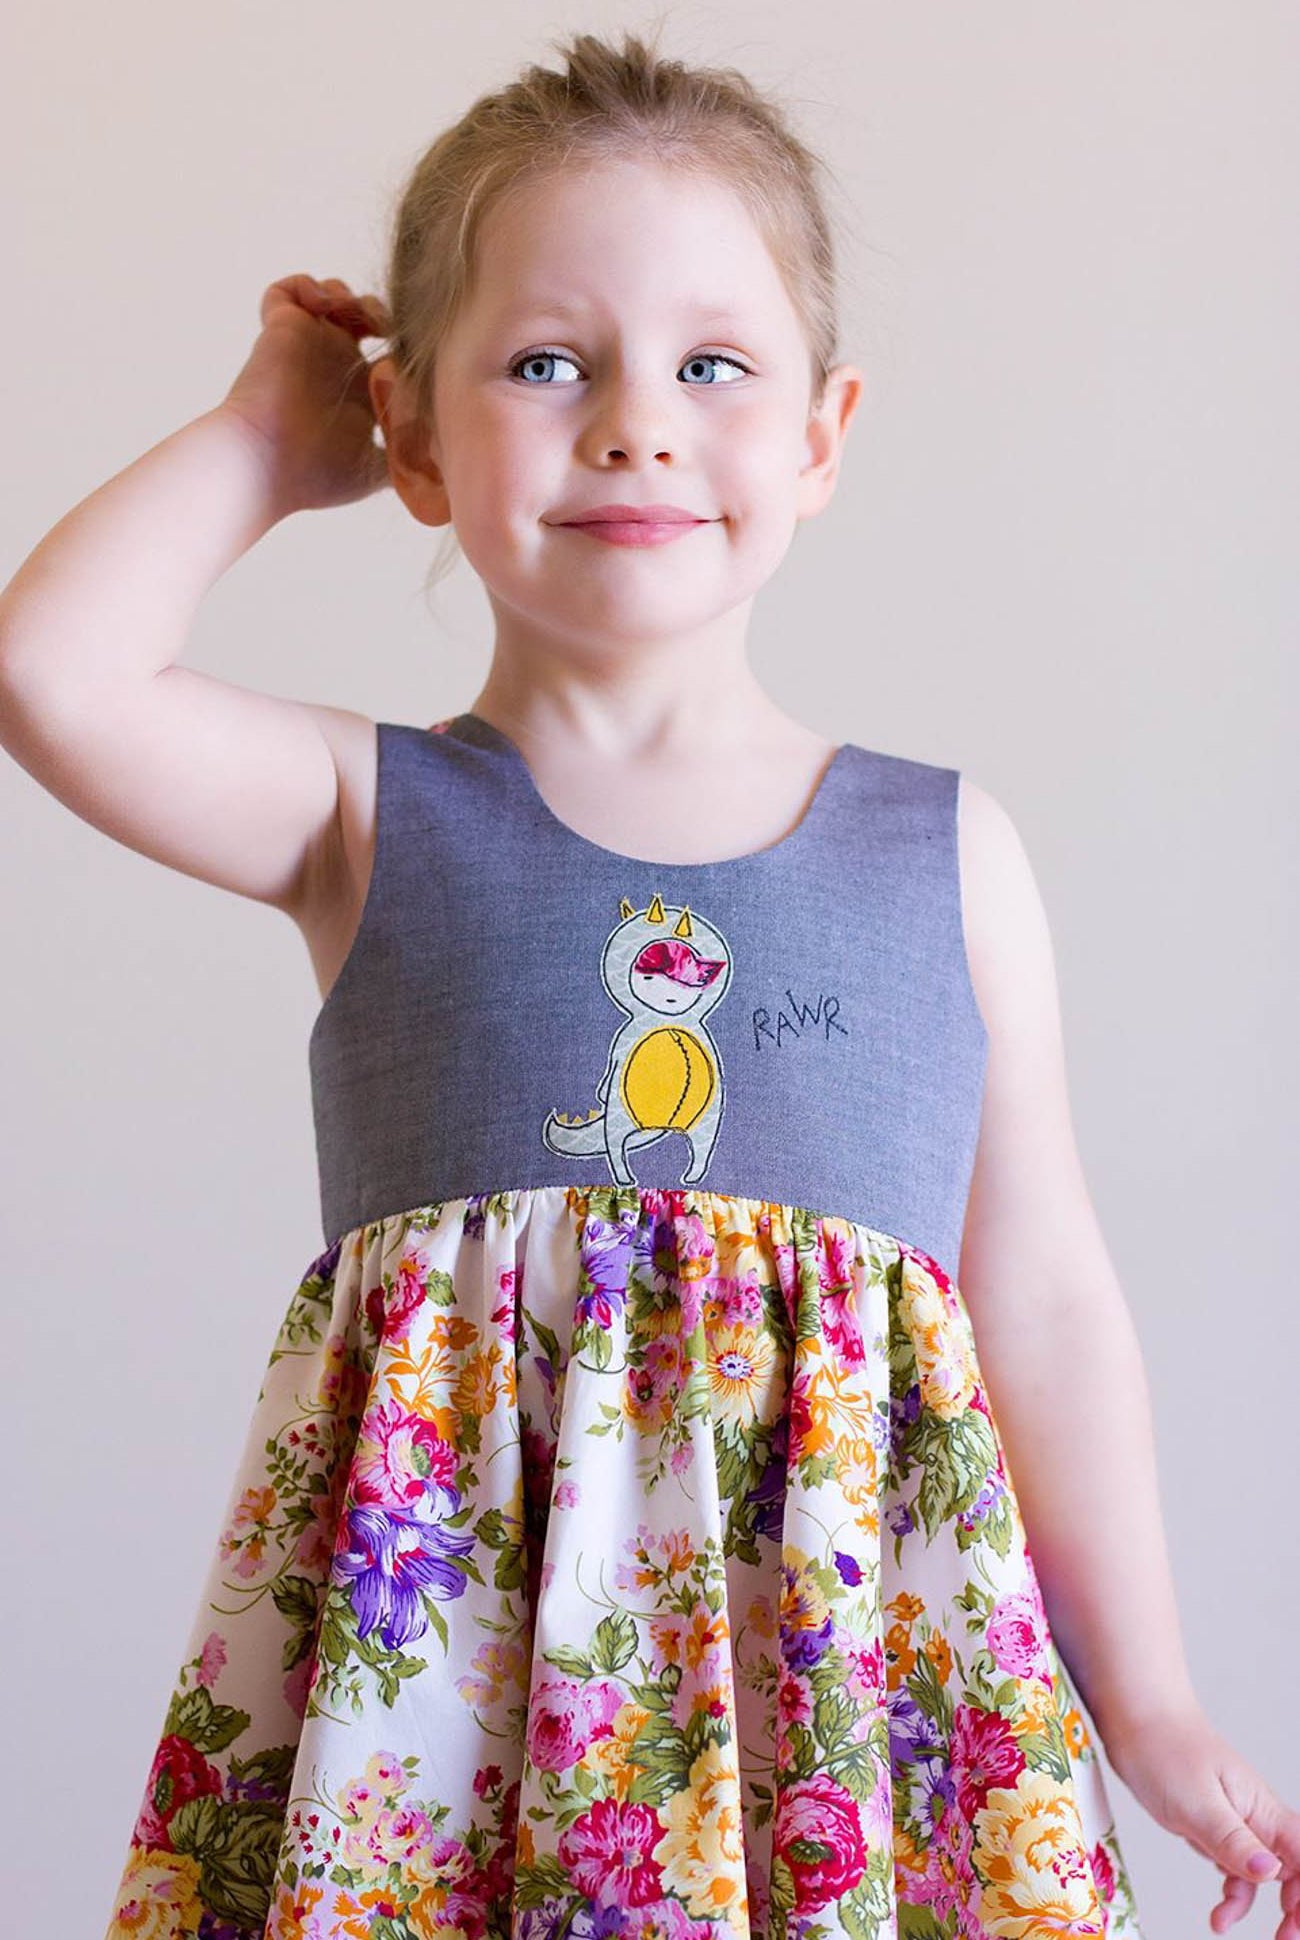
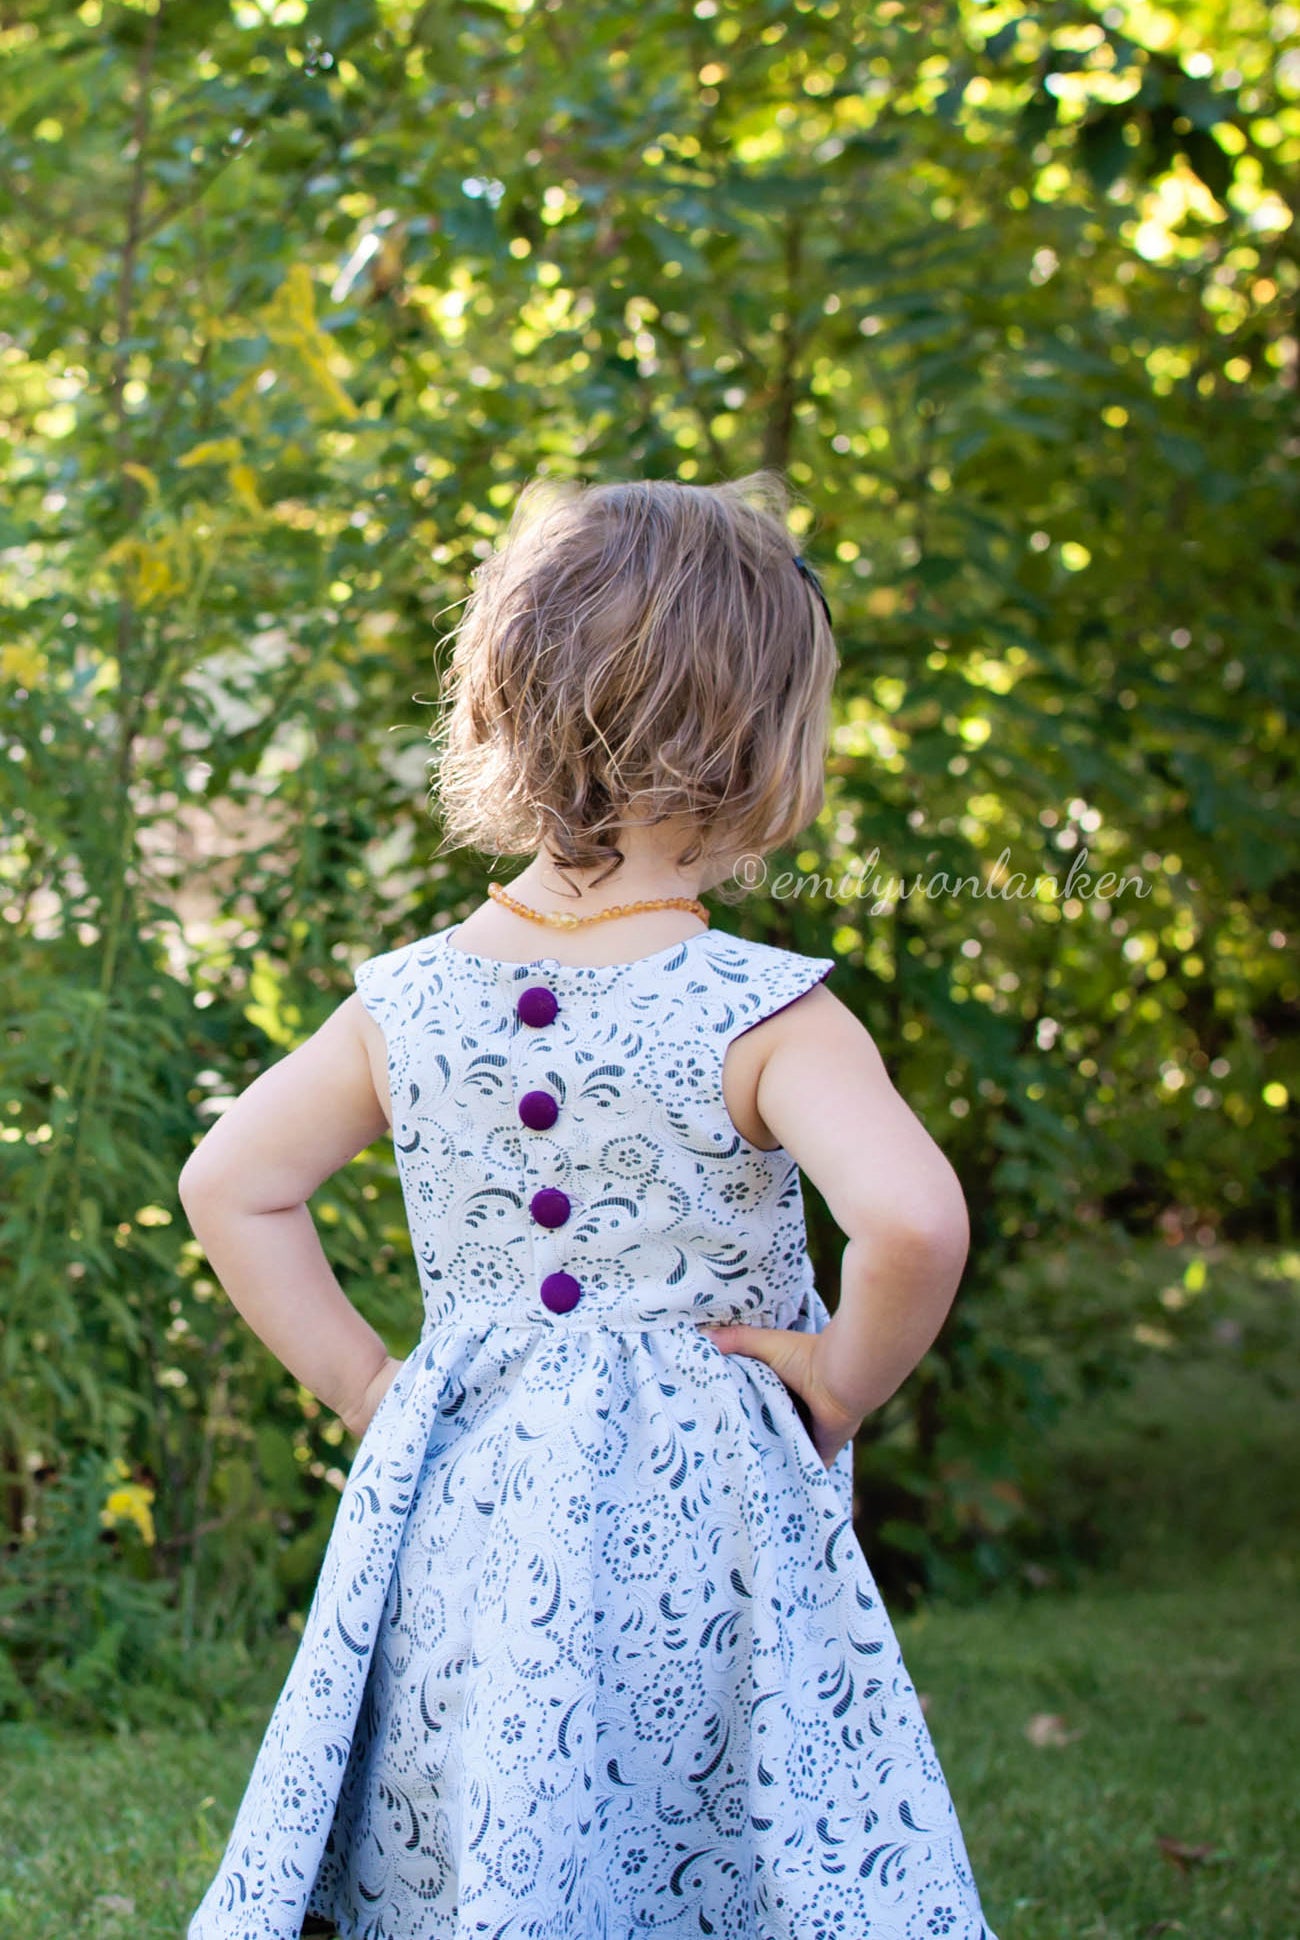
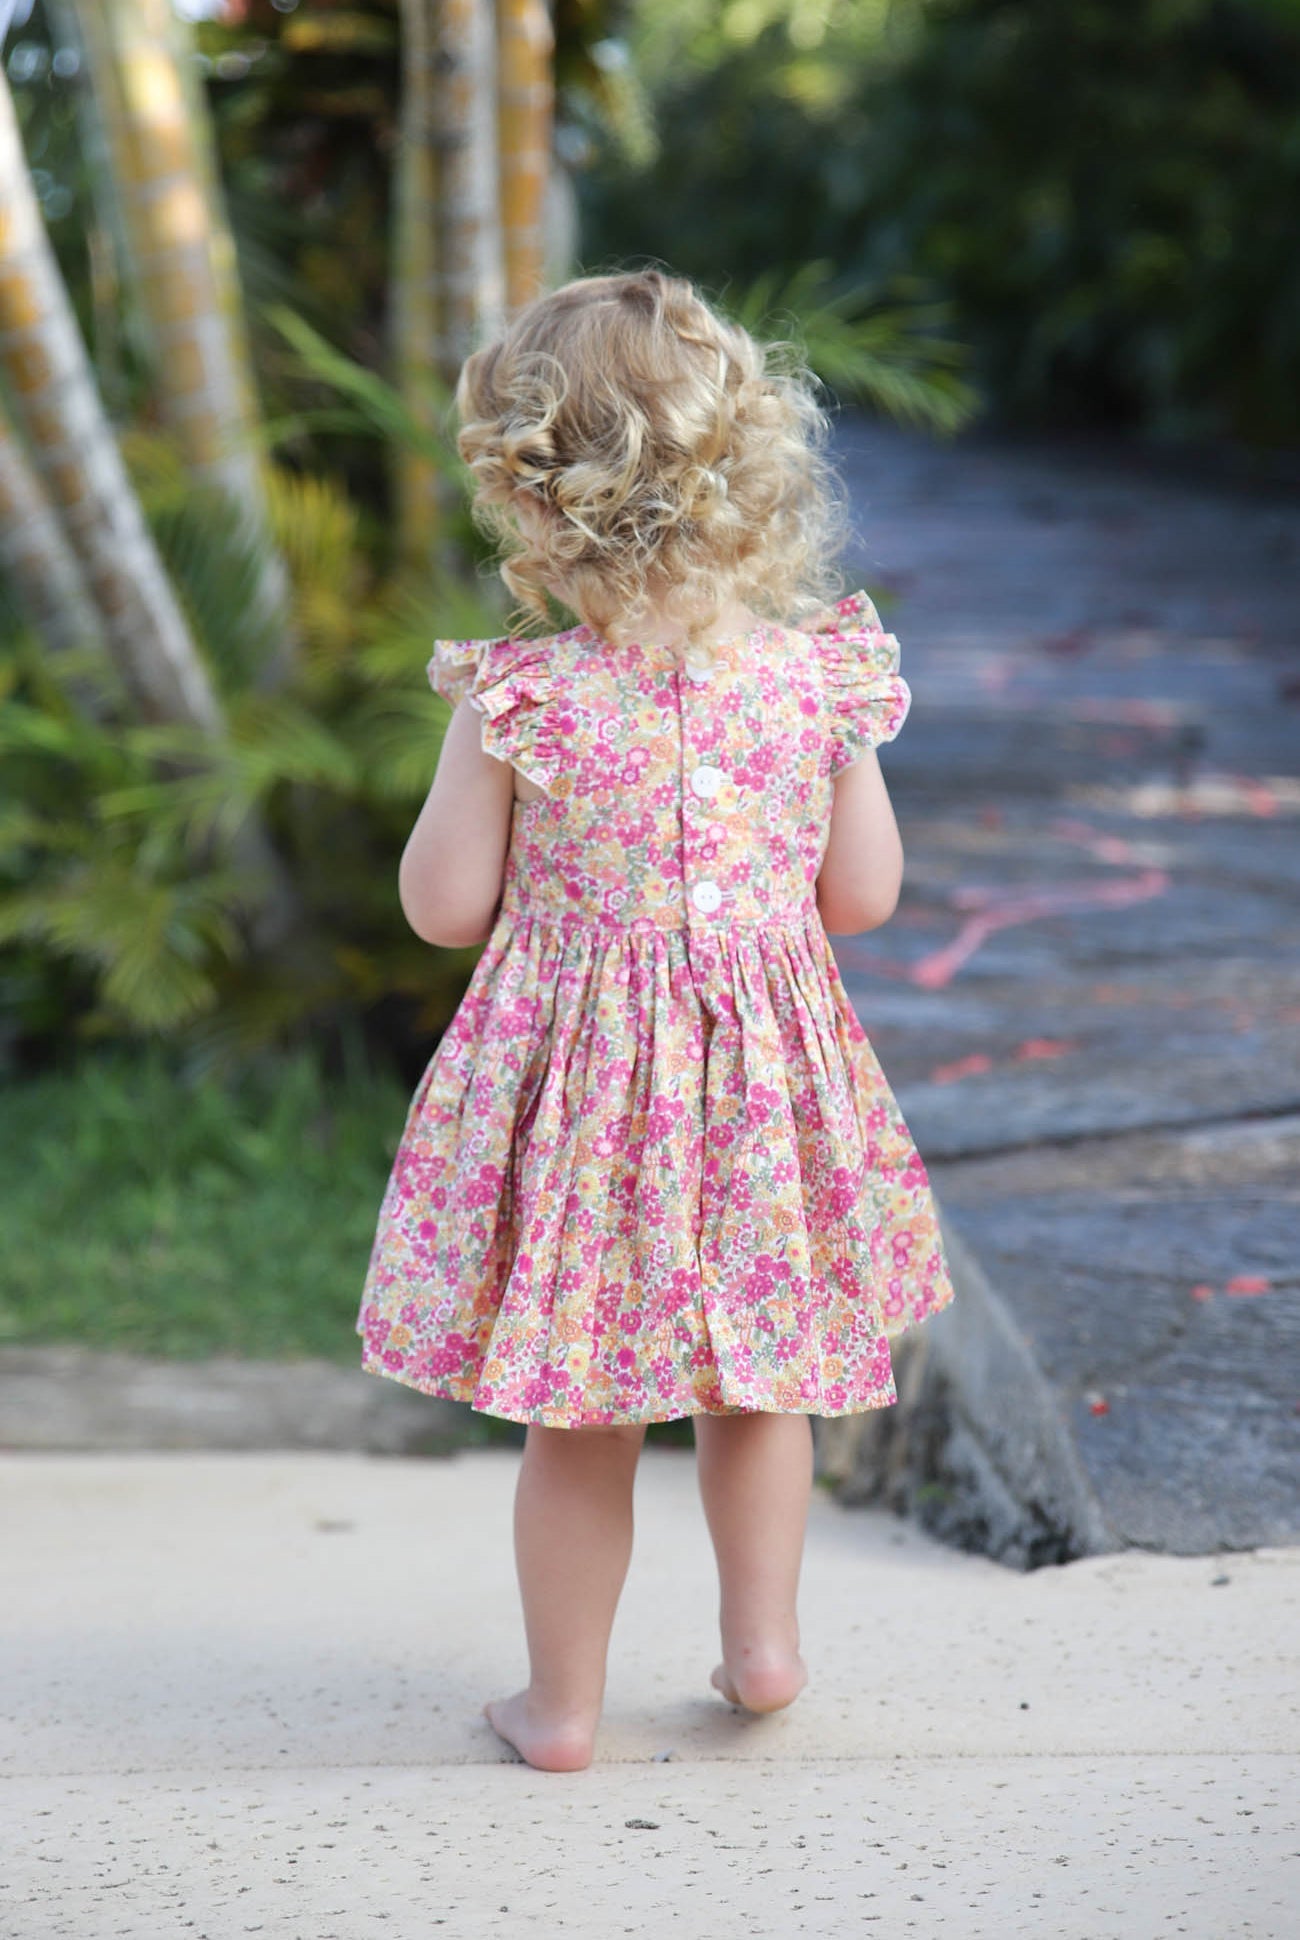
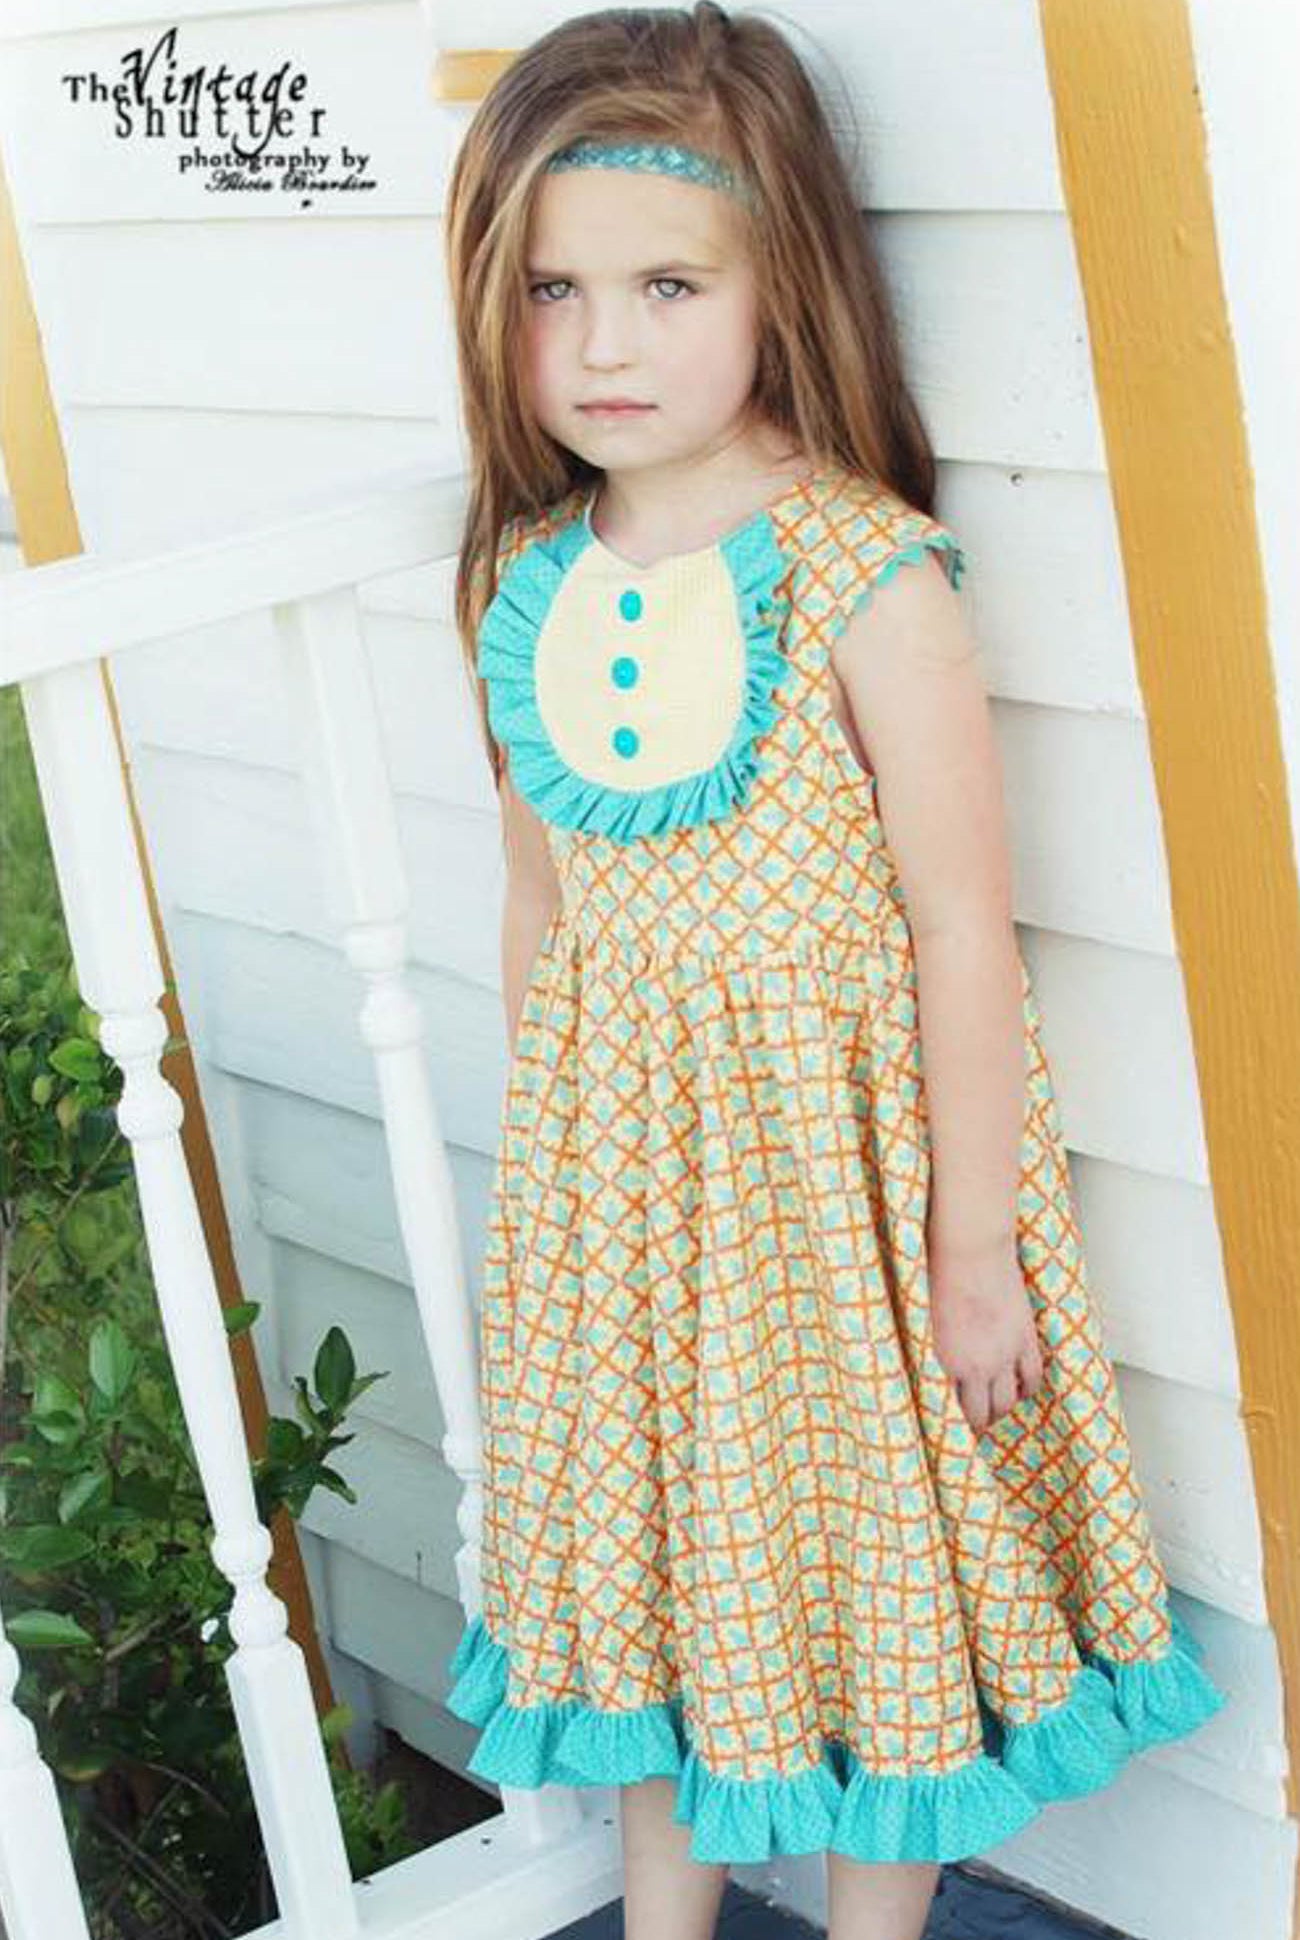
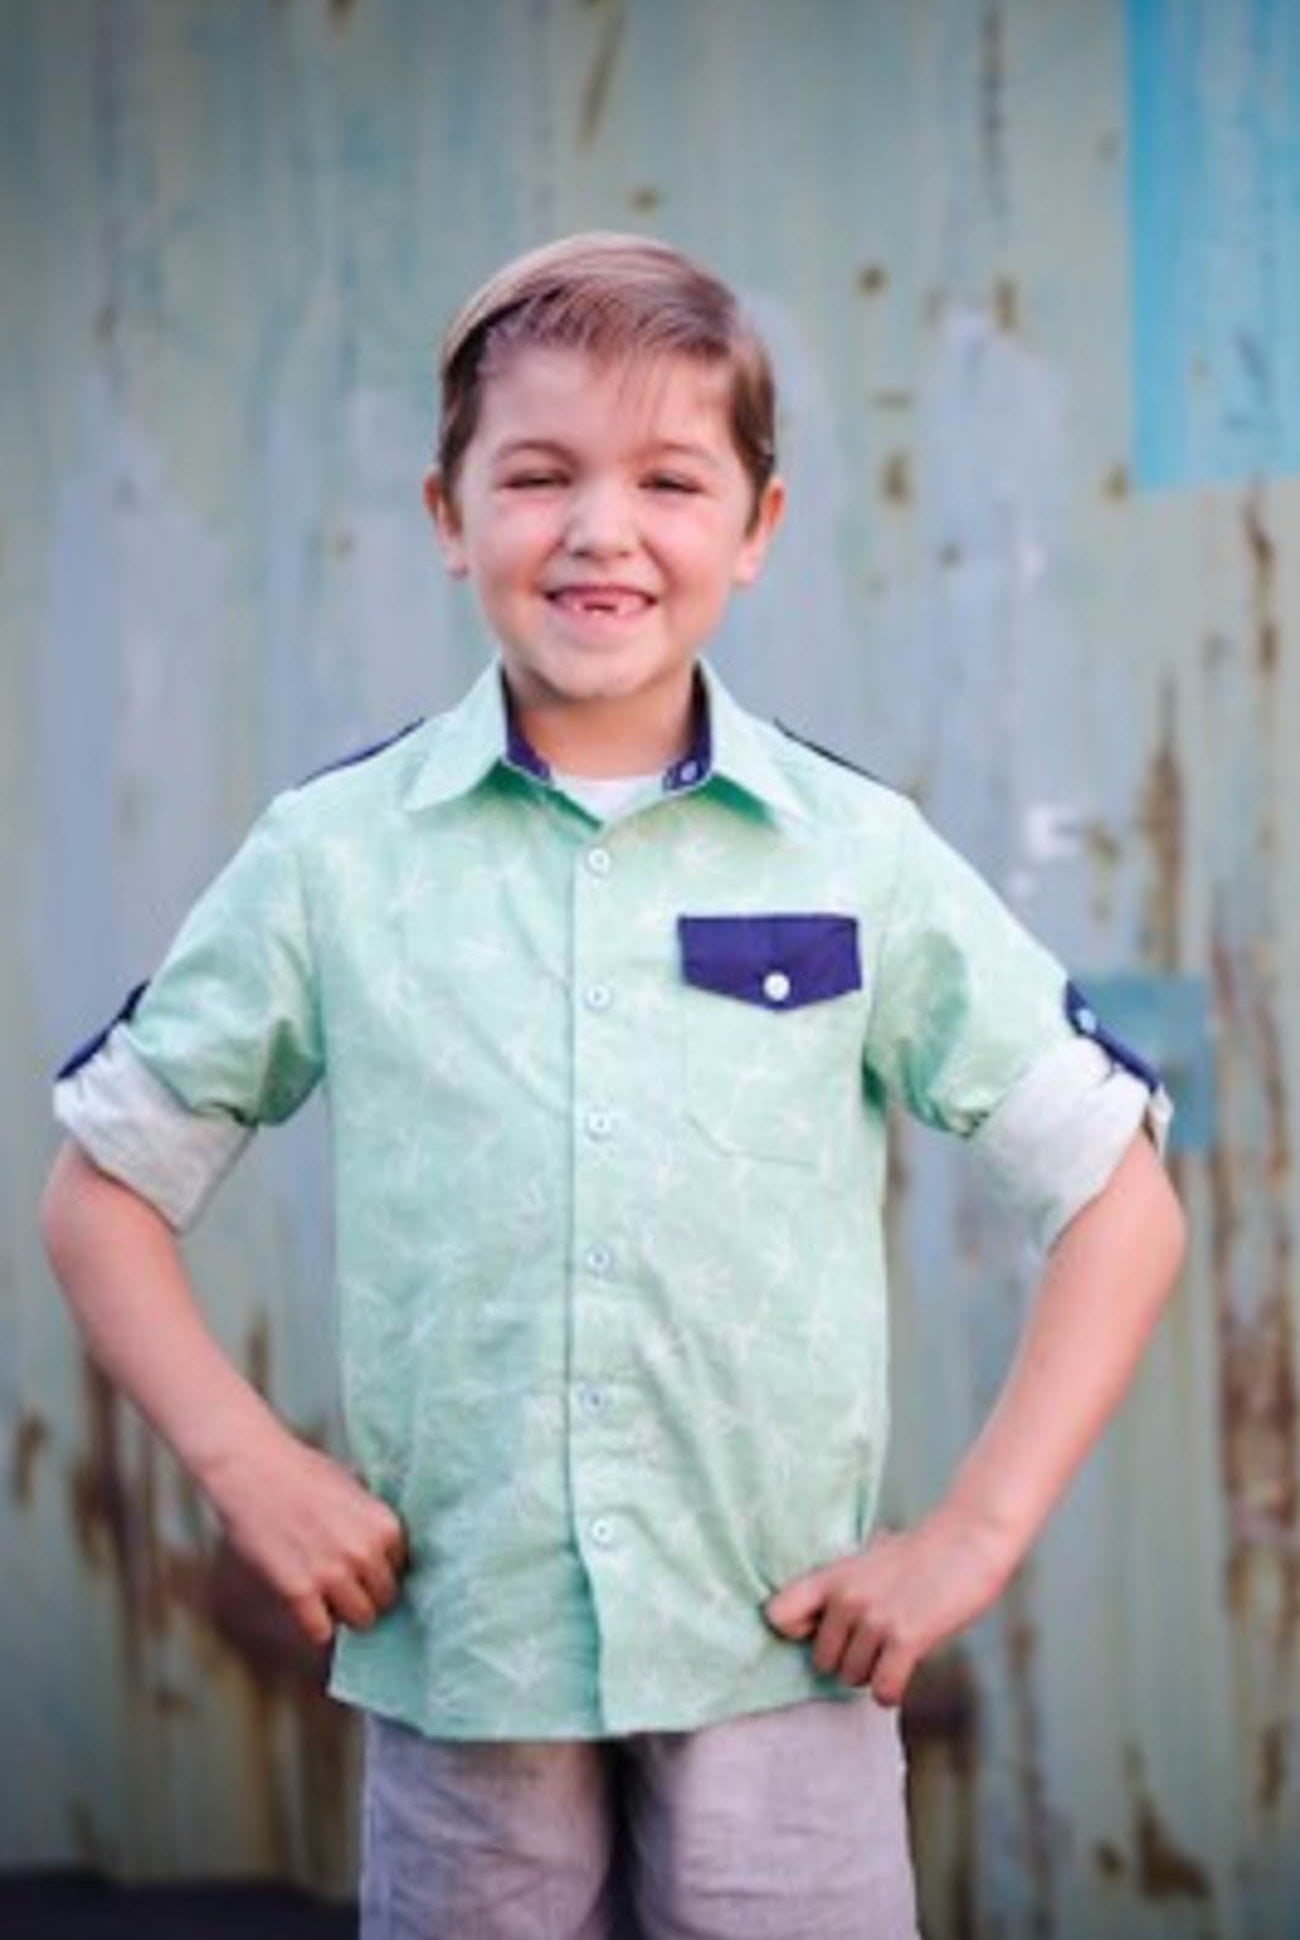
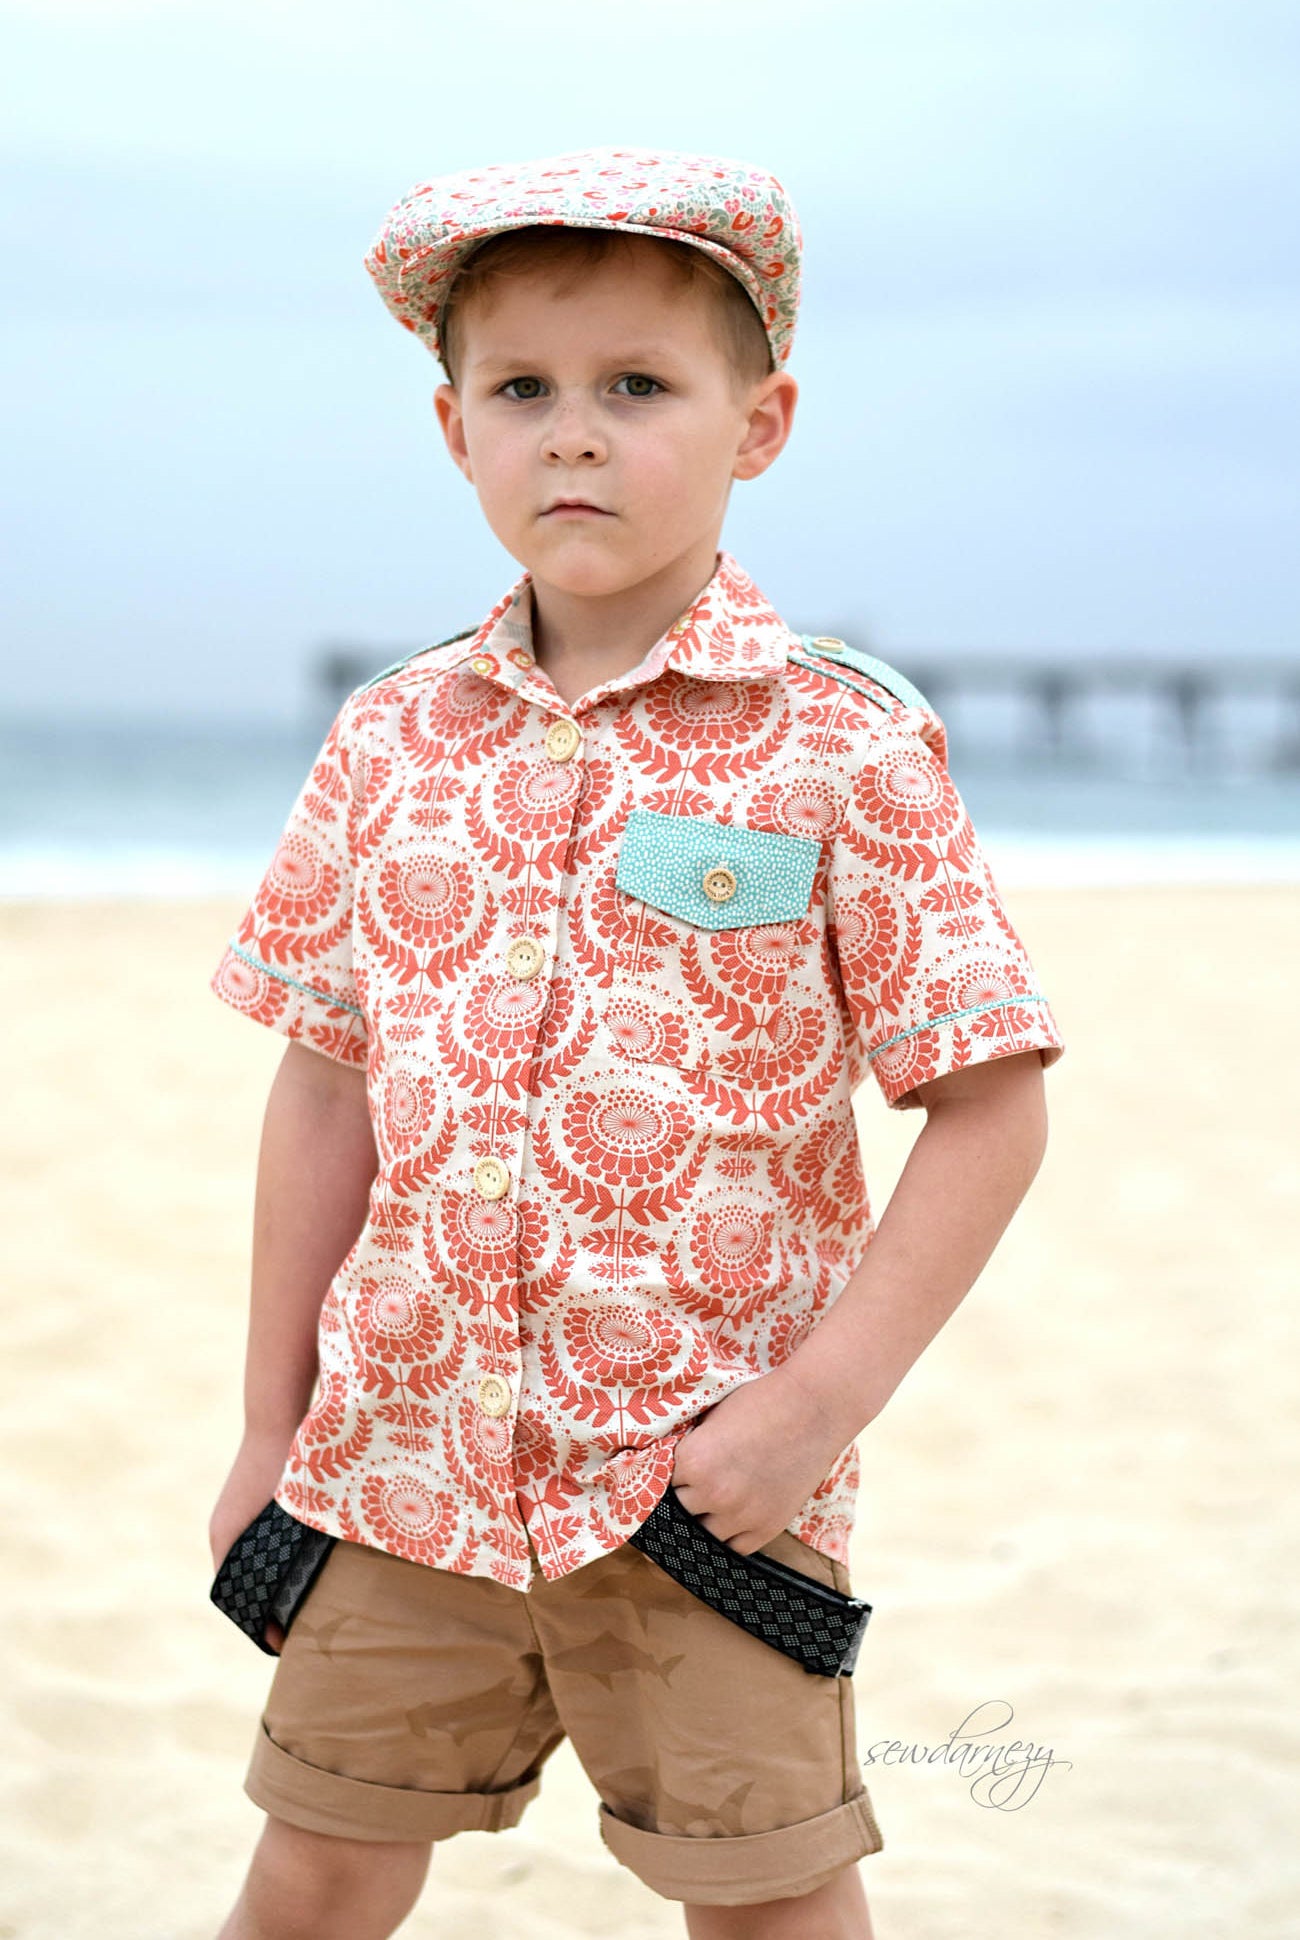
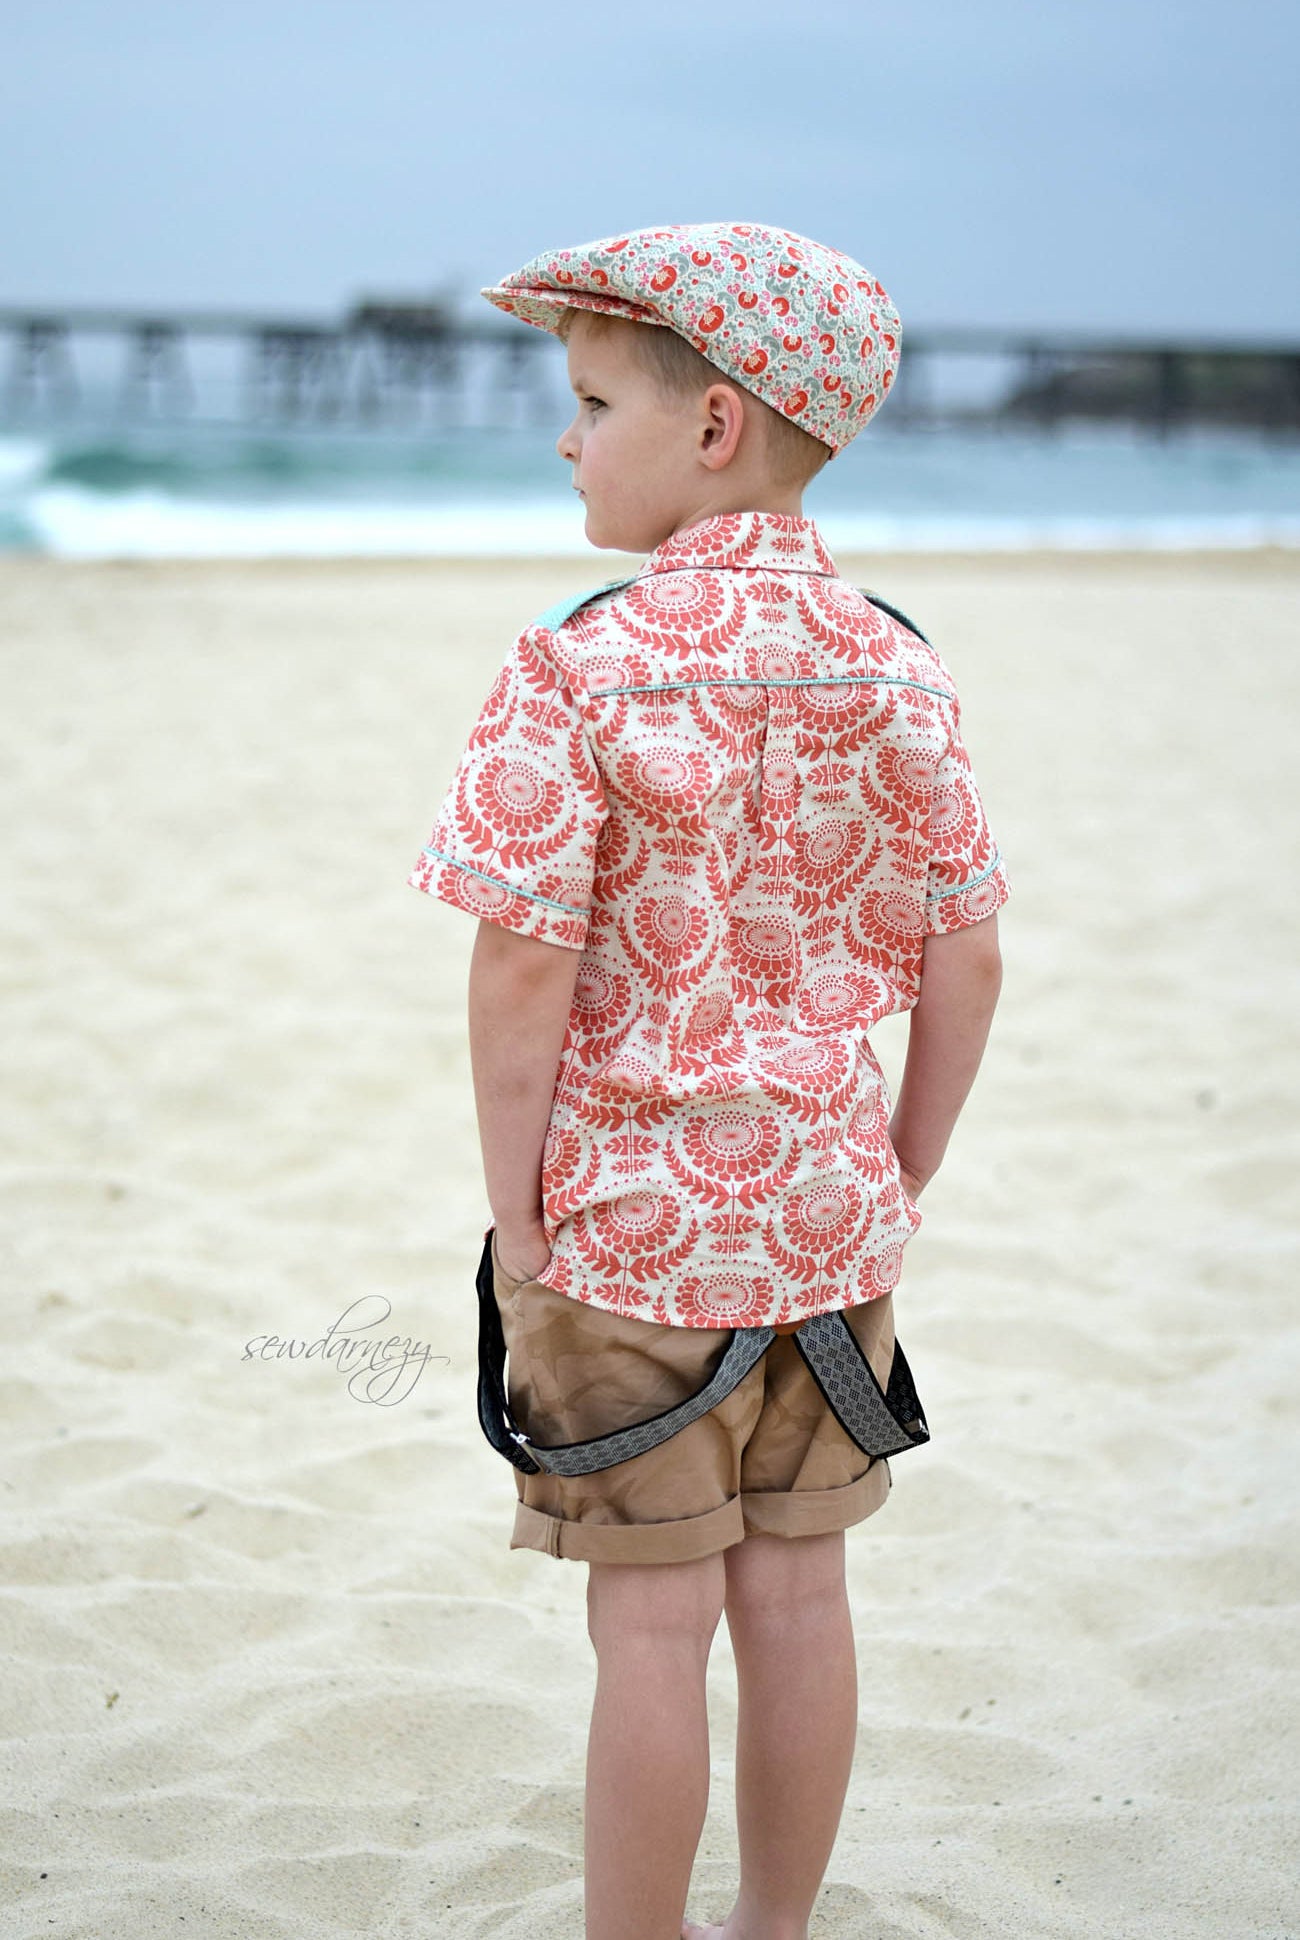
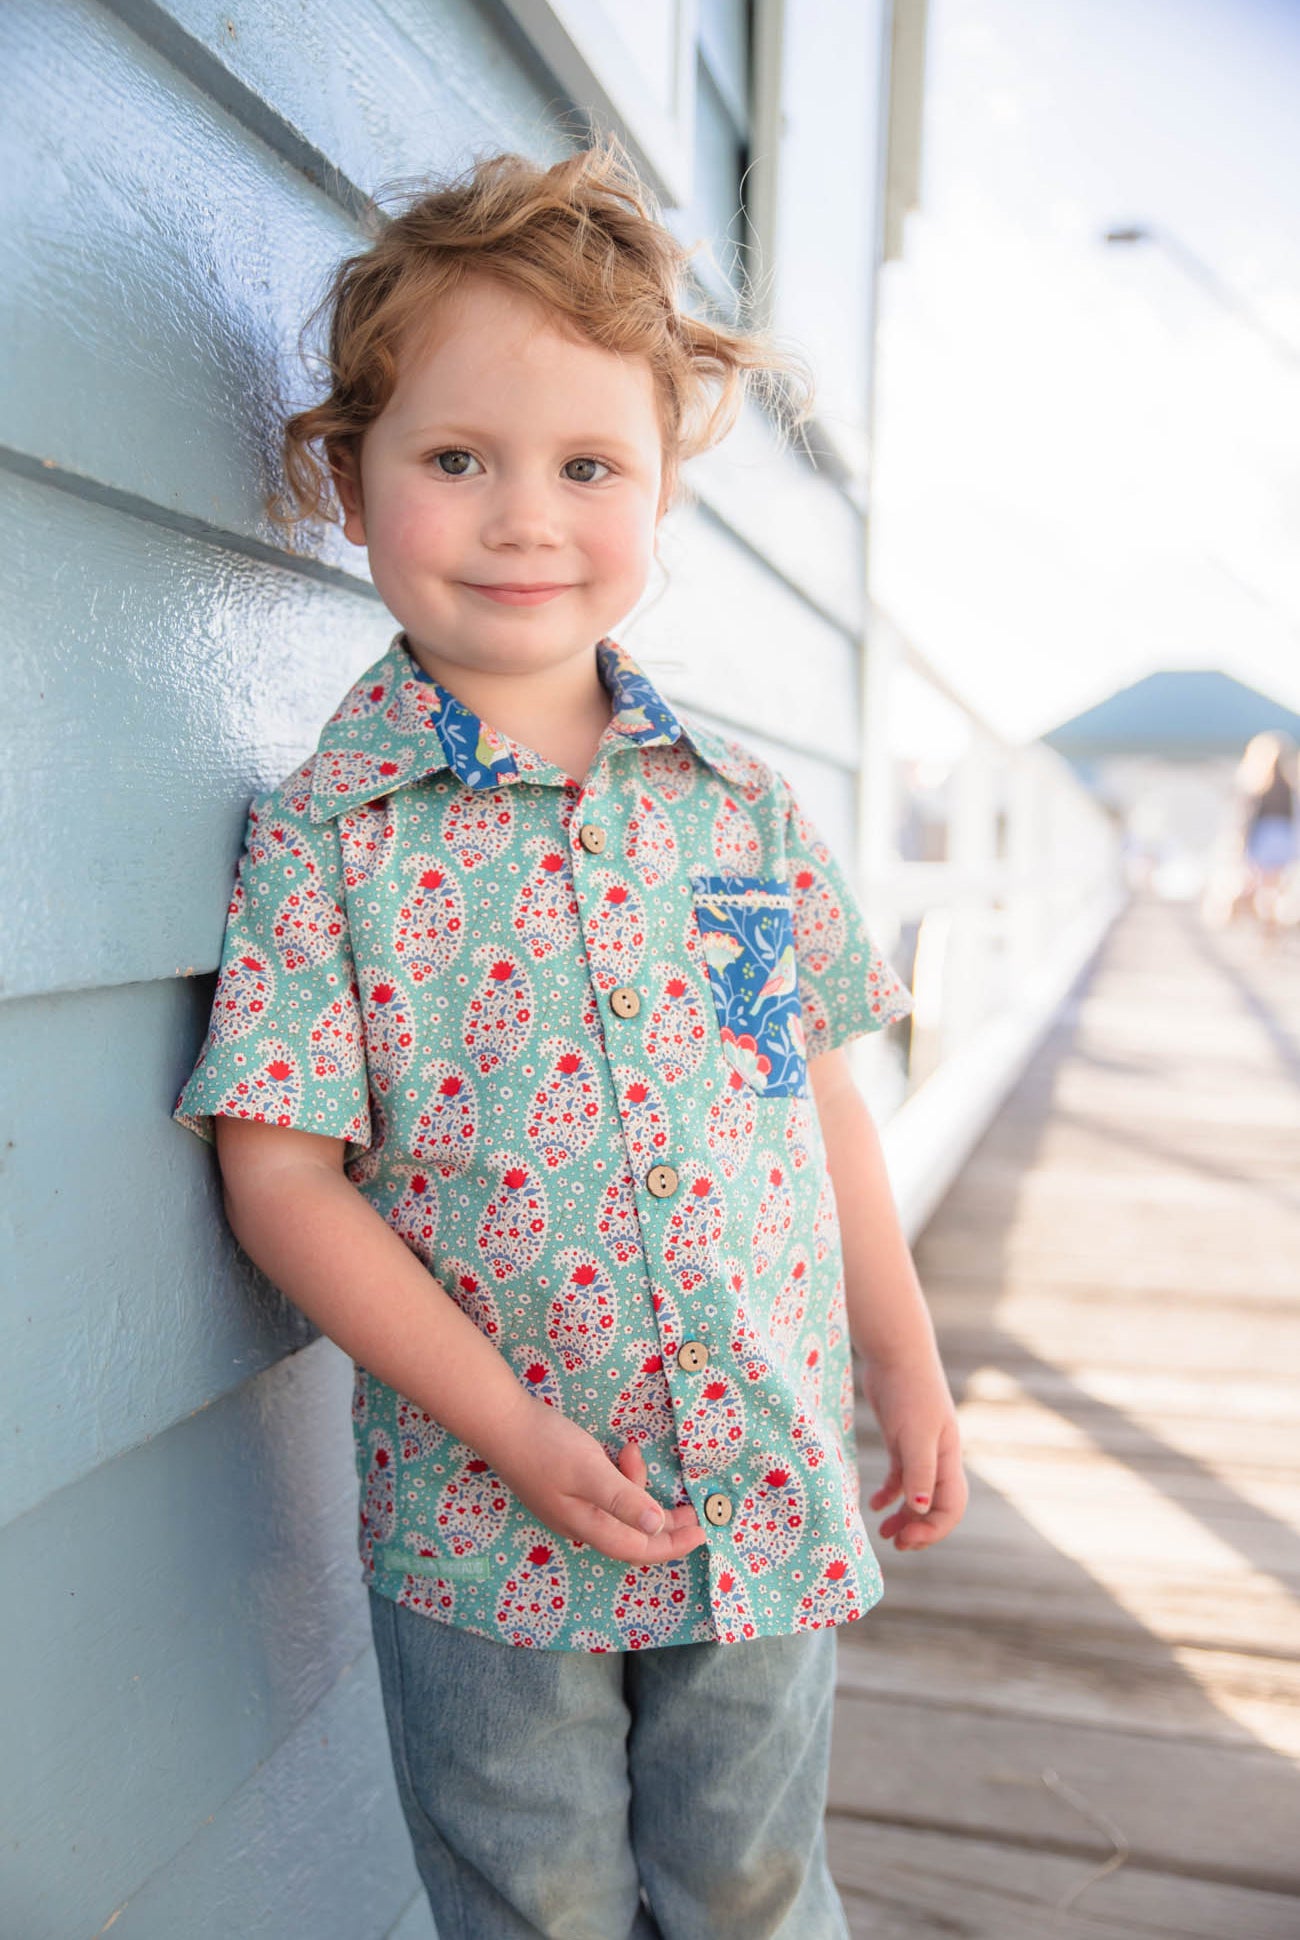
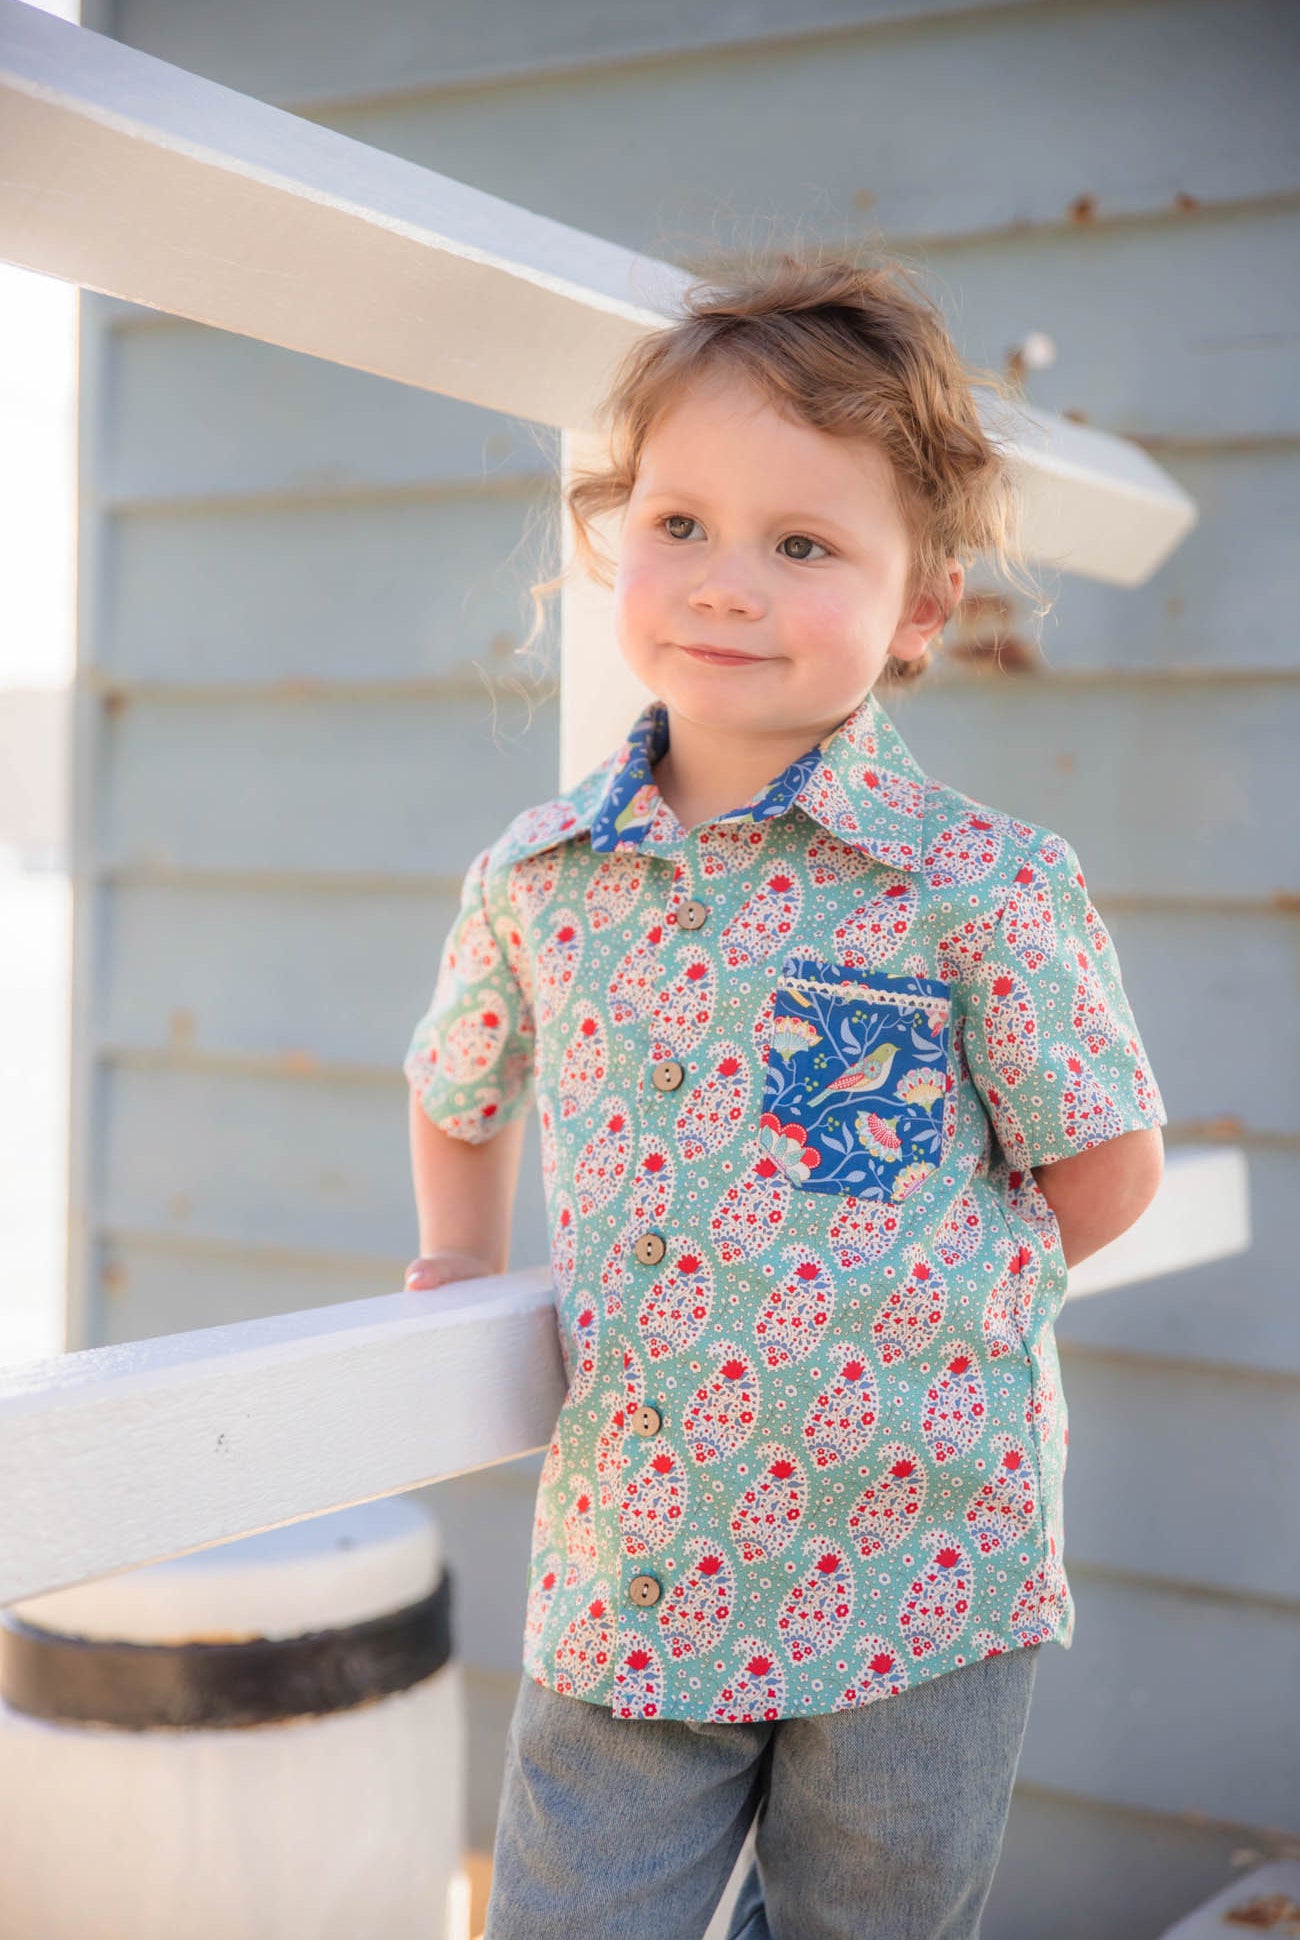
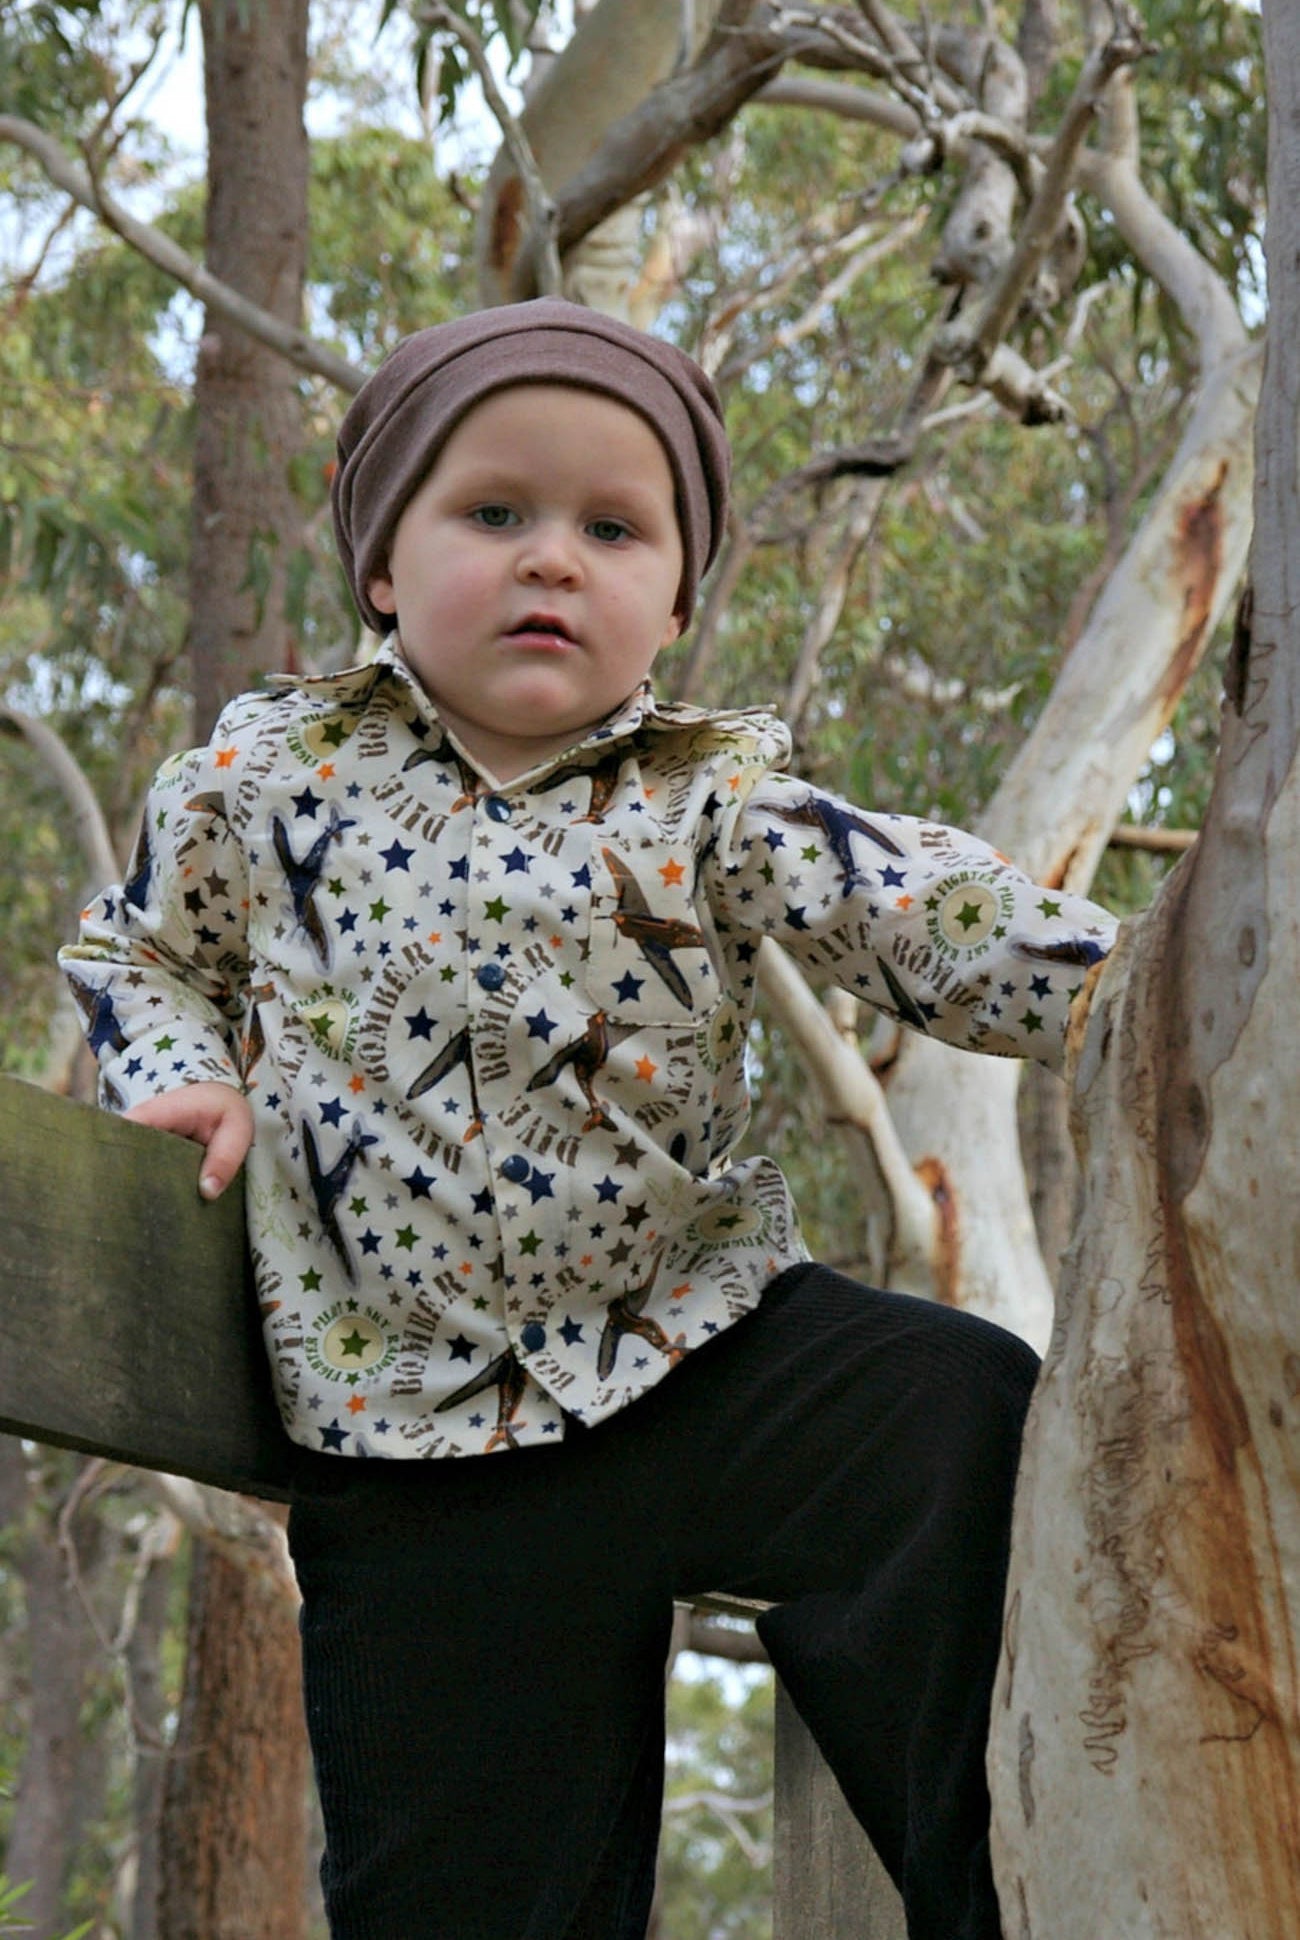
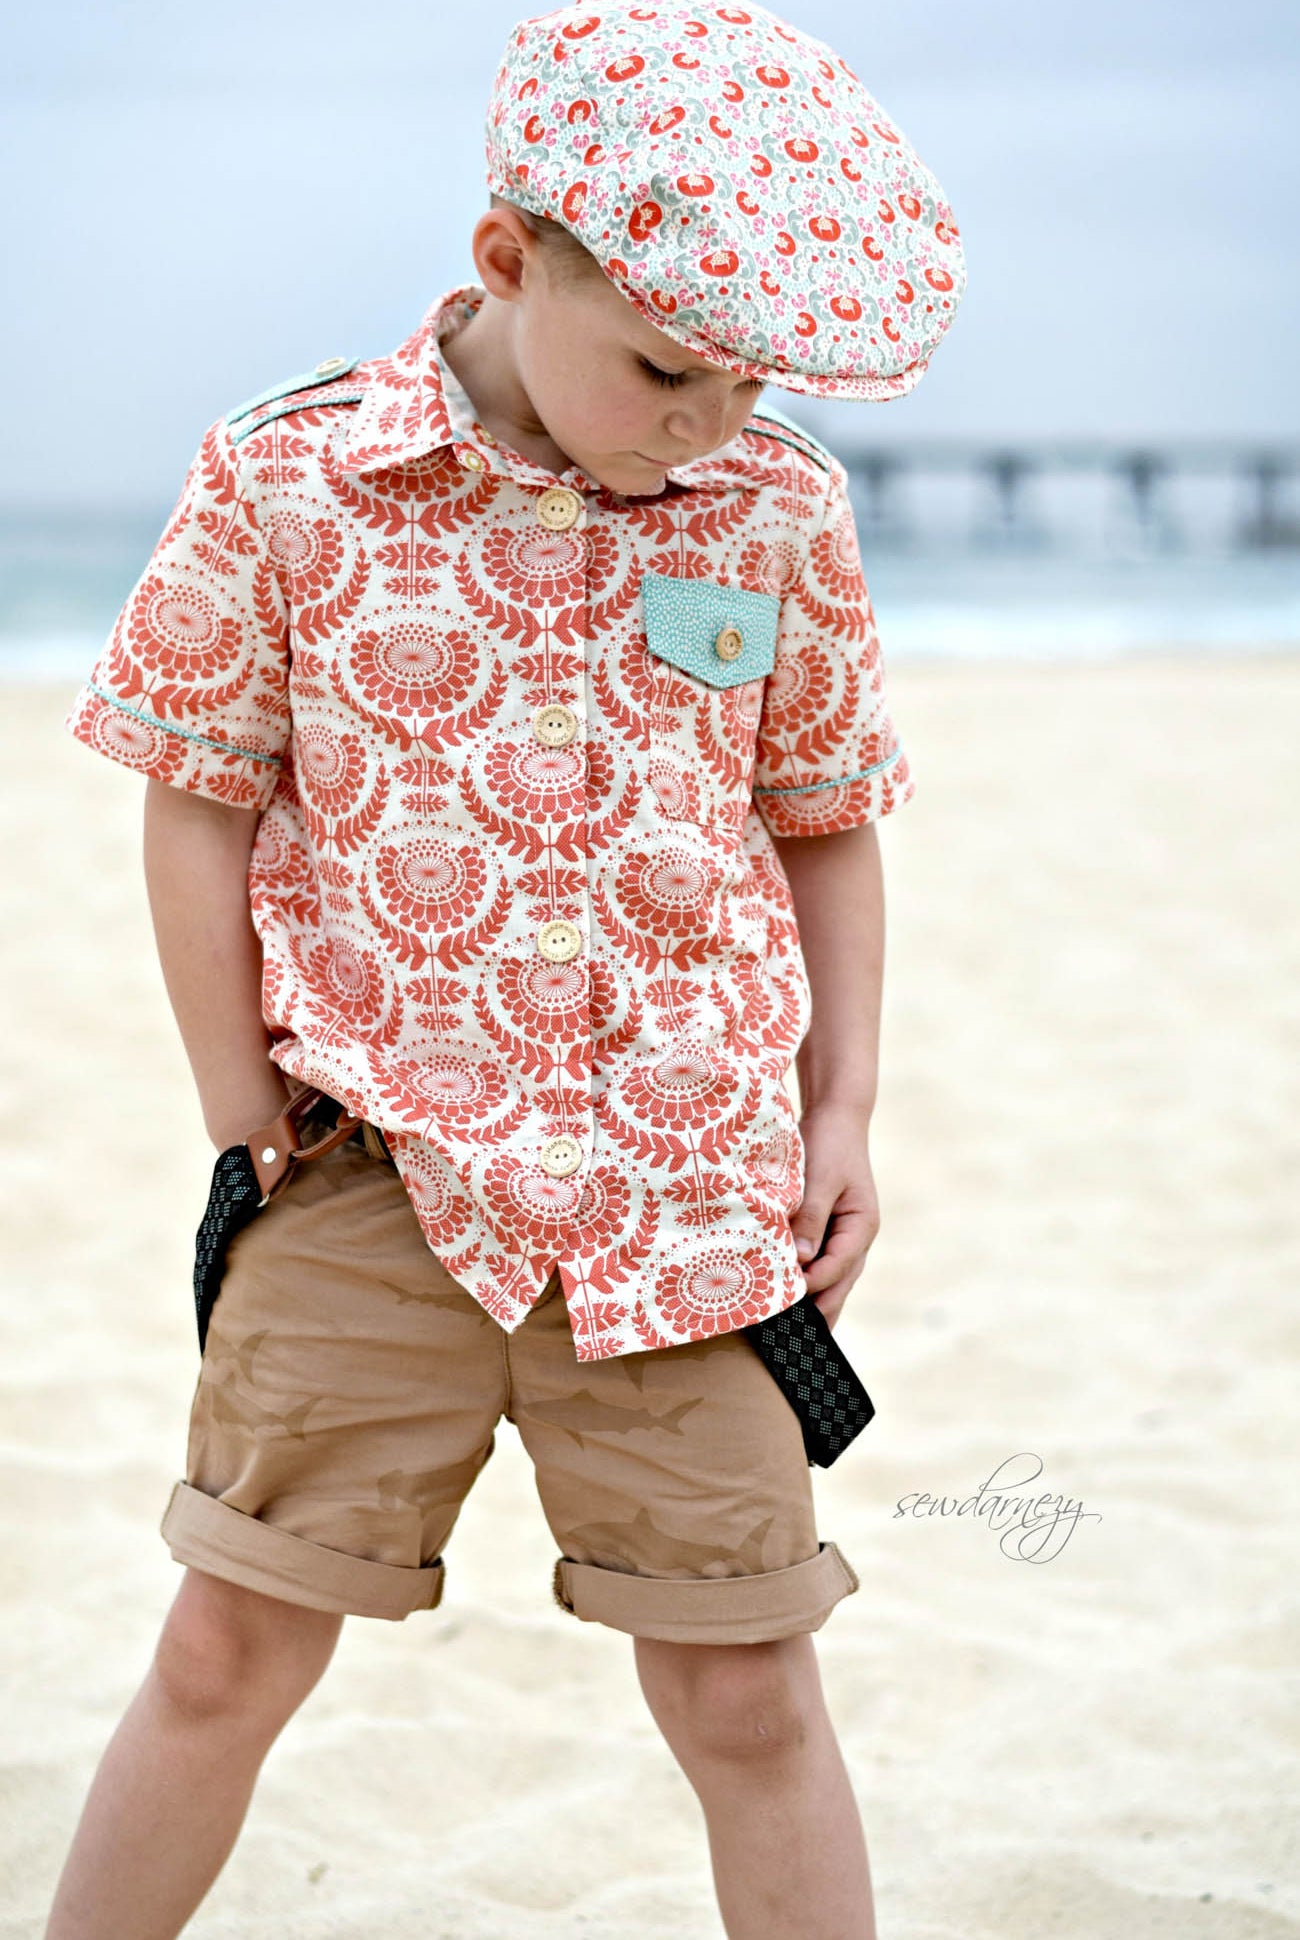
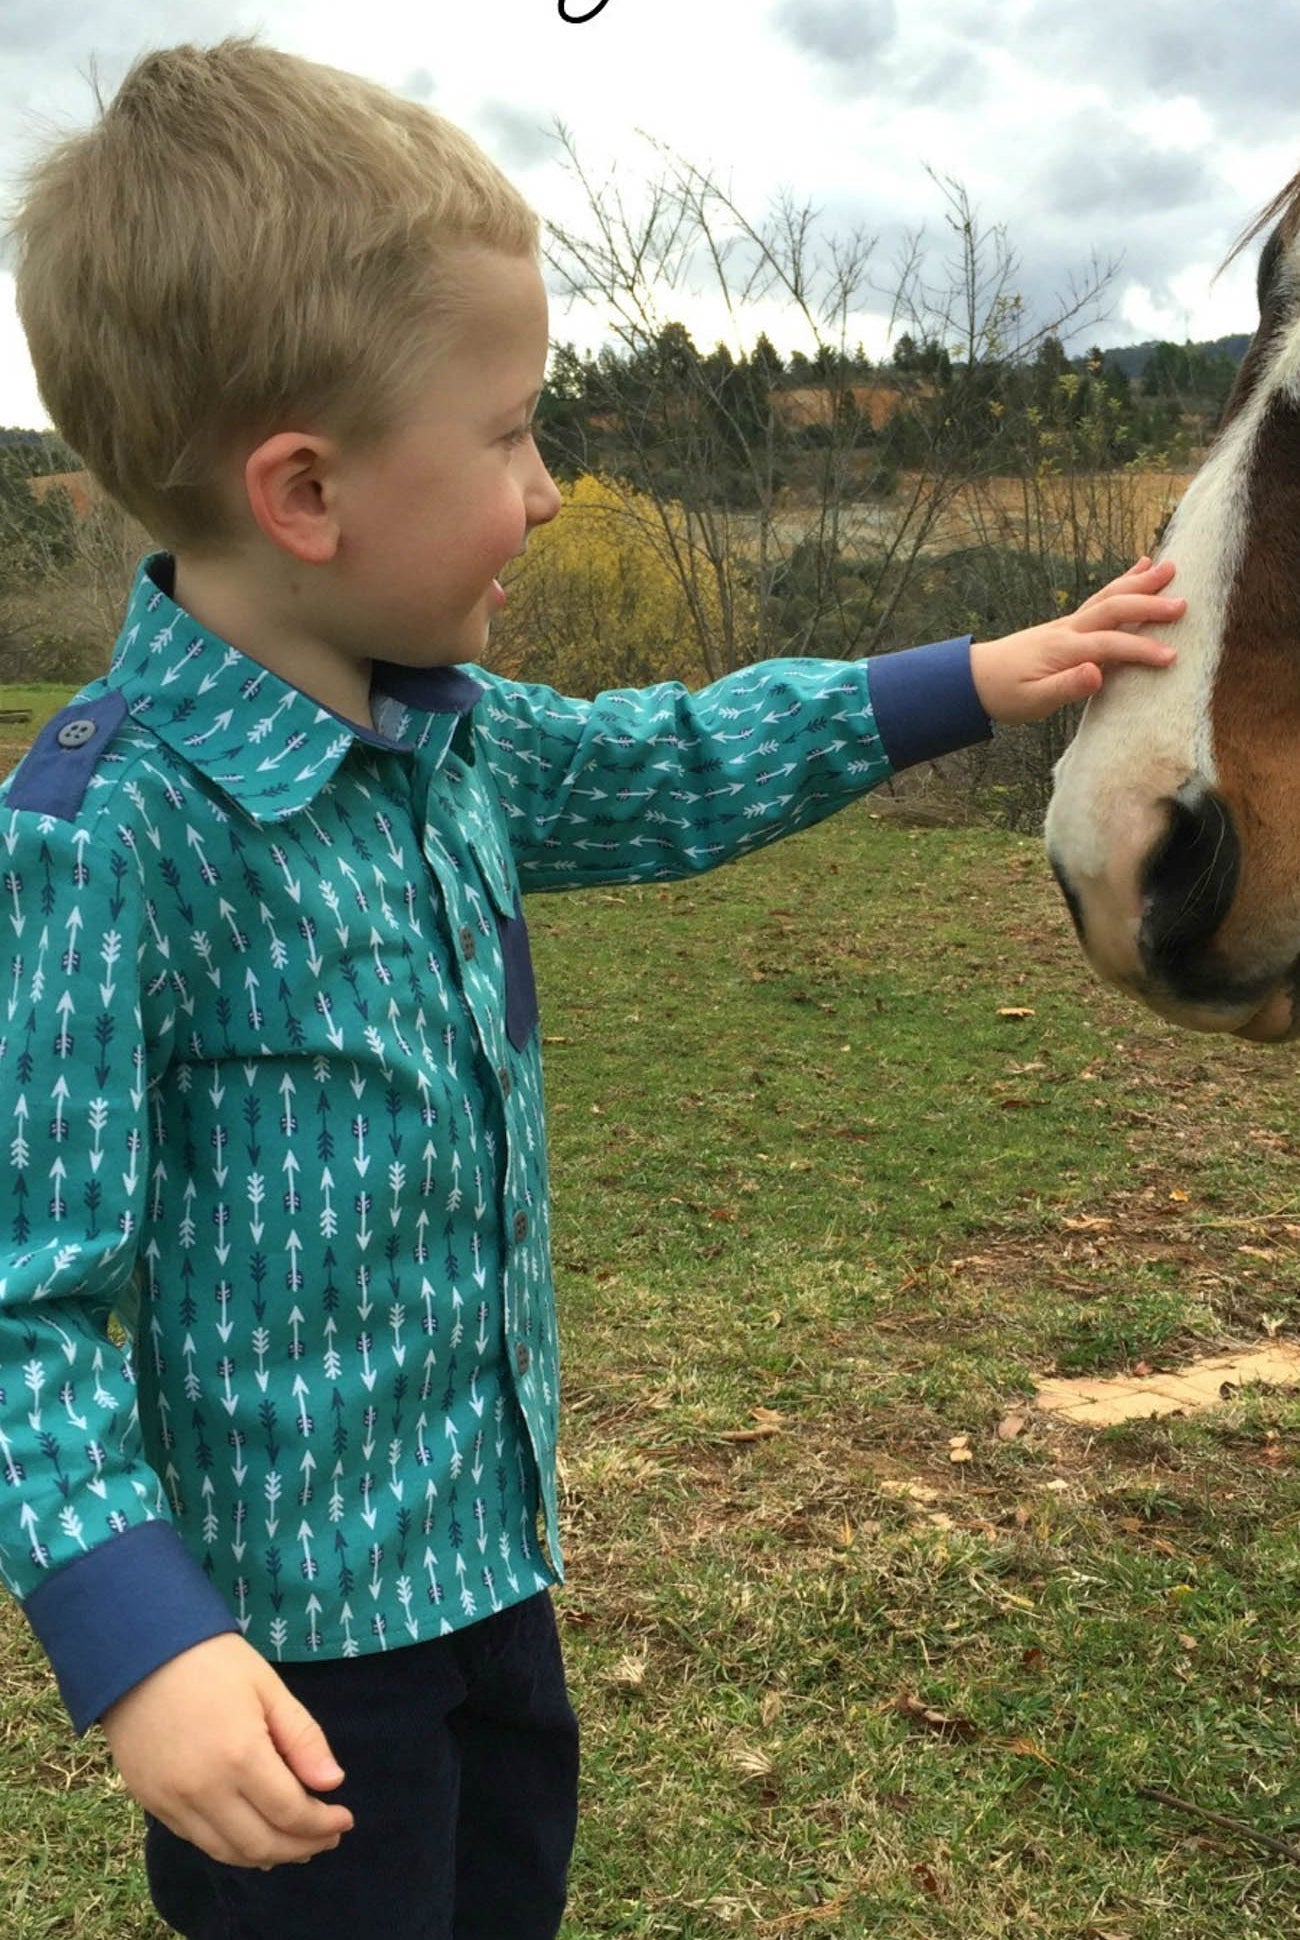
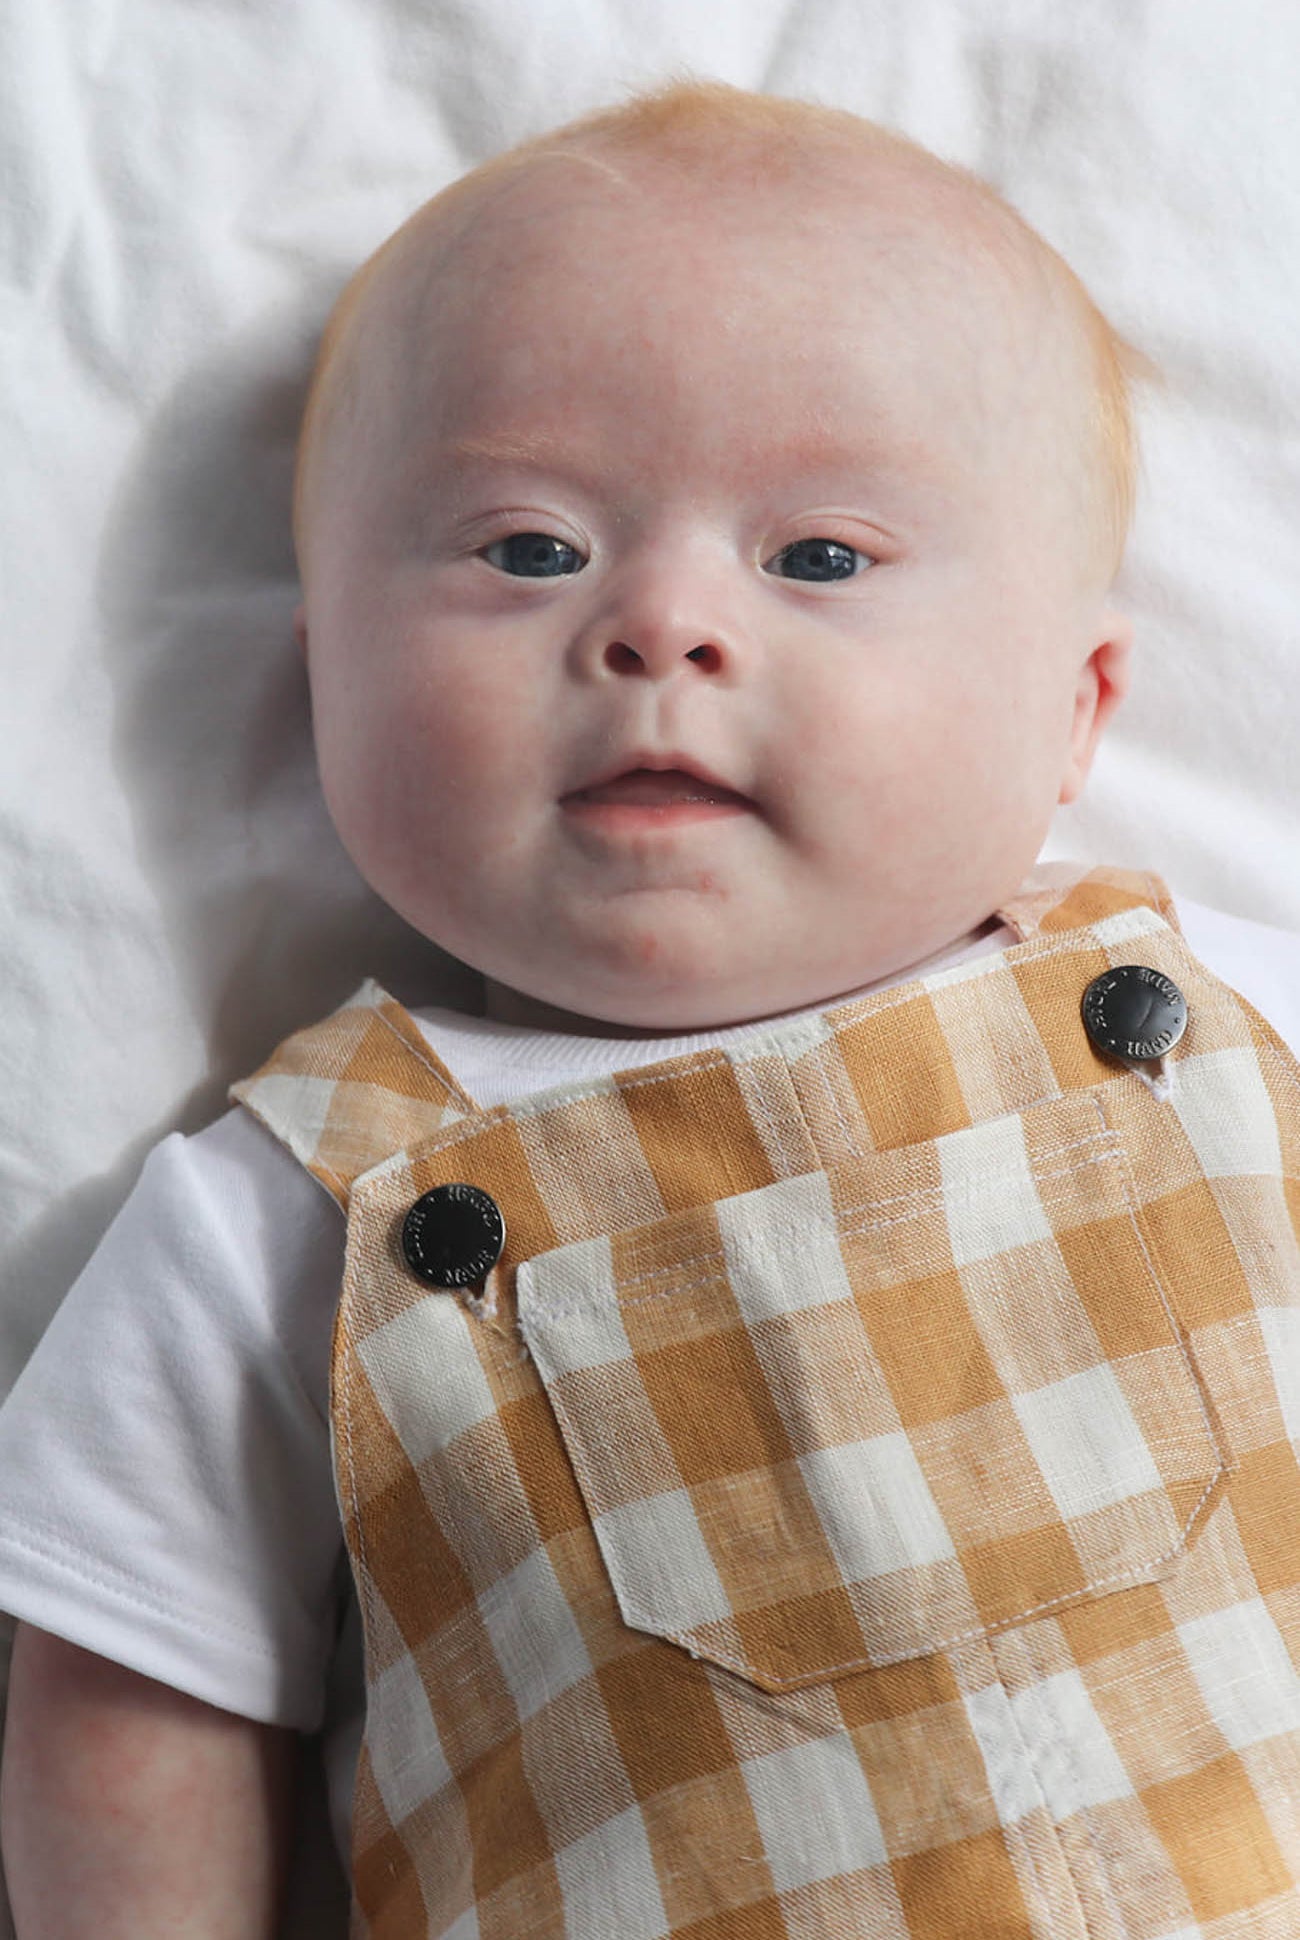
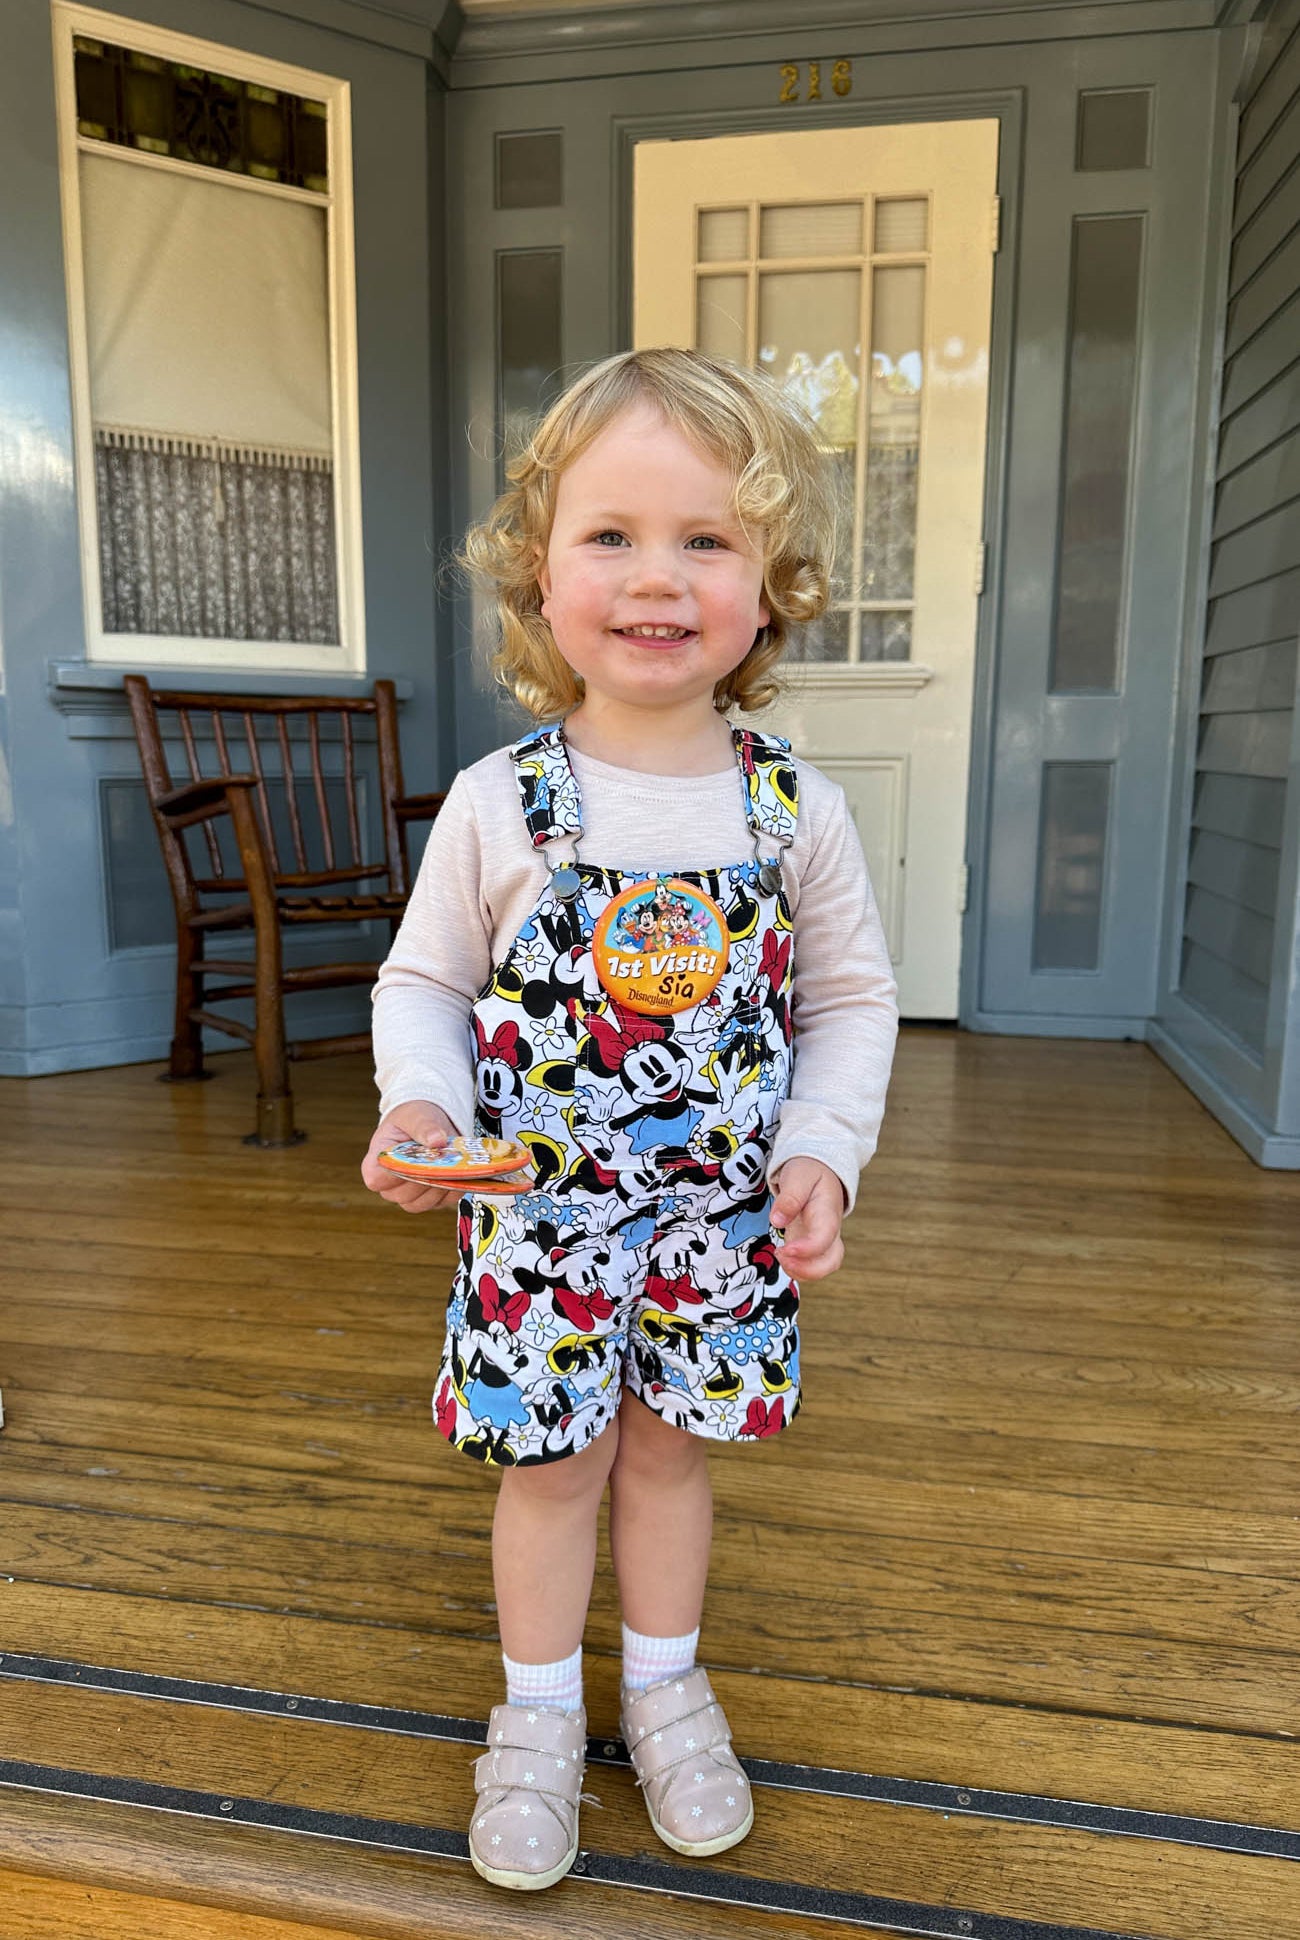
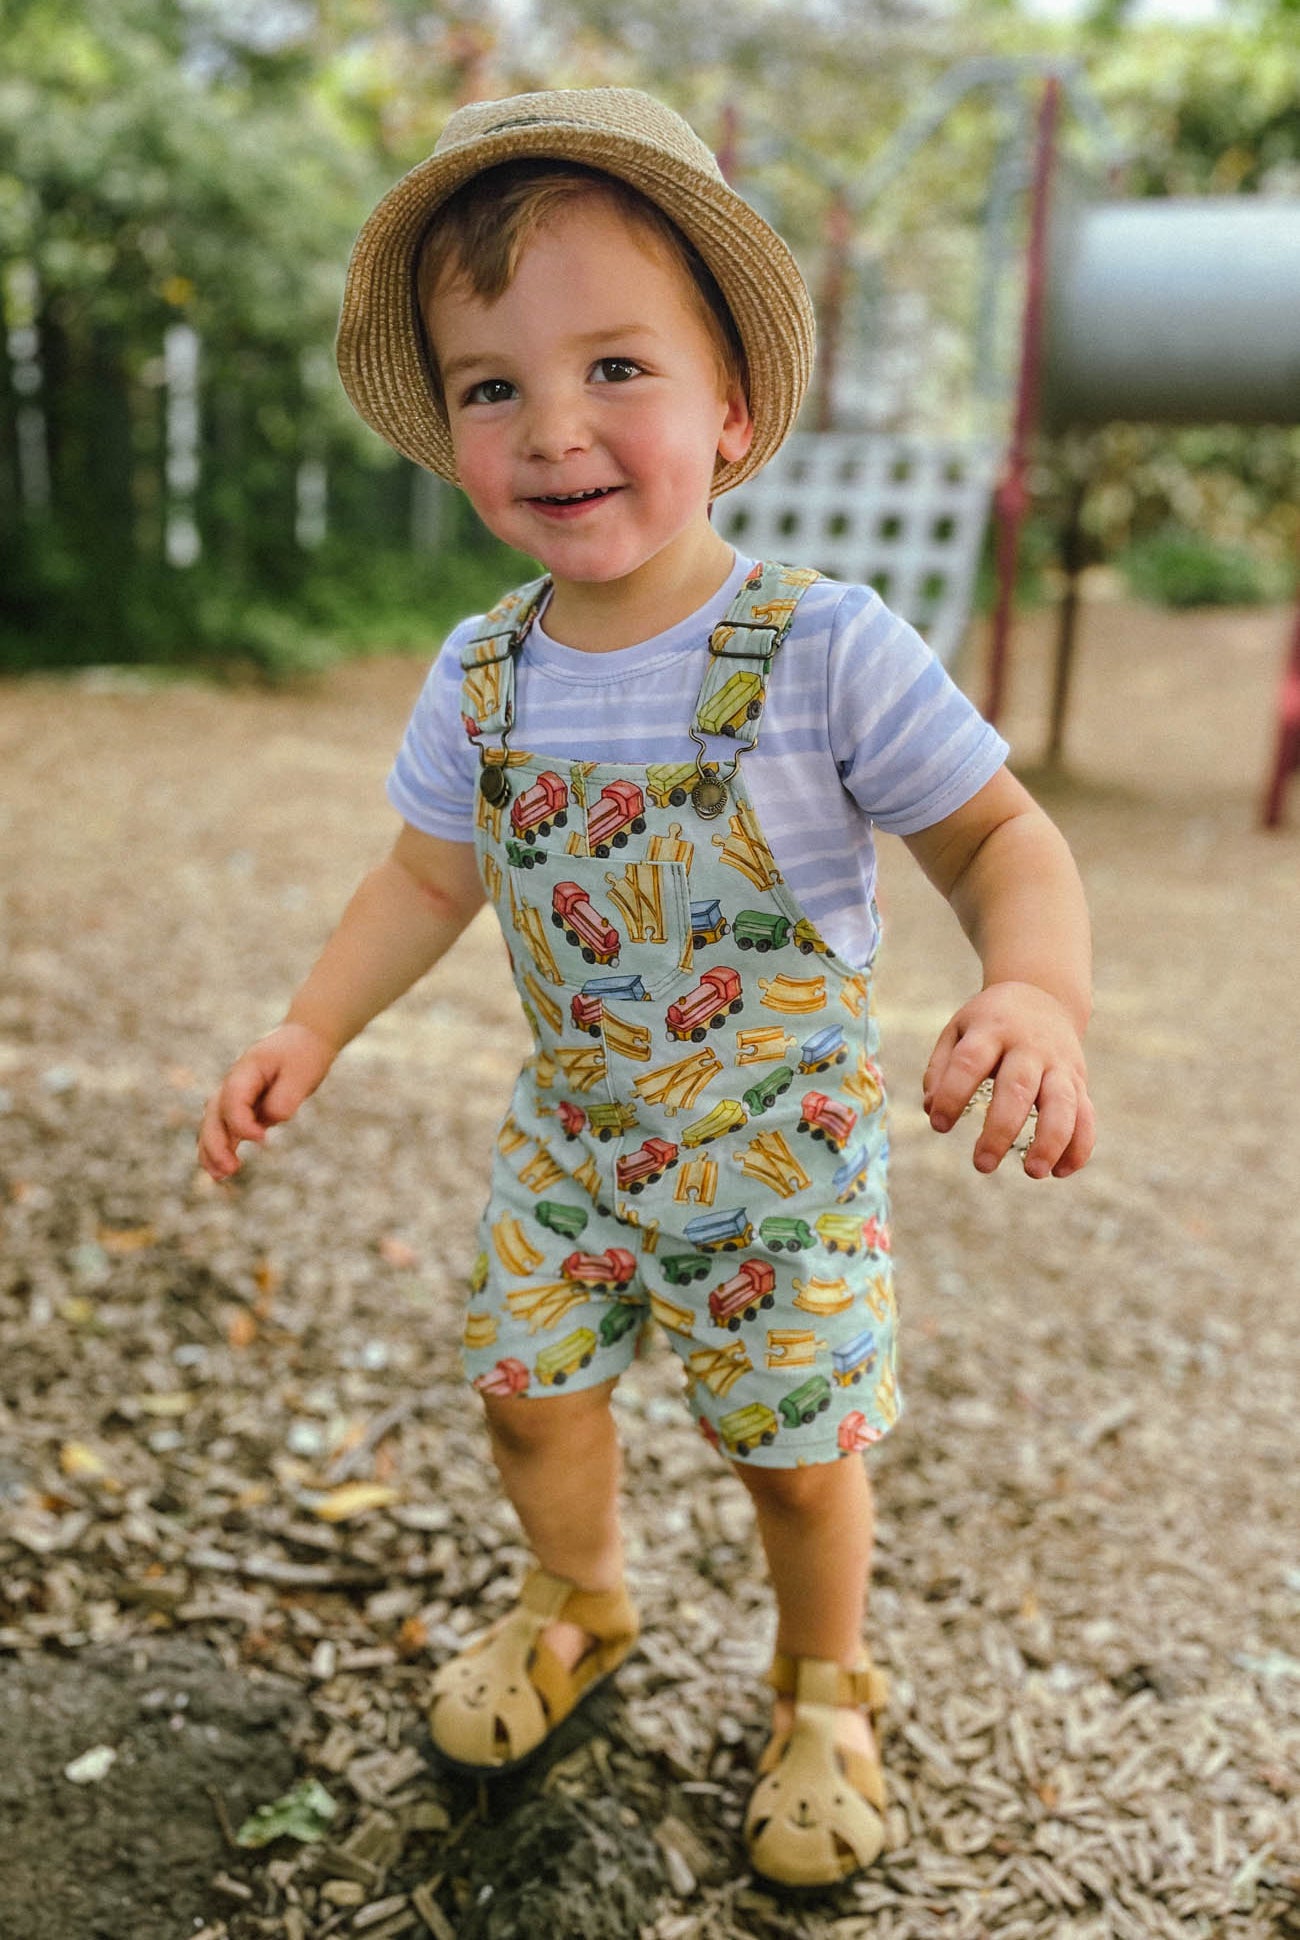
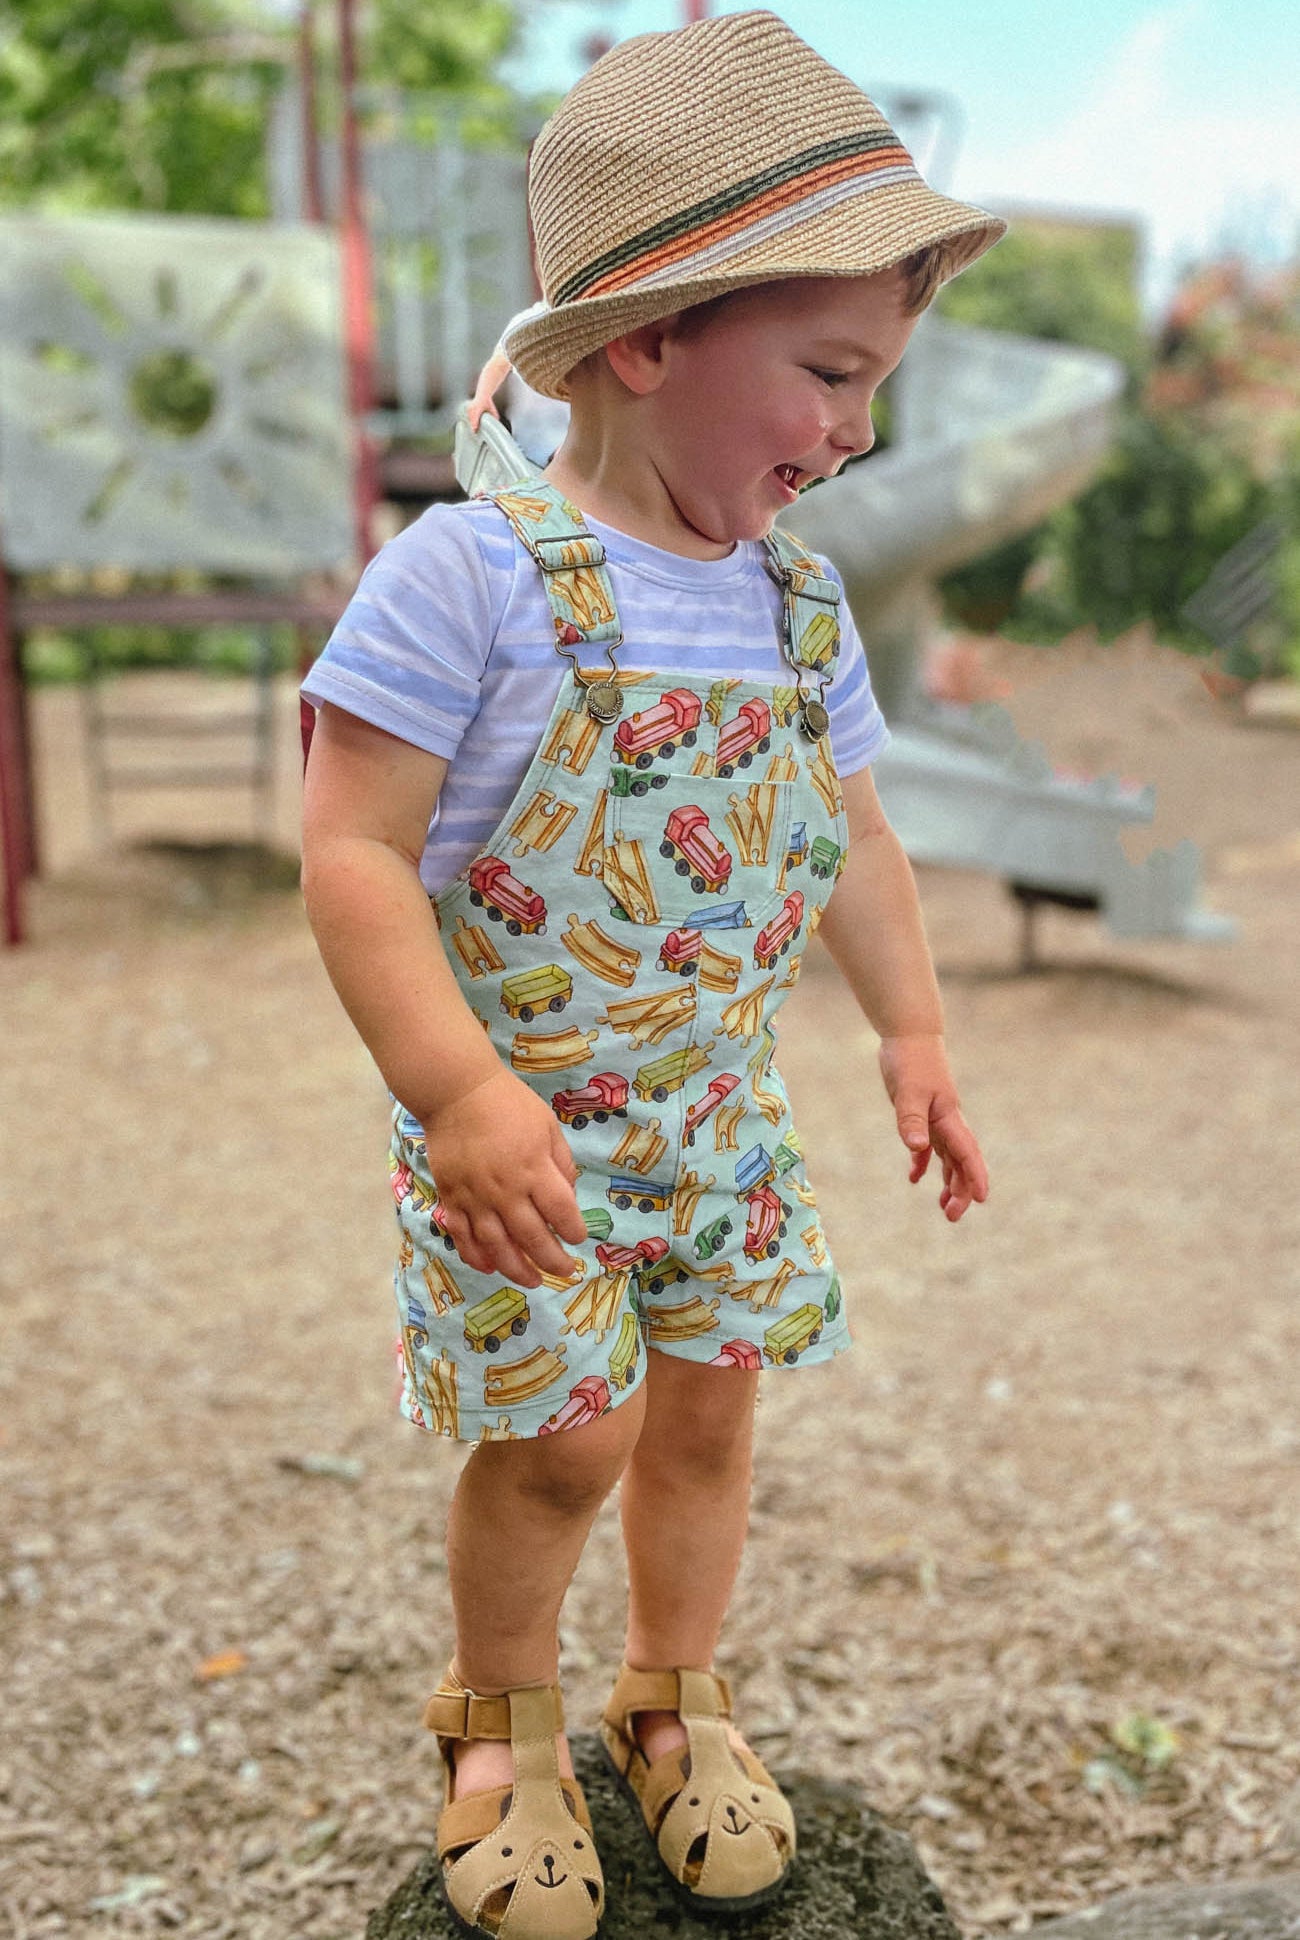
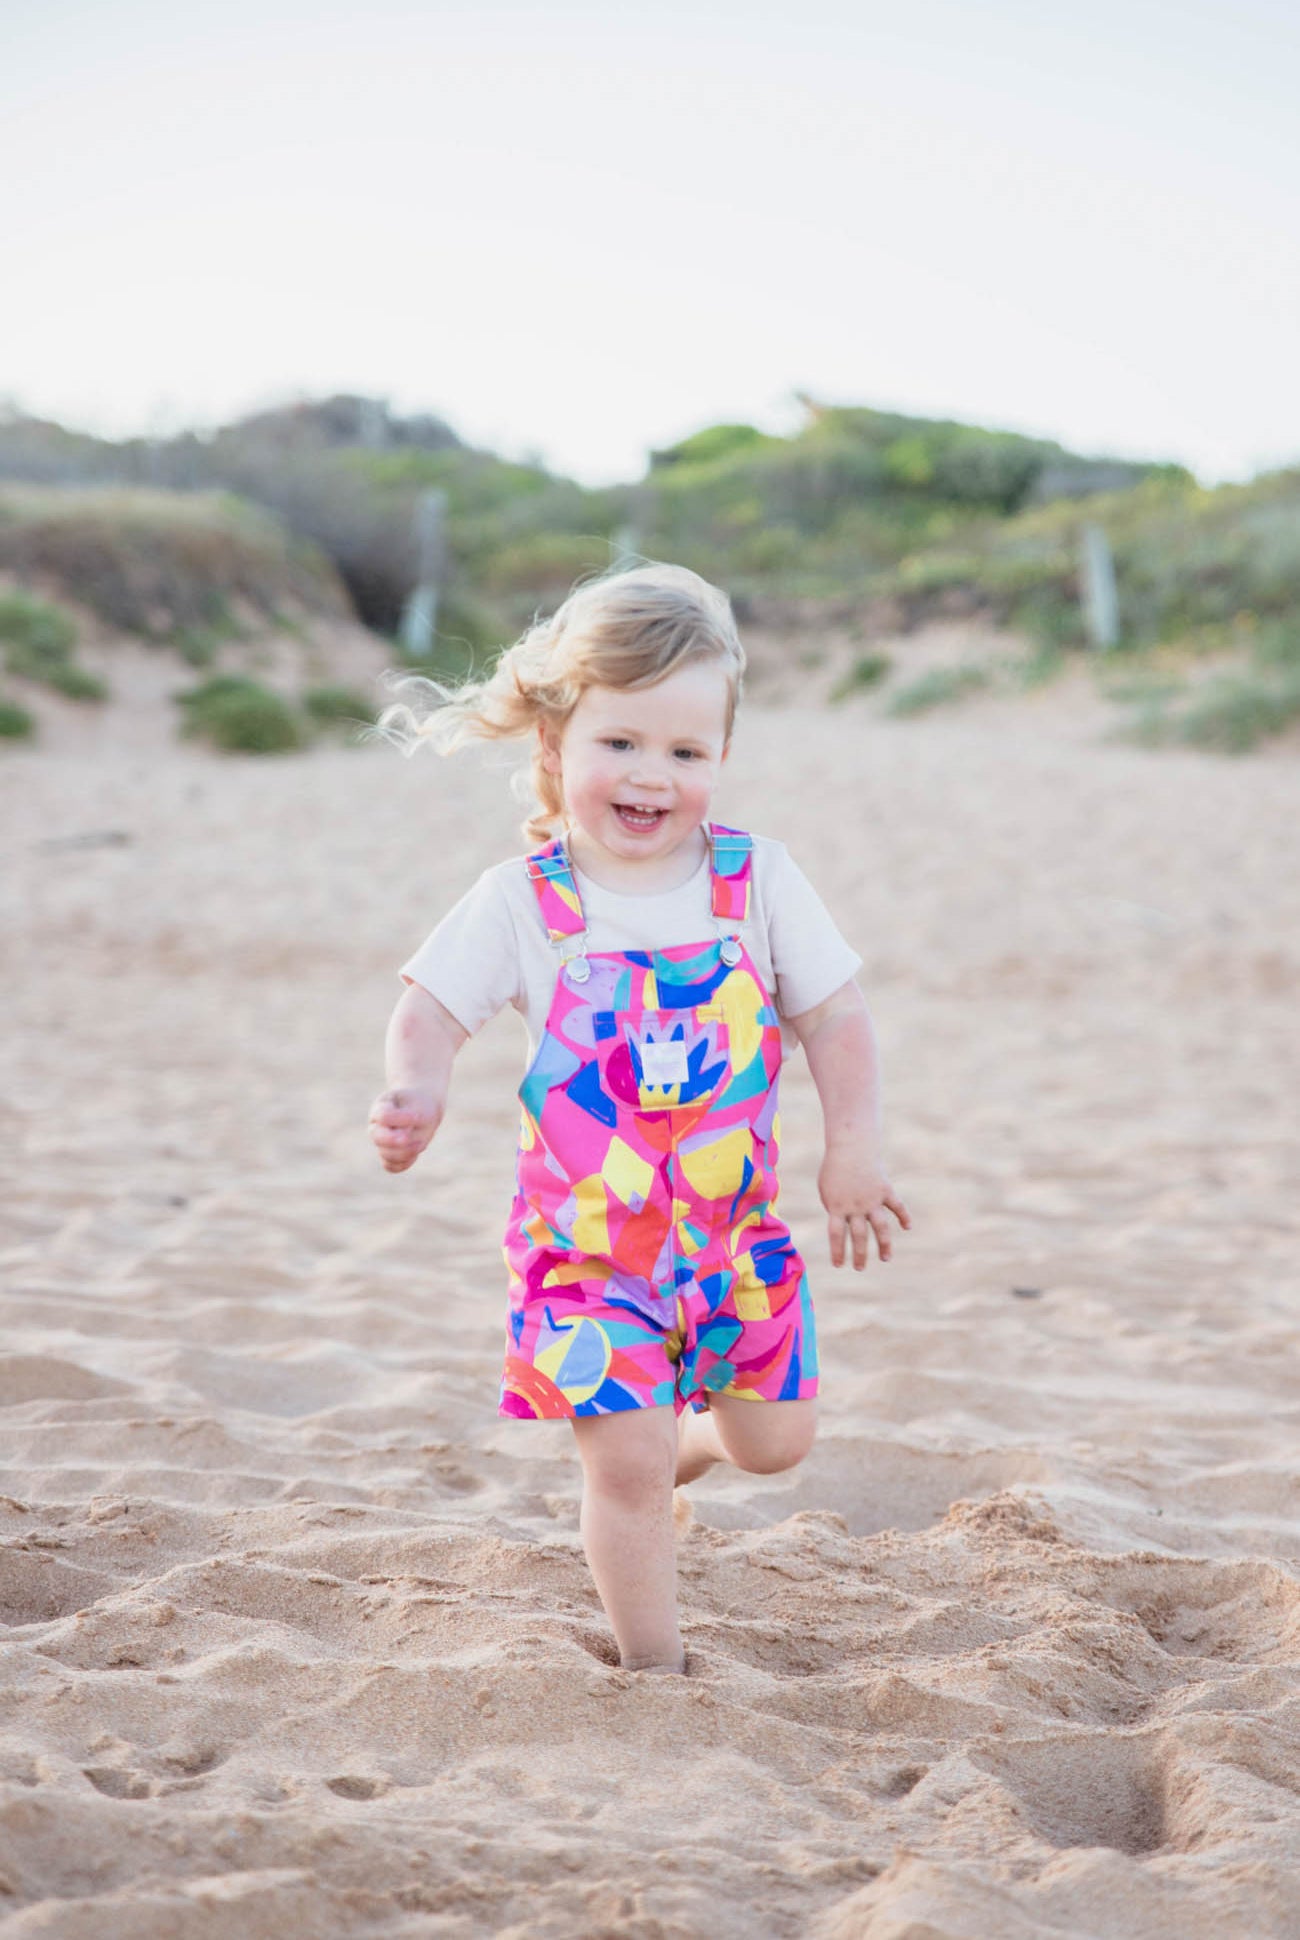
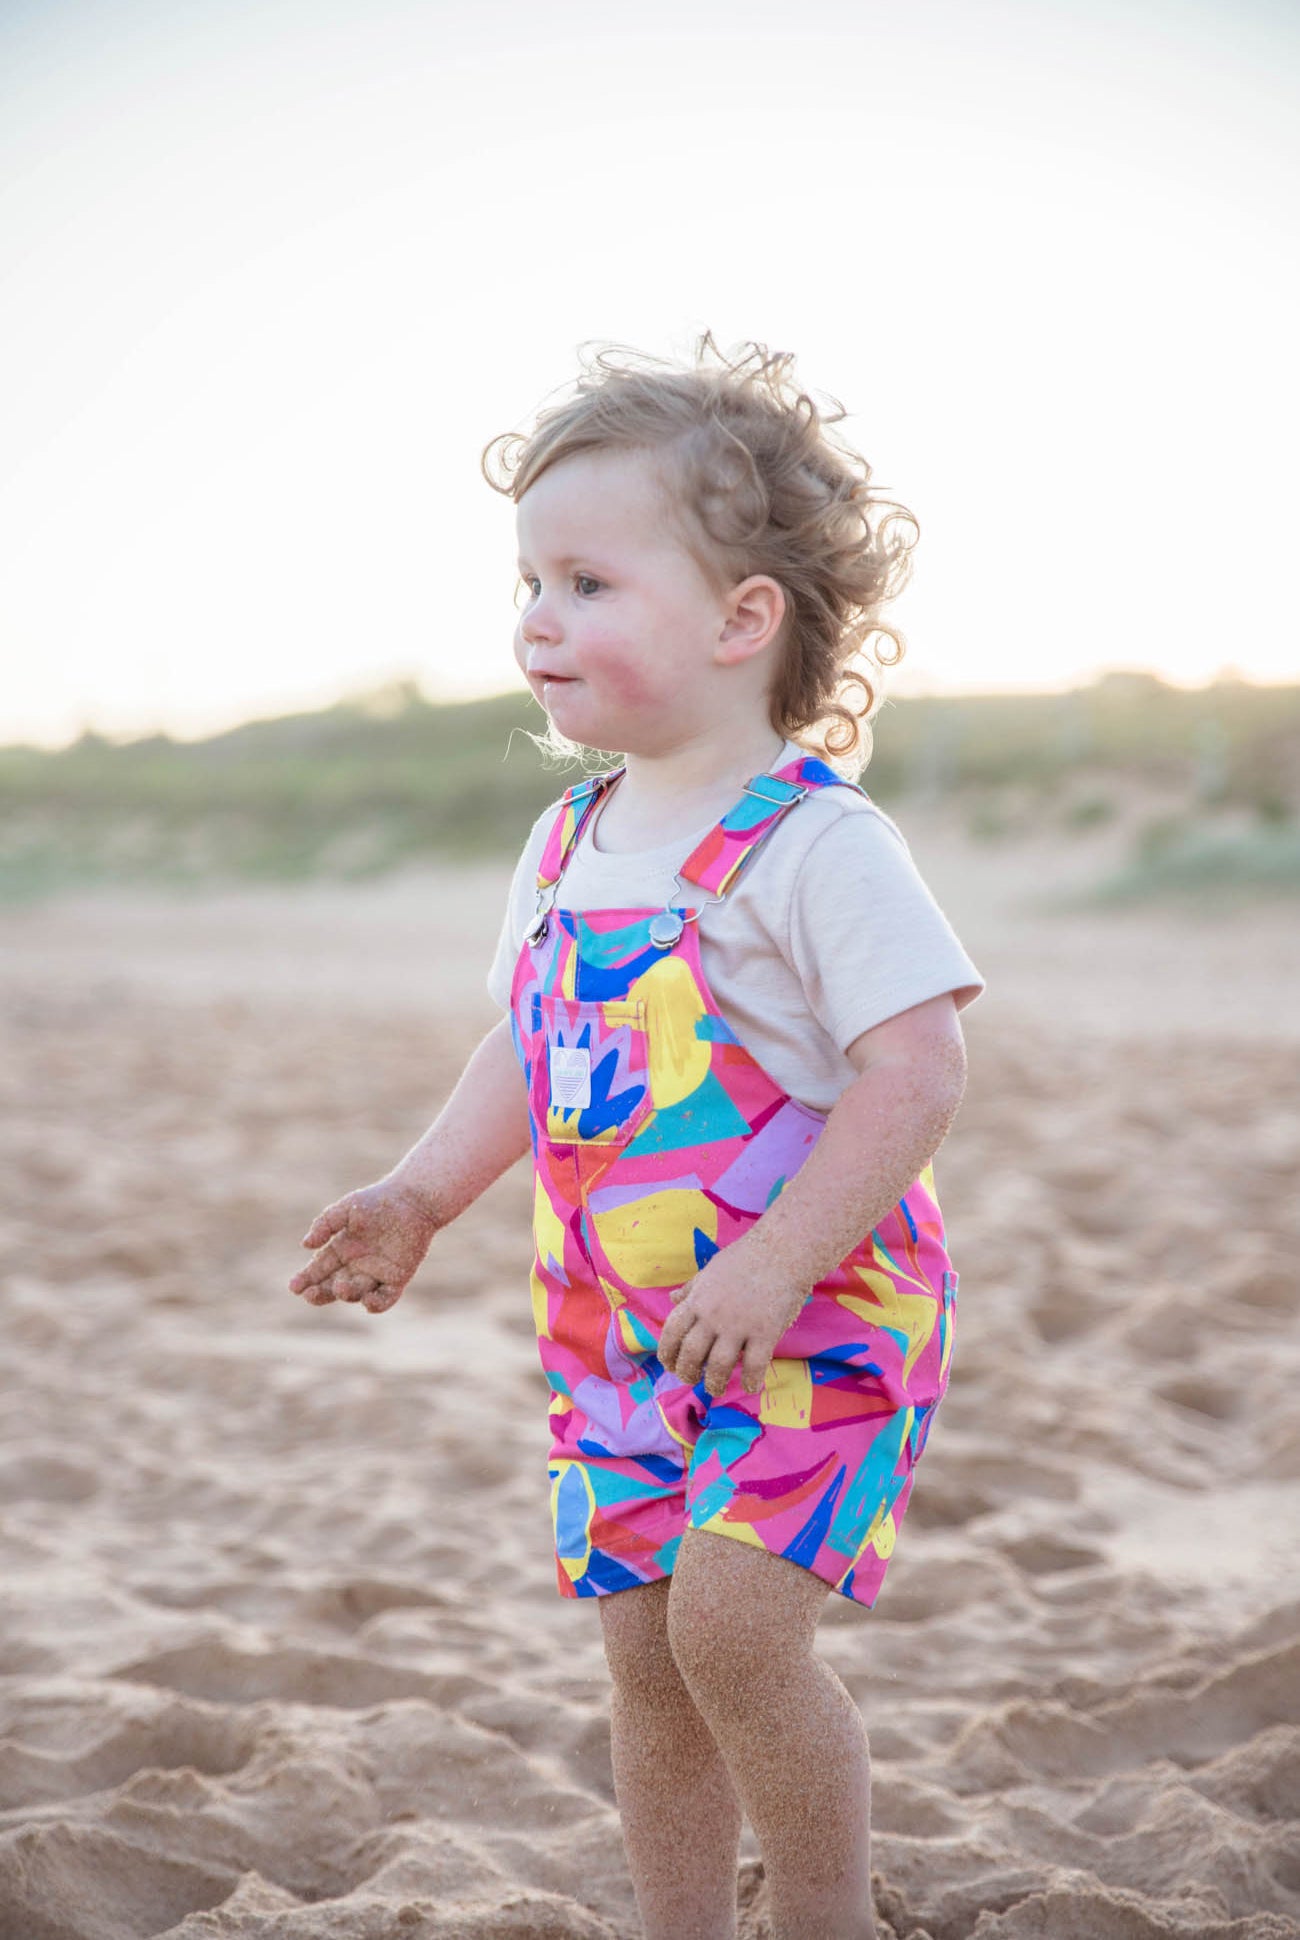
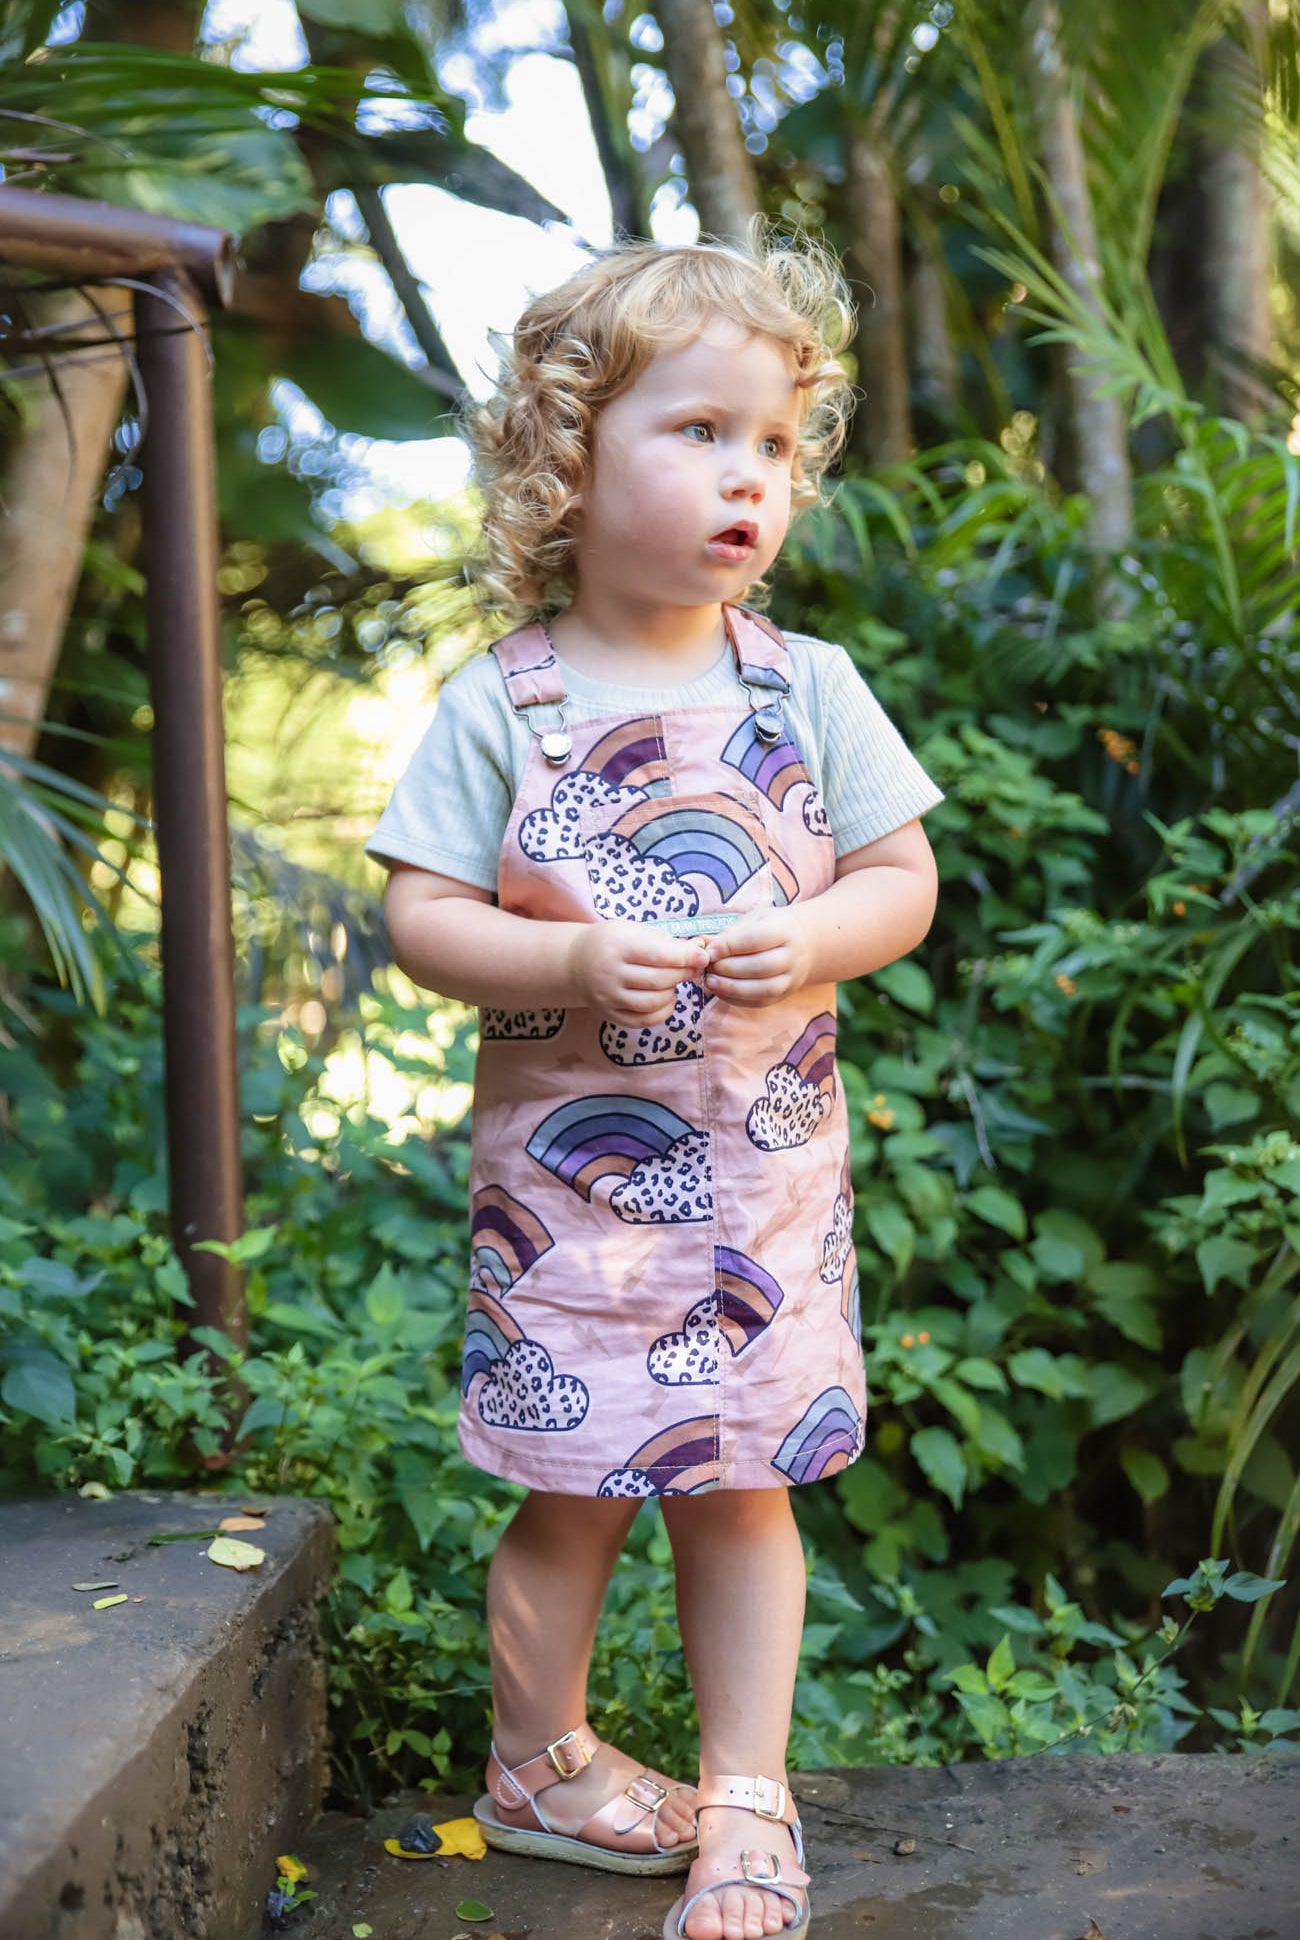
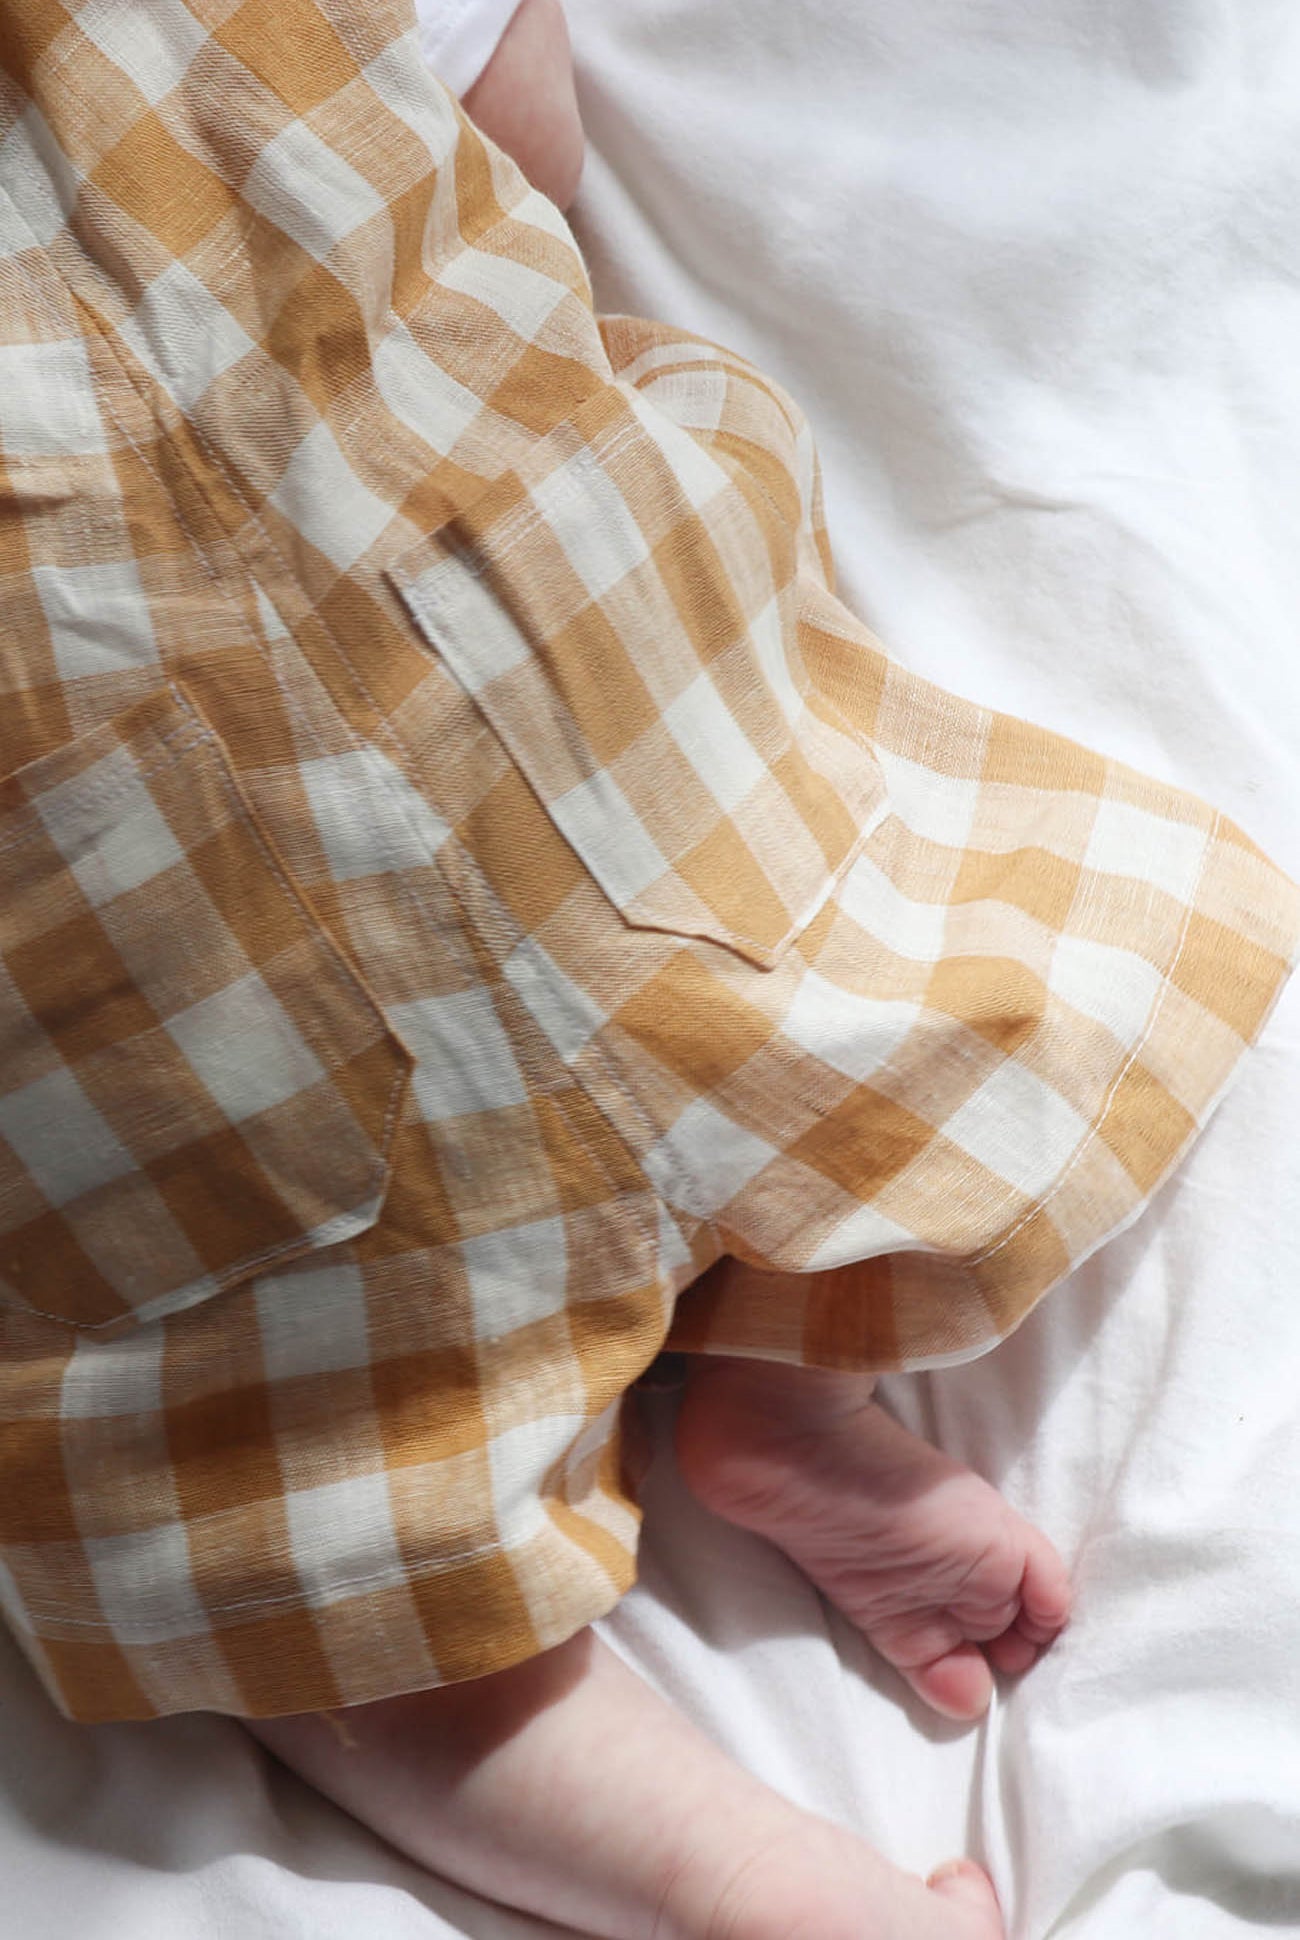
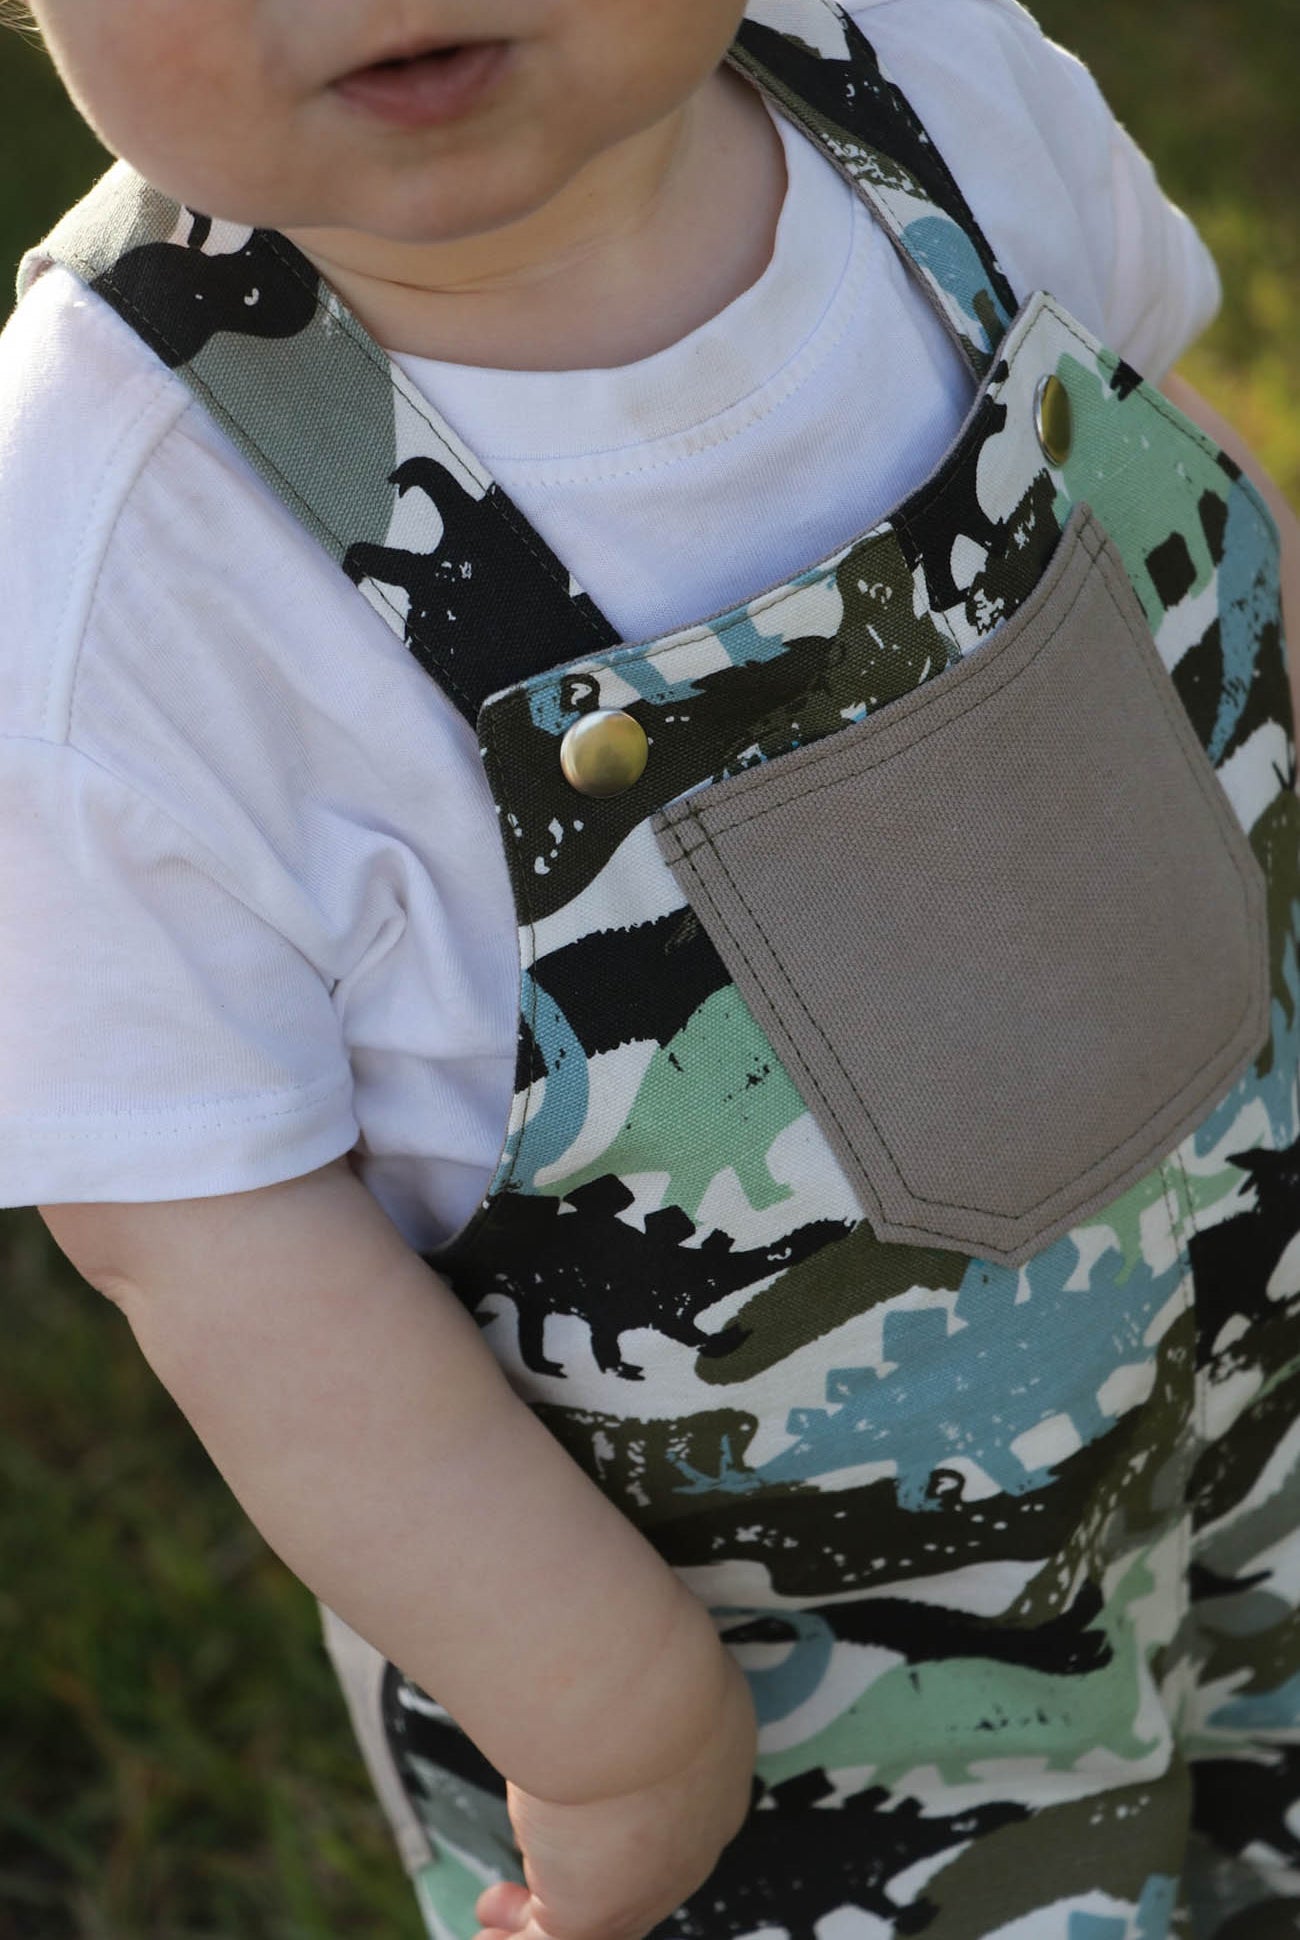
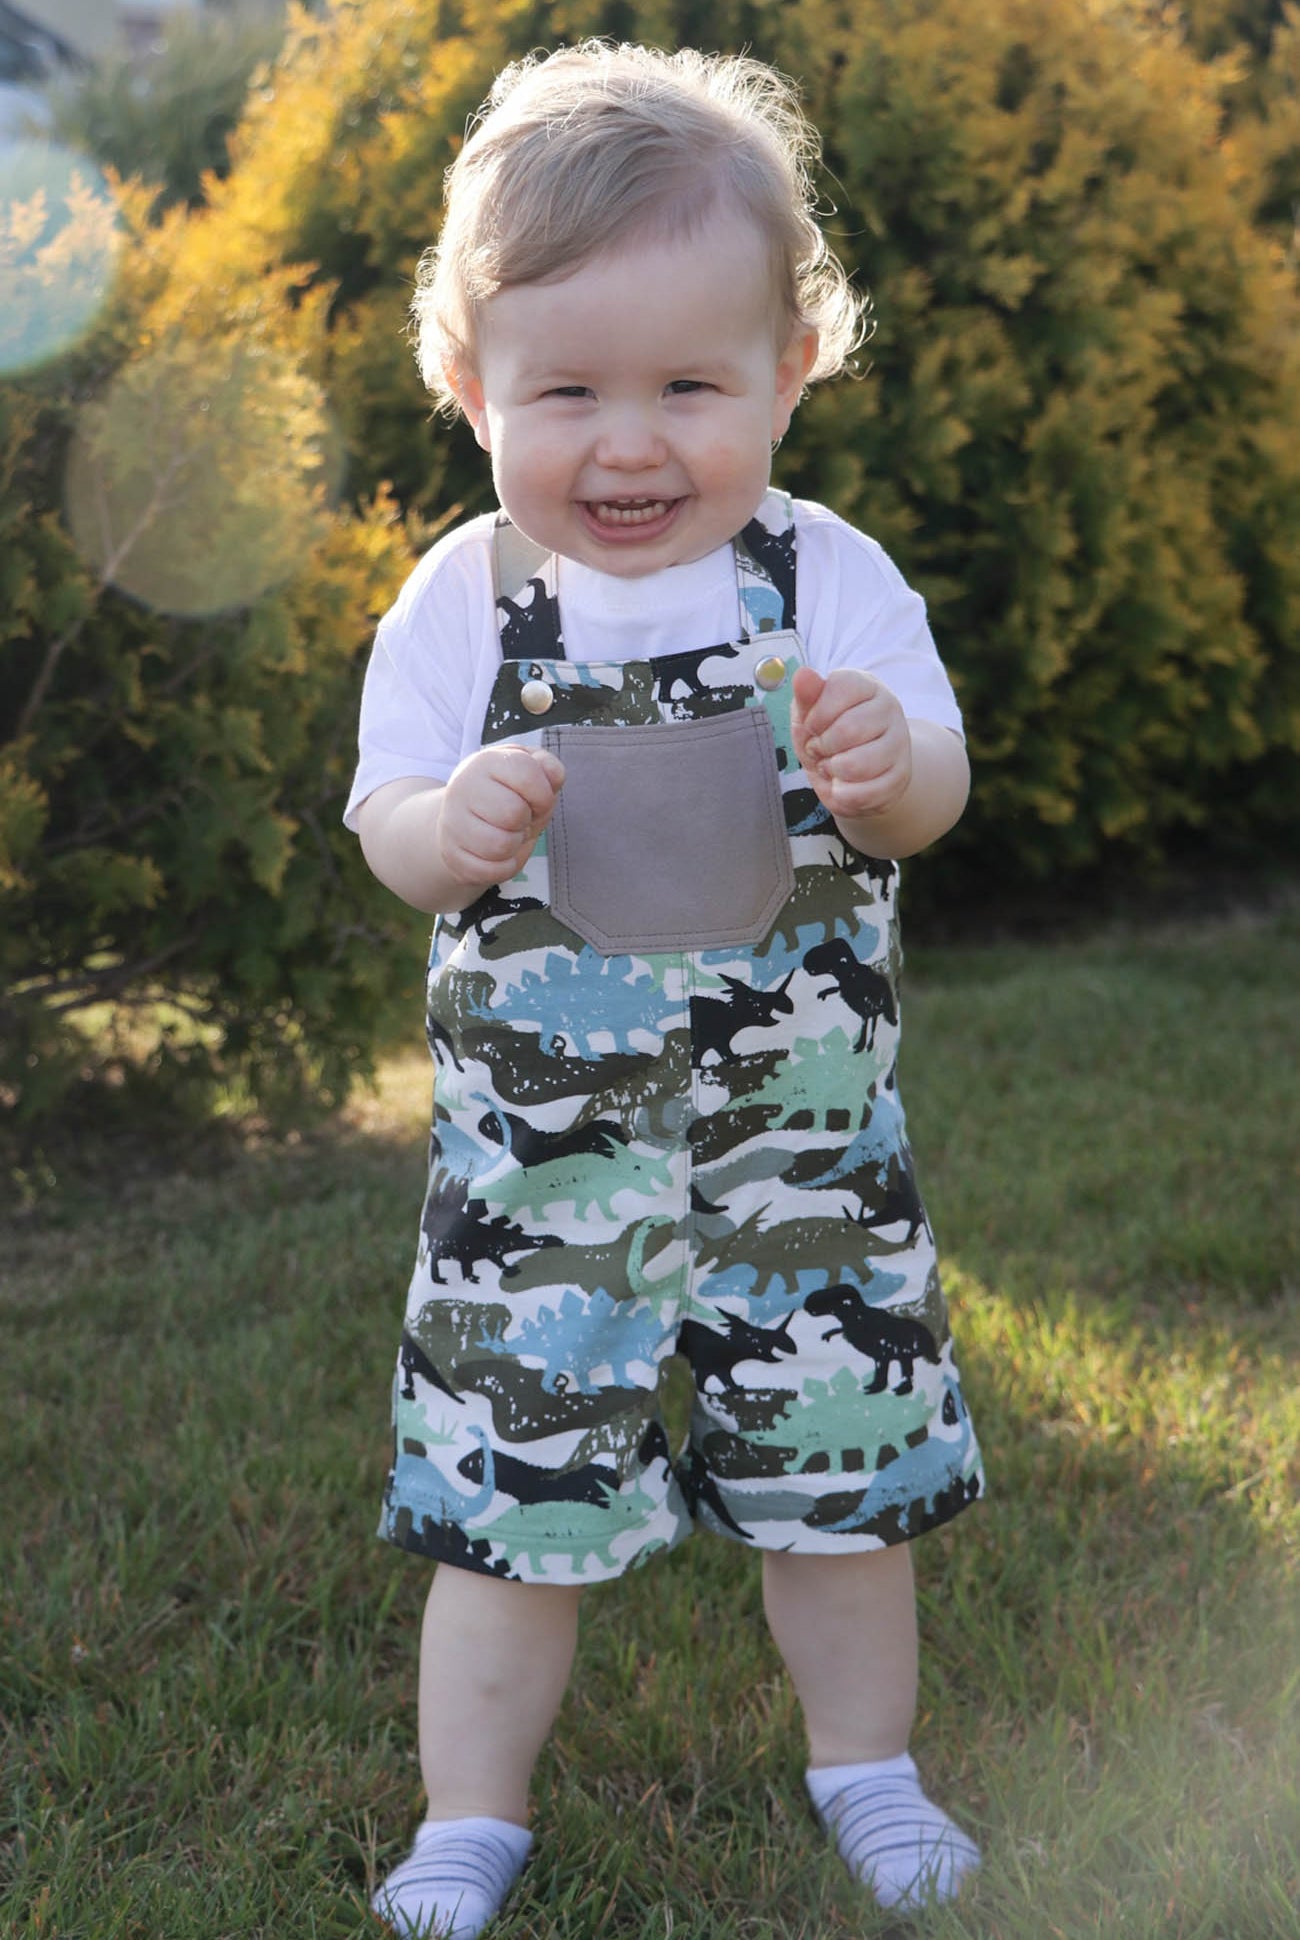
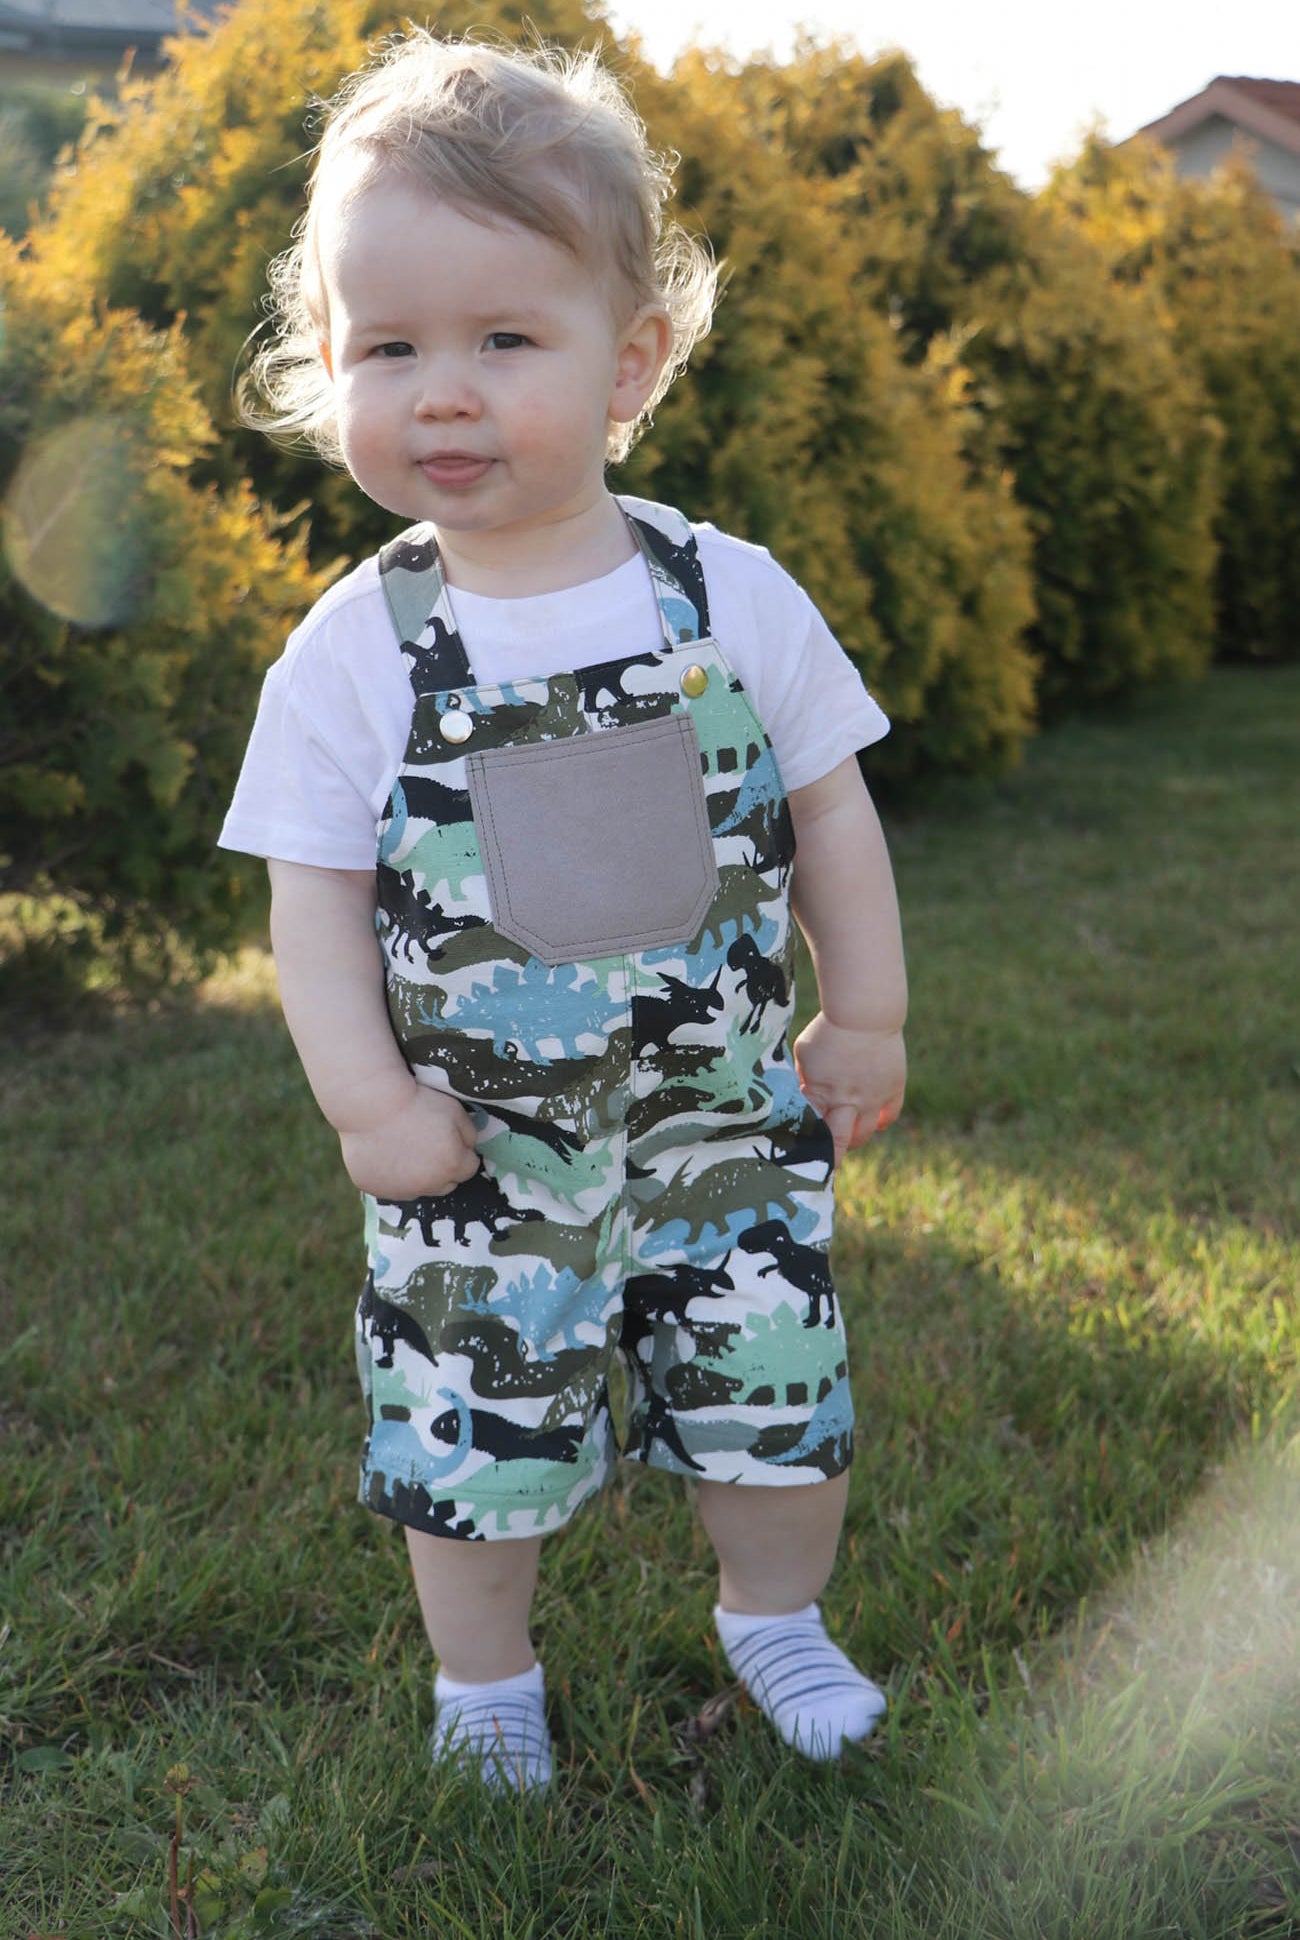
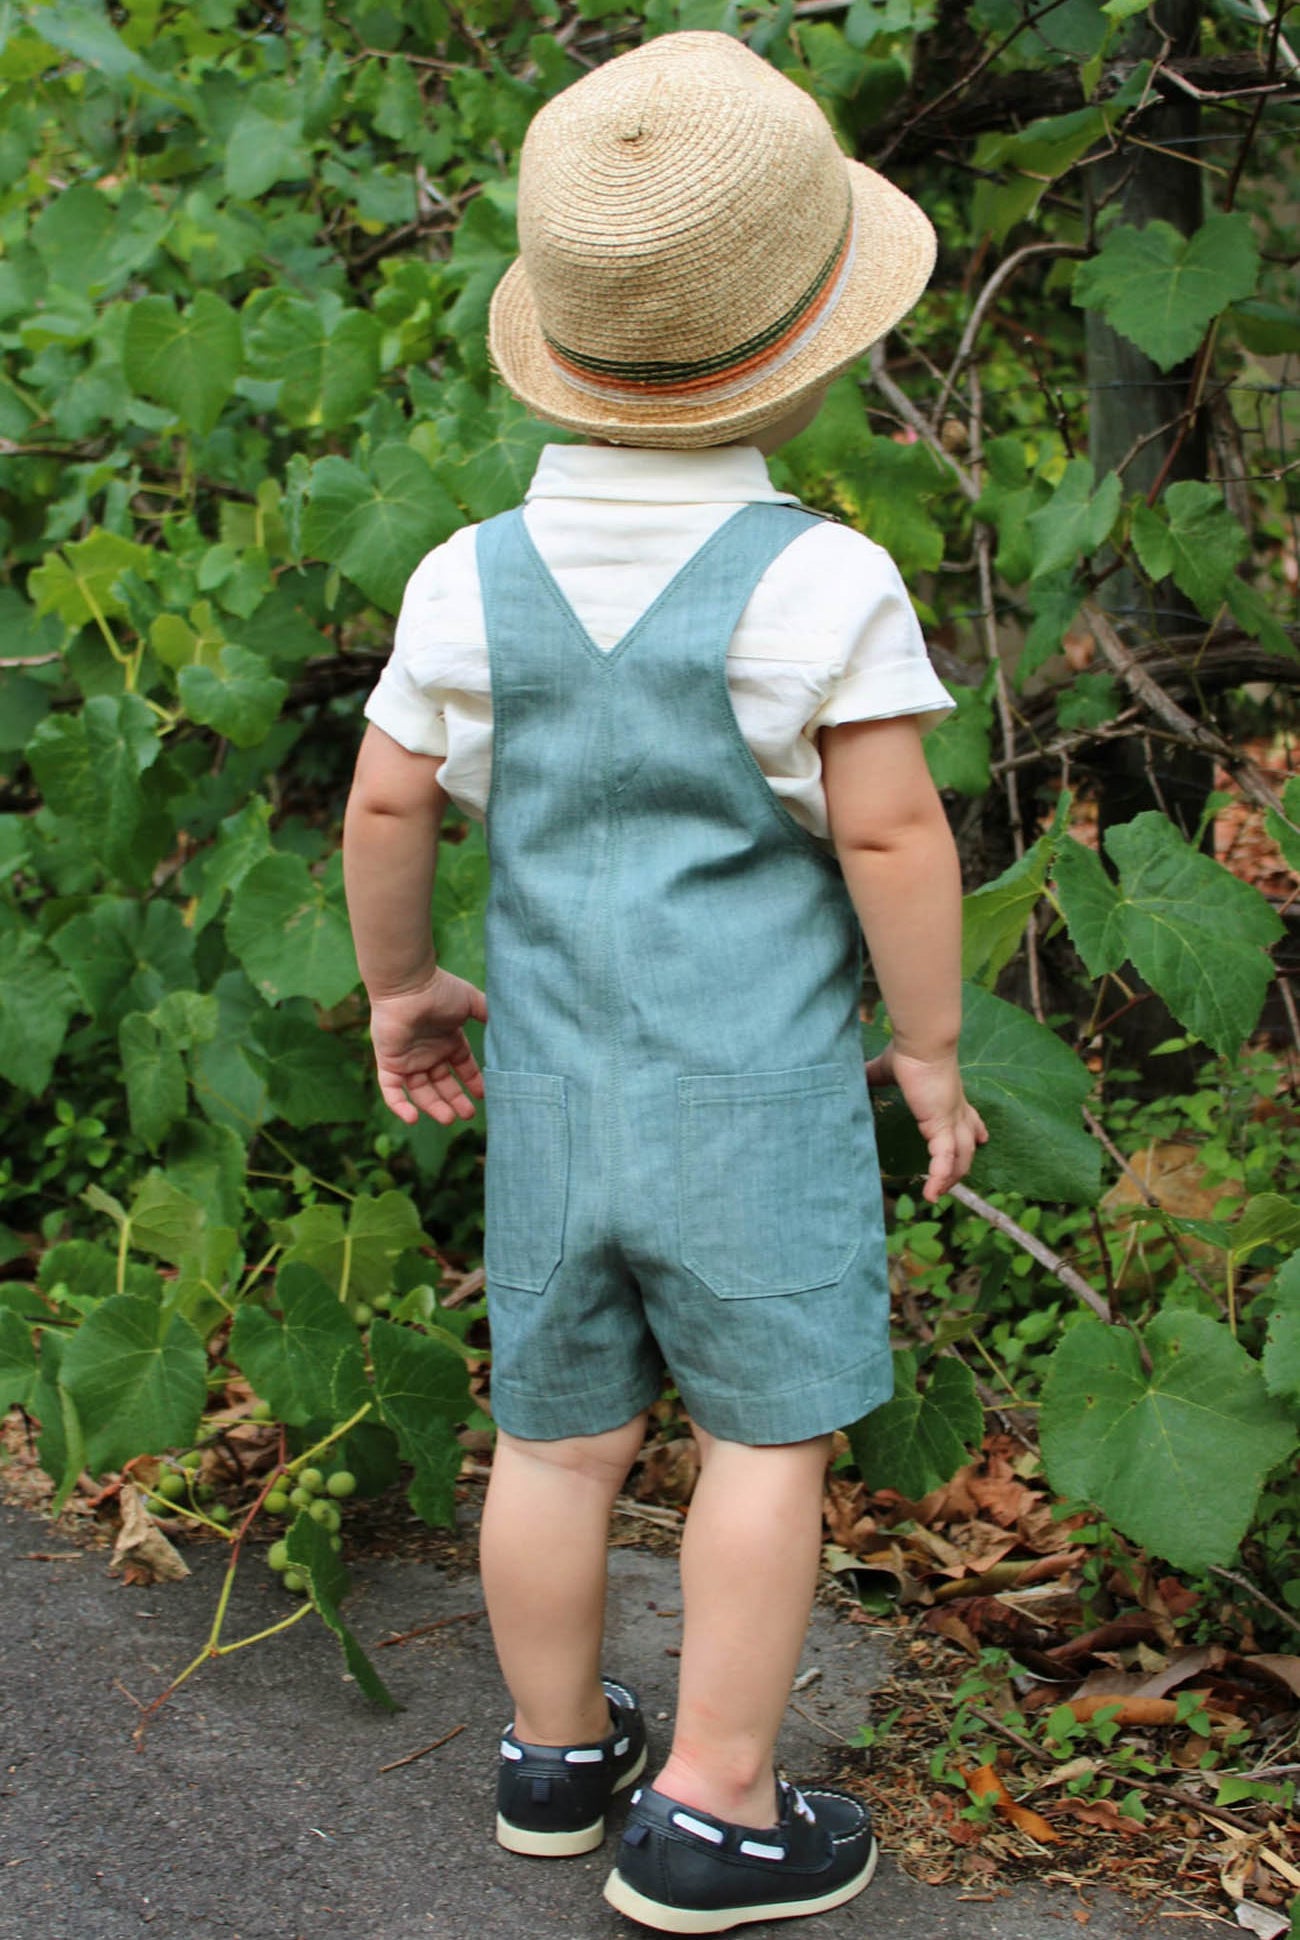
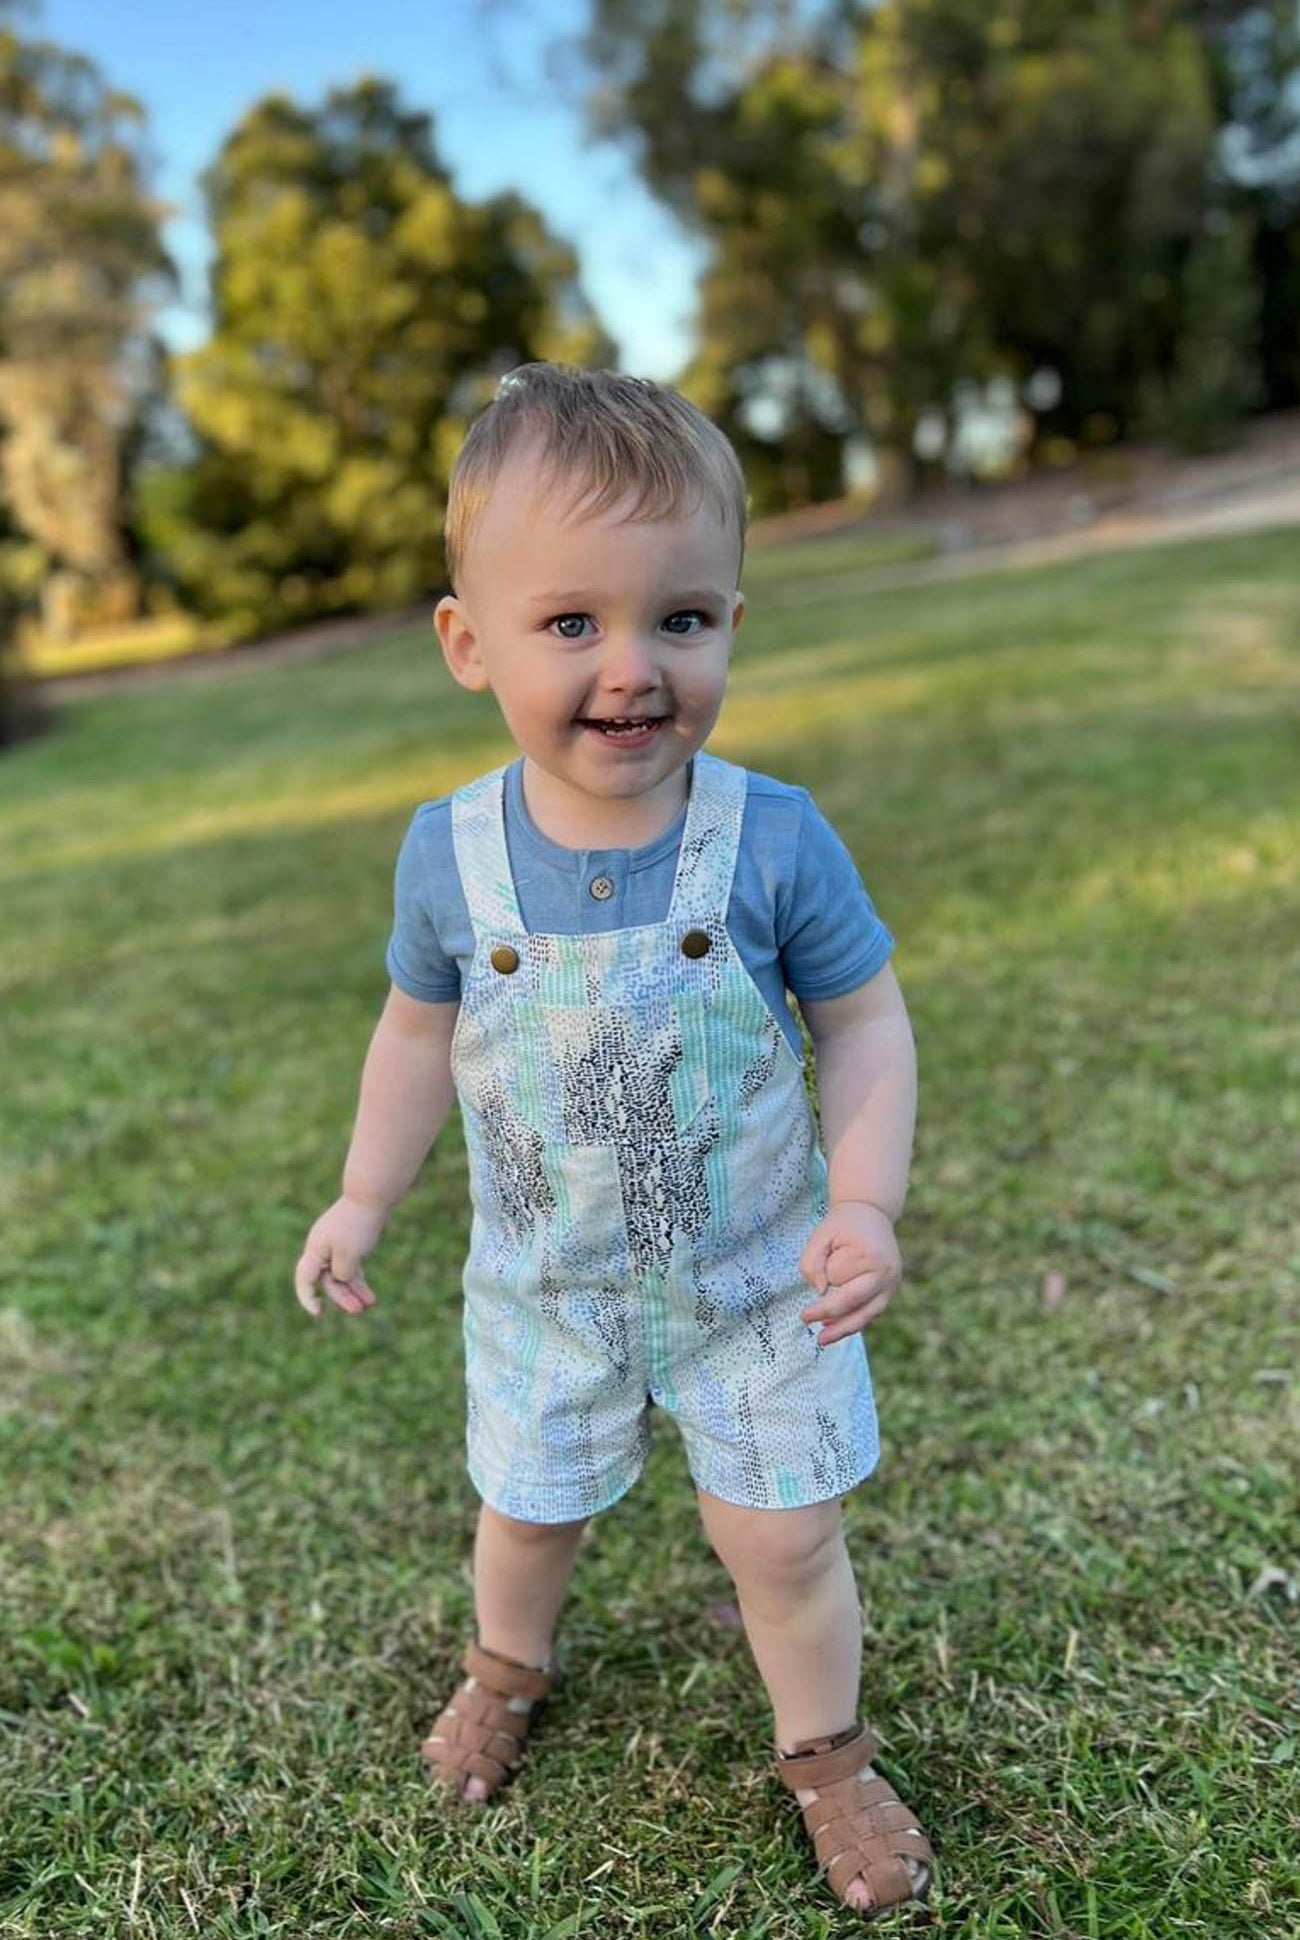
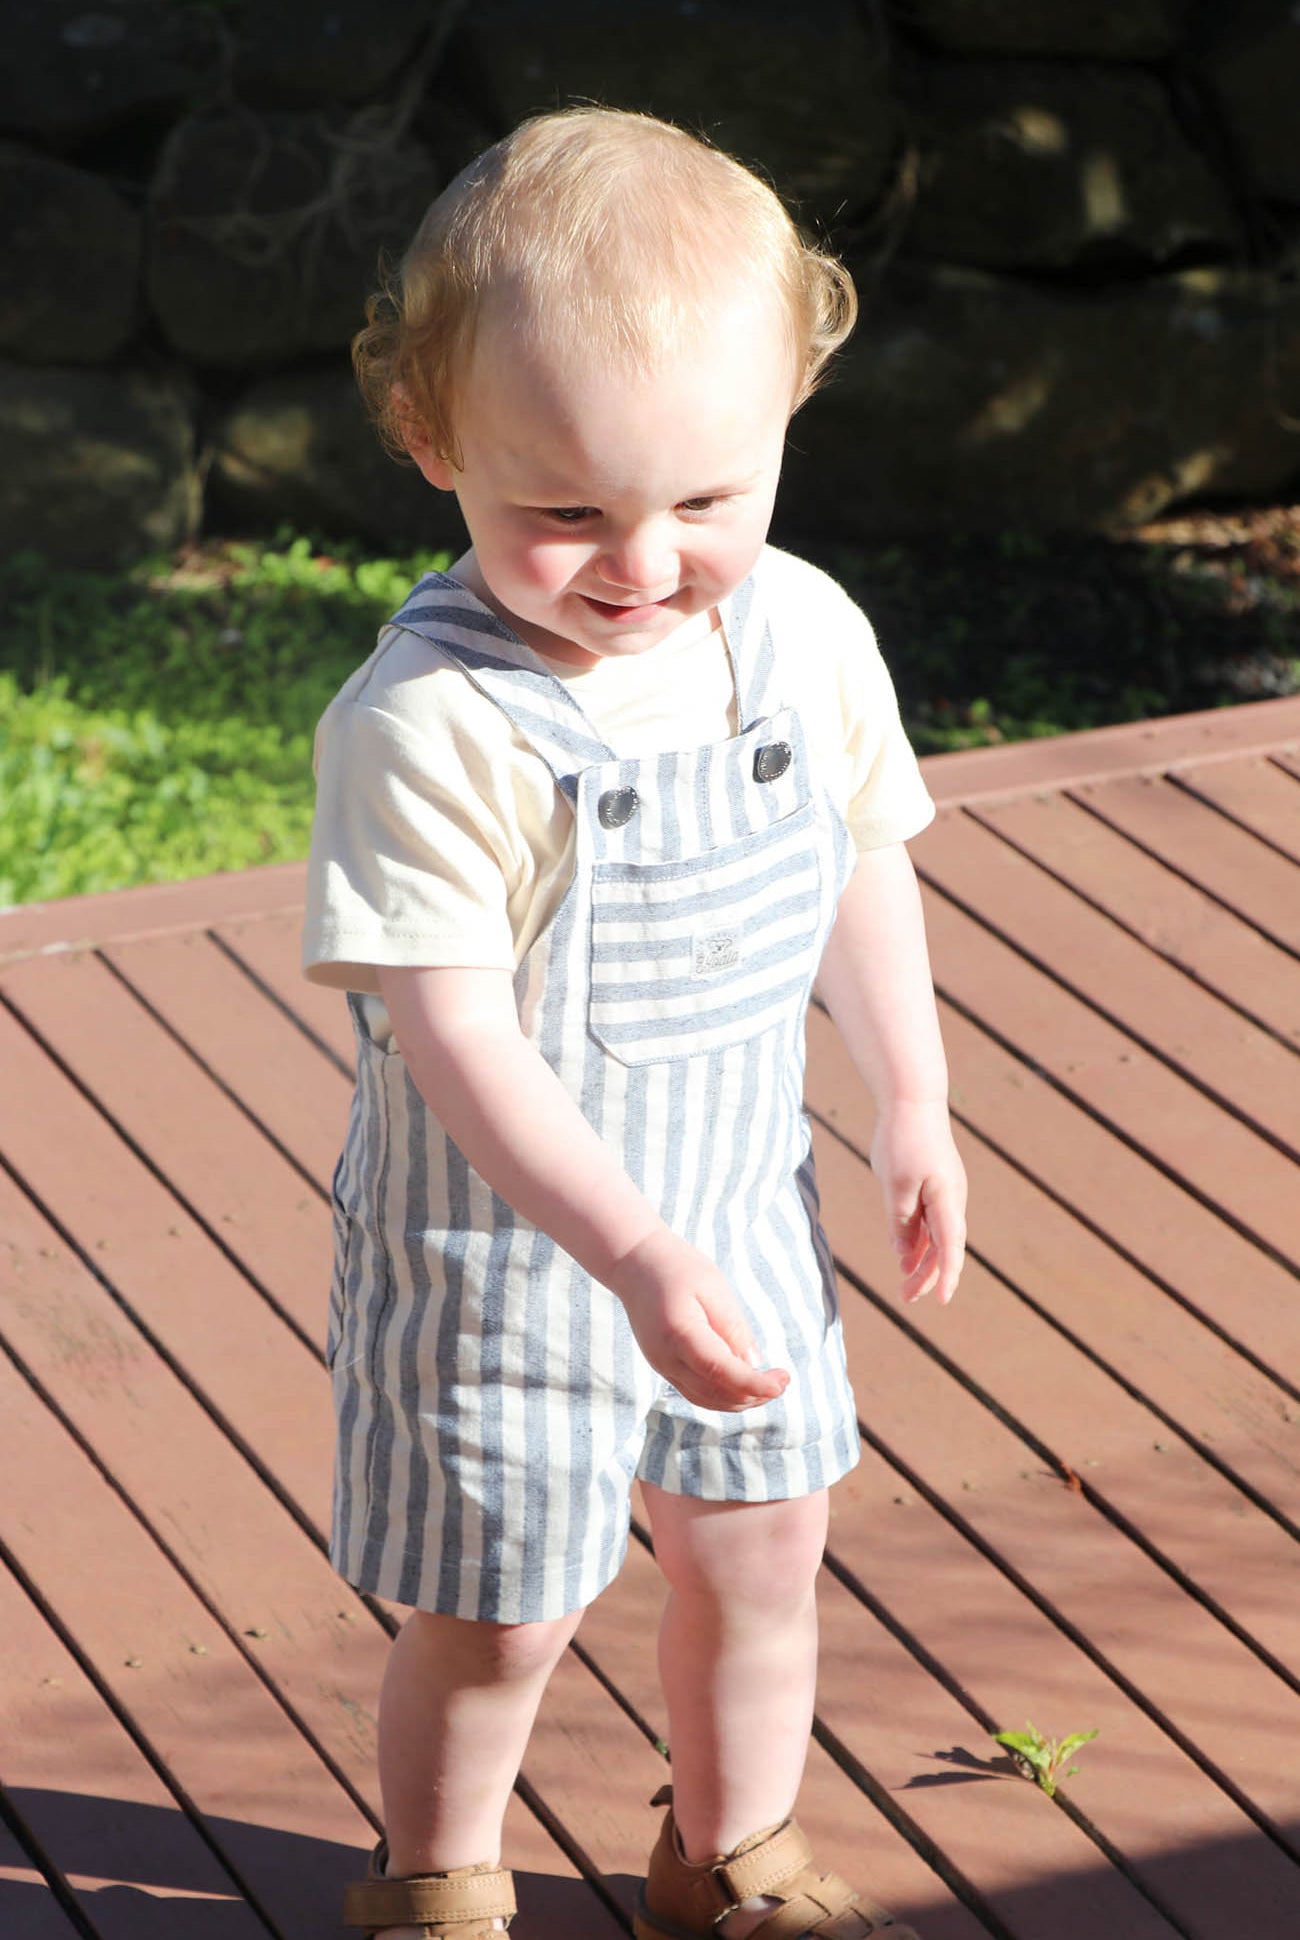
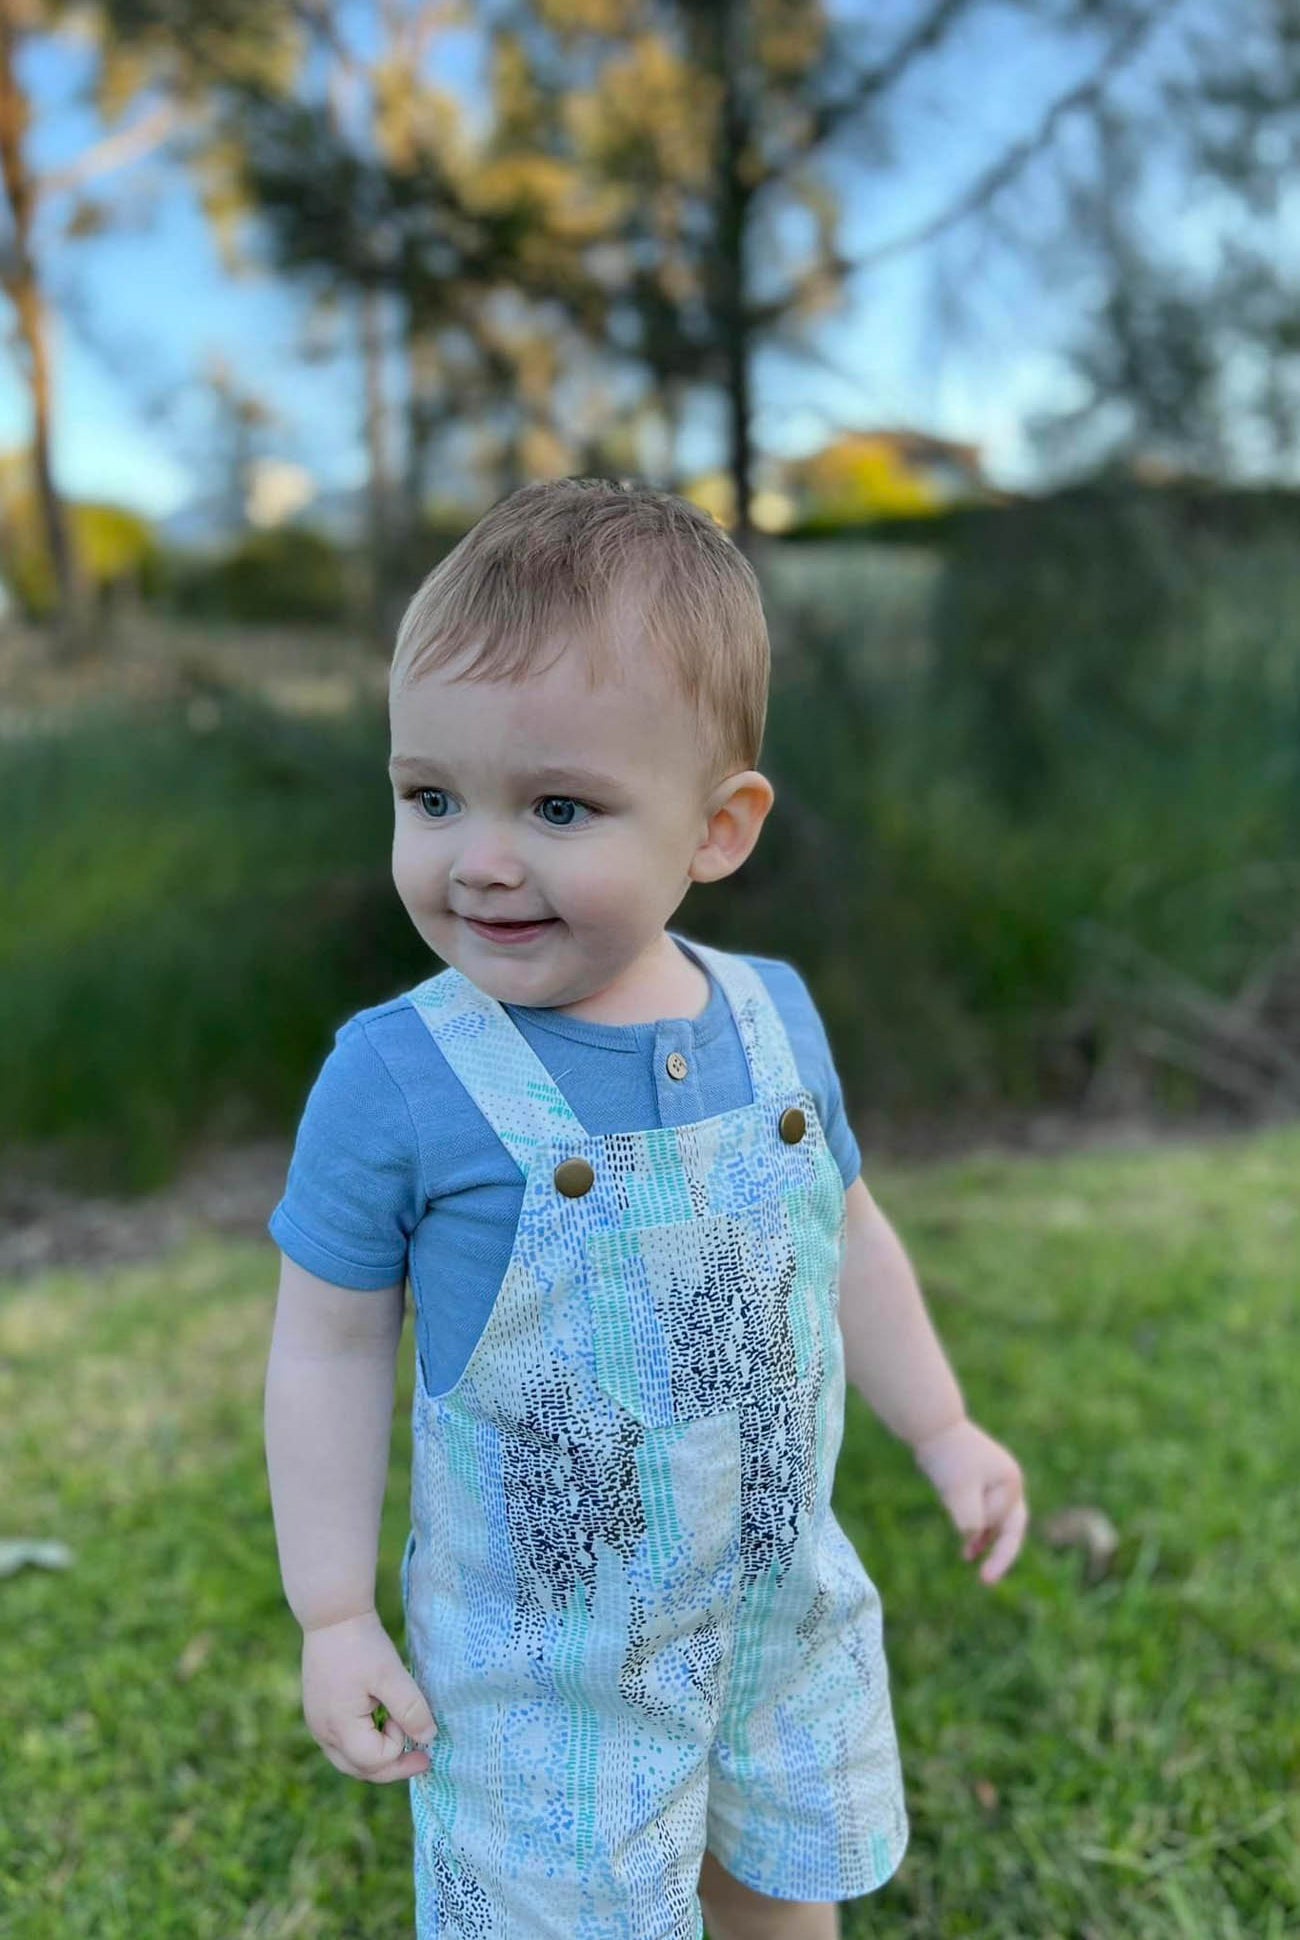
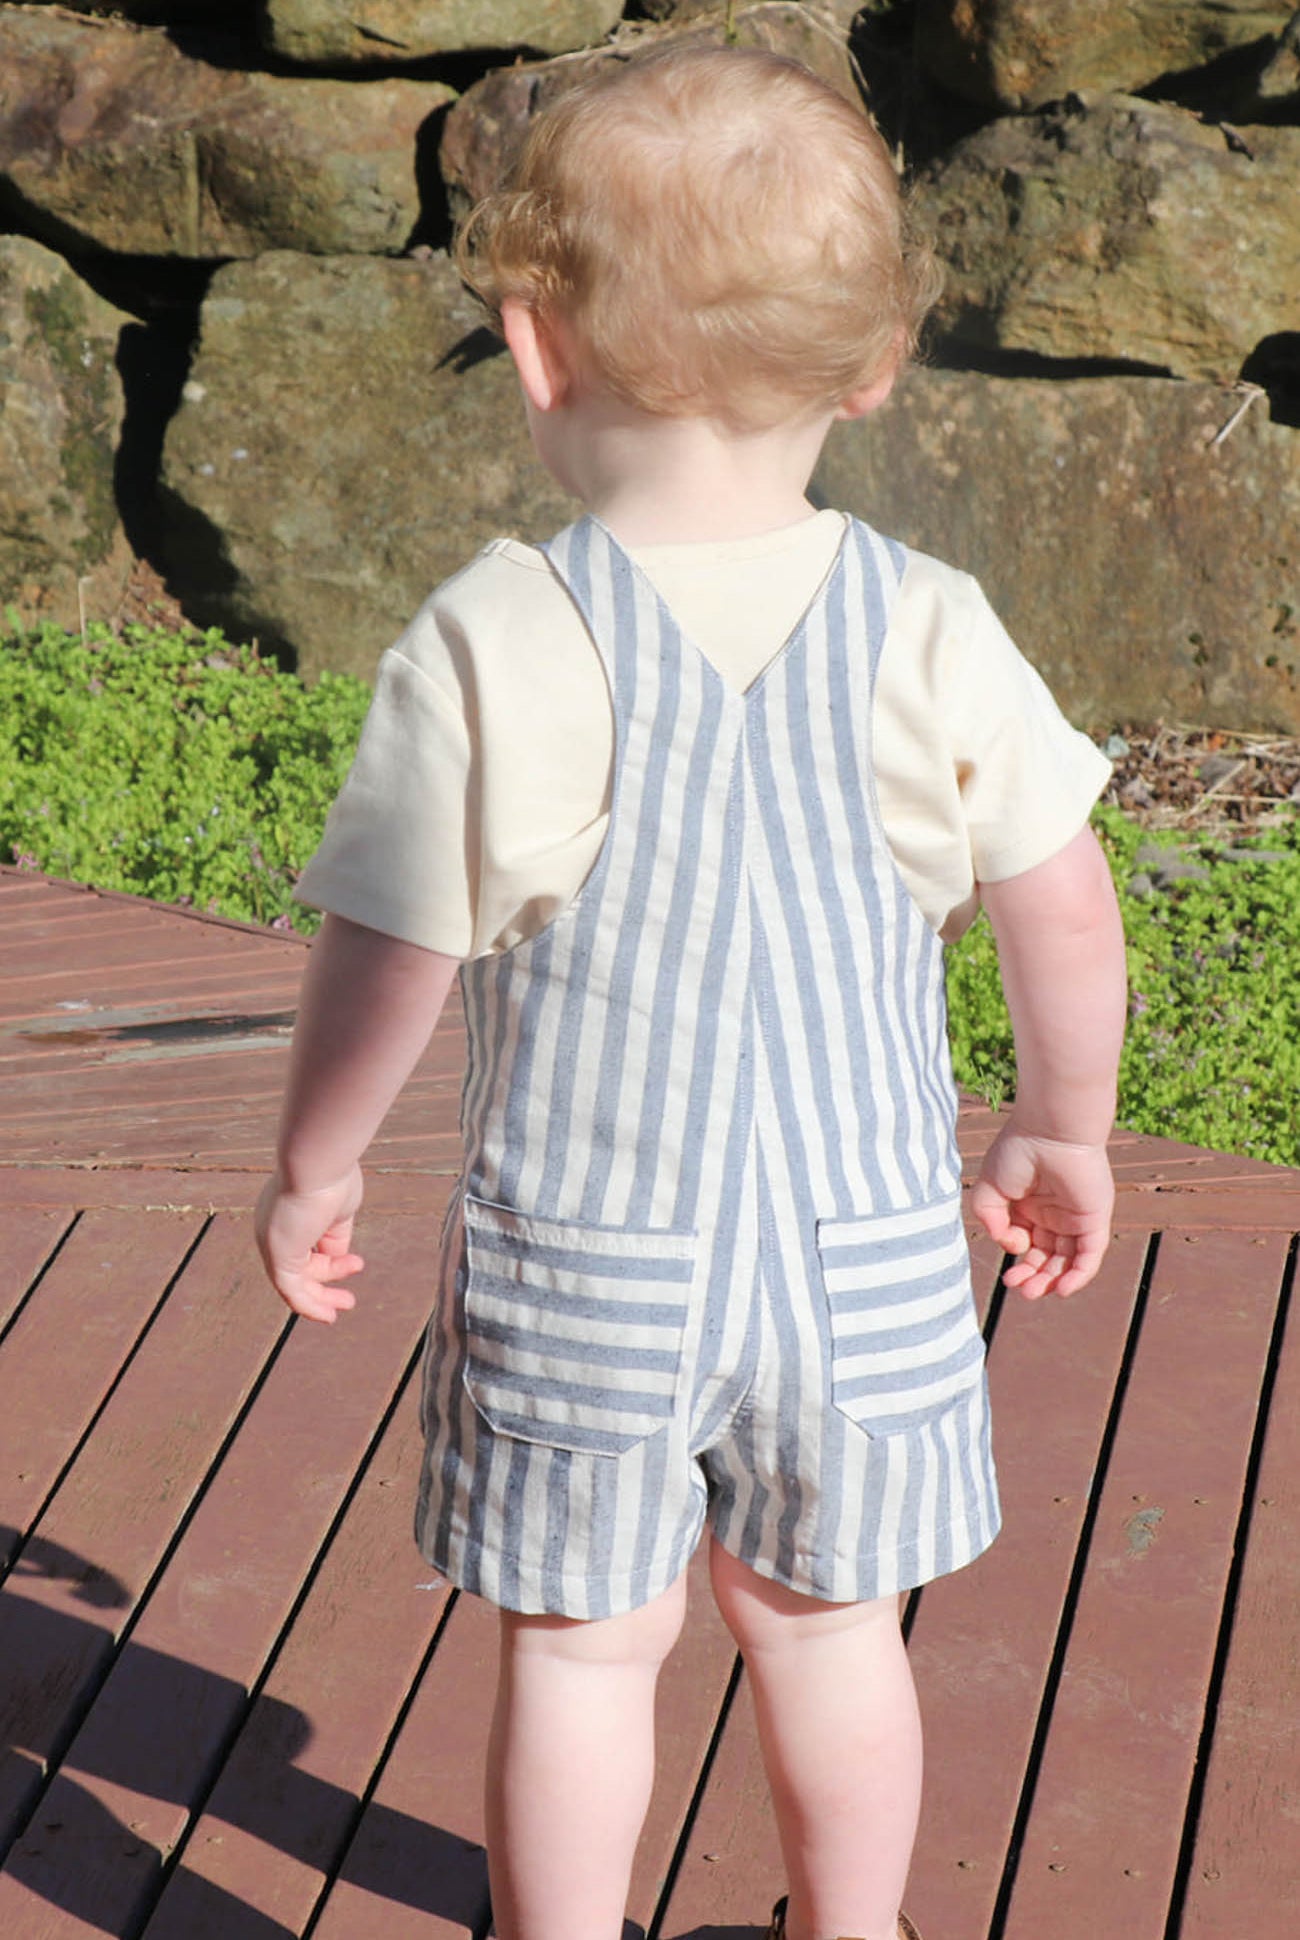
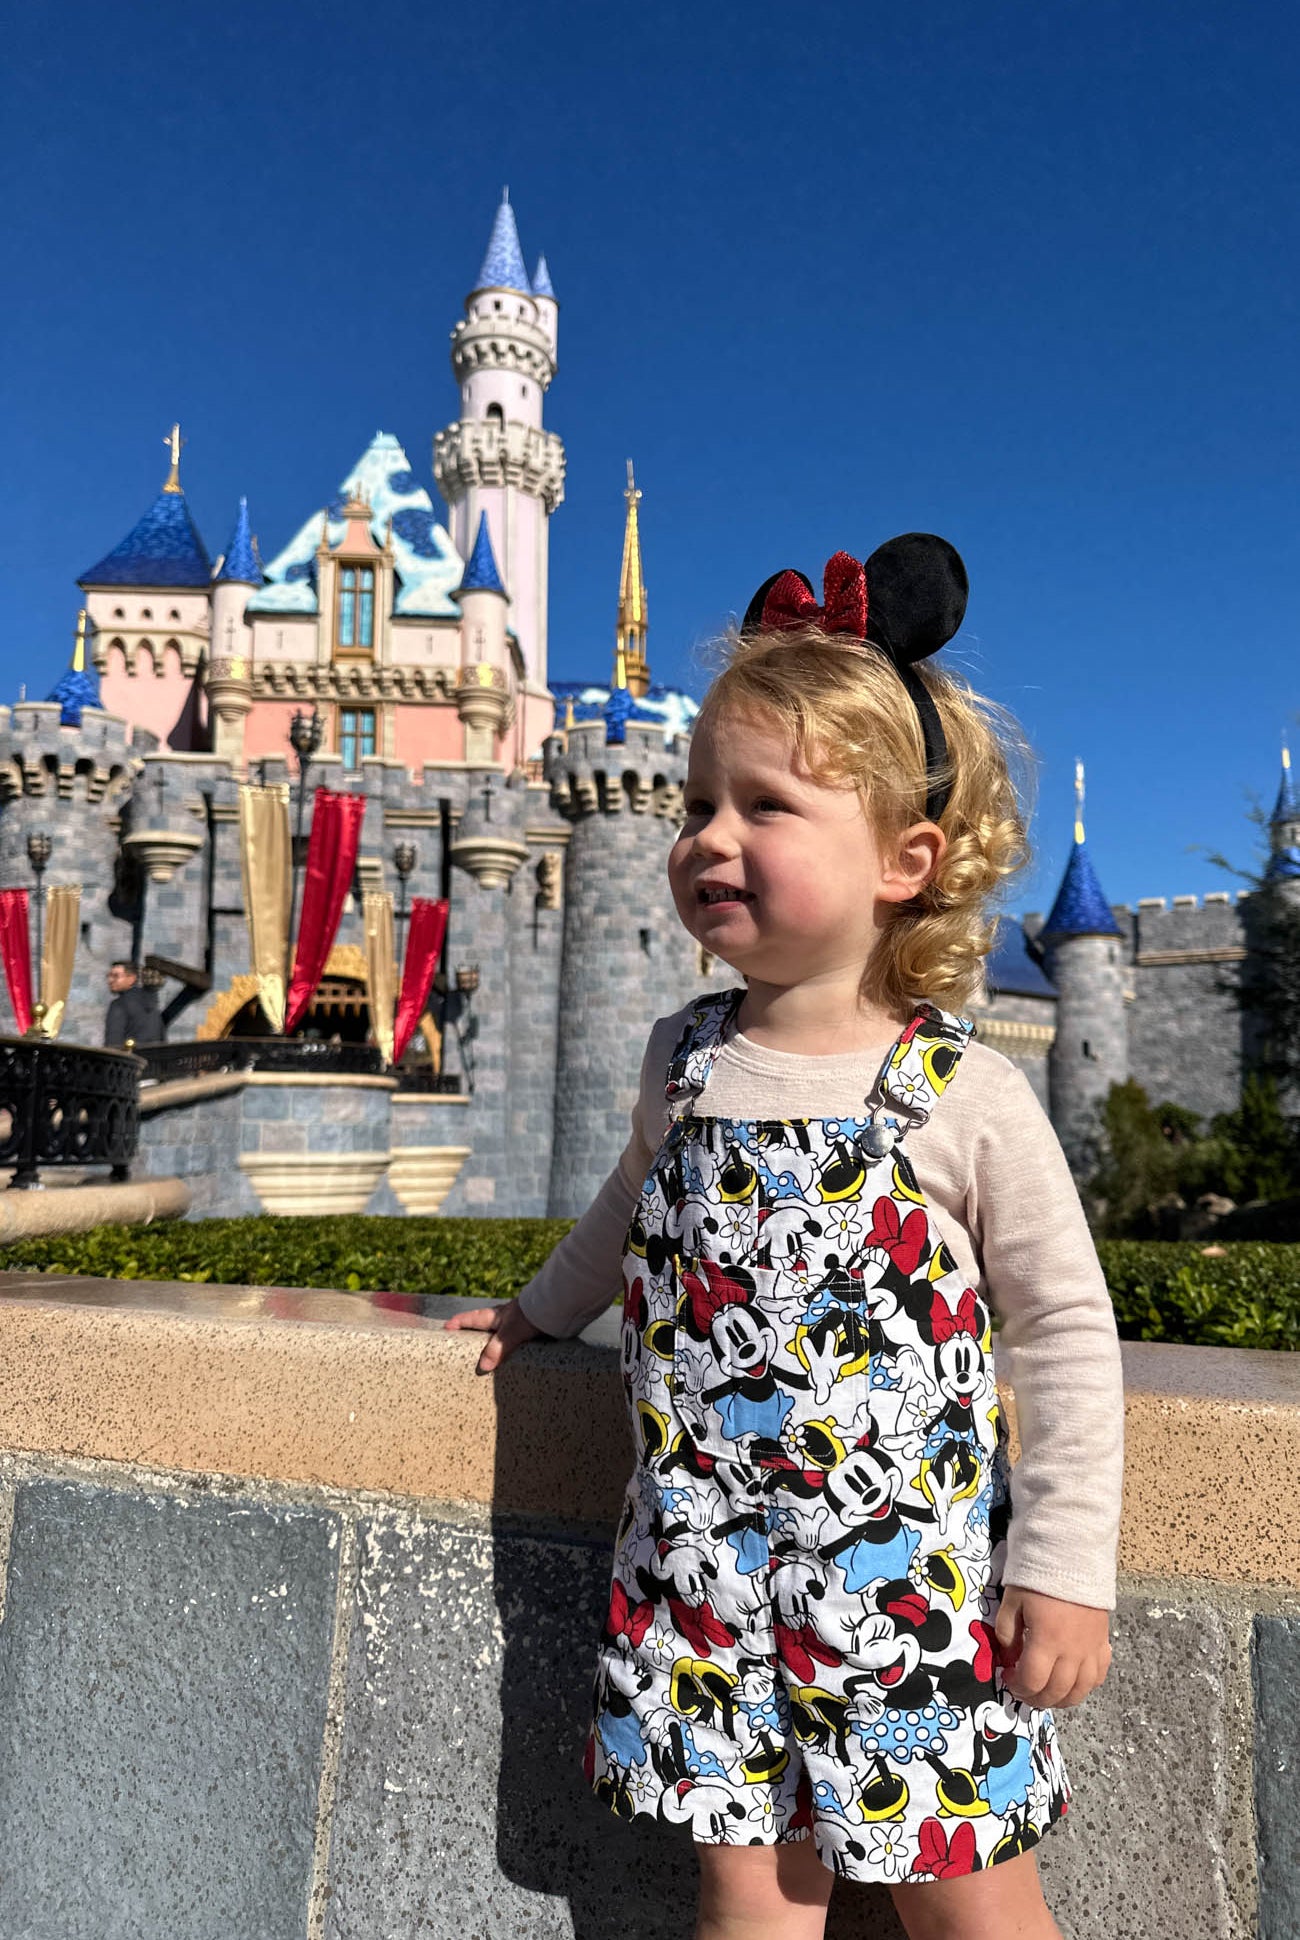
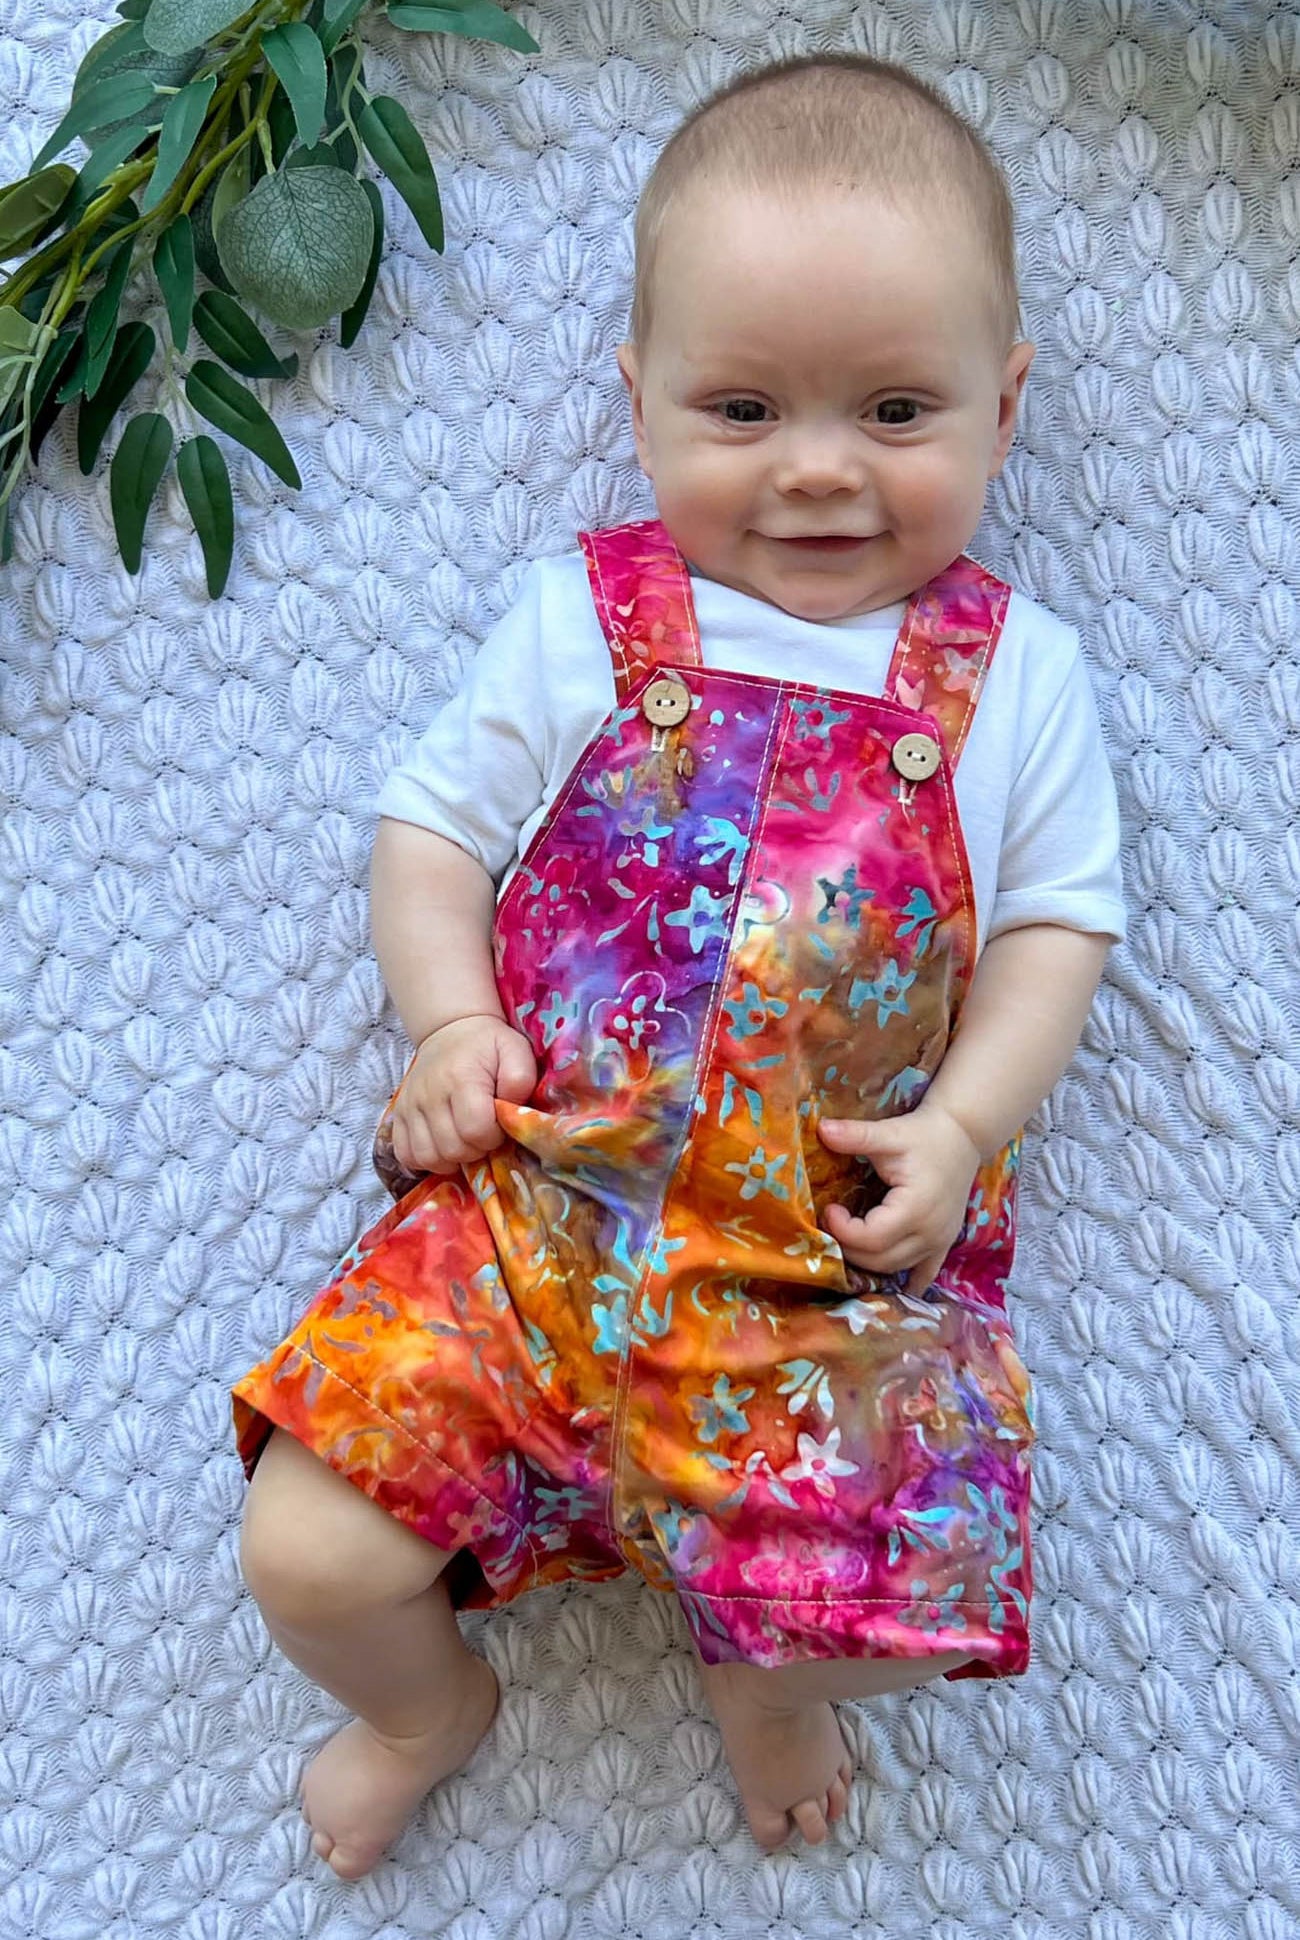
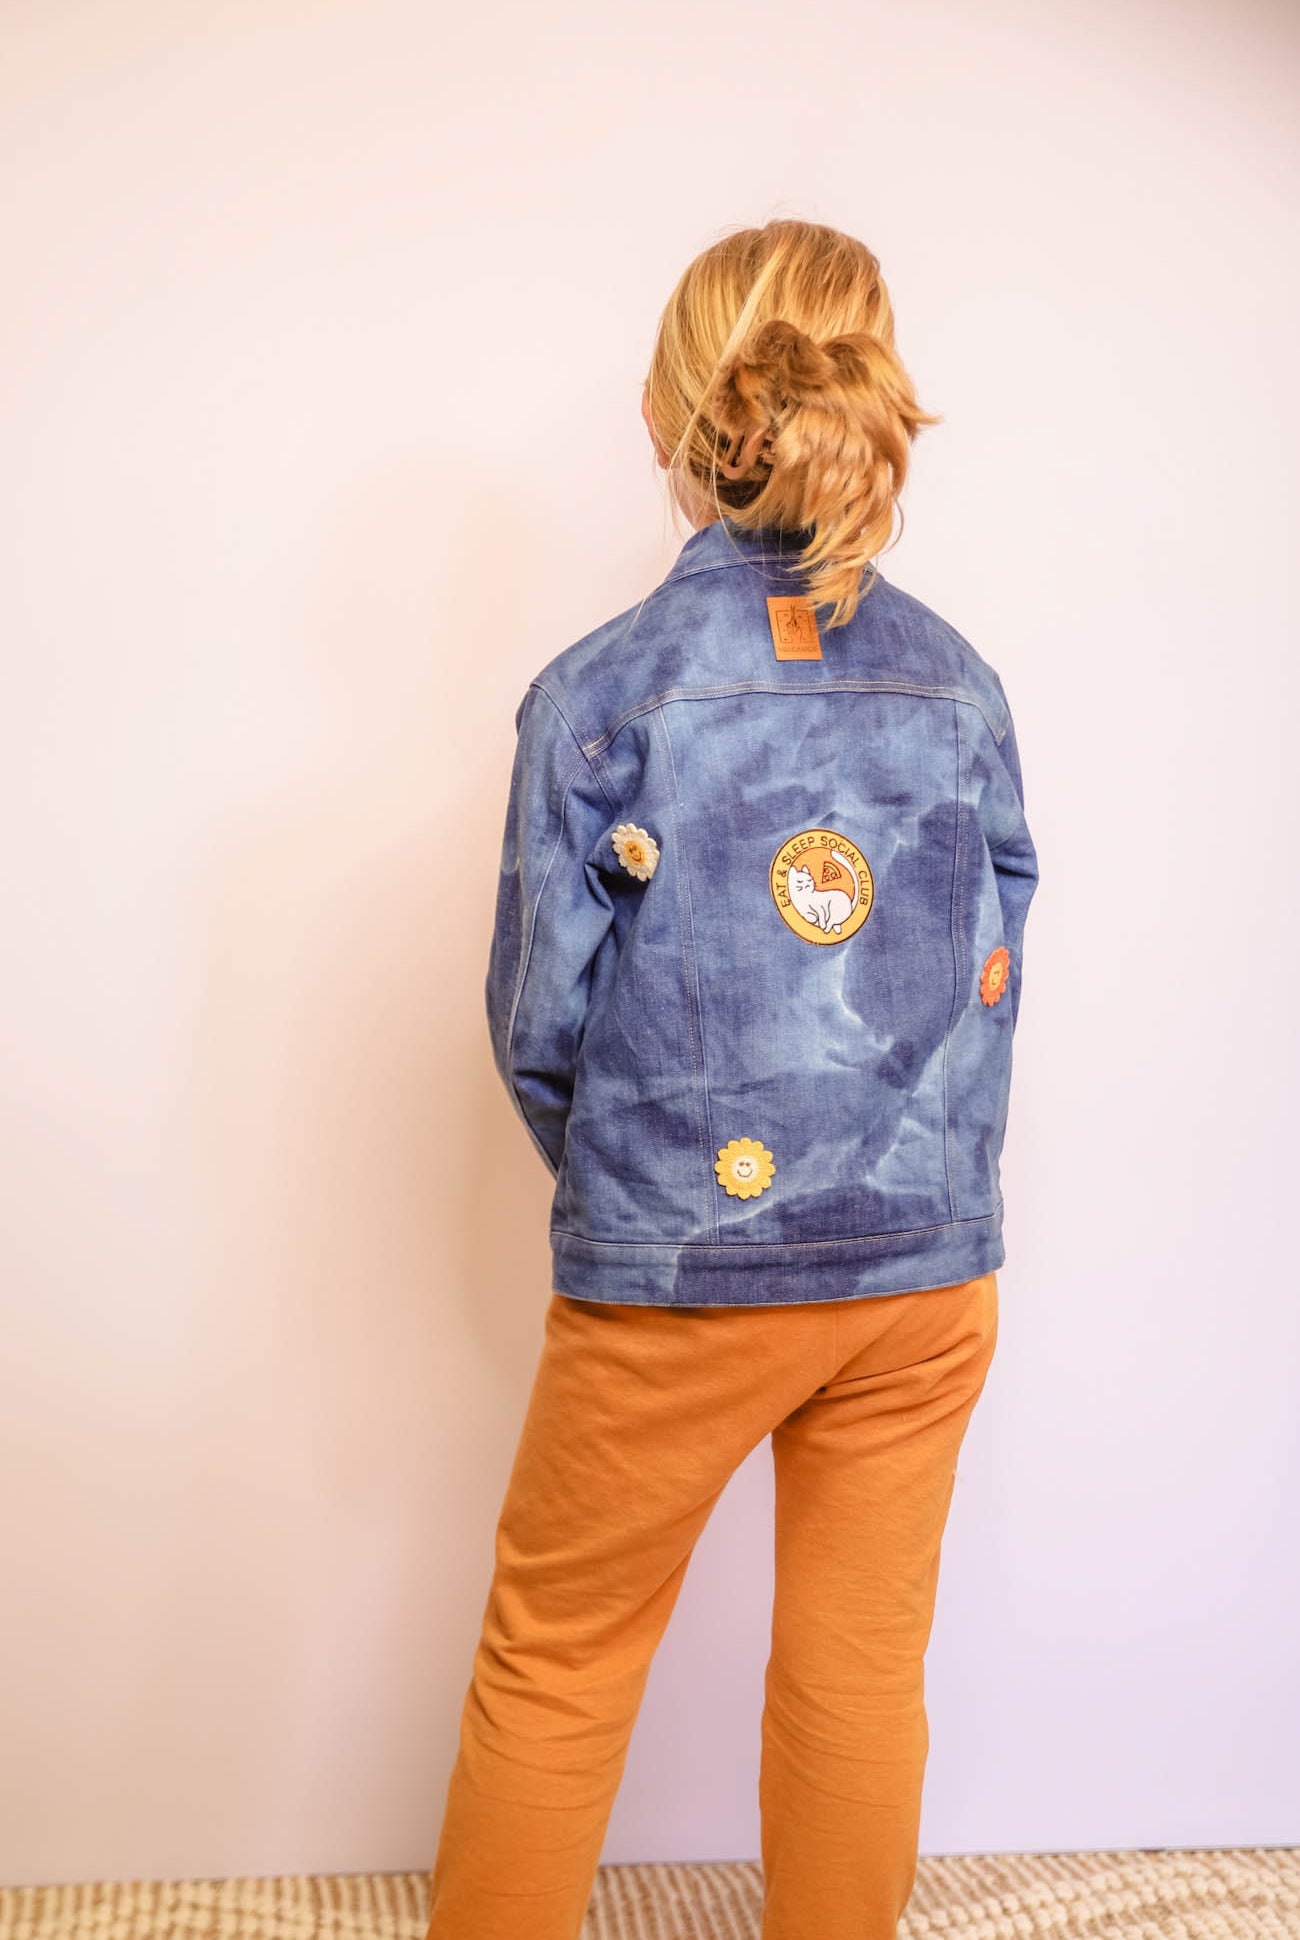
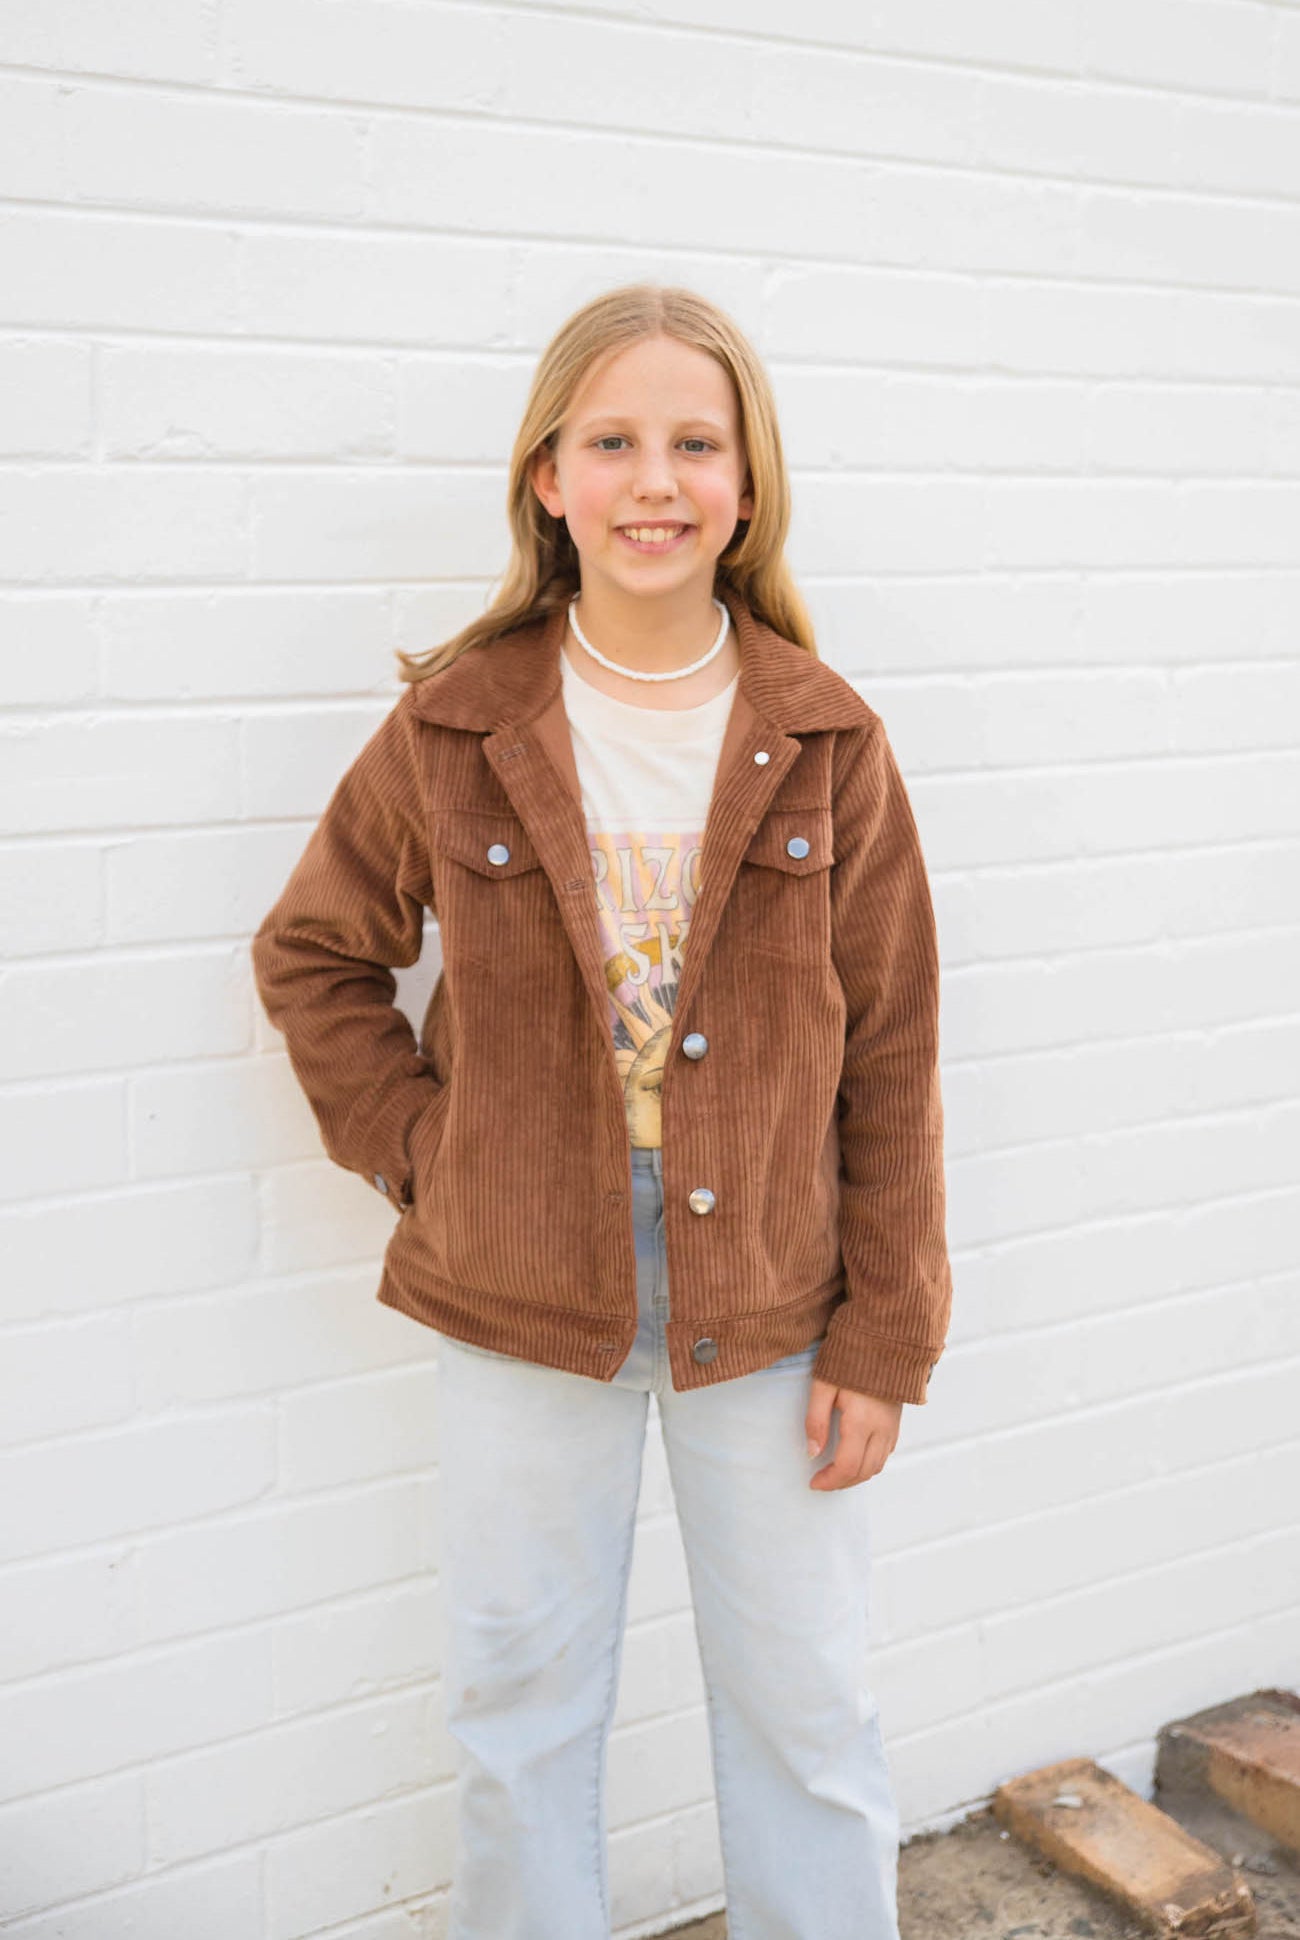
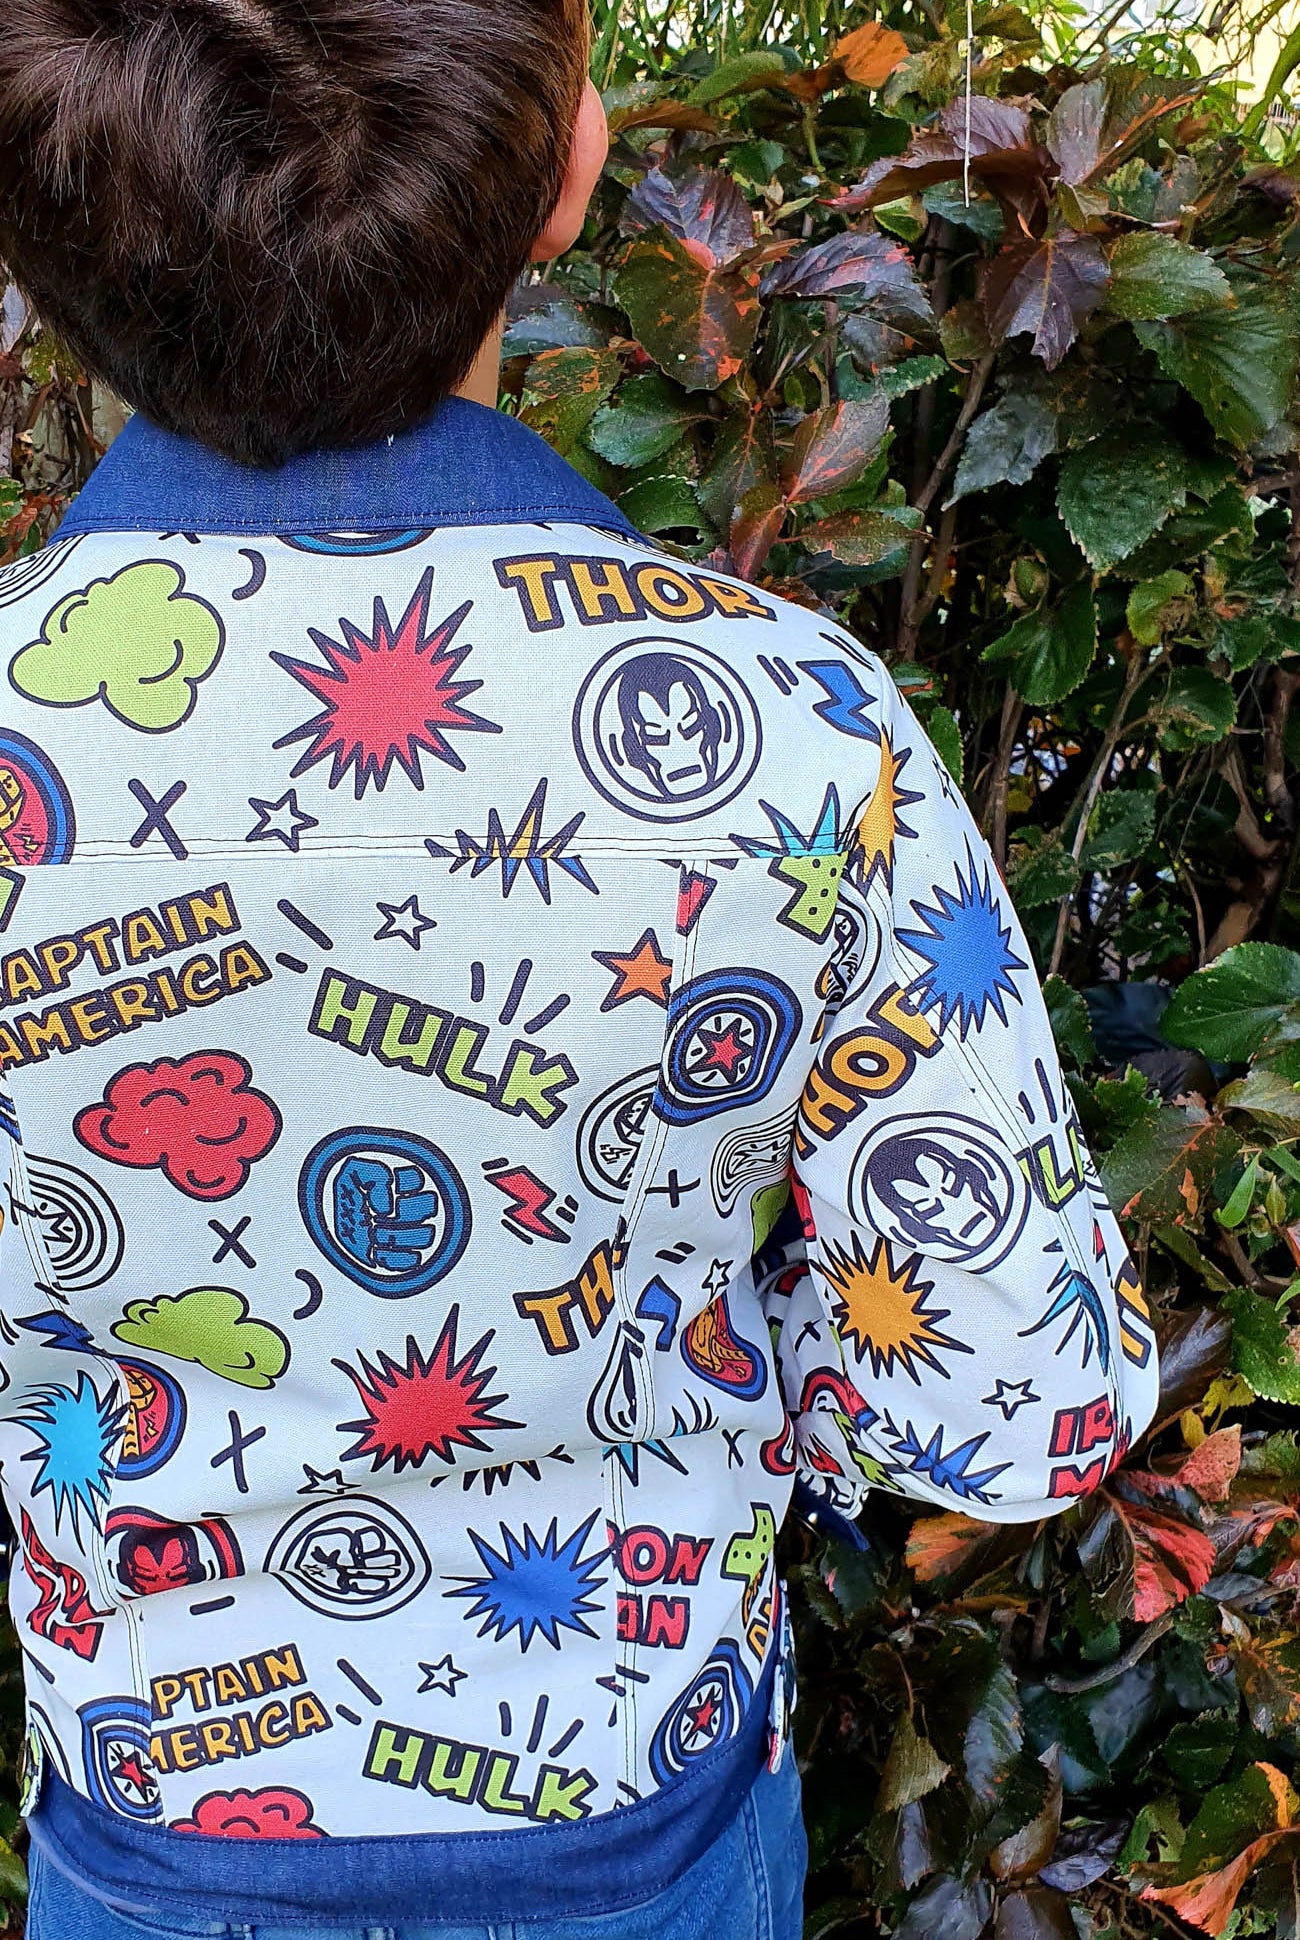
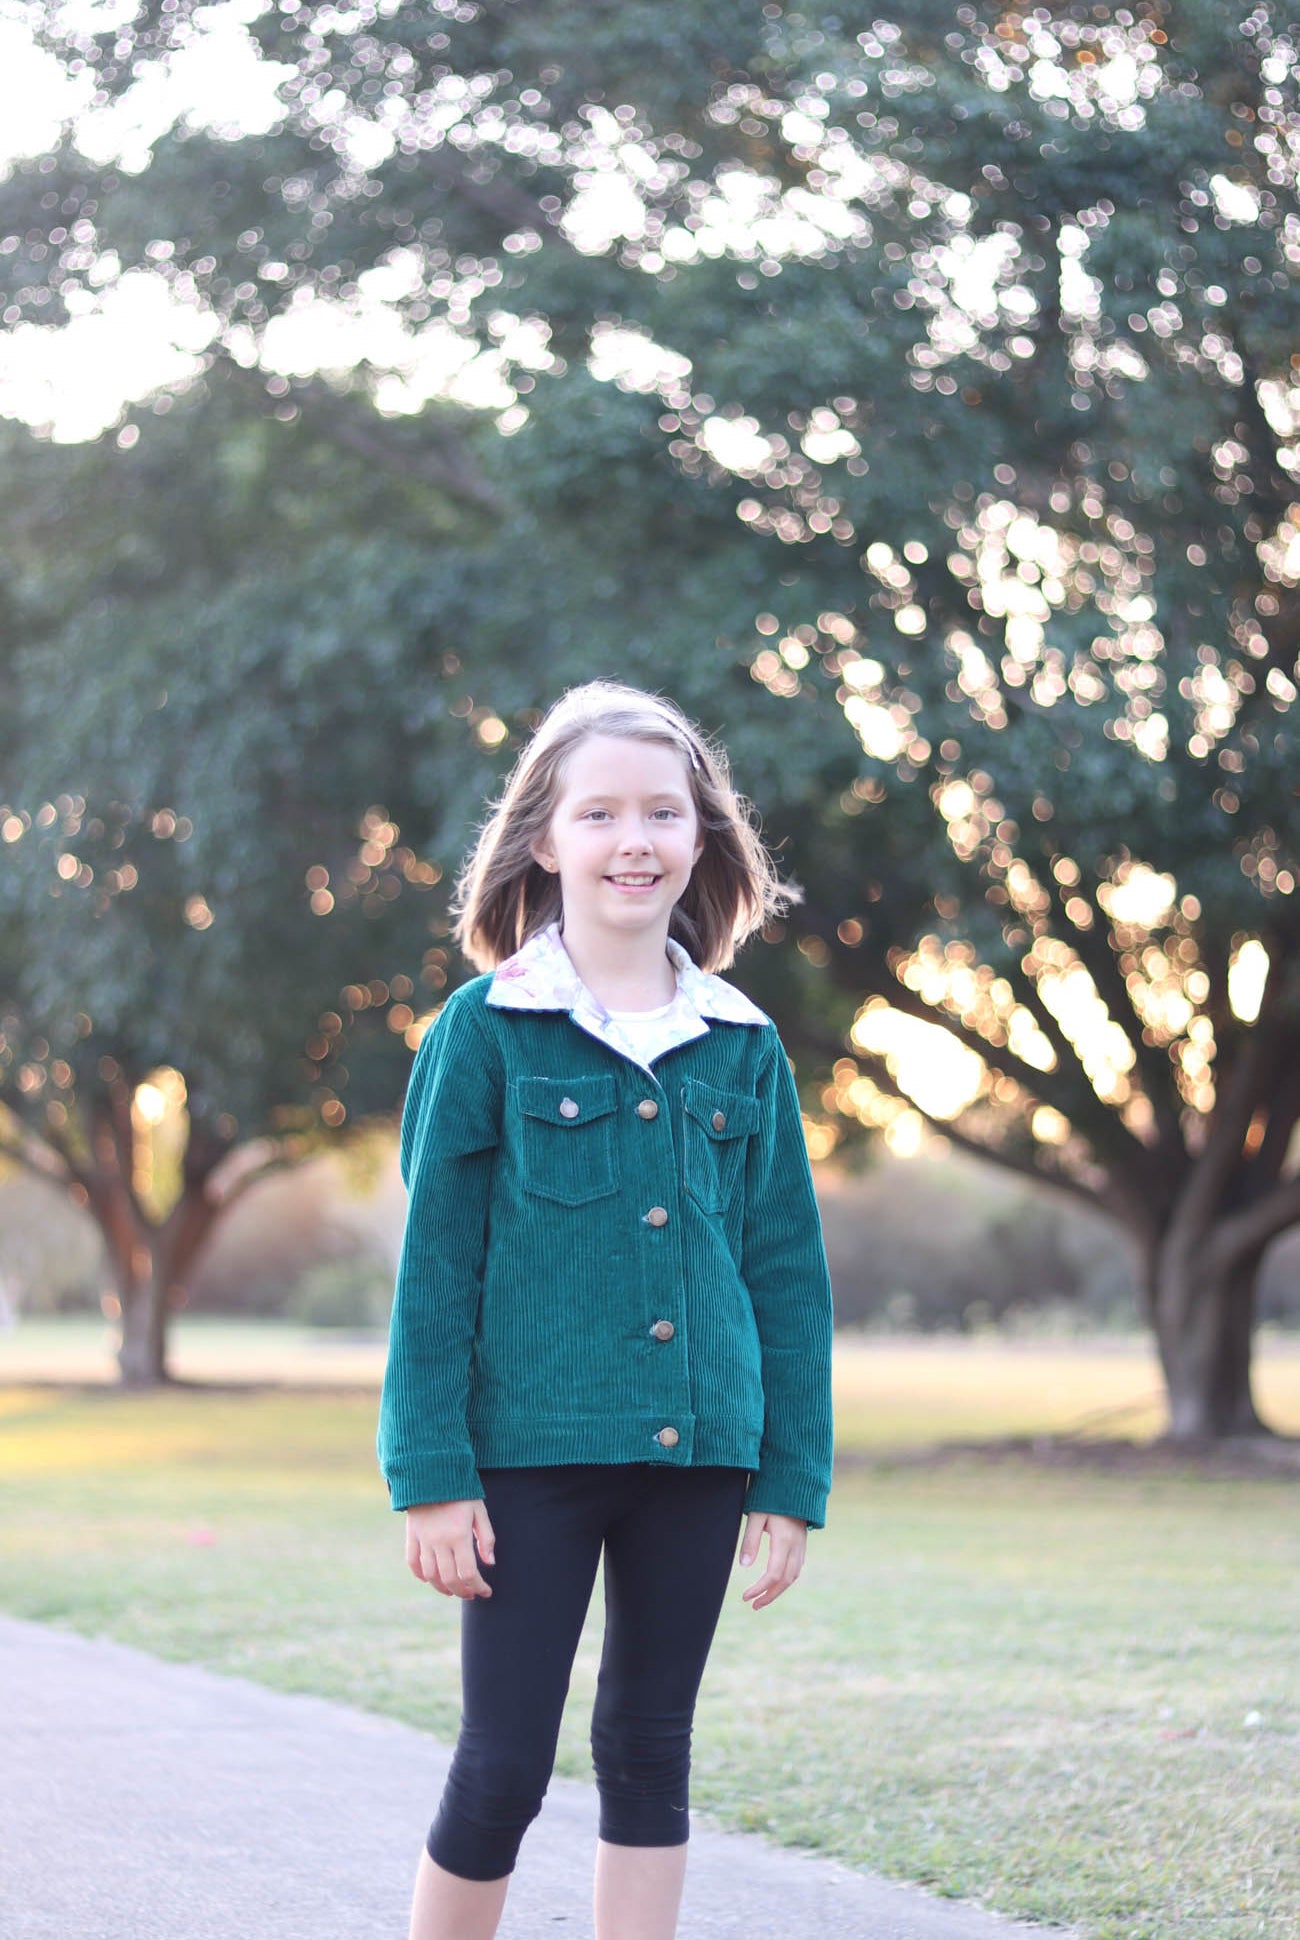
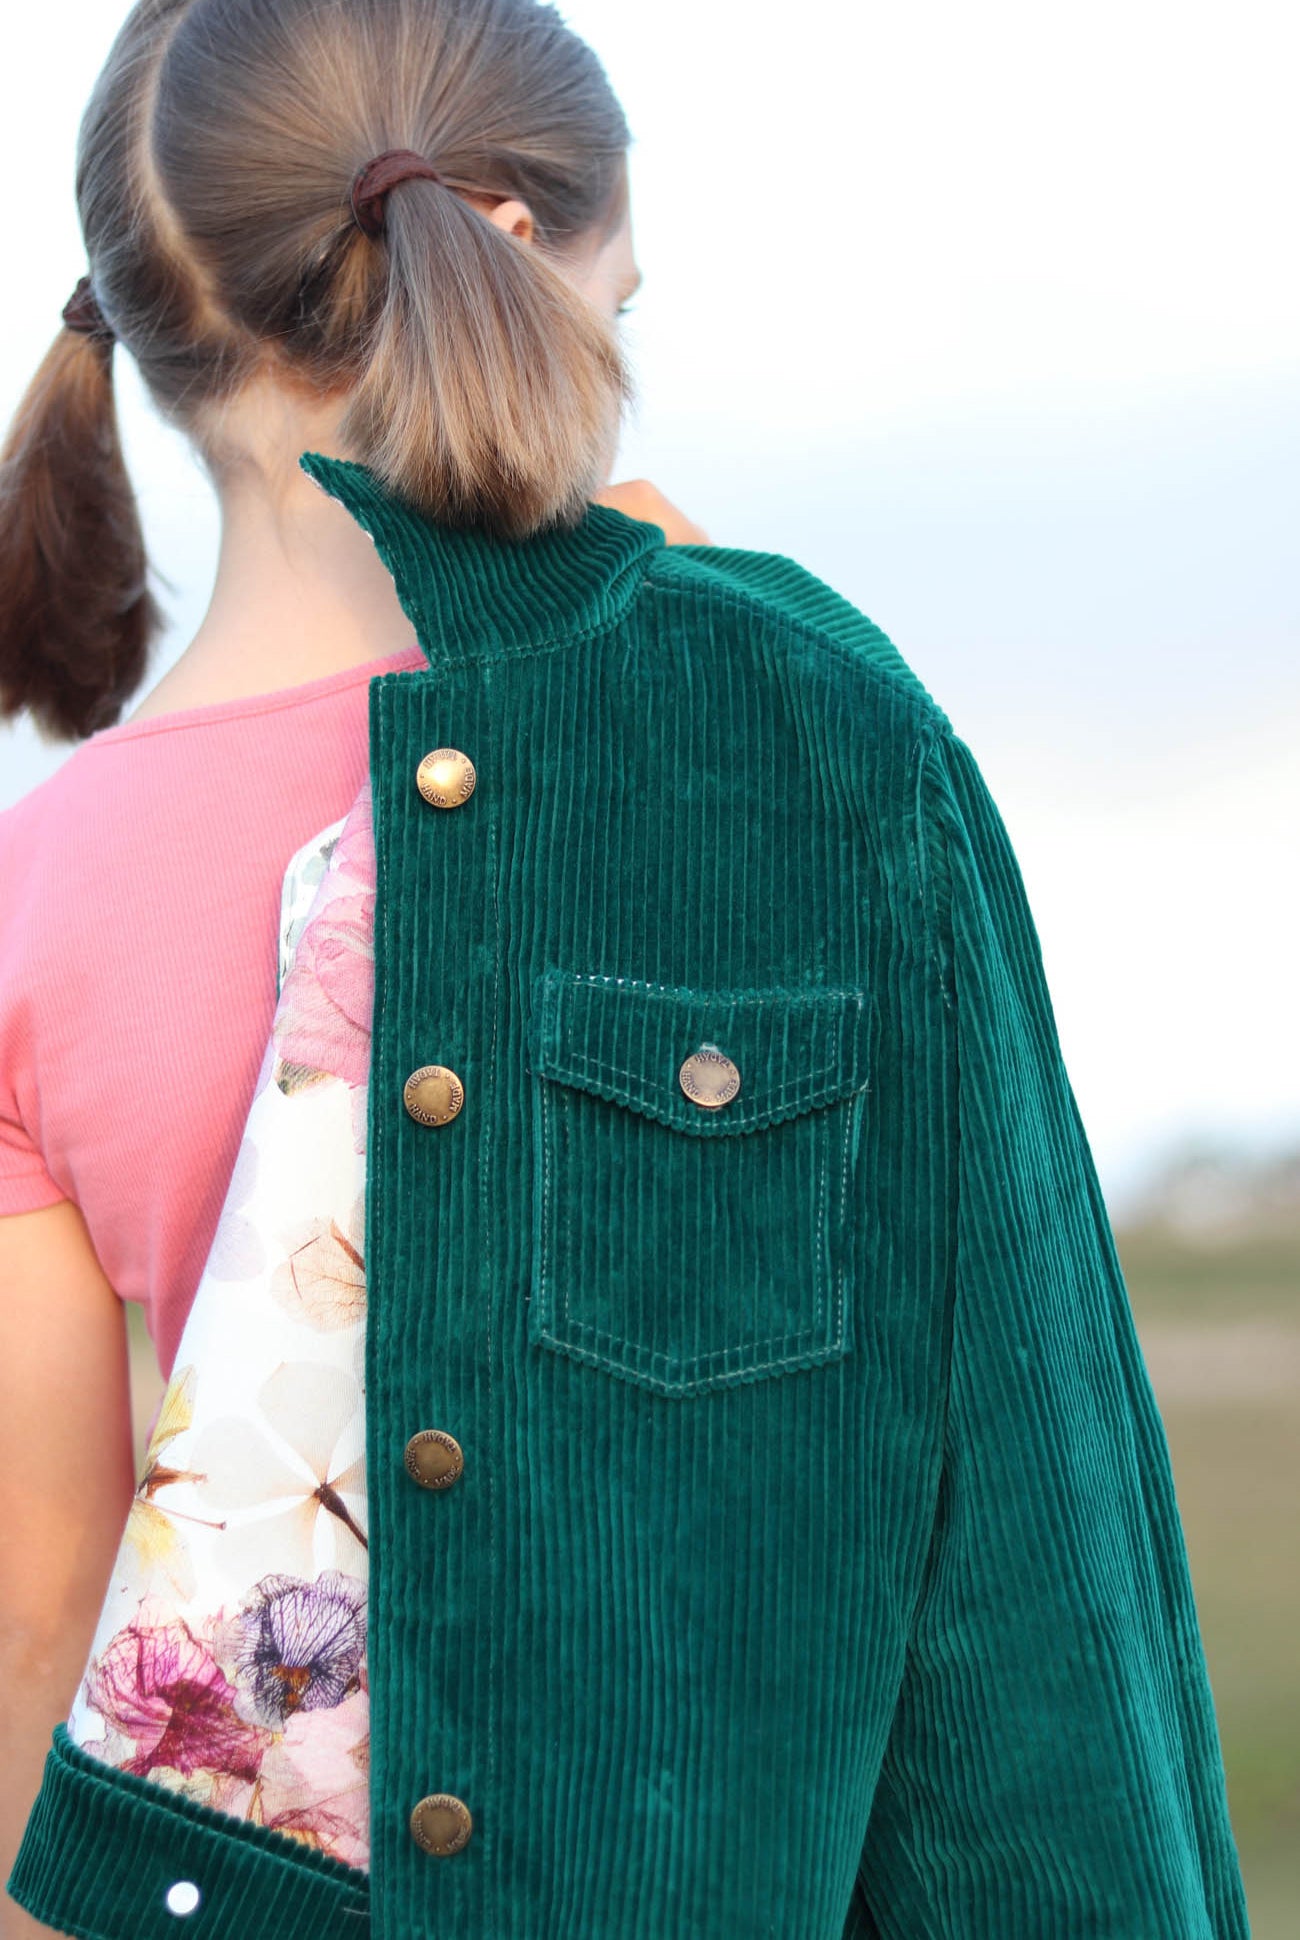
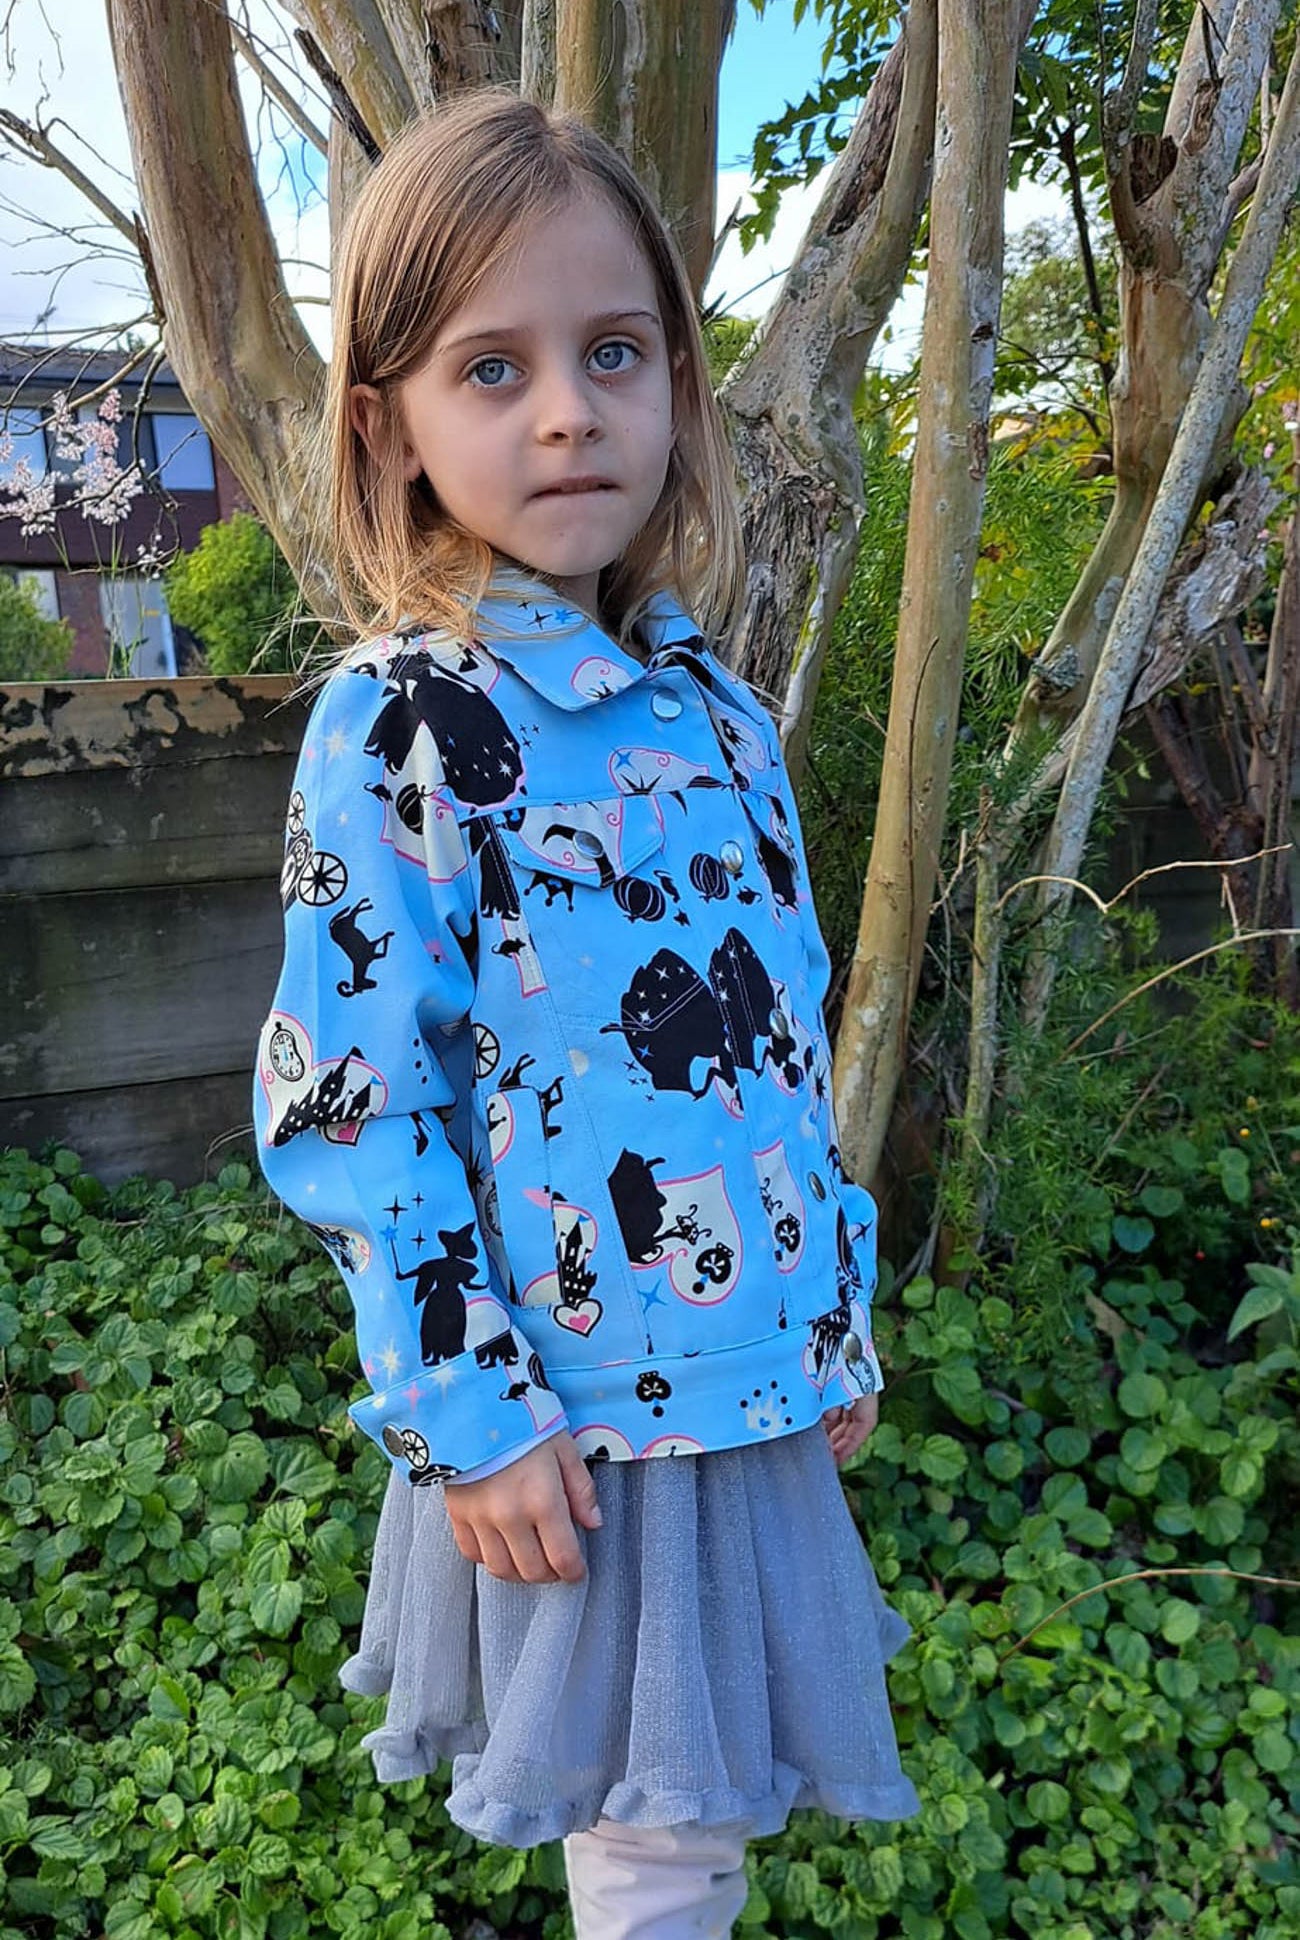
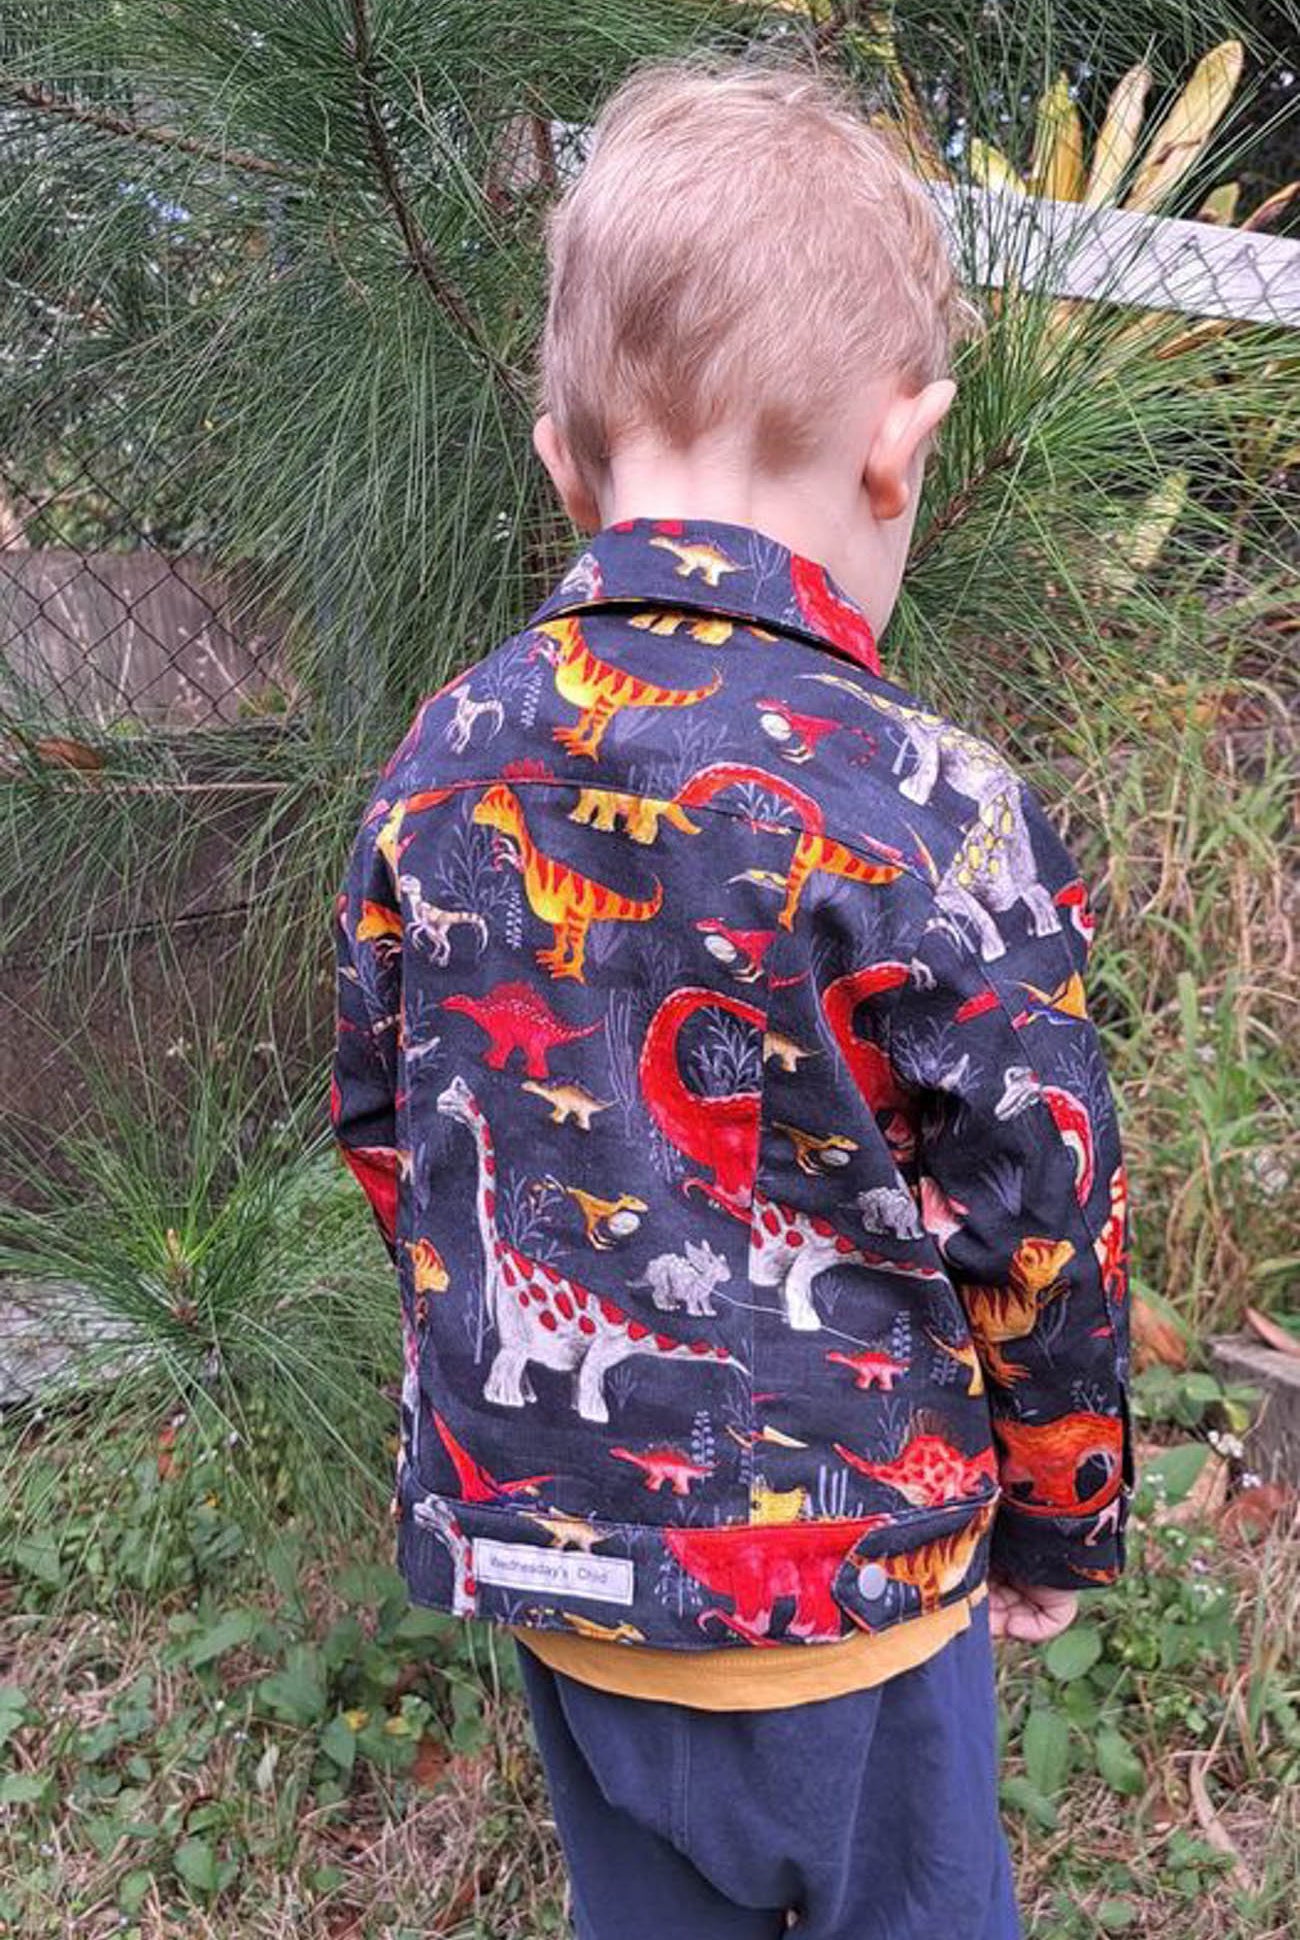
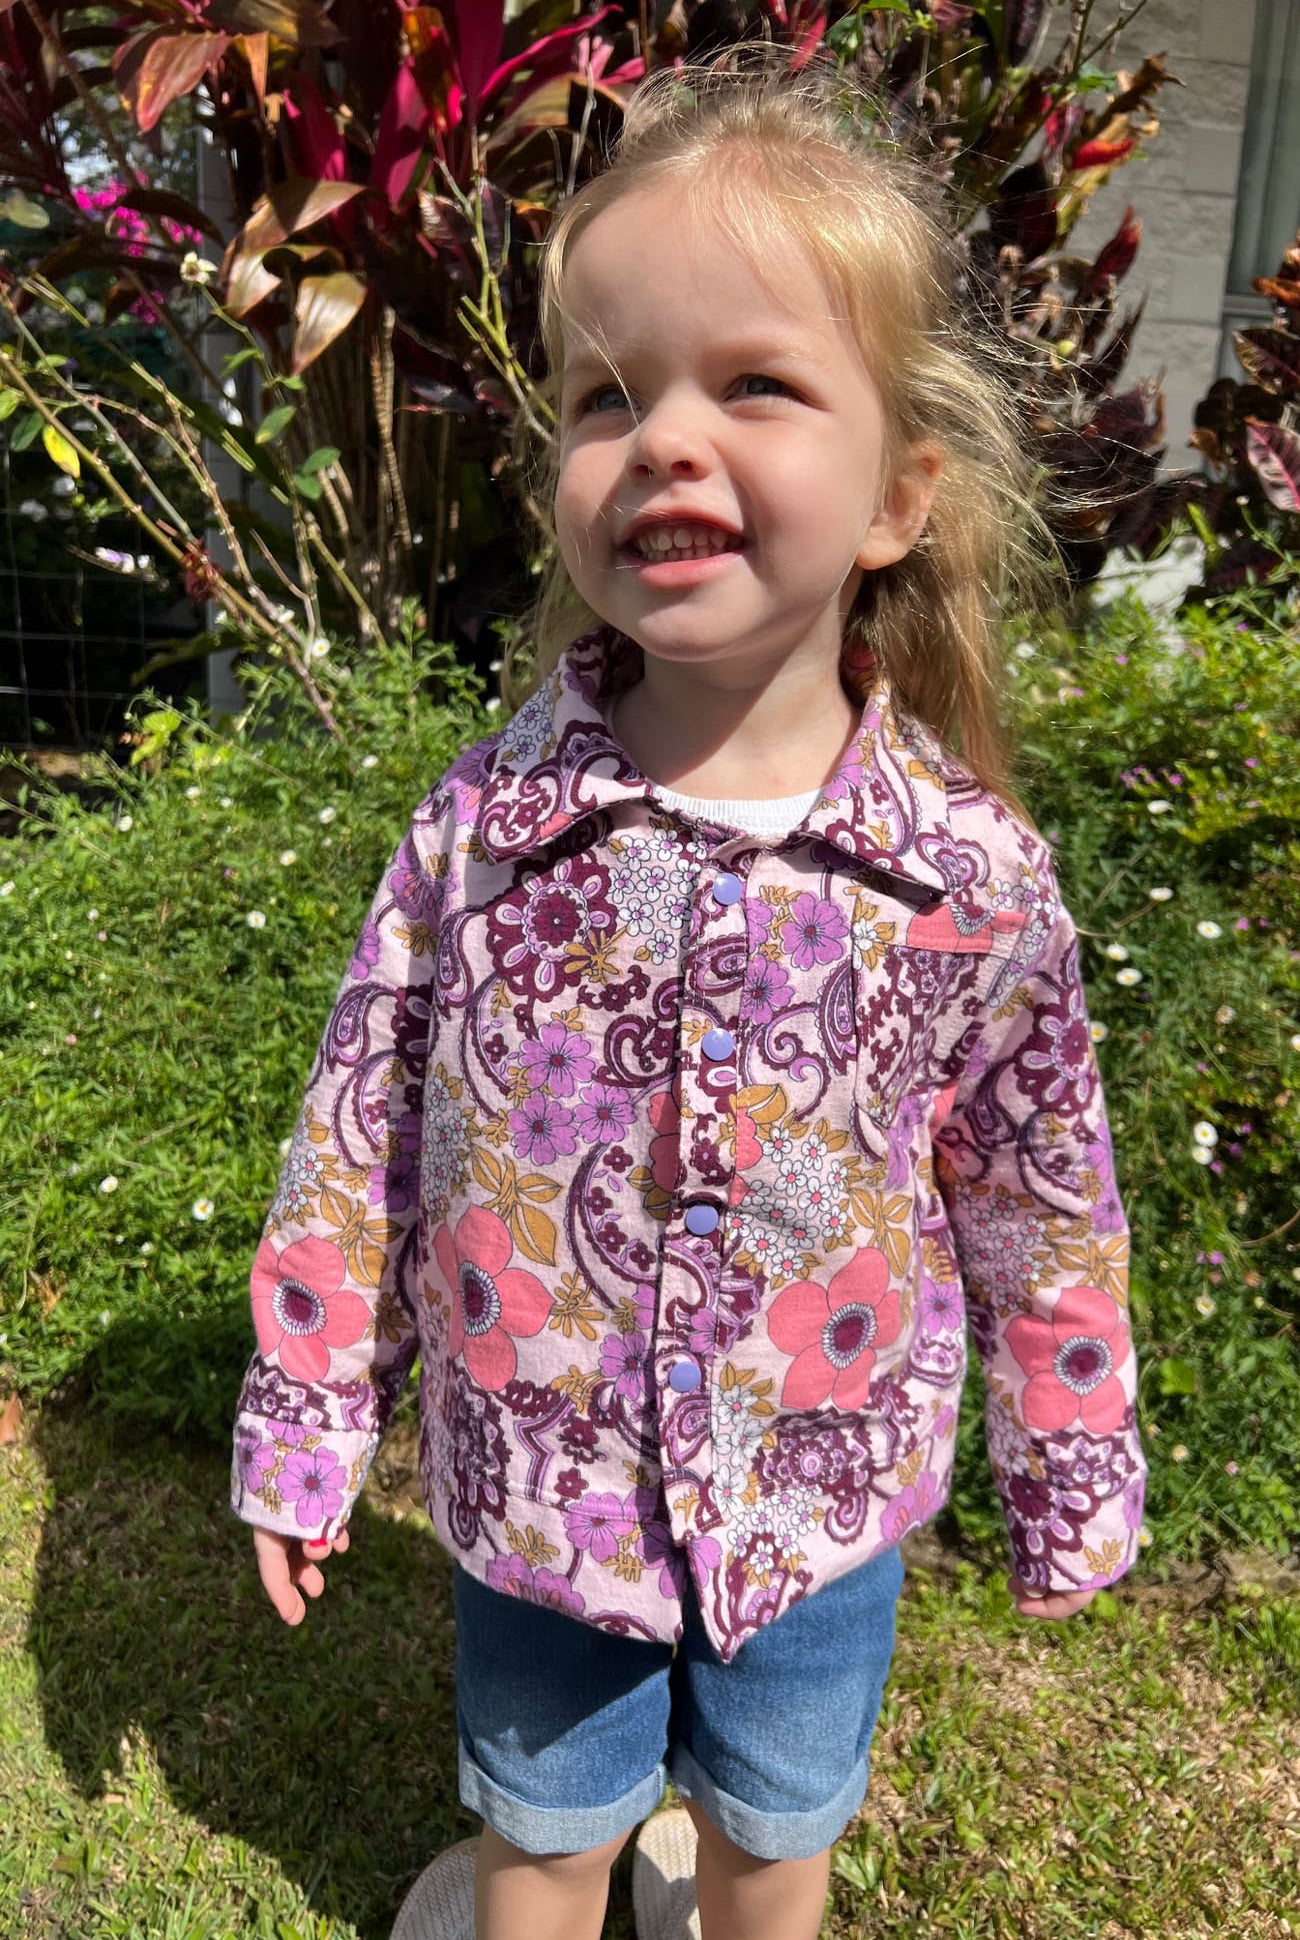
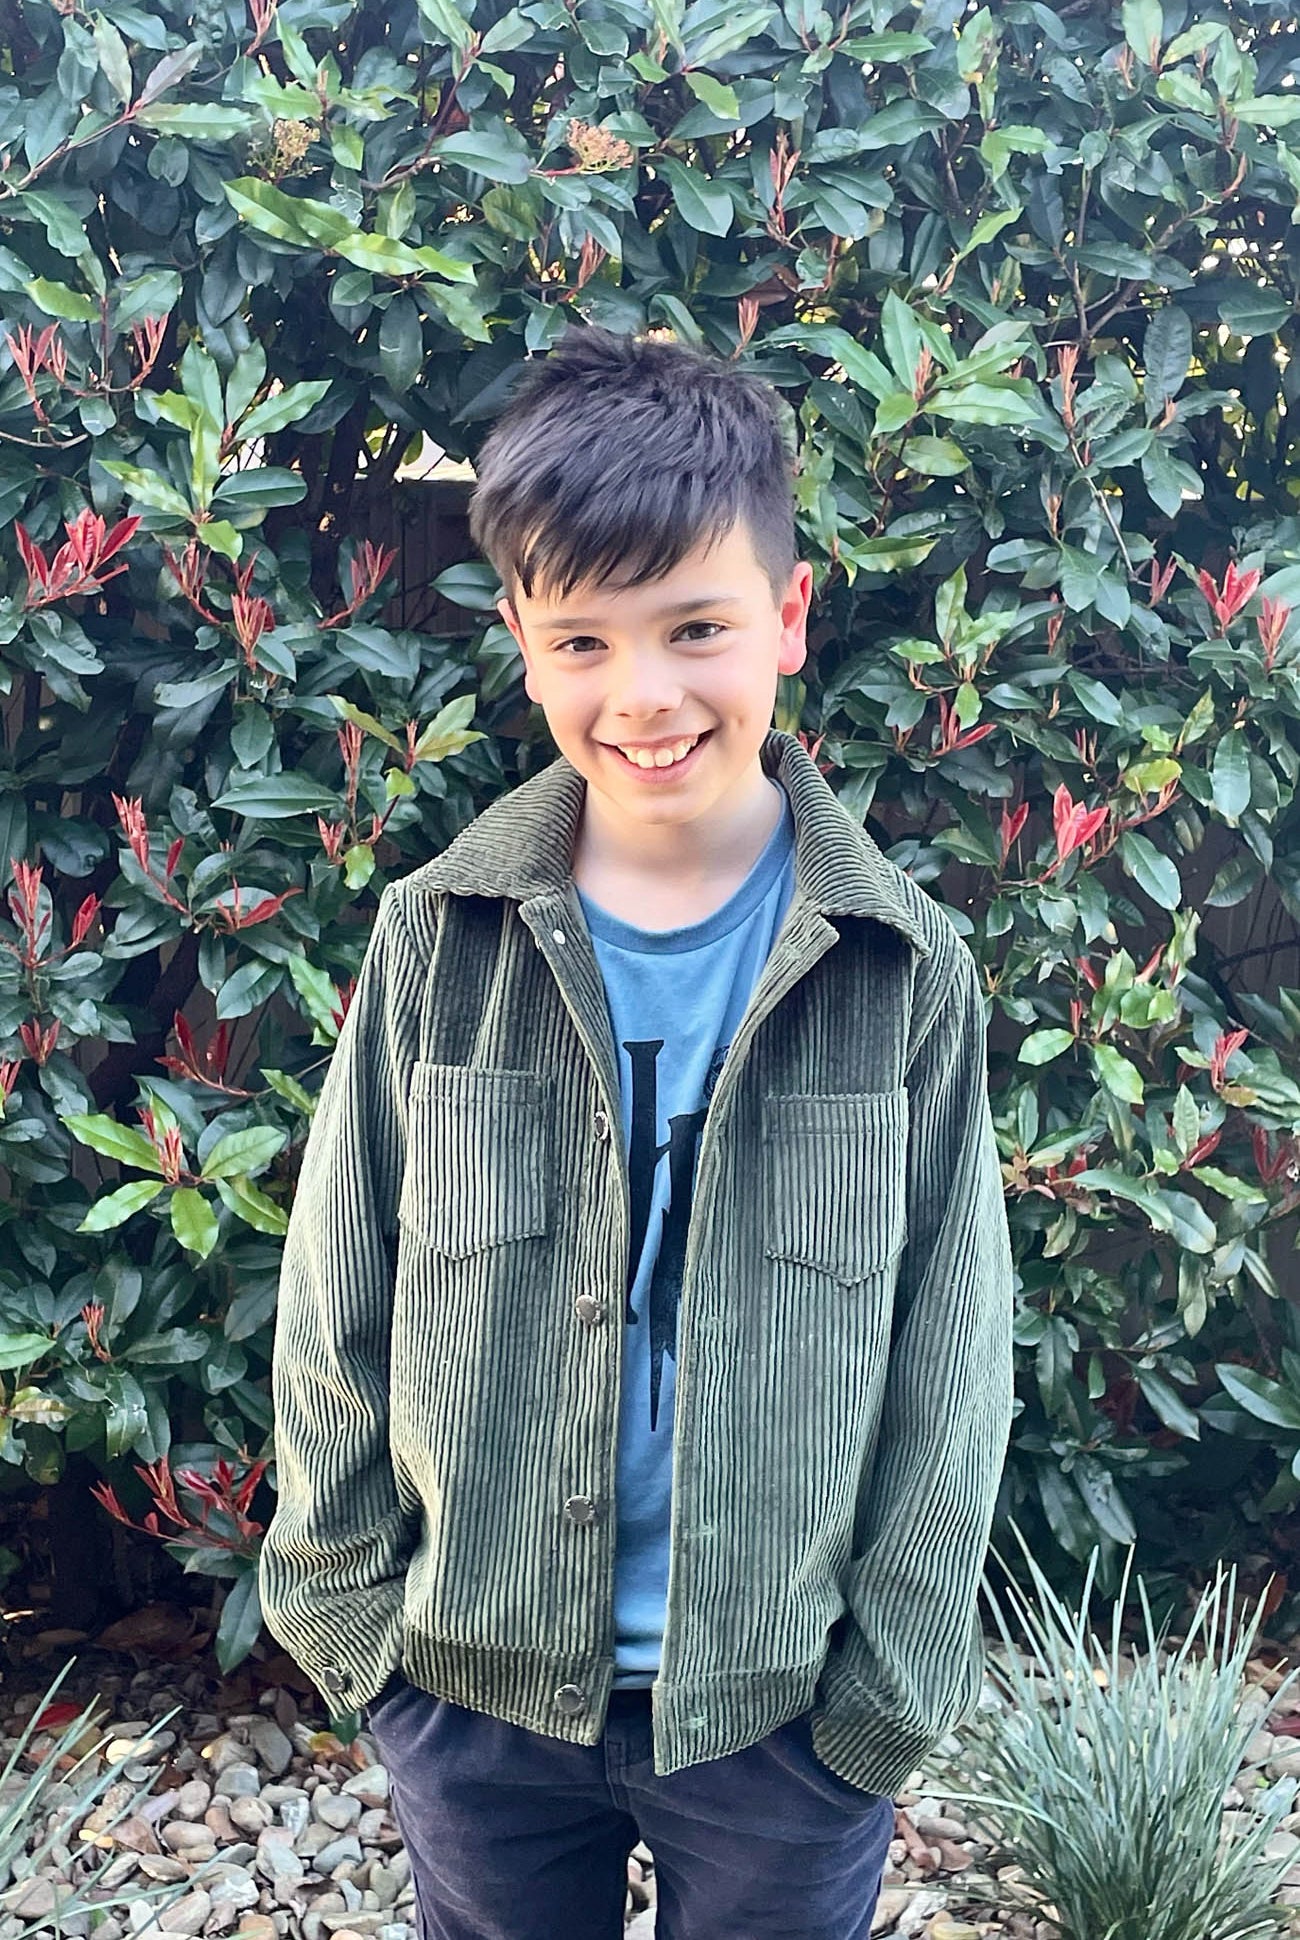
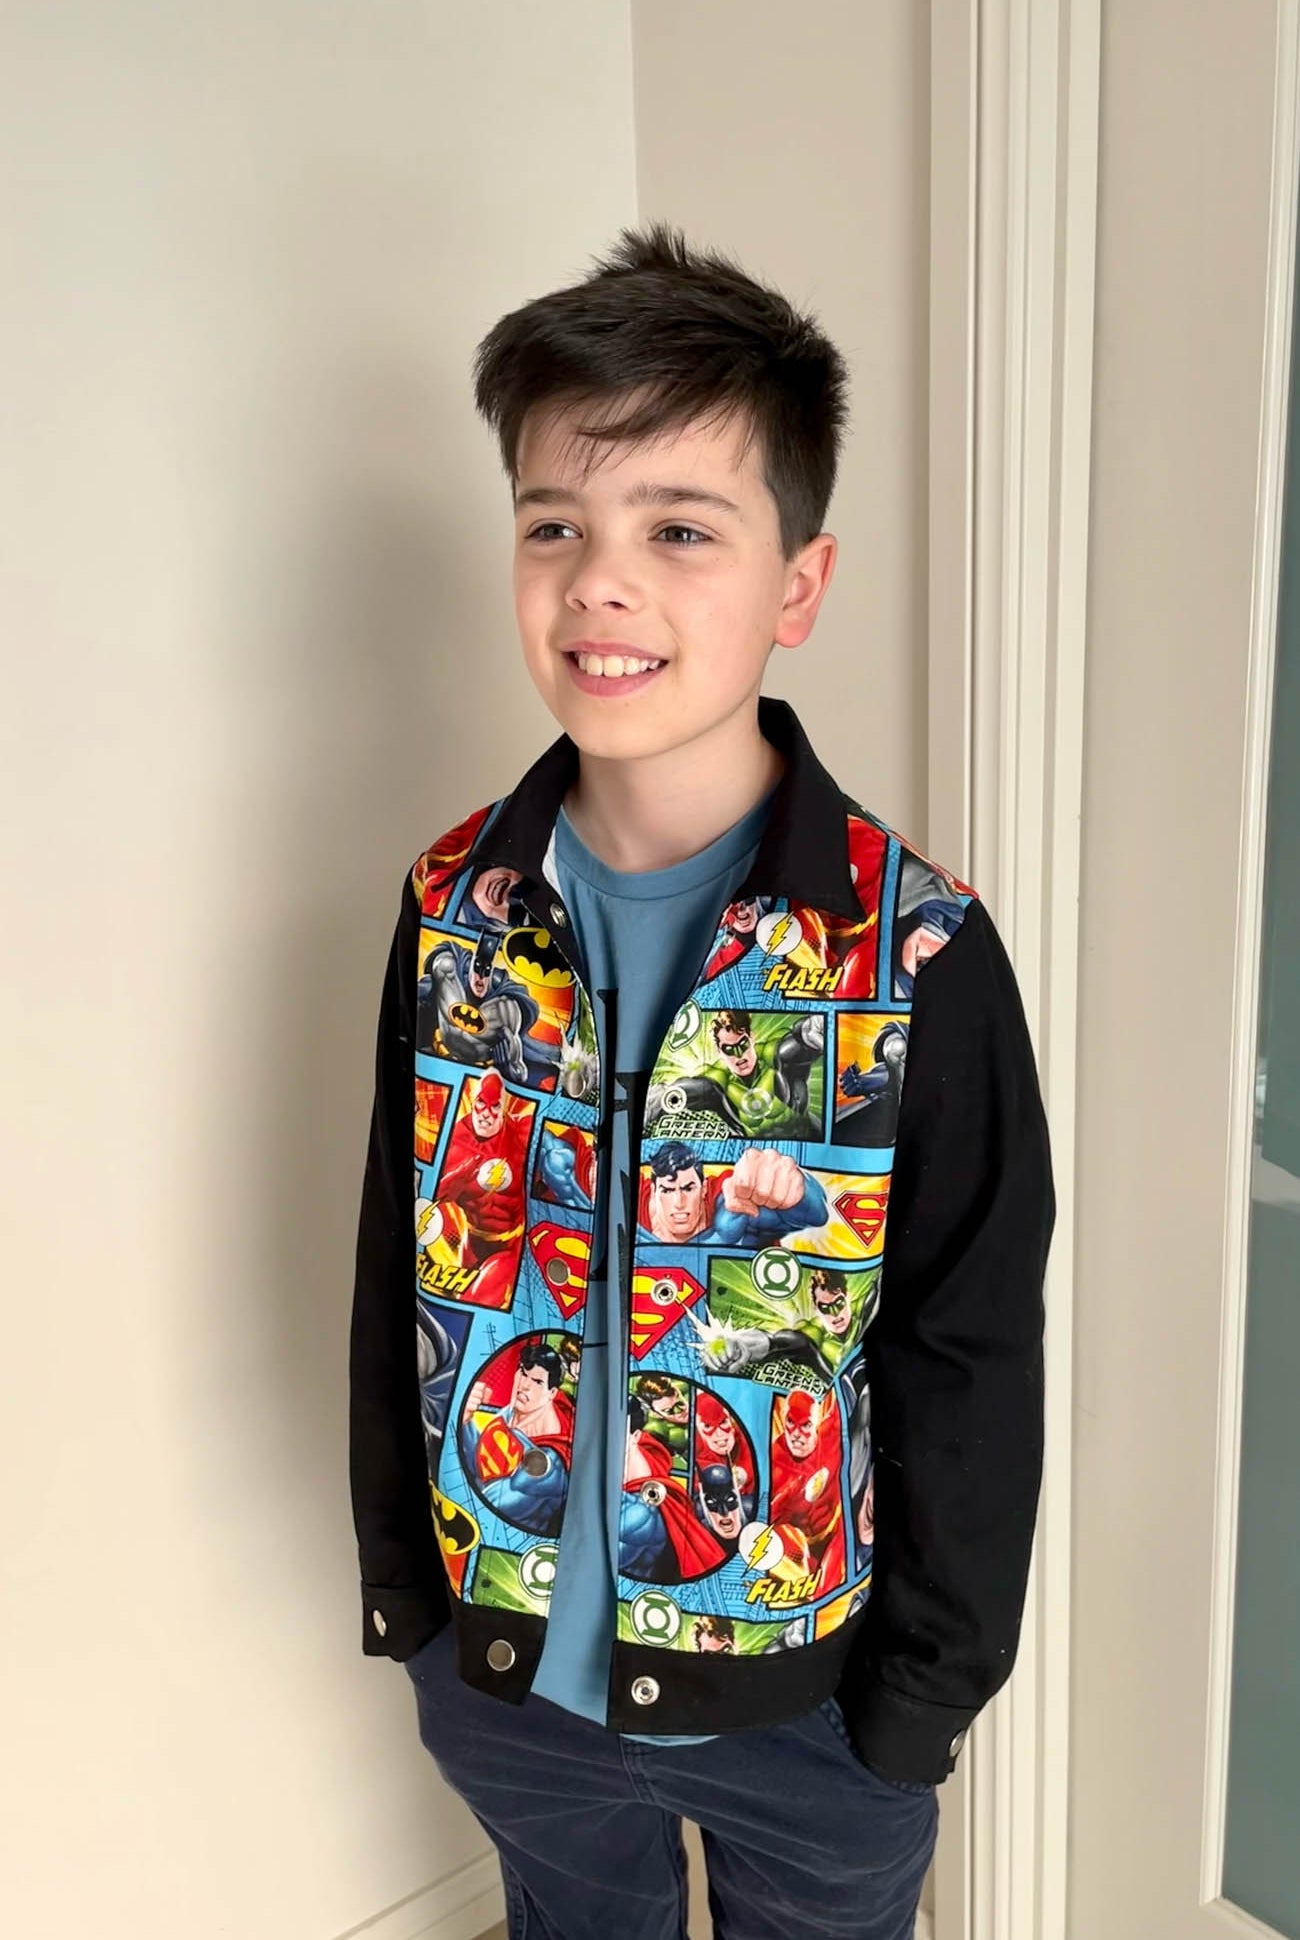
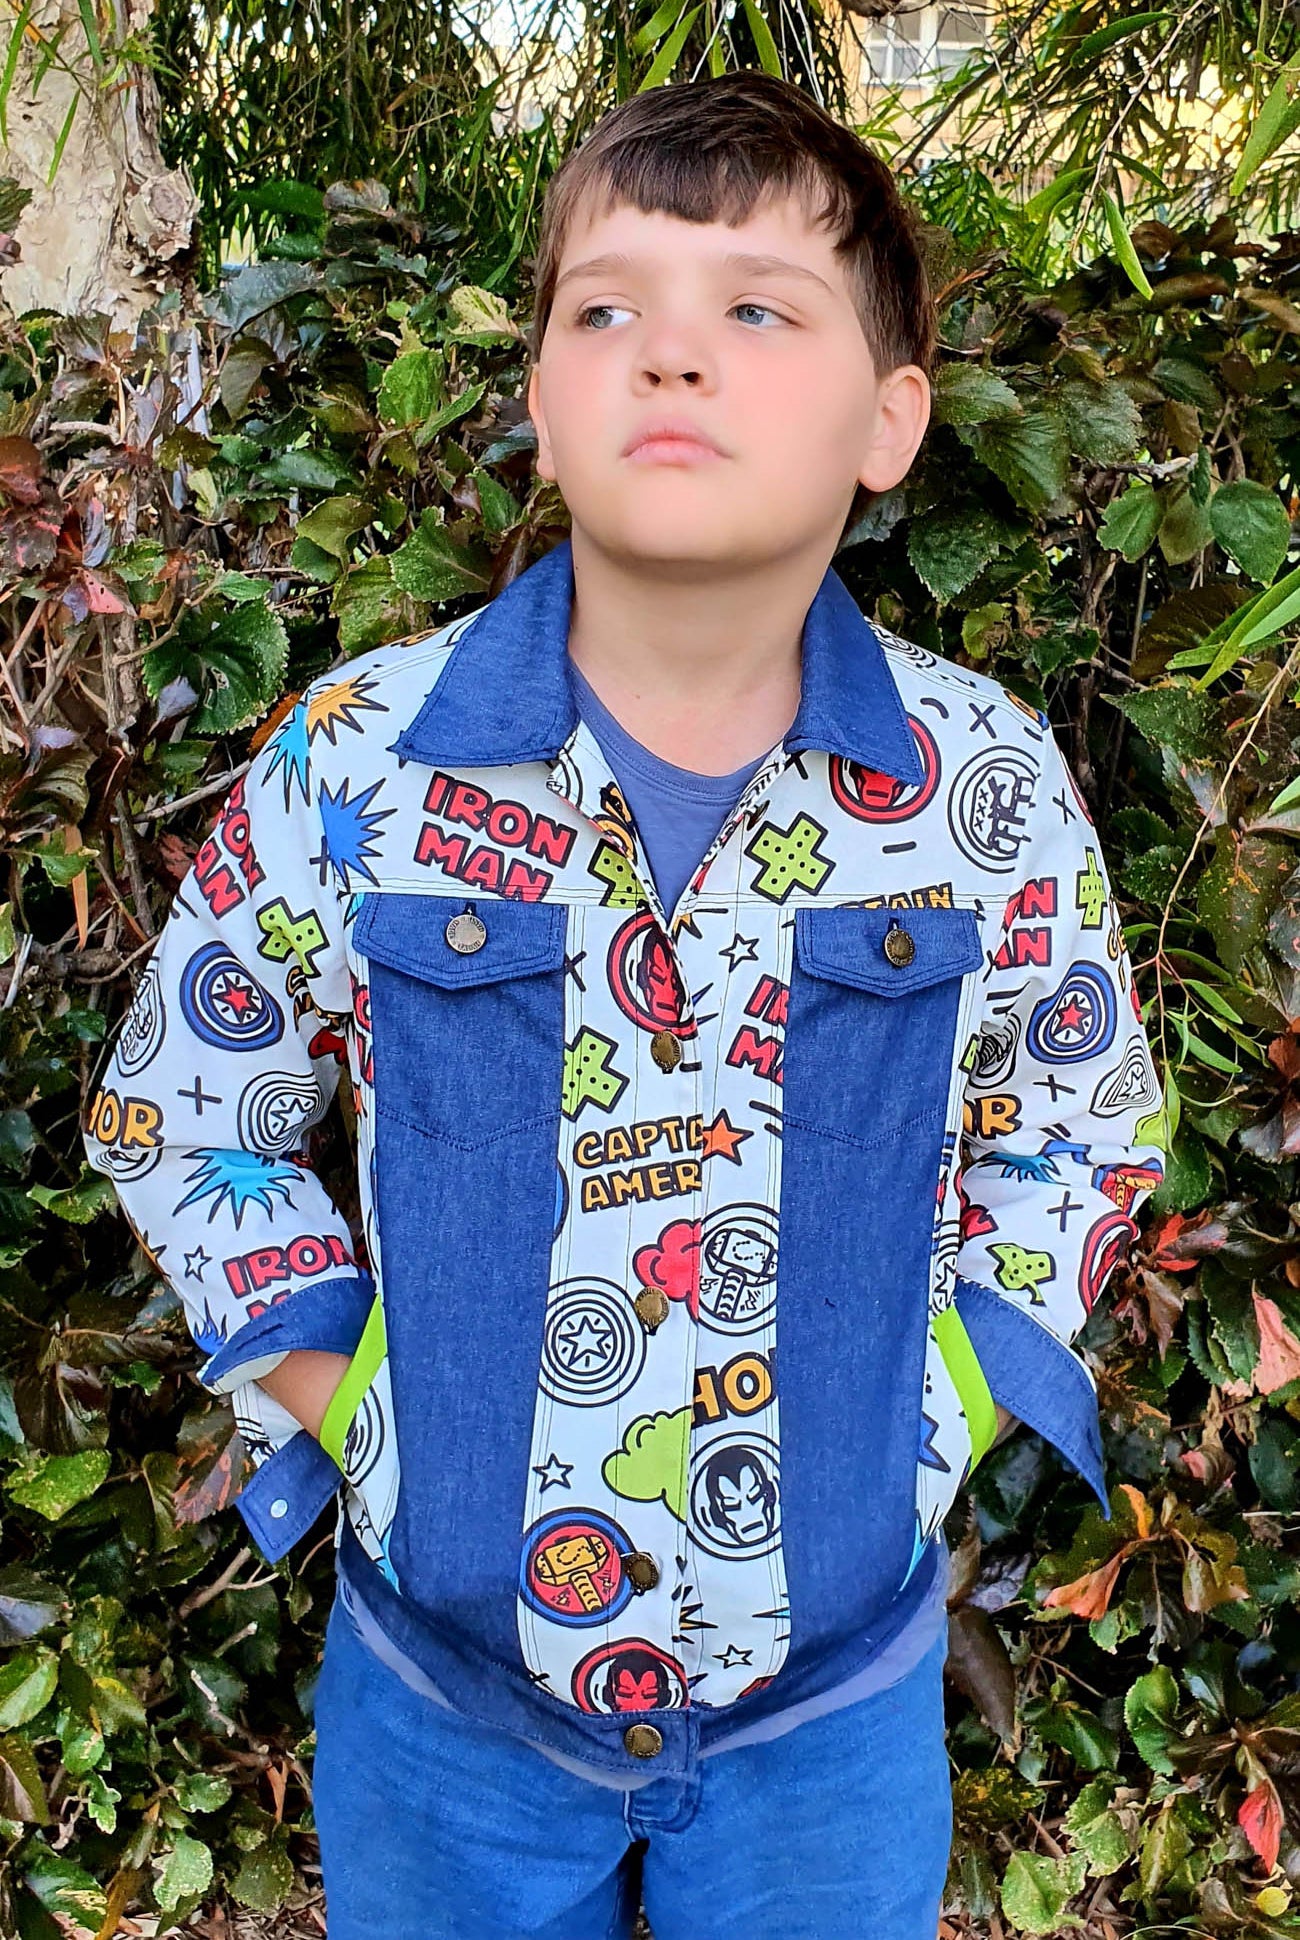
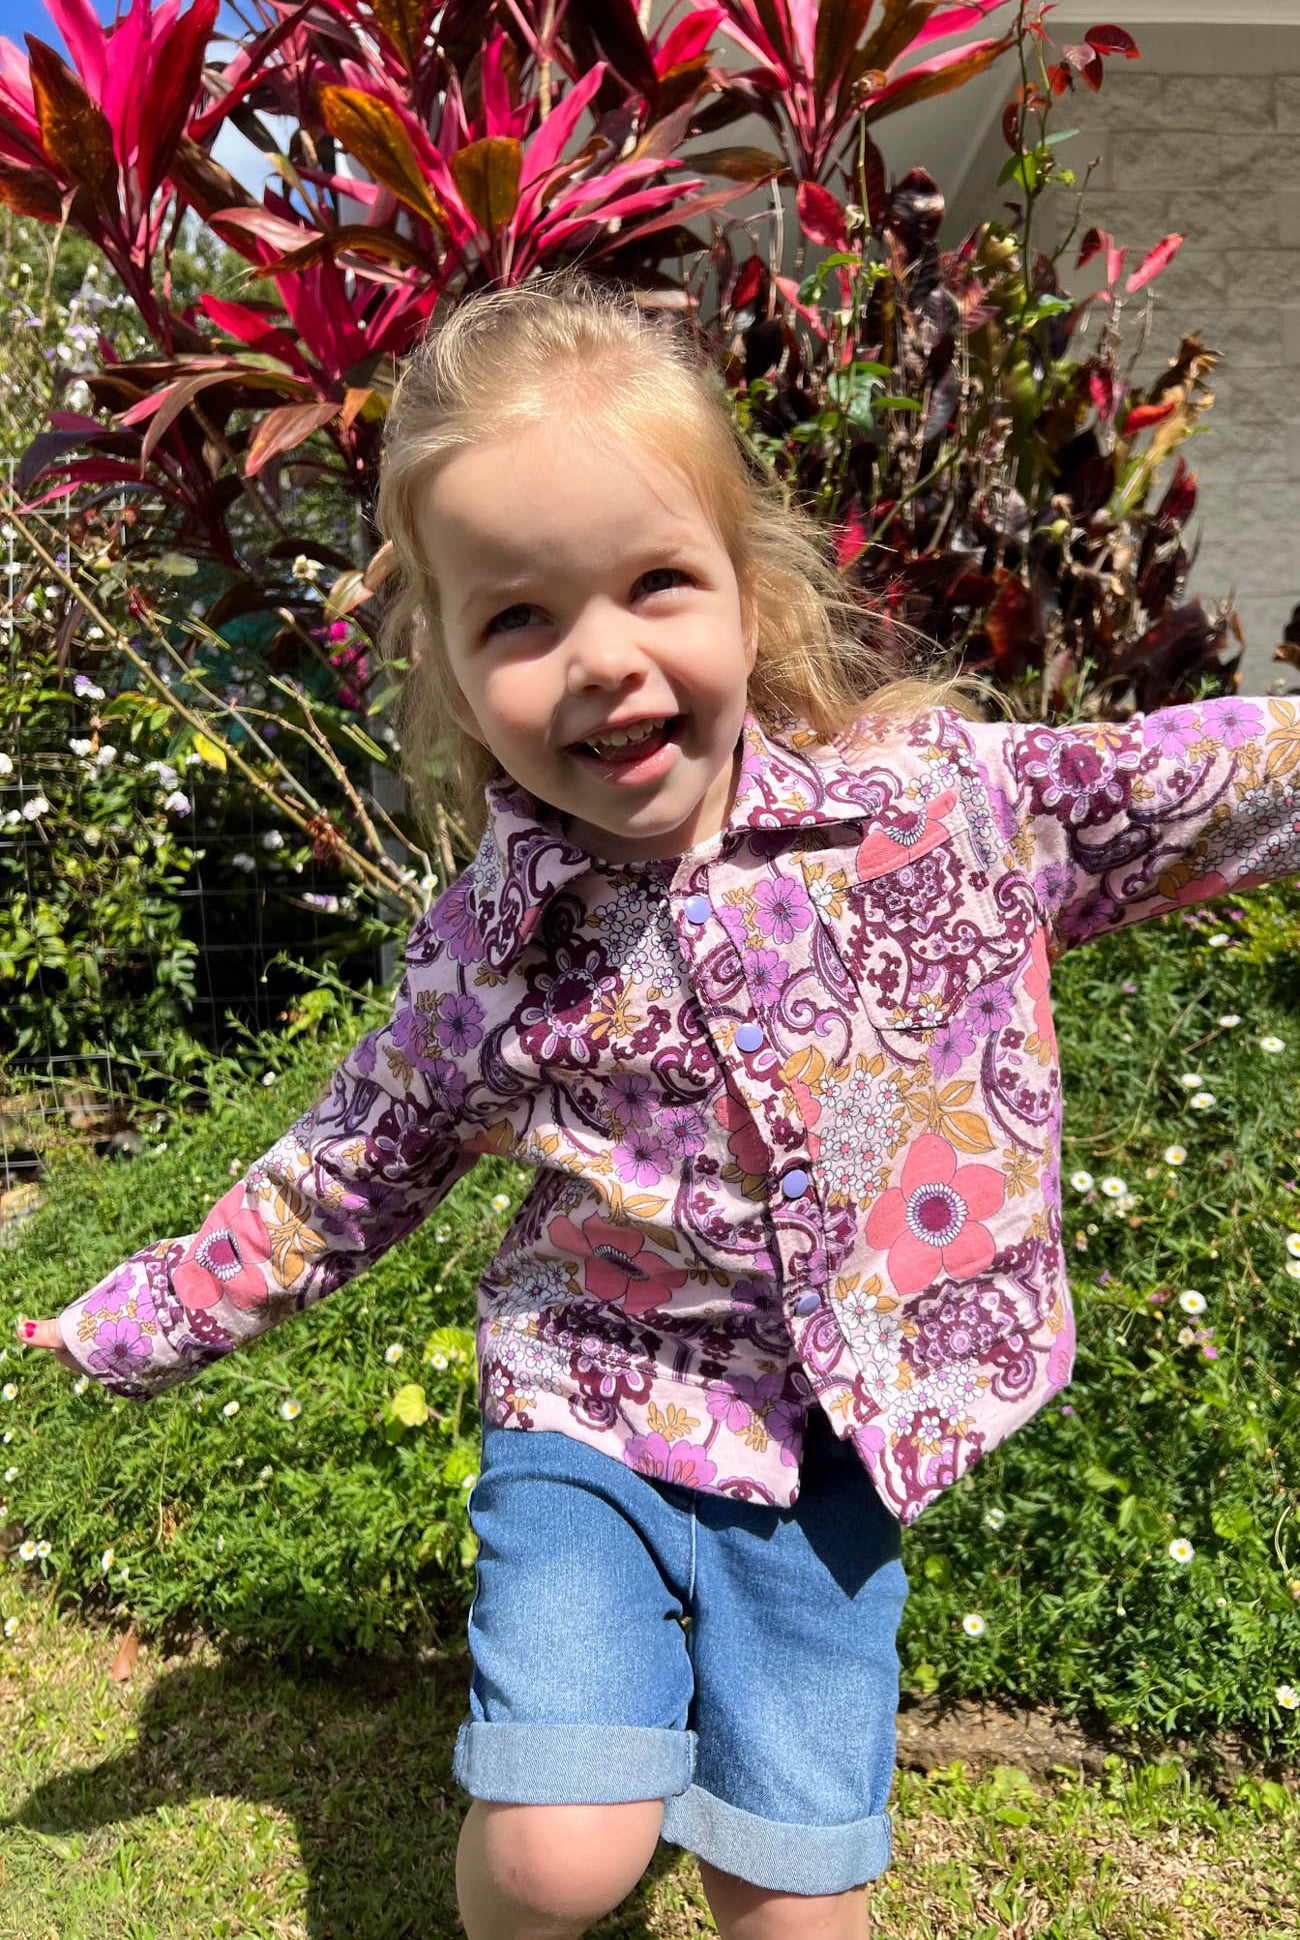
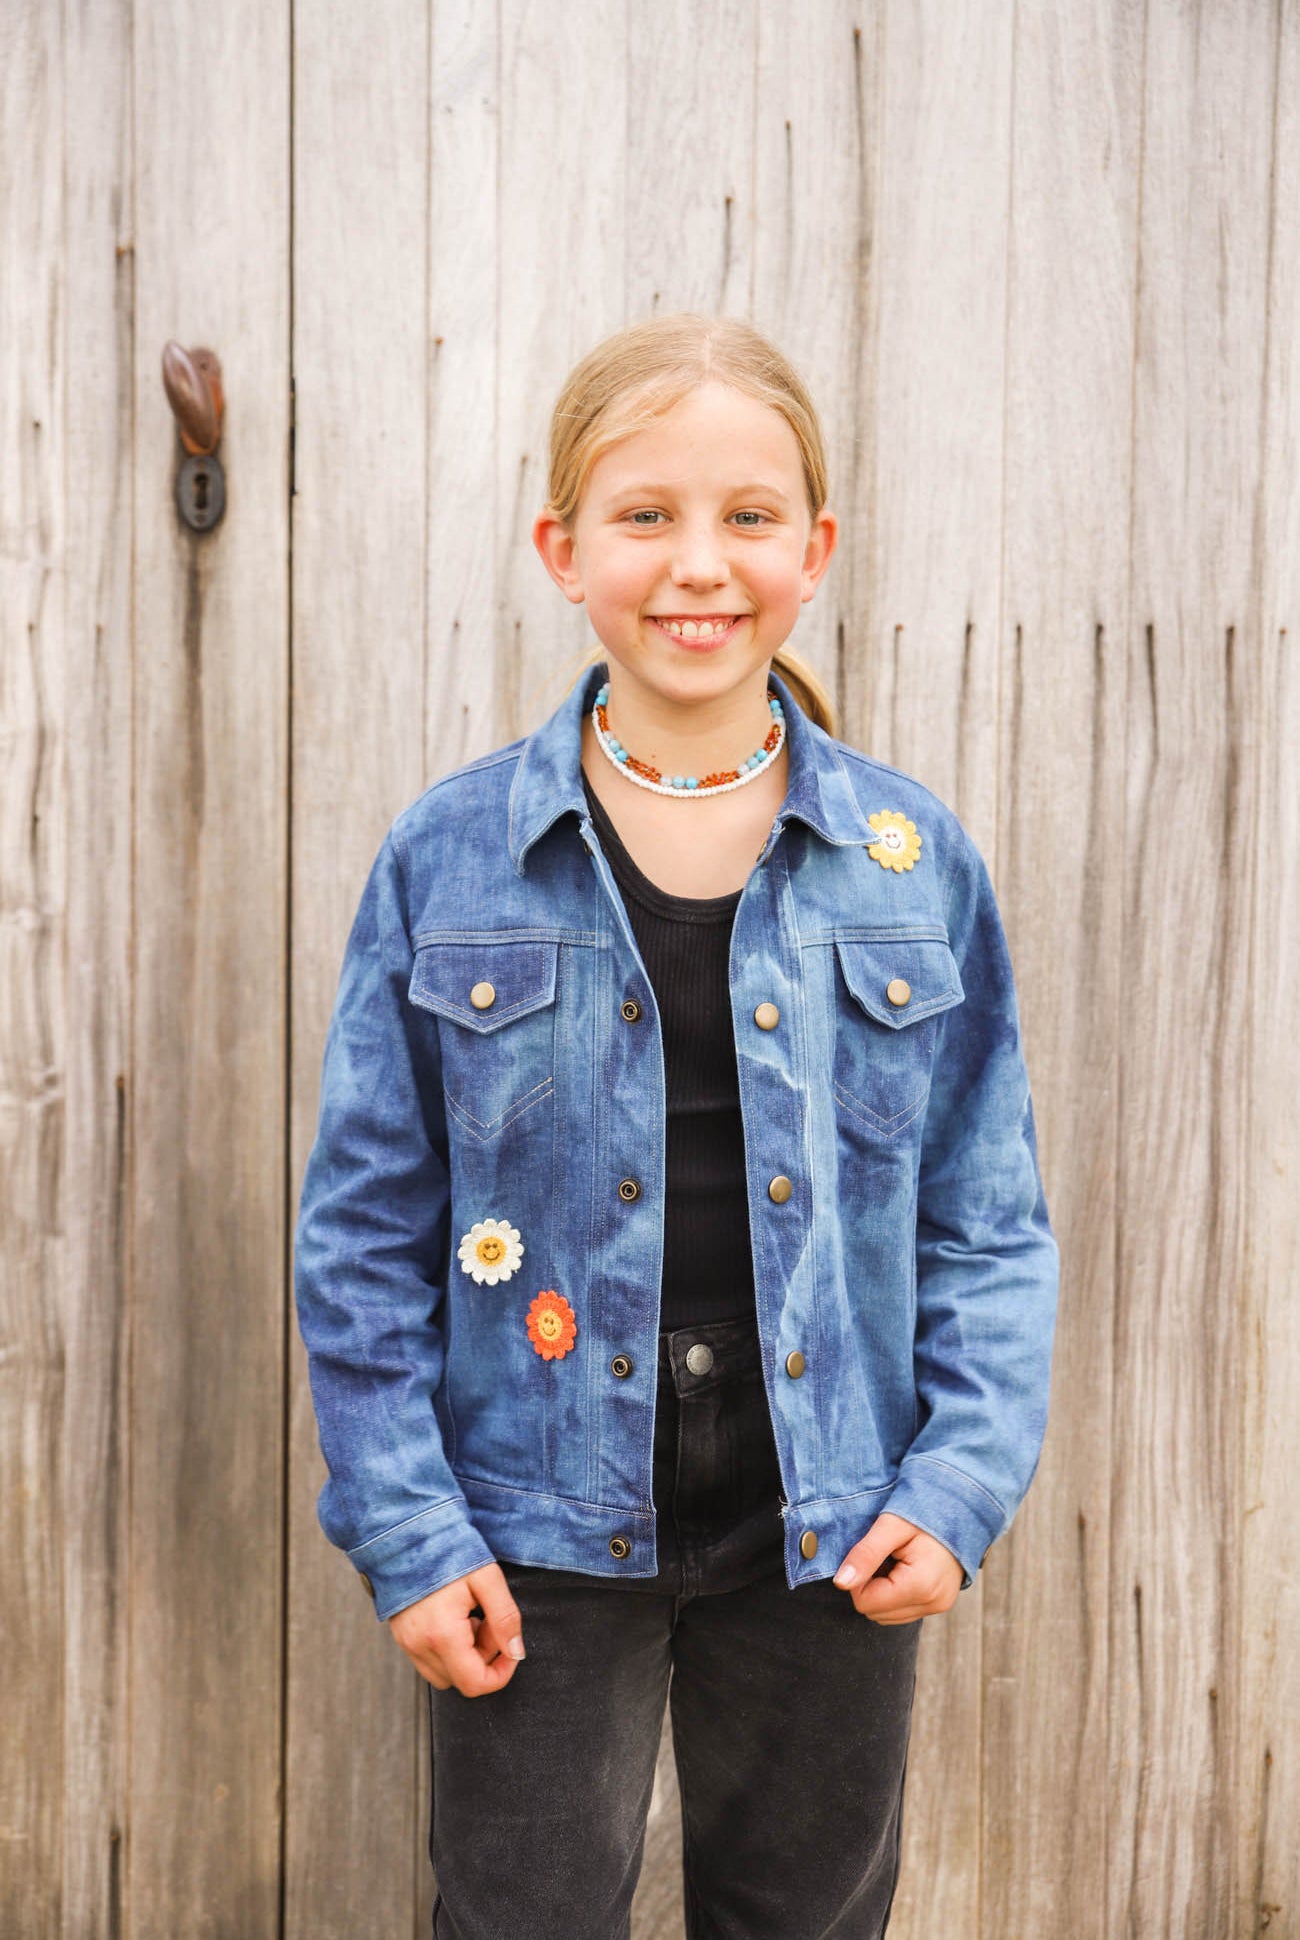
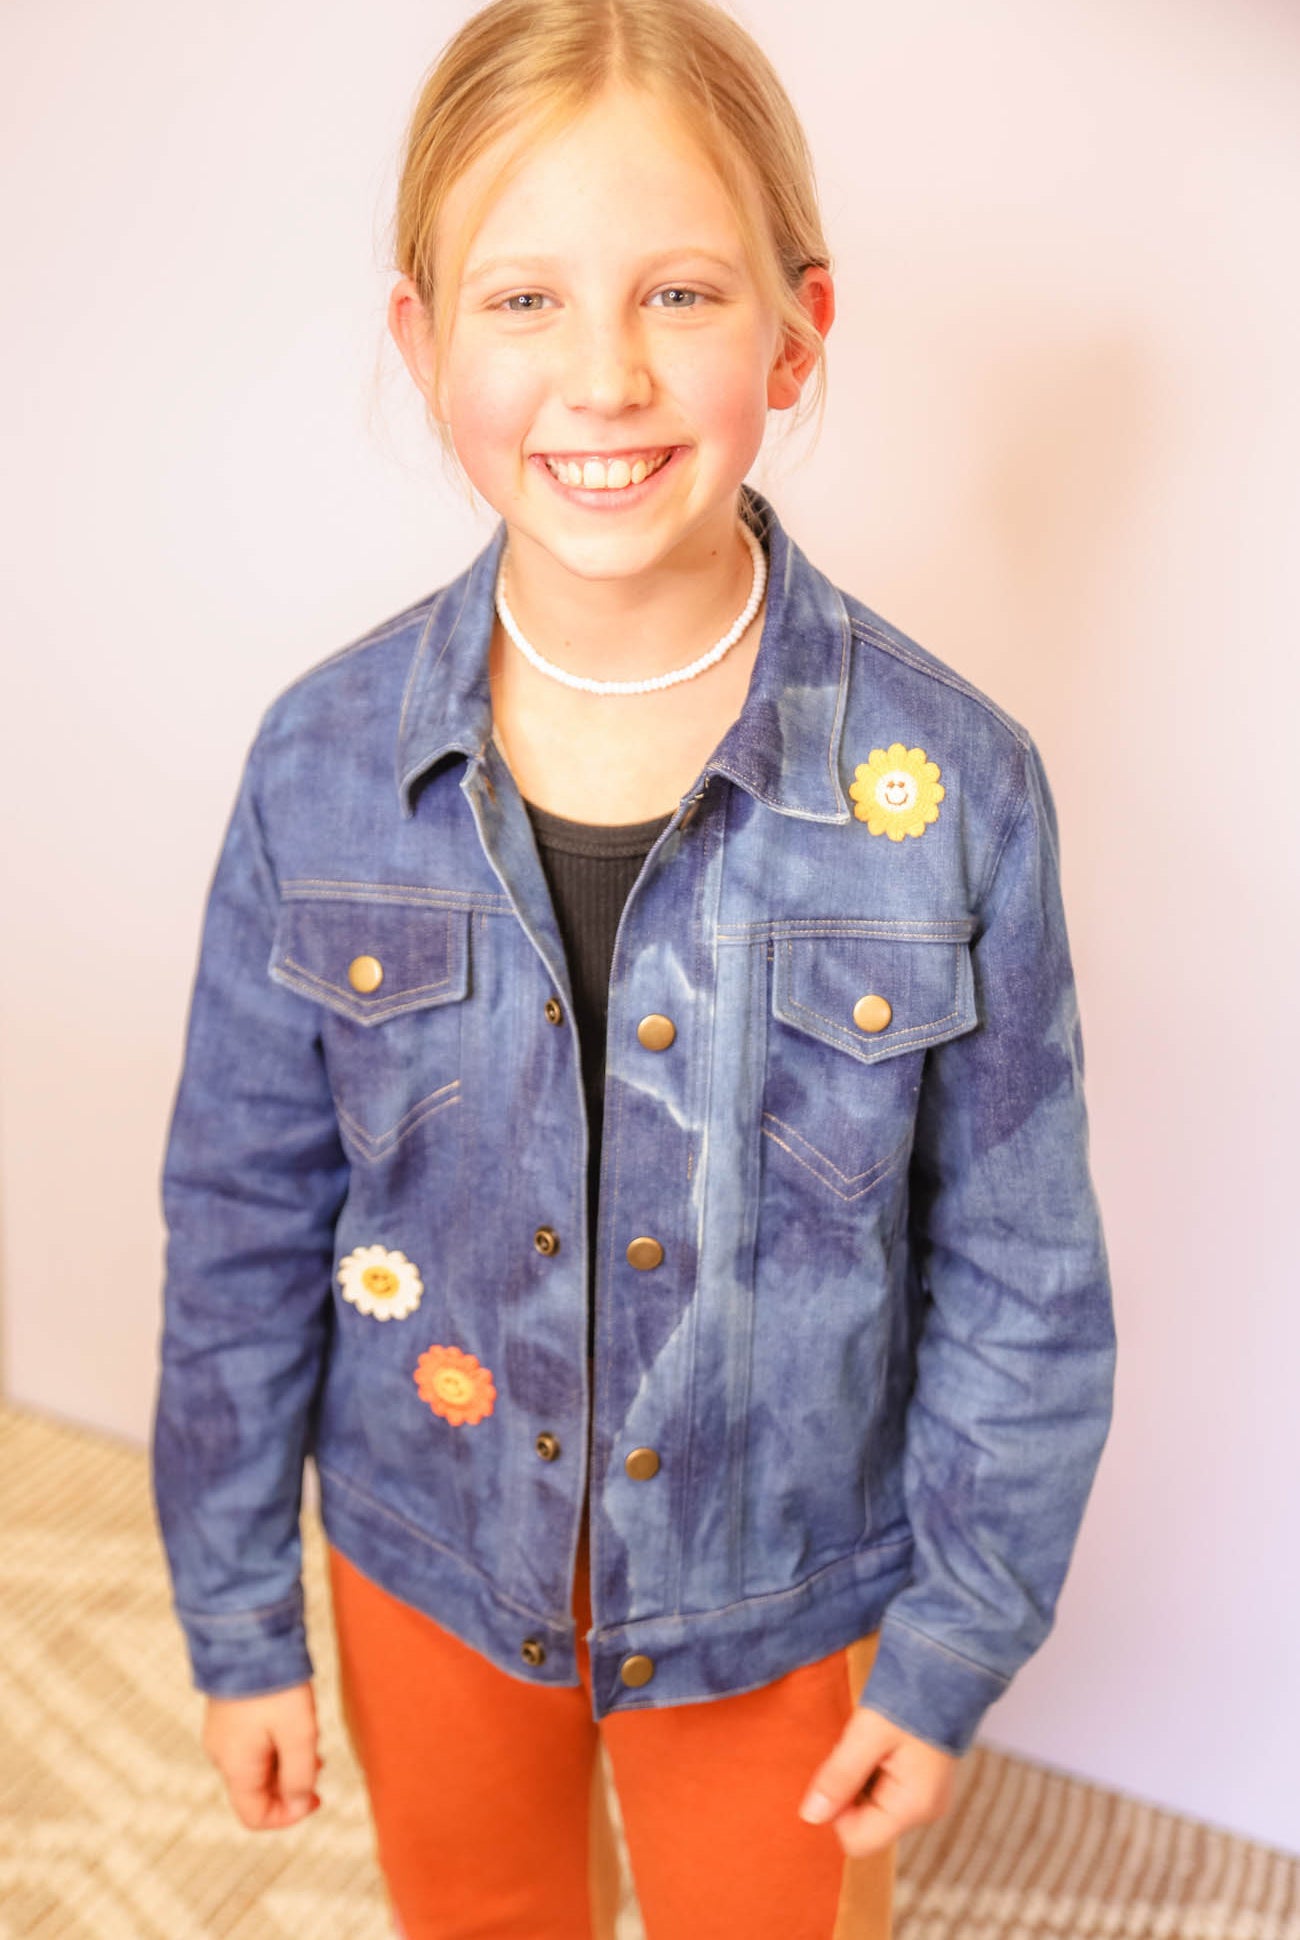
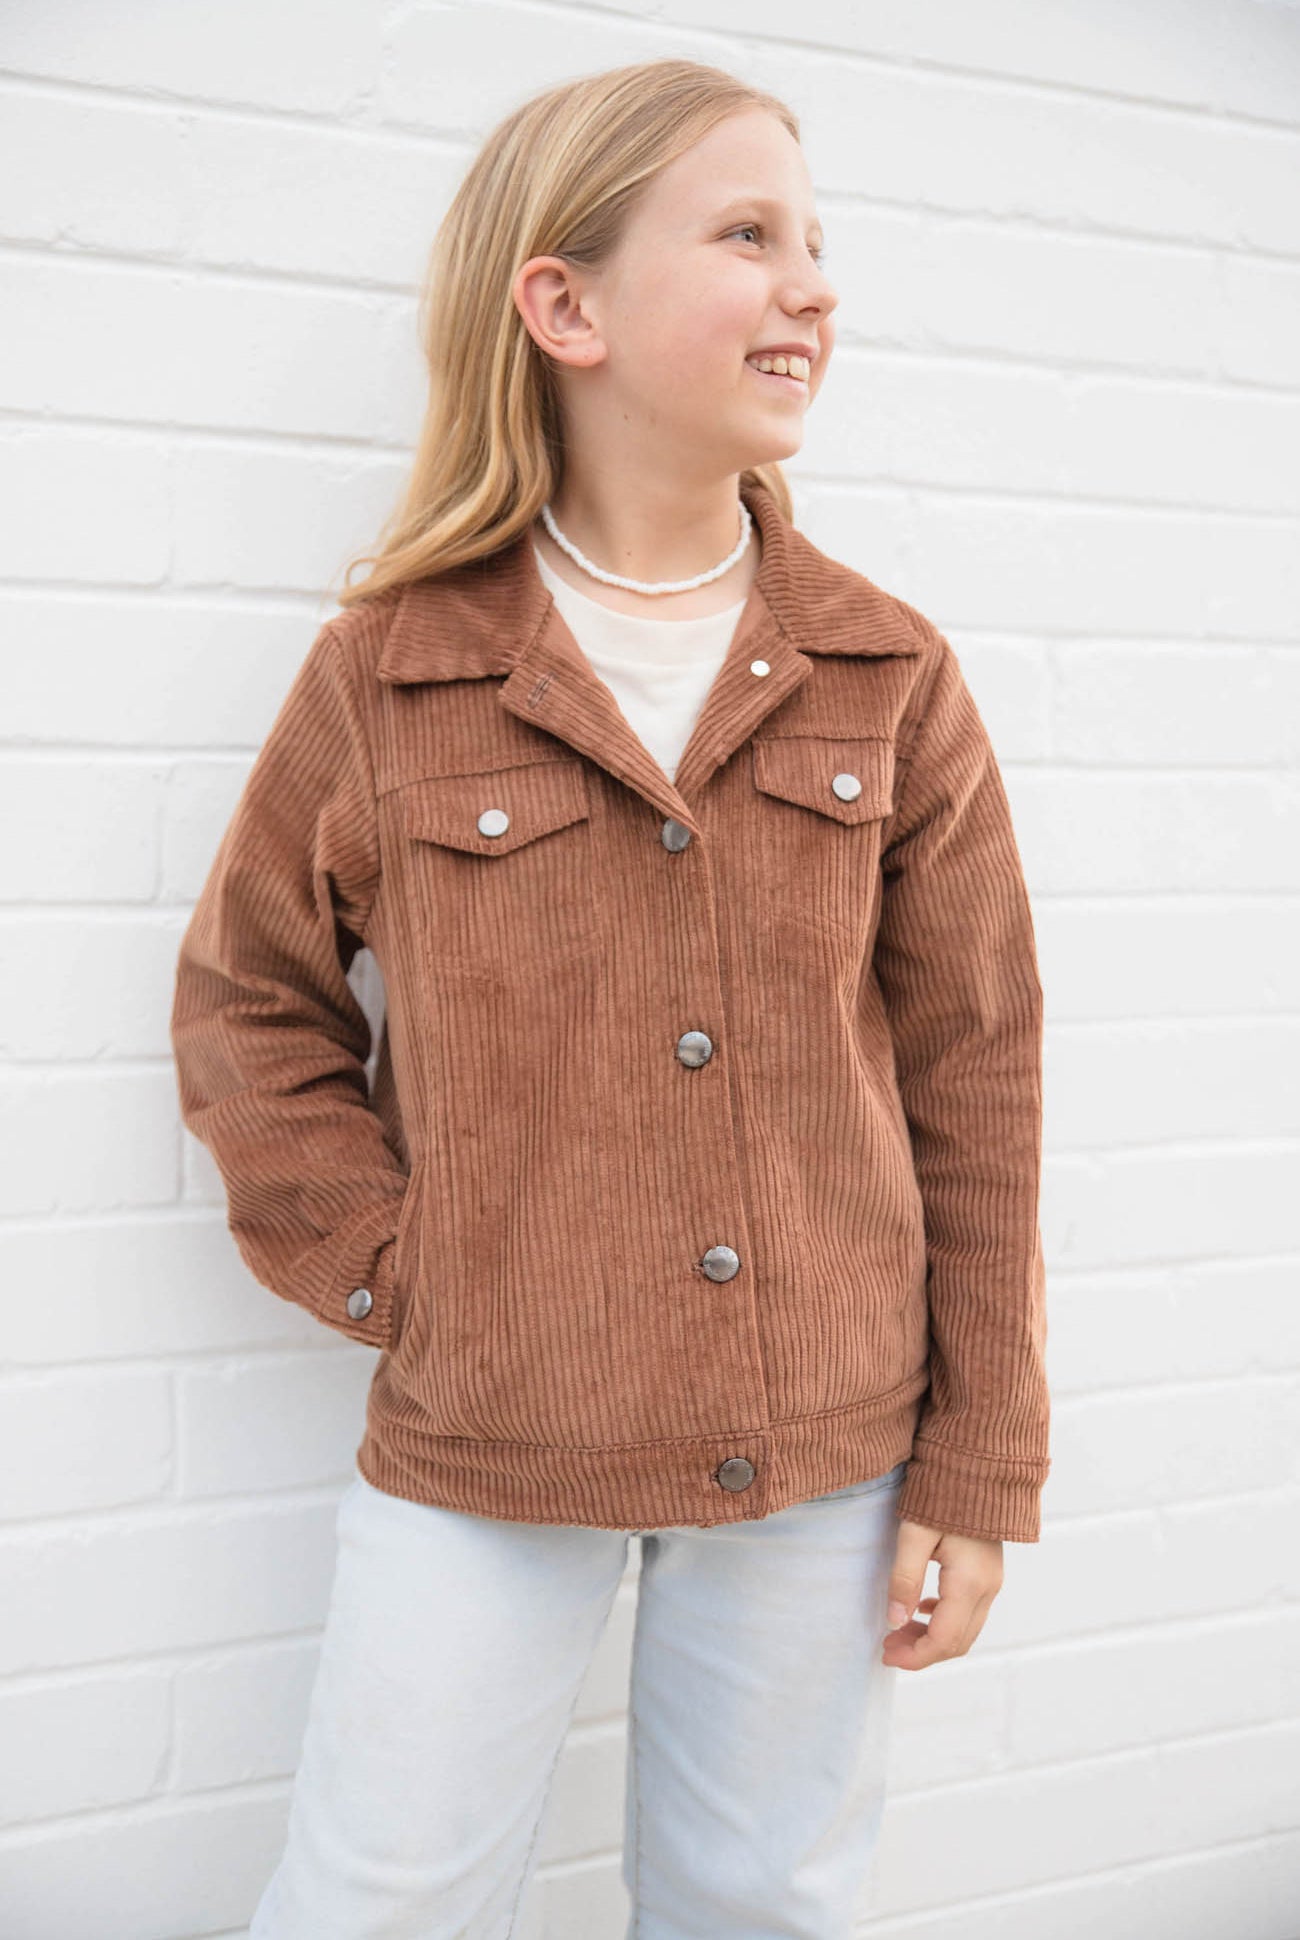
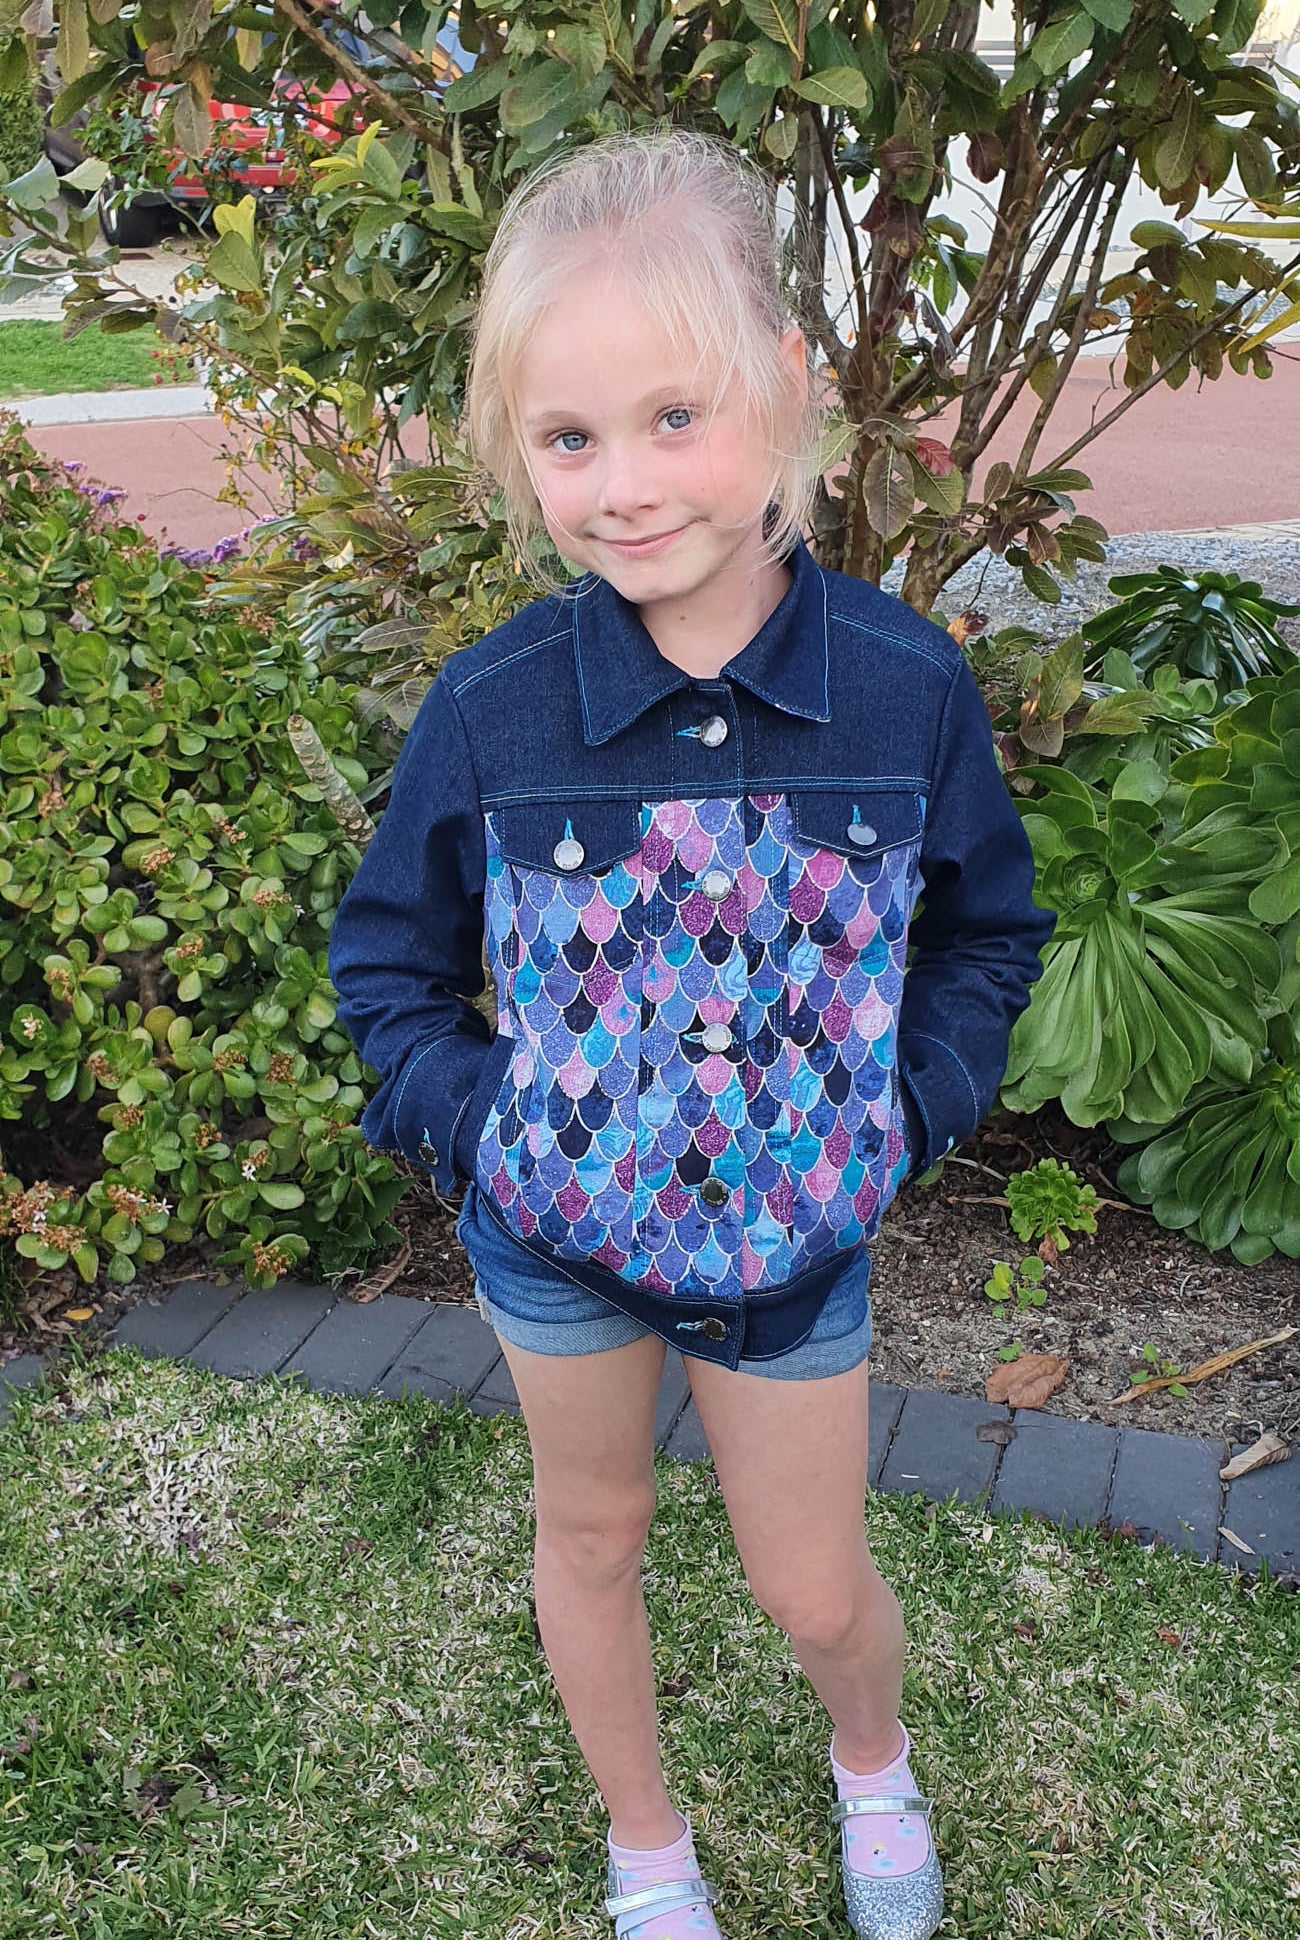
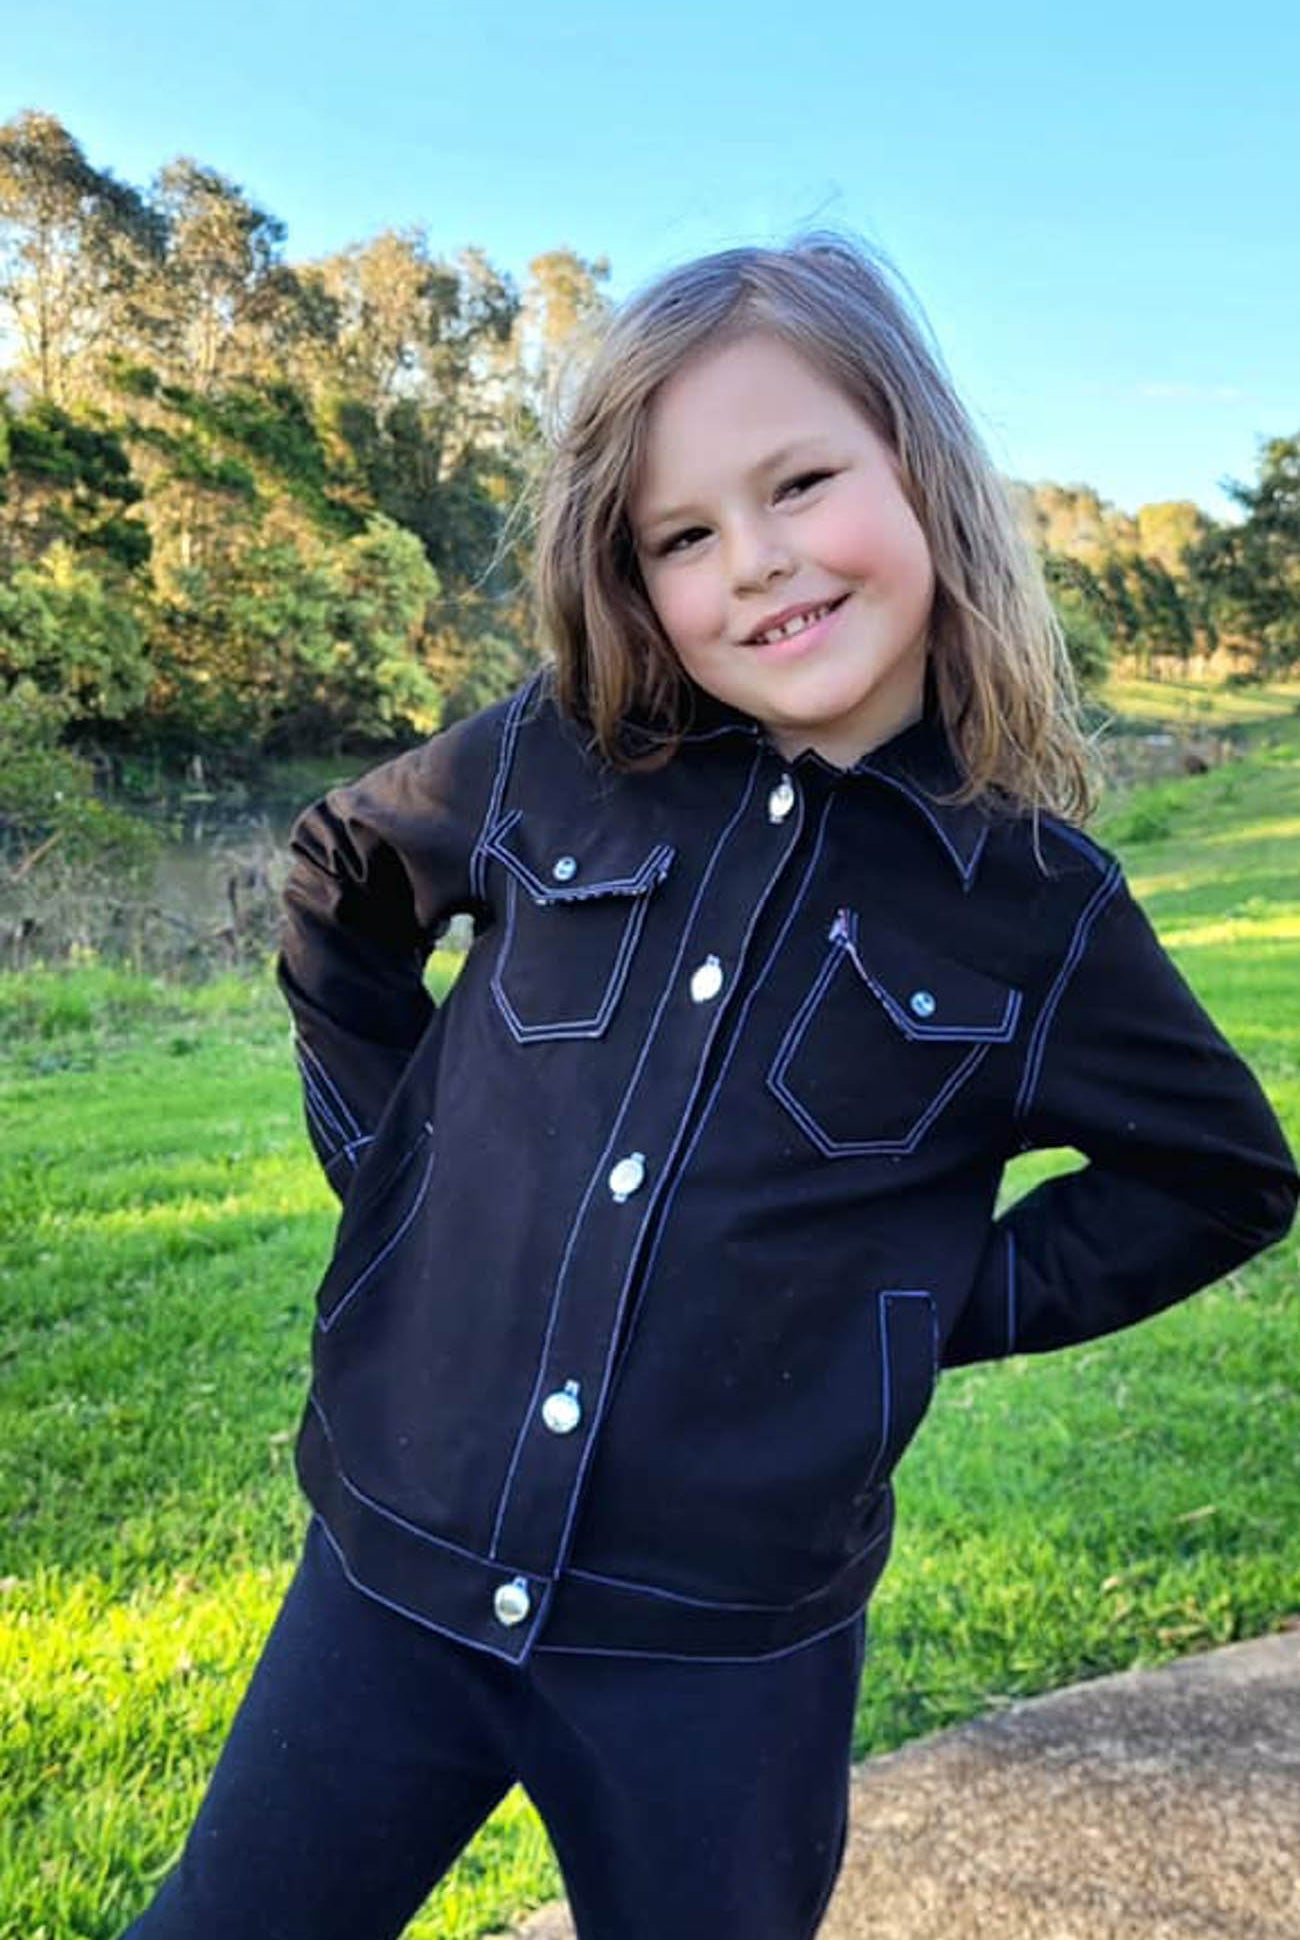
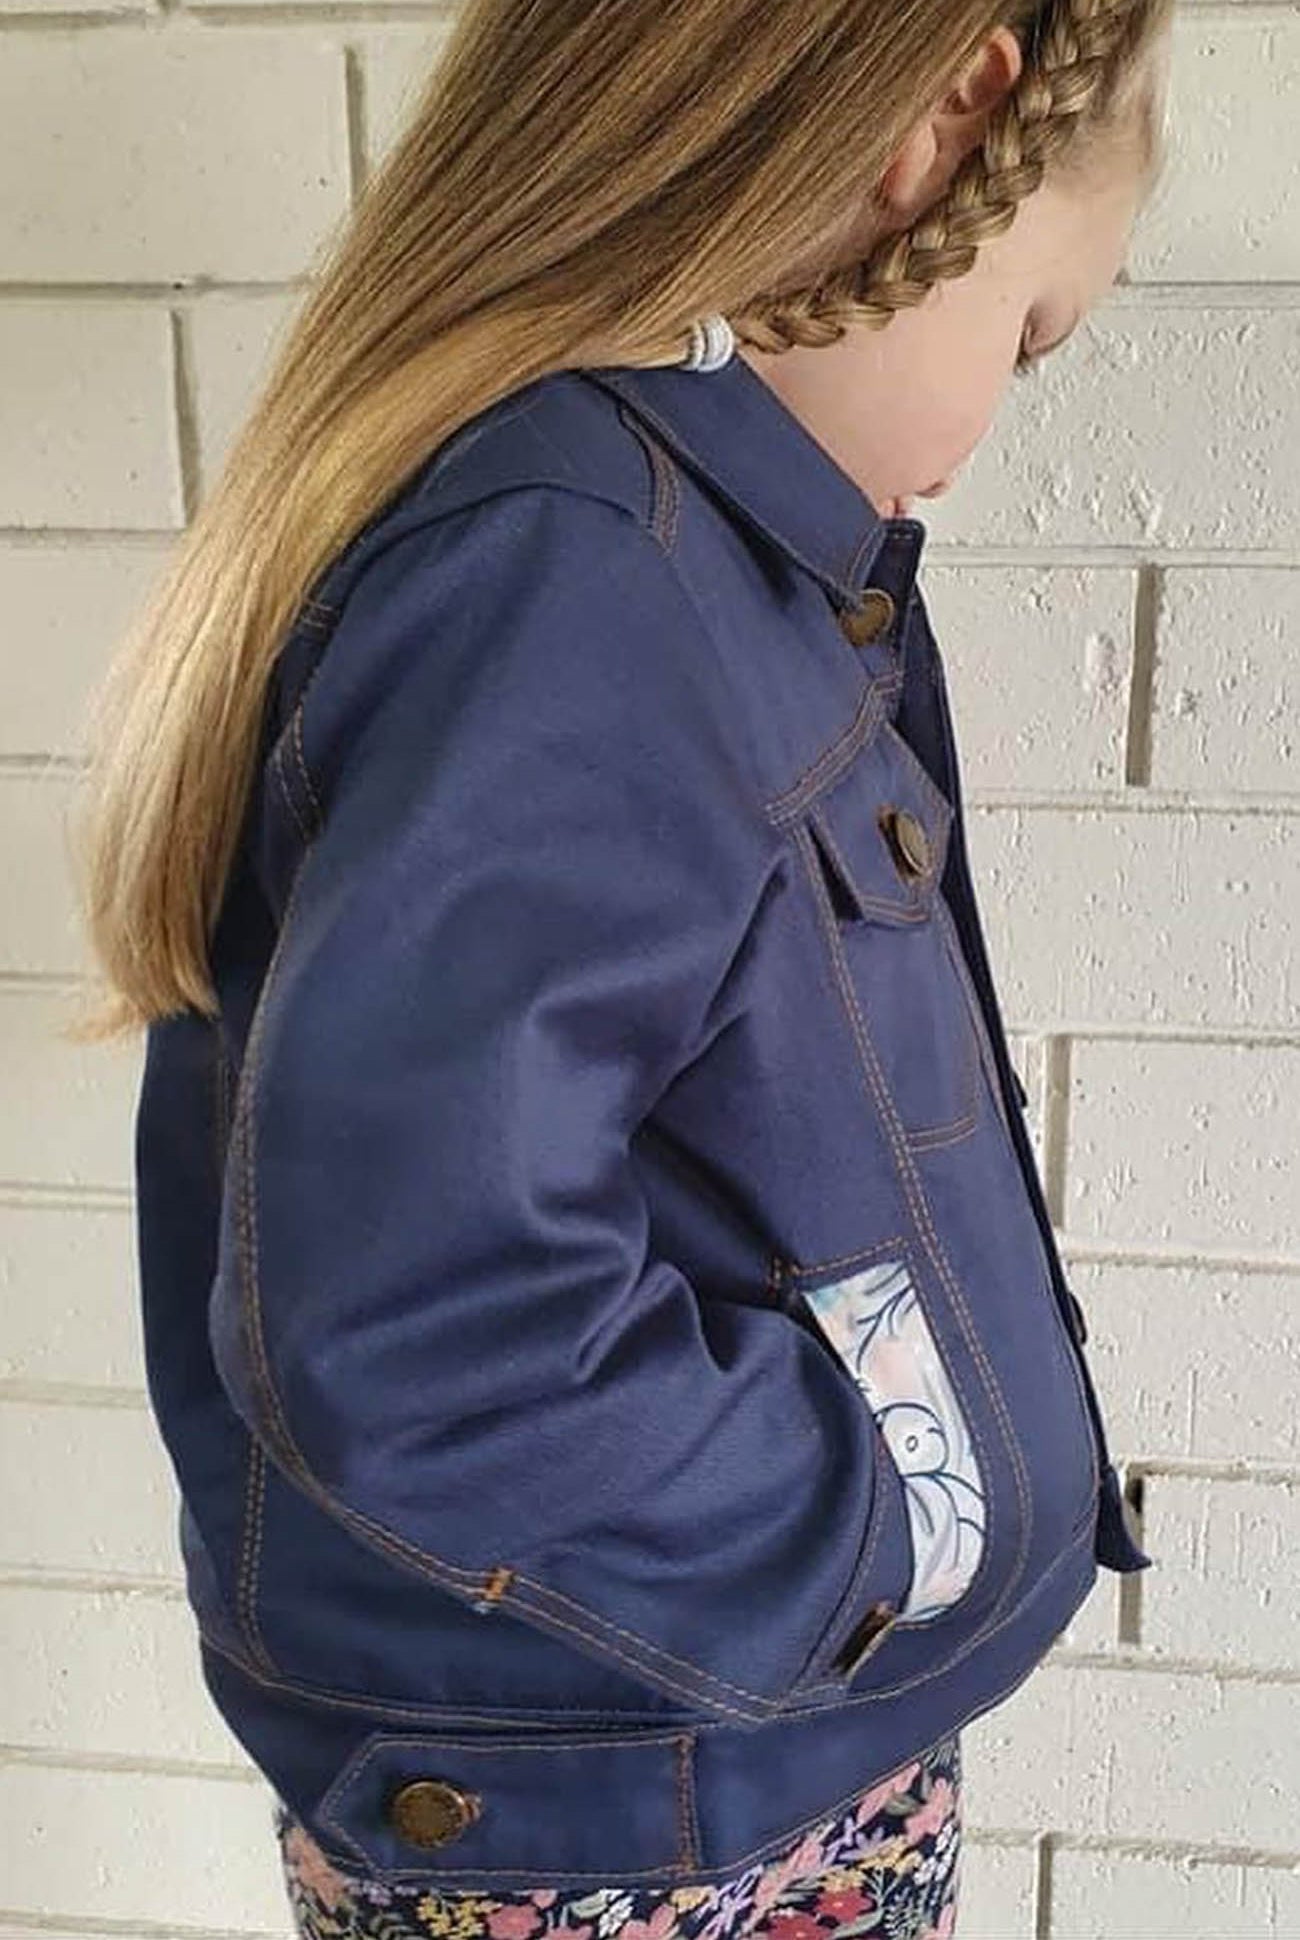
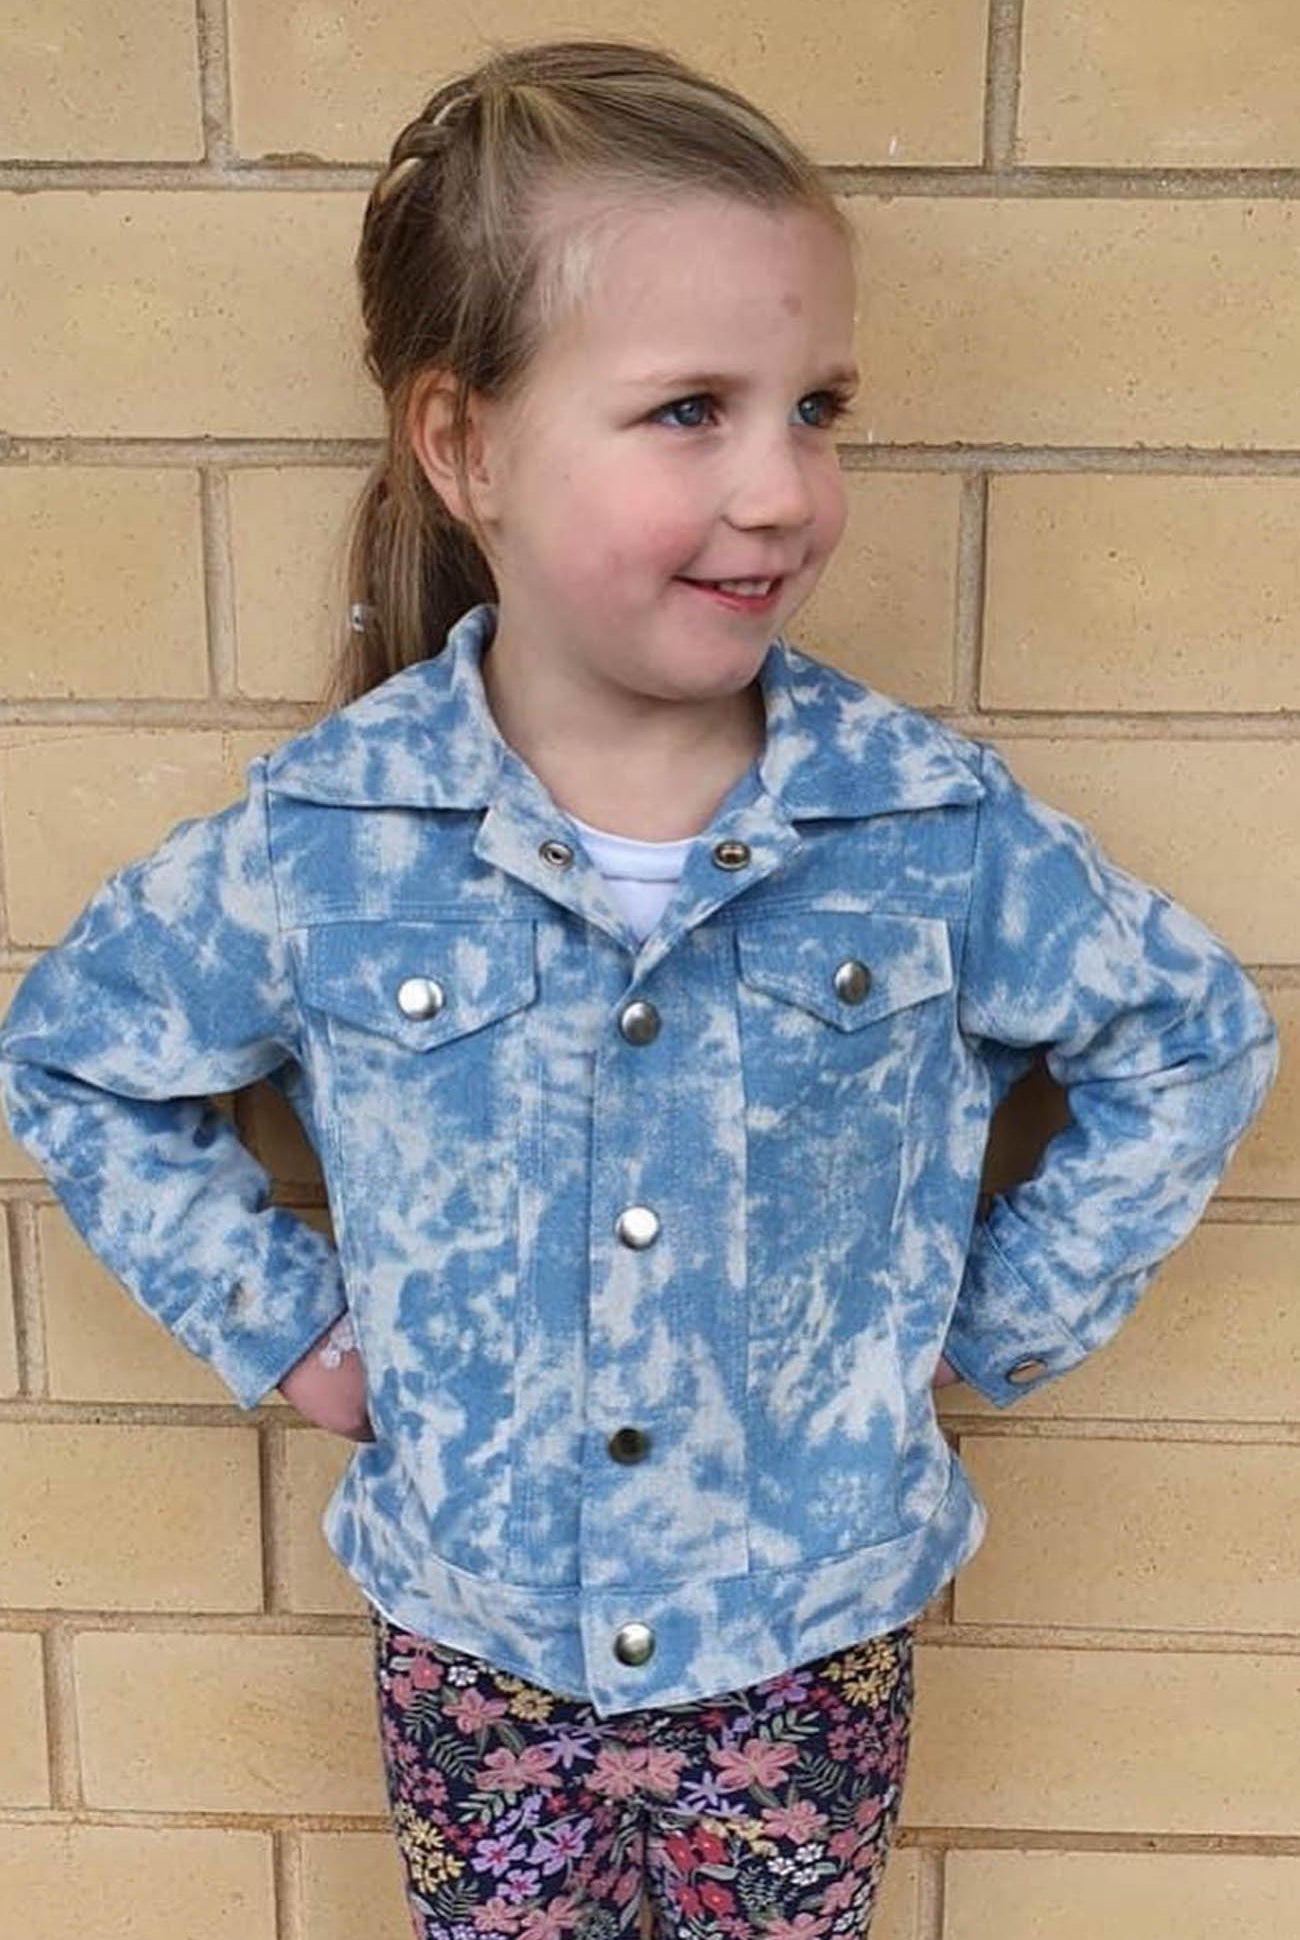
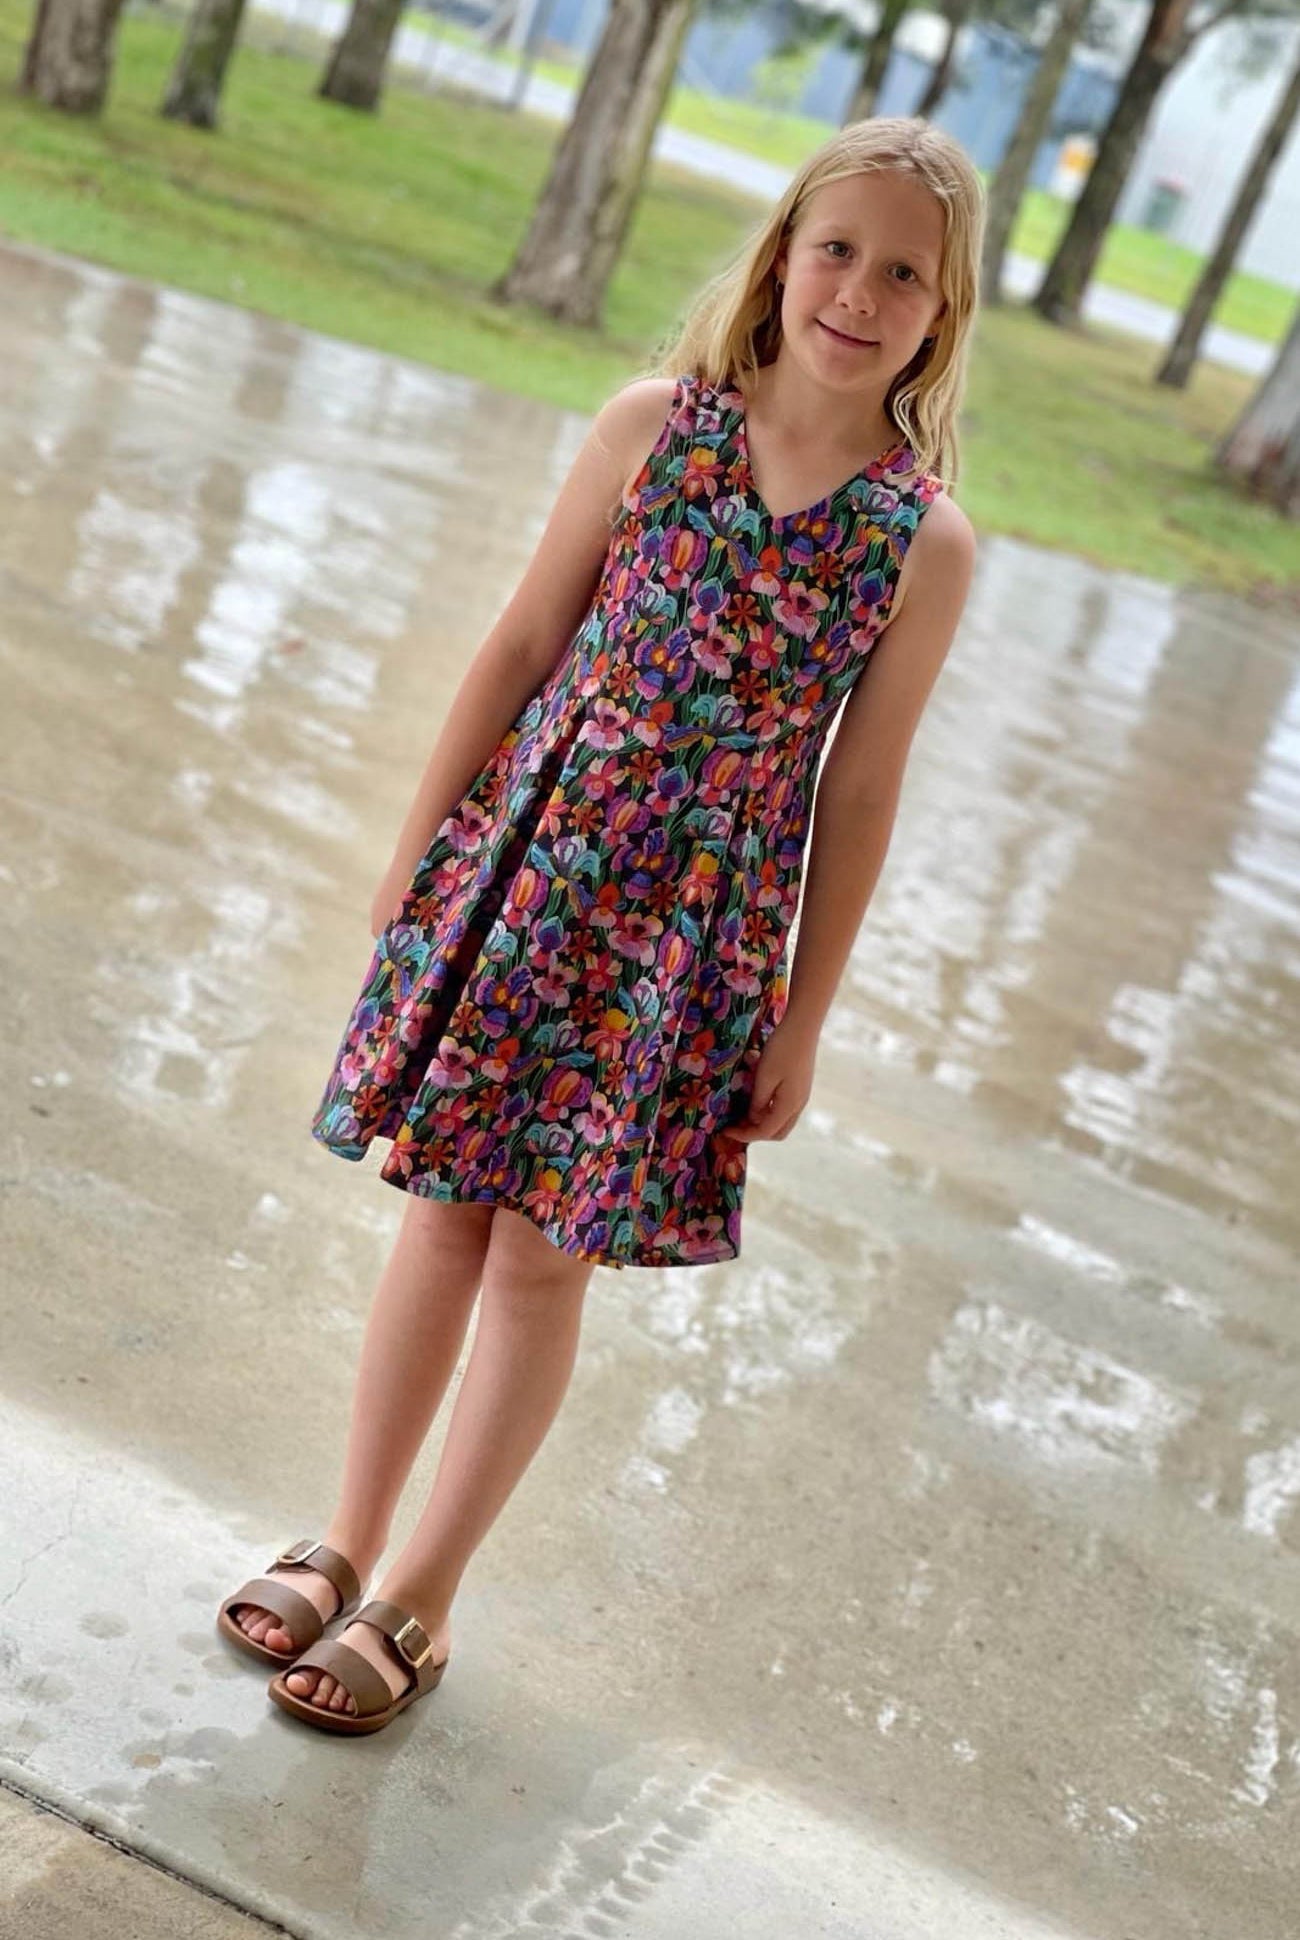
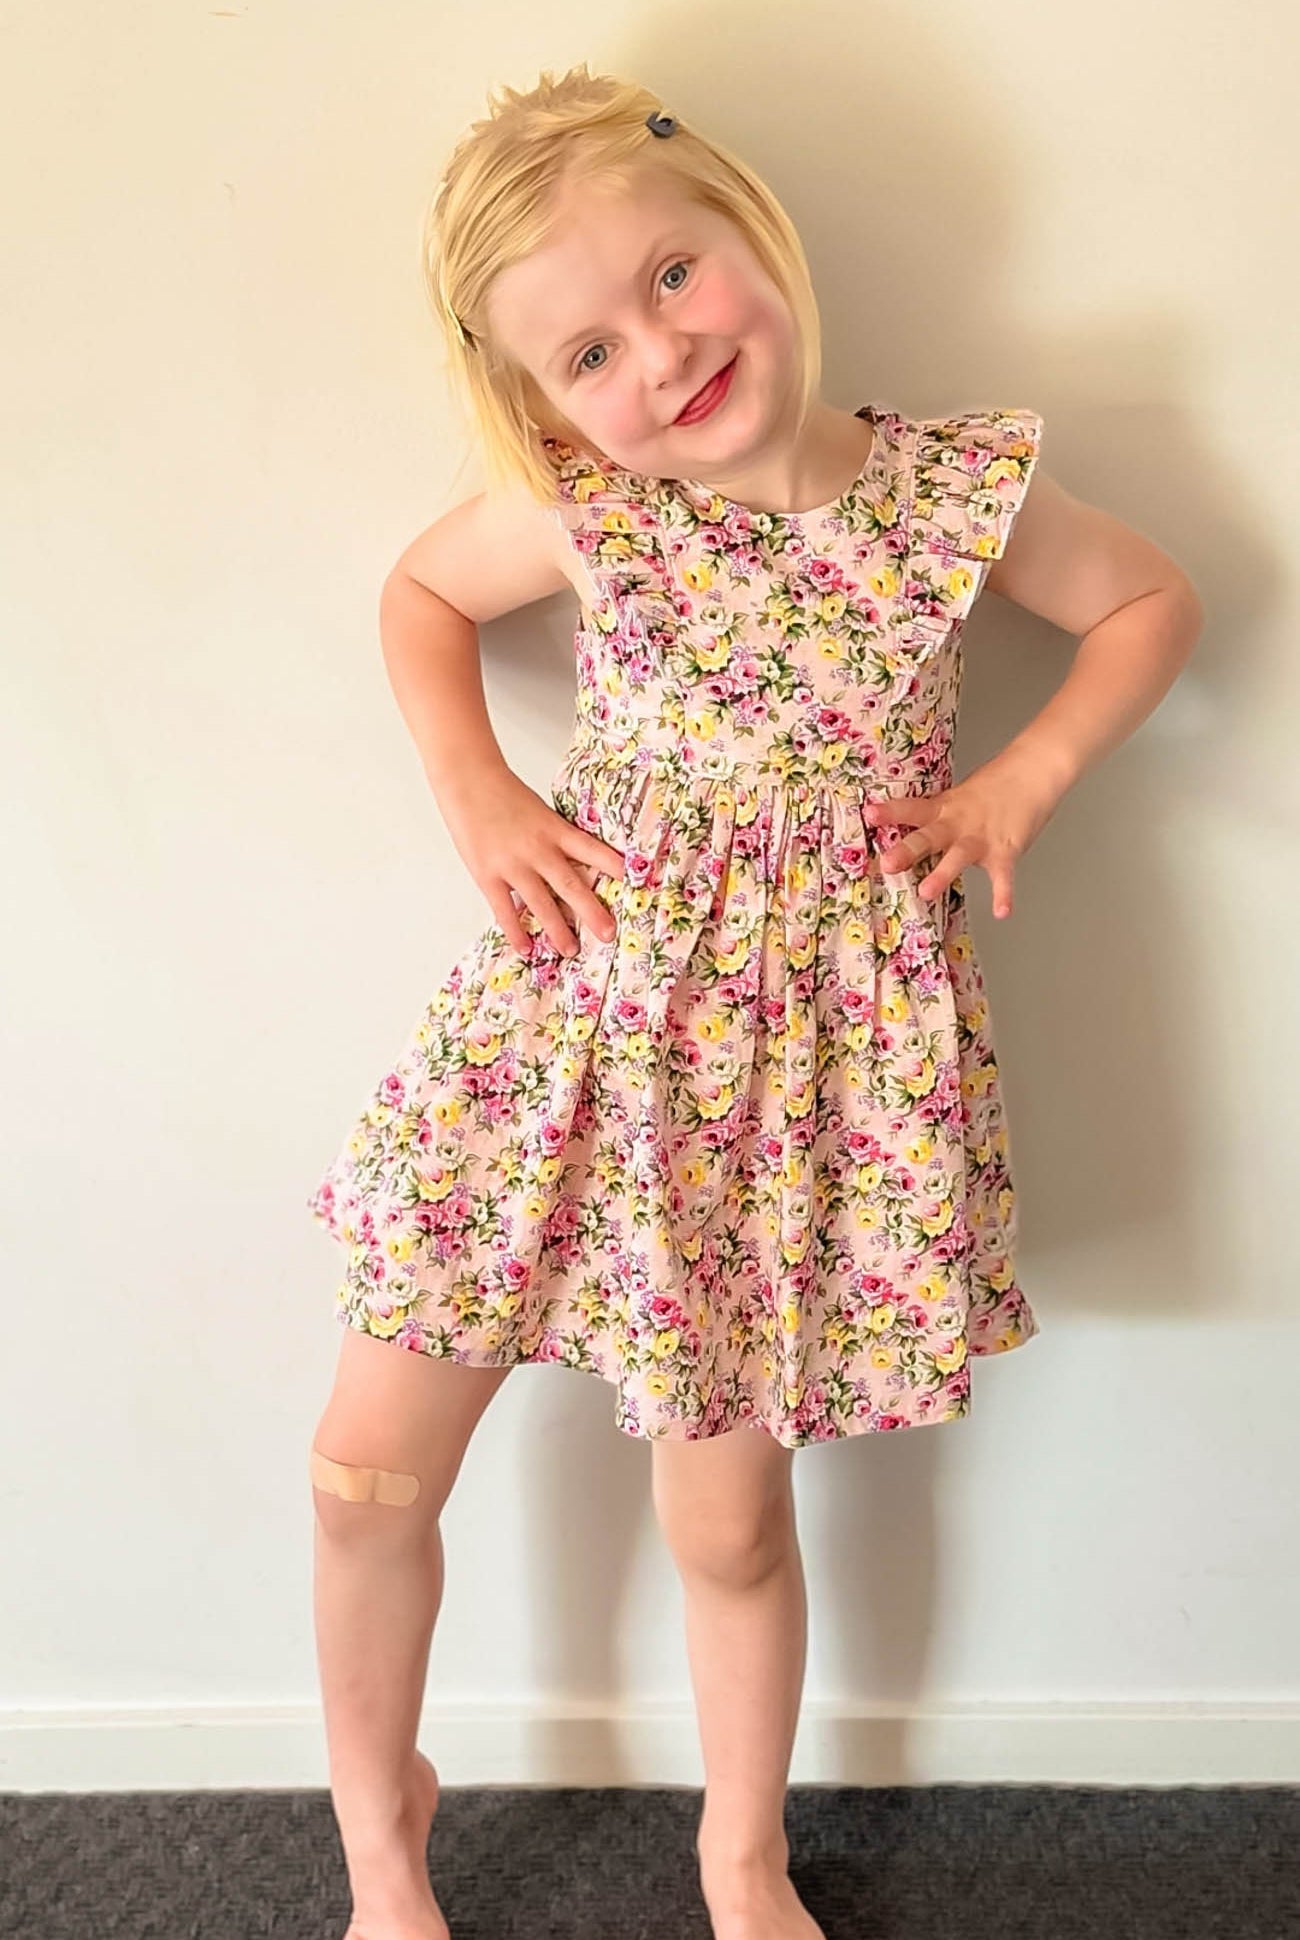
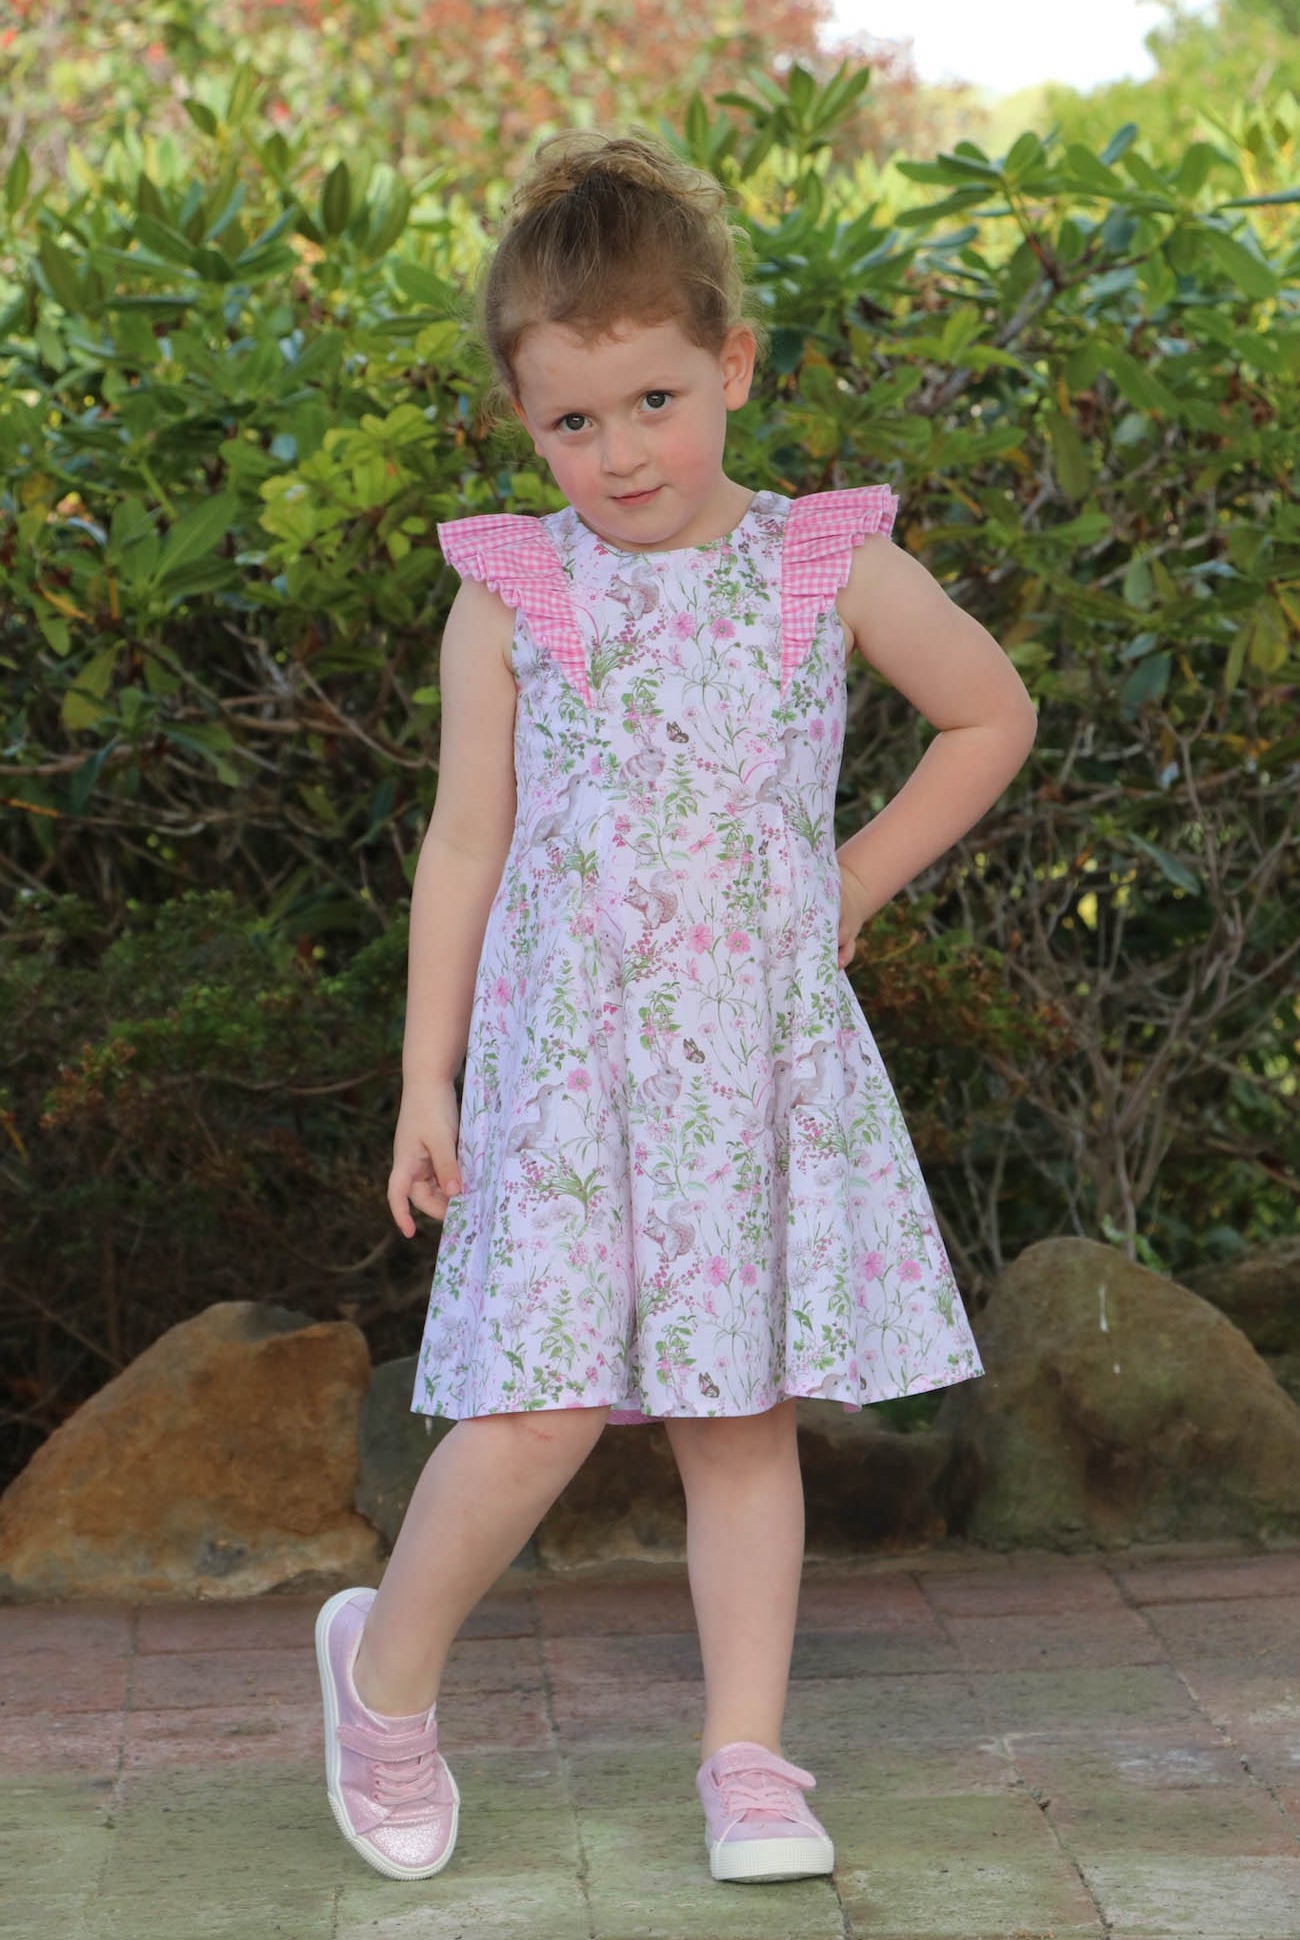
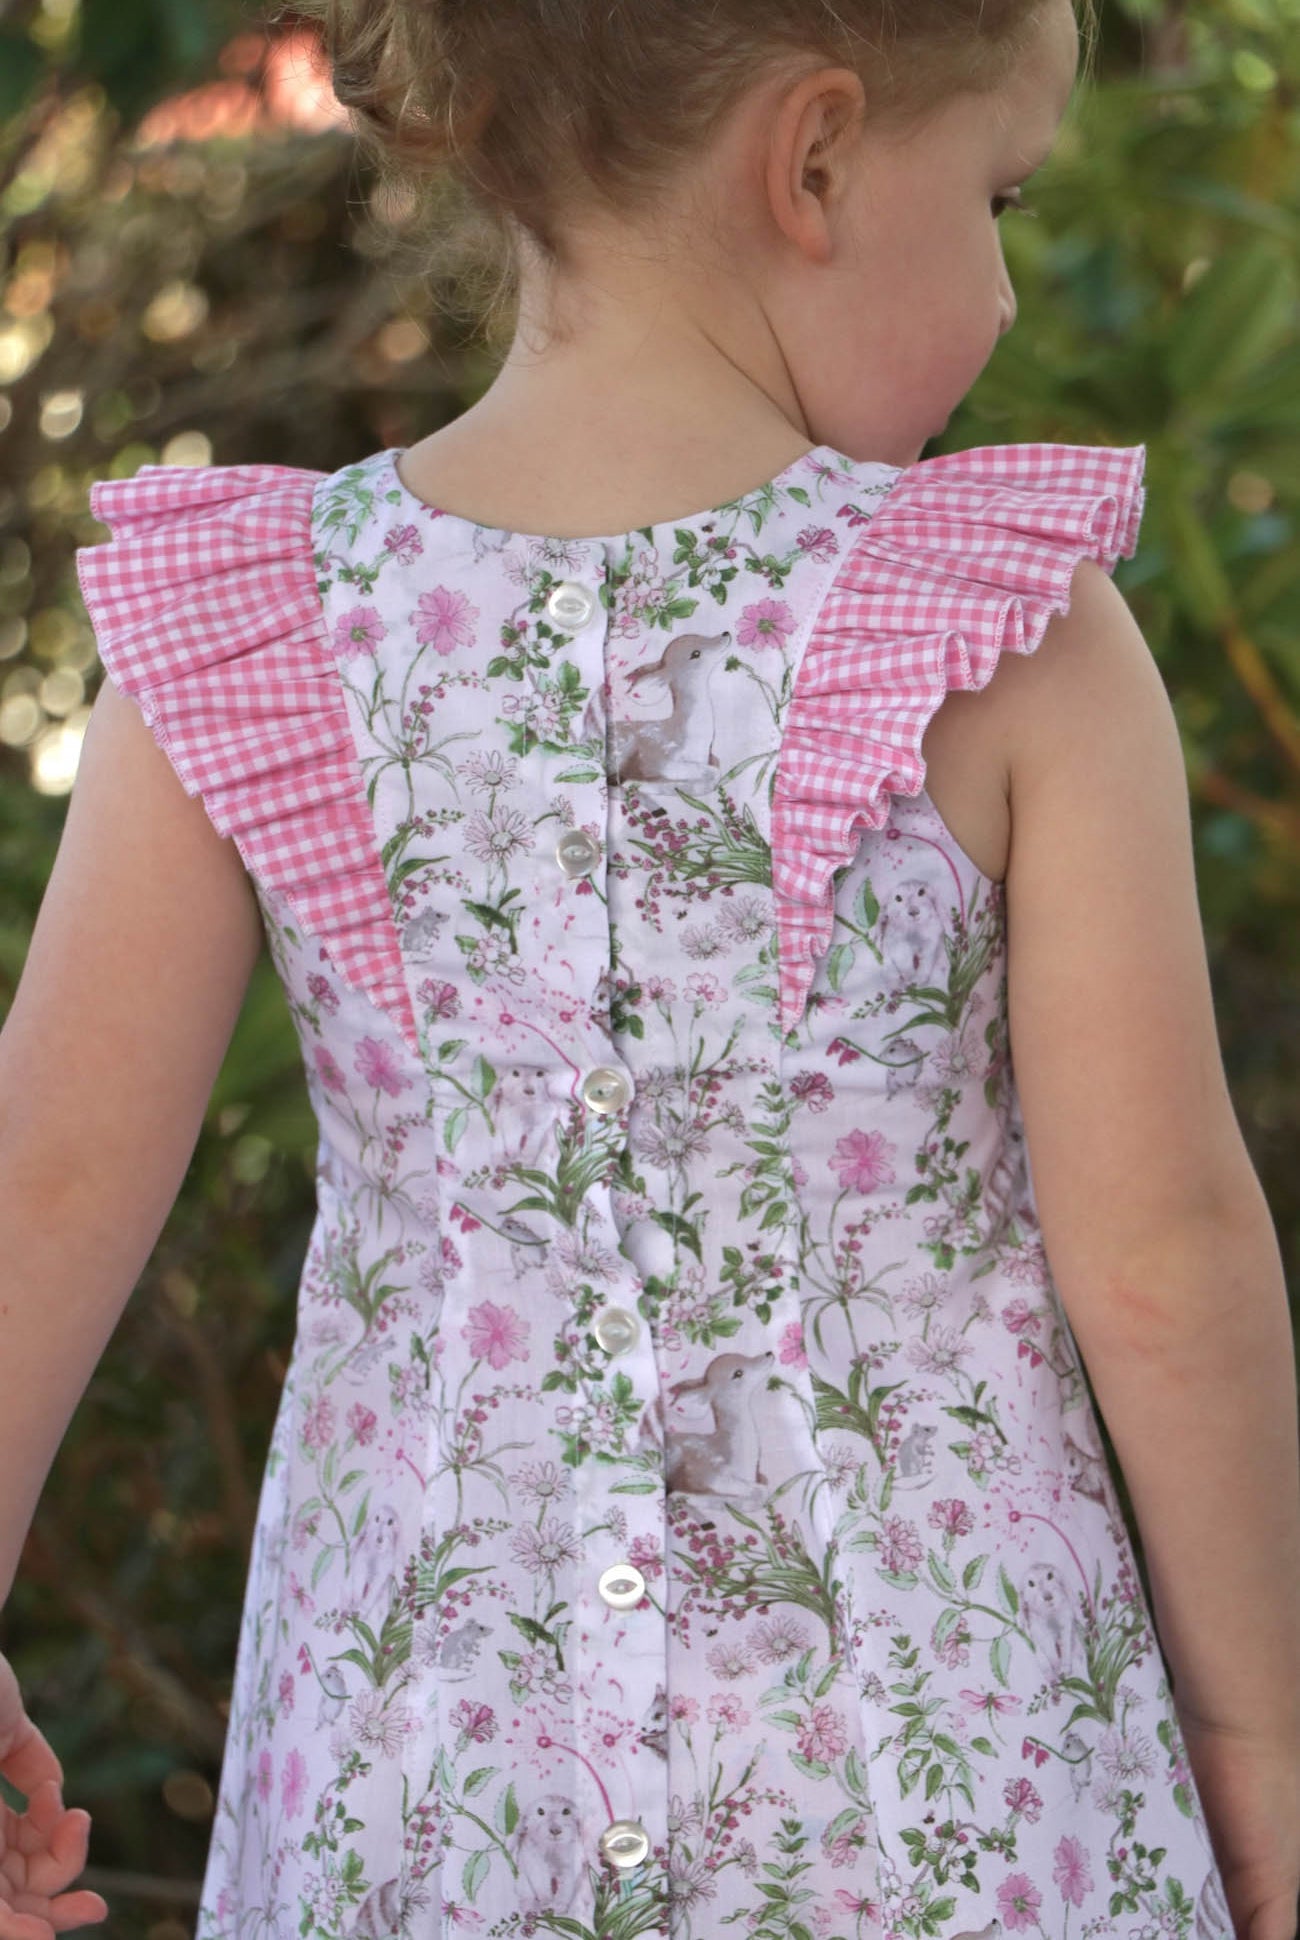
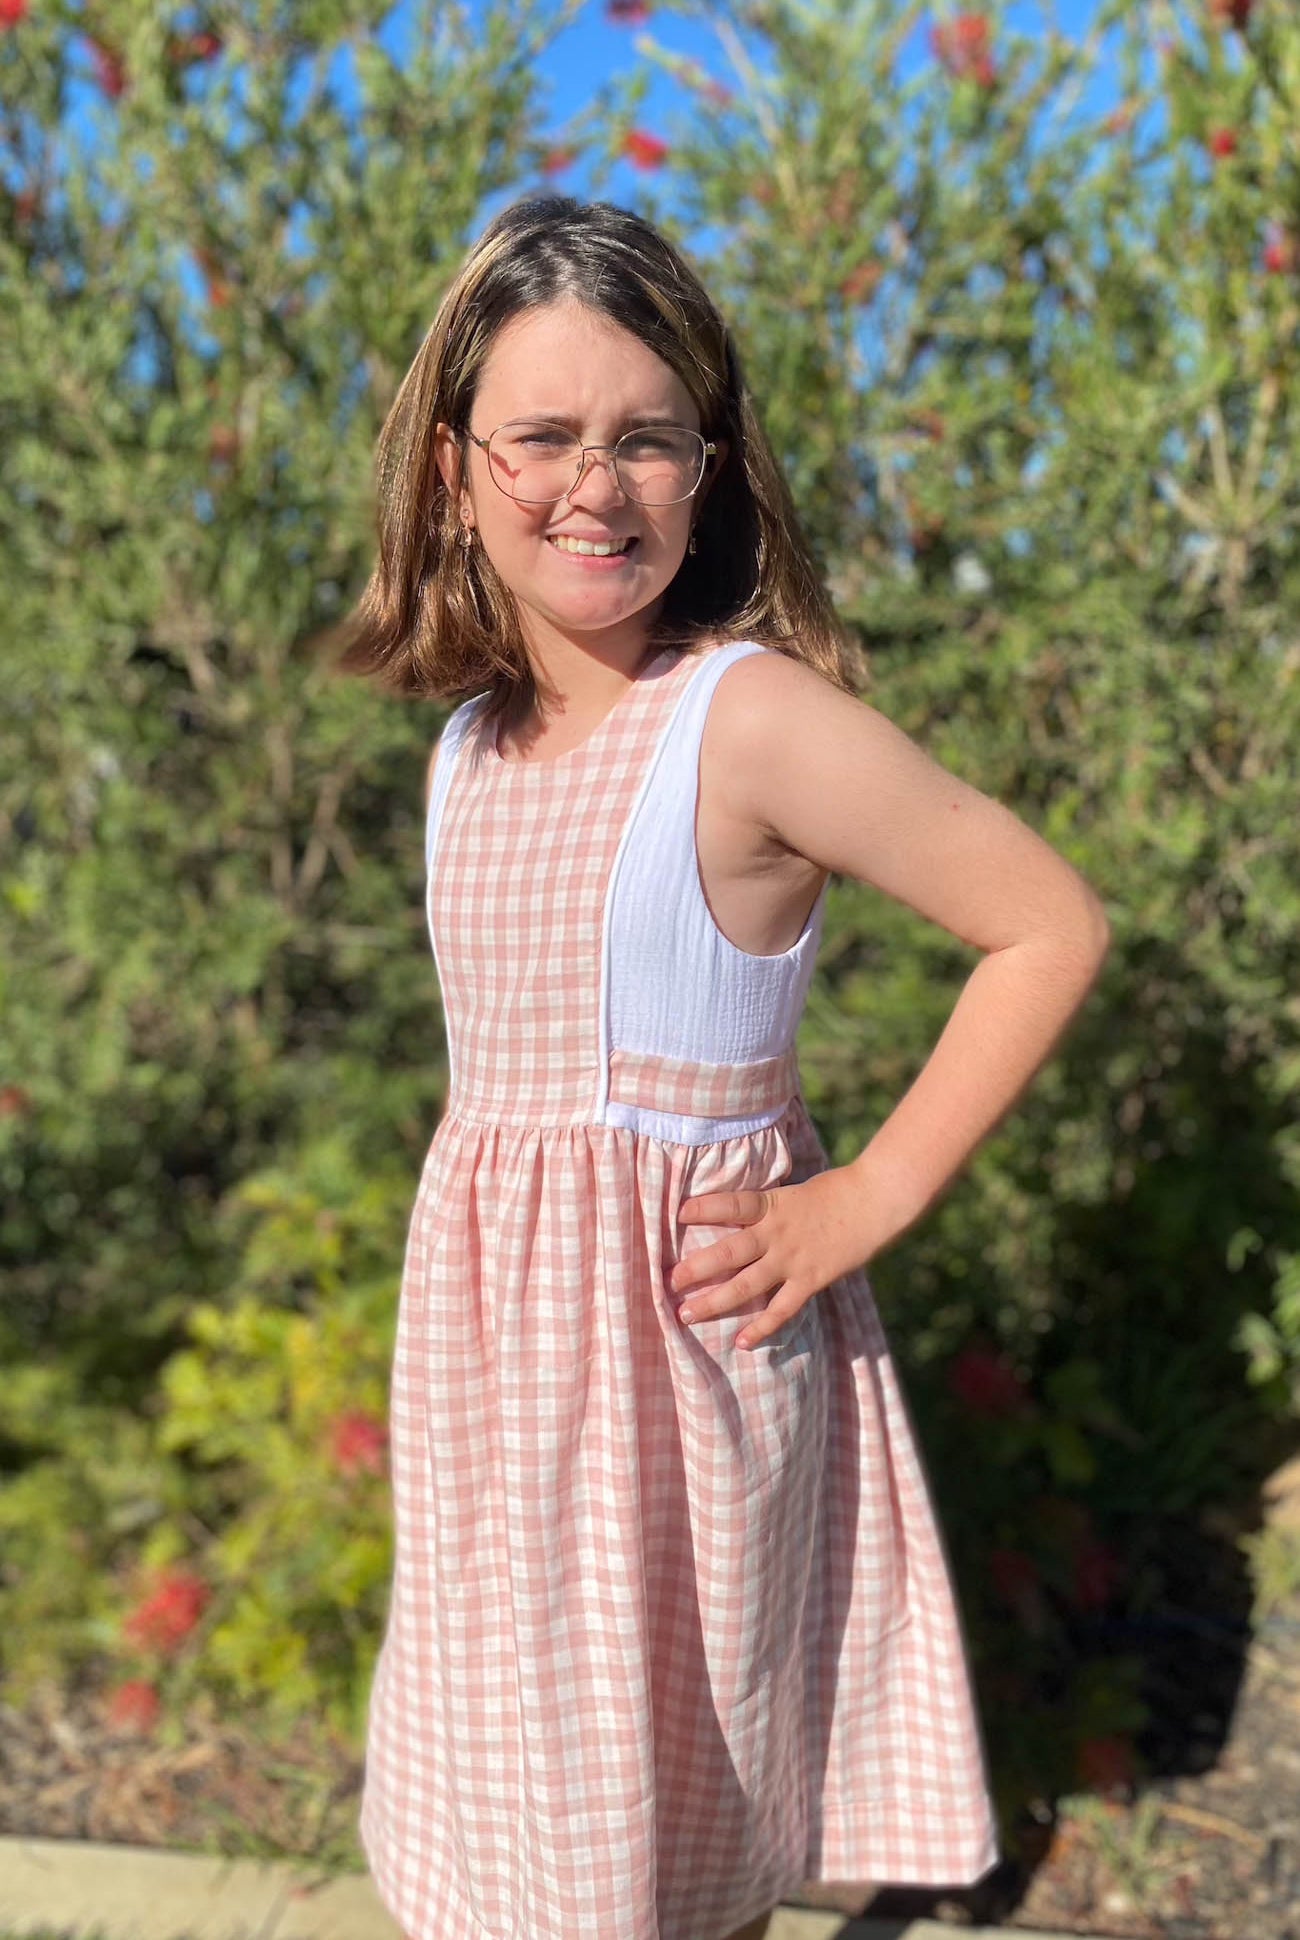
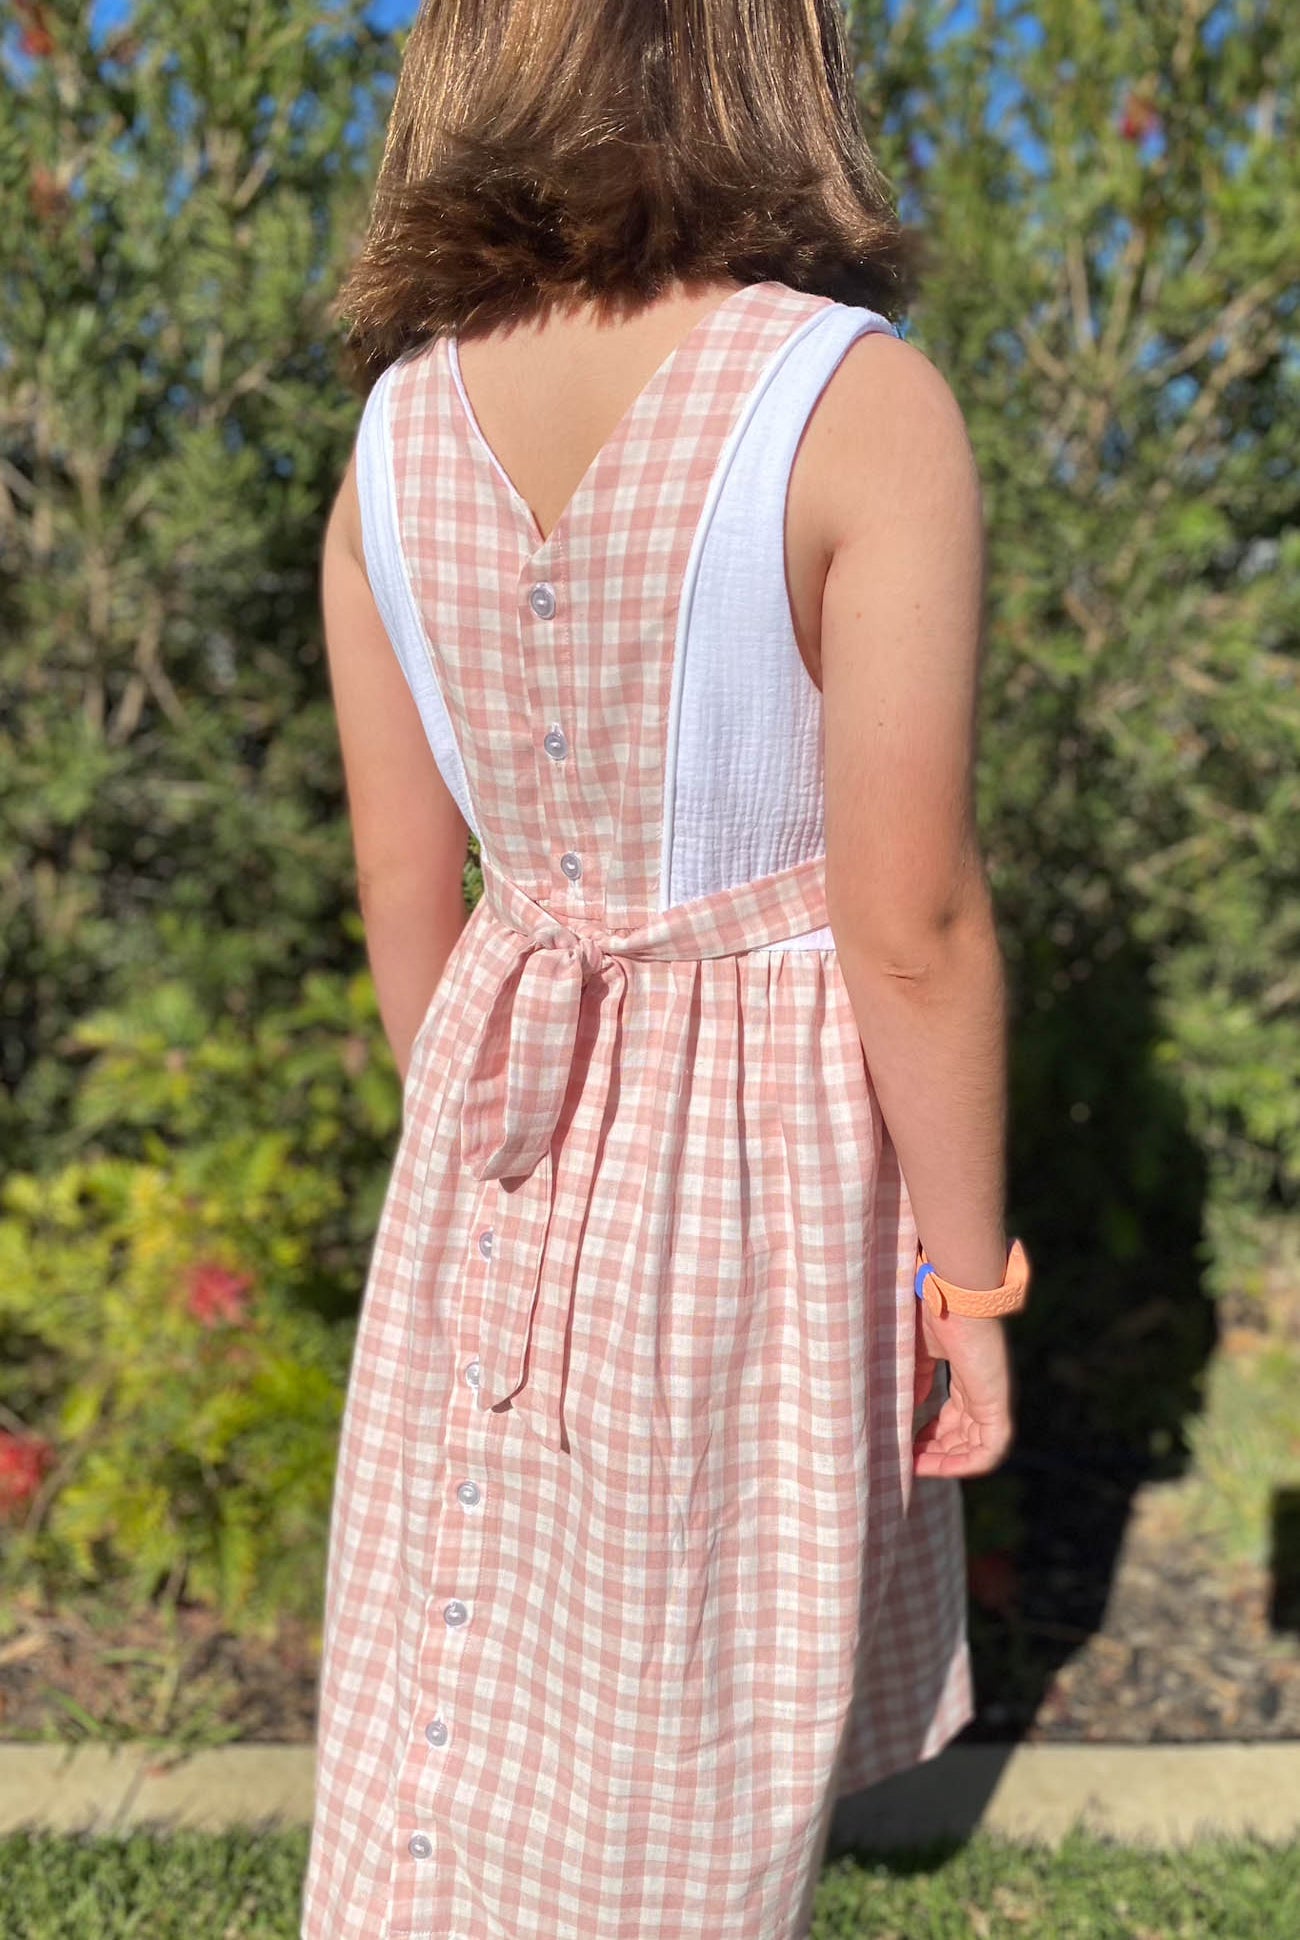
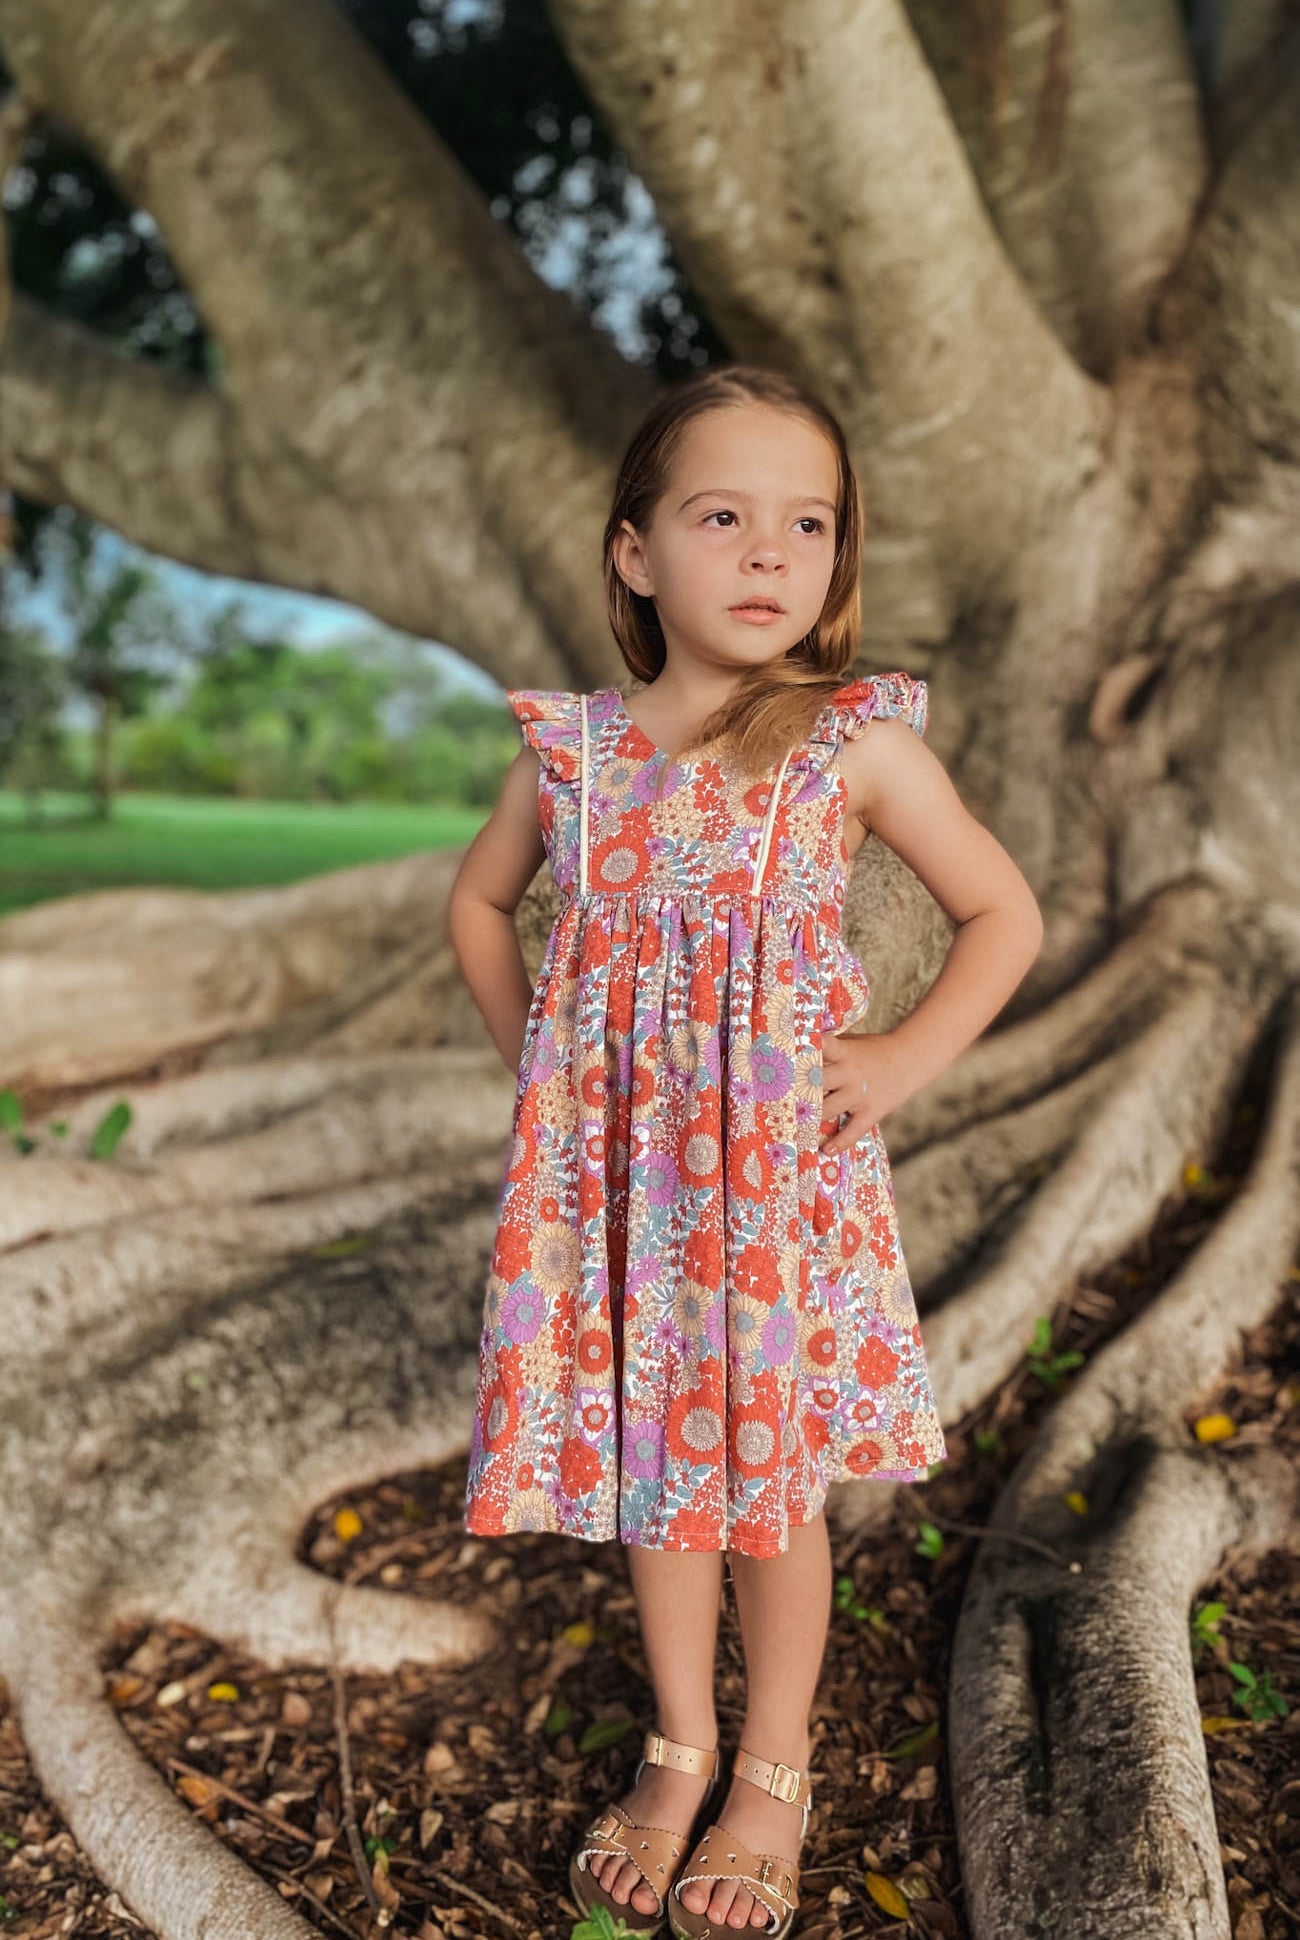
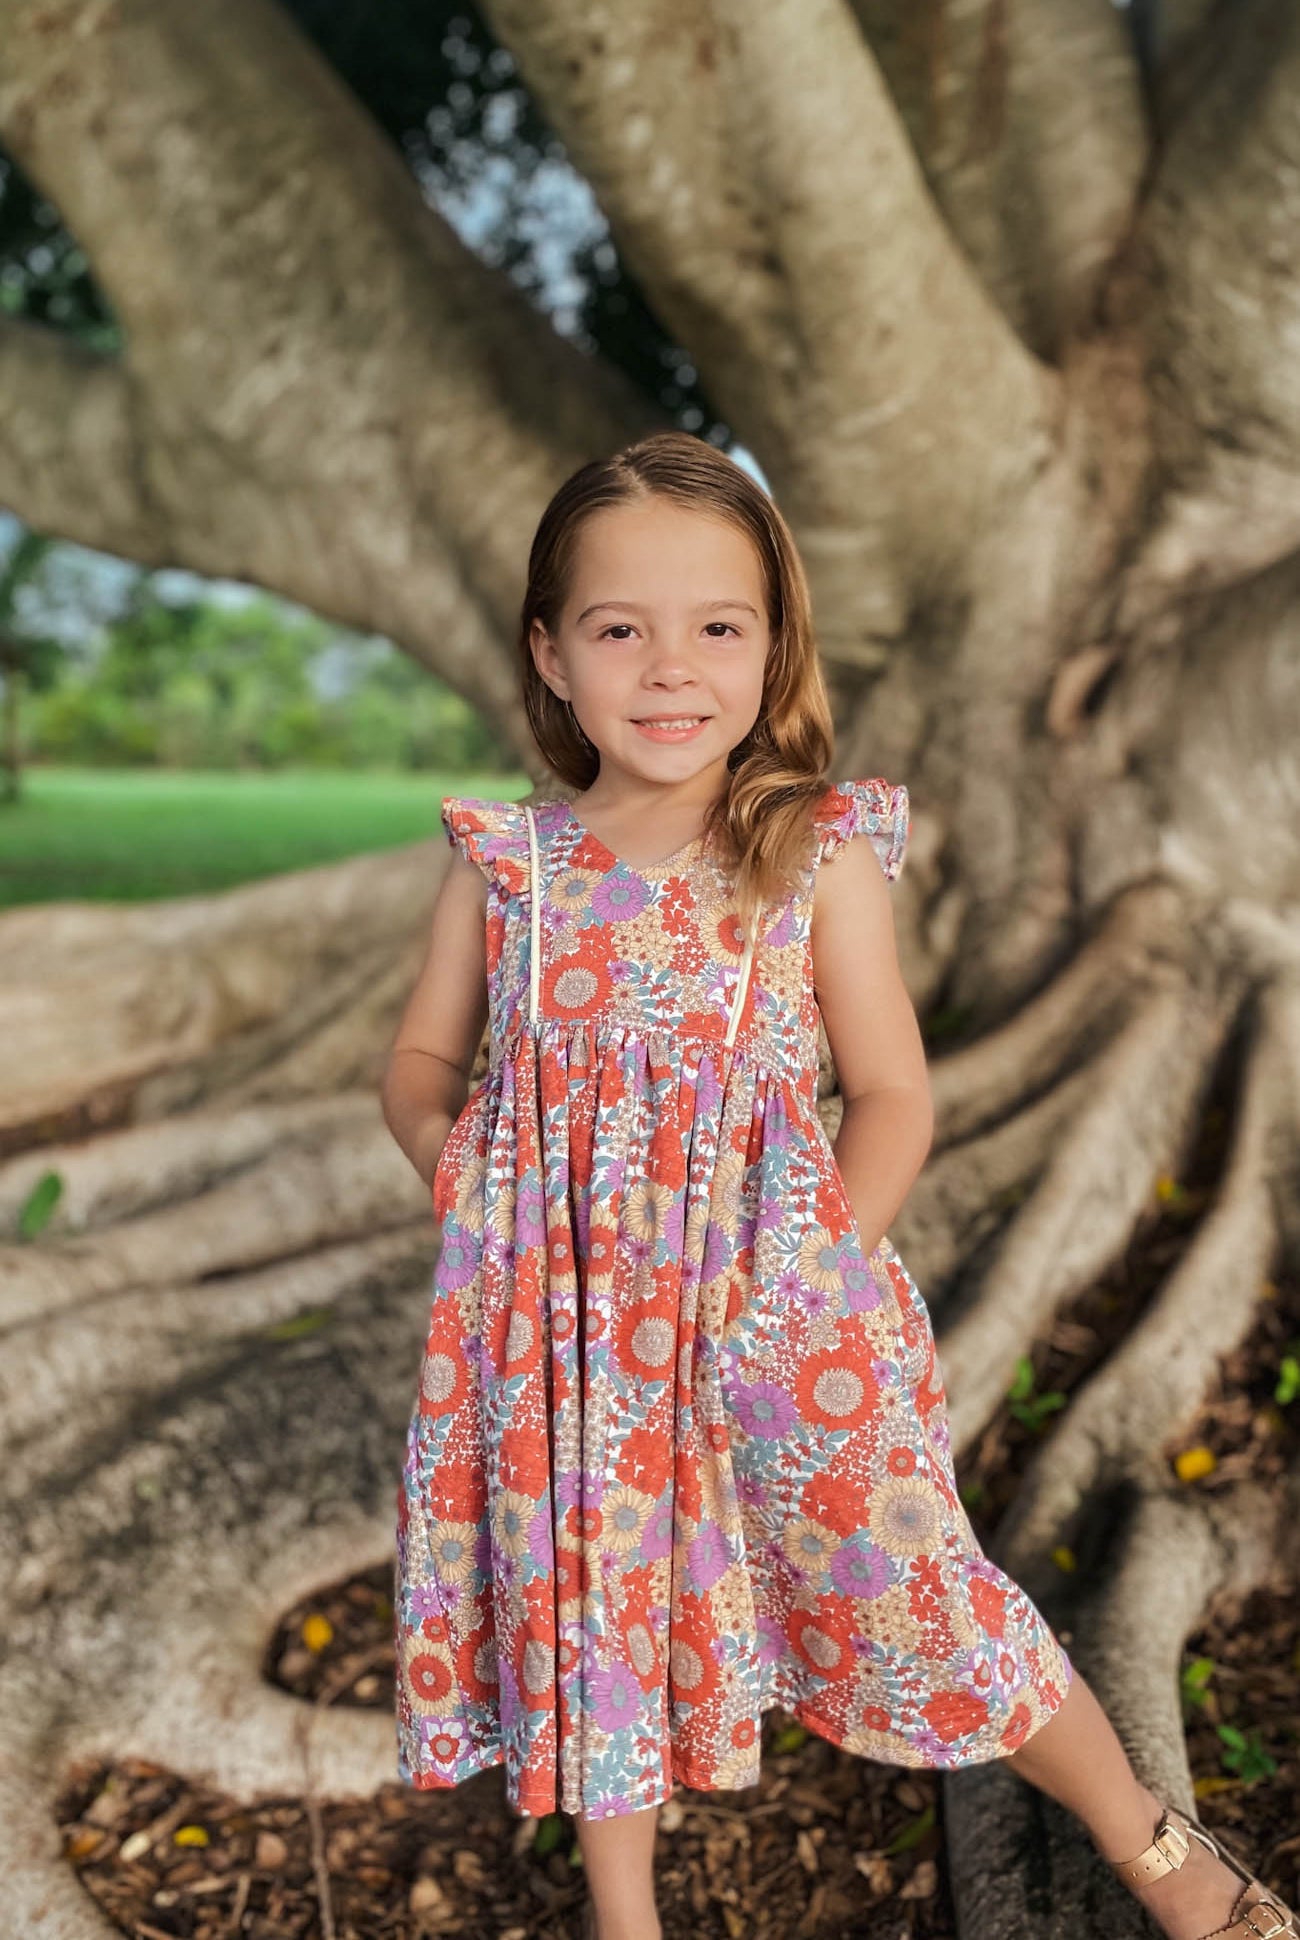
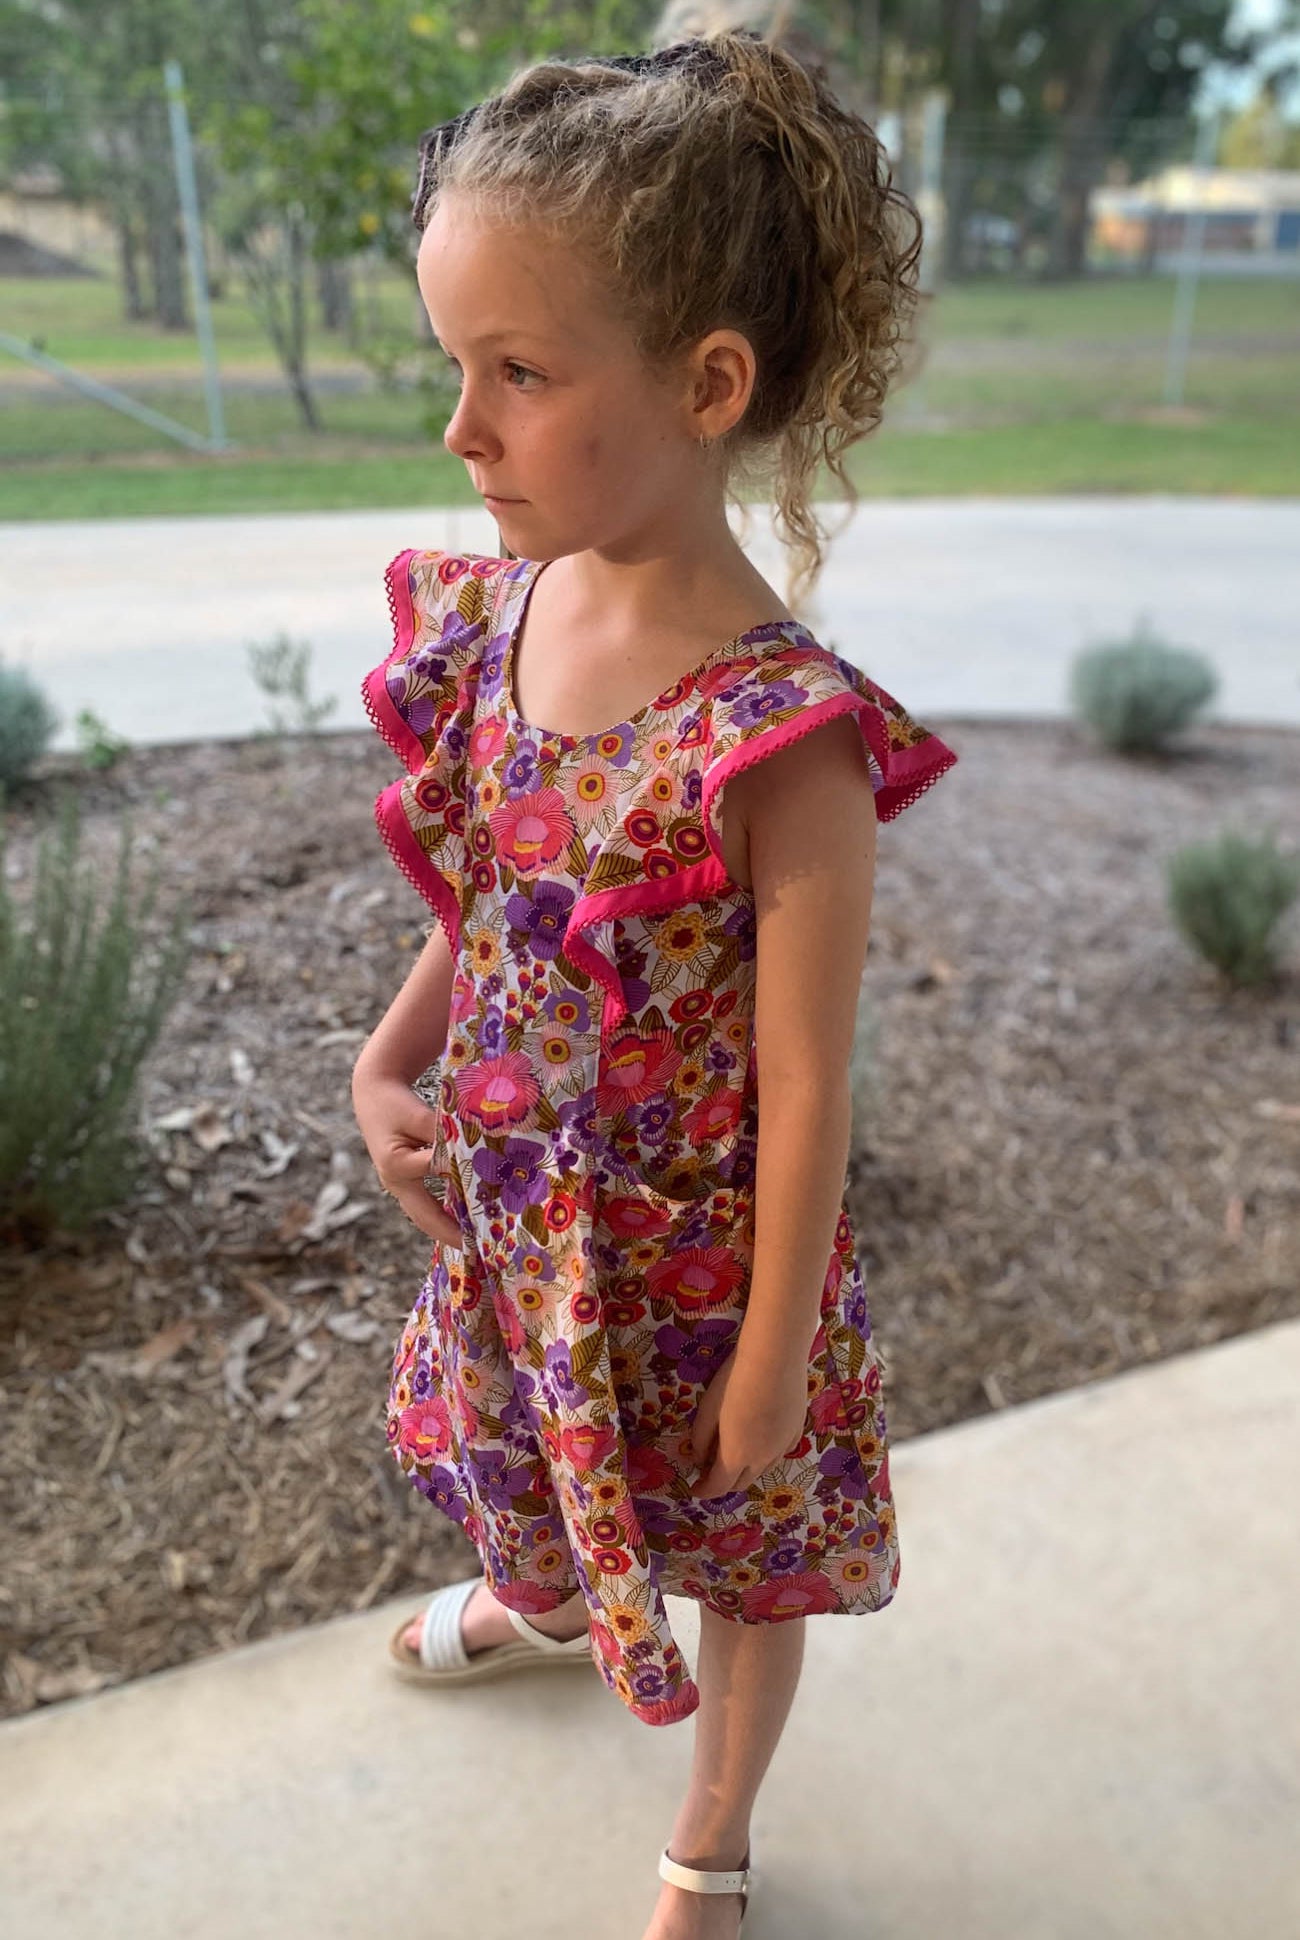
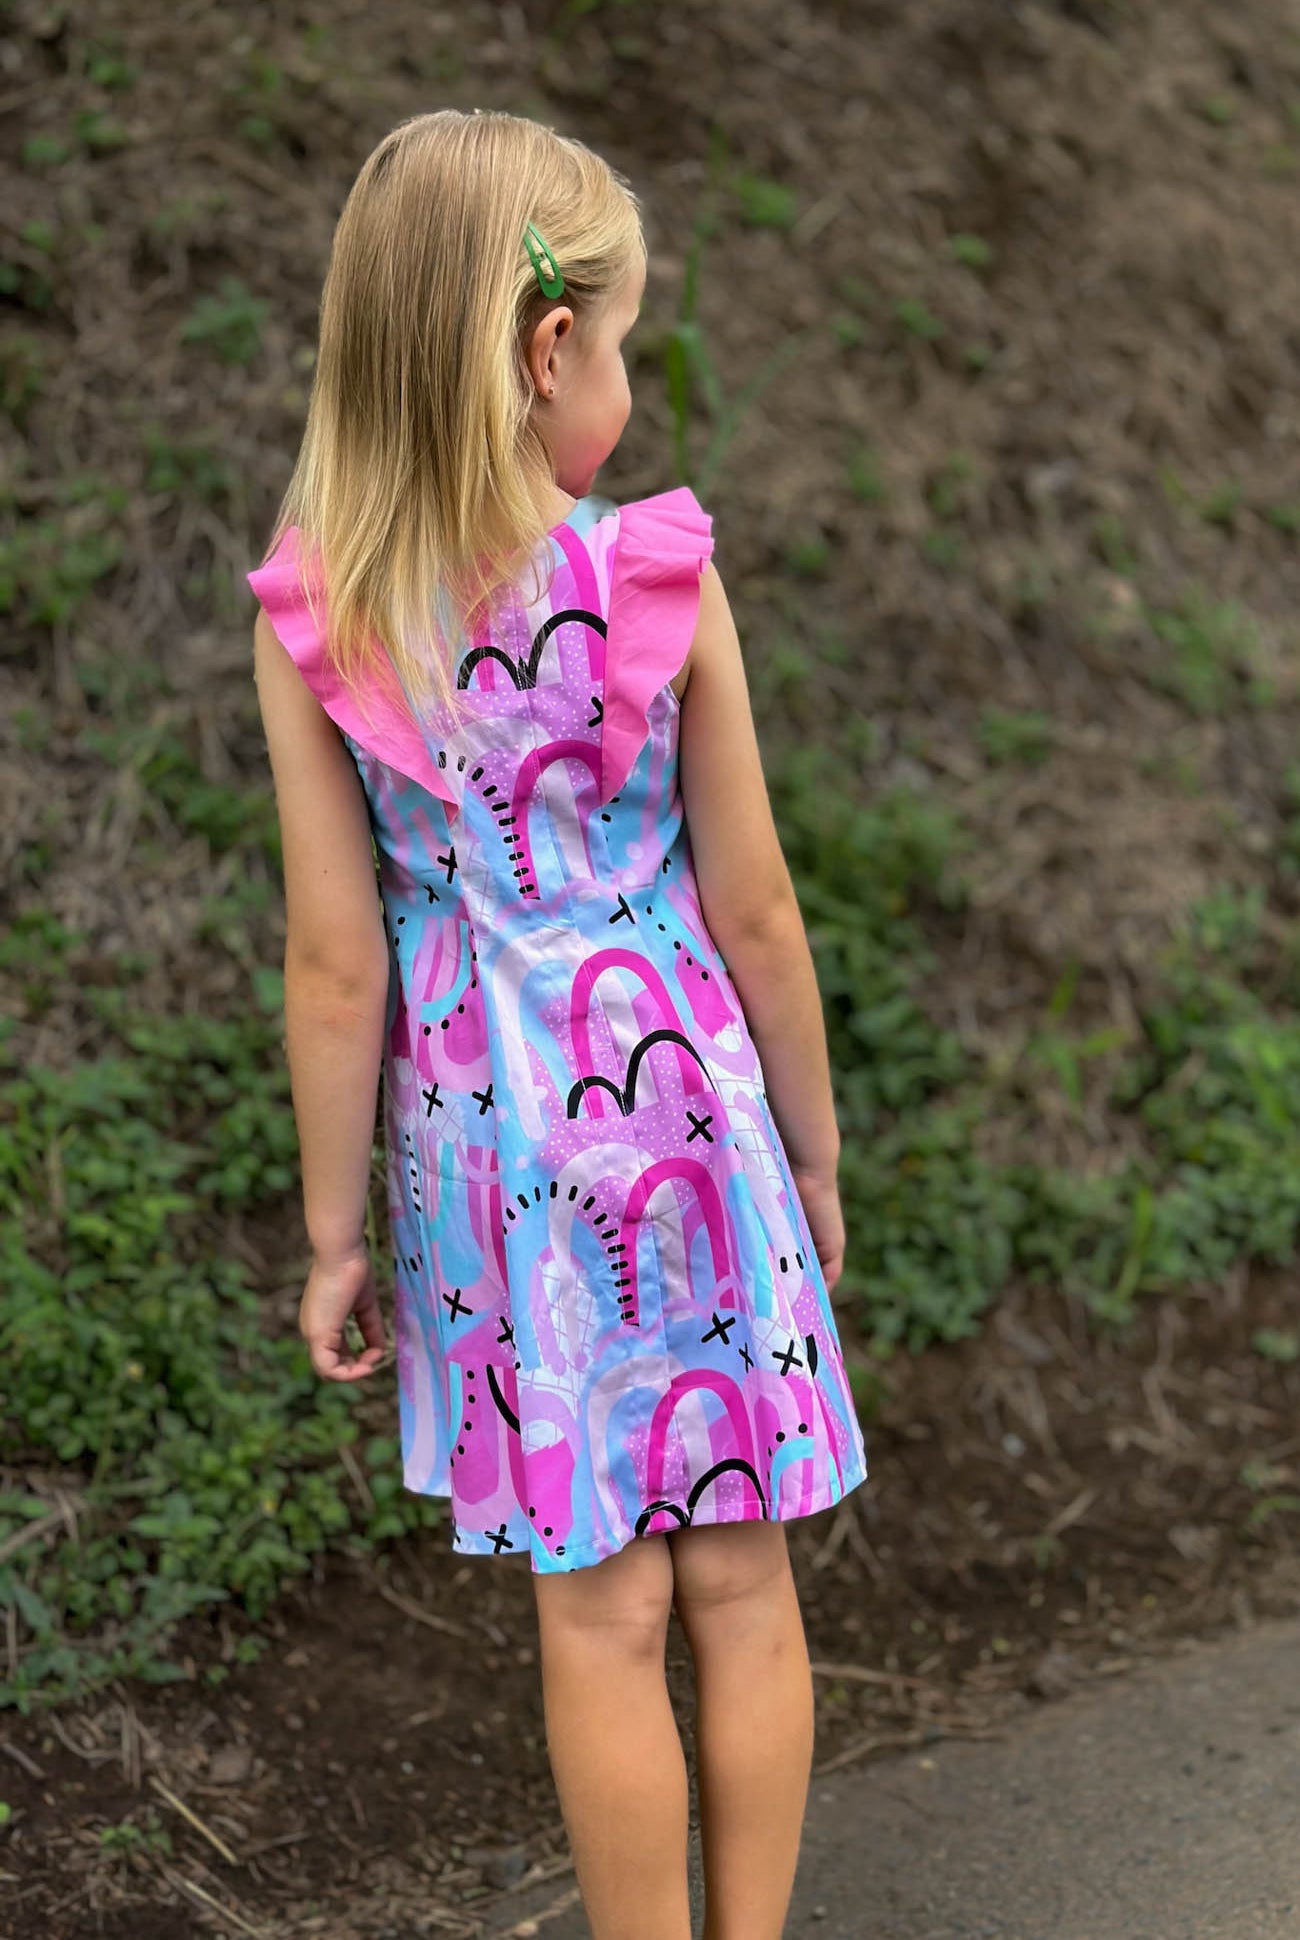
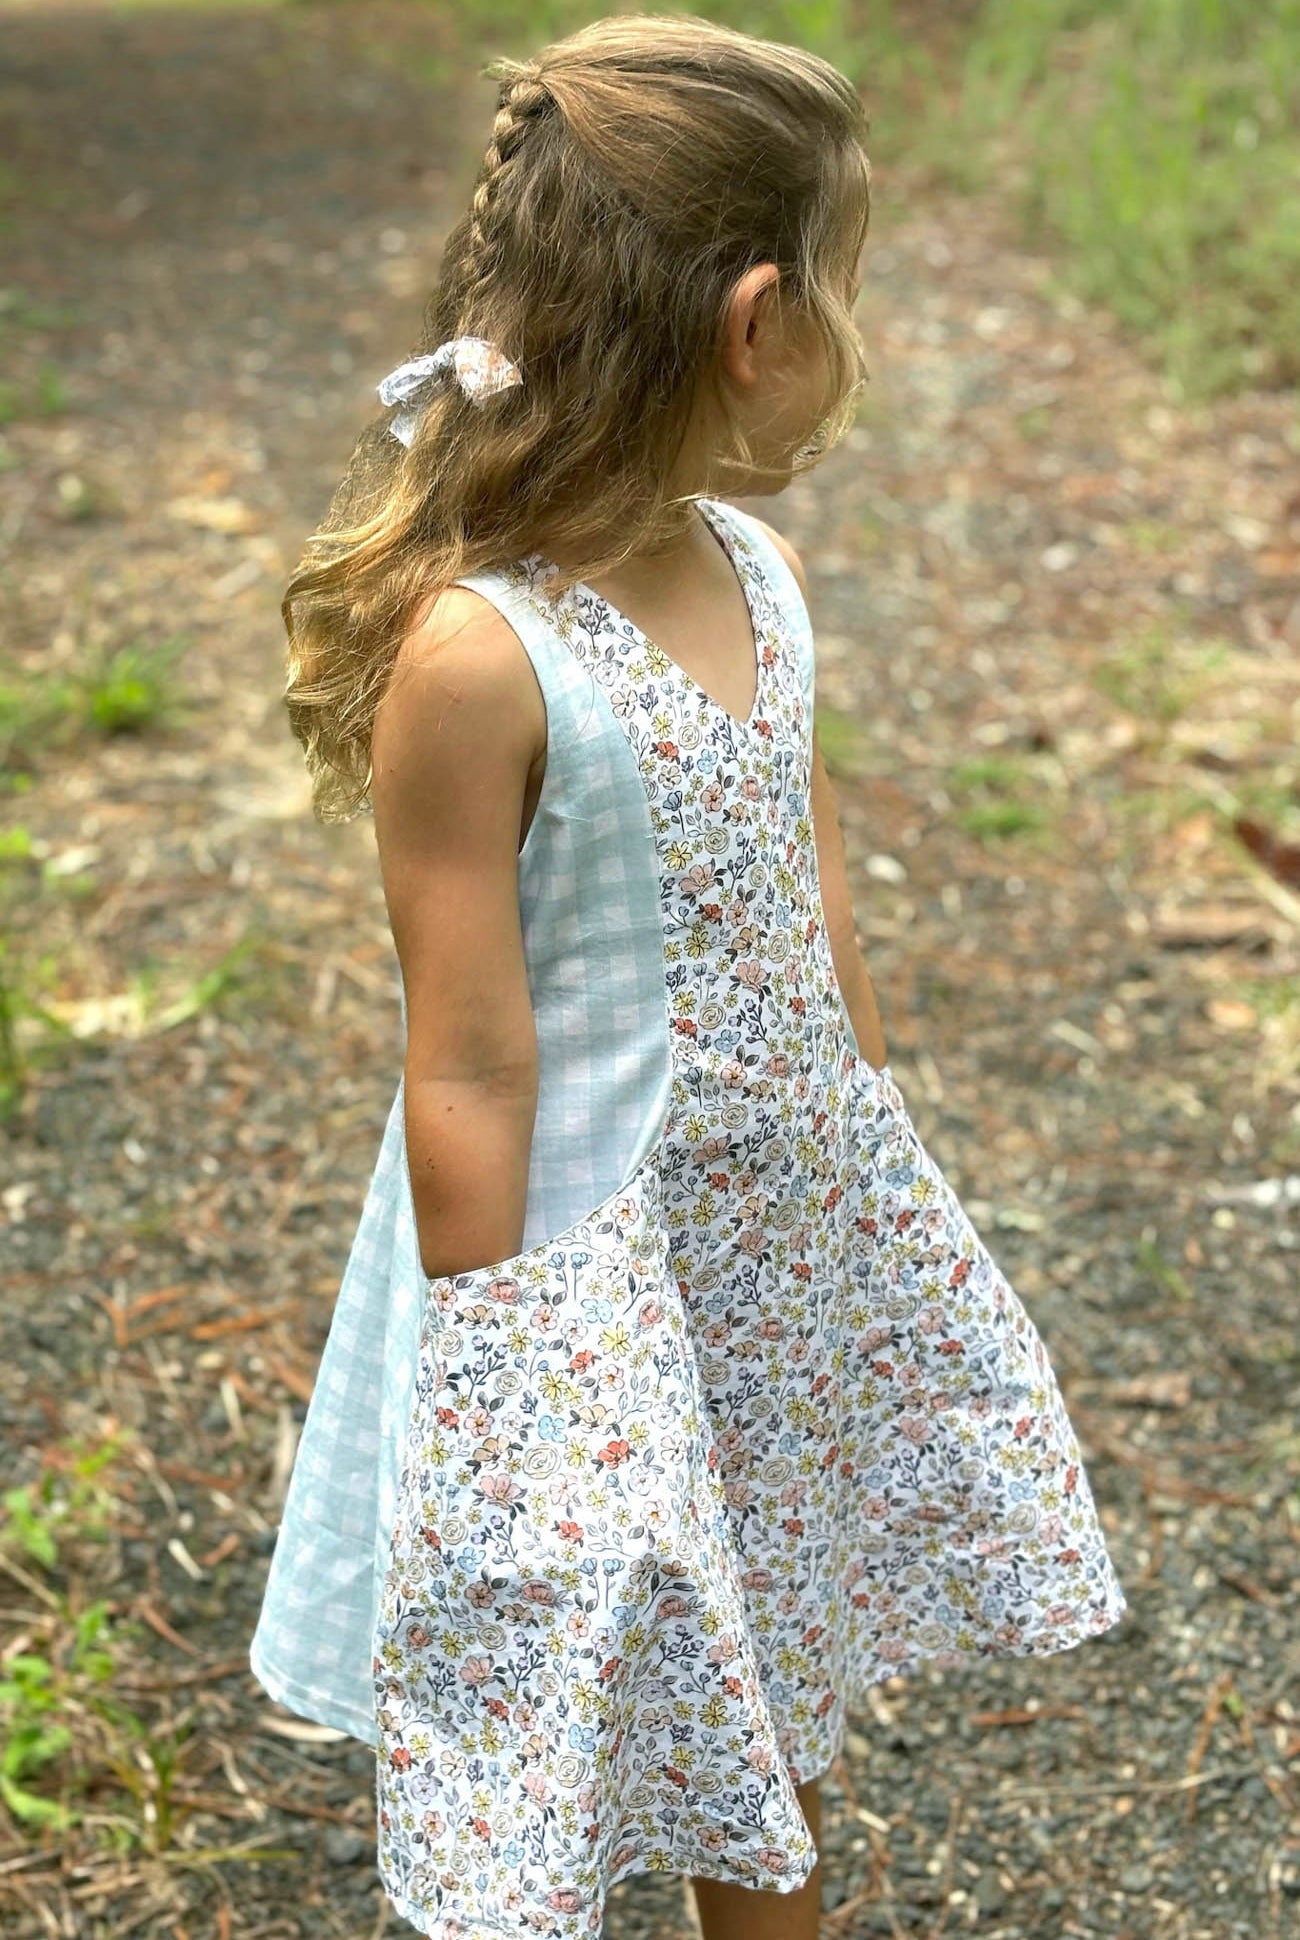
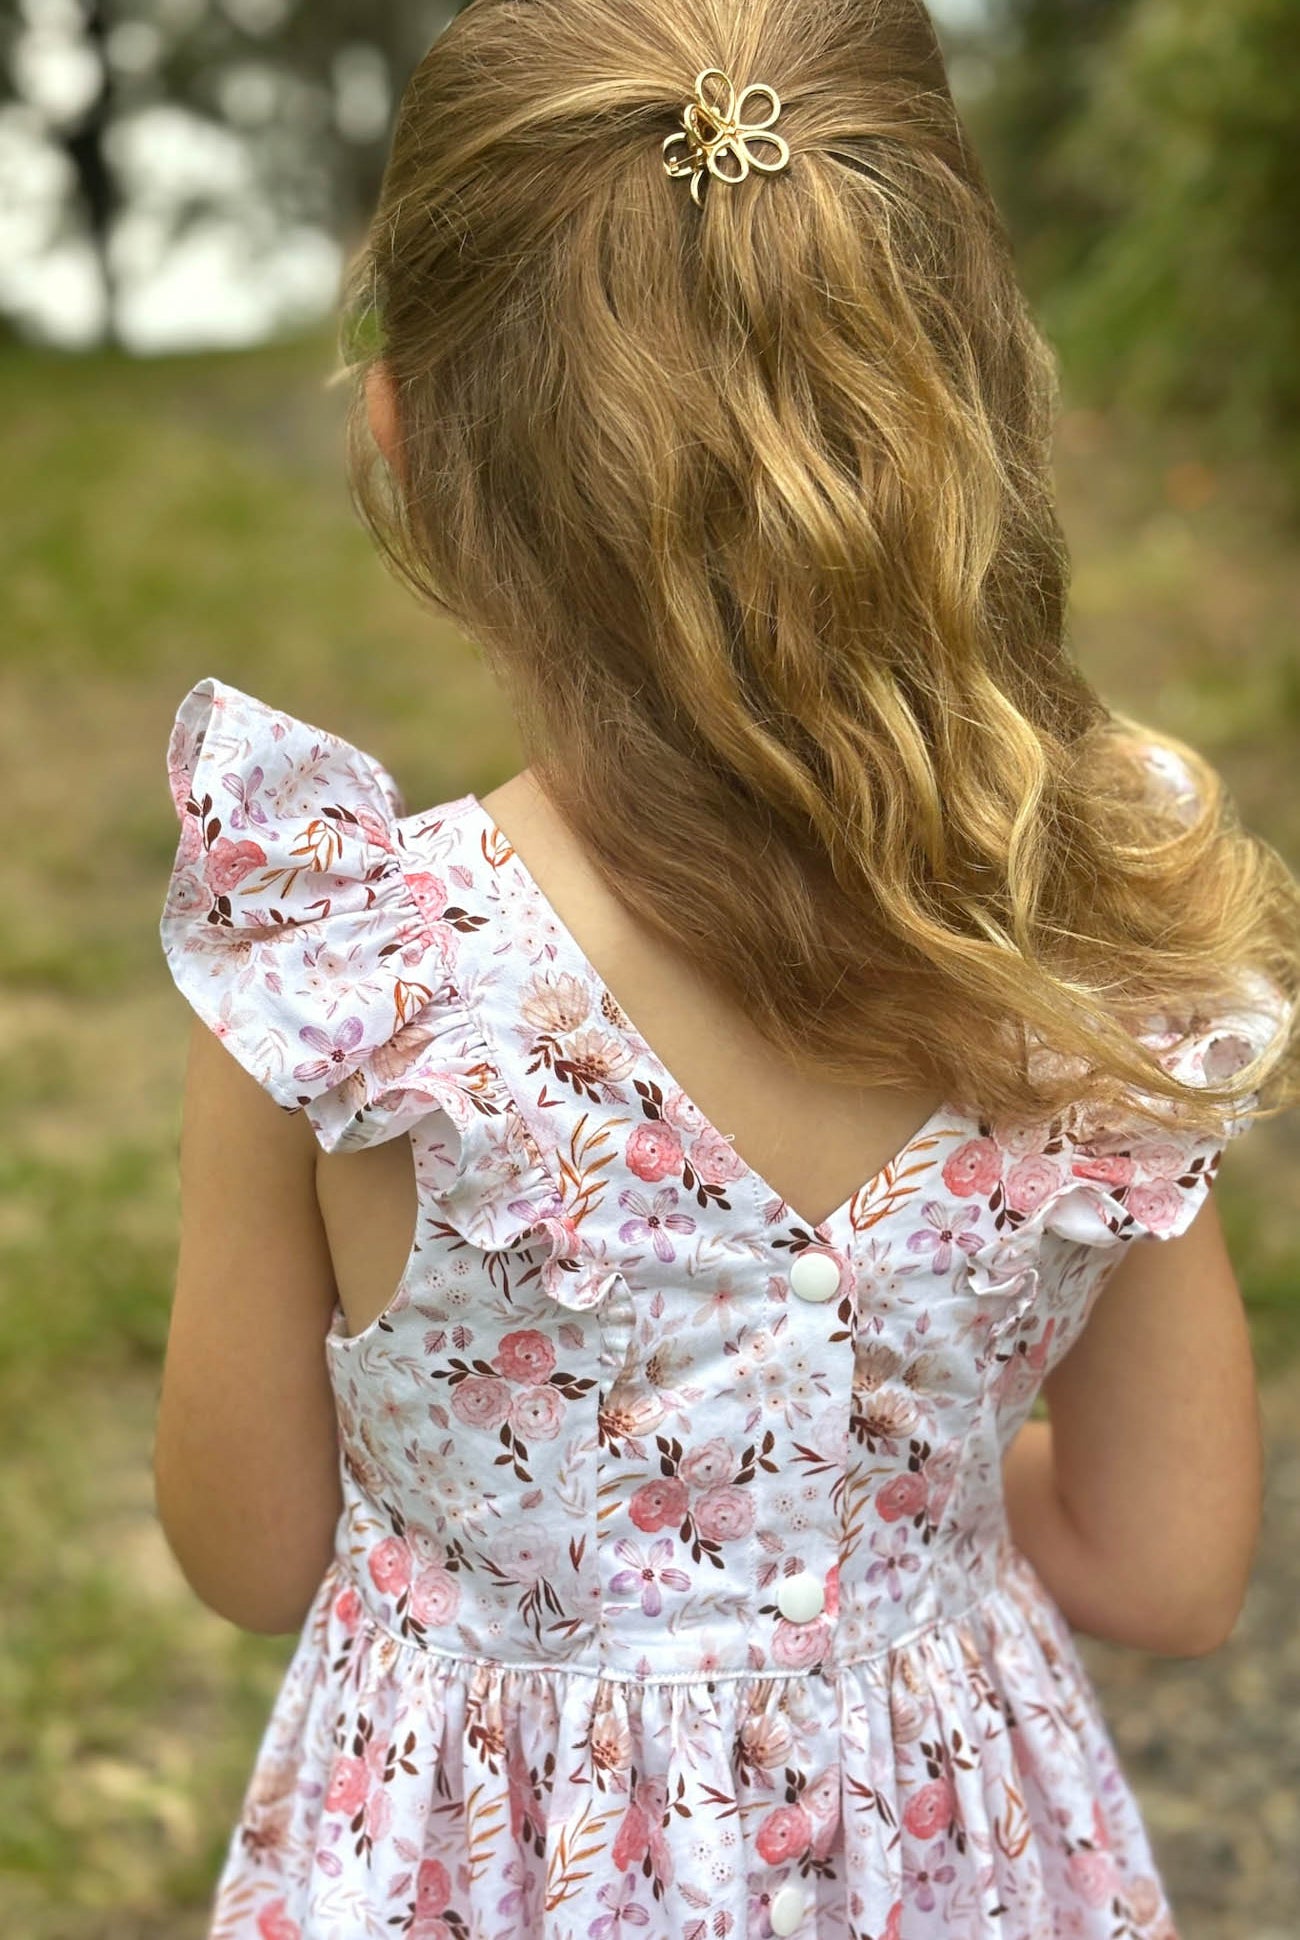
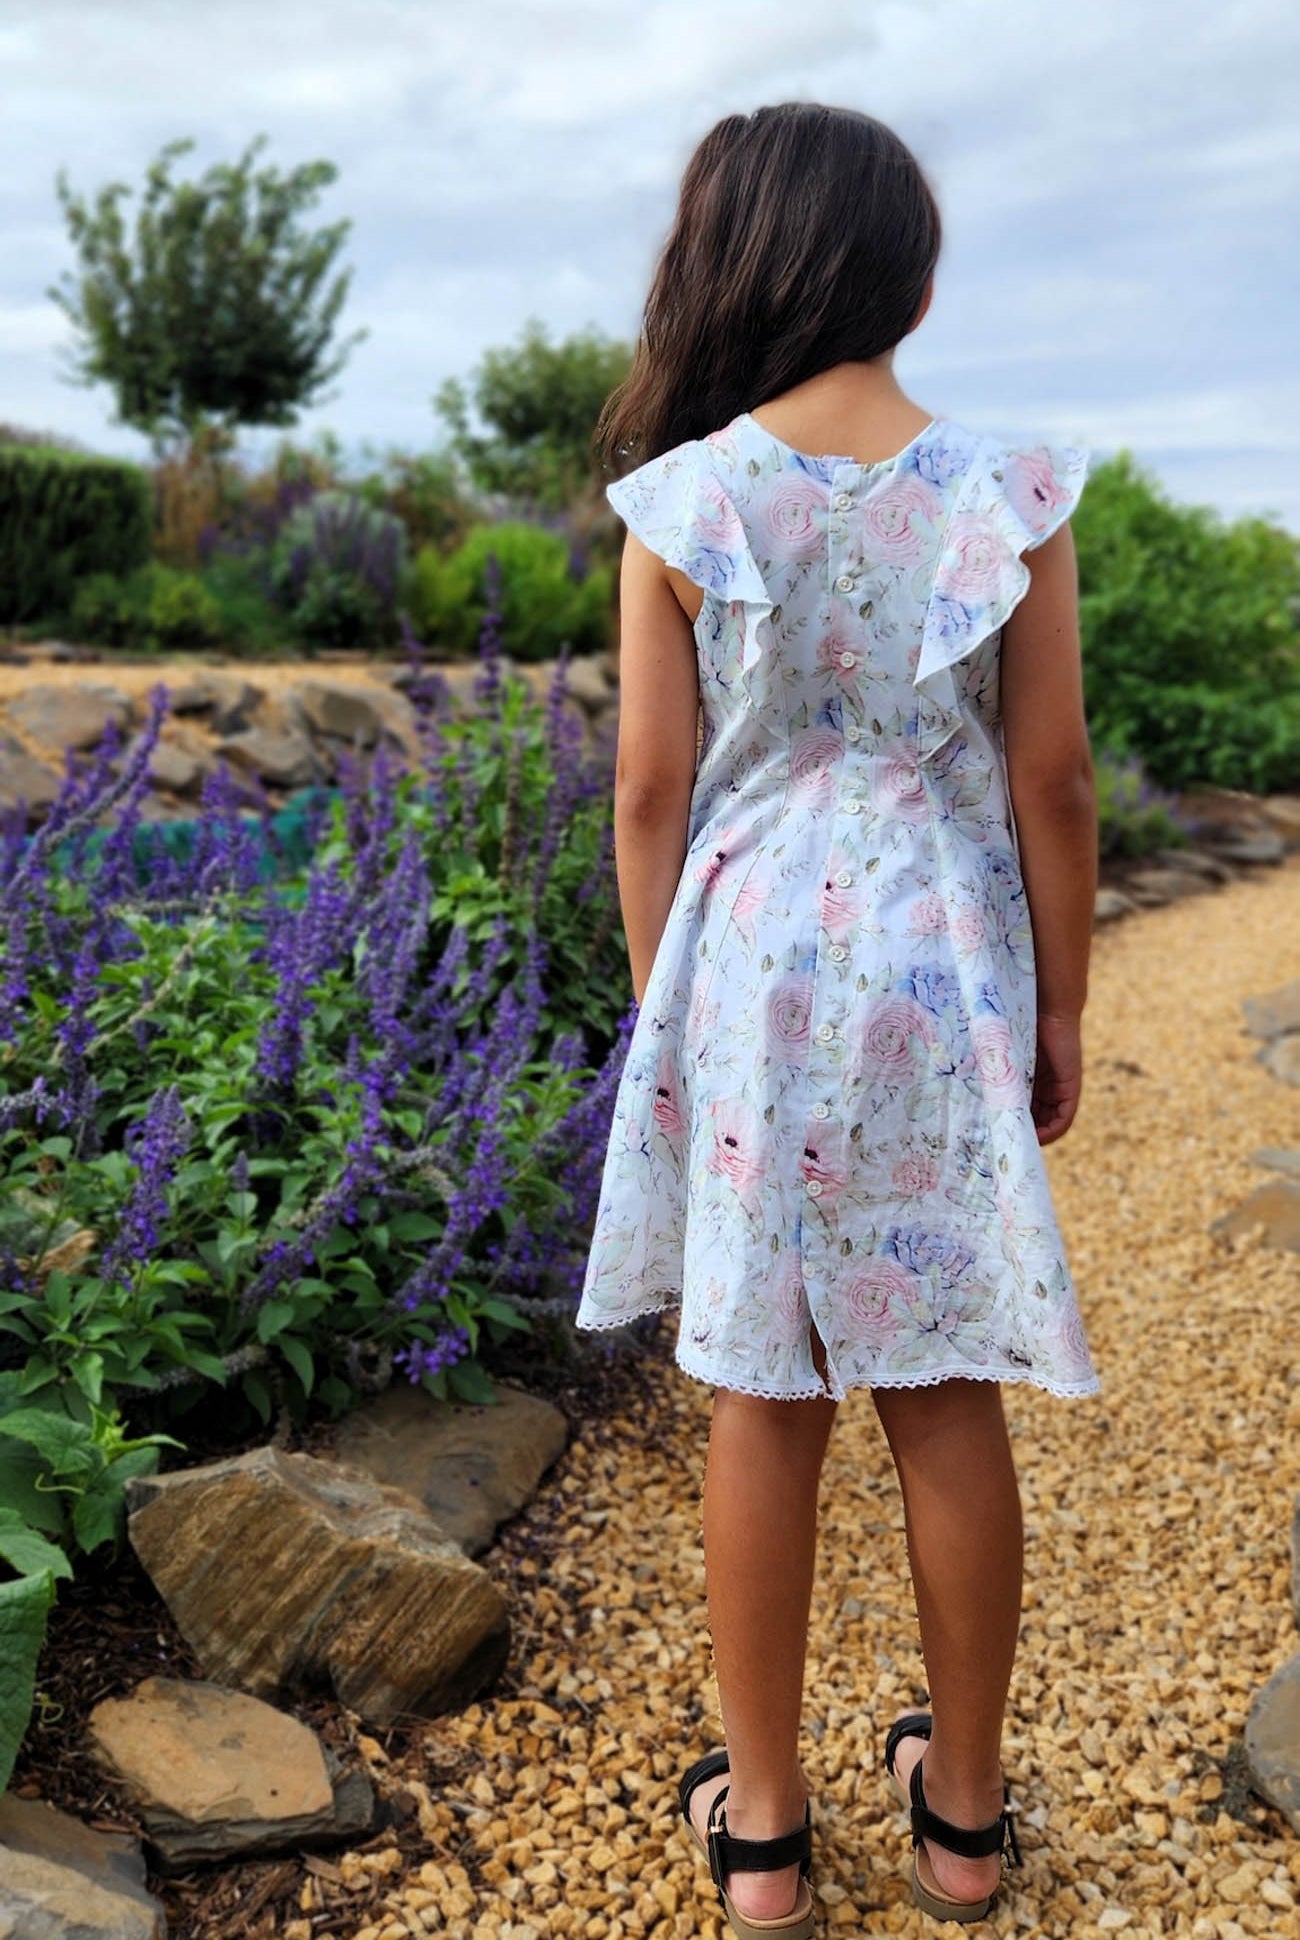
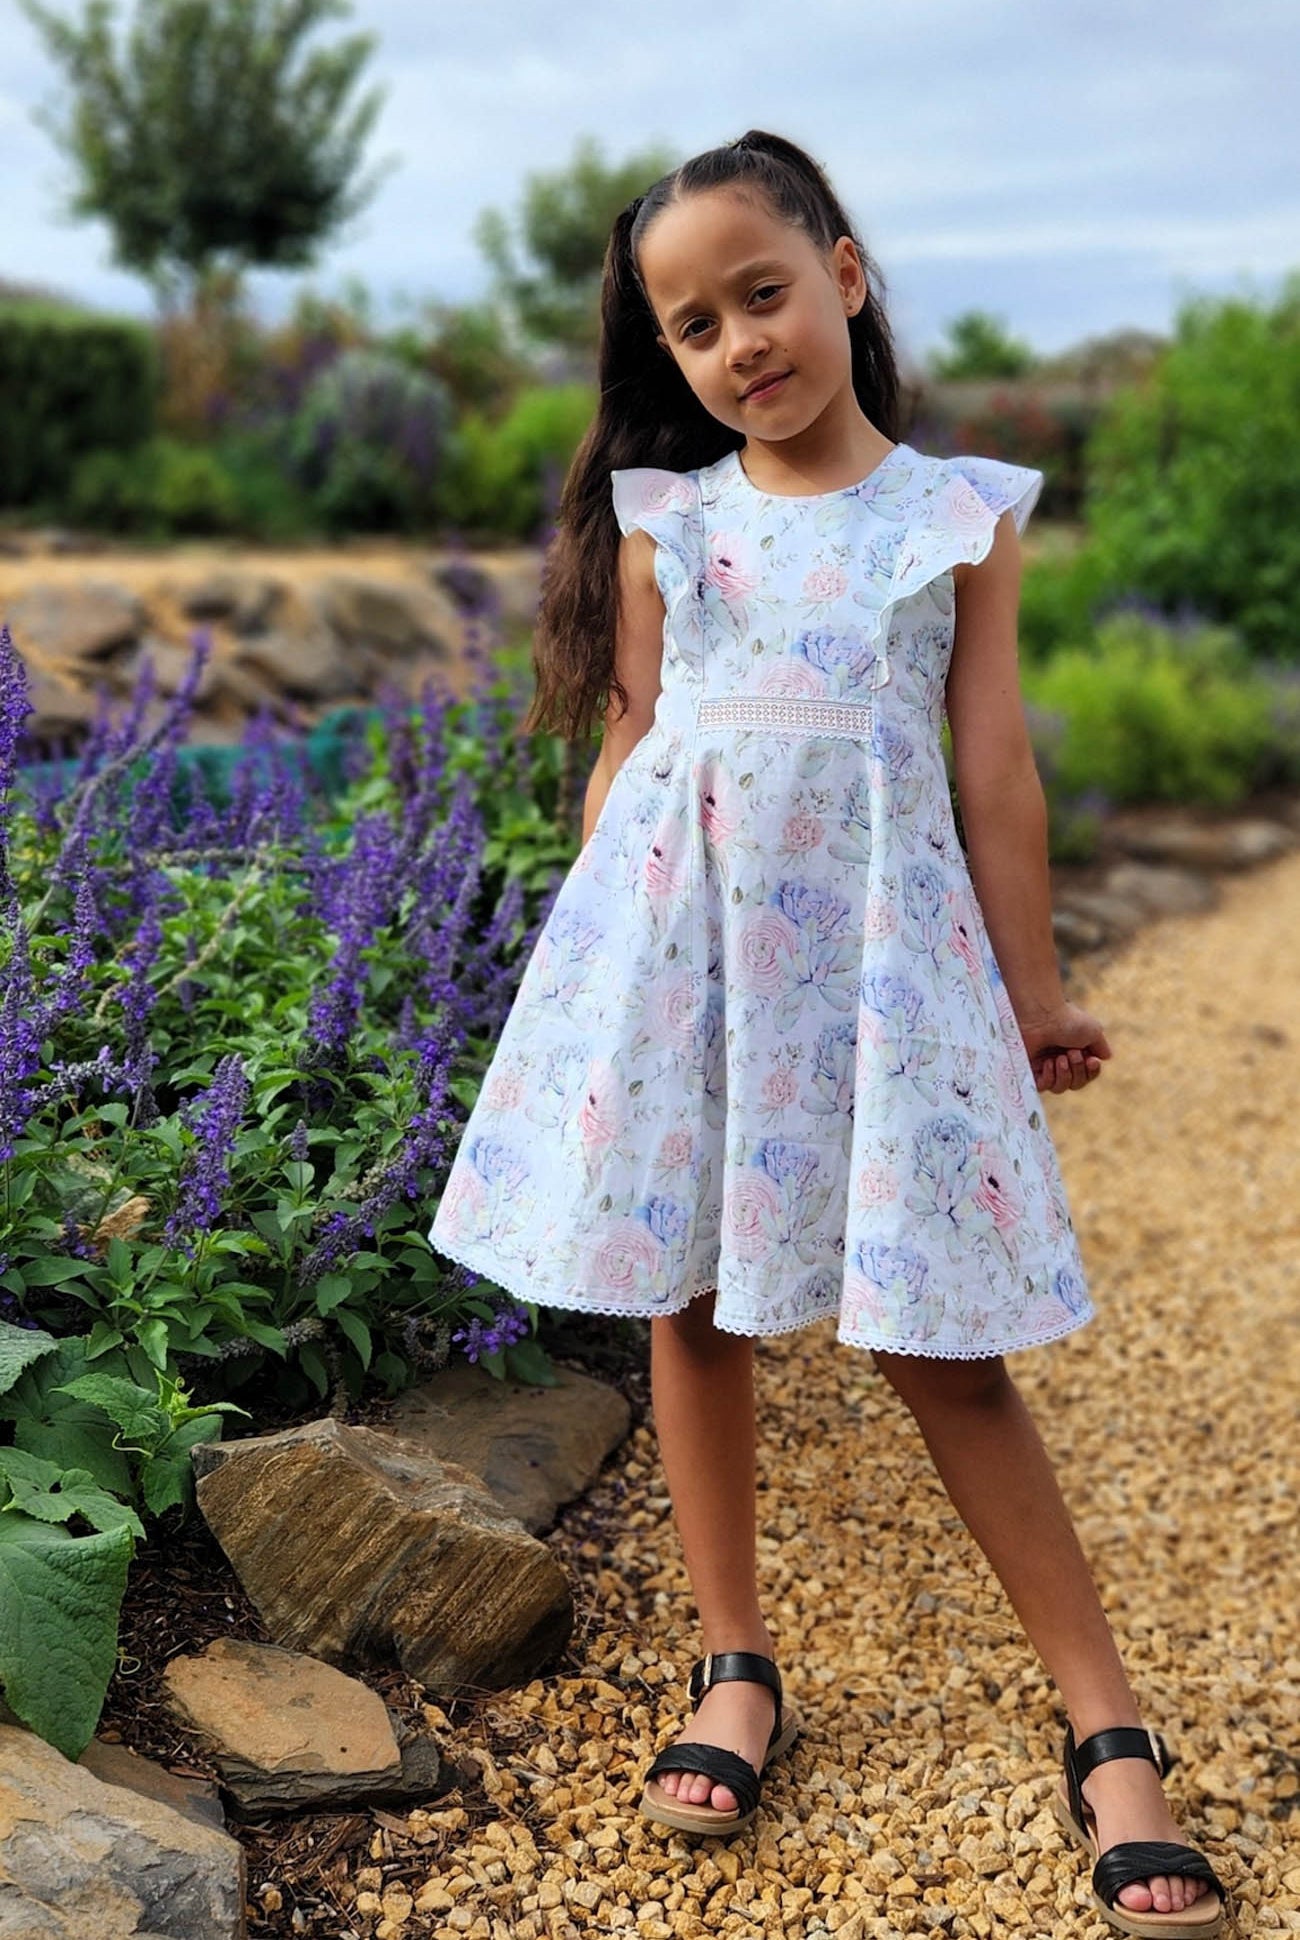
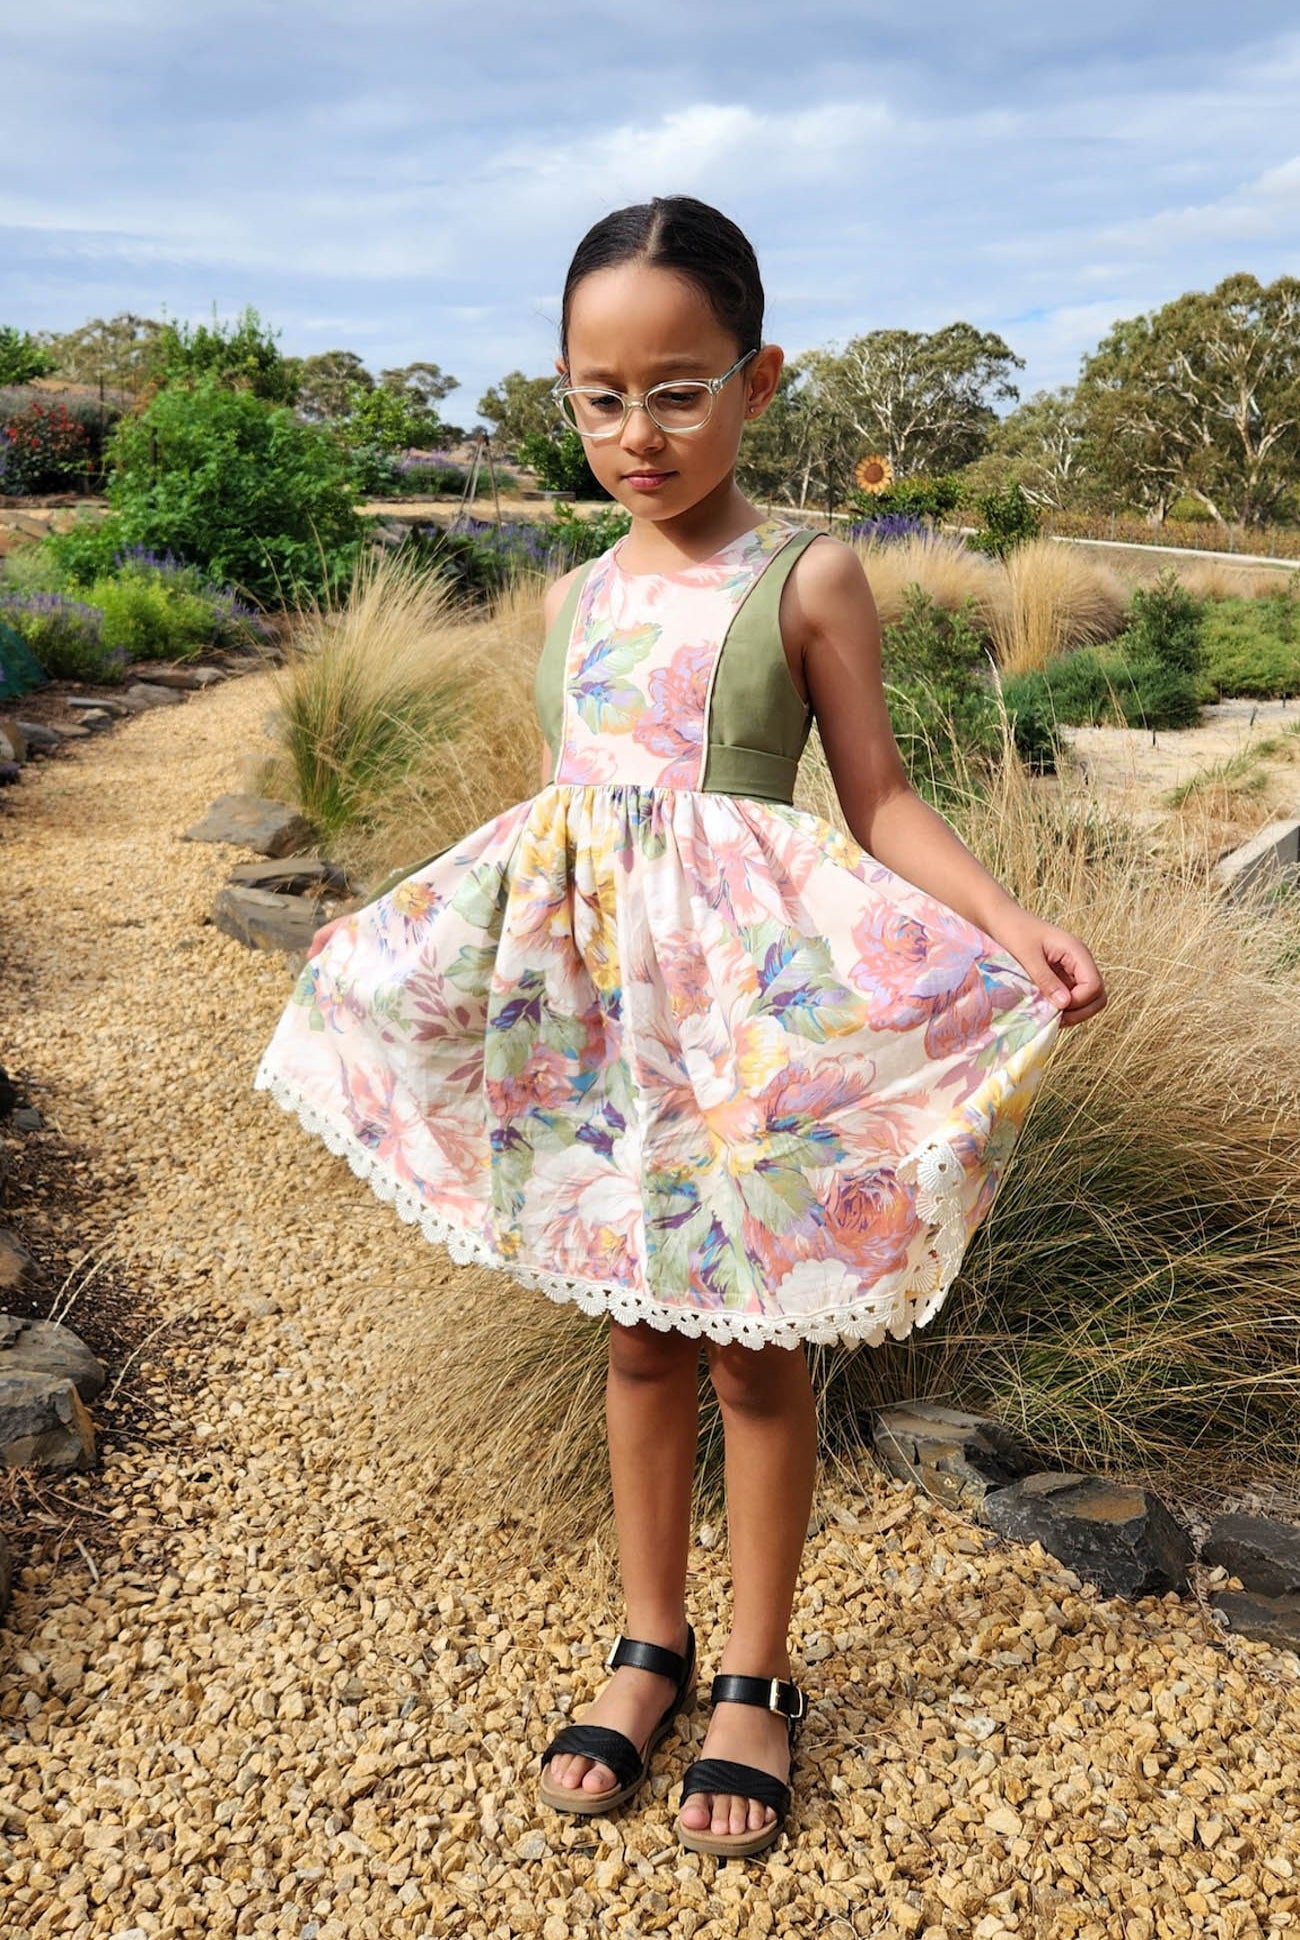
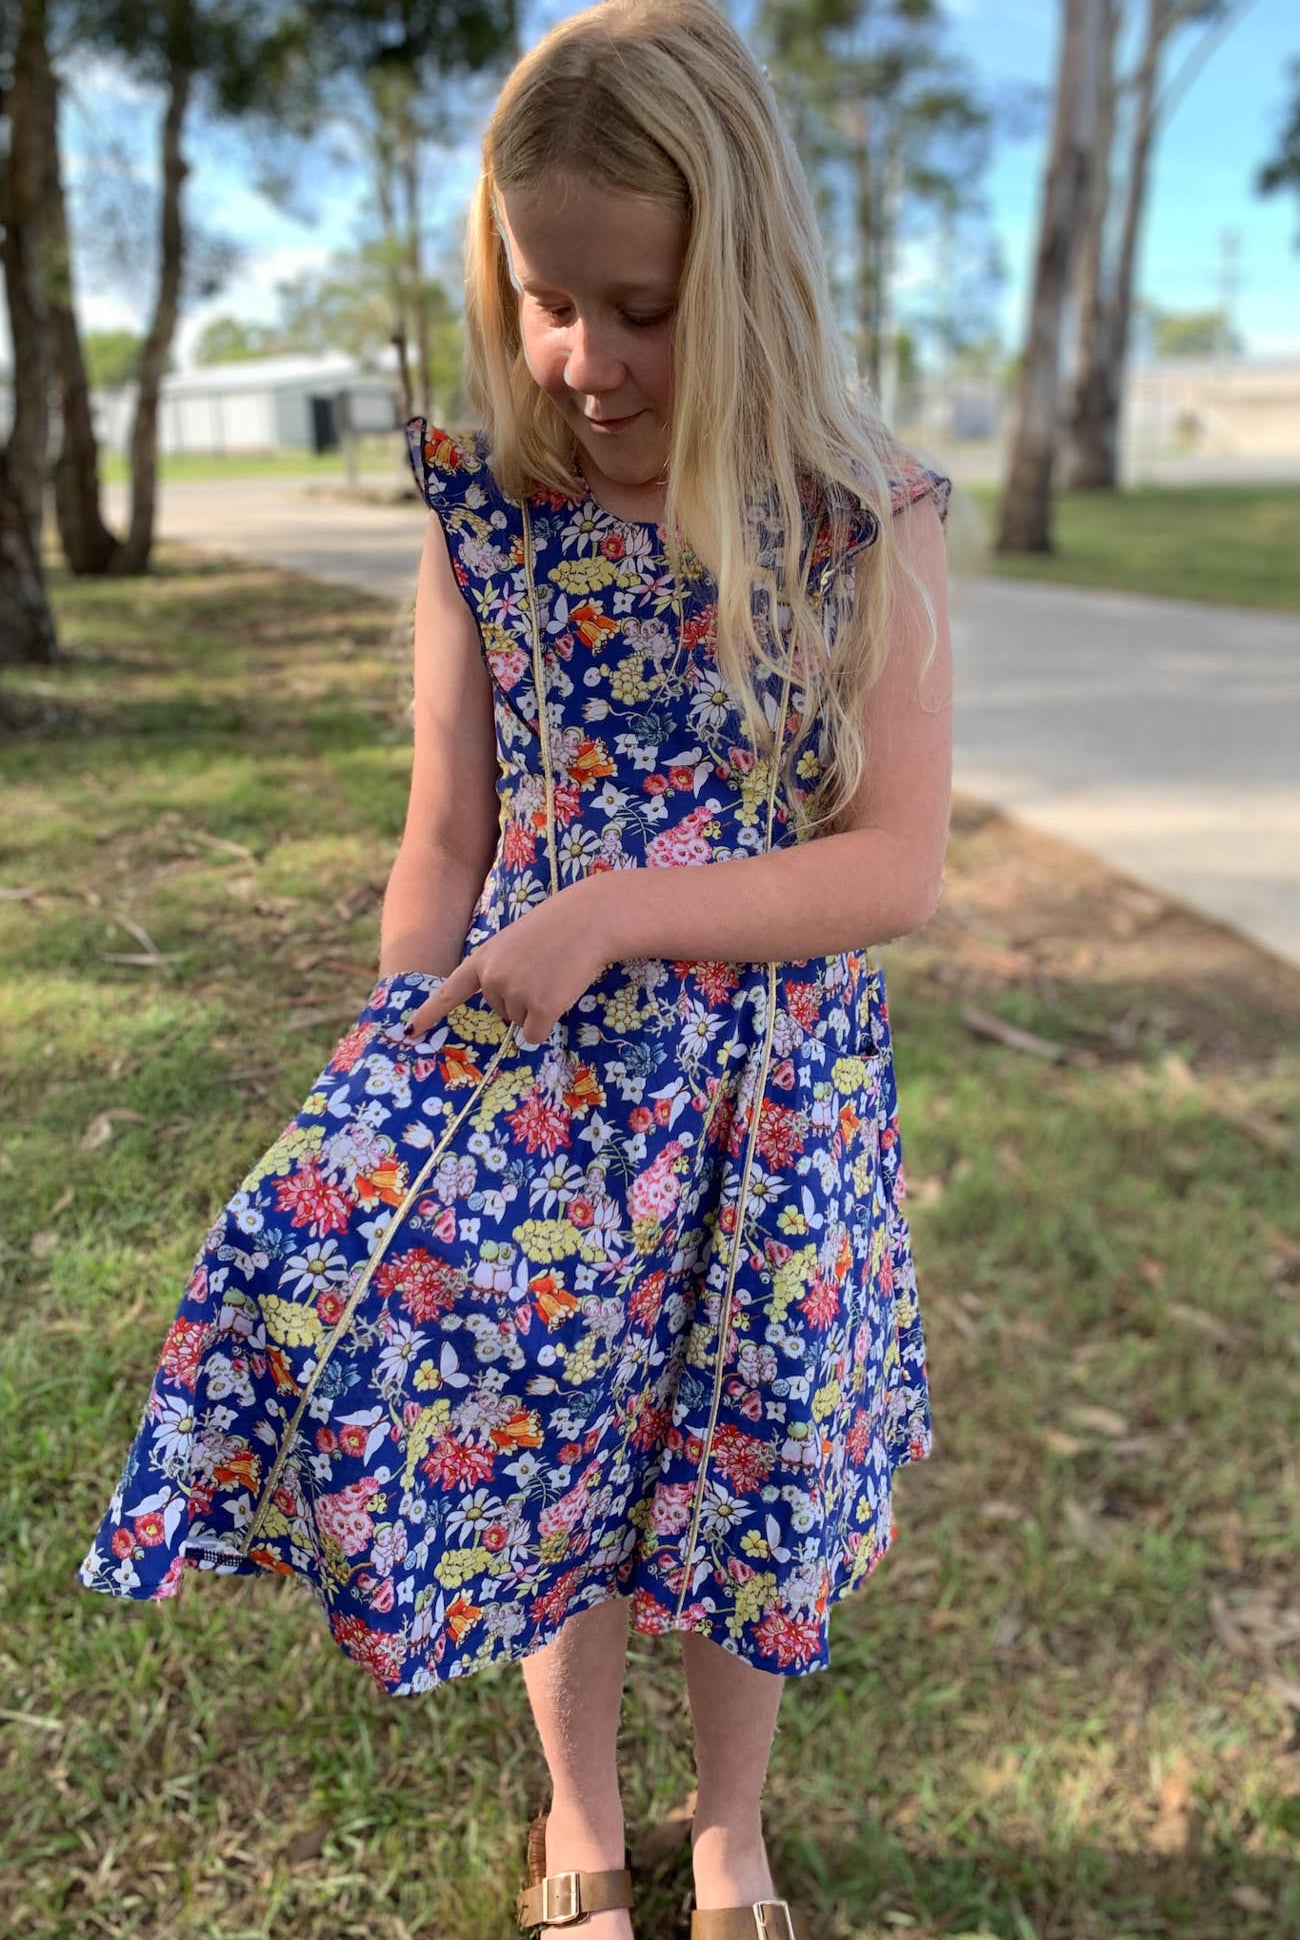
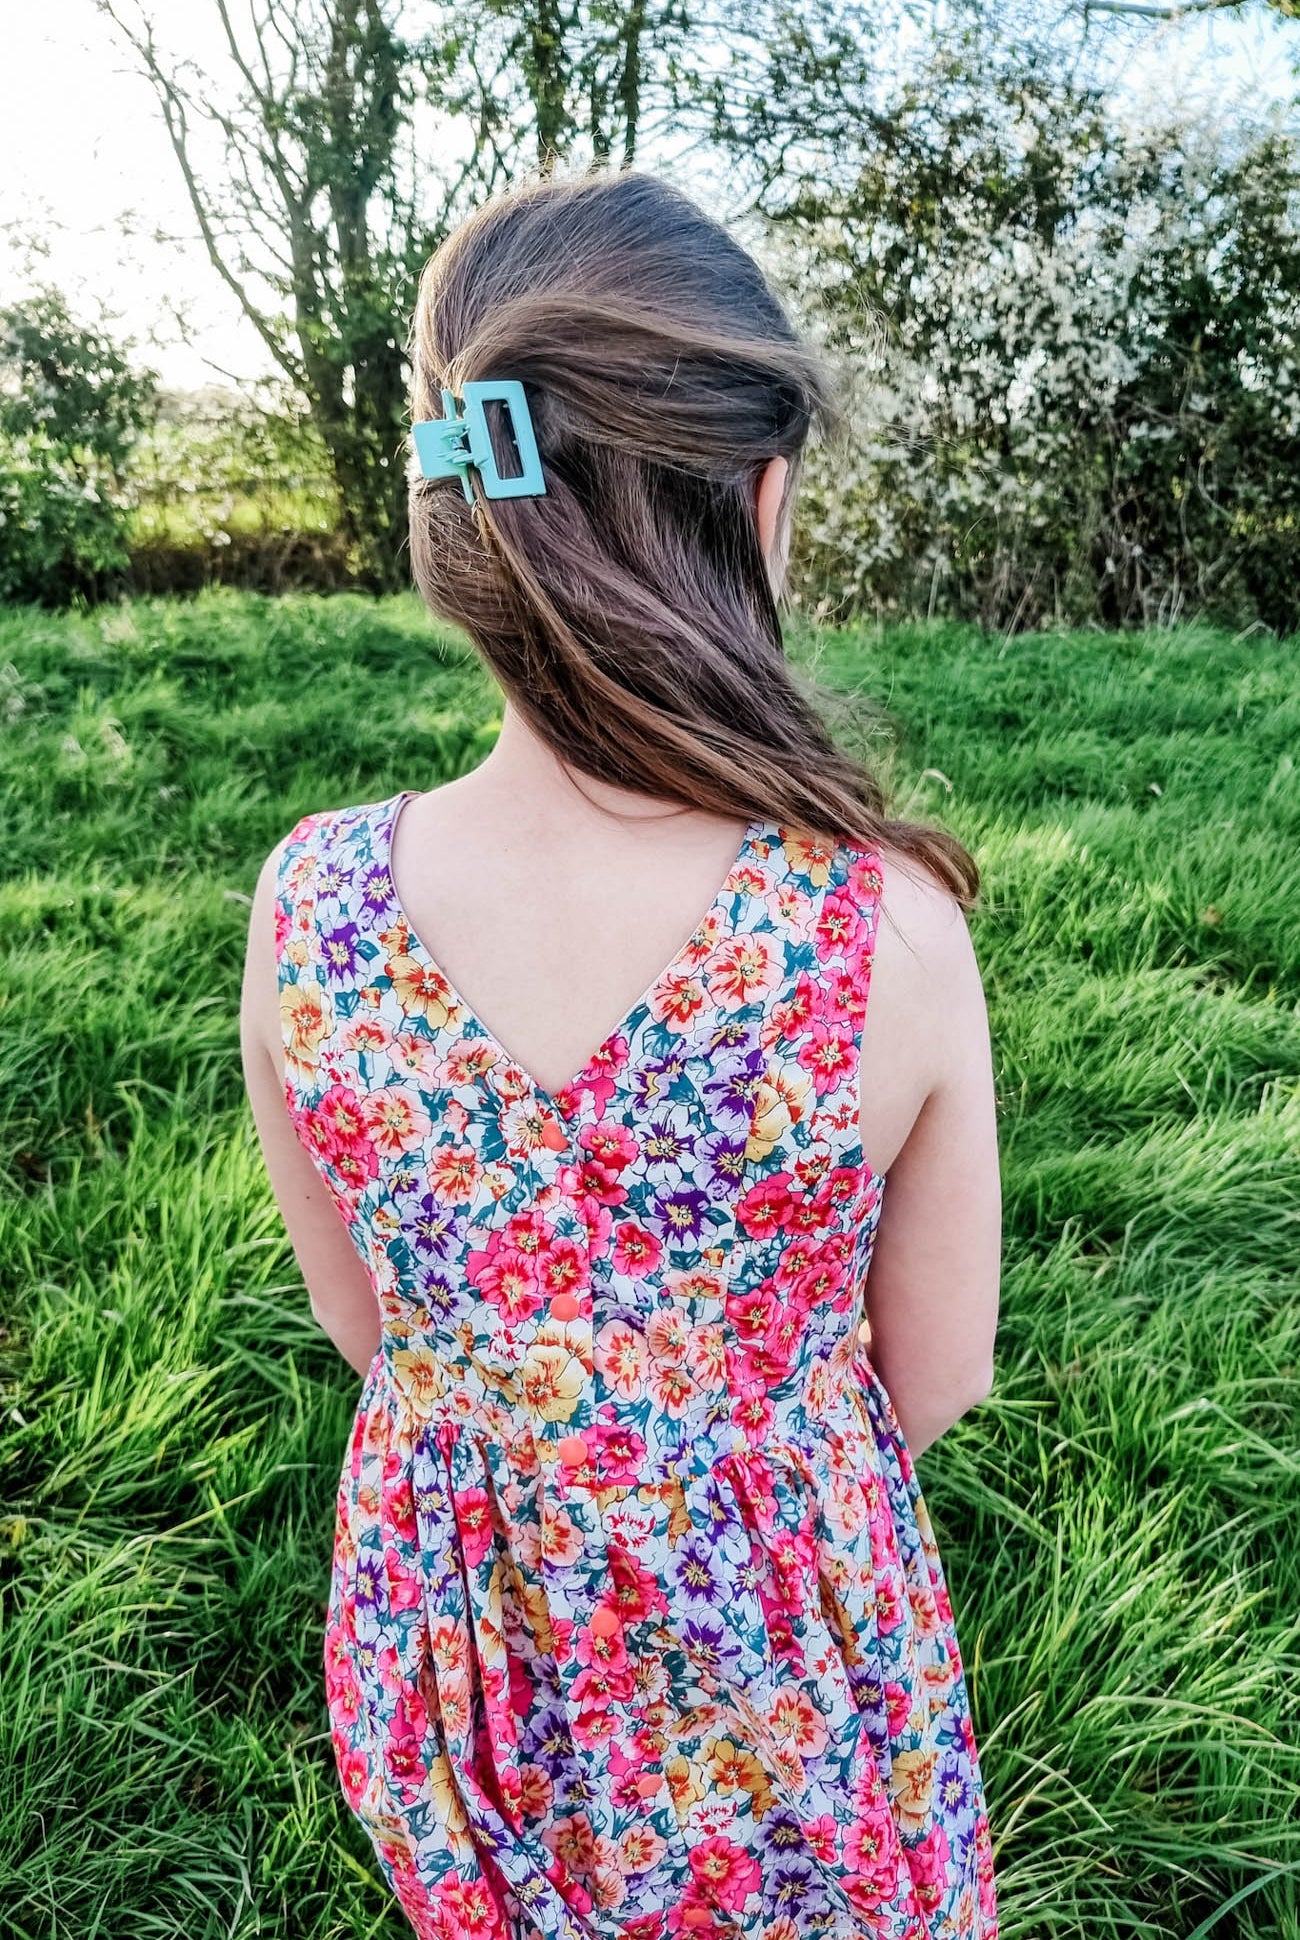
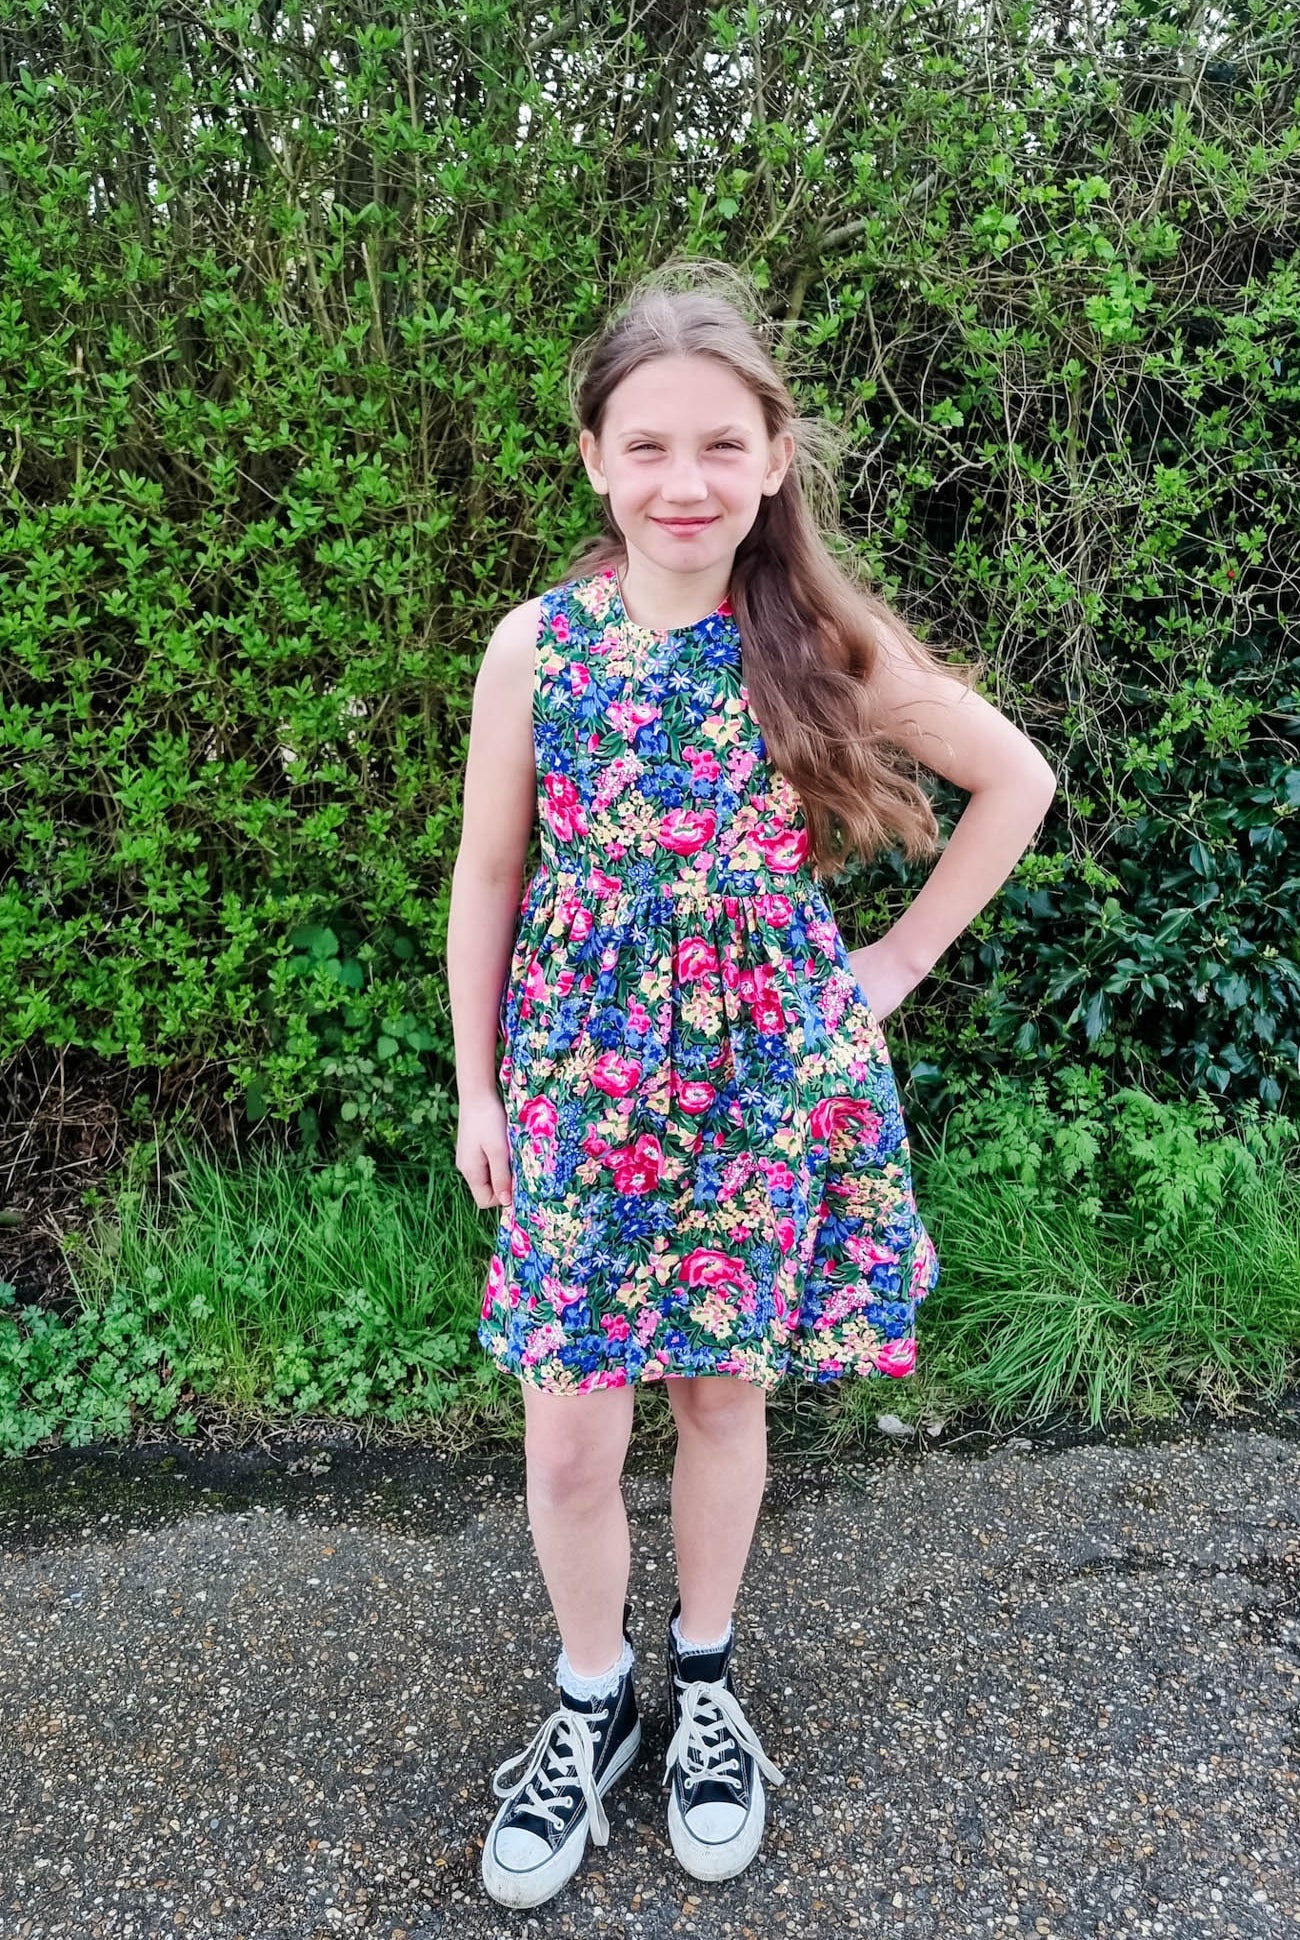
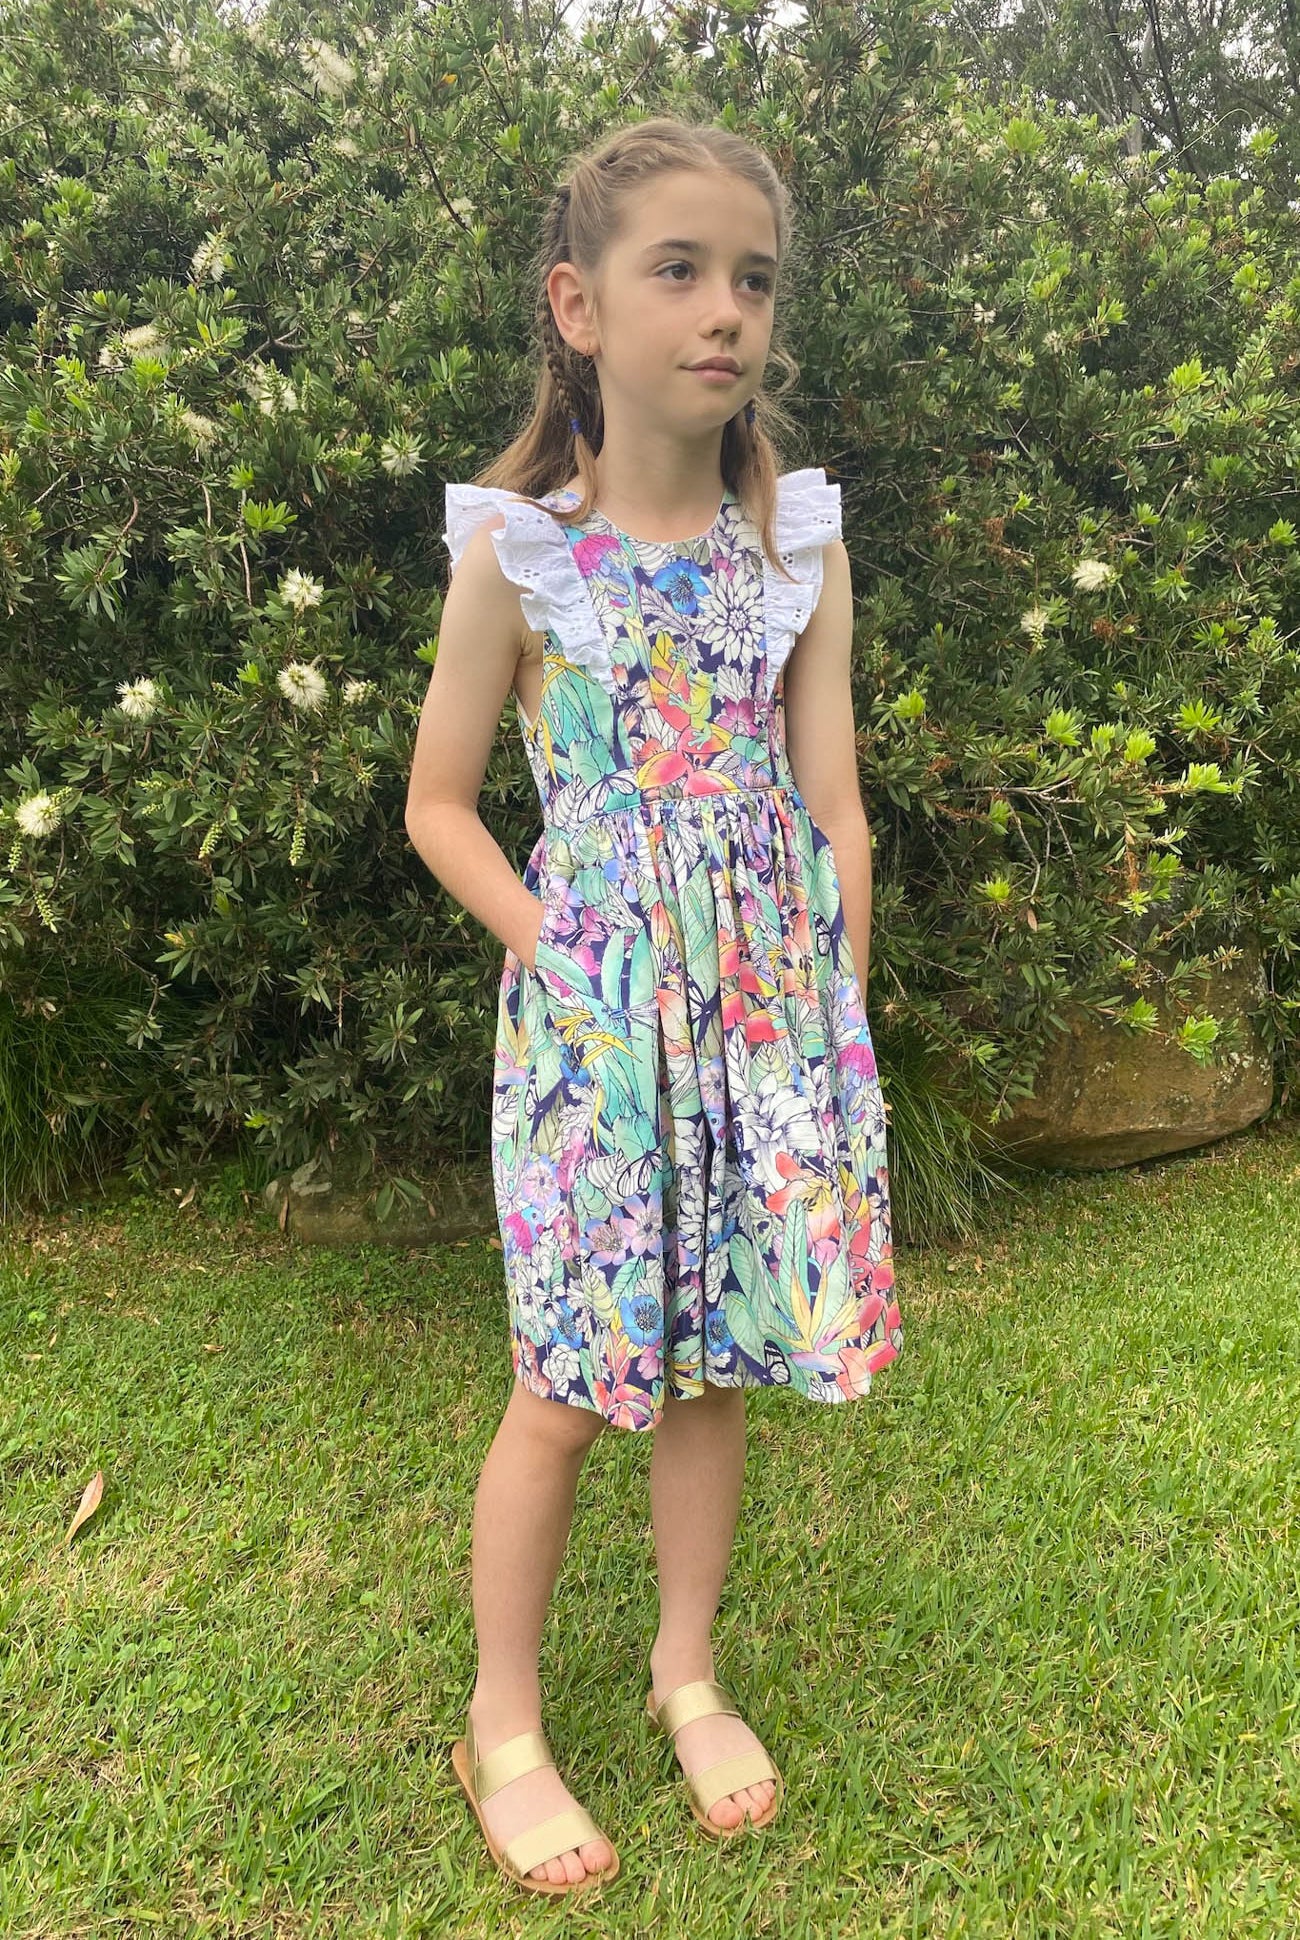
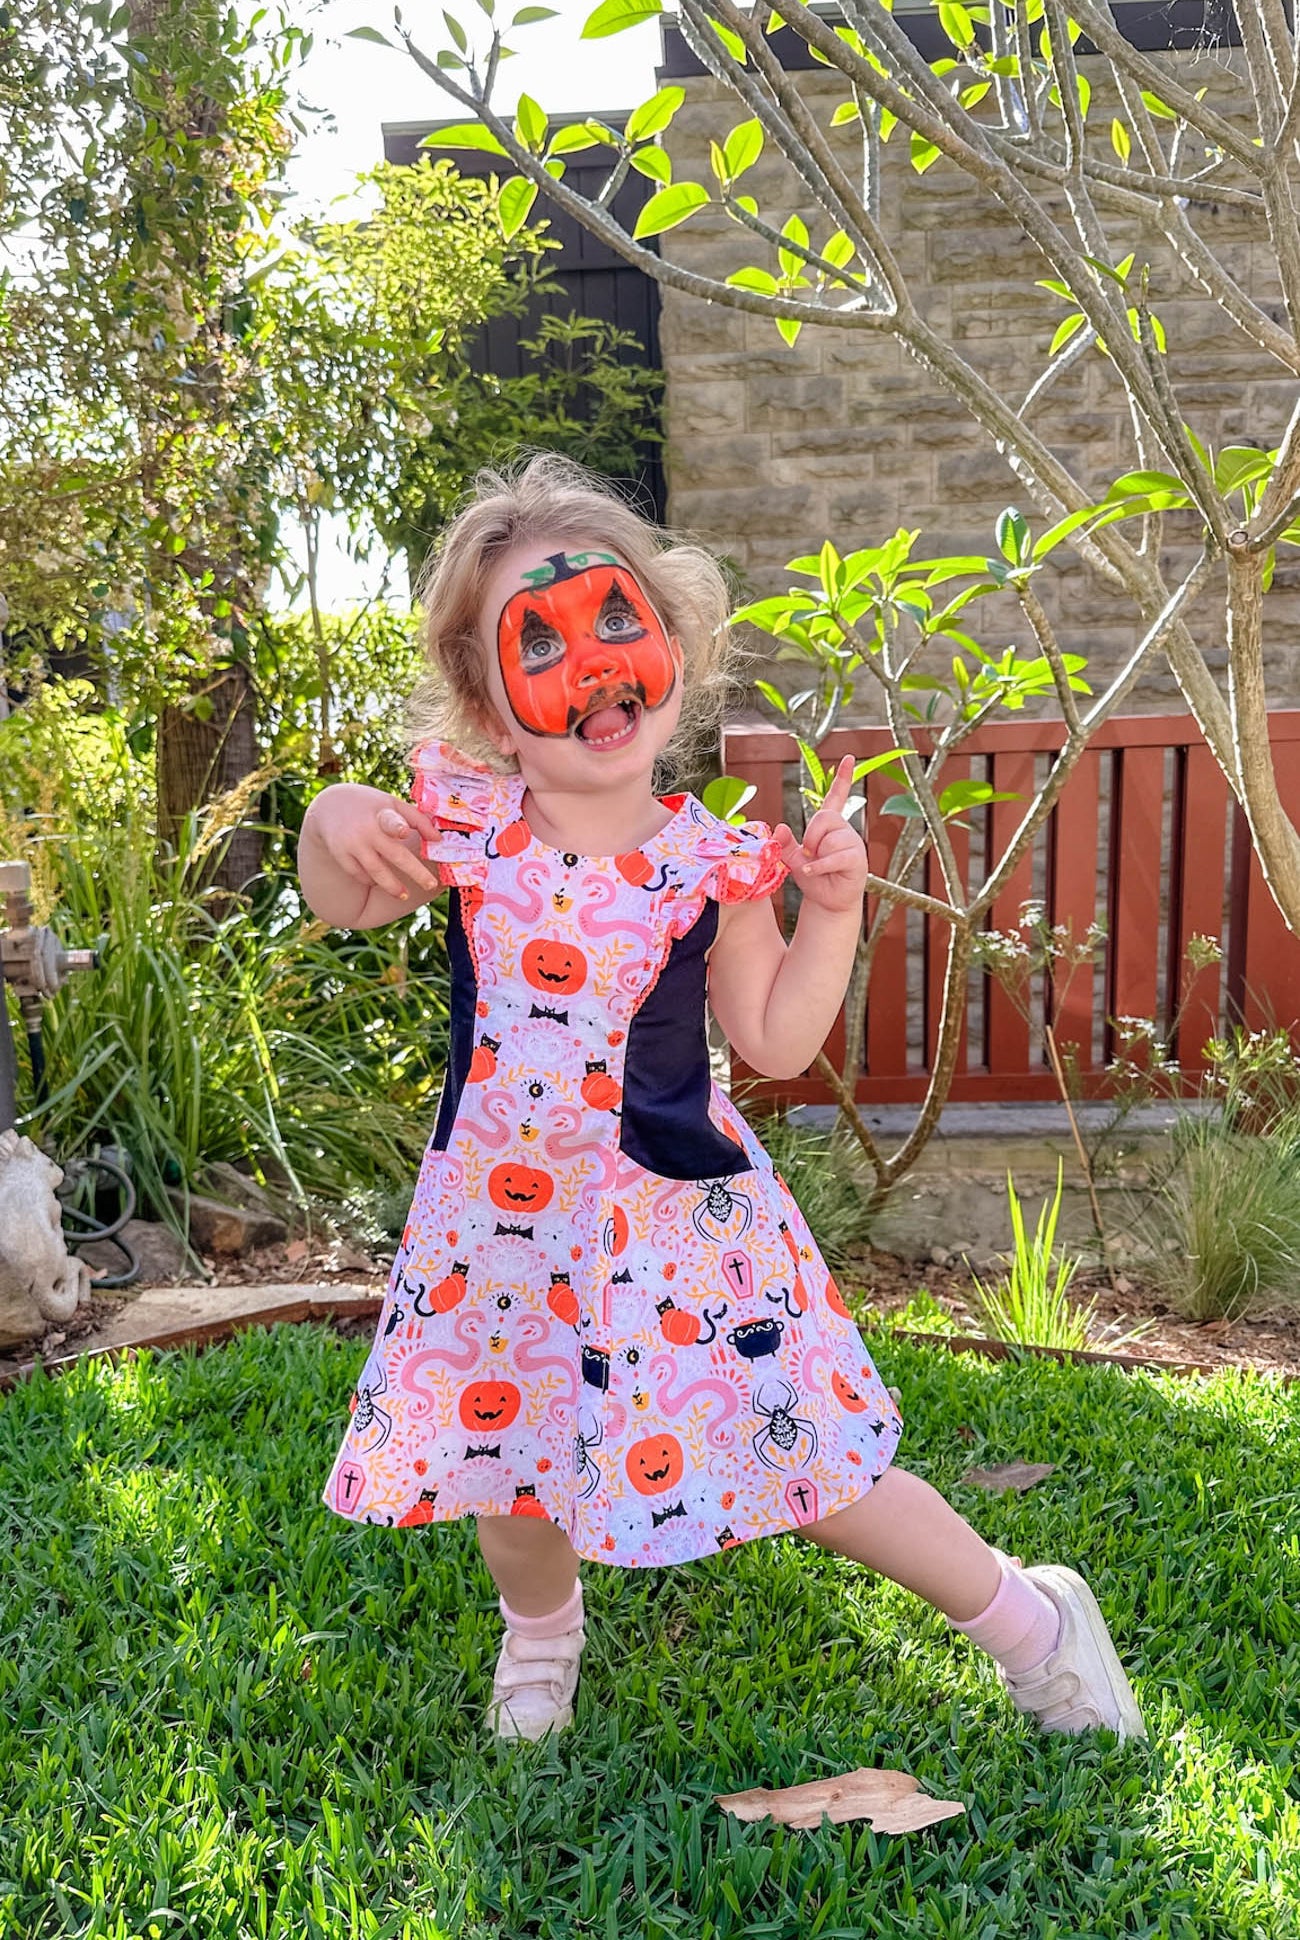
And at the end of those steps when you pop them on your (moody, ungrateful) child don't fret that it looks like it doesn't fit - there's still the button flaps to go haha

Join us in the Fresh Pattern Party facebook group for Day 2!!