
Happy (belated) New Year everyone! I hope you've all had a wonderful break!
My eldest starts kindergarten in a few days time and I just know I'm going to be a mess!
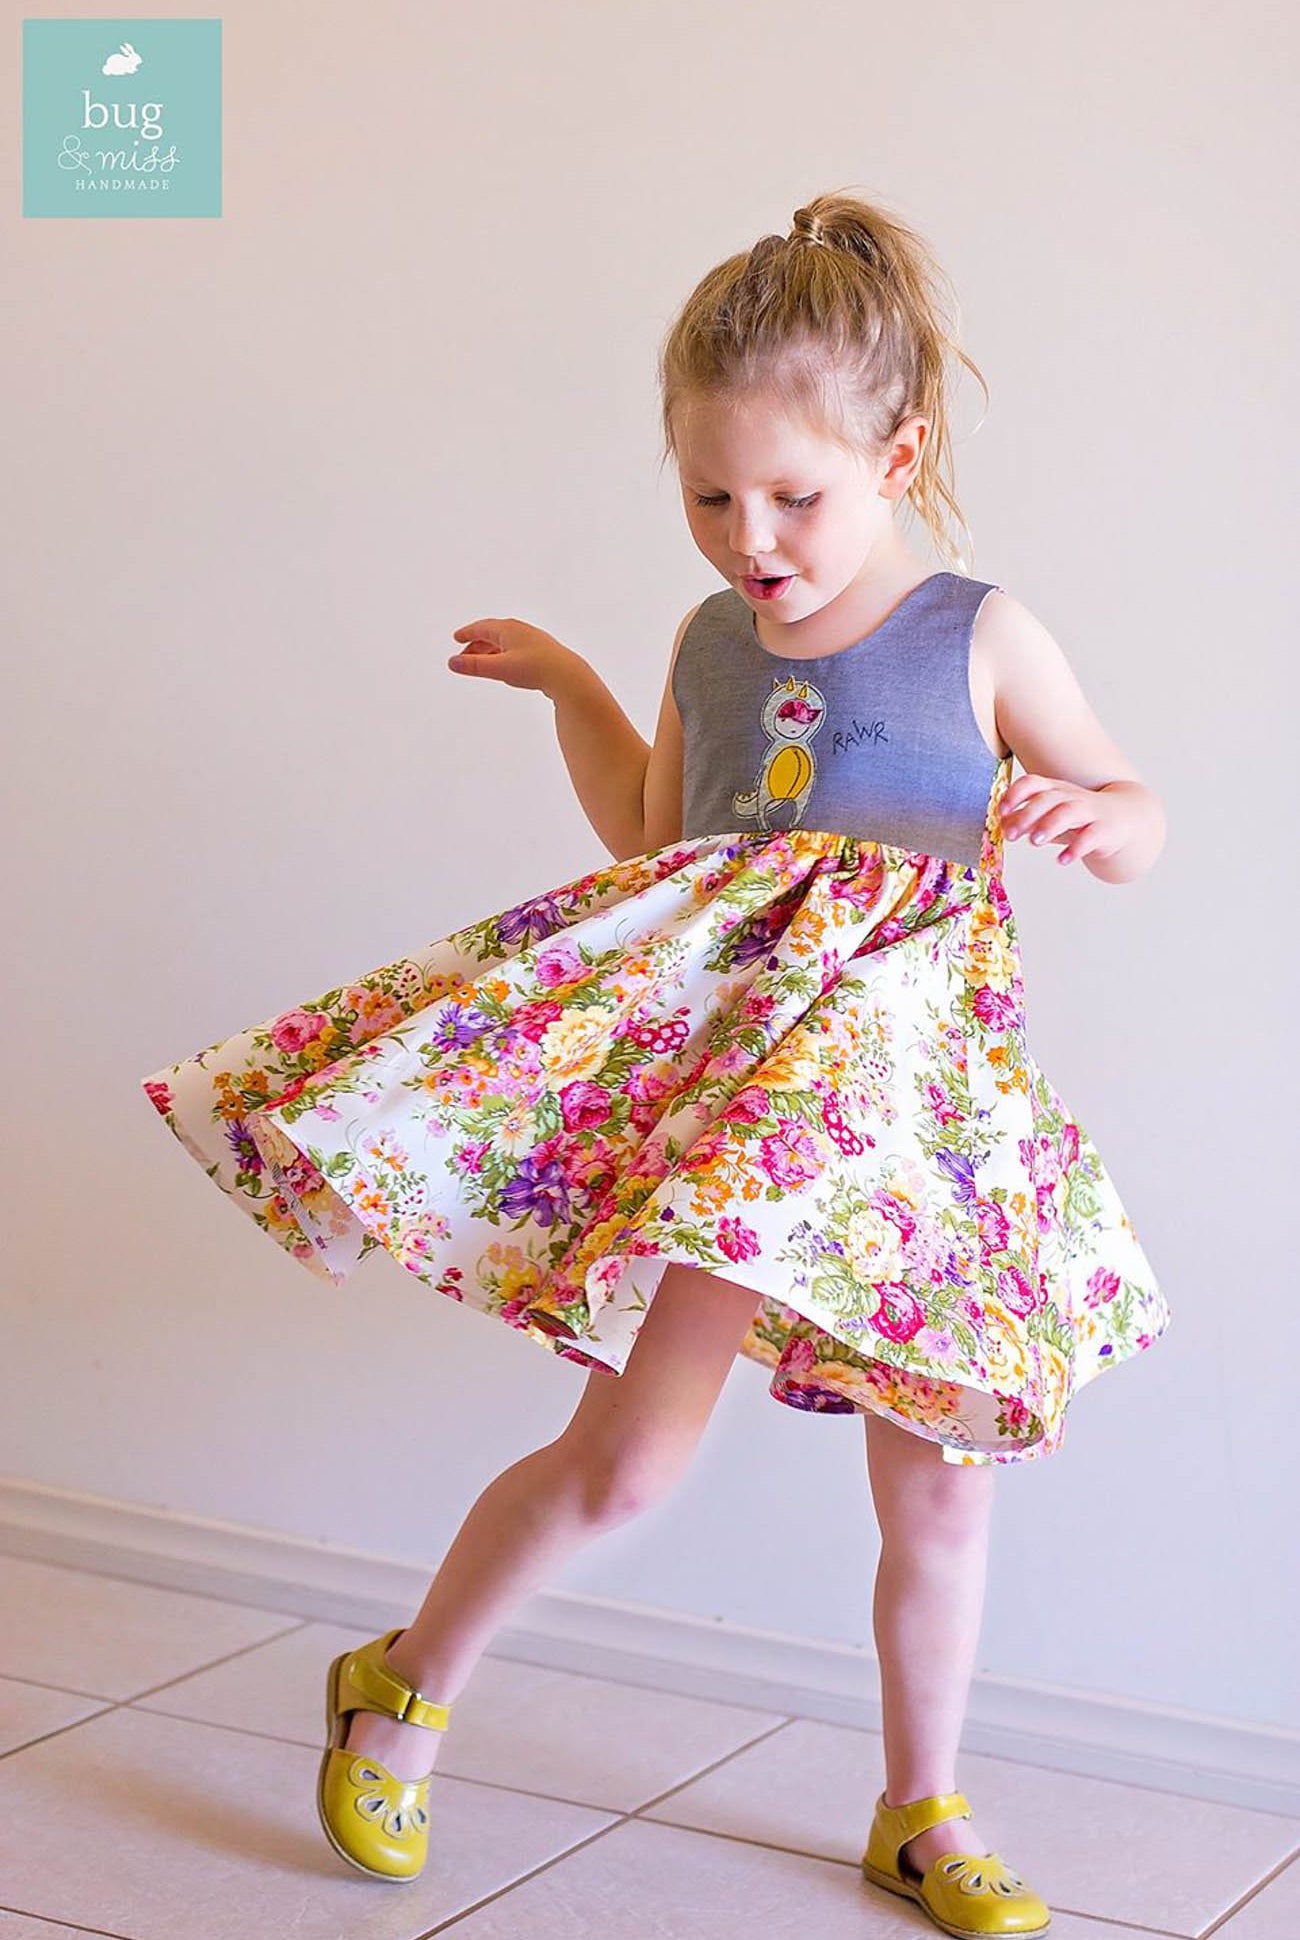
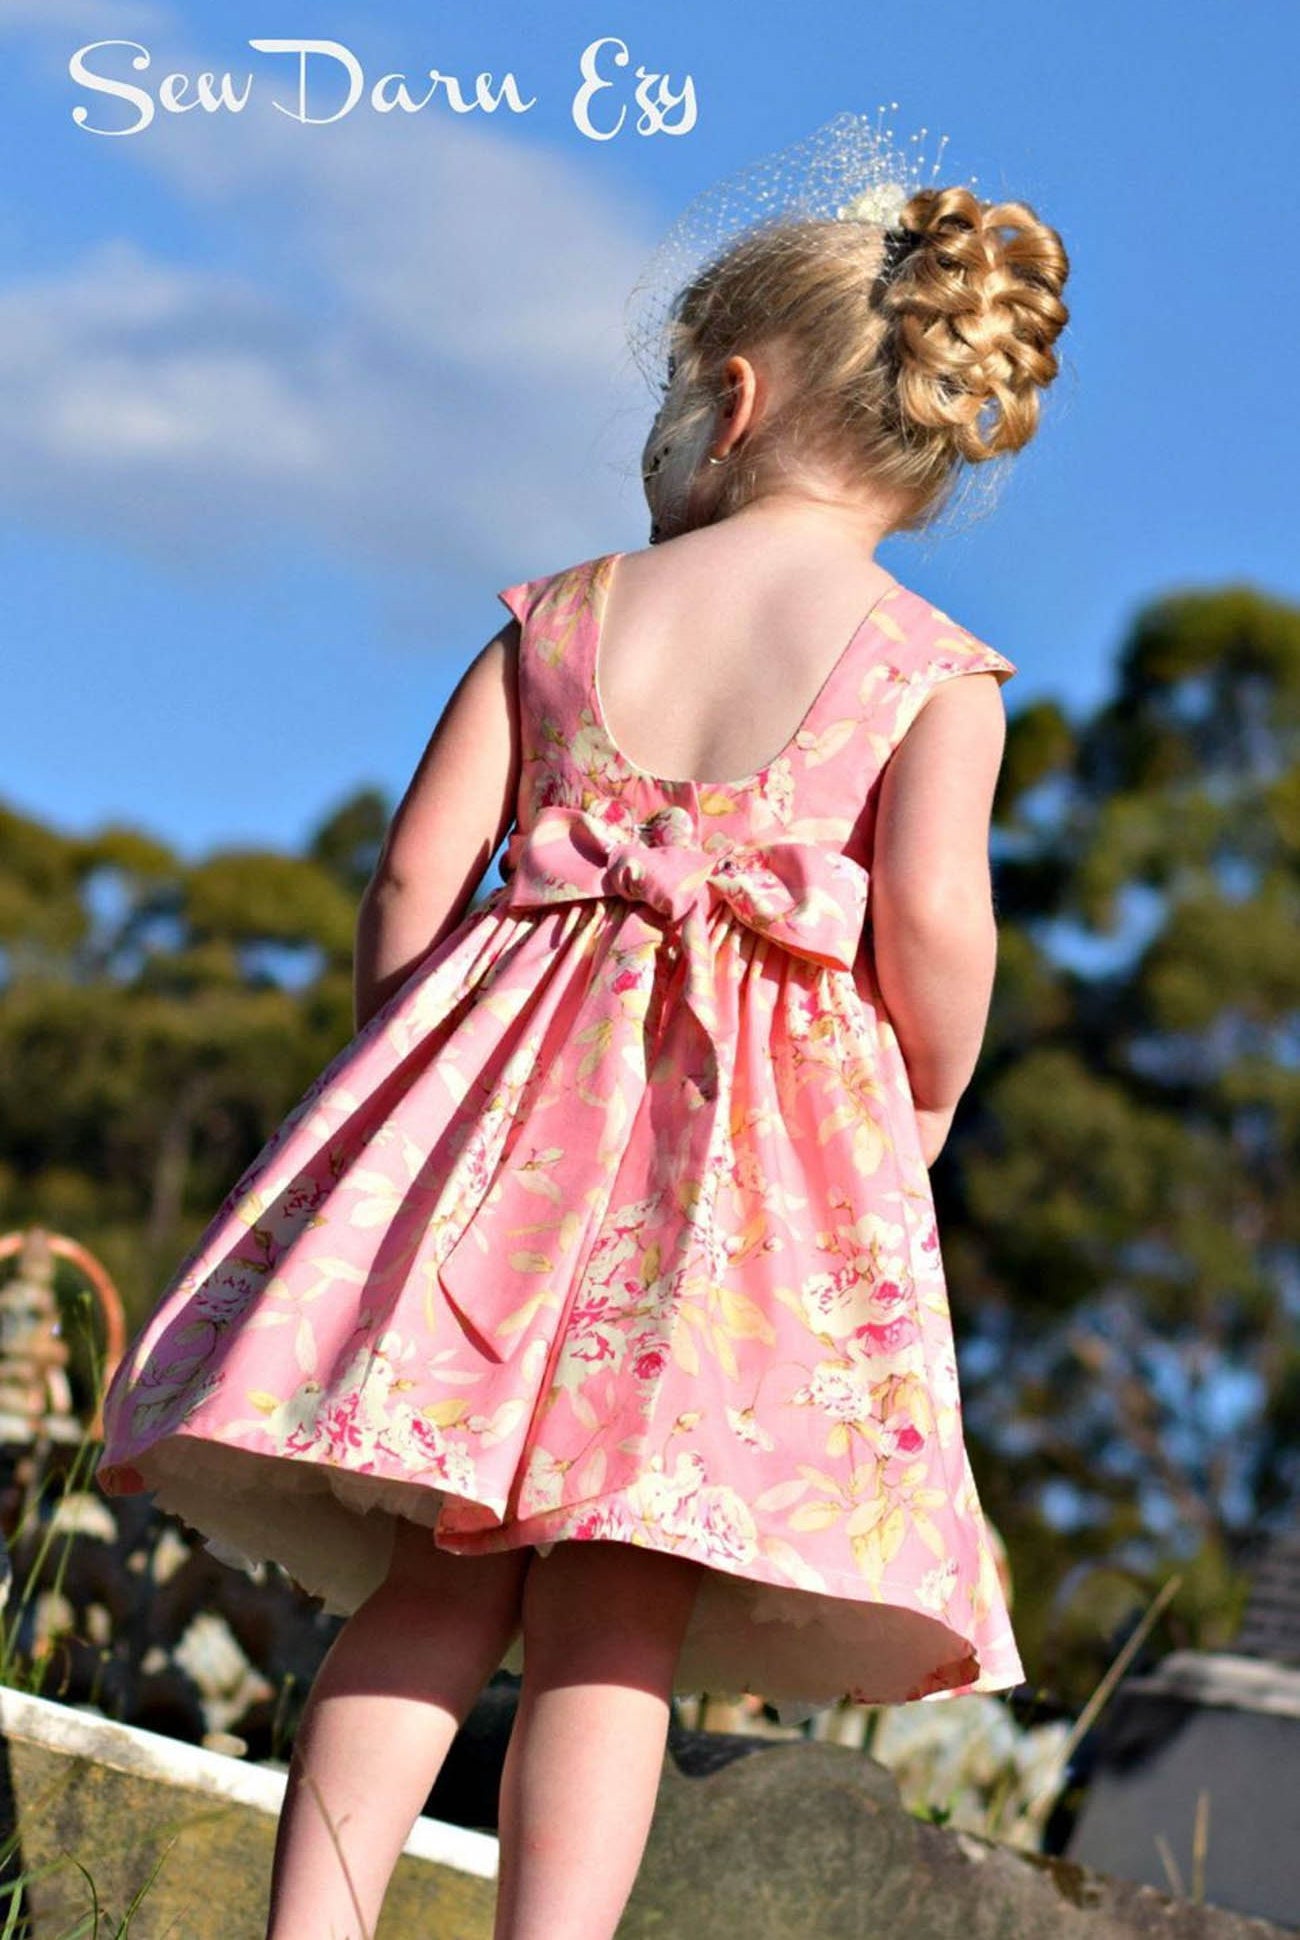
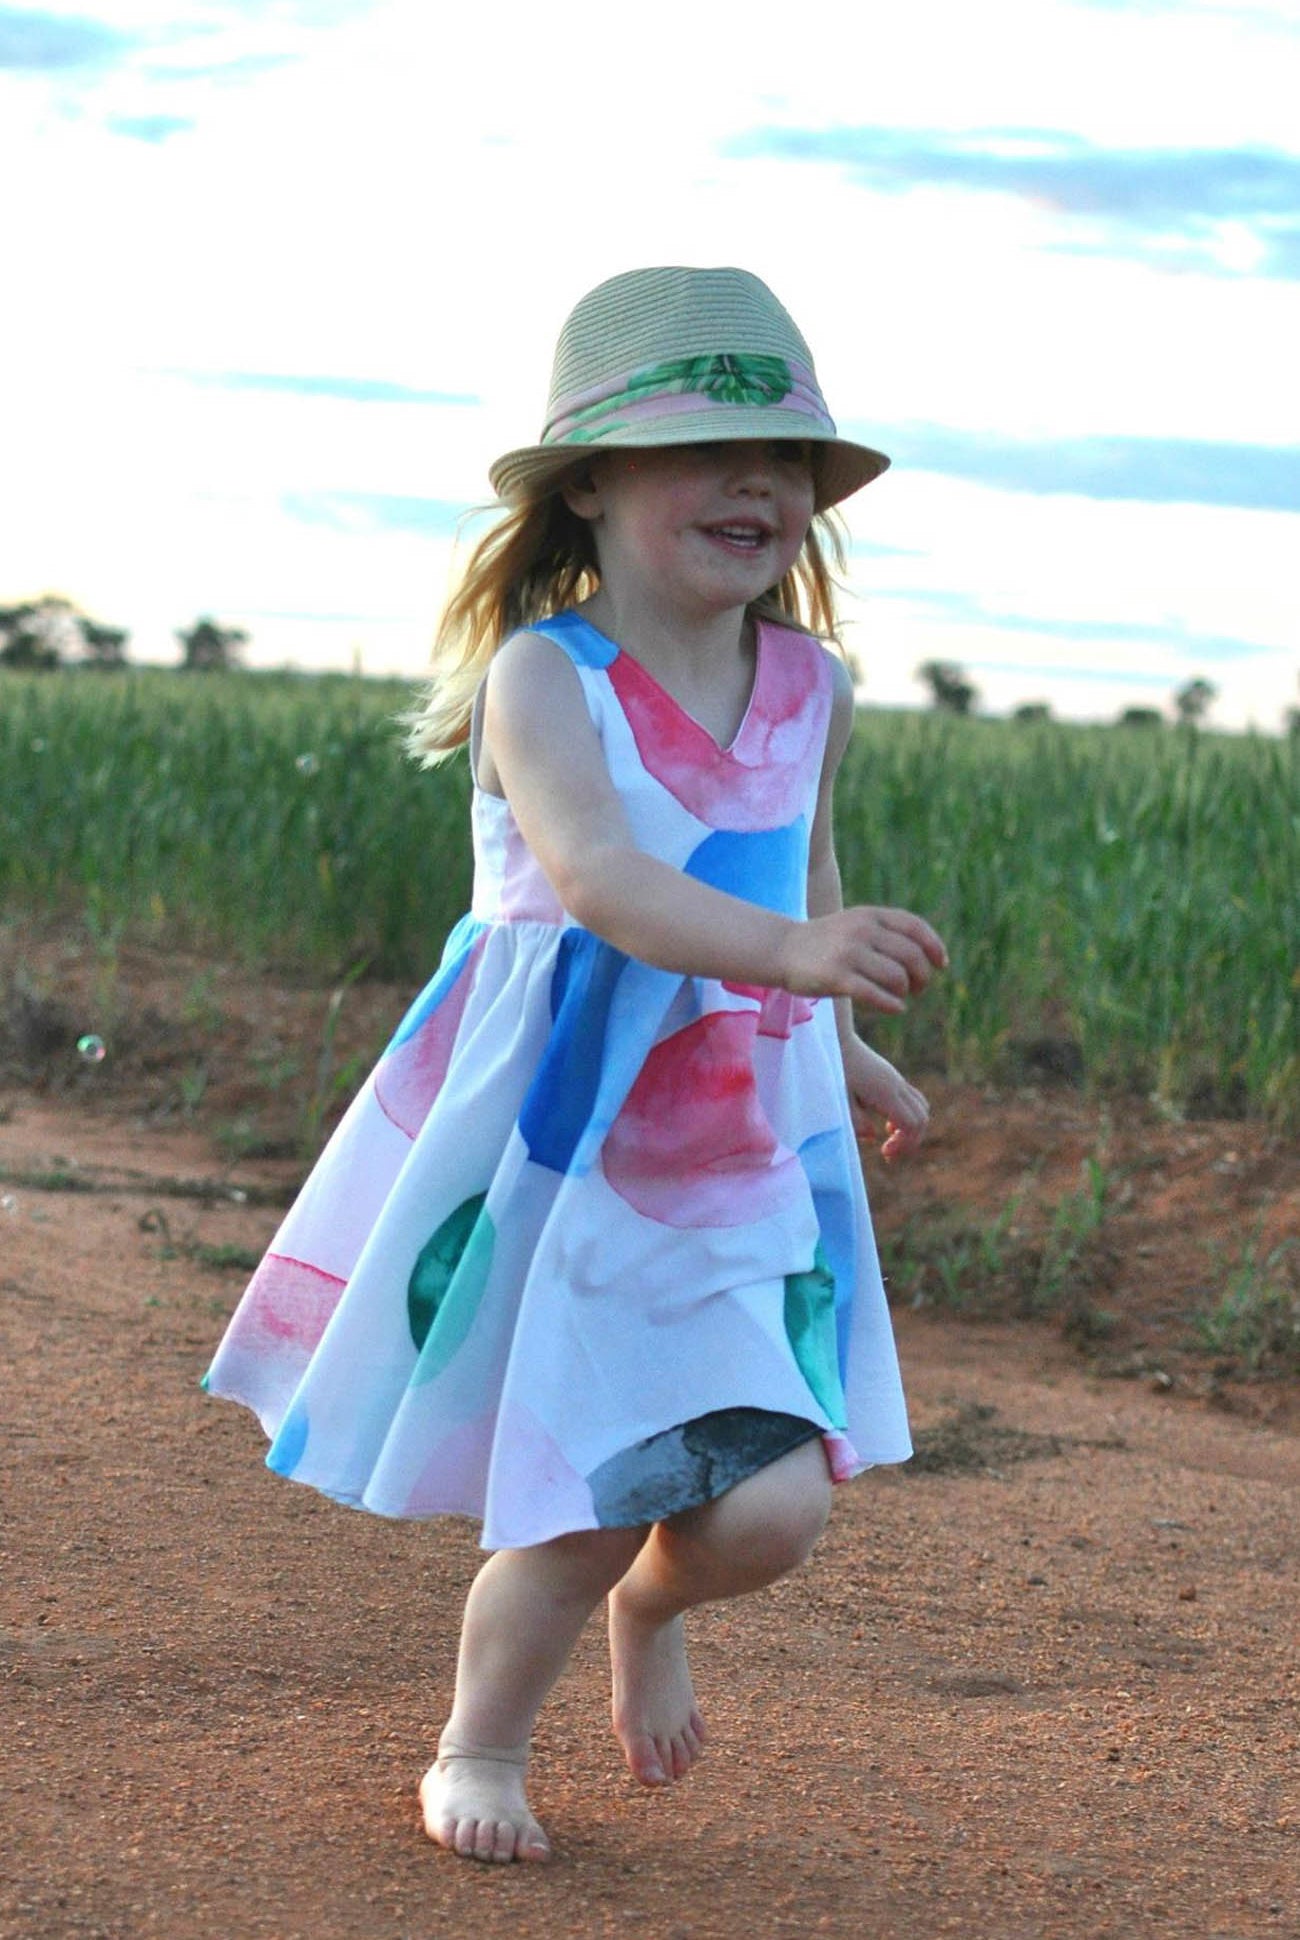
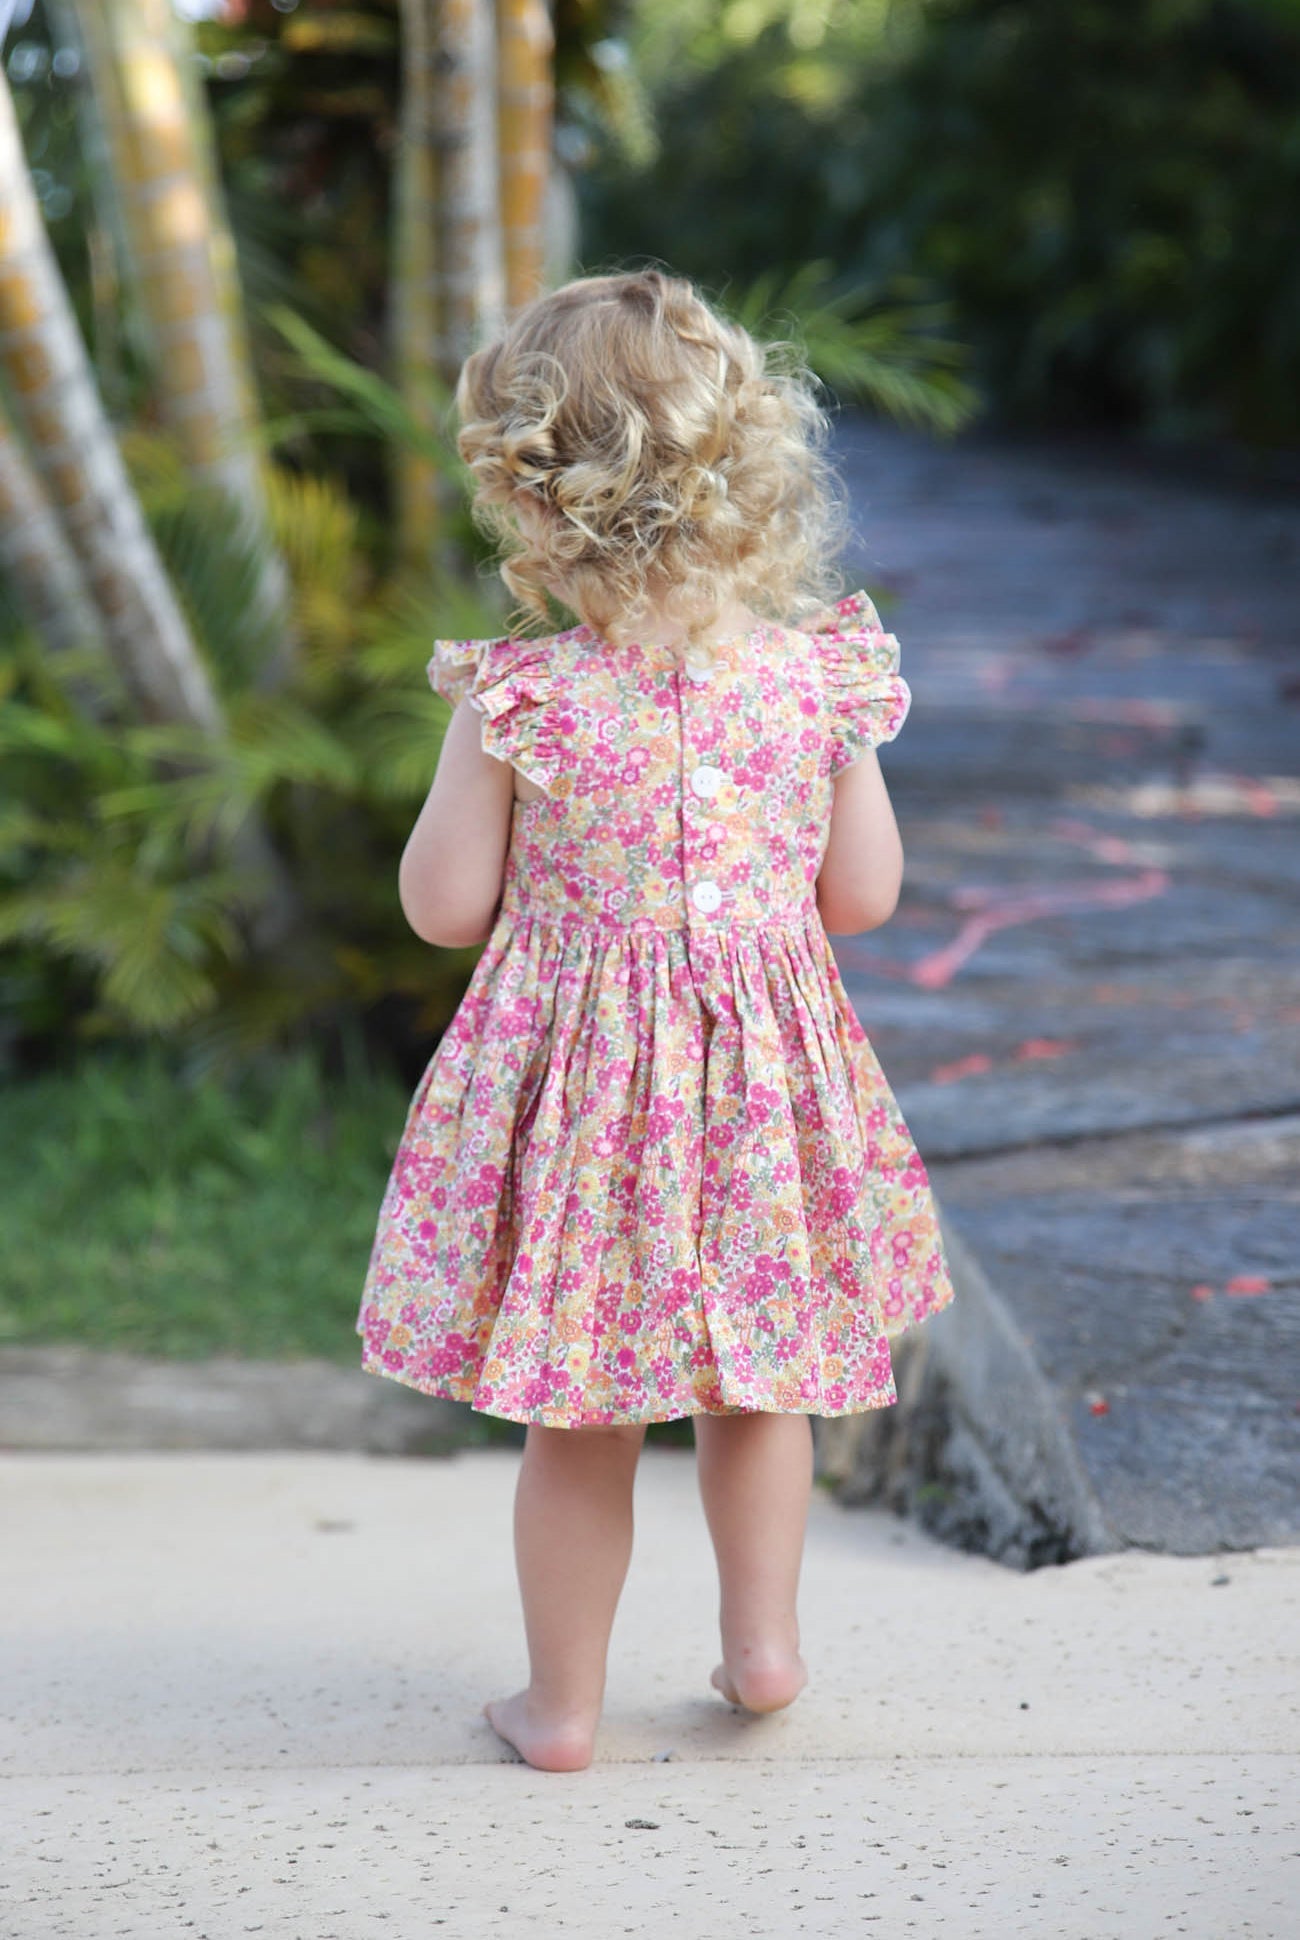
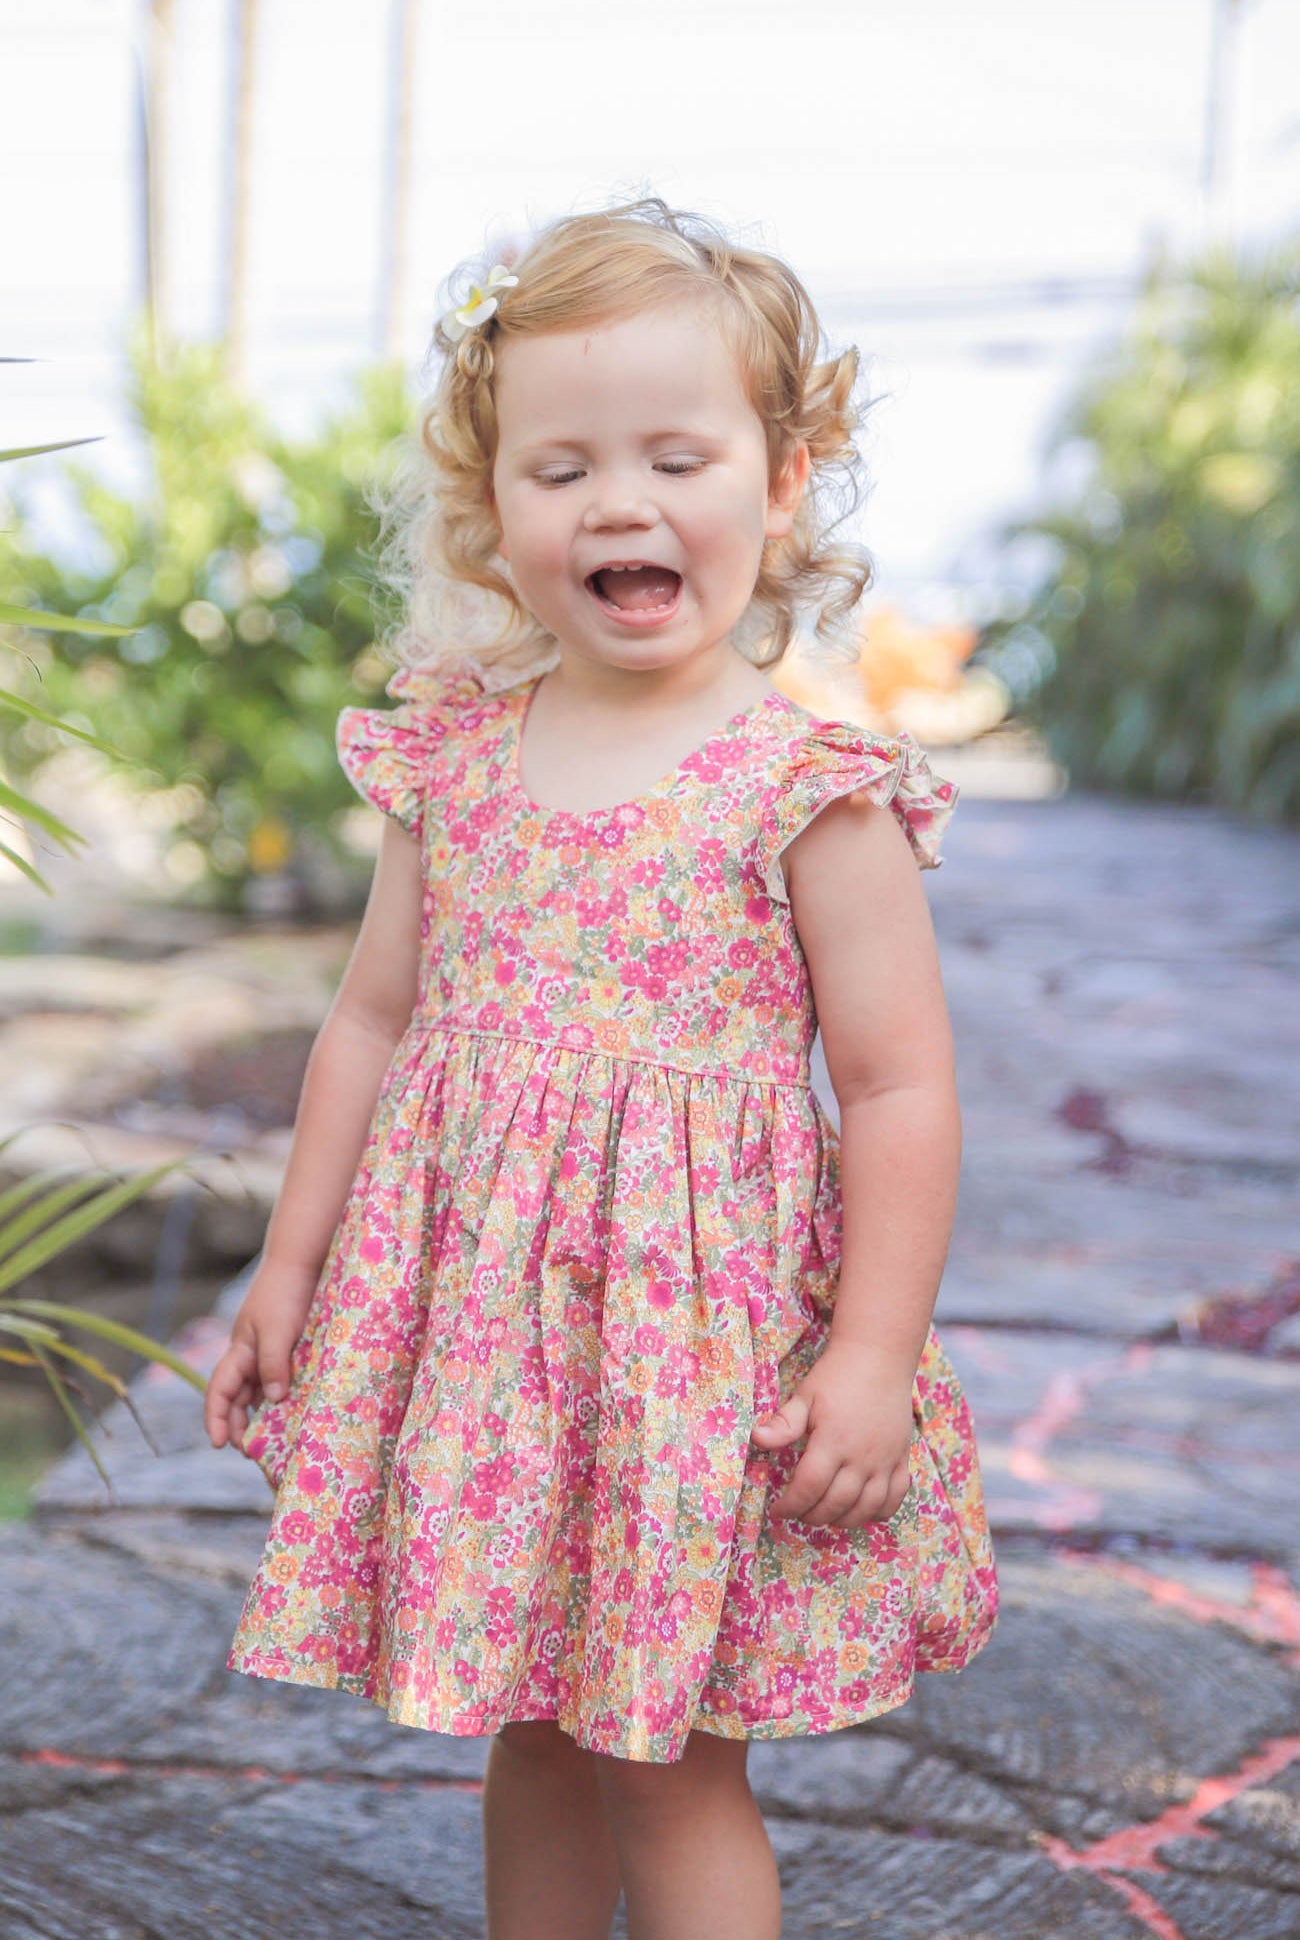
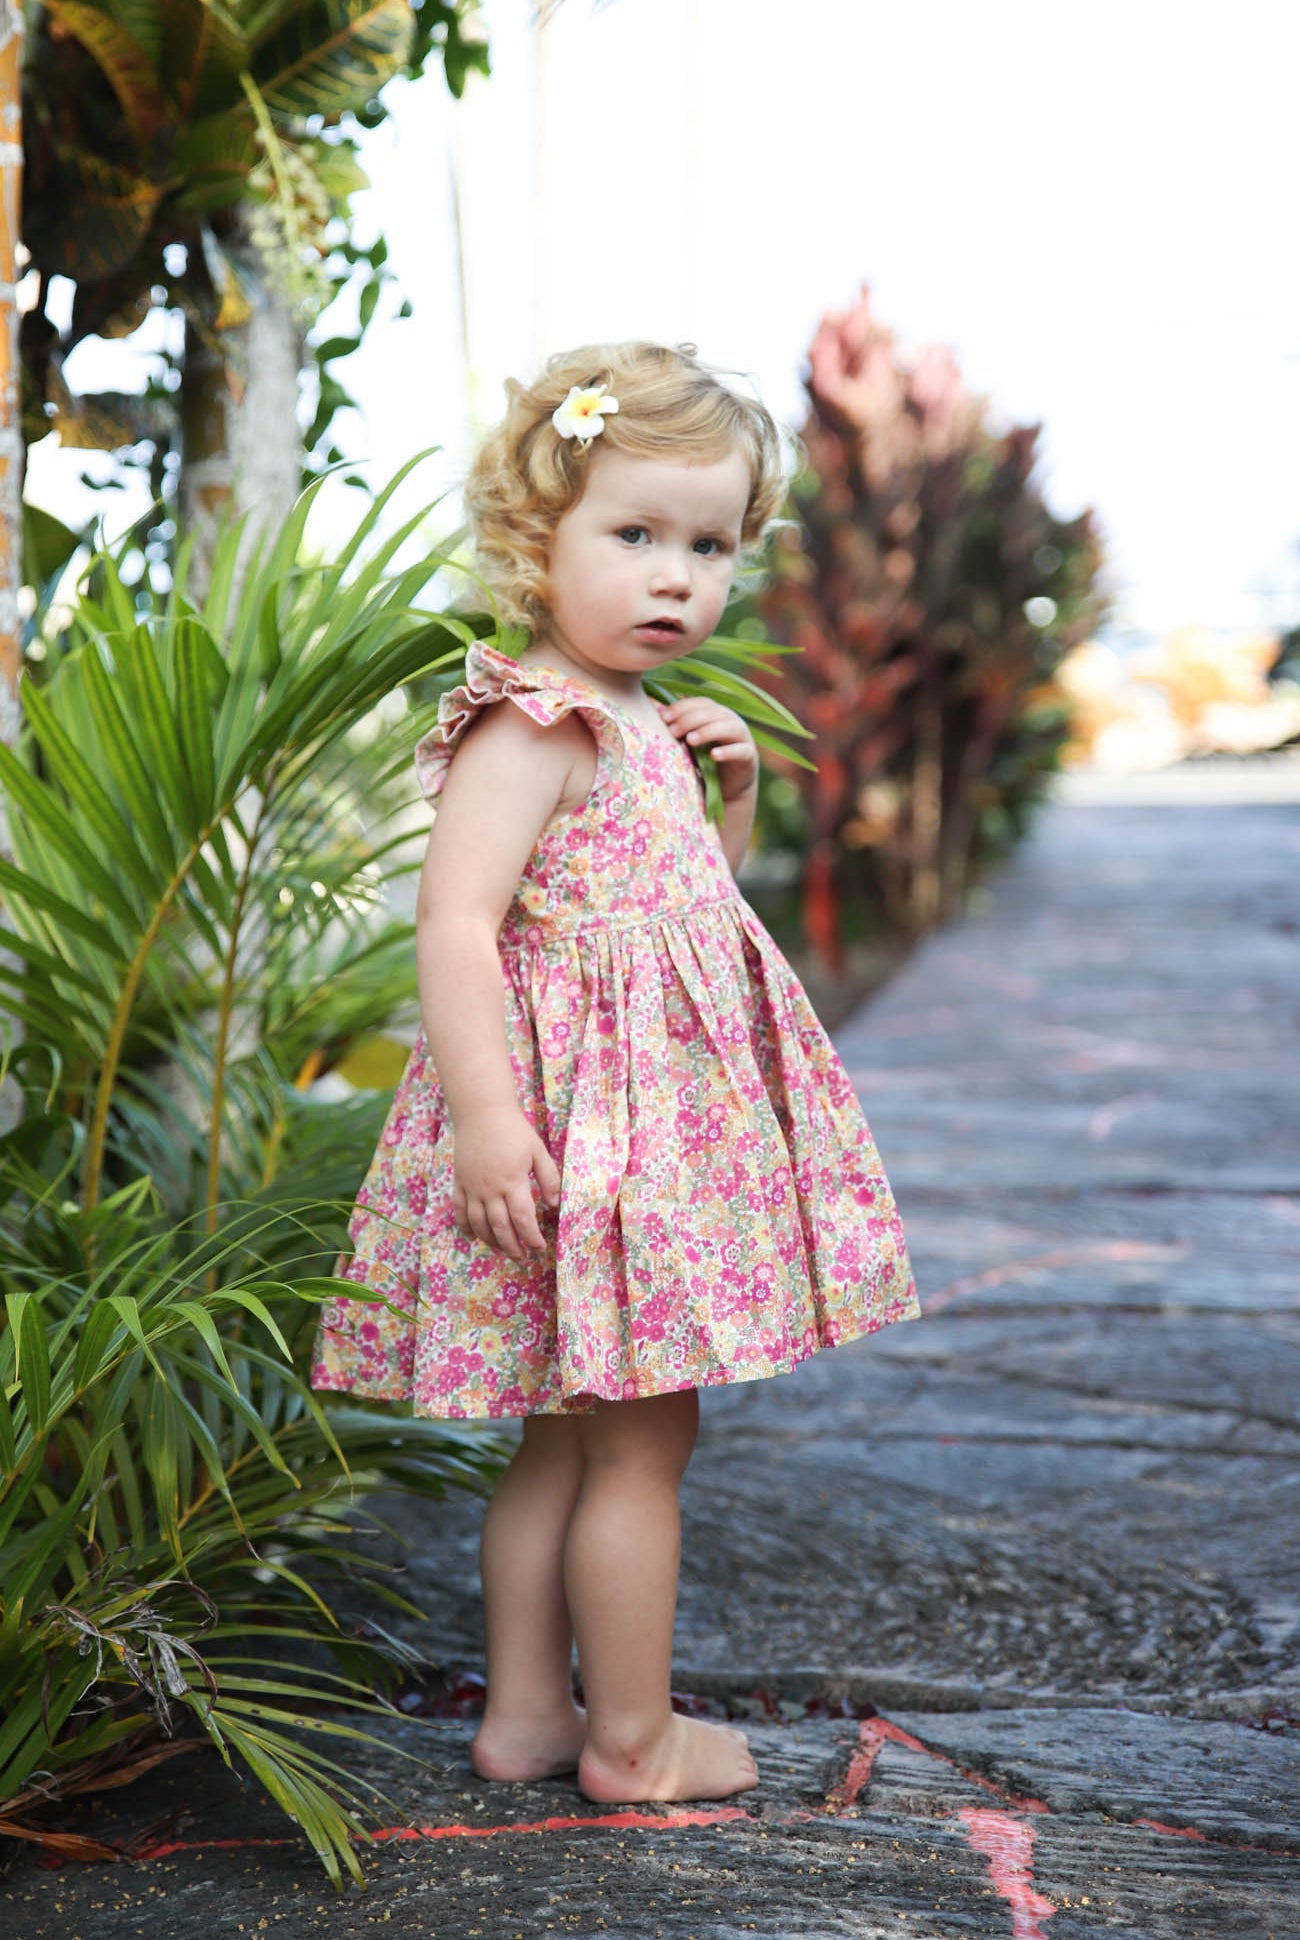
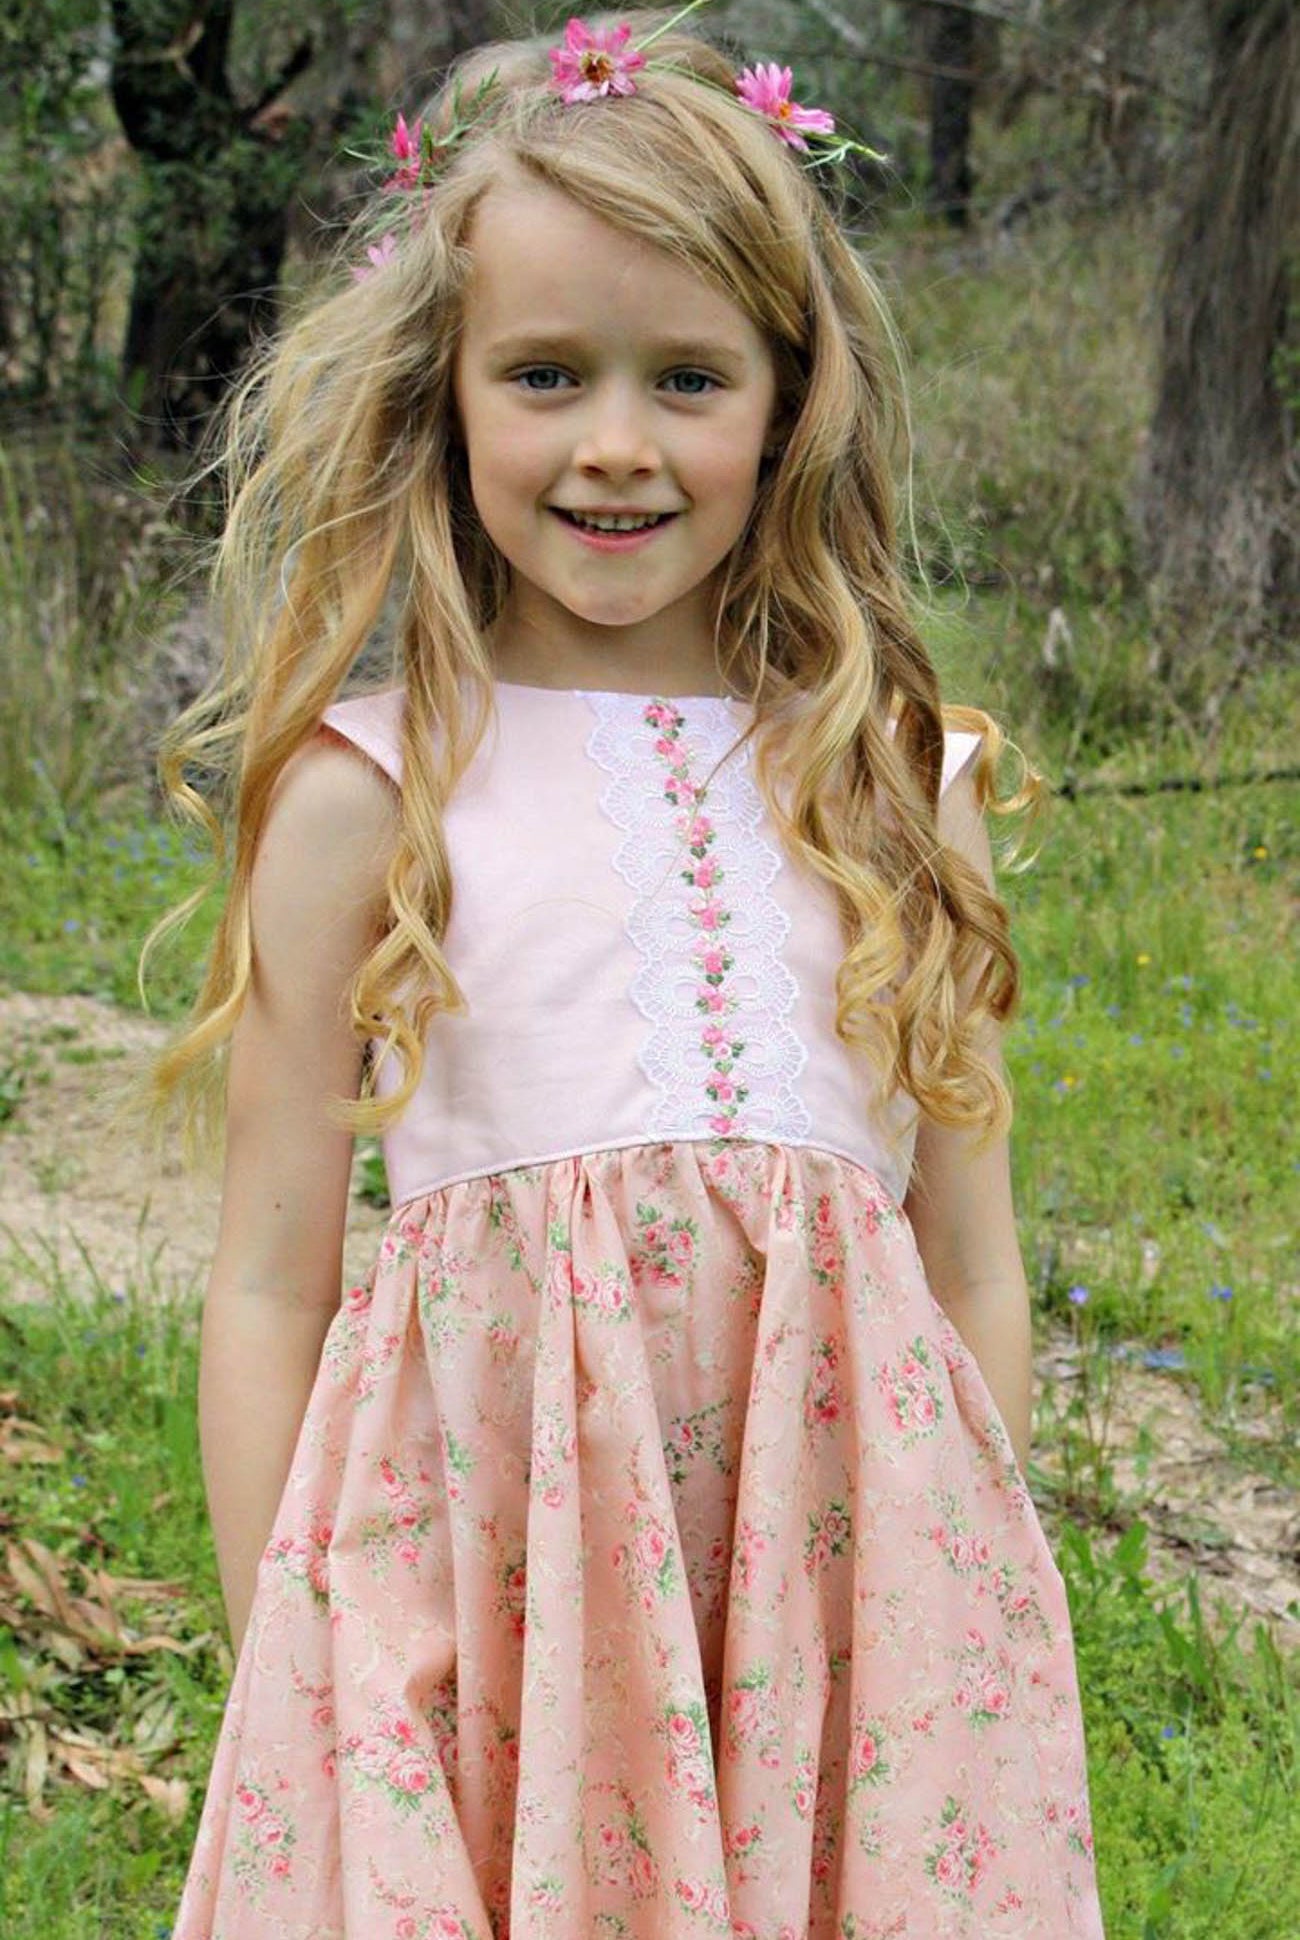
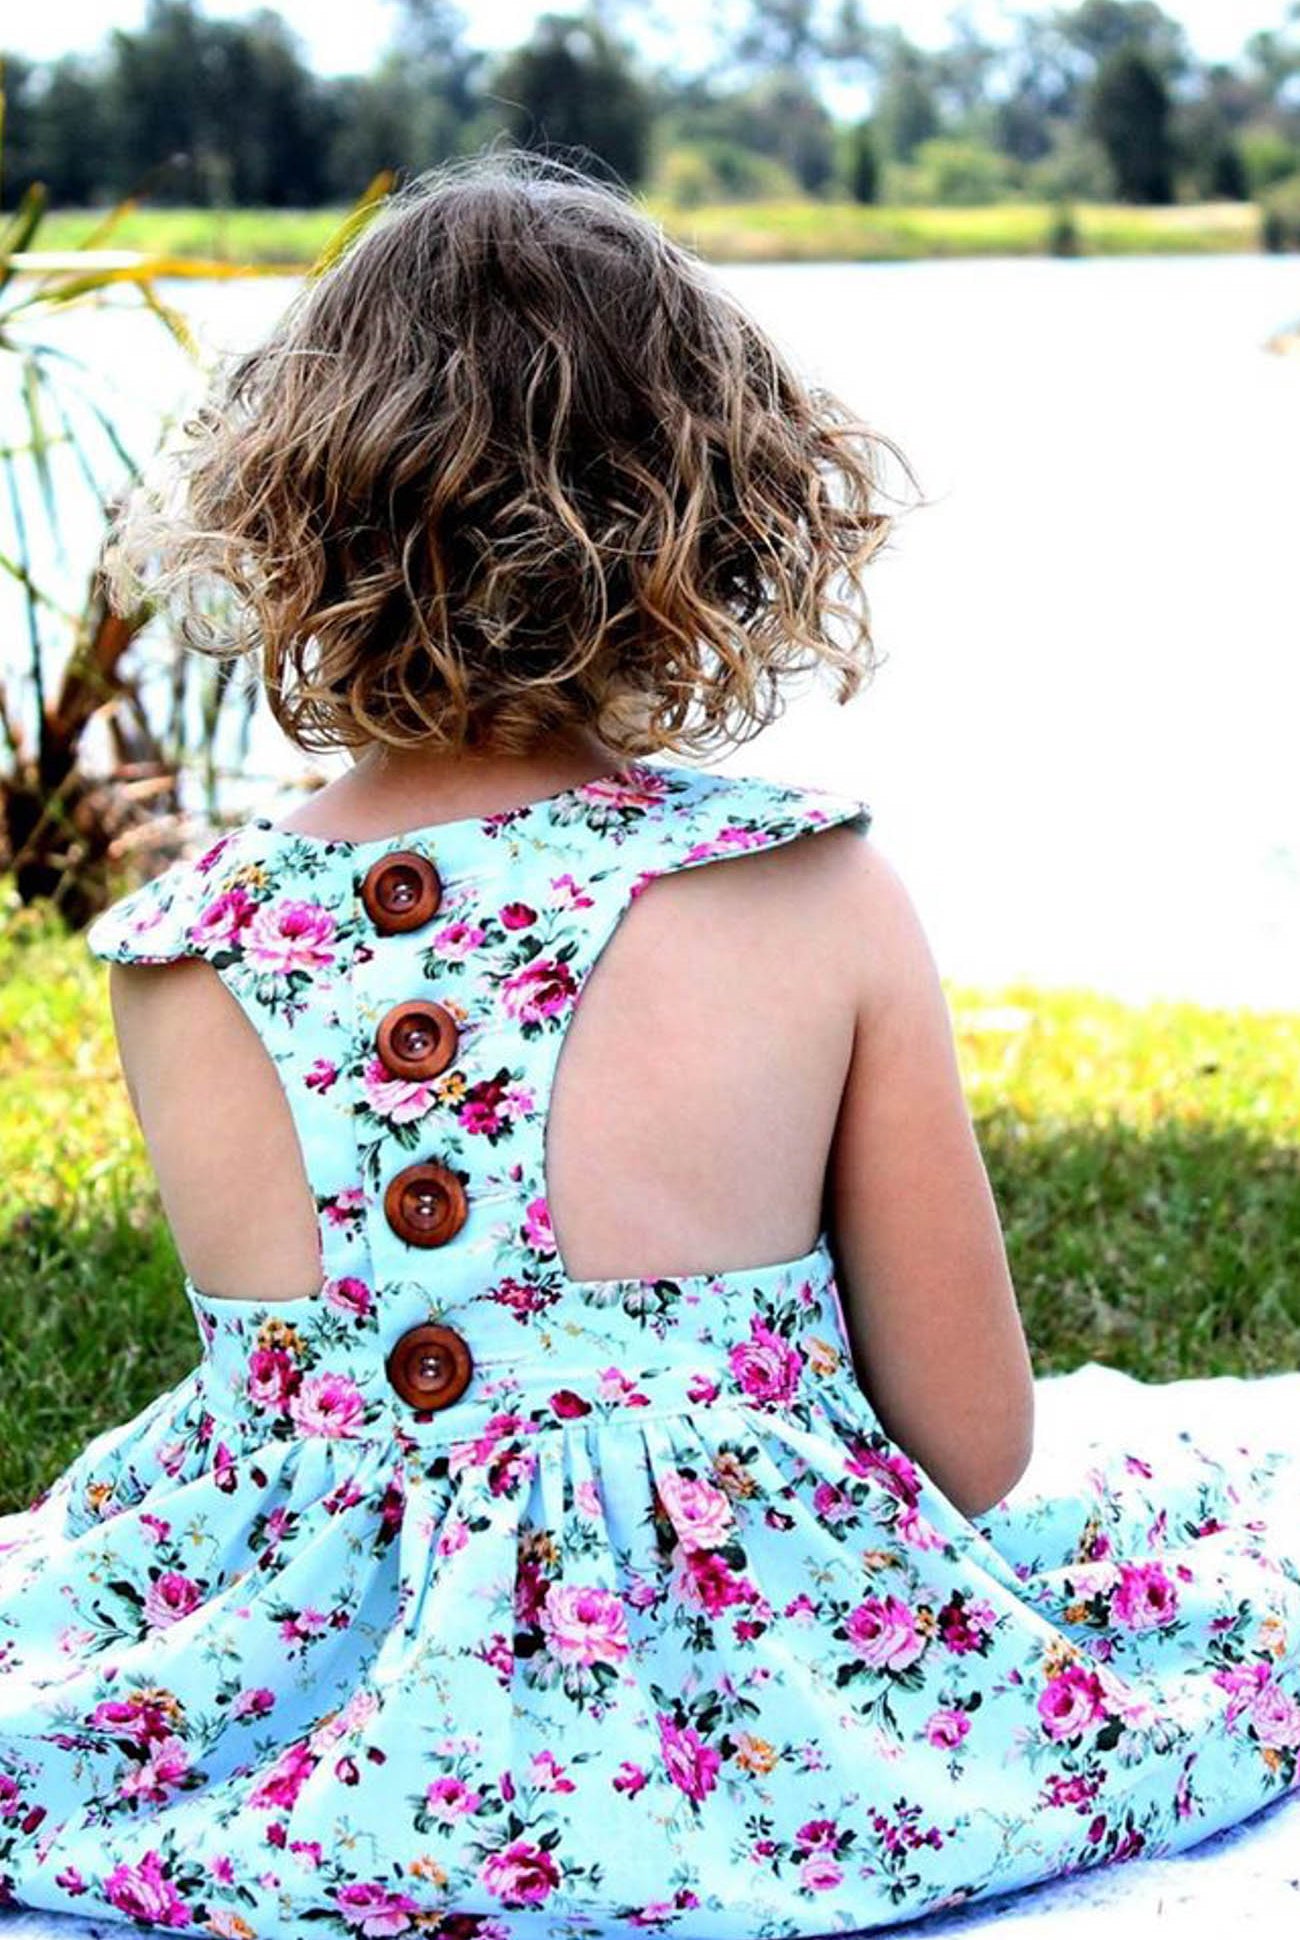
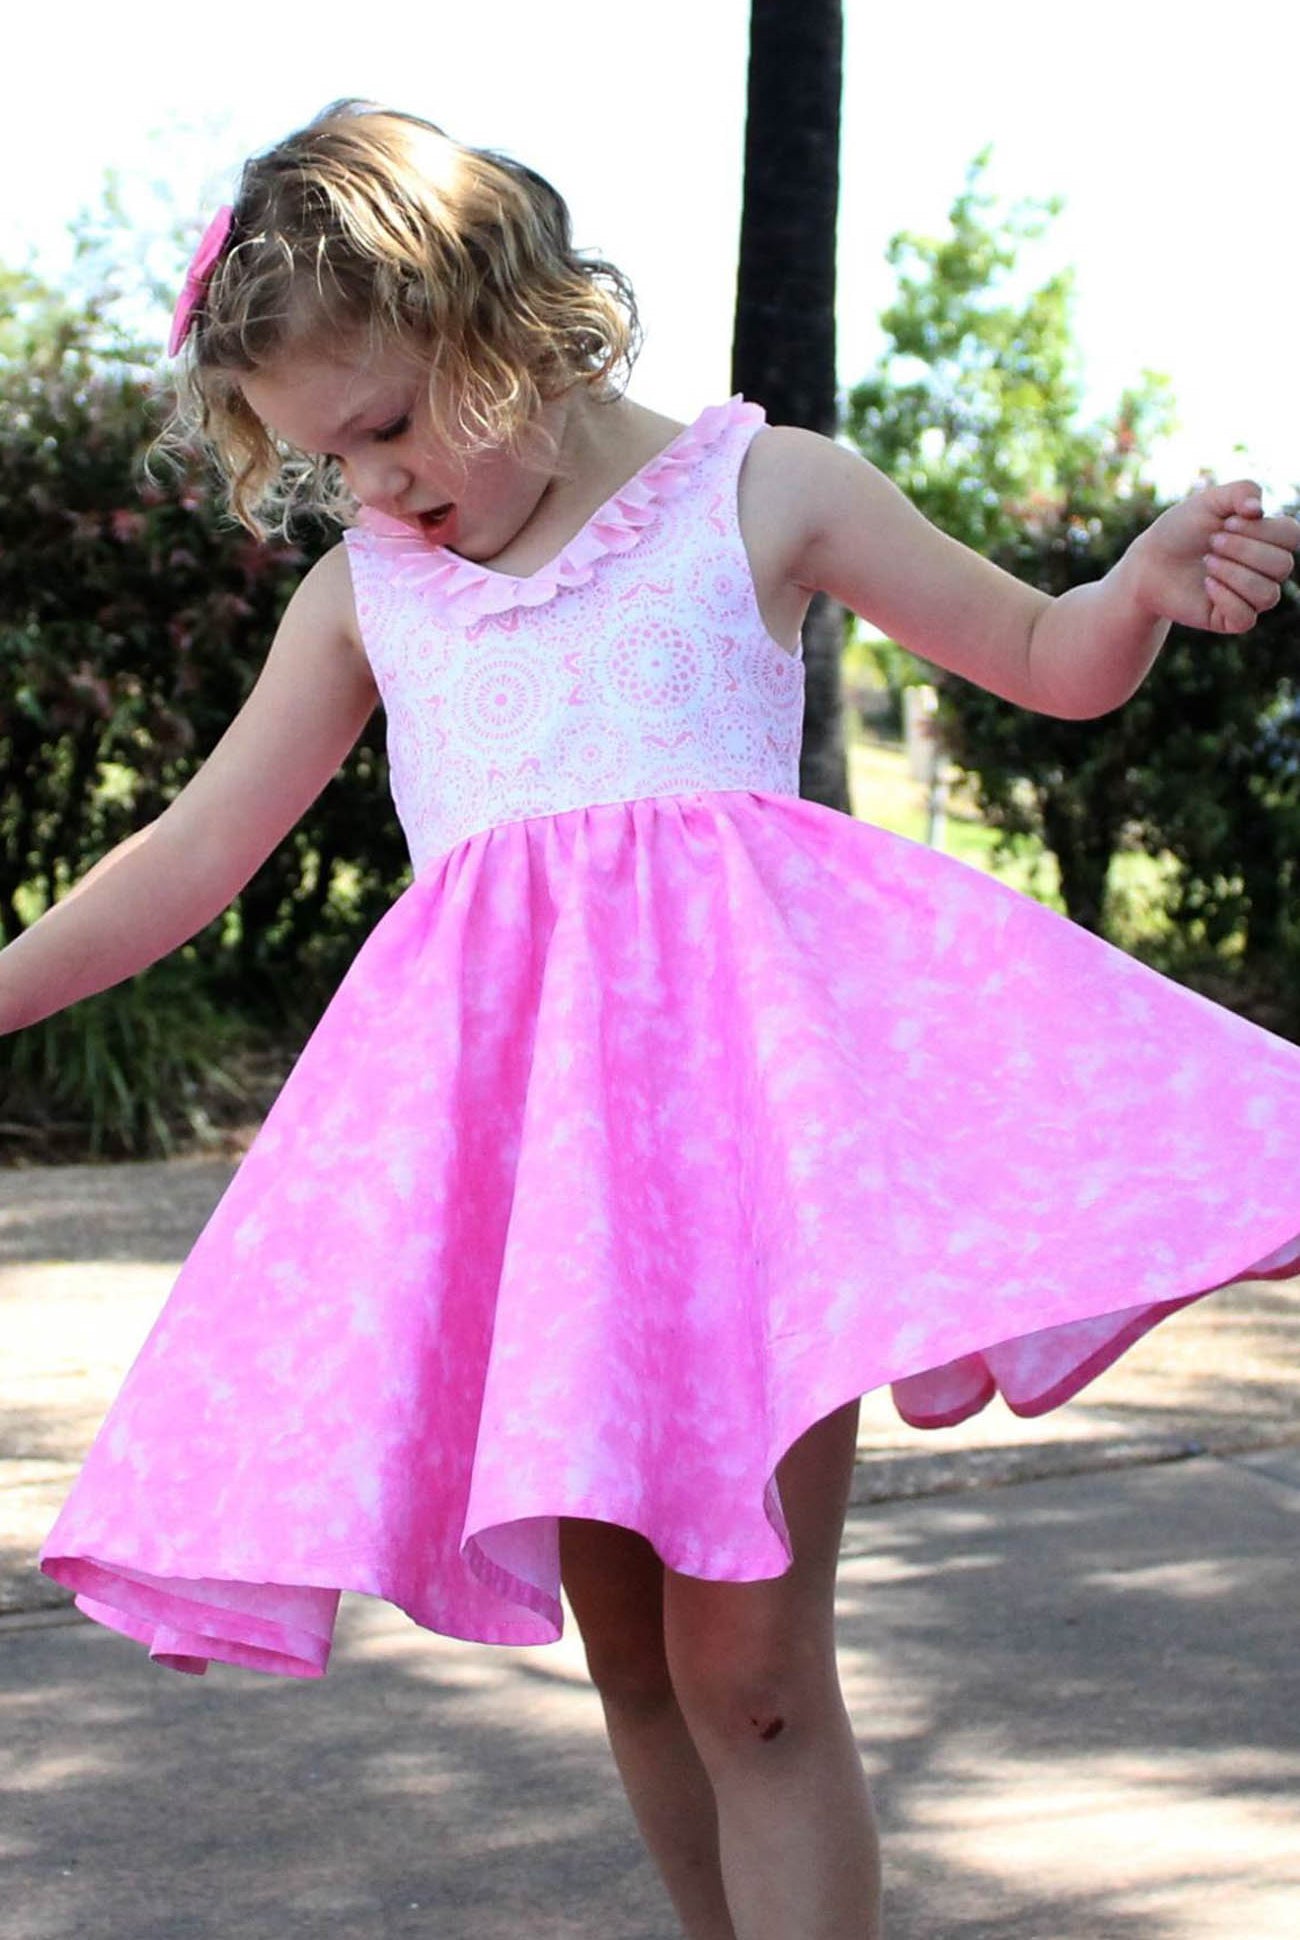
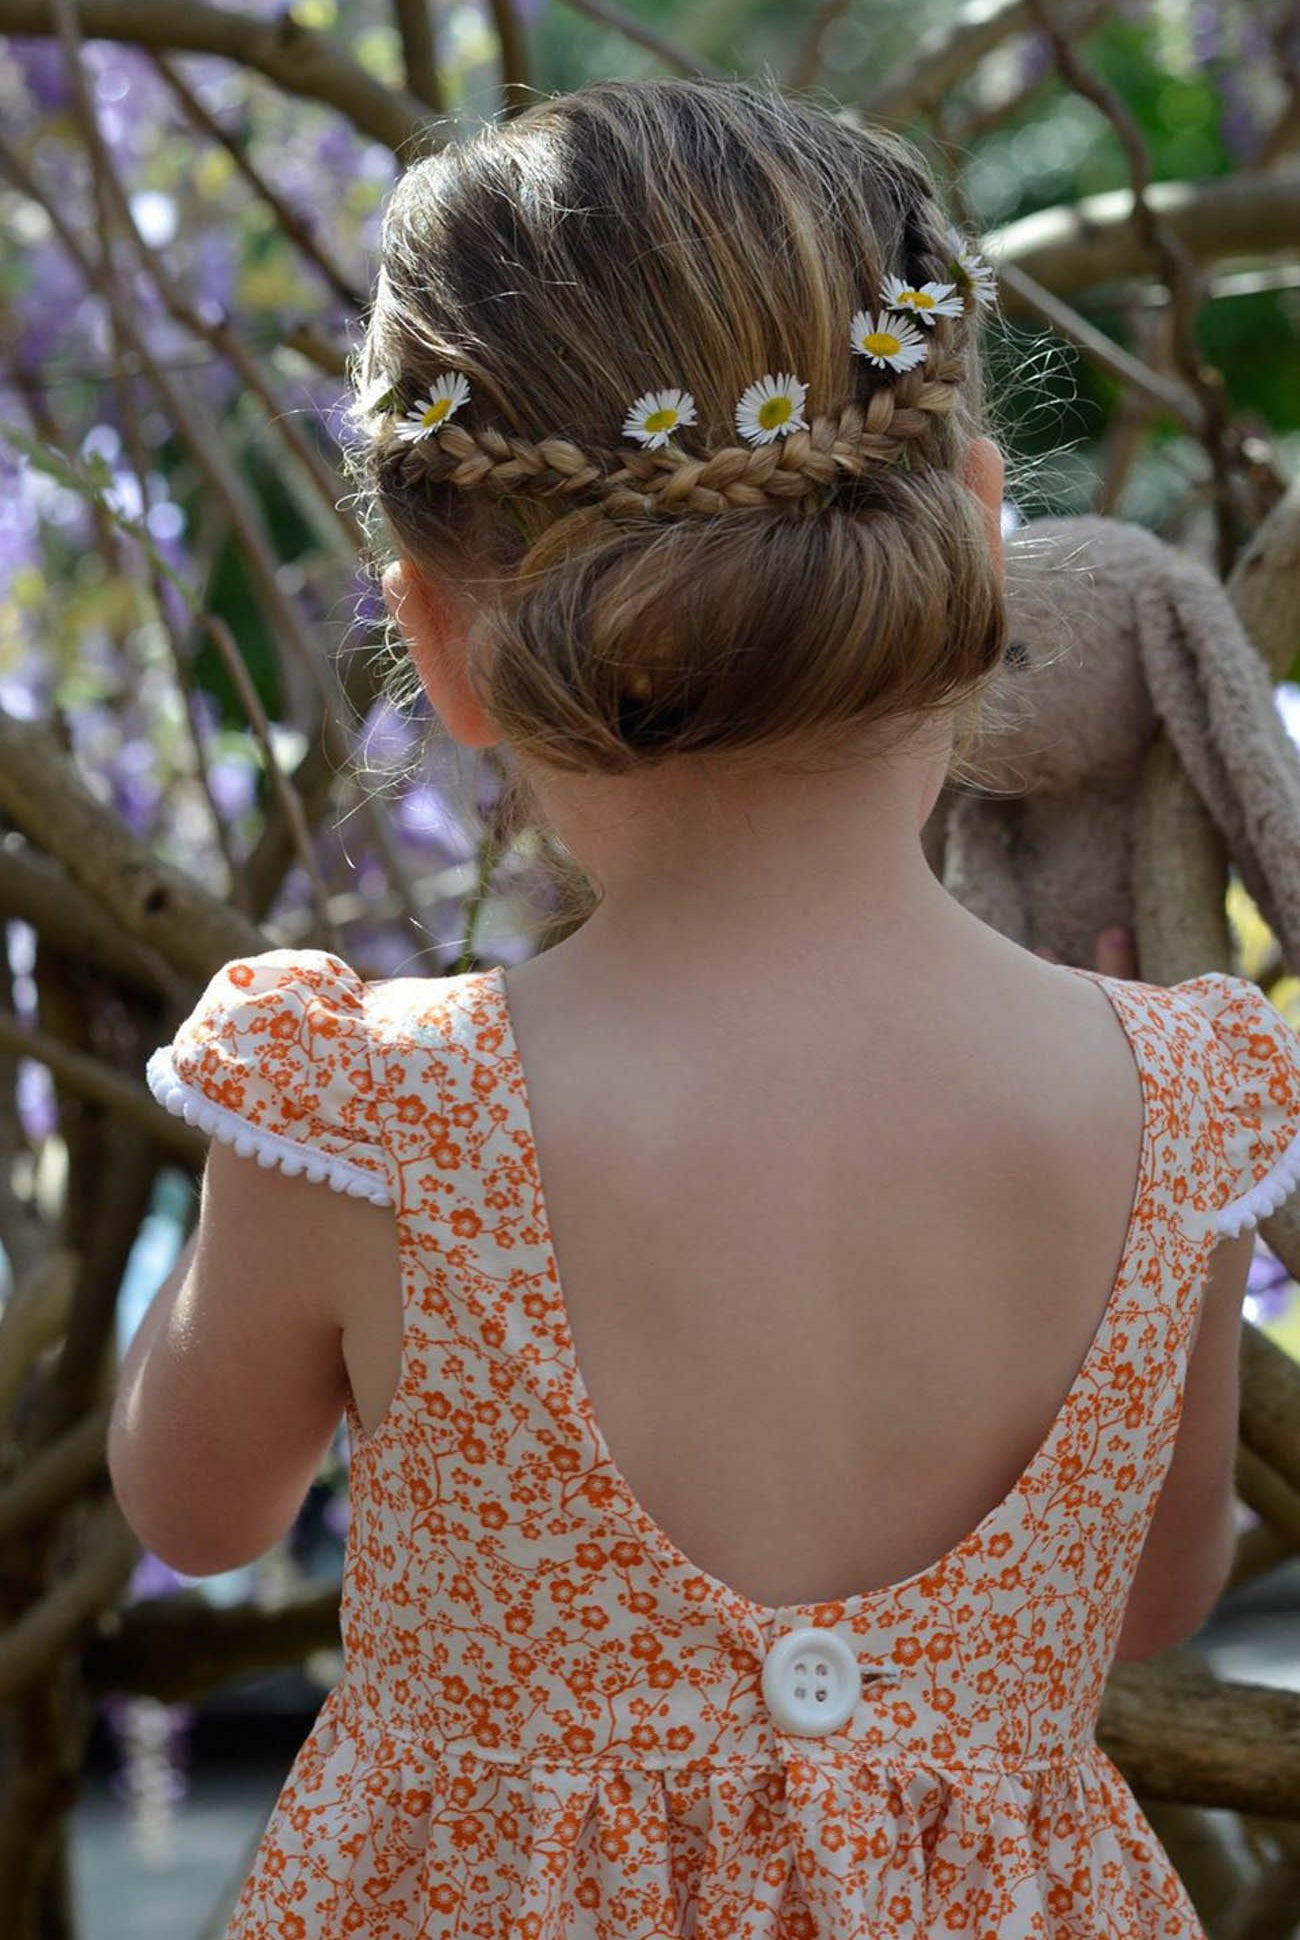
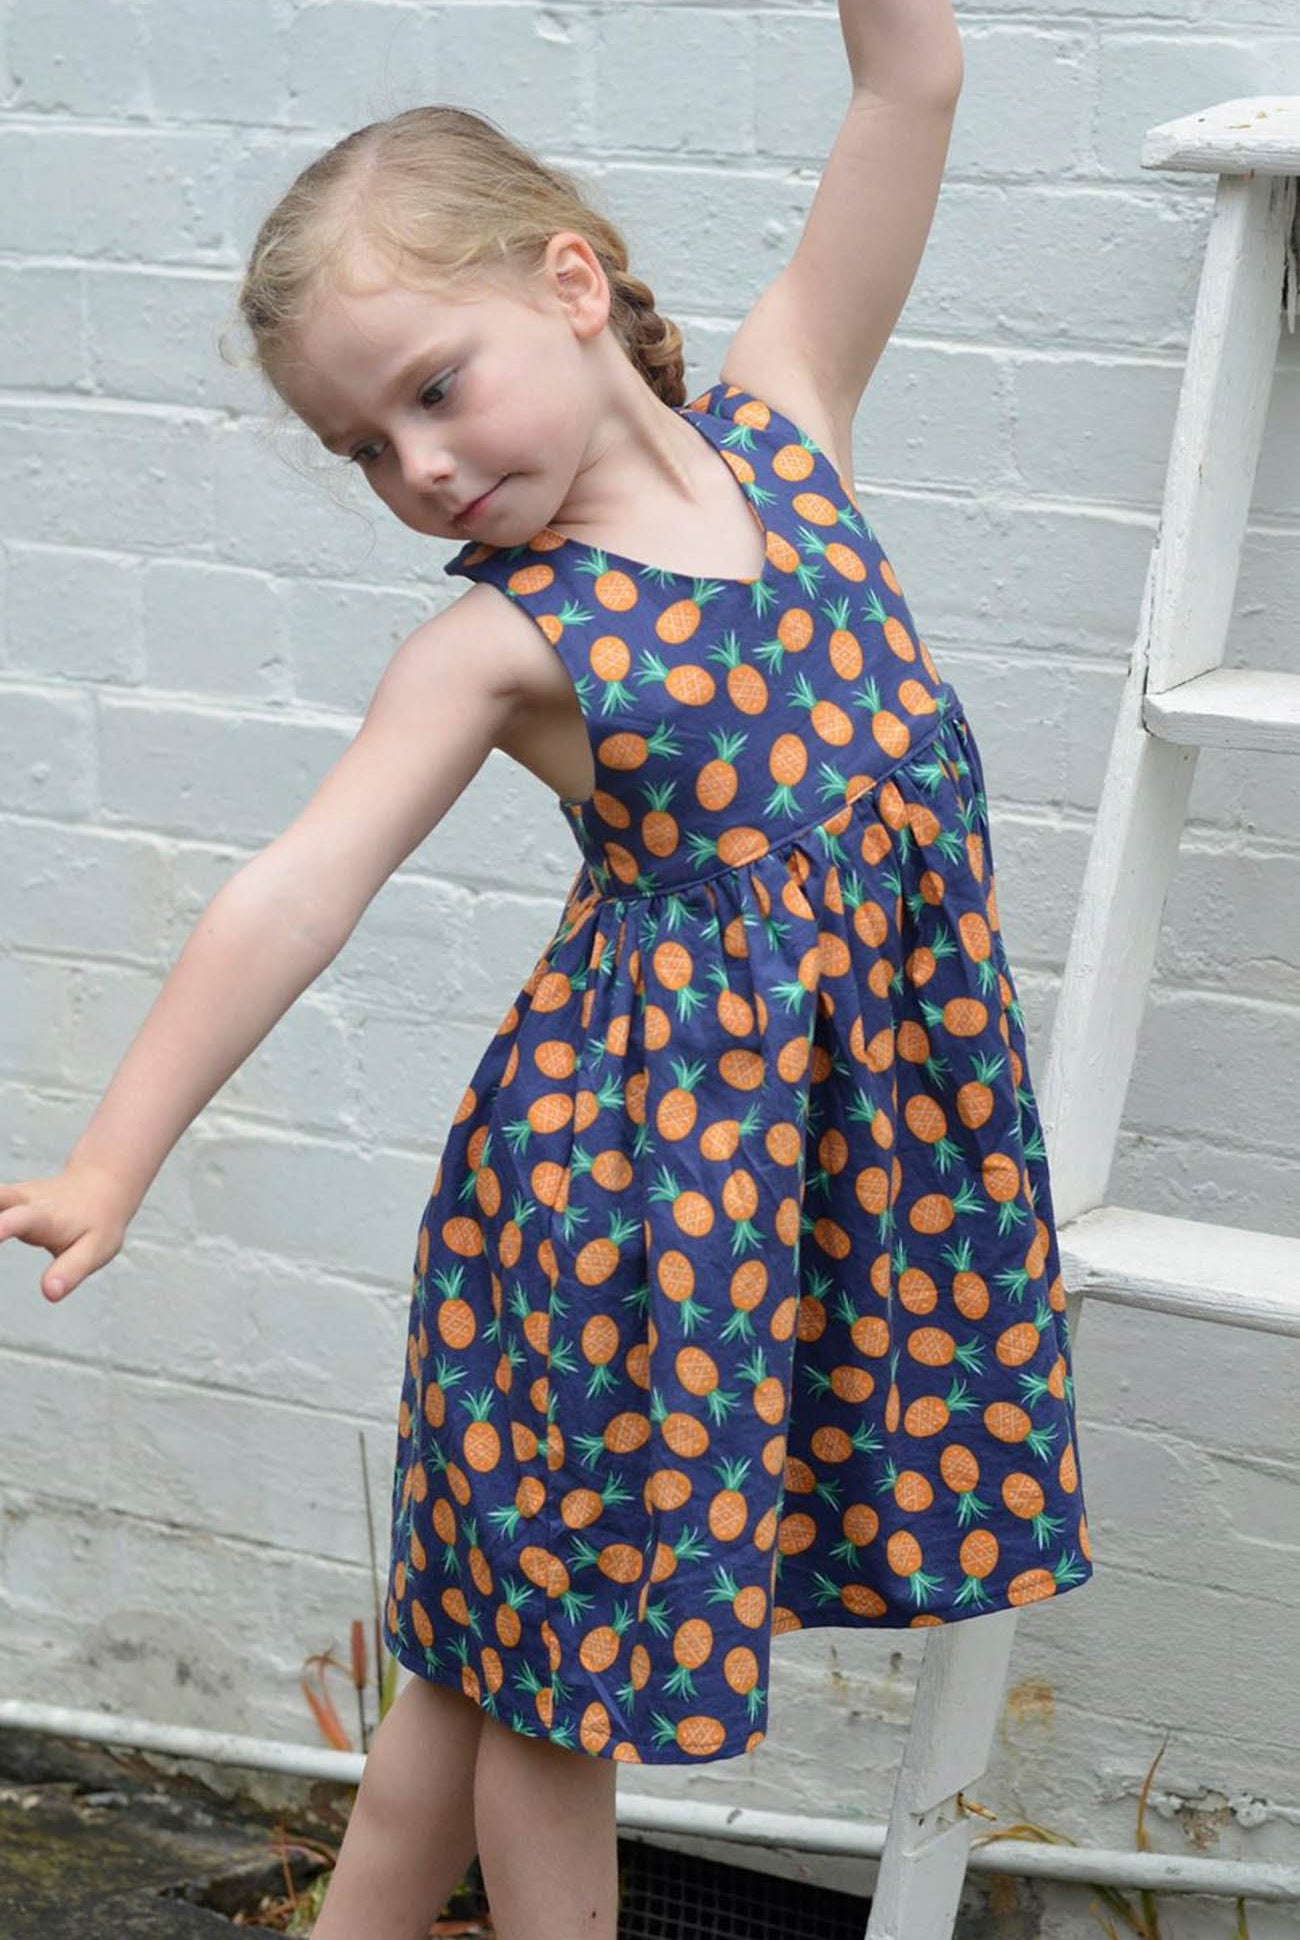
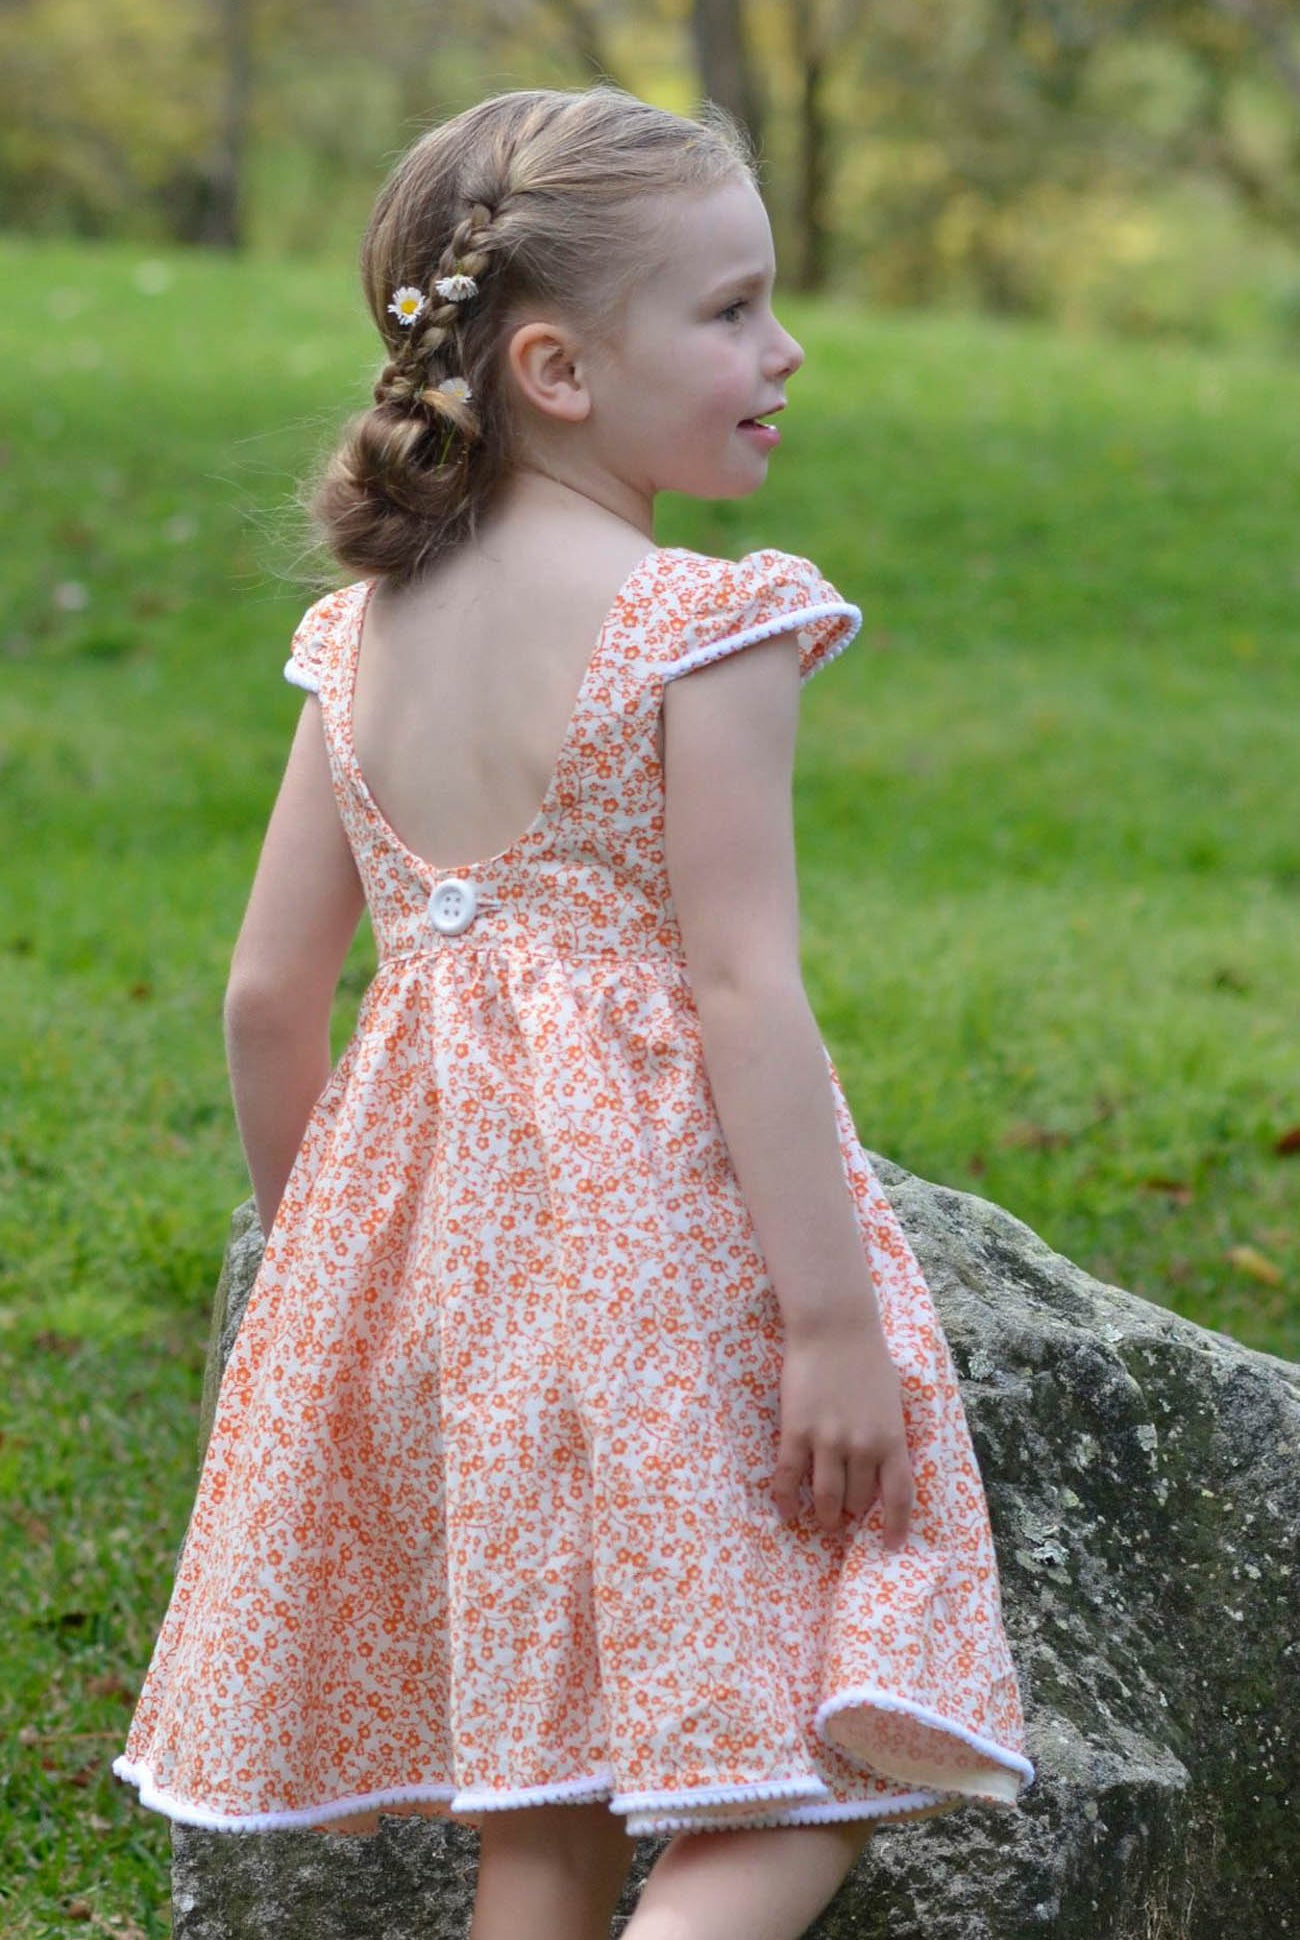
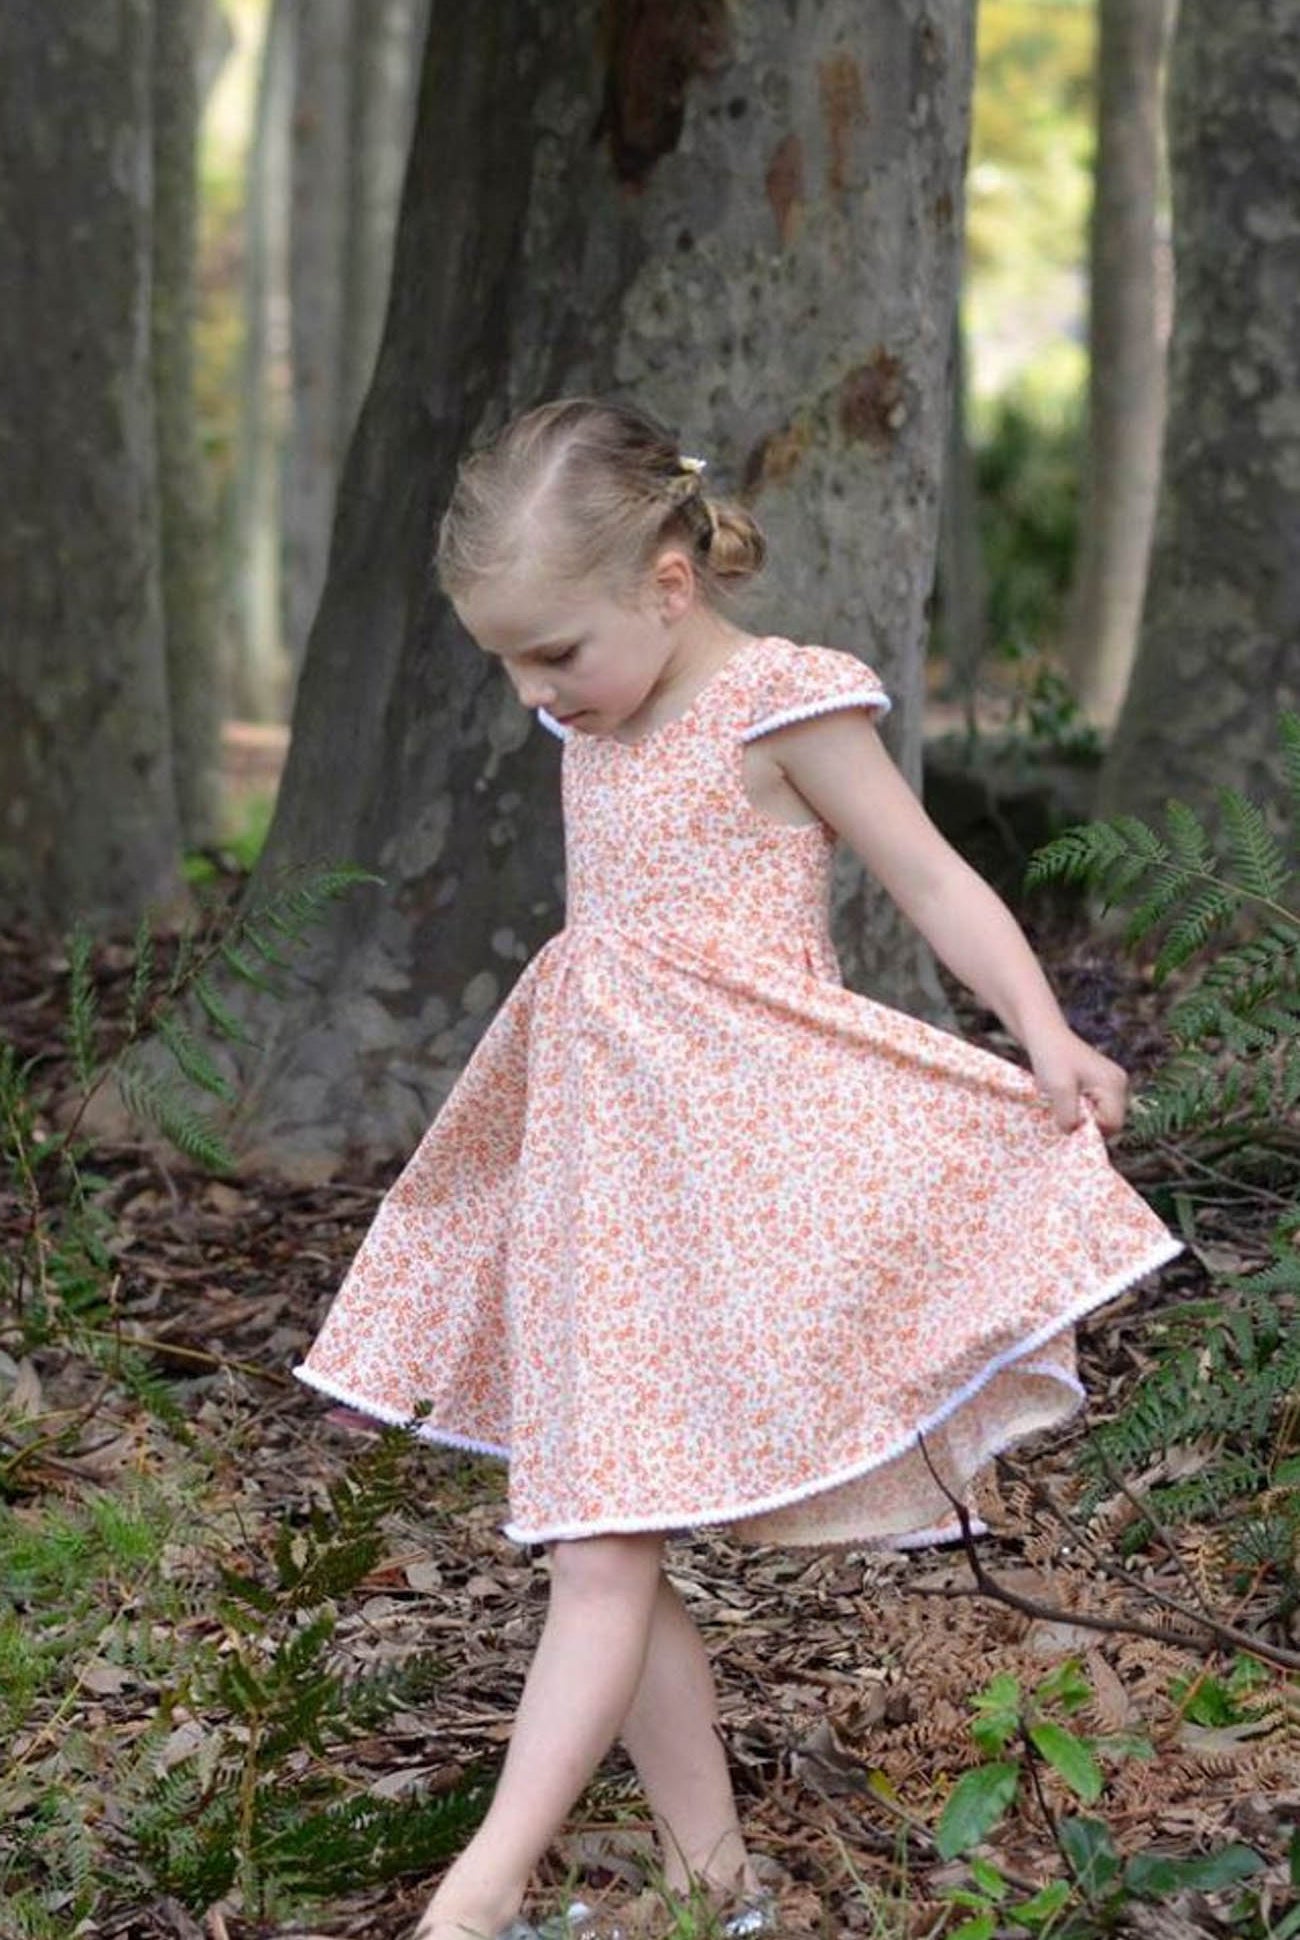
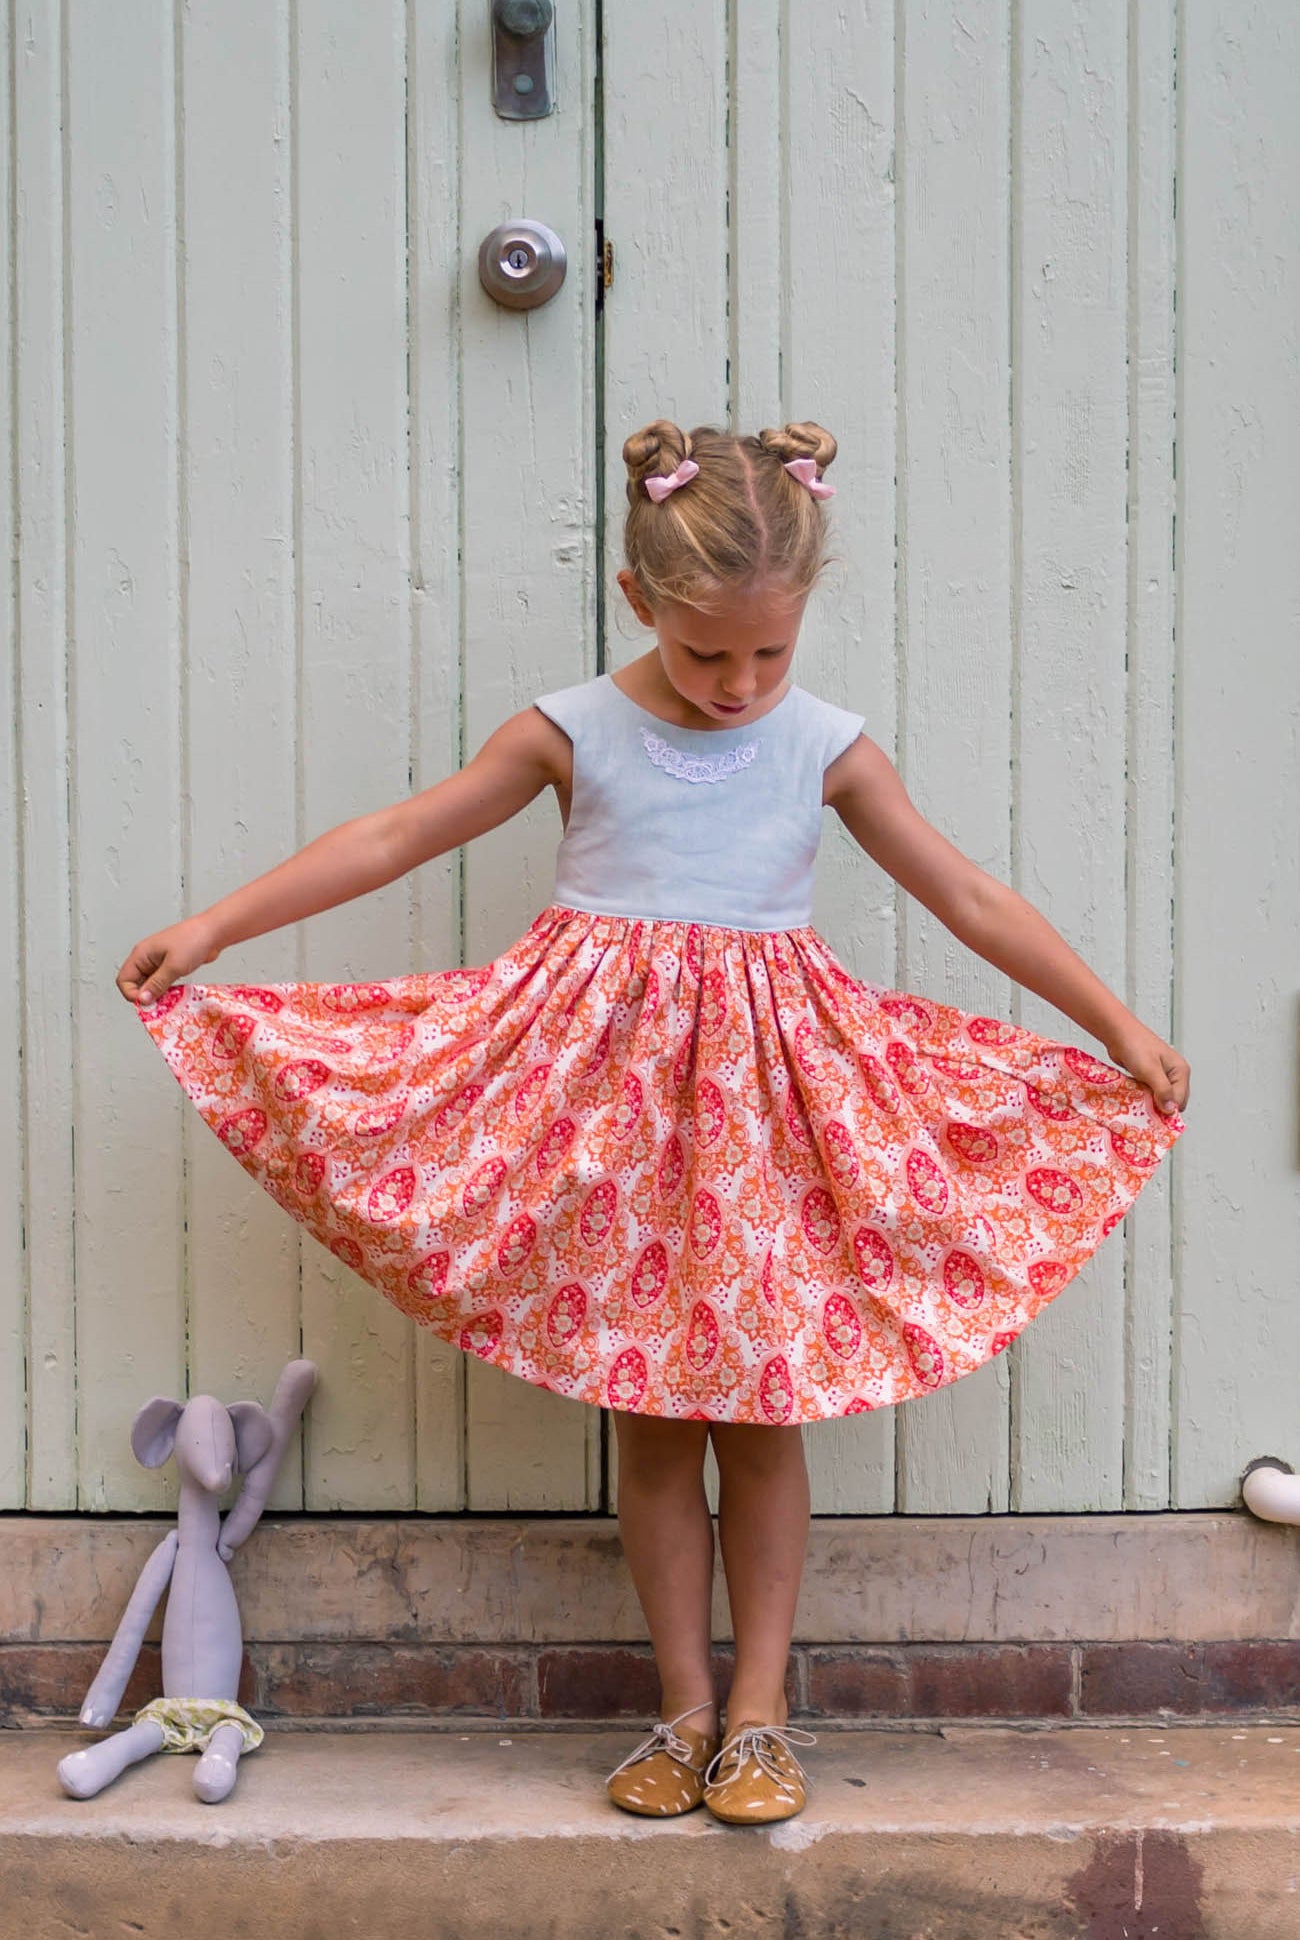
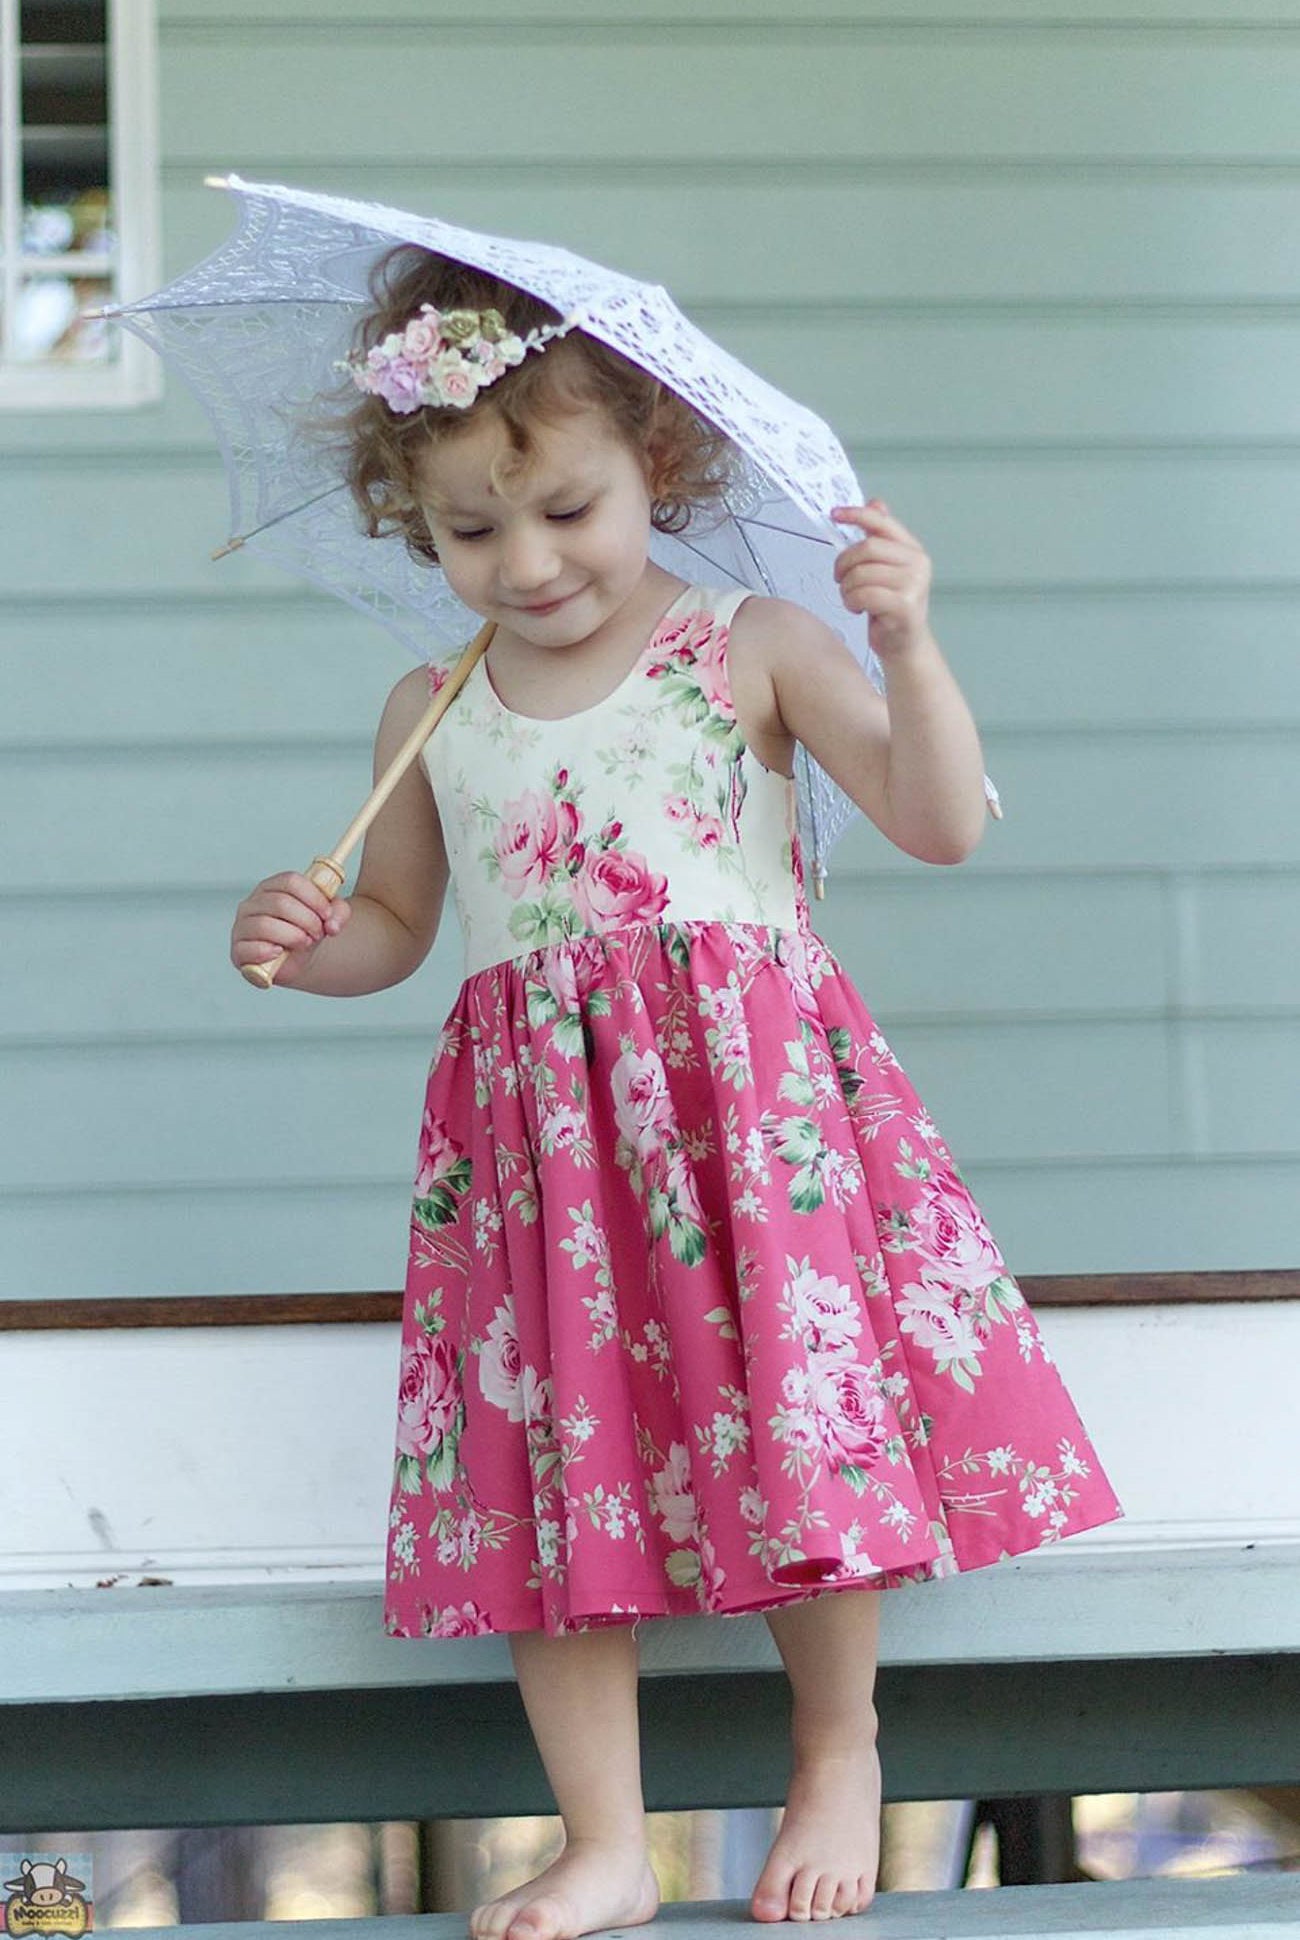
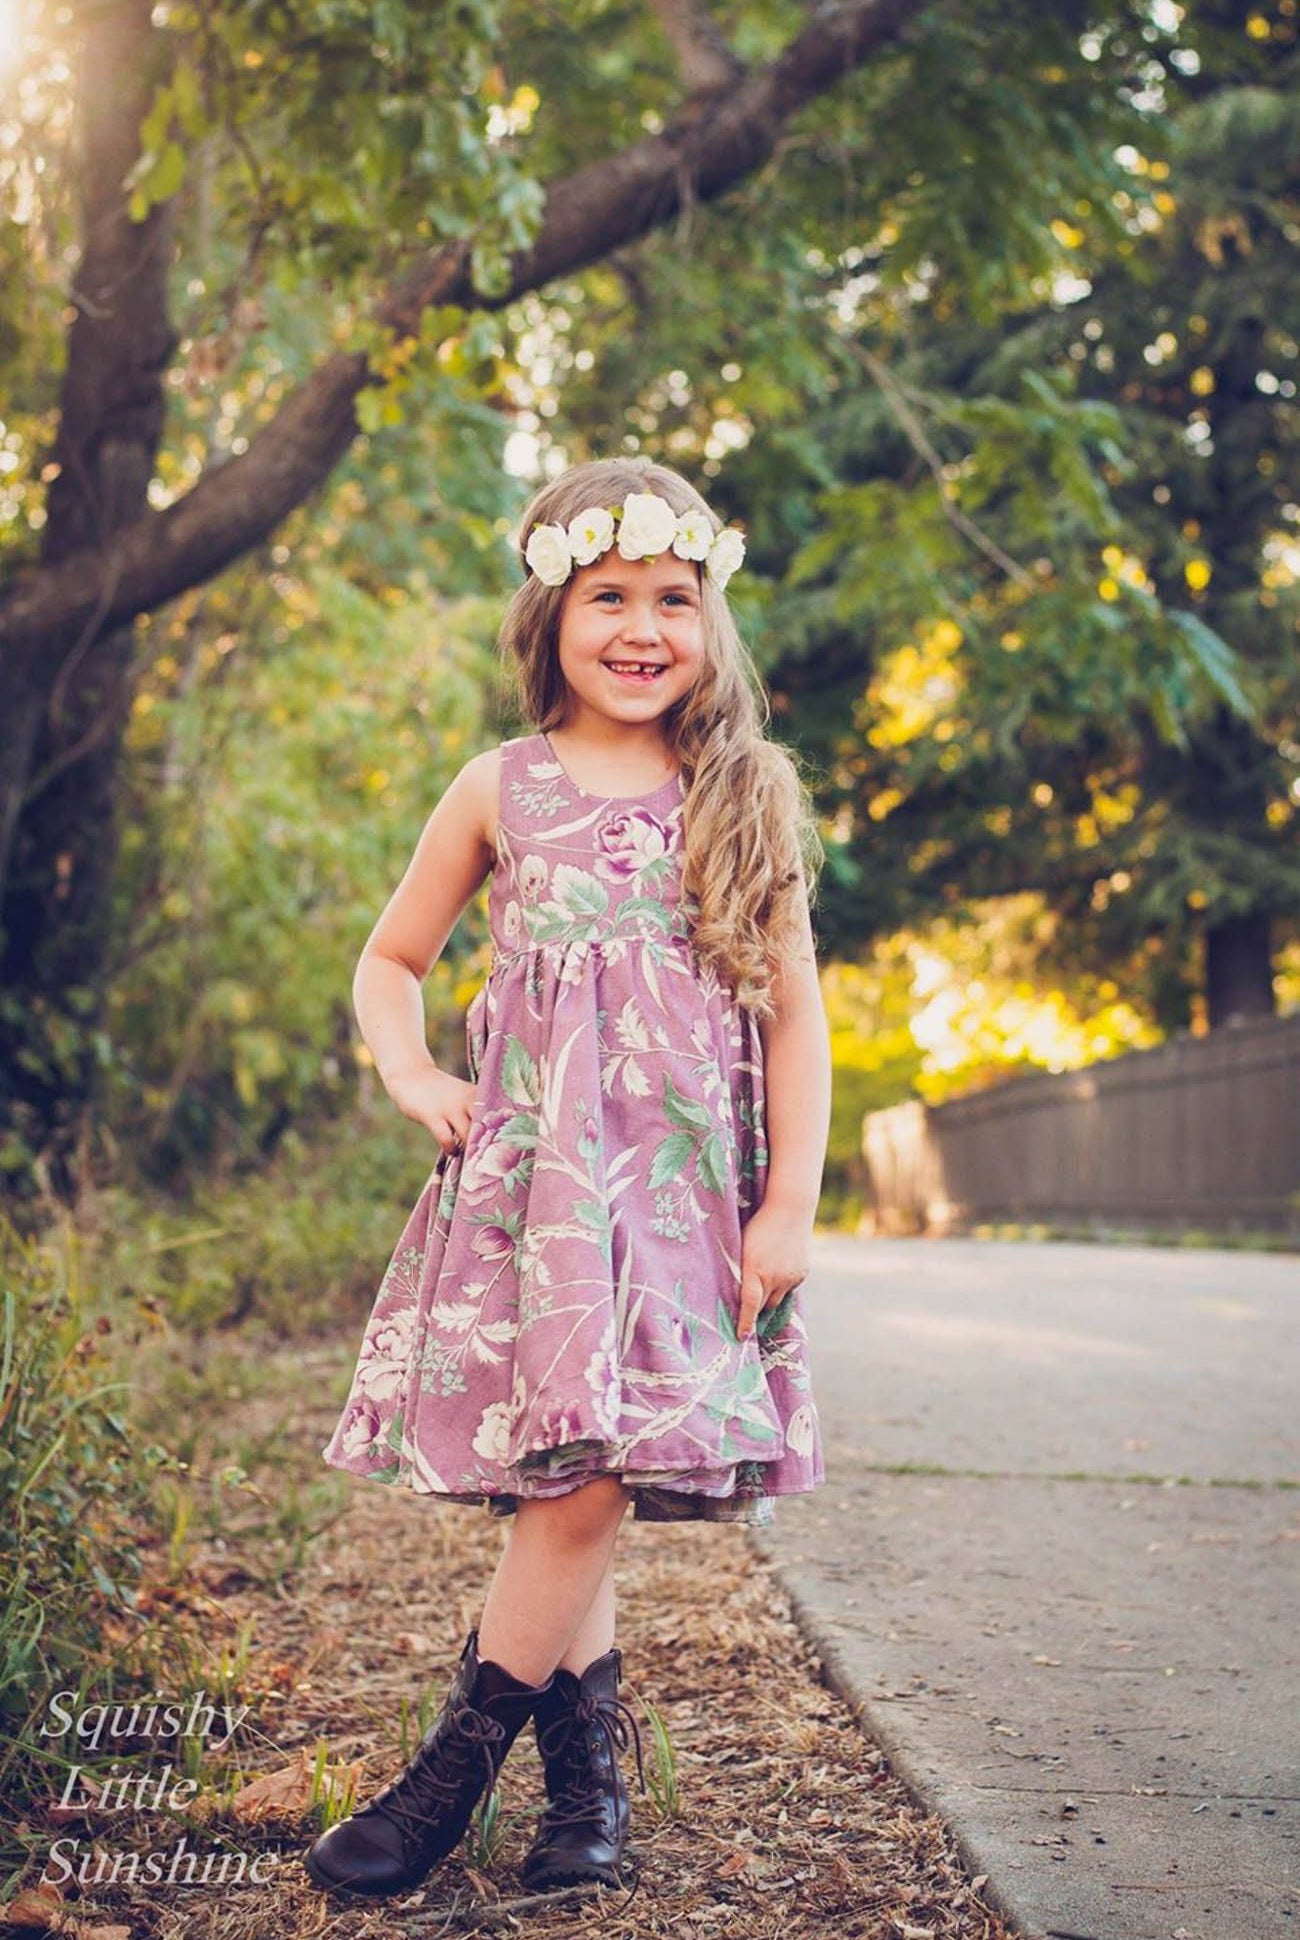
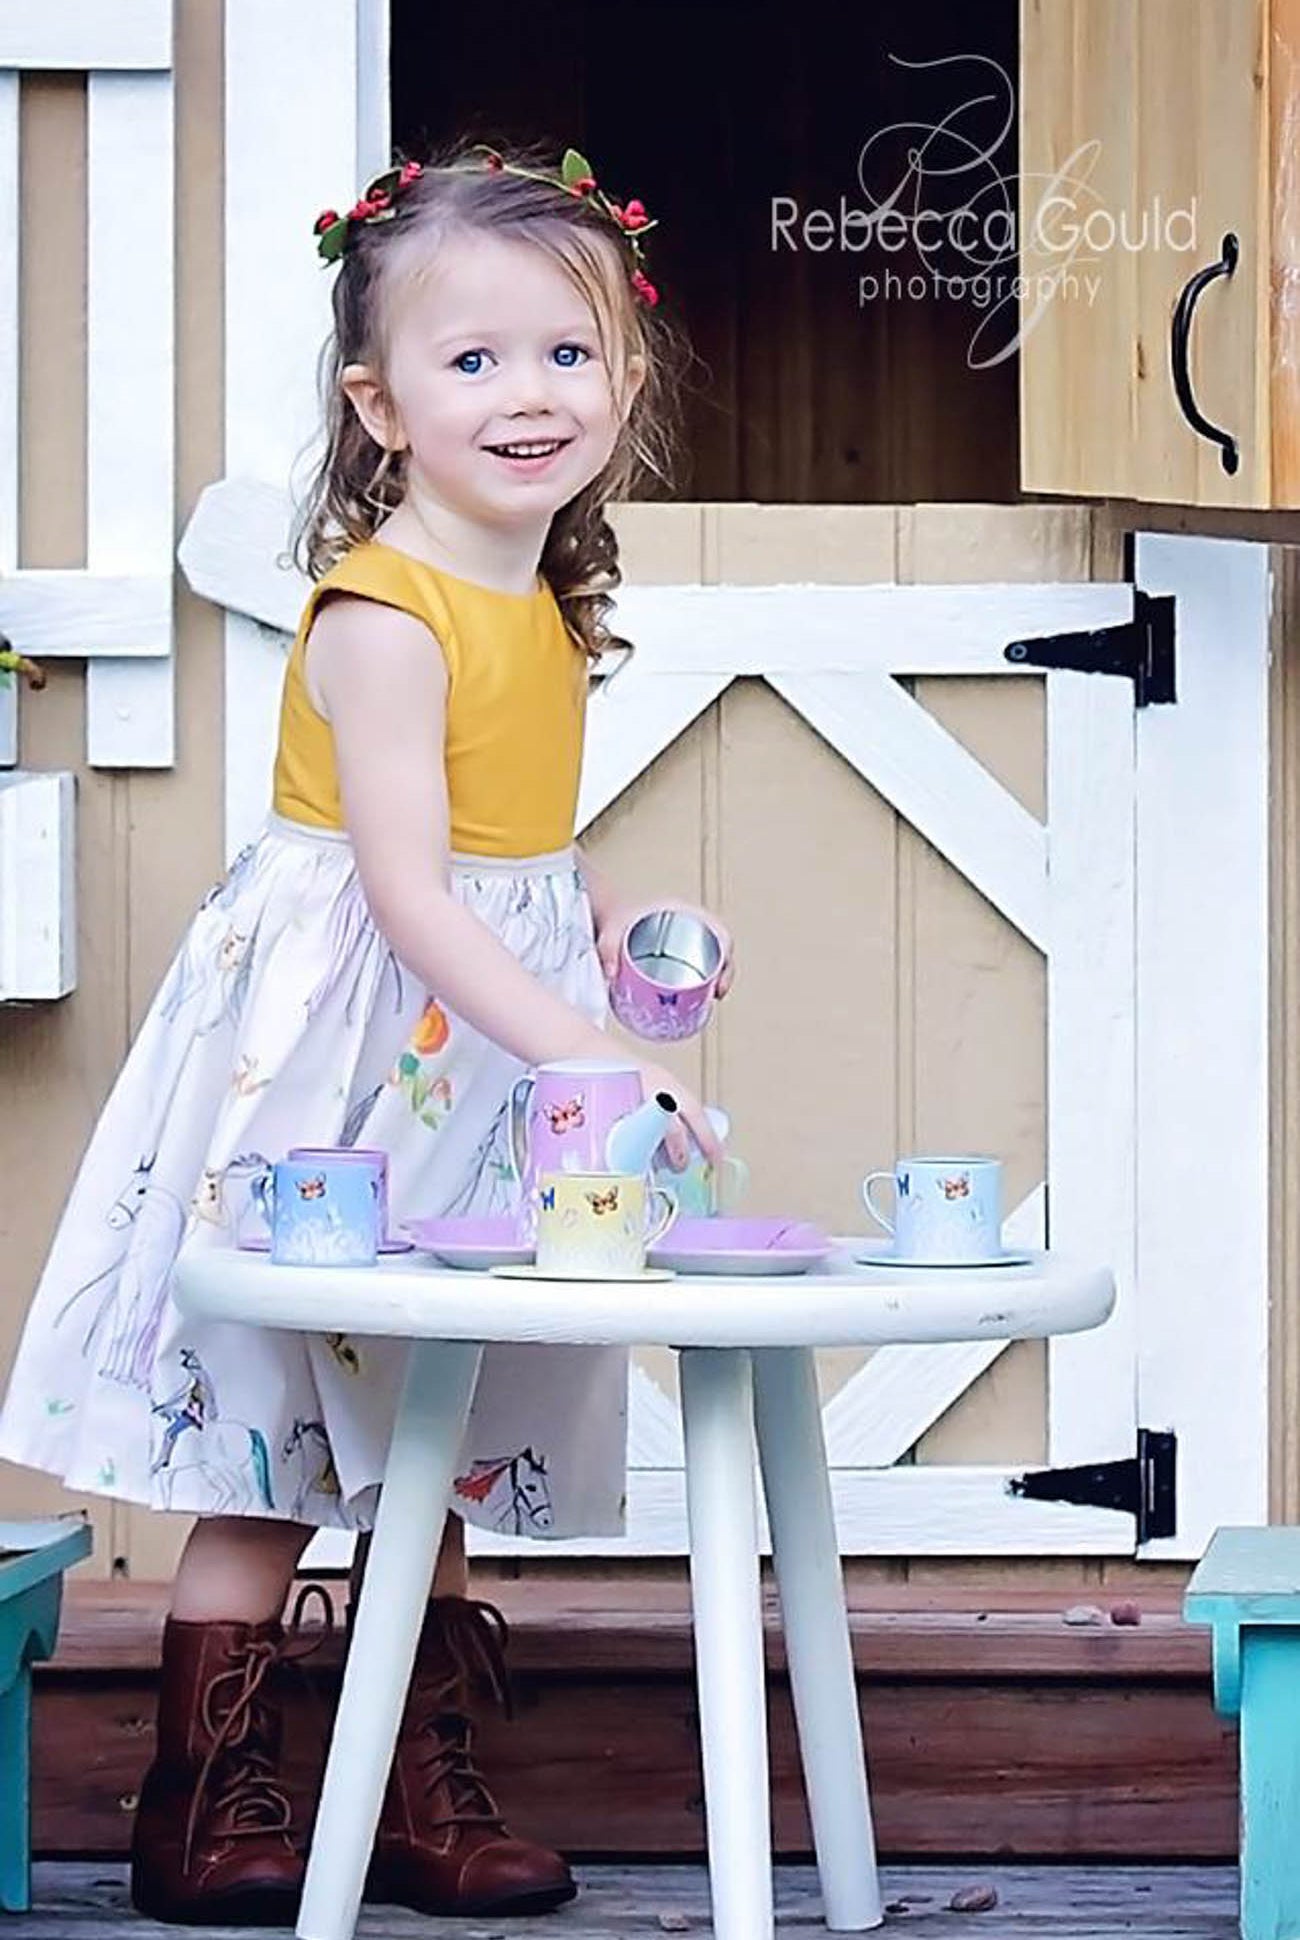
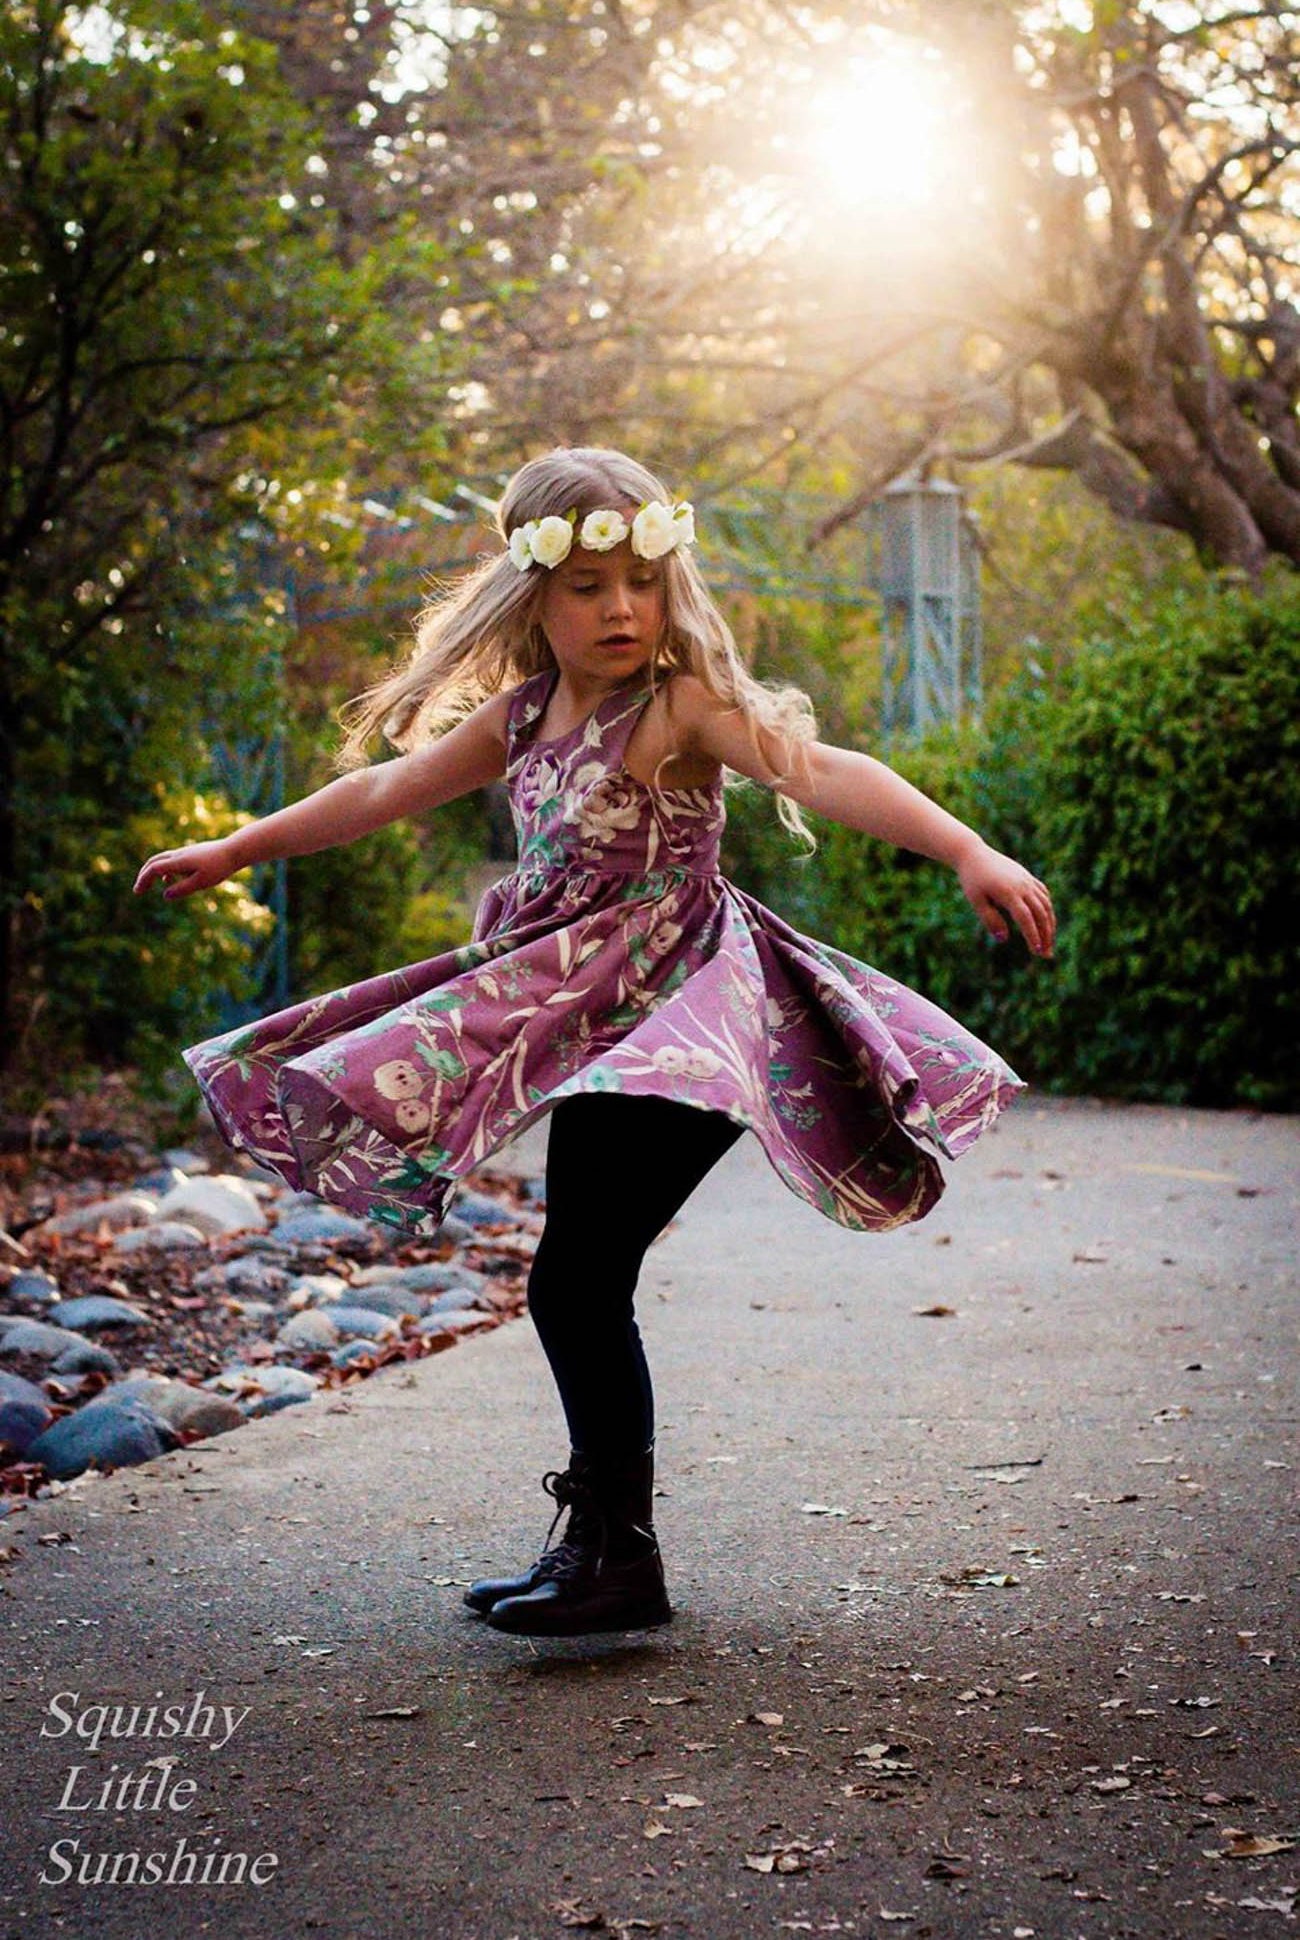
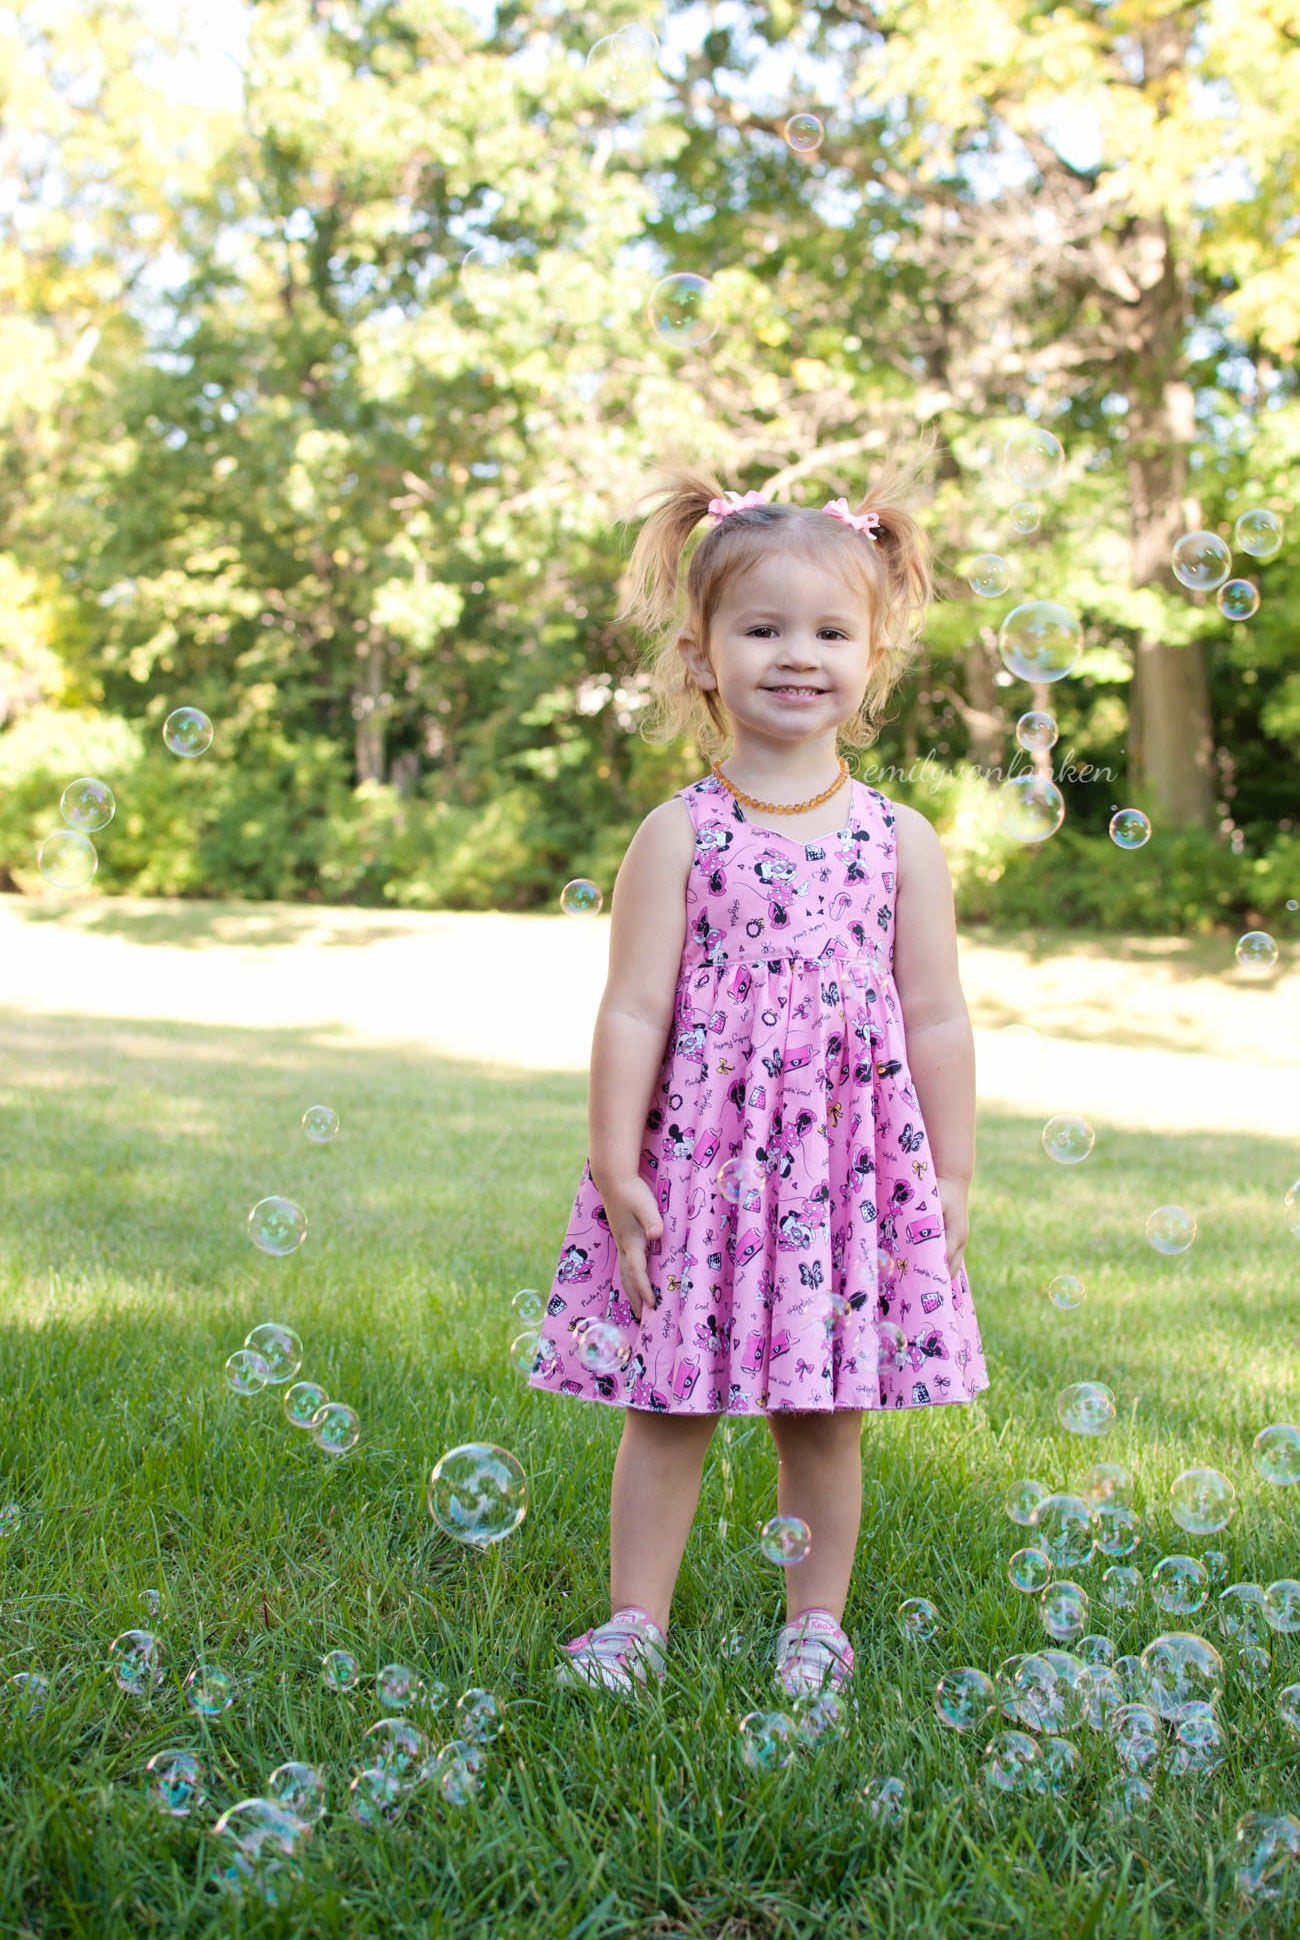
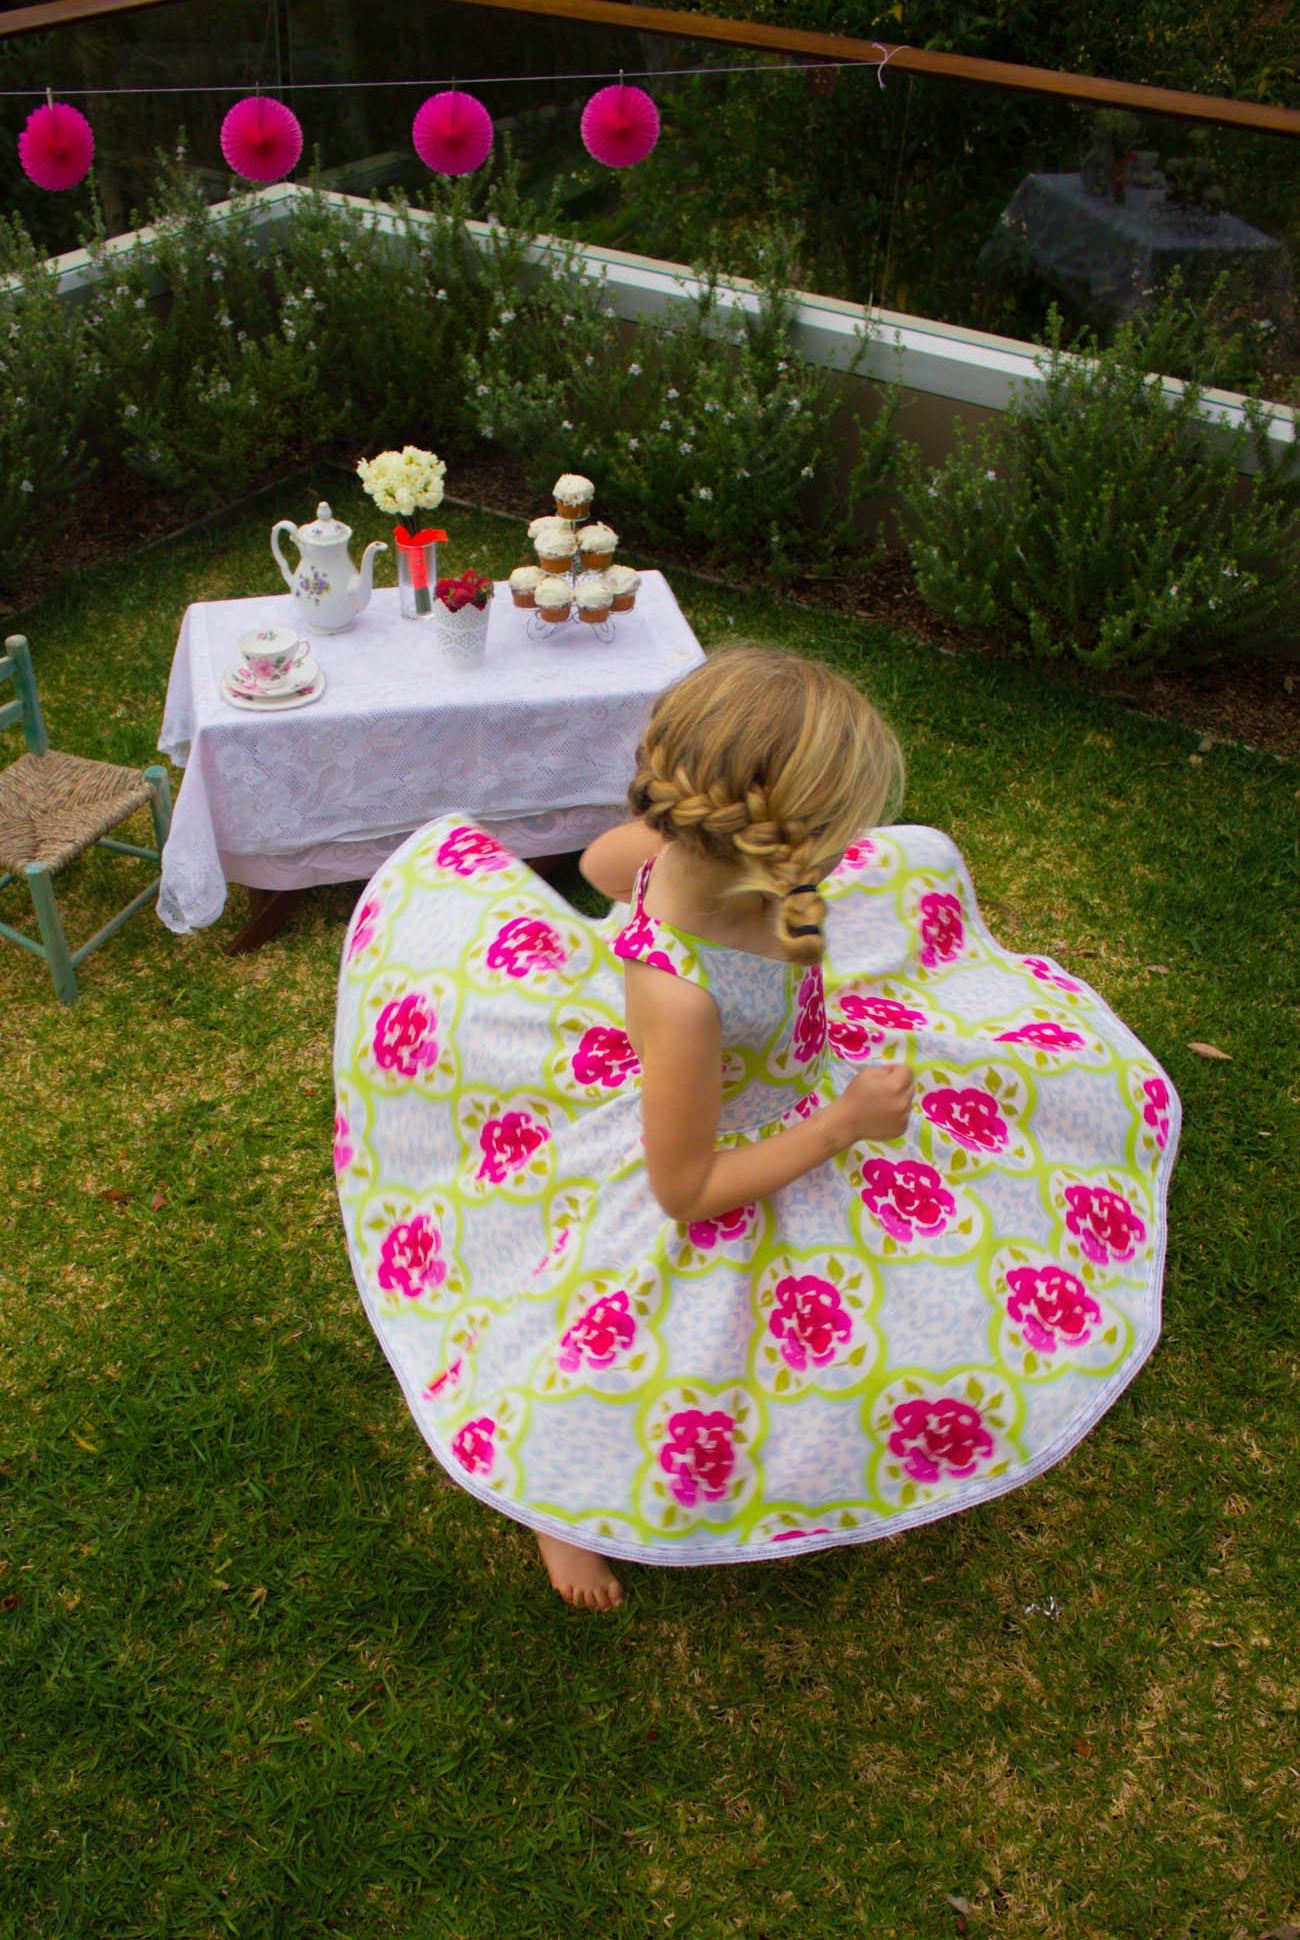
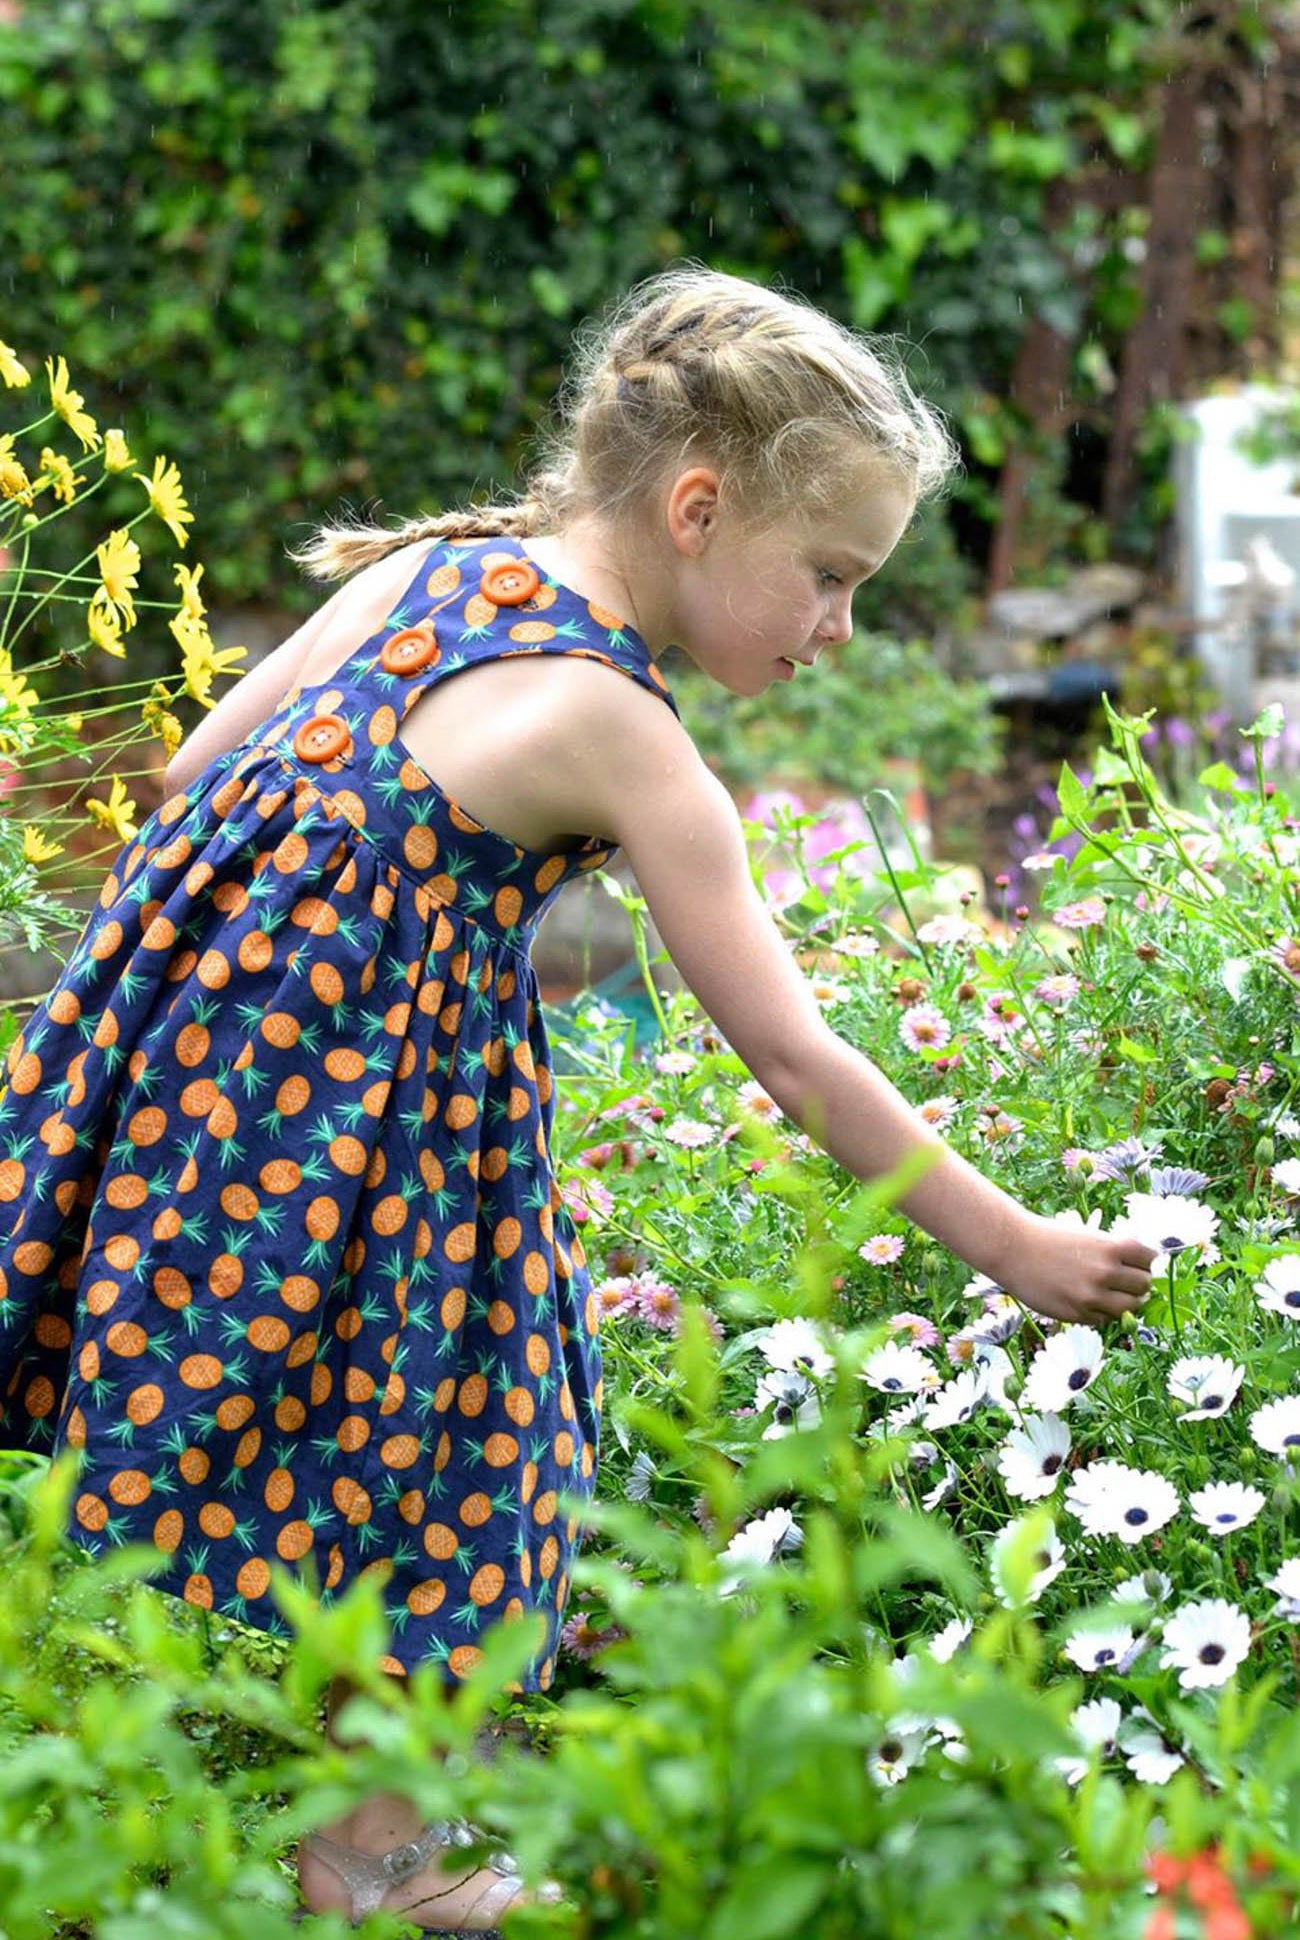
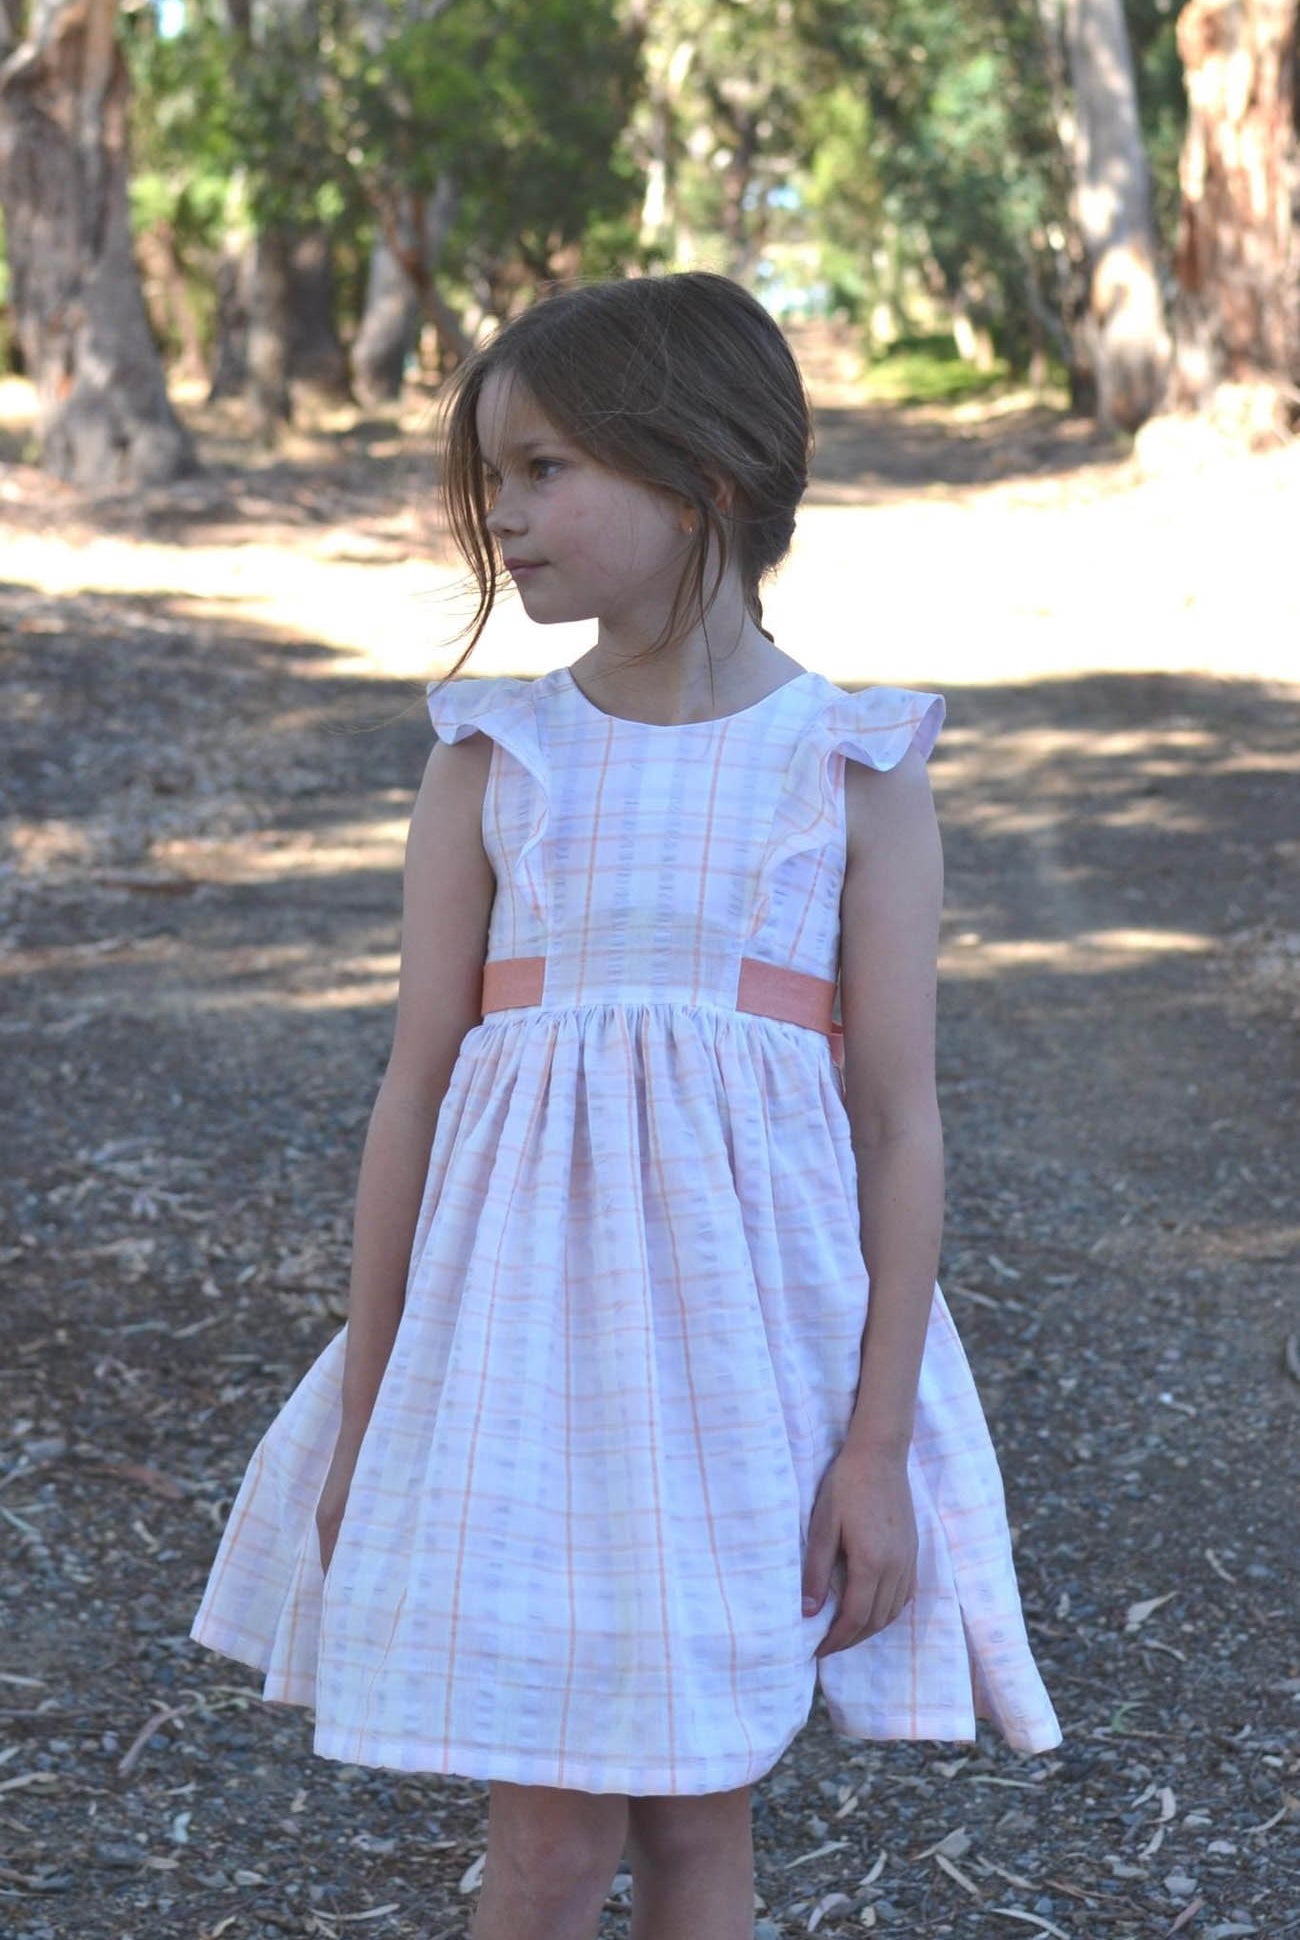
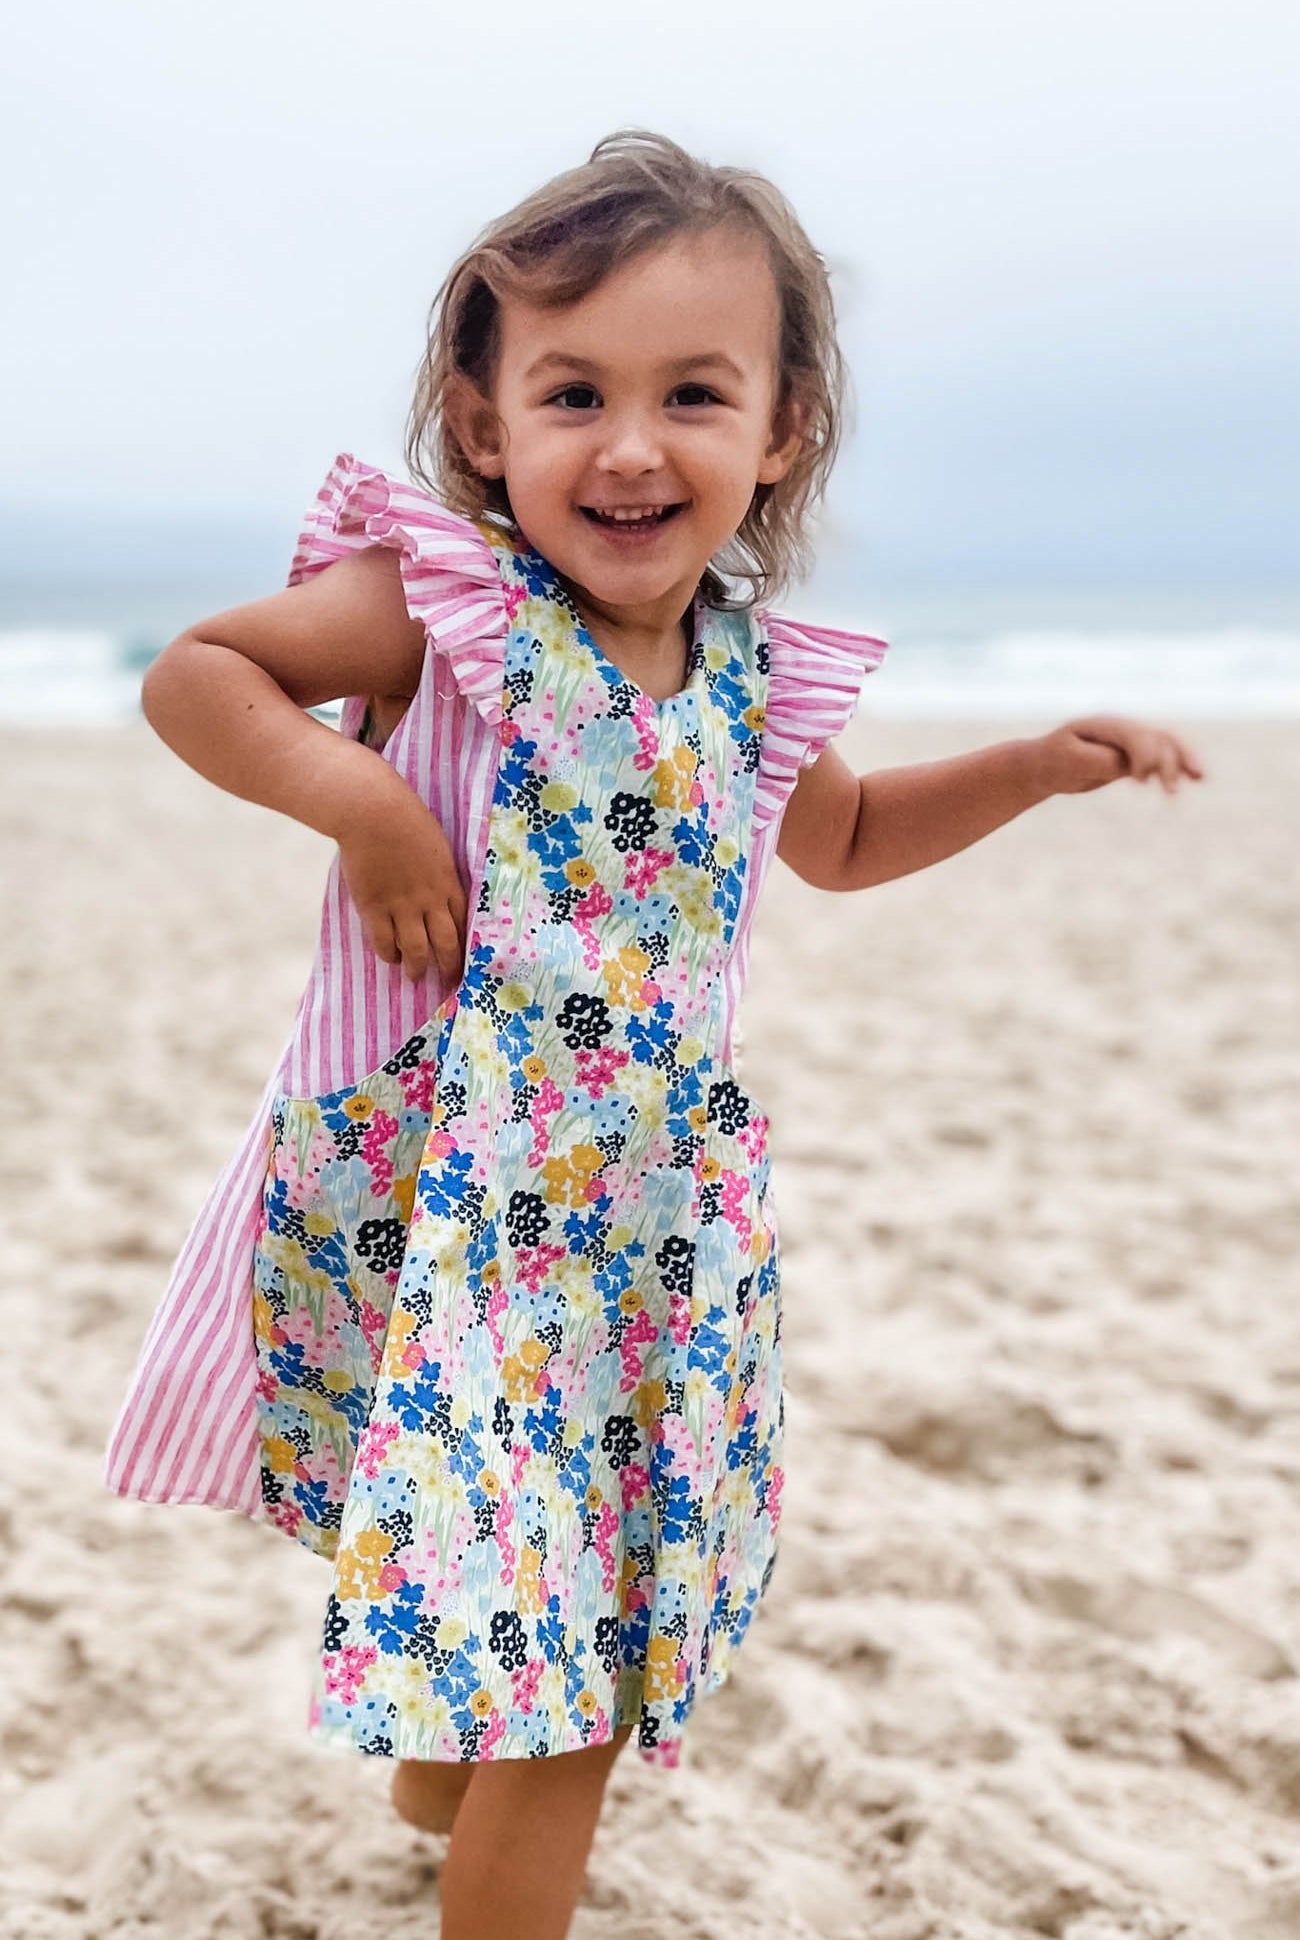
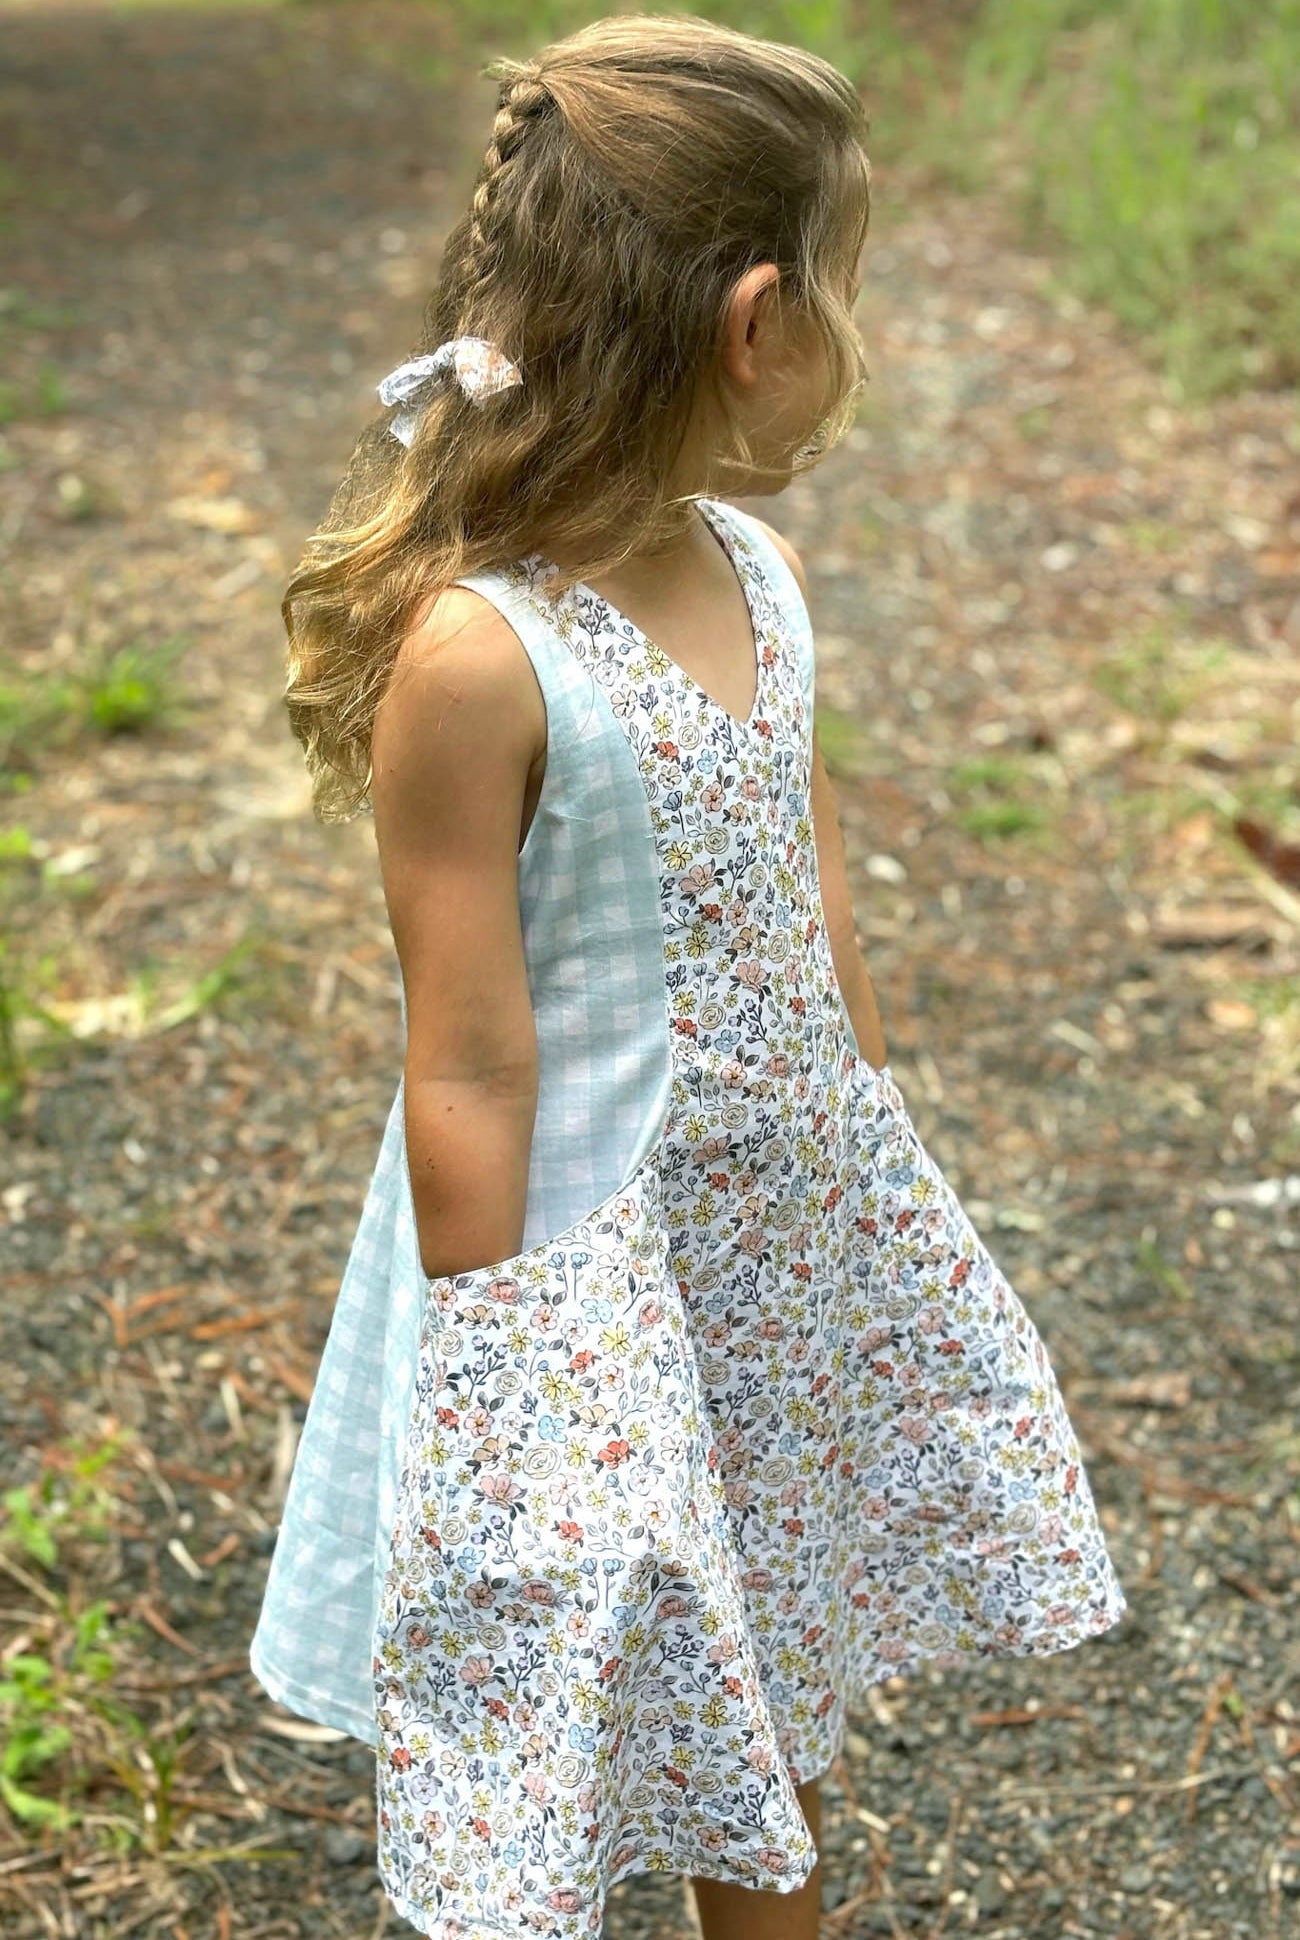
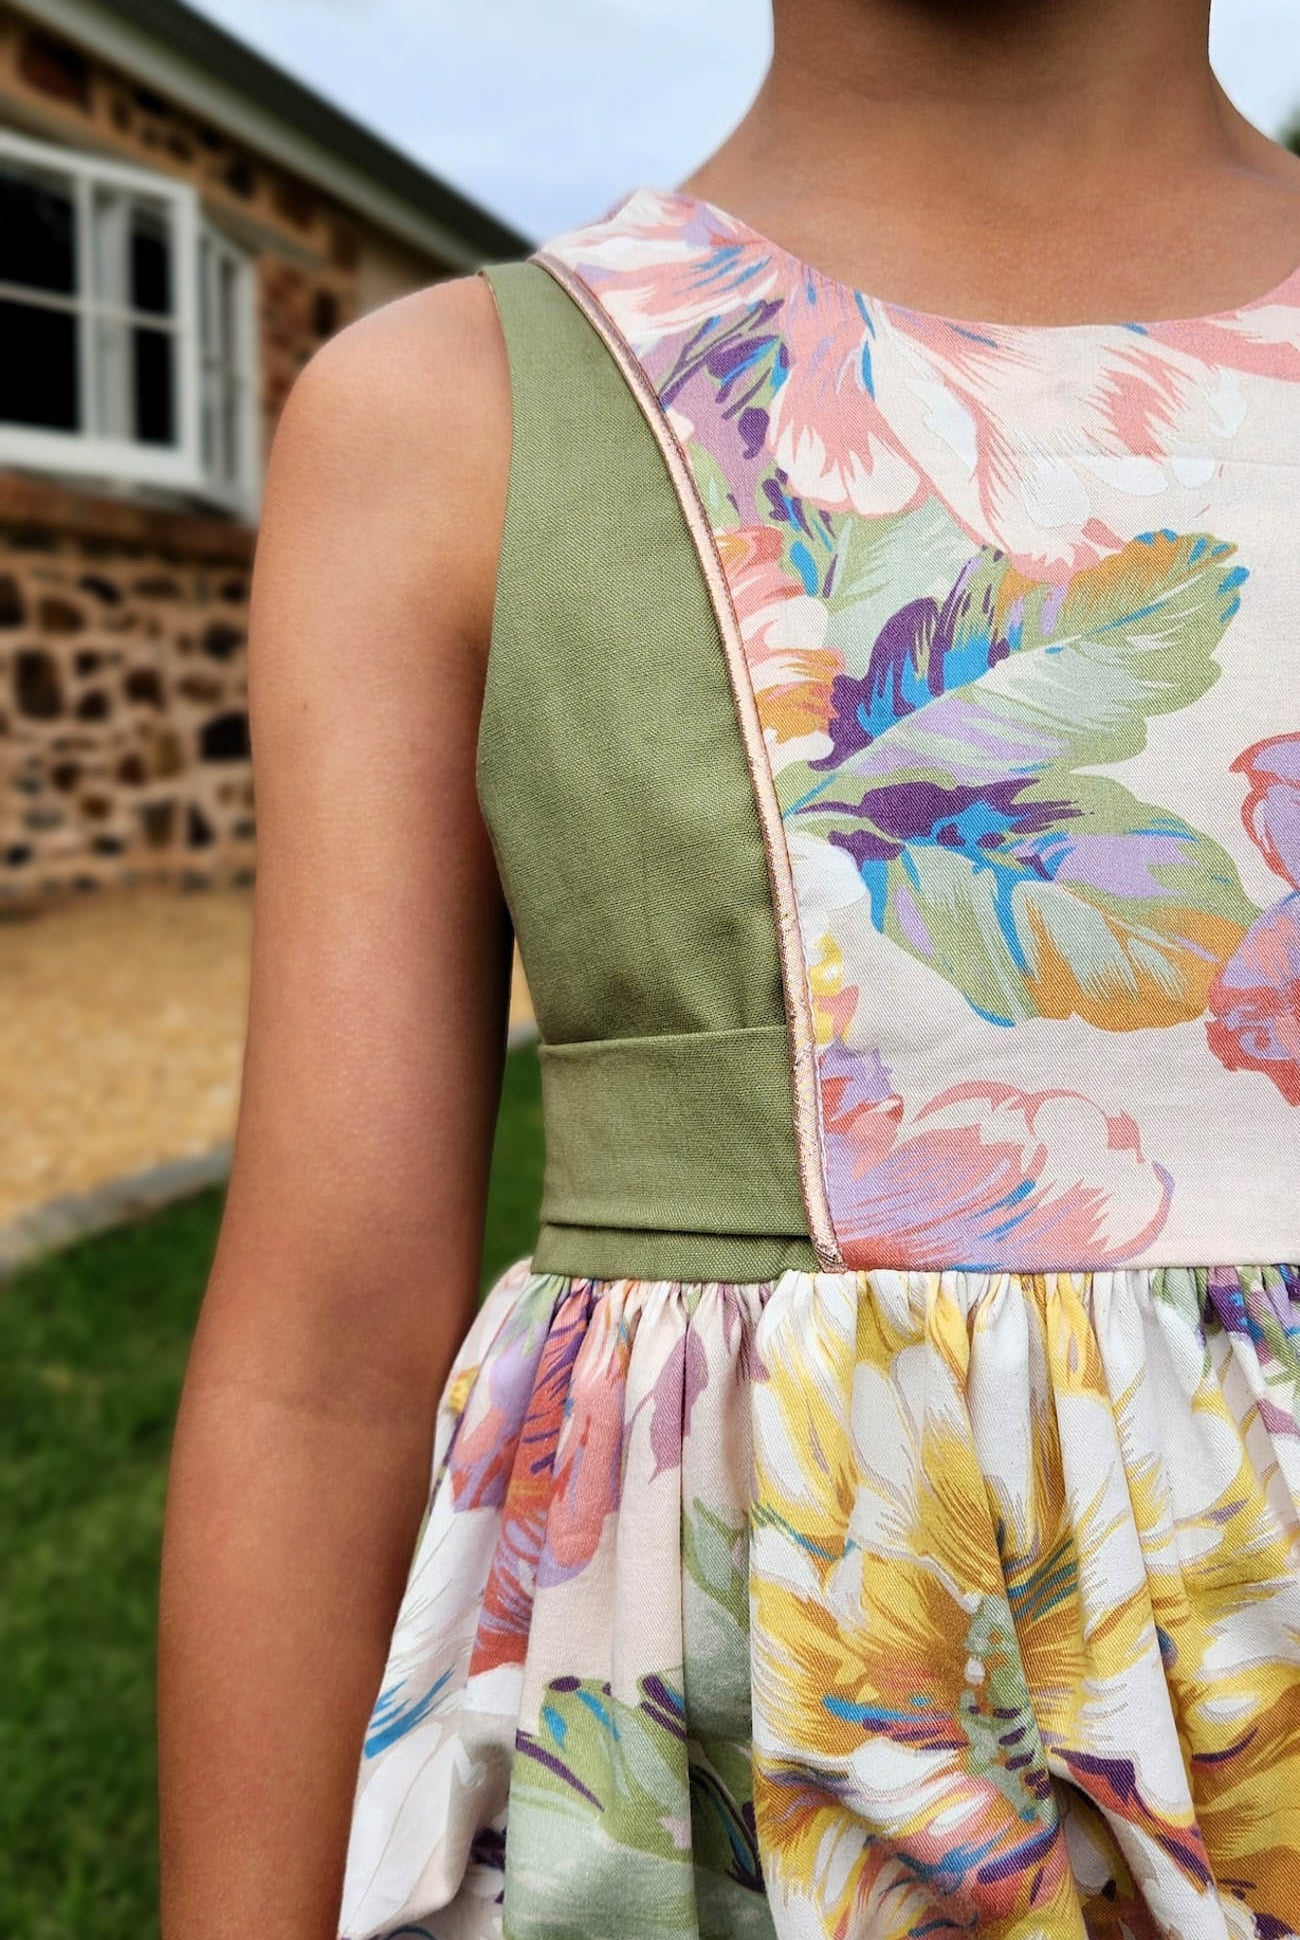
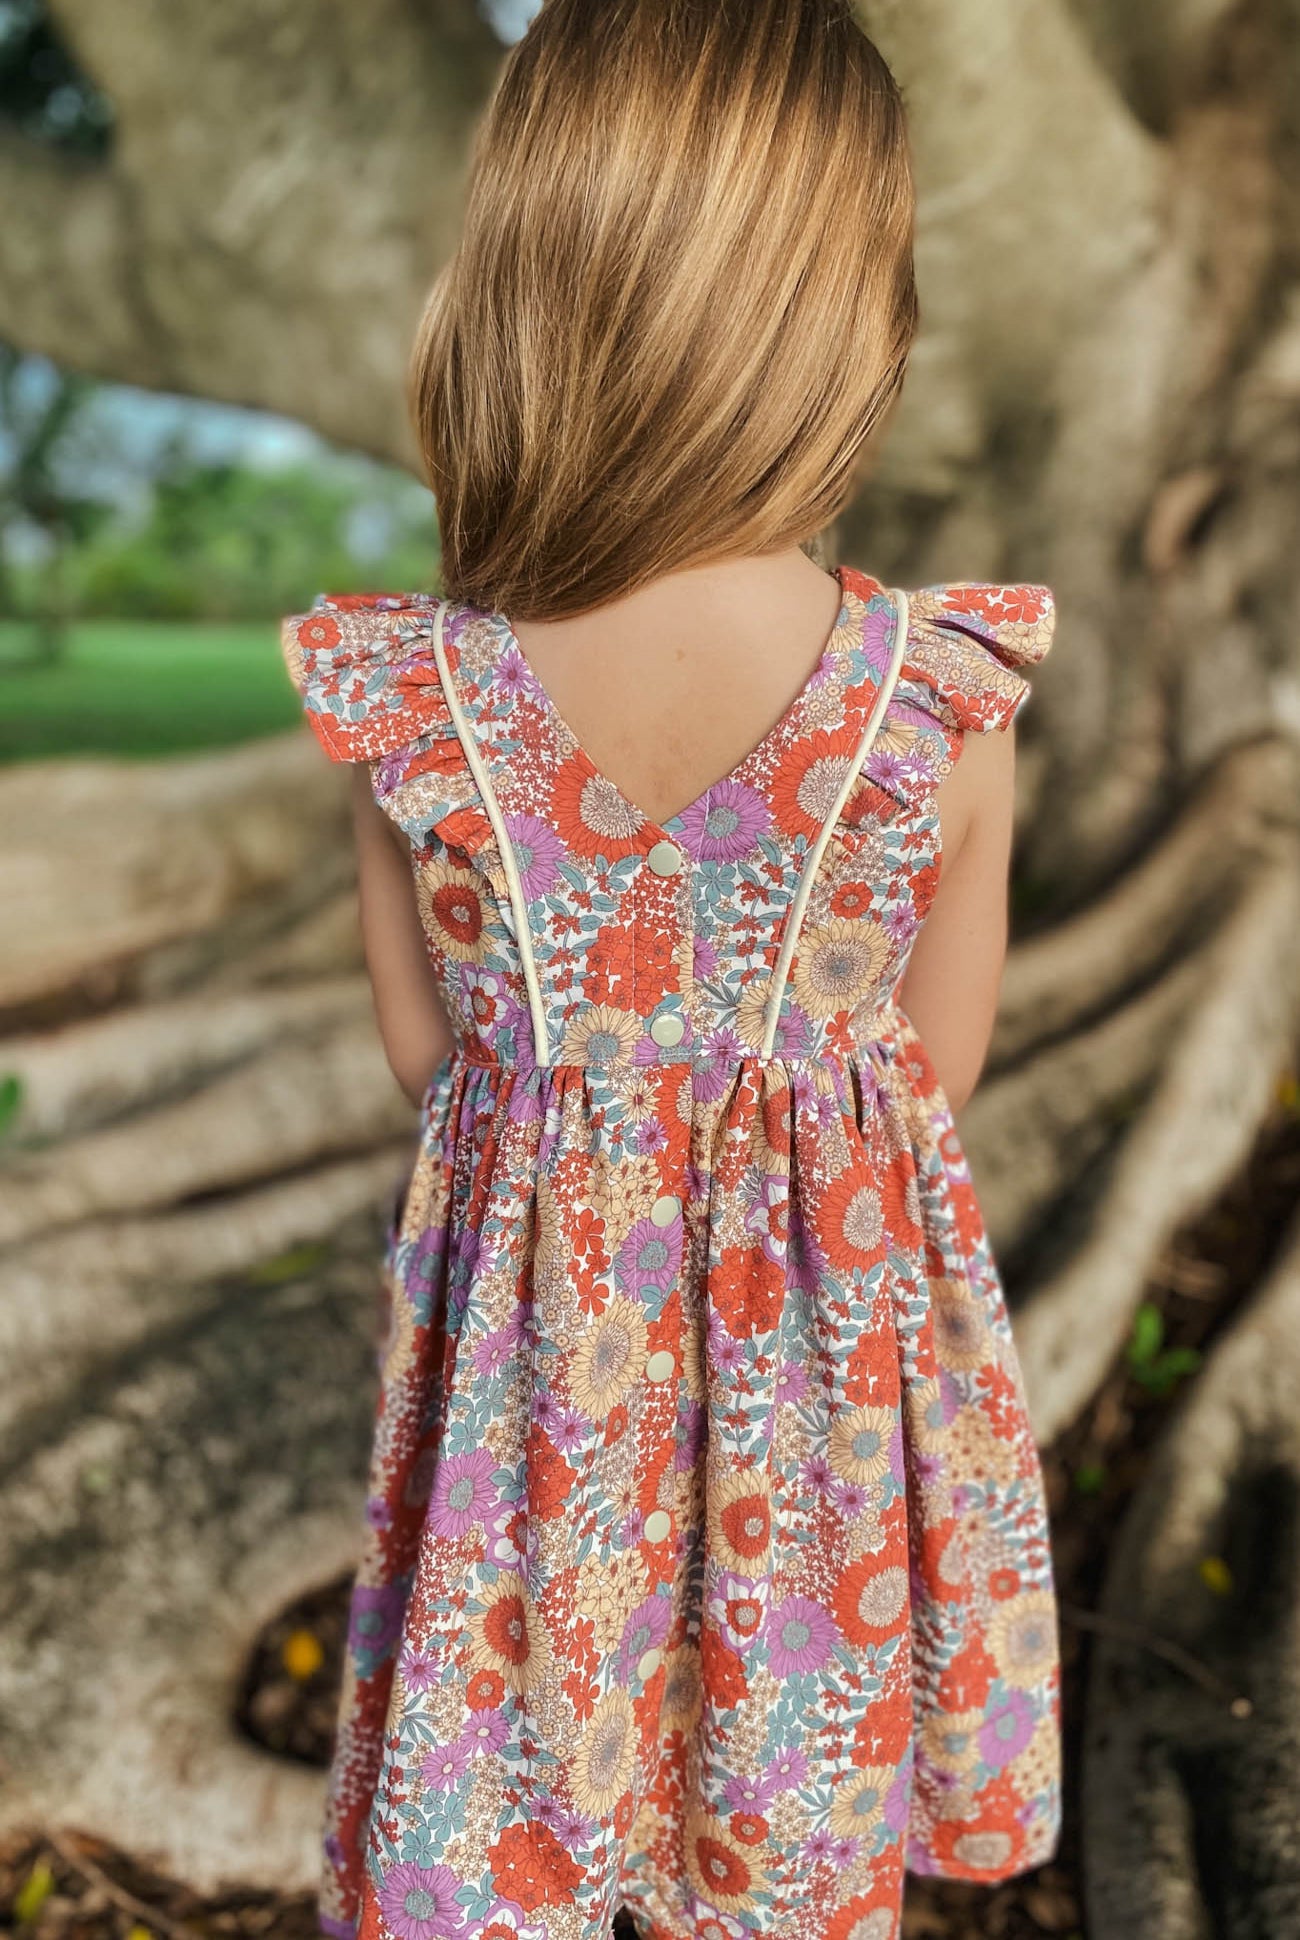
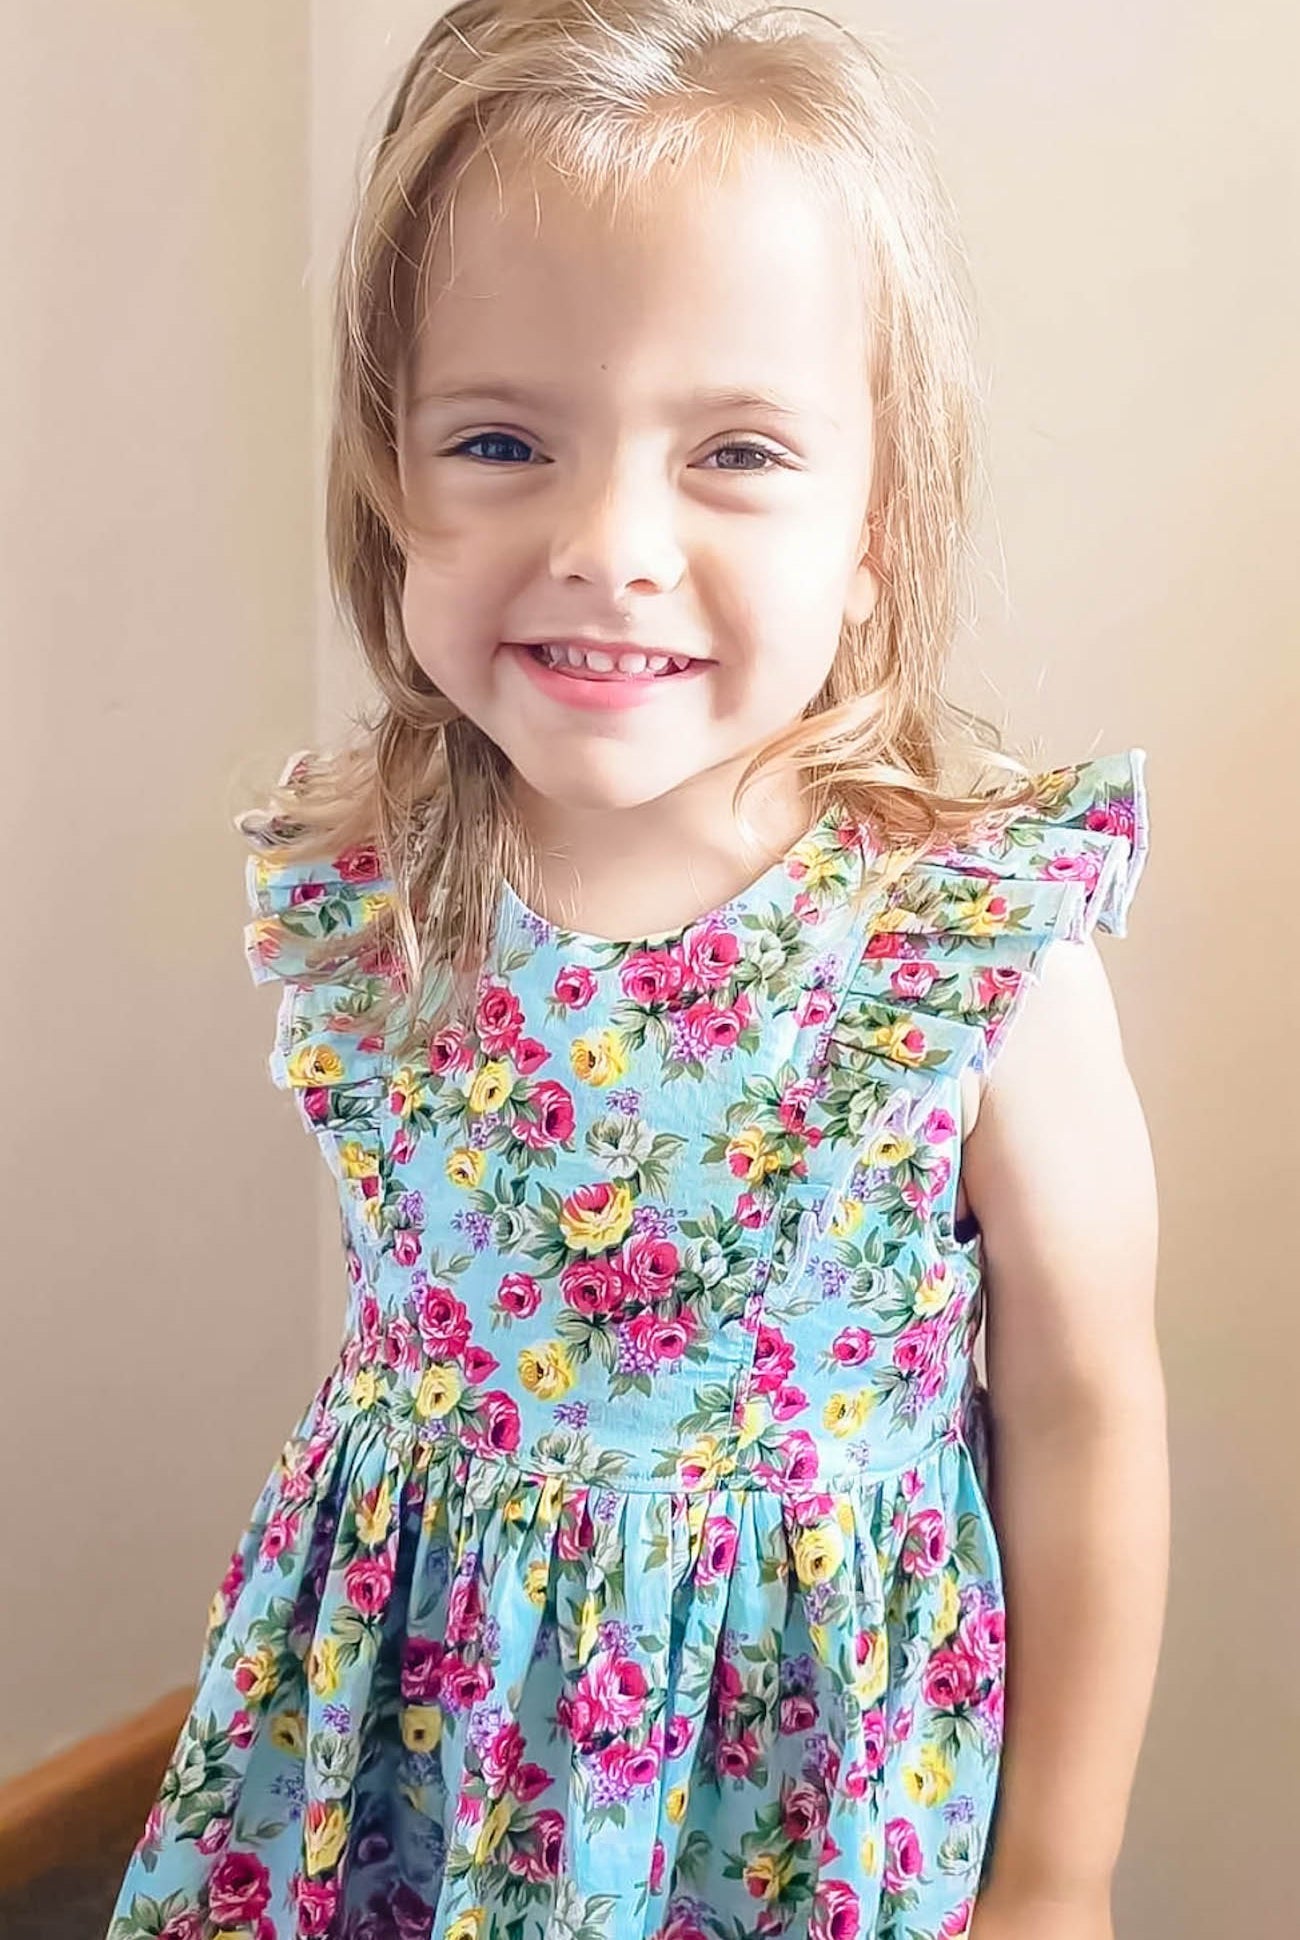
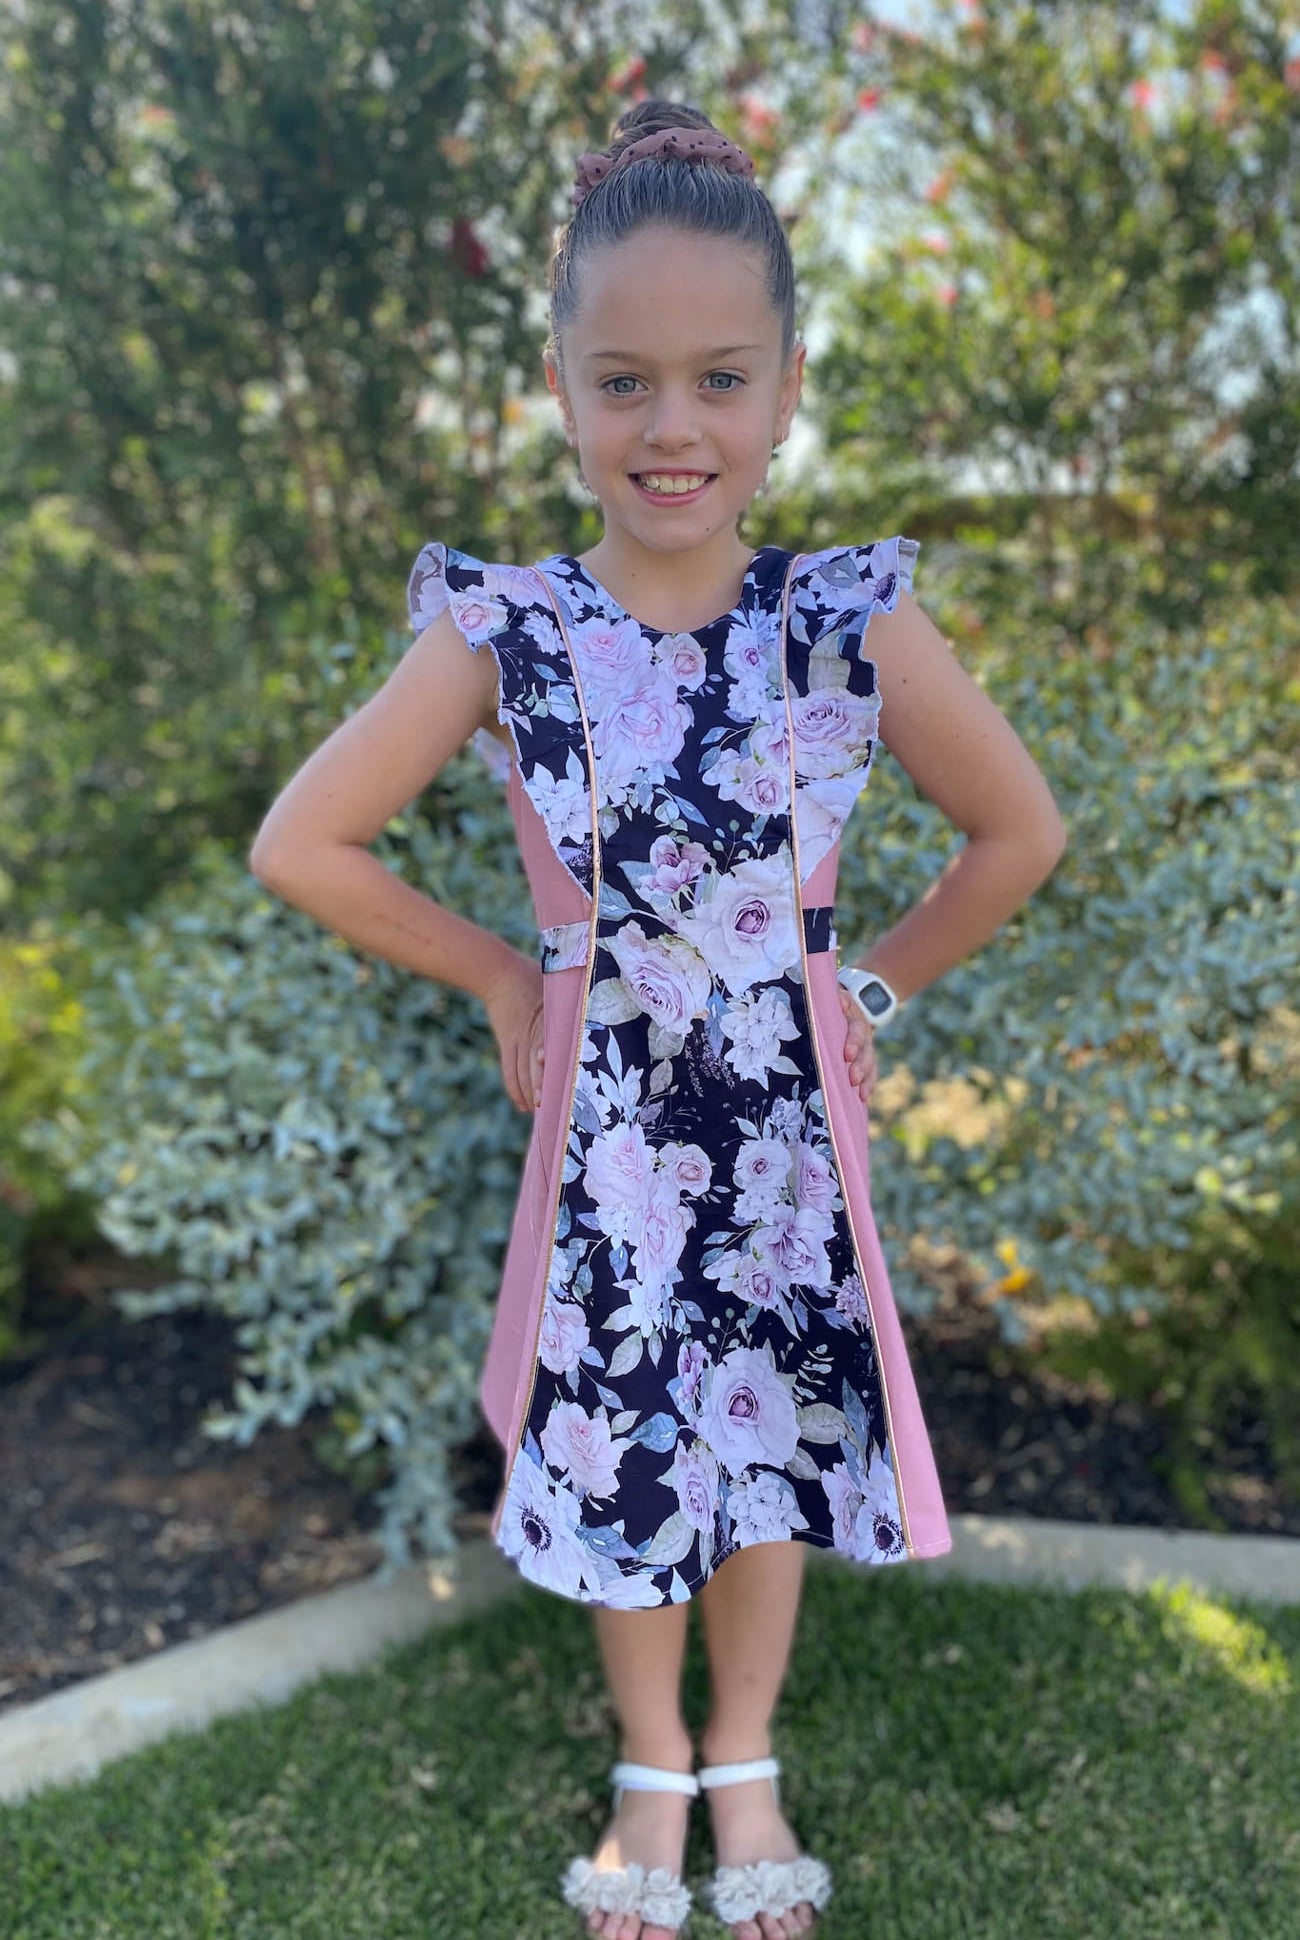
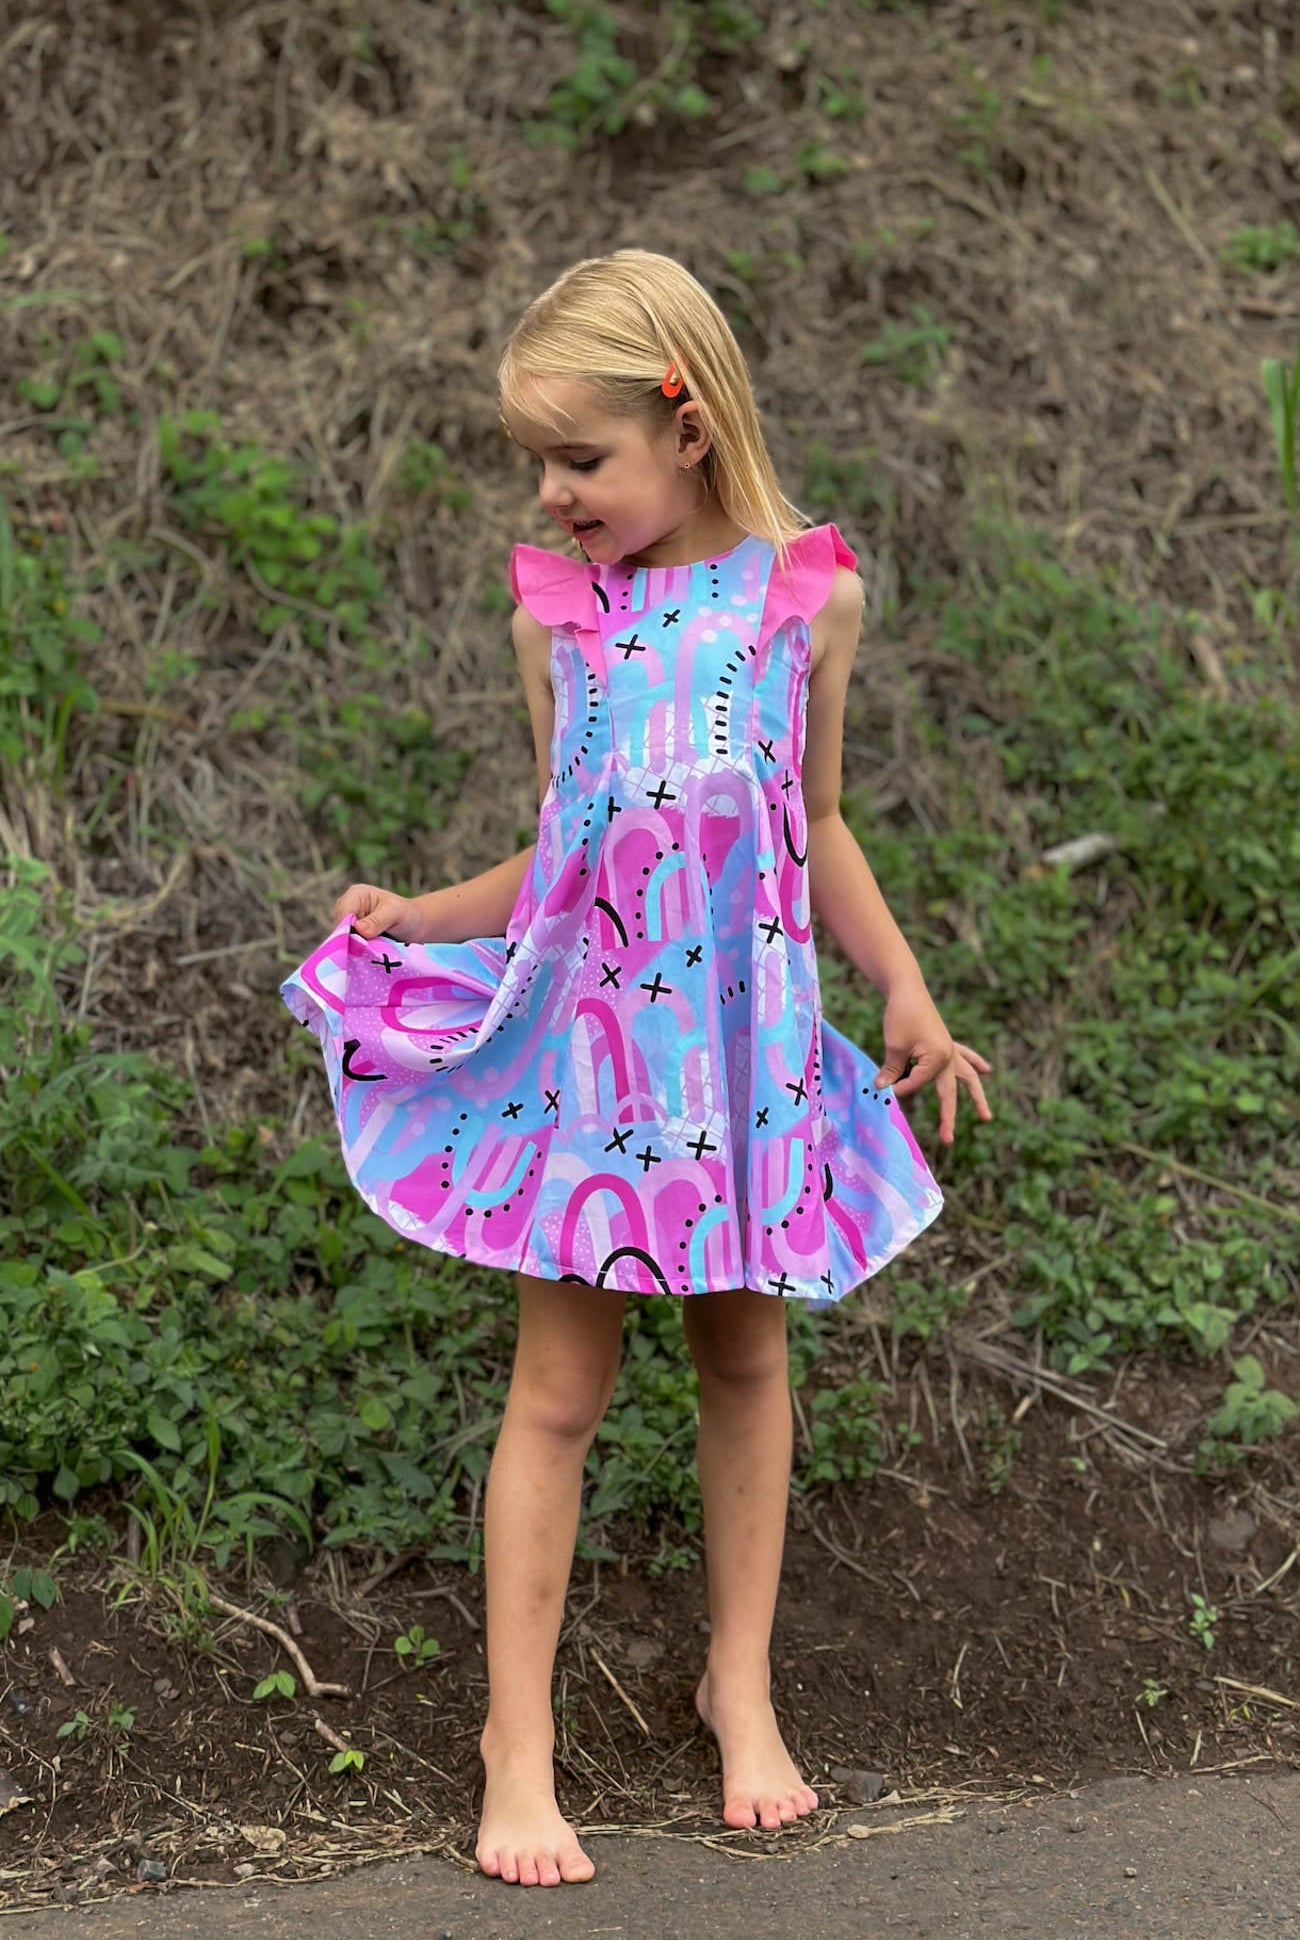
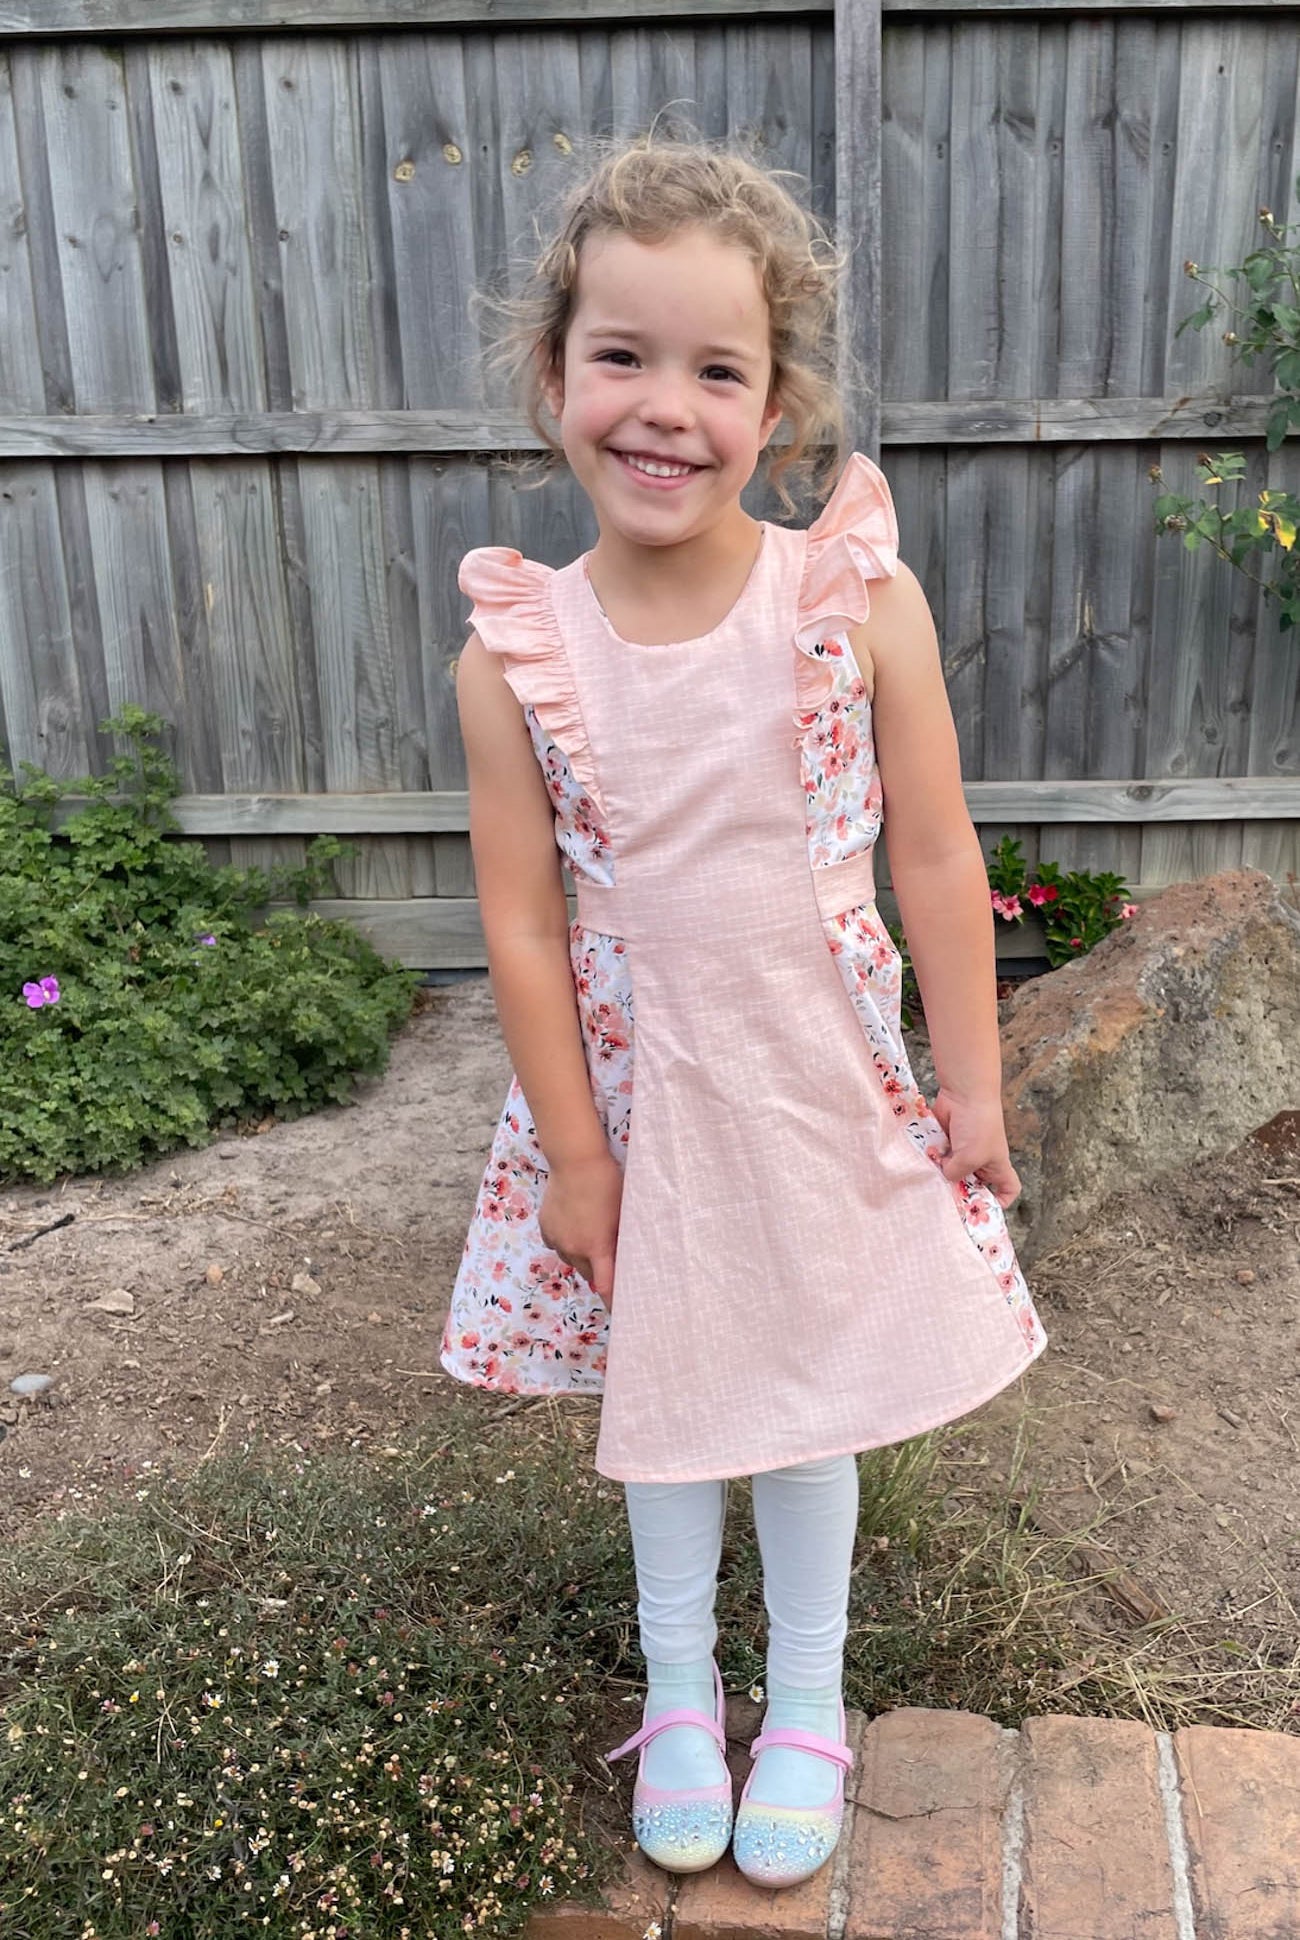
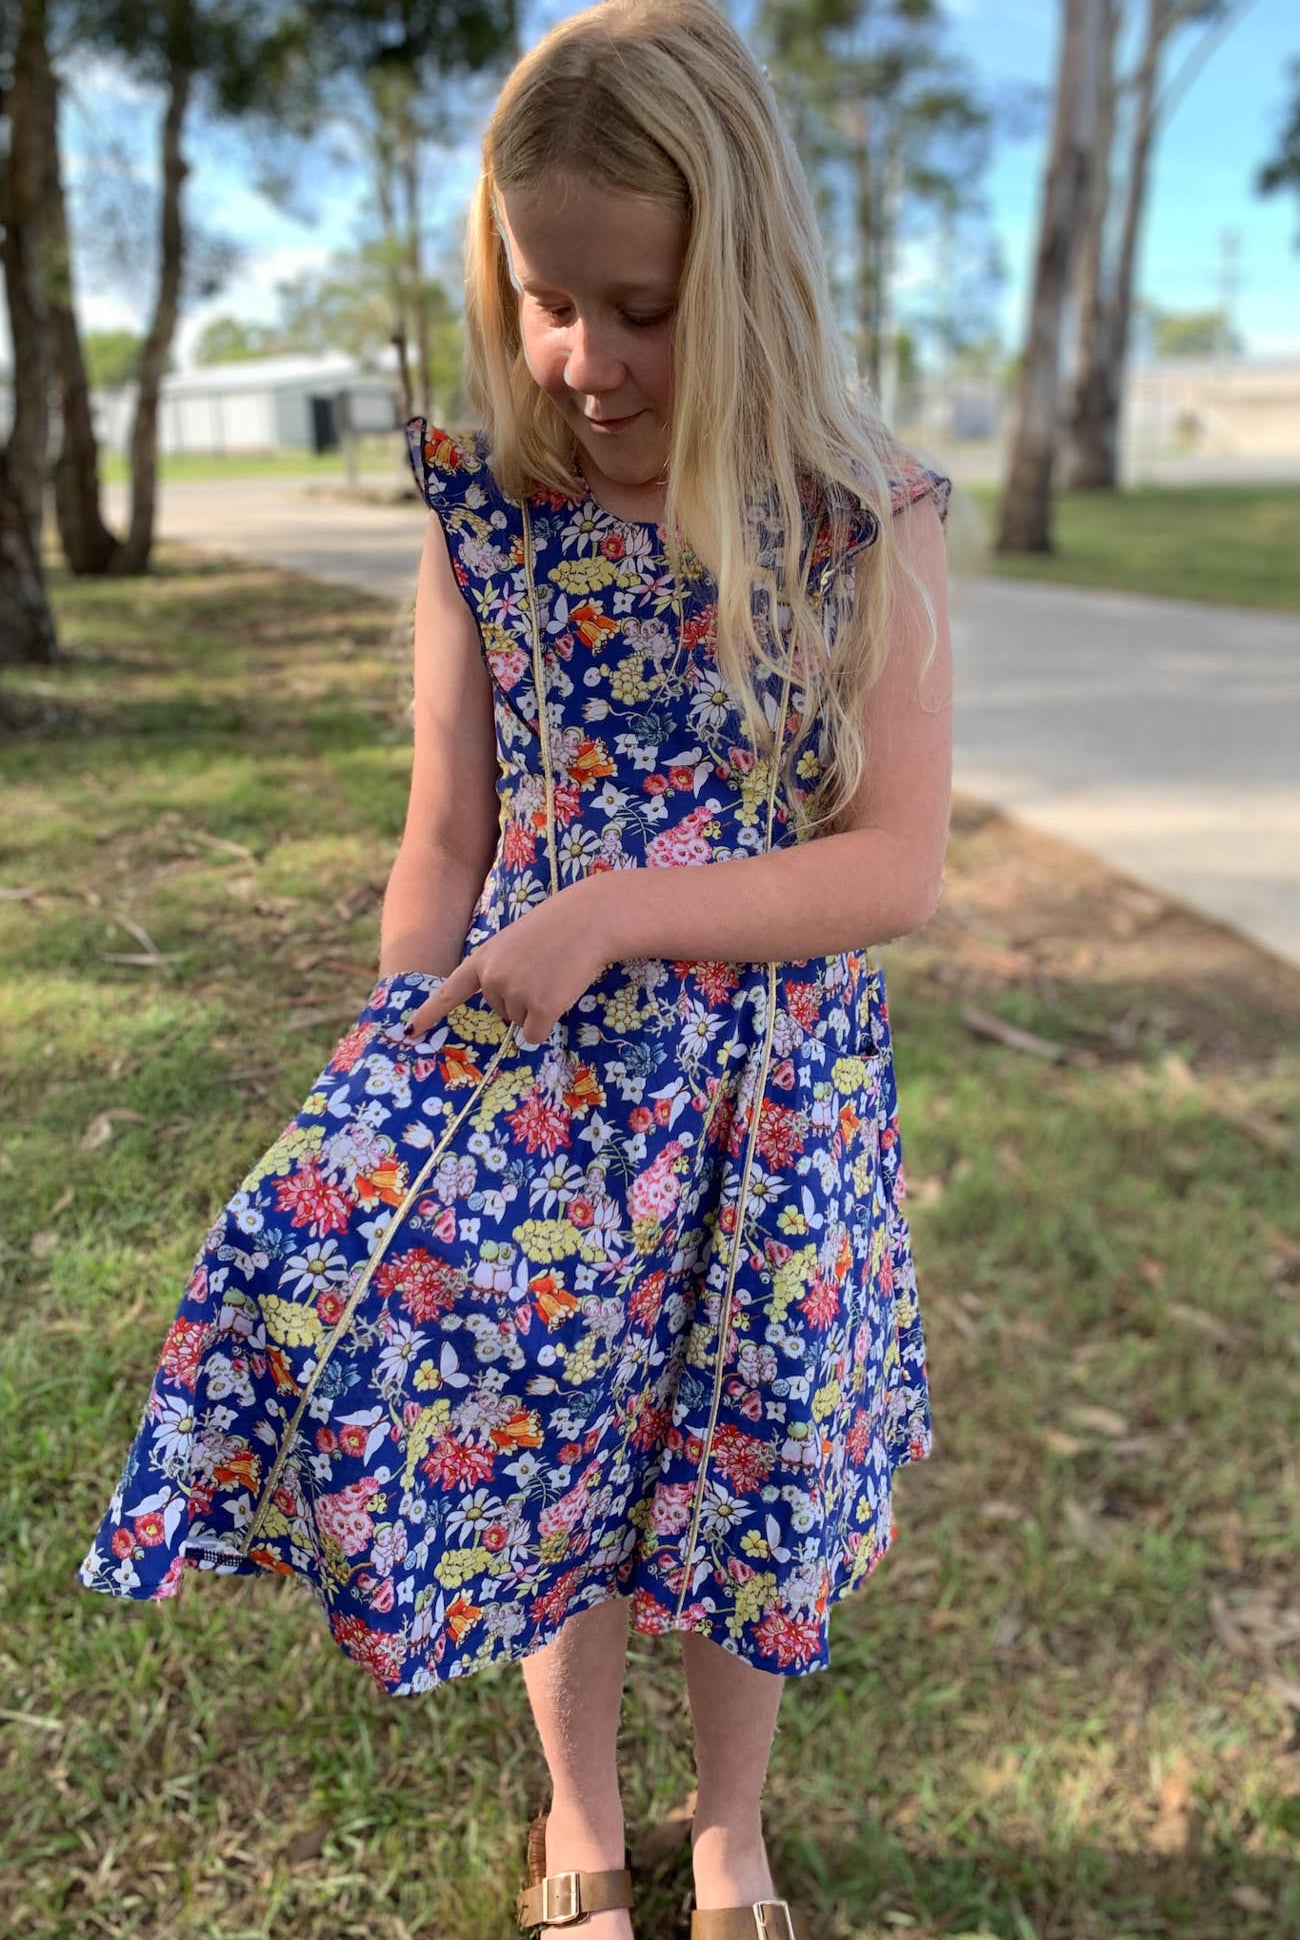
She's been asking for a maxi skirt for ages and out of pure laziness and a broken printer, I decided to make her one using the hi/low from the Breeze Dress

It seemed to be a bit of a hit in the pattern group, so I thought it could be my first hack for 2018! Baby steps haha!!
What you'll need:
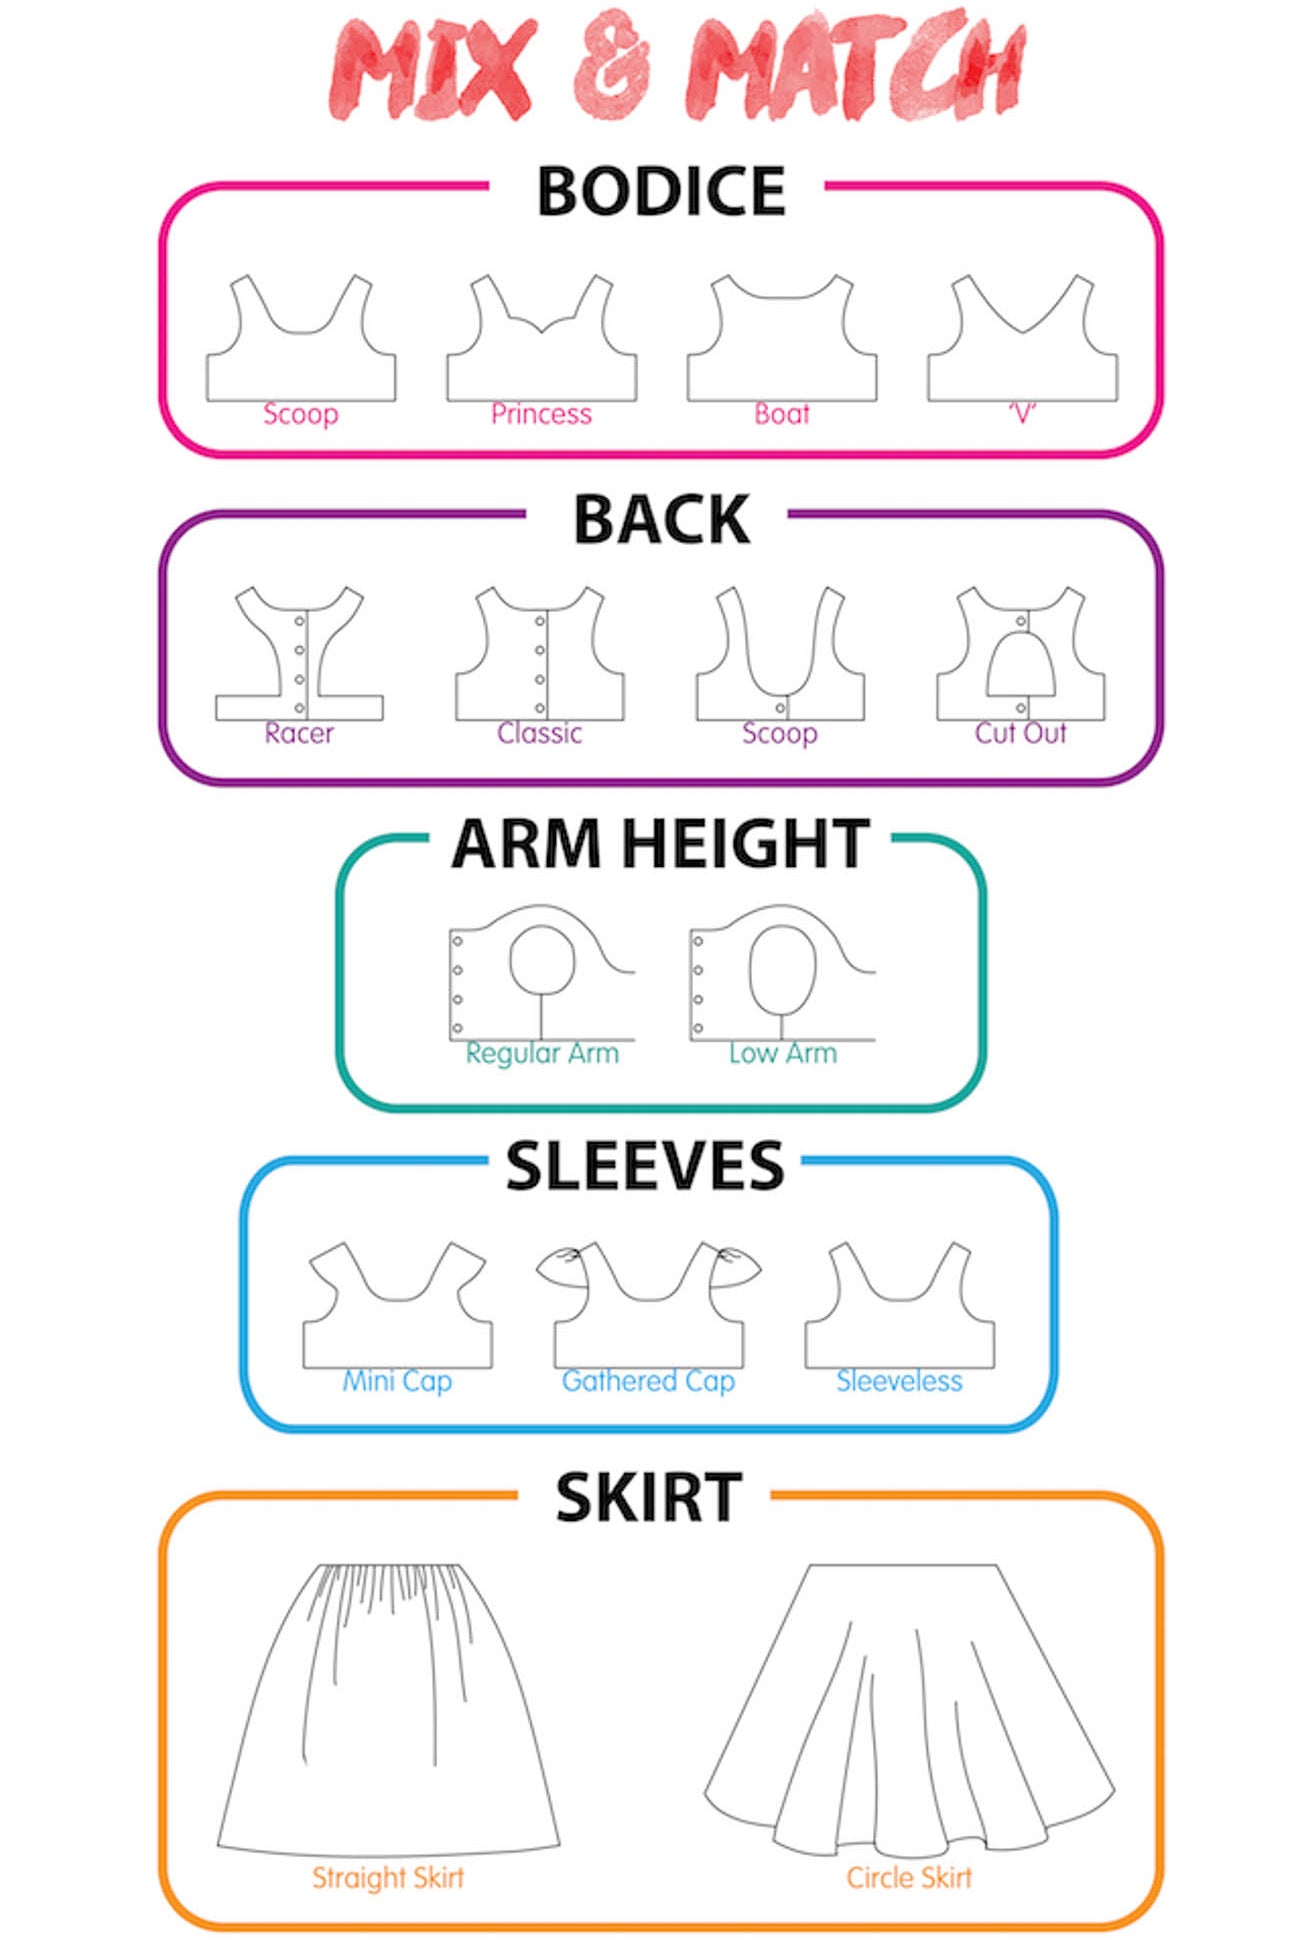
Breeze Dress Pattern - cut the front and back skirt only for the hi/low option.
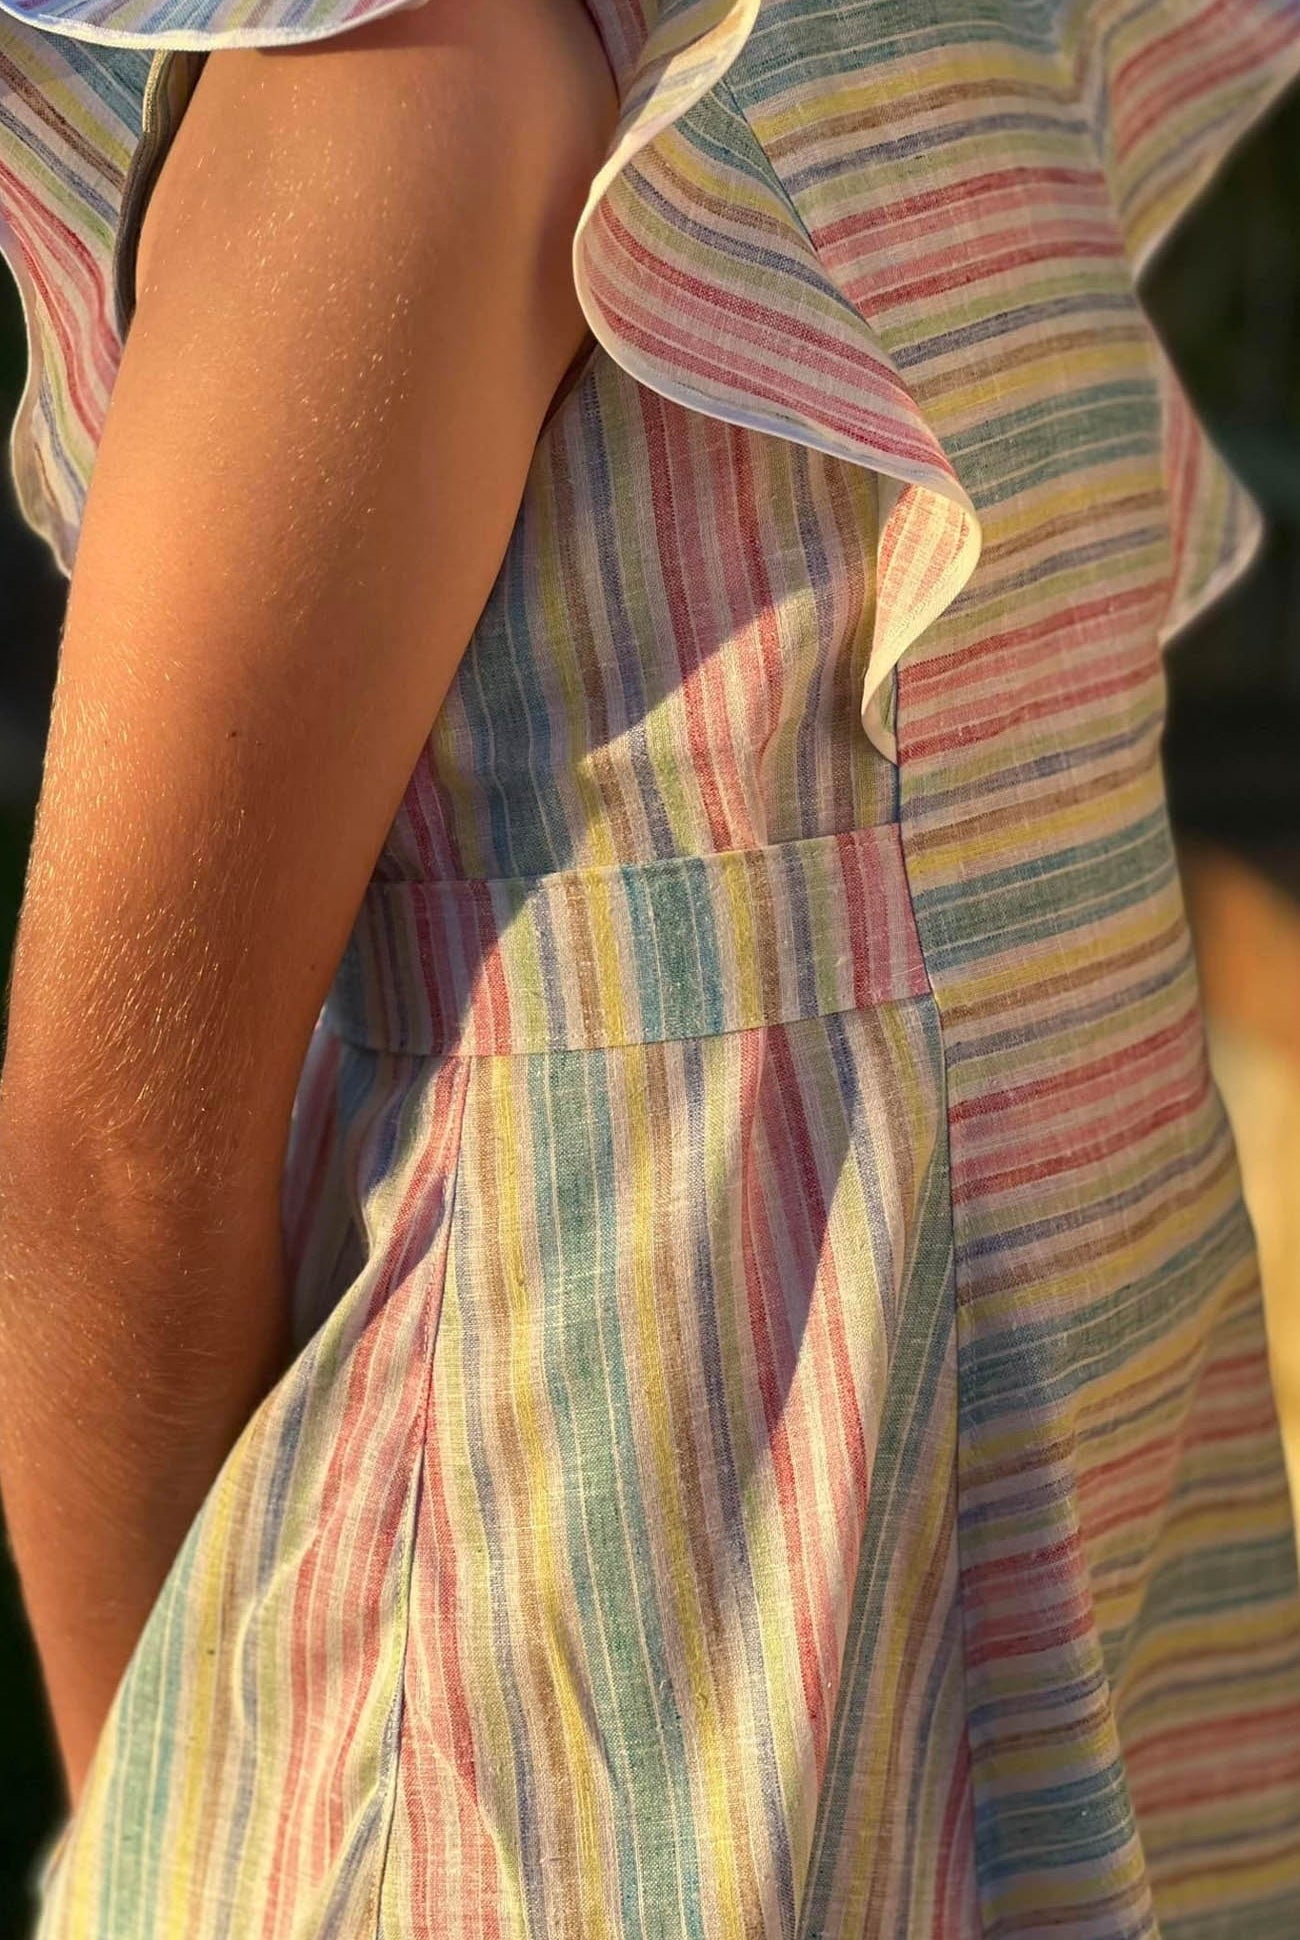
Cut a waistband as per the table below.
38mm waistband elastic as per elastic table below - if you don't have 38mm elastic, don't worry - I also used a 25mm and it was fine so use whatever you have on hand, I like knitted for this as it's softer.
I've only done a simple finish for this hack, it's a ready to wear technique and, in my mind, is fine for kids clothes. If you prefer to enclose the waist seams, you'll need to press up one long end of your waistband by 1cm. You'd need to reduce your elastic to 32mm as well.
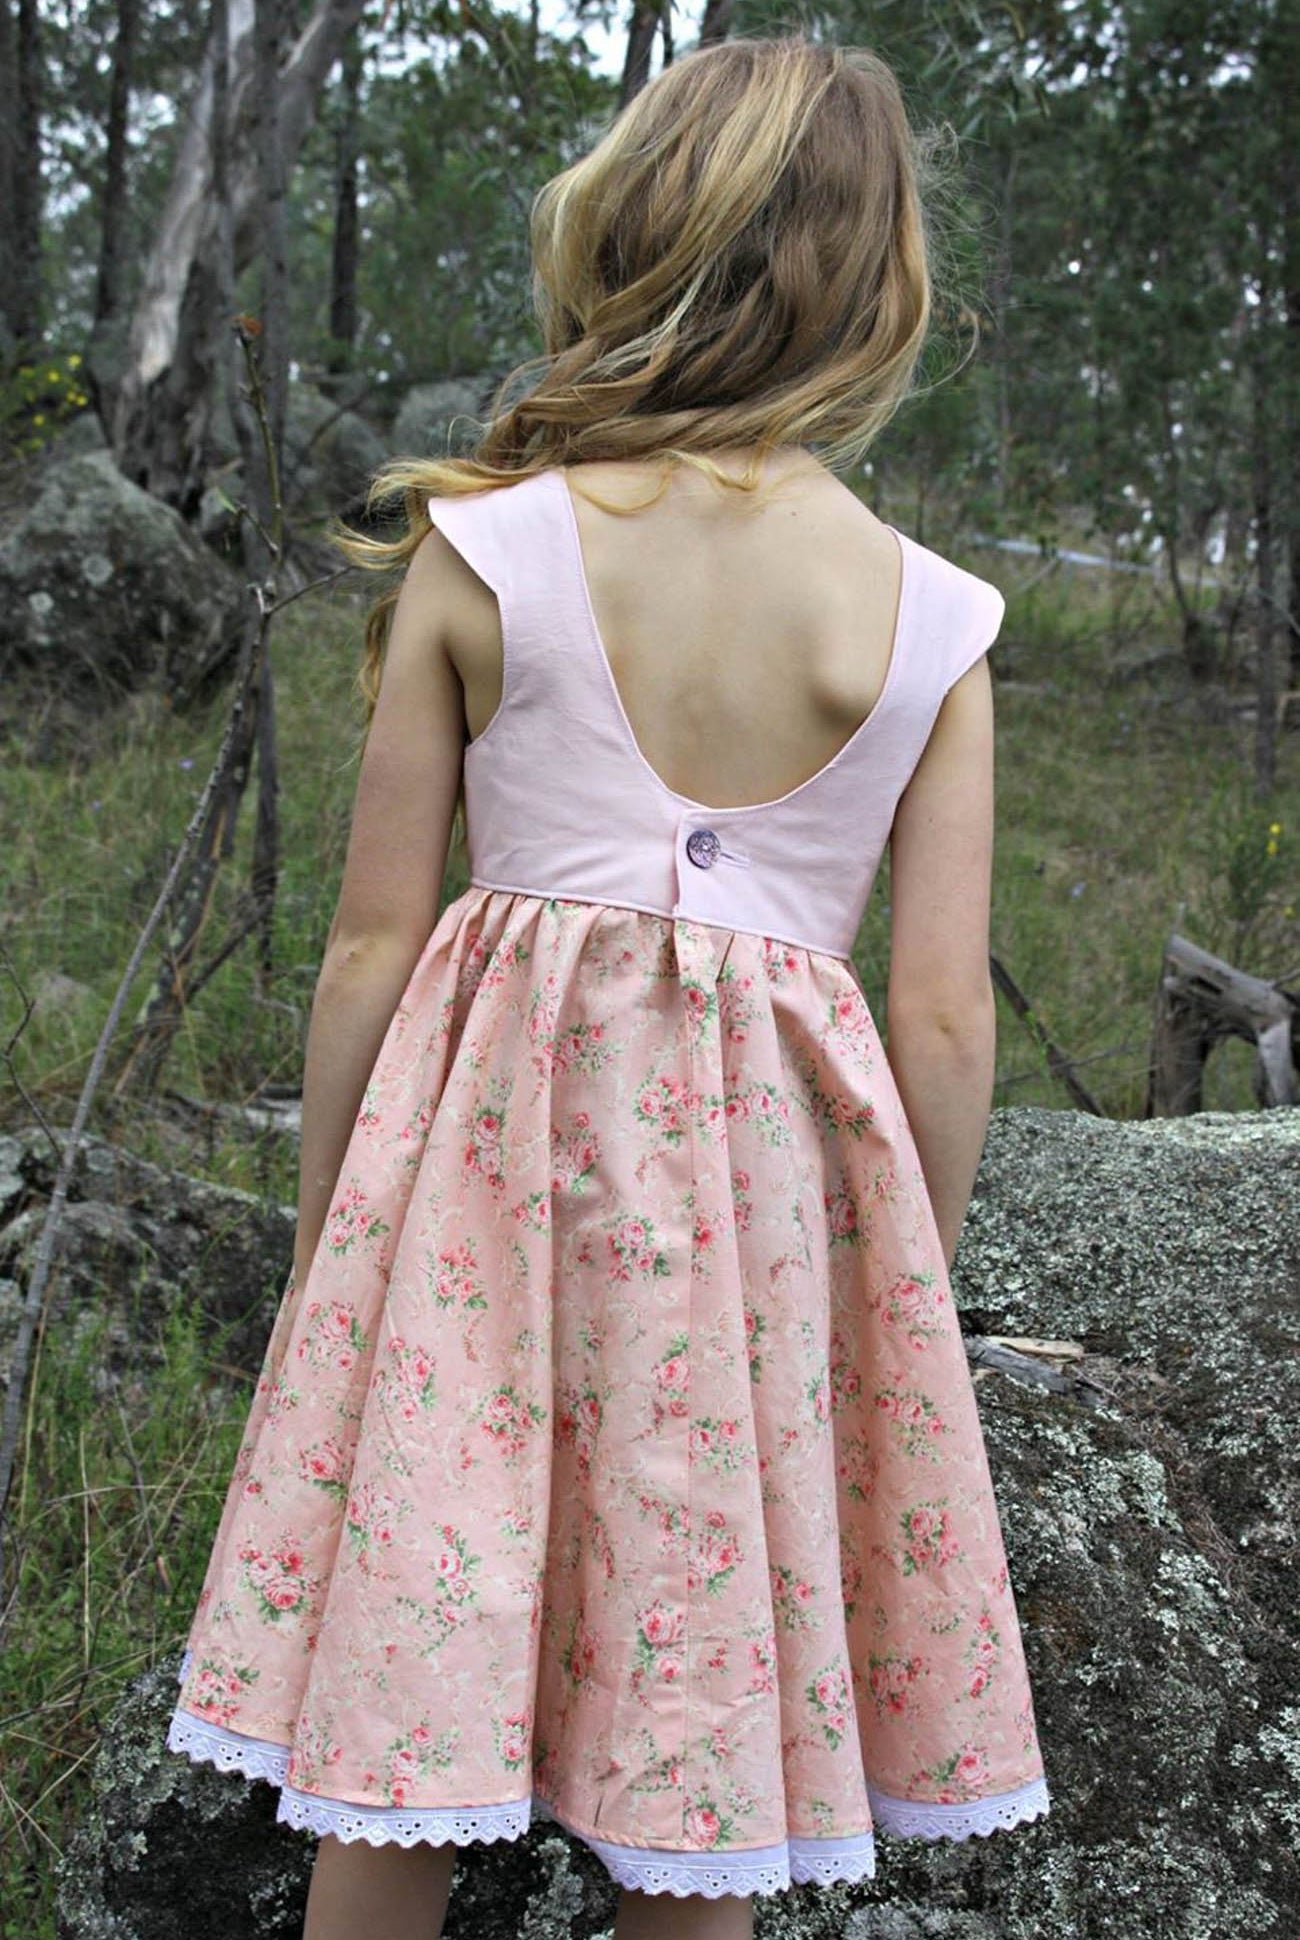
Before you cut, I suggest you cut the waist circle (and subsequently waistband) of one size bigger than the size you're after. The skirt sits up higher on the body when it's attached to the dress, than when it's made as a skirt. My first one I didn't cut a size up and to be perfectly honest it's ok - there's not a whole lot of give in the waist and once she's grown a bit it may no longer fit but it wasn't a big deal, just something worth considering. If you choose to do this then use the elastic measurements for the actual size you're making

Assemble the skirt at the side seams and finish your seams

Sew together the short ends of your waistband and press the seam open.

Overlock one long edge of the waistband (or press up 1cm if you're enclosing the waistband)


Fold waistband down in half, wrong sides together and press. If you're enclosing make sure your raw edge matches the previously pressed up edge.

Mark quarter points in waistband and centre points of skirt (front and back).


Unfold your waistband and match quarter points of waistband and skirt - raw edge, right sides together, and ease skirt on to fit the waistband.

Sew skirt to waistband starting at the center point and working outward (my needle is down in the centre of the waistband and my finger is pointing in the direction you will sew toward the side seam). This means you’ll stop and start a few times but because you’re sewing a curve to a straight line you will get a nicer join doing it this way.

Press the seam allowance up toward the waistband.

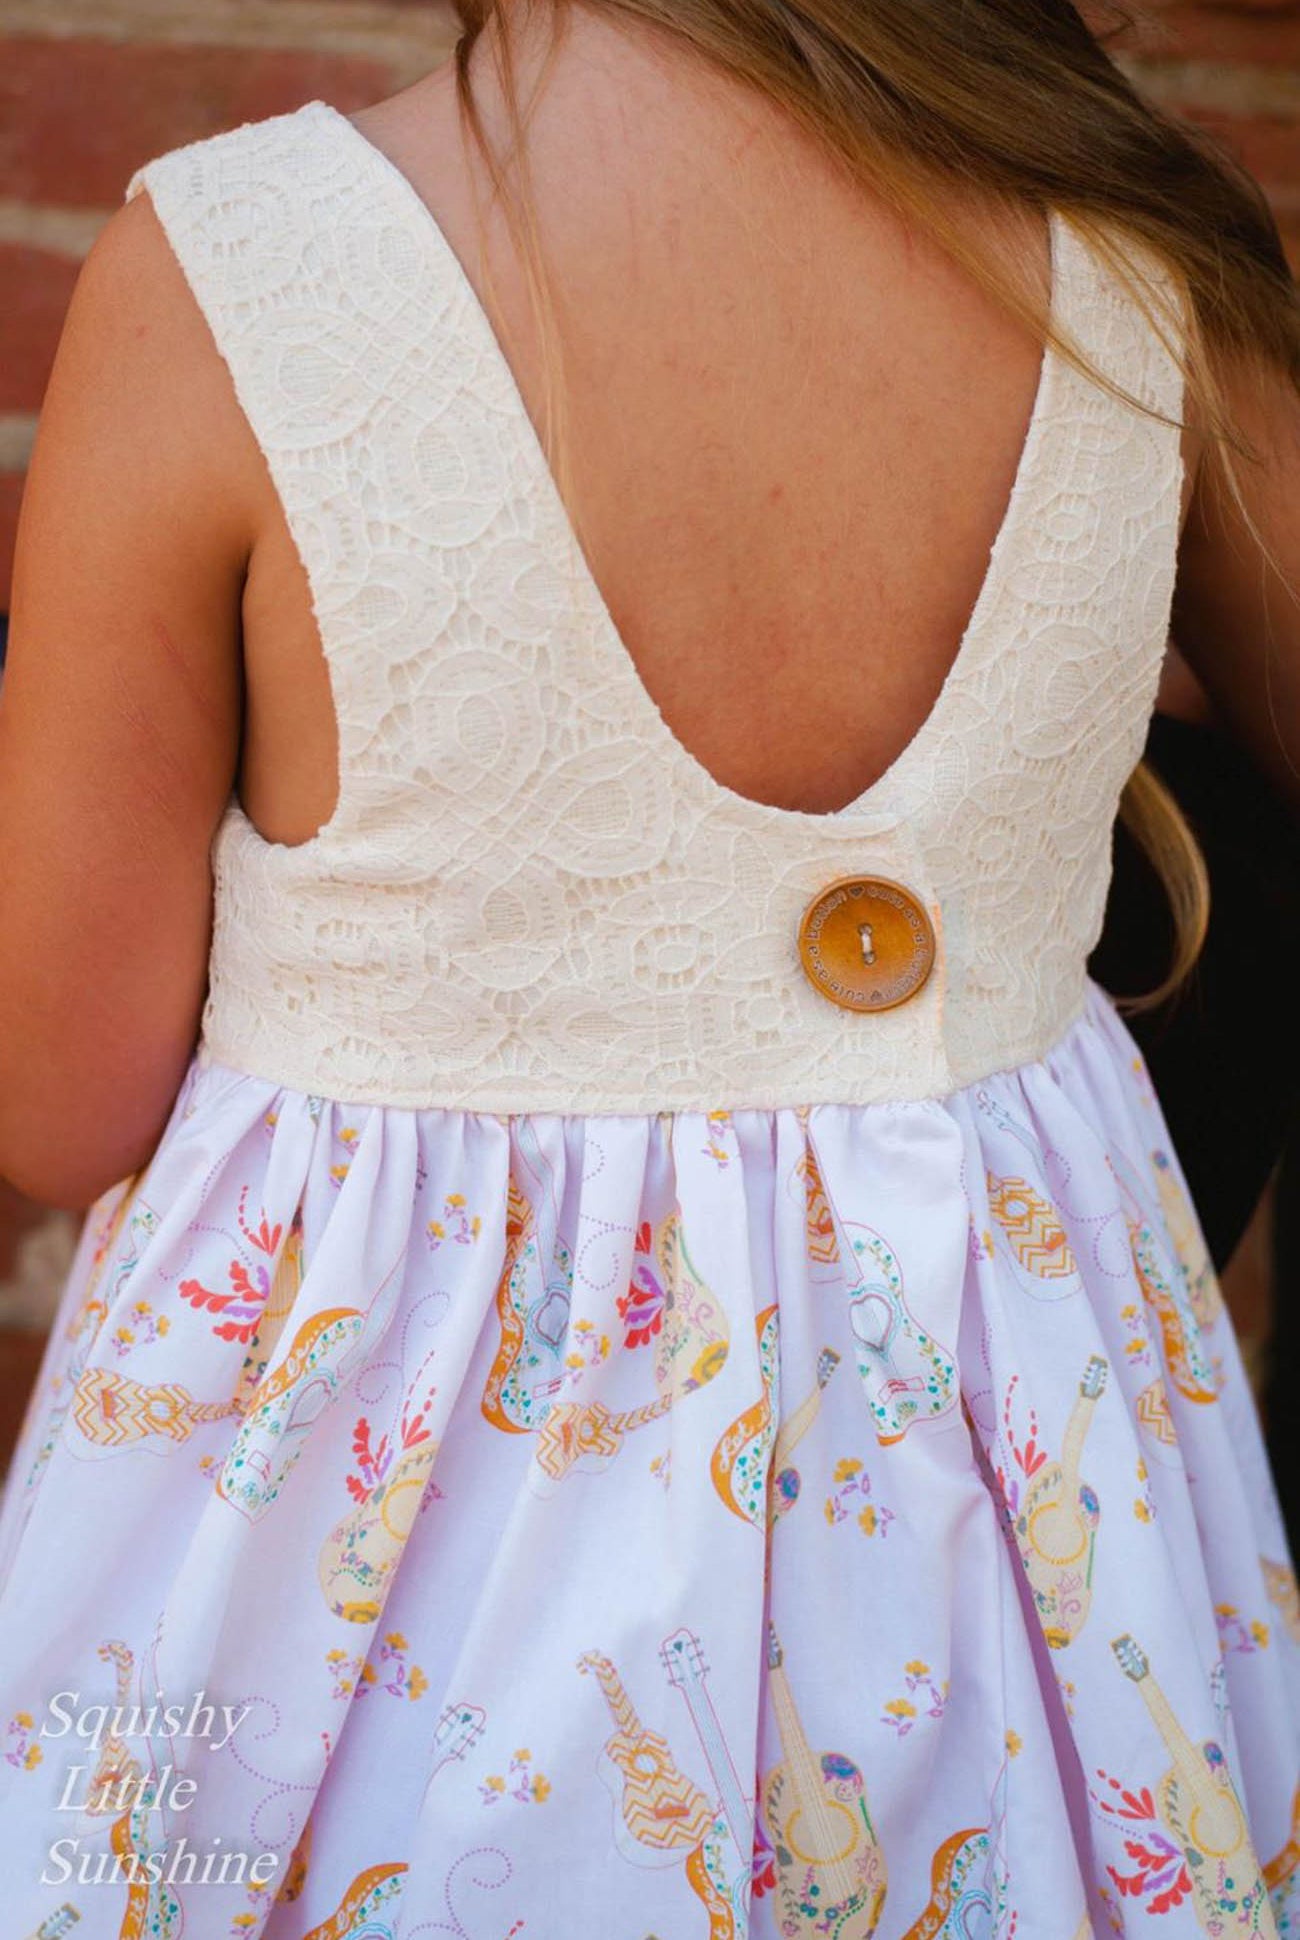
Re-fold waistband down in half, wrong sides together - overlocked edge (or folded edge if you're enclosing) inside the skirt. Glue down or pin down to hold. Sew down the waistband, leaving 3" gaps at both side seams, to insert your elastic.


OPTIONAL: Sew a line of stitching at the top of the waistband all the way around - this is optional and a purely decorative purpose - I like having my elastic casing within the waistband and not touching the top - purely a personal choice.


Insert elastic and anchor down the sides with a pin. This is a great time to test fit your elastic to your little and adjust if necessary. Sew down the elastic at the side seams - go over it a few times to really anchor it down and close up the 3" gap now as well. Repeat for other side.

Hem your skirt and you’re done.

Tip: If you’re not using lace at the hem a nice way to finish a circle is to sew a basting stitch at the hem allowance and use that stitch to press up the hem. Details below.
Finish your hem with an overlocker or a zigzag first, then sew the basting stitch

Use that basting stitch as a guide to give your hem a really good press and steam to hold. Use glue as well or pins if you like, but I find a good press is usually sufficient.


Sew it down and enjoy your nice crisp, curved hem :-)
Make sure you show off your gorgeous skirt in the pattern group so I can spot it and get excited with you <3
Happy sewing
Tanya x


Comments
Just wanted to say thankyou Tanya, it was so easy to follow and looks beautiful finished.
Thanks for making our lives easier and doing the hard work for us Tanya! You’re the best. ??