


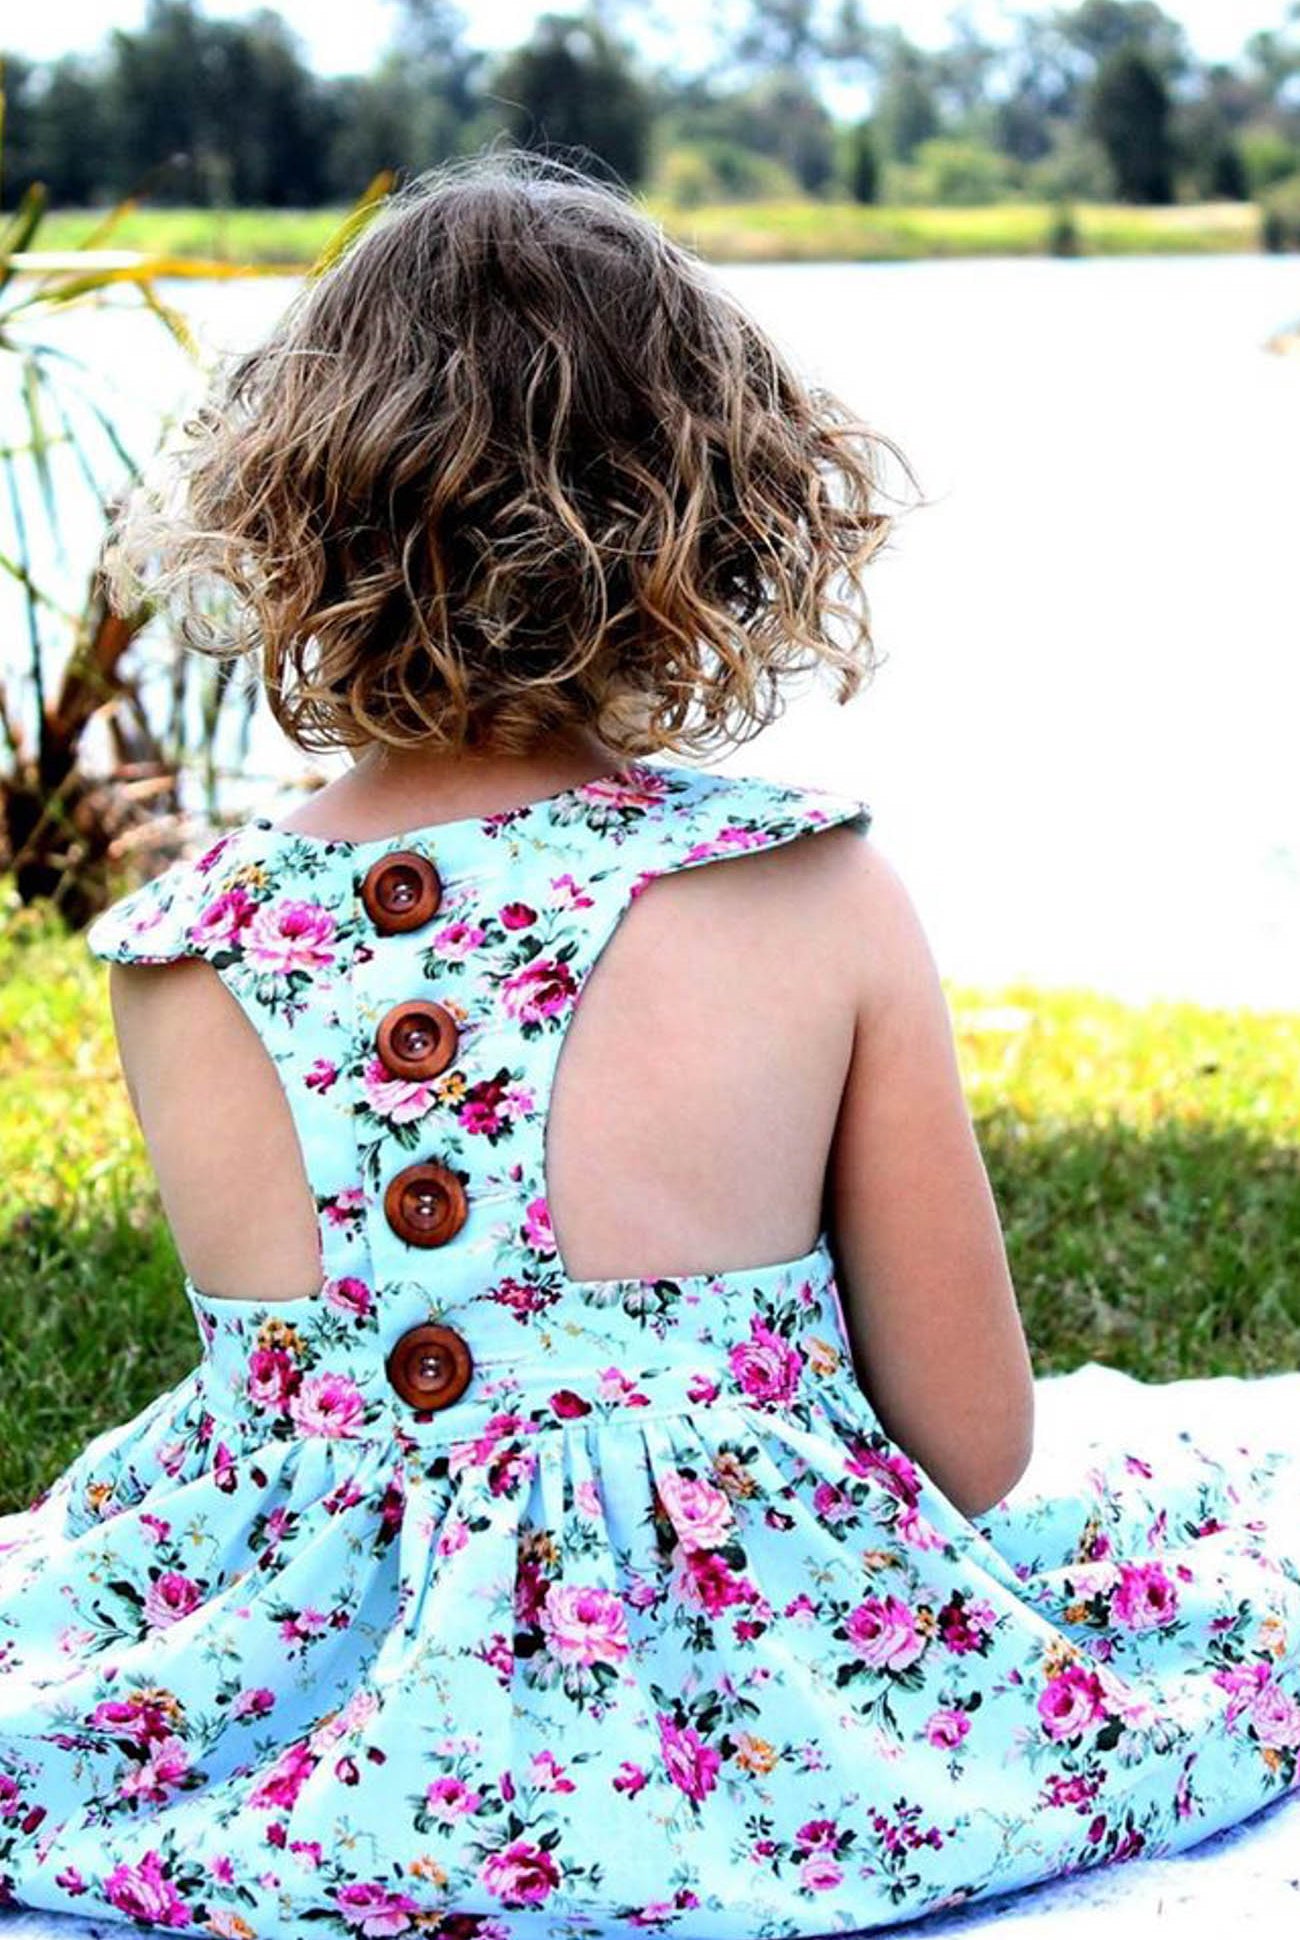
Hi Everyone,
Just recently I made a friends new bub a Baby Tea Party and when I saw her, bub was wearing it back to front because mum said the snaps seemed to be hurting the bub - so I thought "great idea for a hack!"
We will have to do some adjusting to account for seam allowances of the pattern pieces changing and you'll also need an additional 6" of 12mm double fold bias. This will work for the Baby Tea Party and the Tea Party Dress, however my instructions below are based on the BTP.
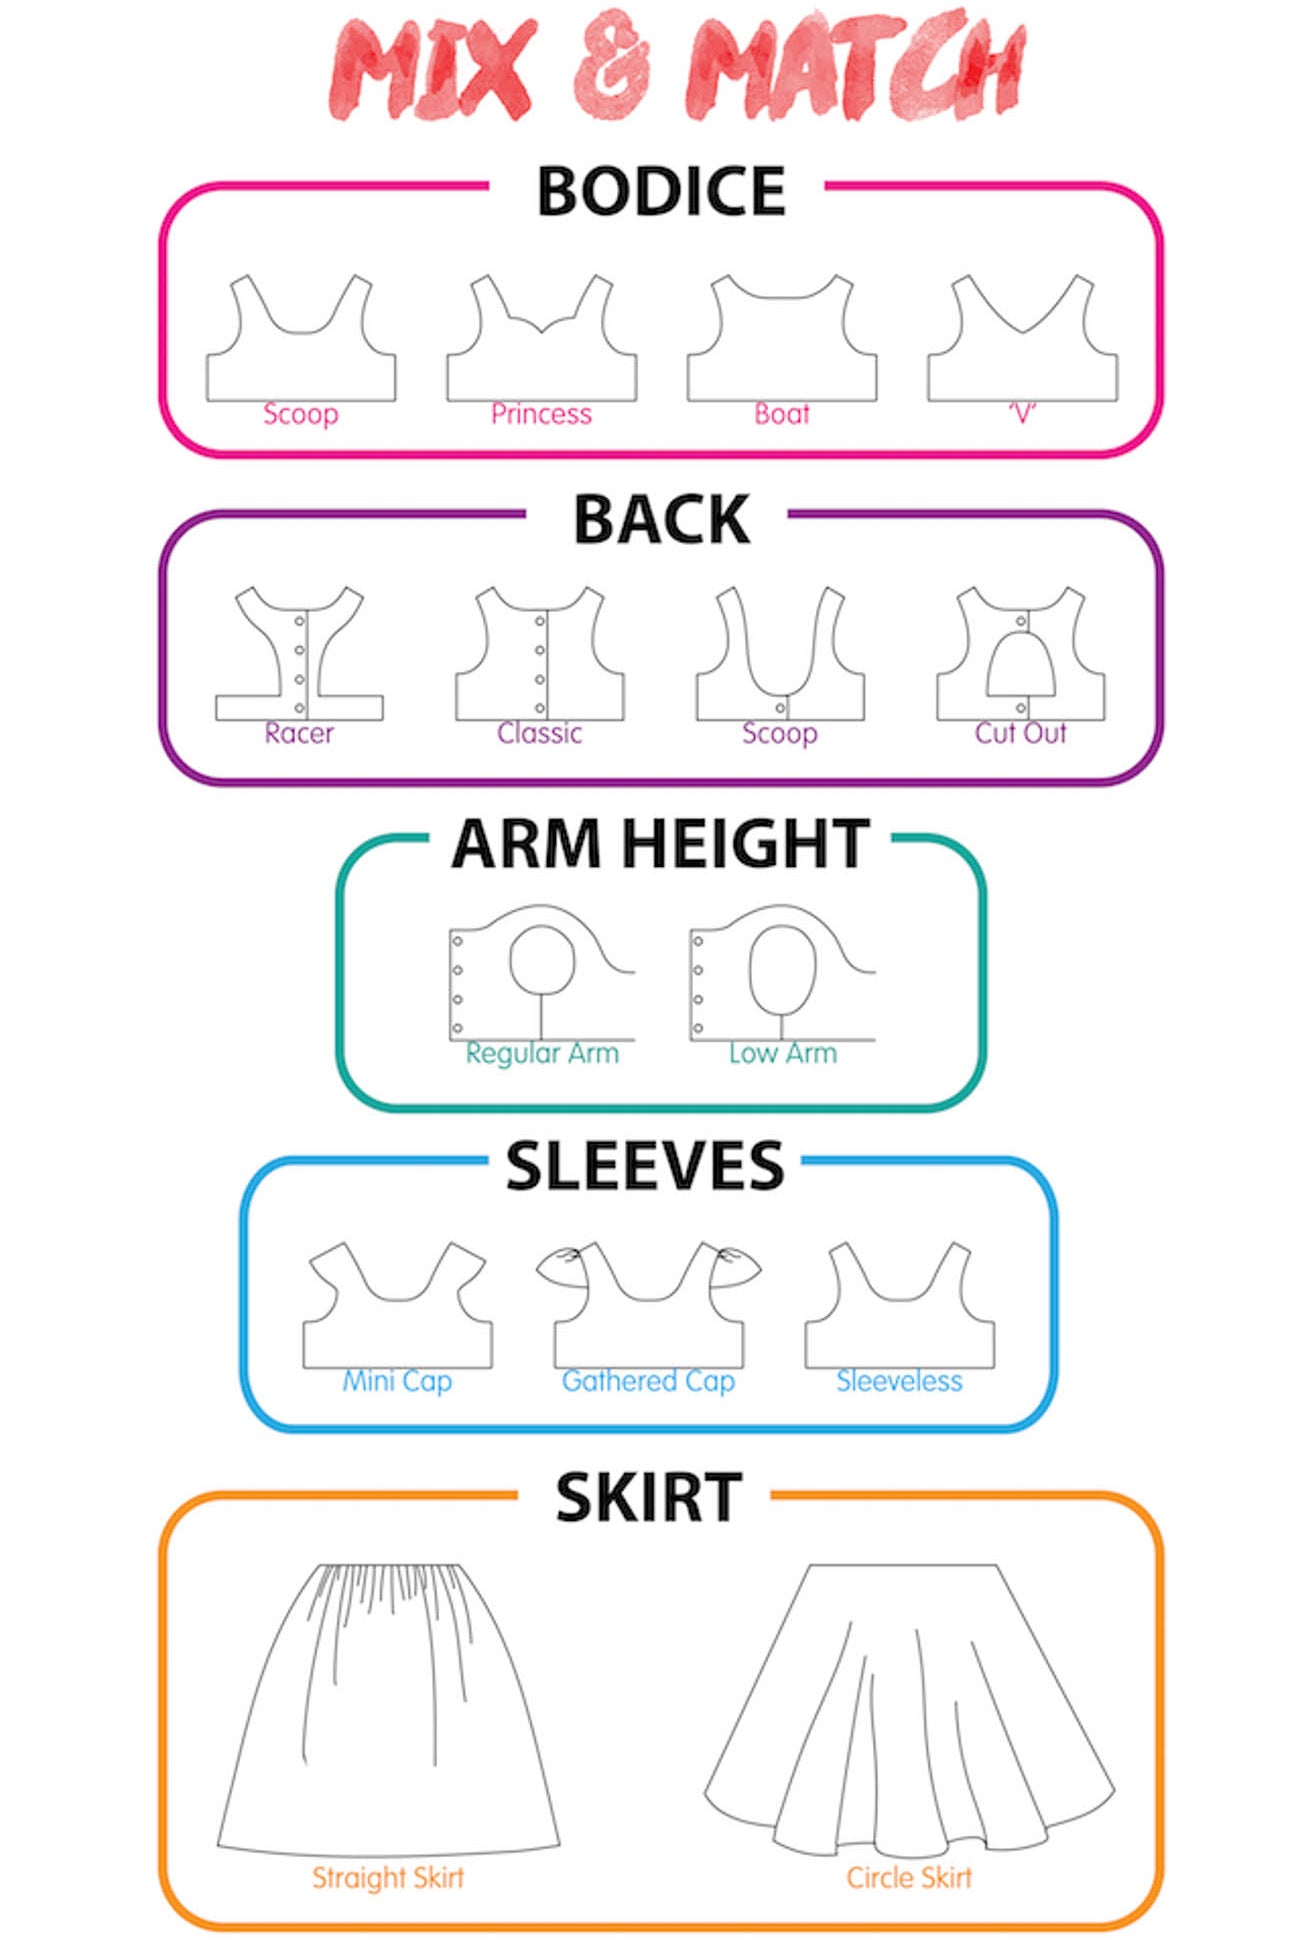
Please note: This is really only possible with the round neck from the BTP or the Boat neck from the TPD, the other necklines would require grade changes to the whole neckline.
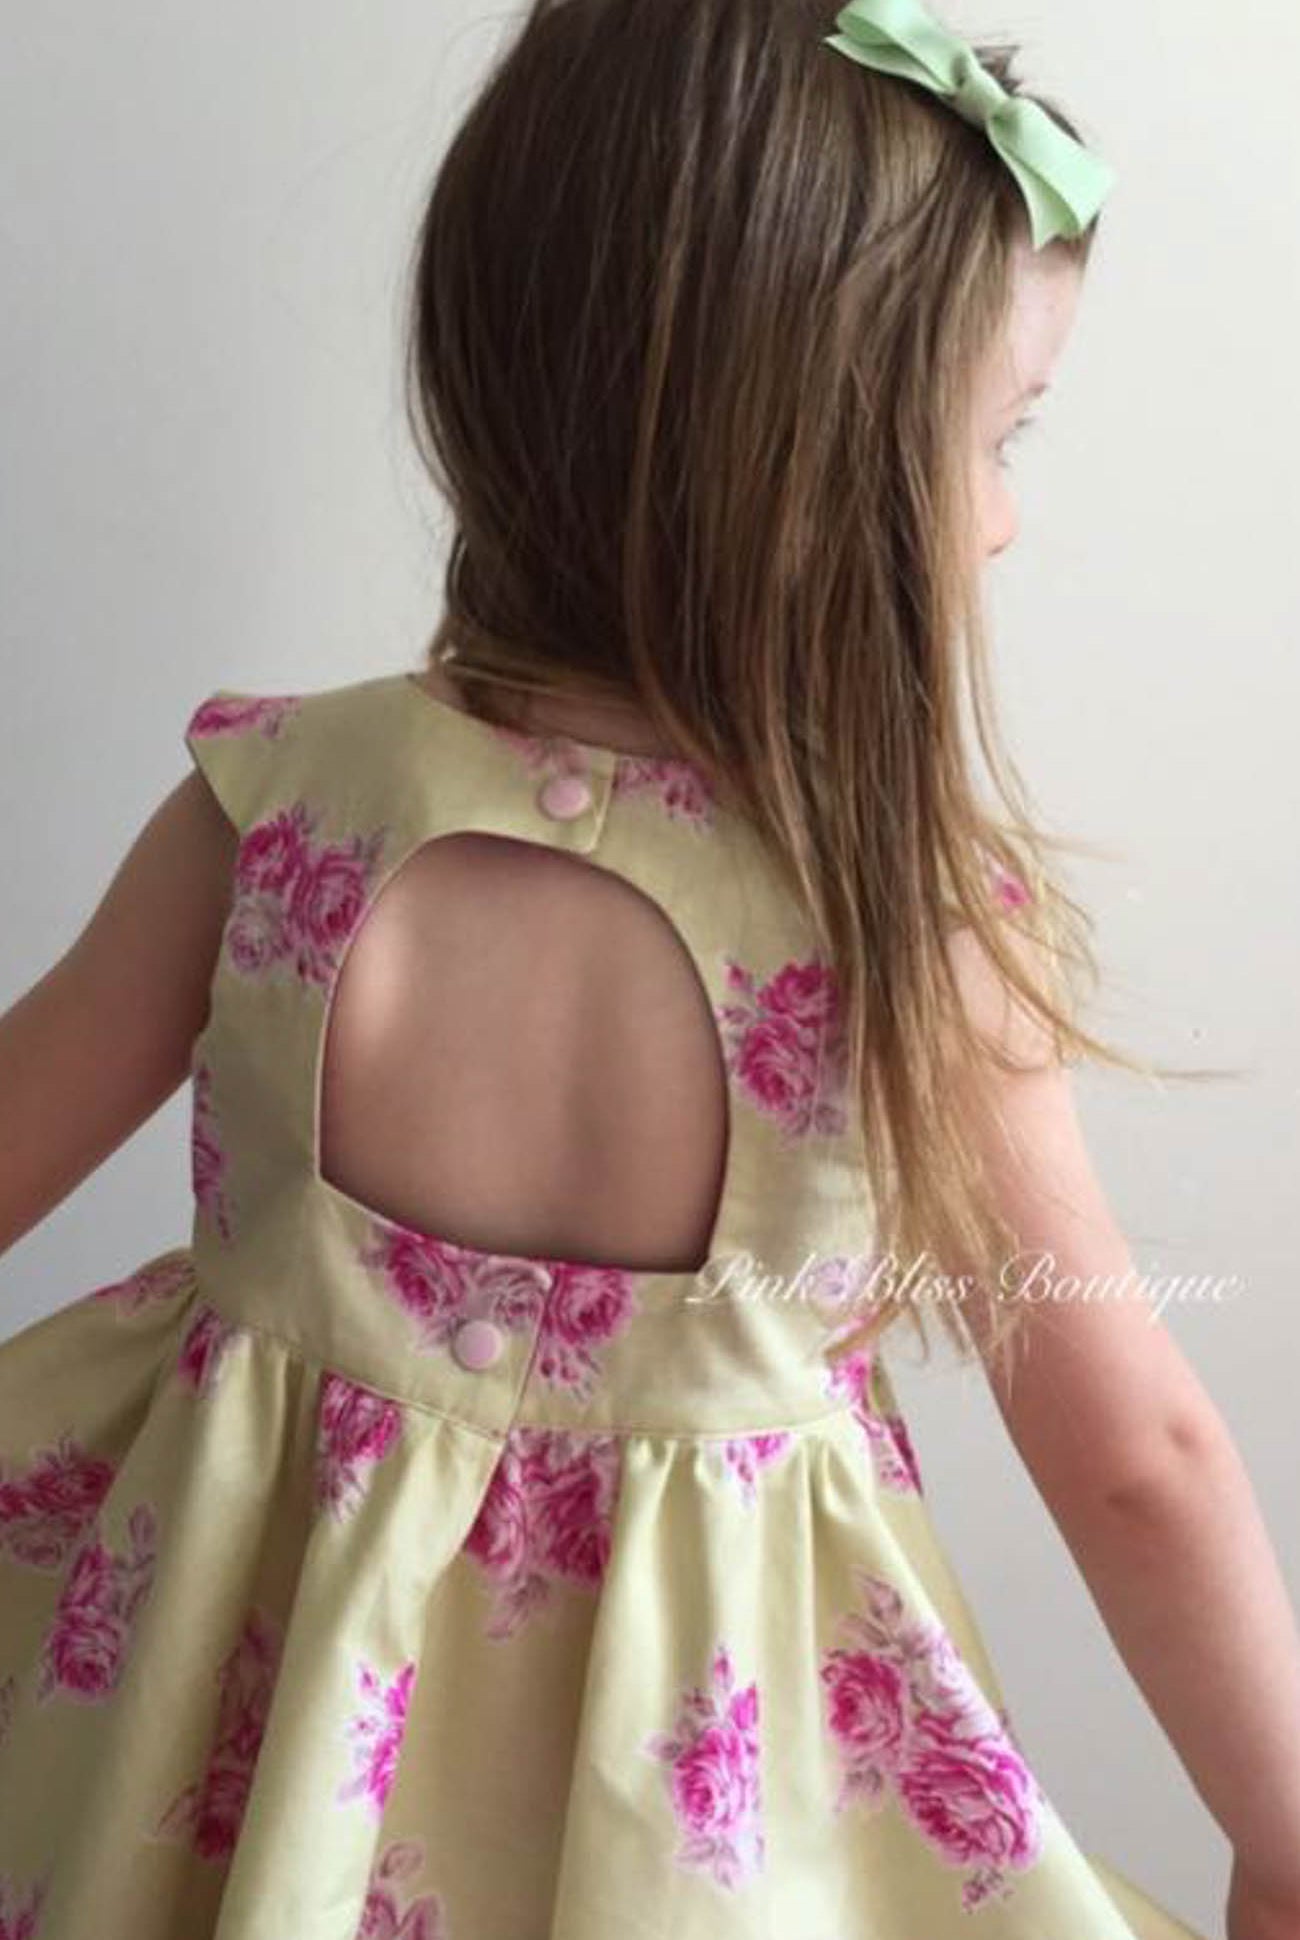
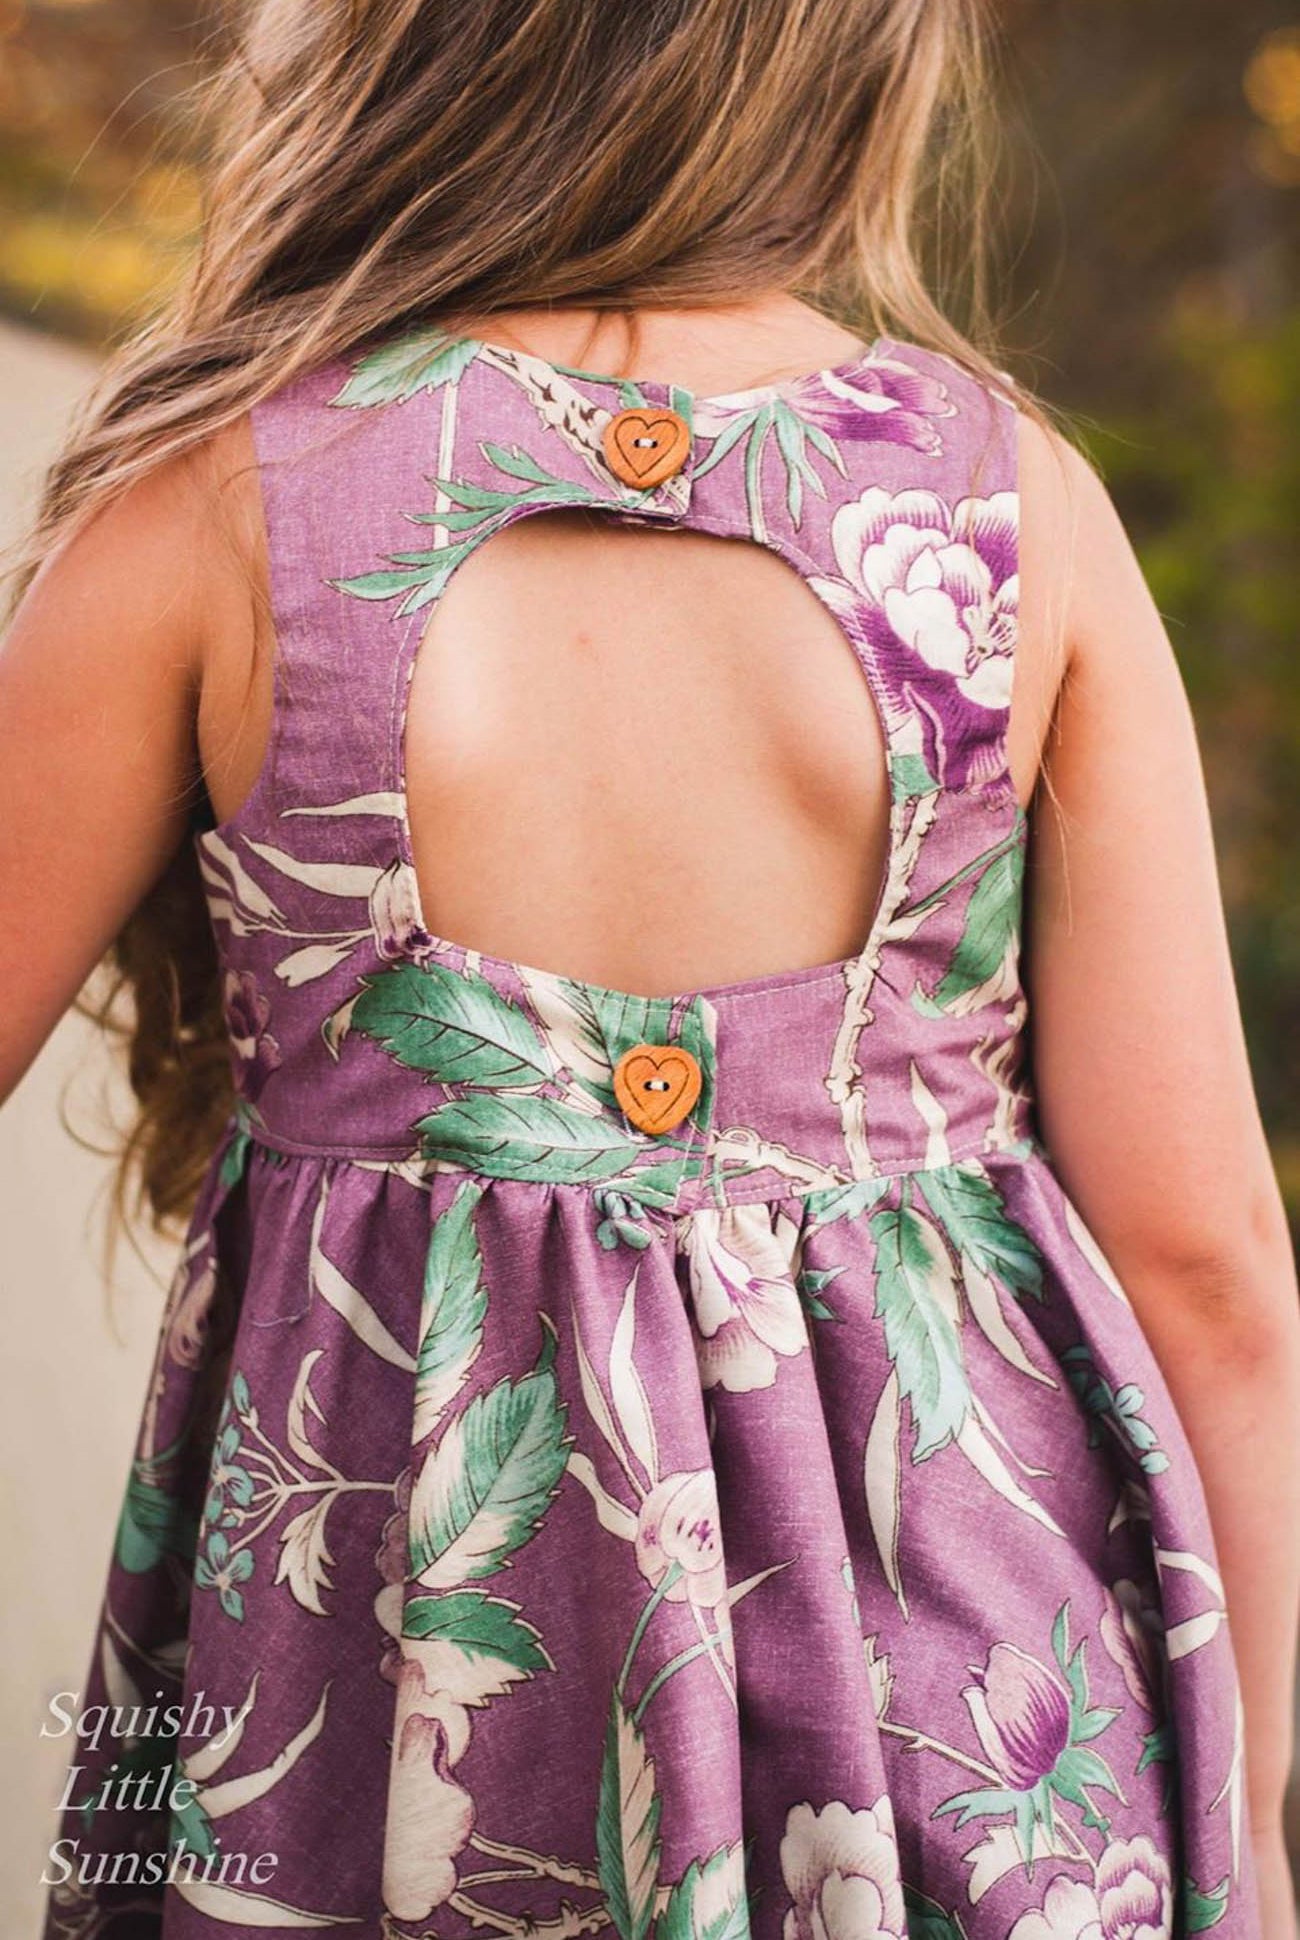
So let's start with the back piece. You'll need to remove the seam allowance as well as the cross over allowance. So use a quilters ruler and line it up against the inside back seam line and measure 7/8" away from that line and draw a new line - this will be your new centre back as you will now be cutting this piece on the fold.

This is what your new pattern piece should resemble.

Then move to your front pattern piece and we will need to so the reverse of the above and add 7/8" to the pattern piece and ignore the cut on the fold instructions. You will be cutting 2 mirrored sets - so 4 pieces all up (2 x mirrored outer, 2 x mirrored lining)

Then, move to your bottom pieces. You will need to remove 3/8" from the back skirt width and 3/8" from the back playsuit width and make the pattern piece a 'cut on the fold' piece - so both your front and back bottoms will be cut on the fold - we will be making a continuous placket in them later.

Then follow steps 1-10 on the Baby Tea Party Pattern, when you sew your skirts or playsuit together you will be forming a tube instead of one long skirt piece.
If you're making the Tea Party Dress then you will need to sew up the side seams of your bodice before you attach the skirt.

Finish the legs and side seams as per your preference.
If you're making a layered BTP, make sure you place your romper inside of your skirt - romper right side up, matching the wrong side of the skirt - match your side seams and pin together.

Front your FRONT centre and draw a line 2" down from the raw edge, cut down that line.


The attachment of the placket is explained in this video.
Then follow steps 19 onward, depending on your options chose. The only variance is your skirt will be a tube as opposed to a flat piece. Just match your front openings, side seams and centre back and push your gathers around till you're happy with them and attach as per the pattern.

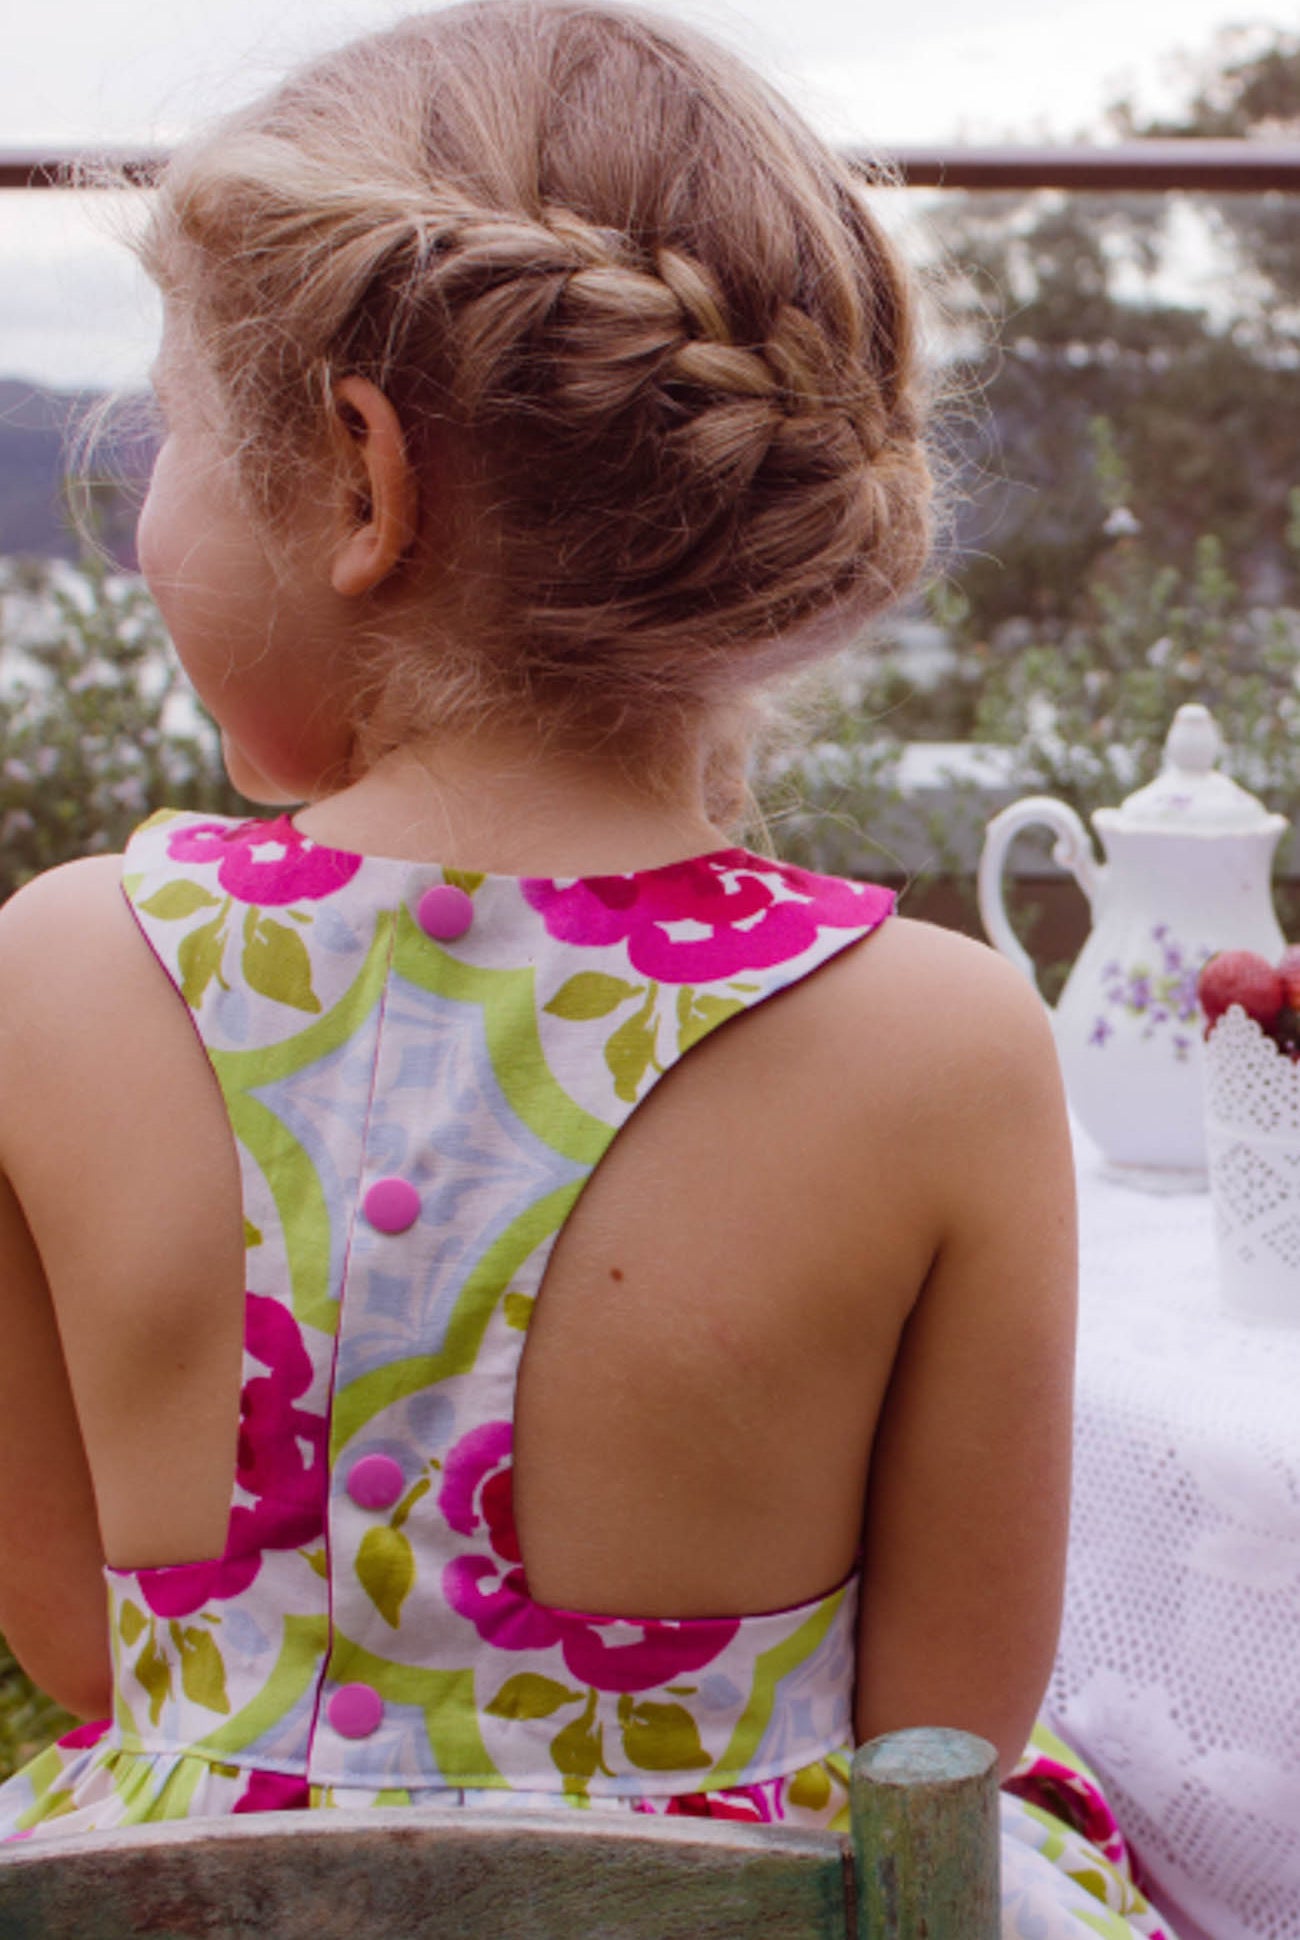
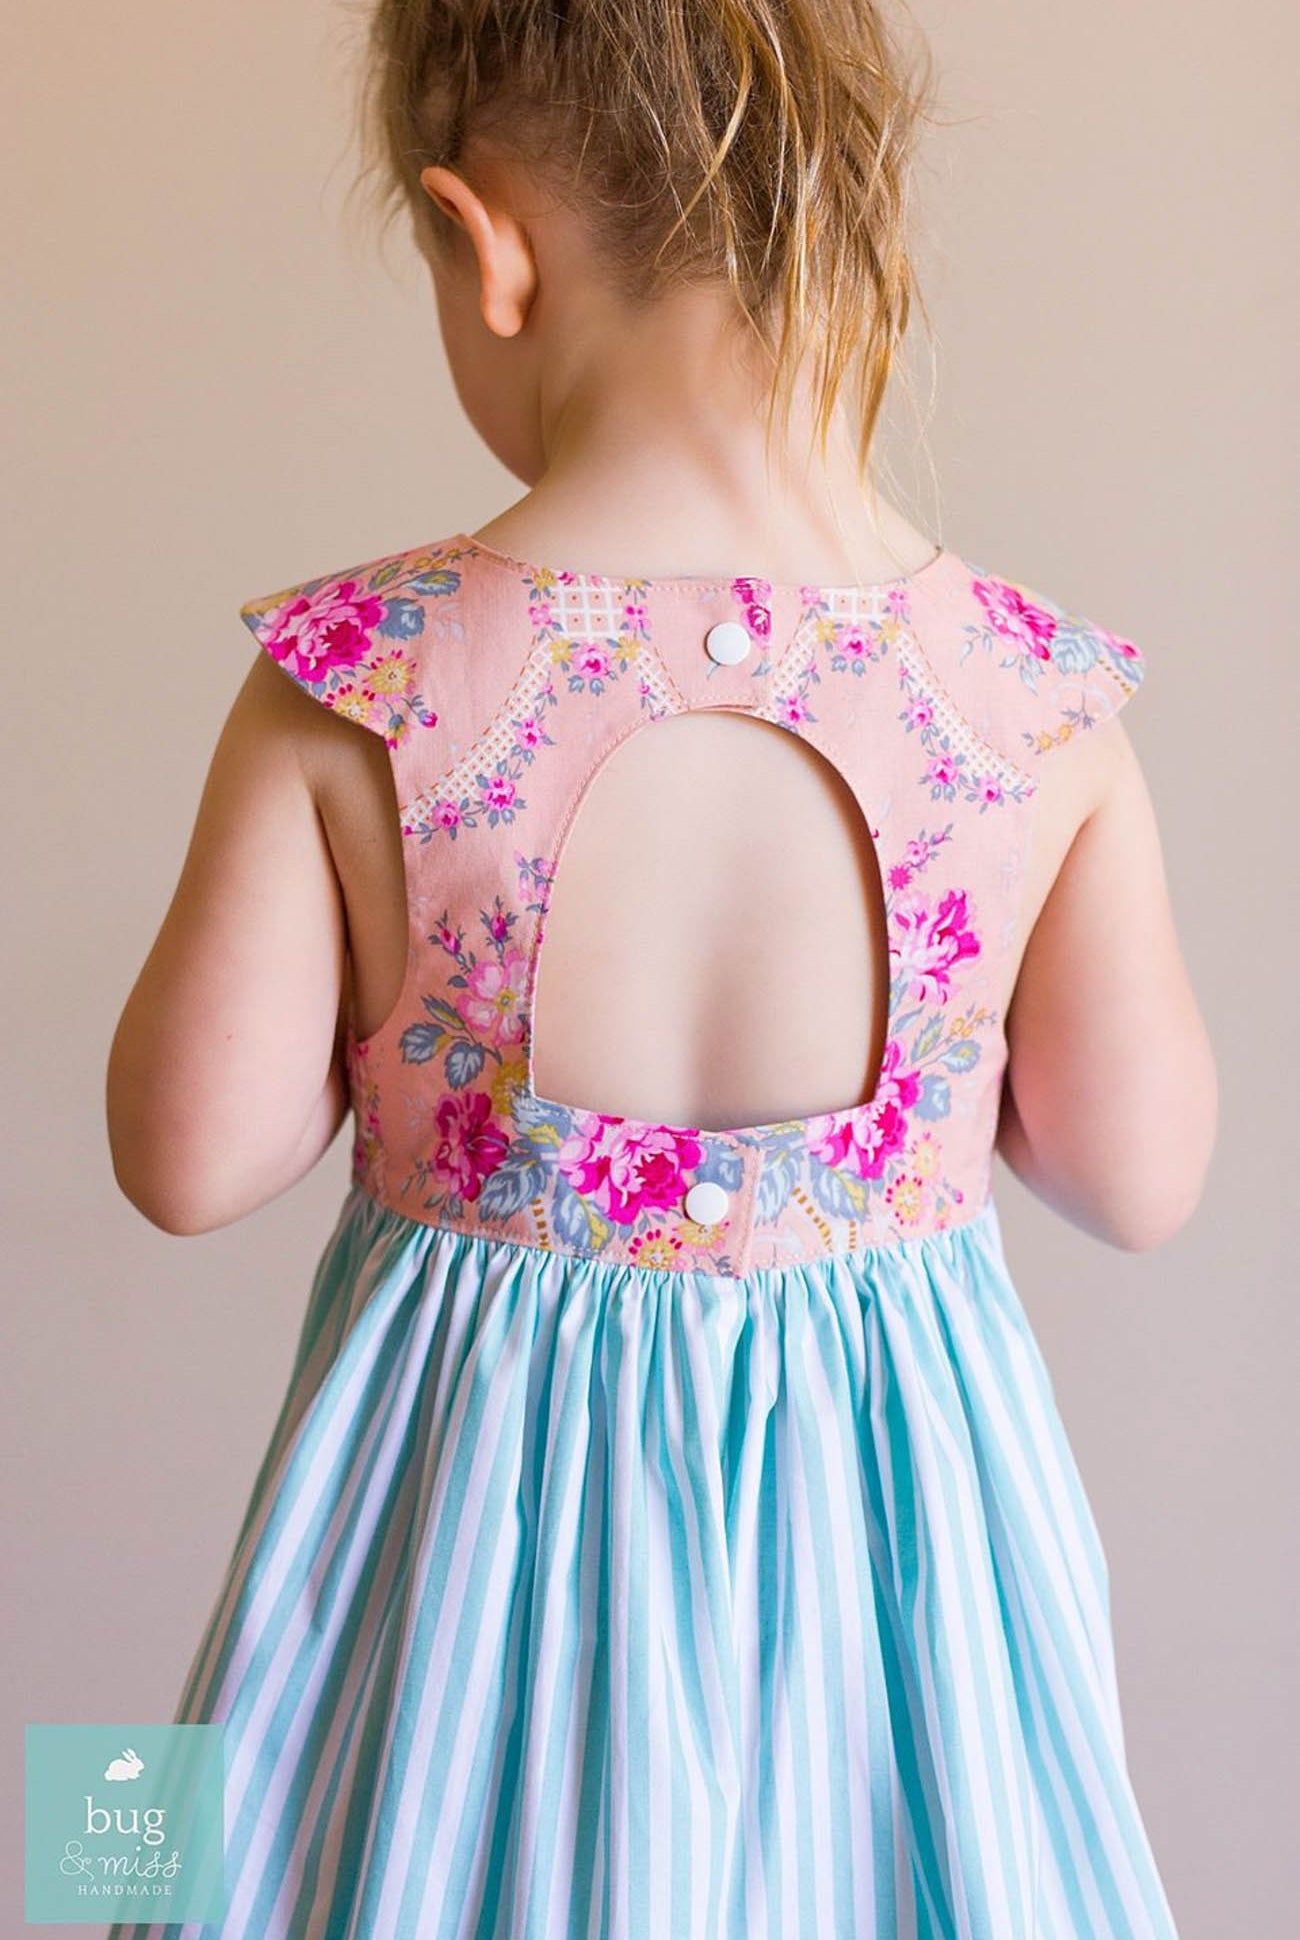
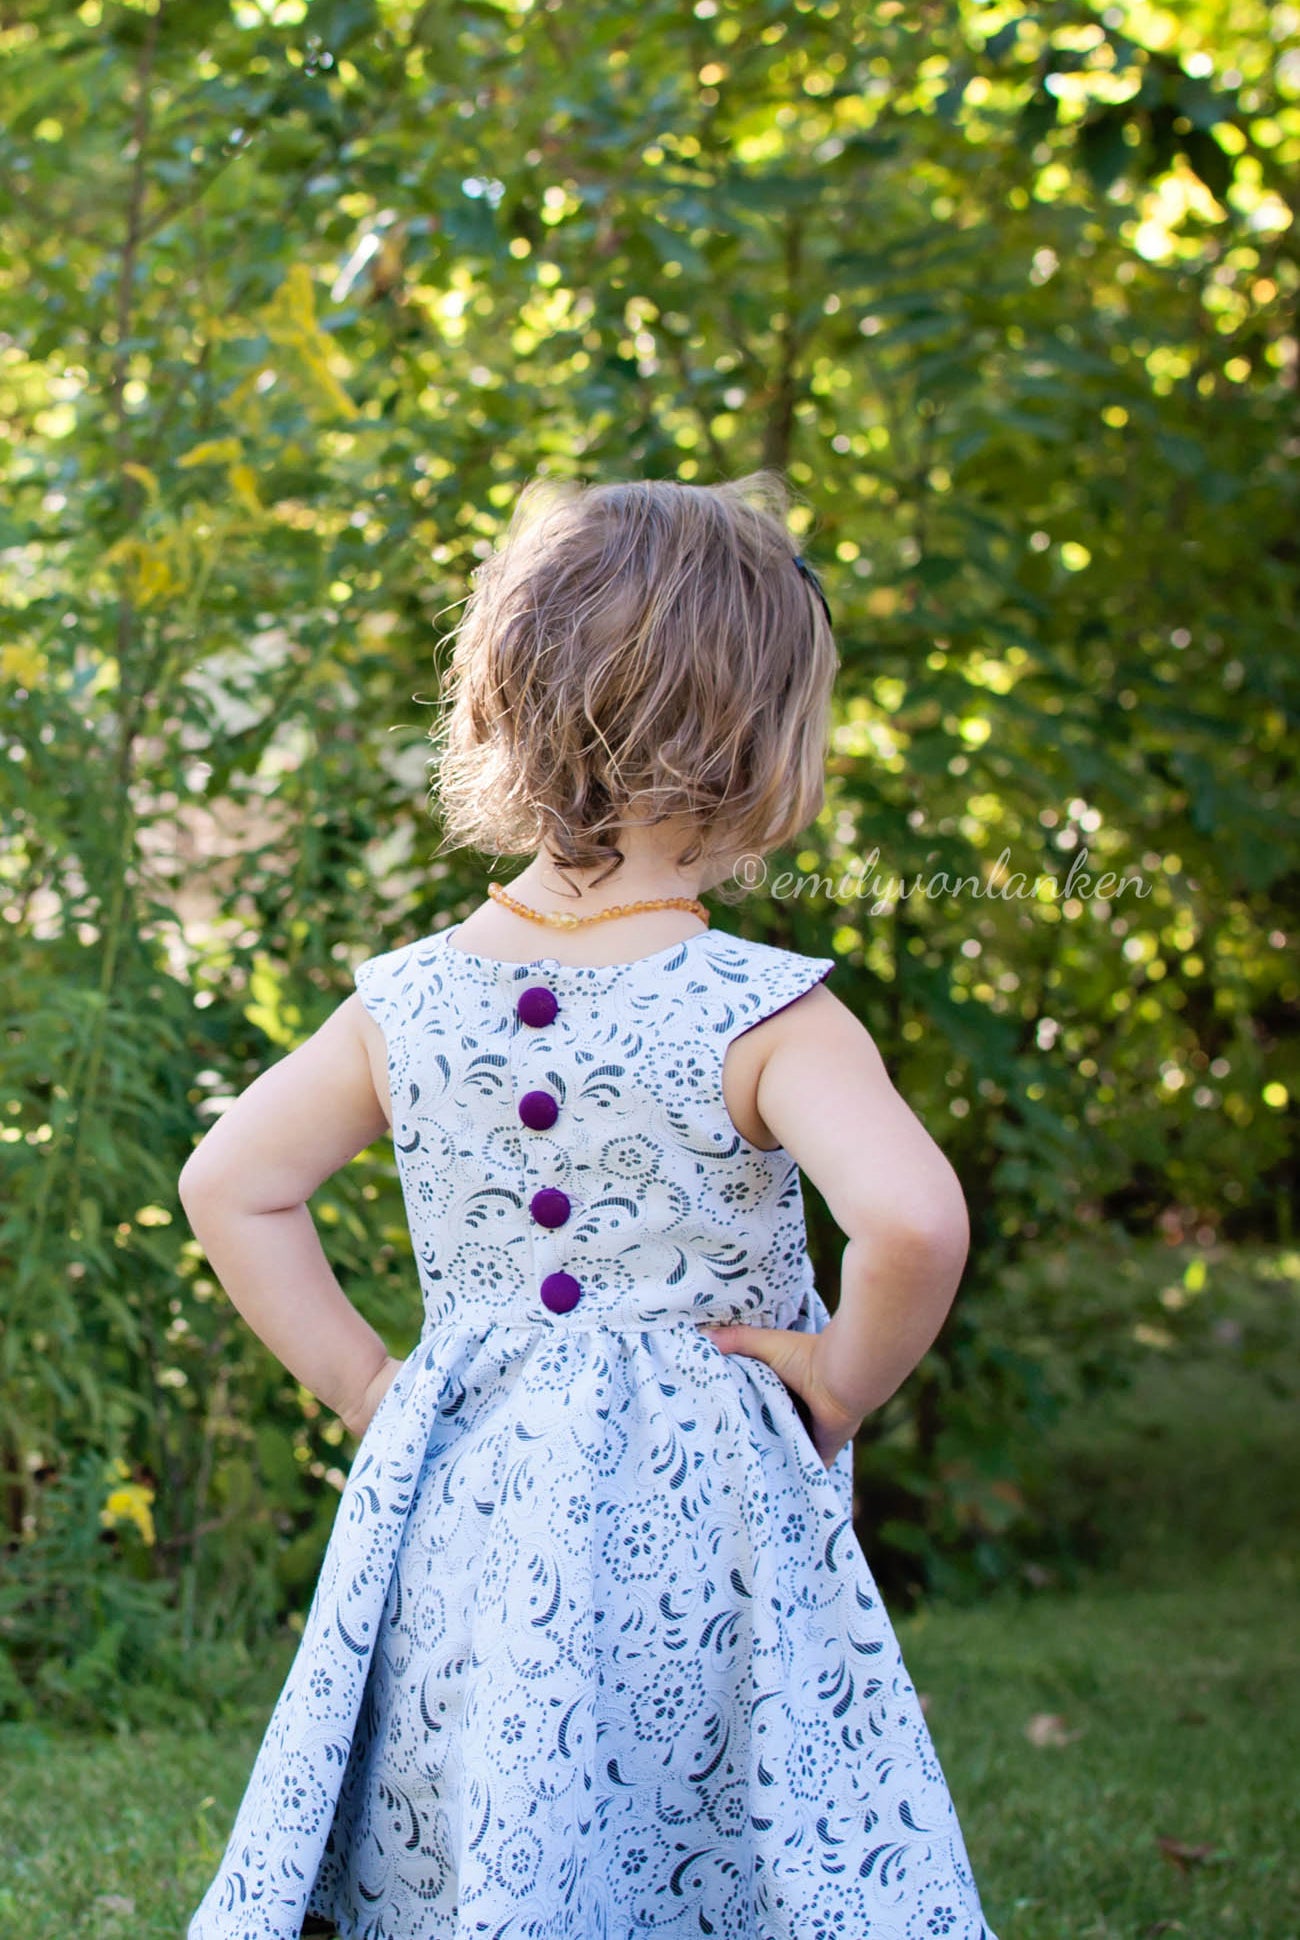
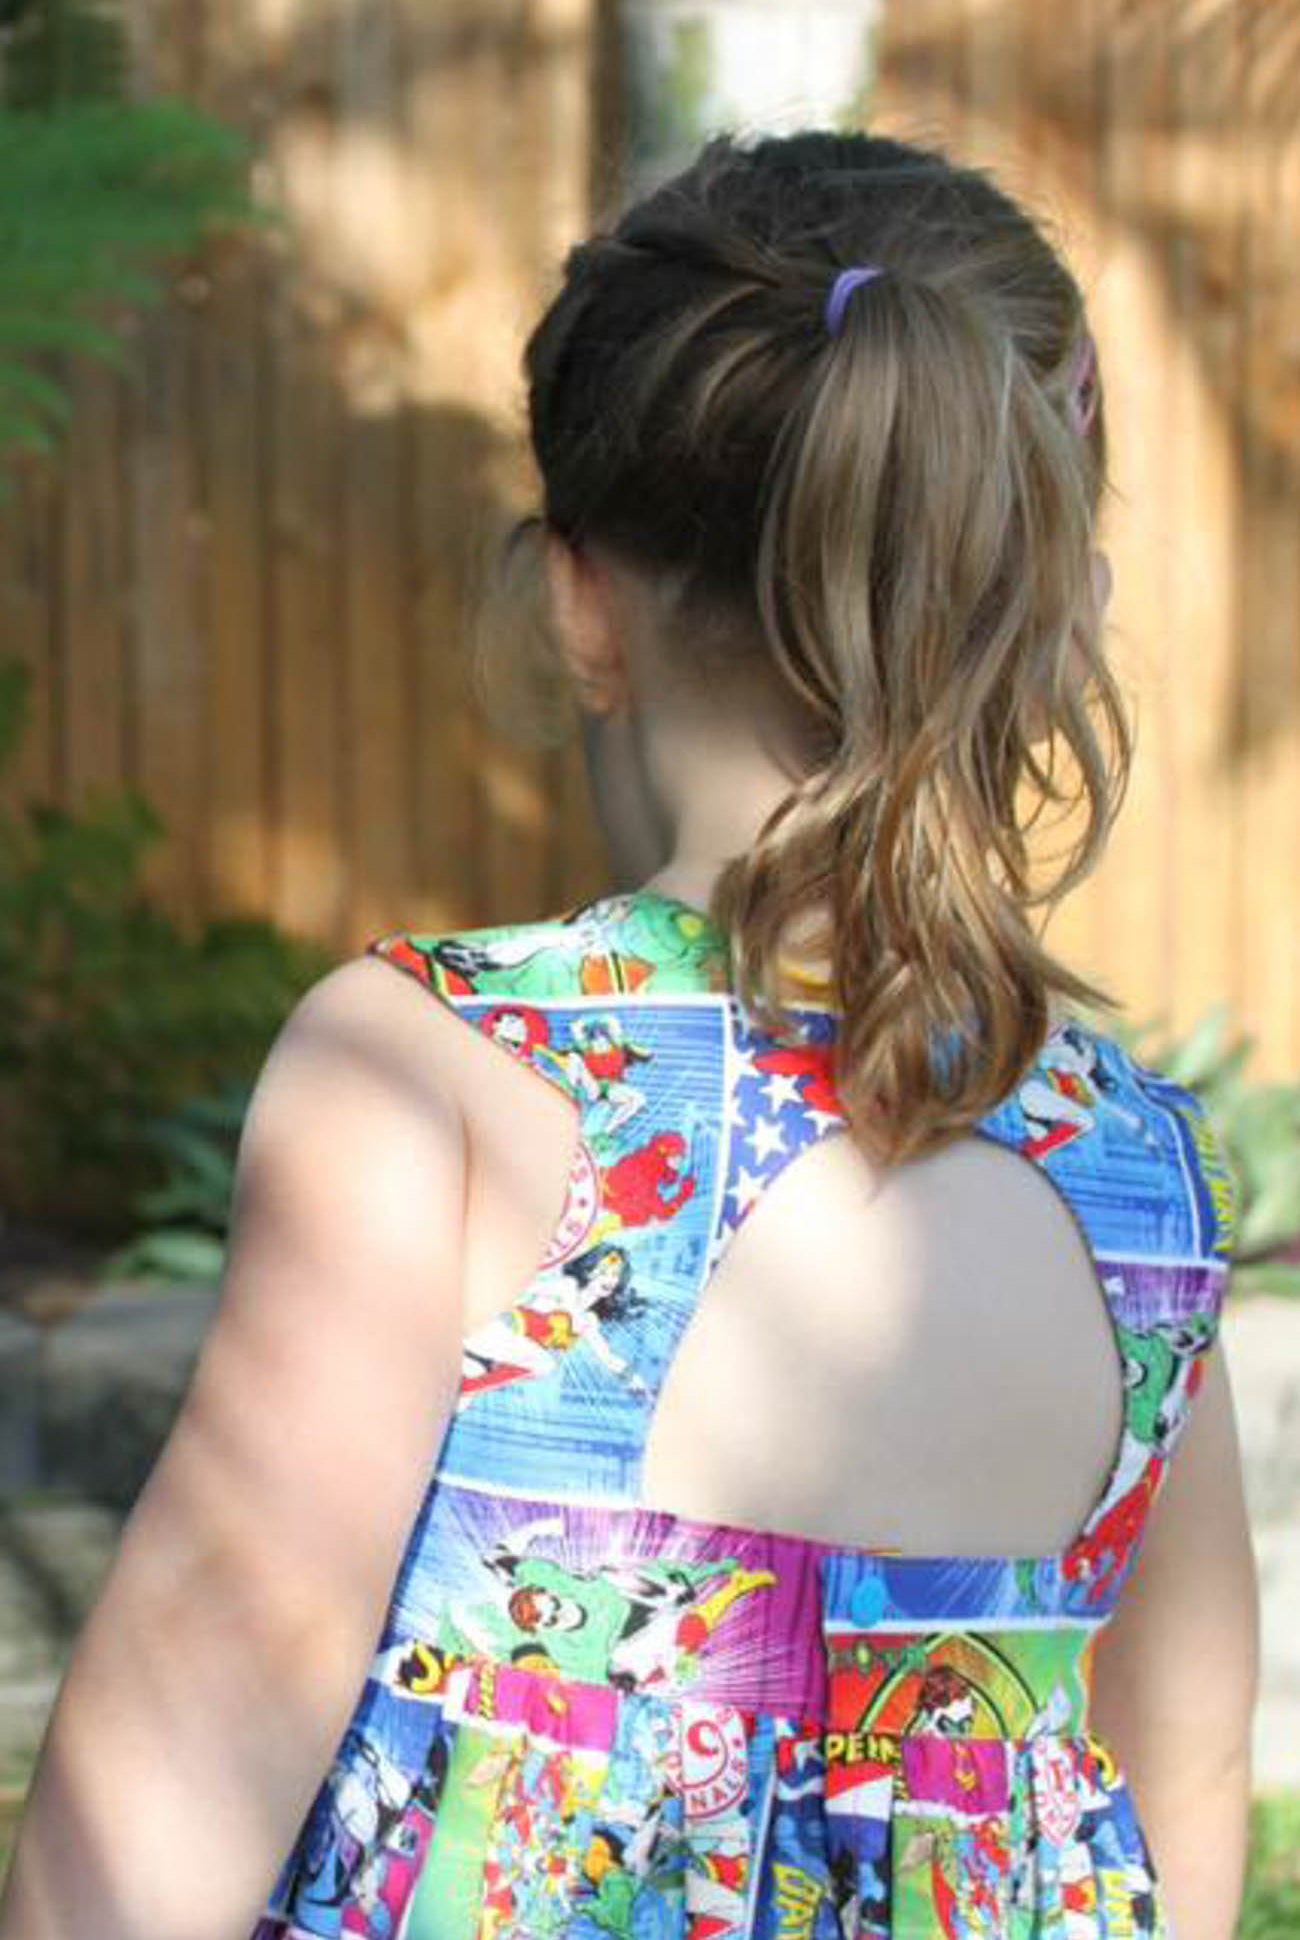
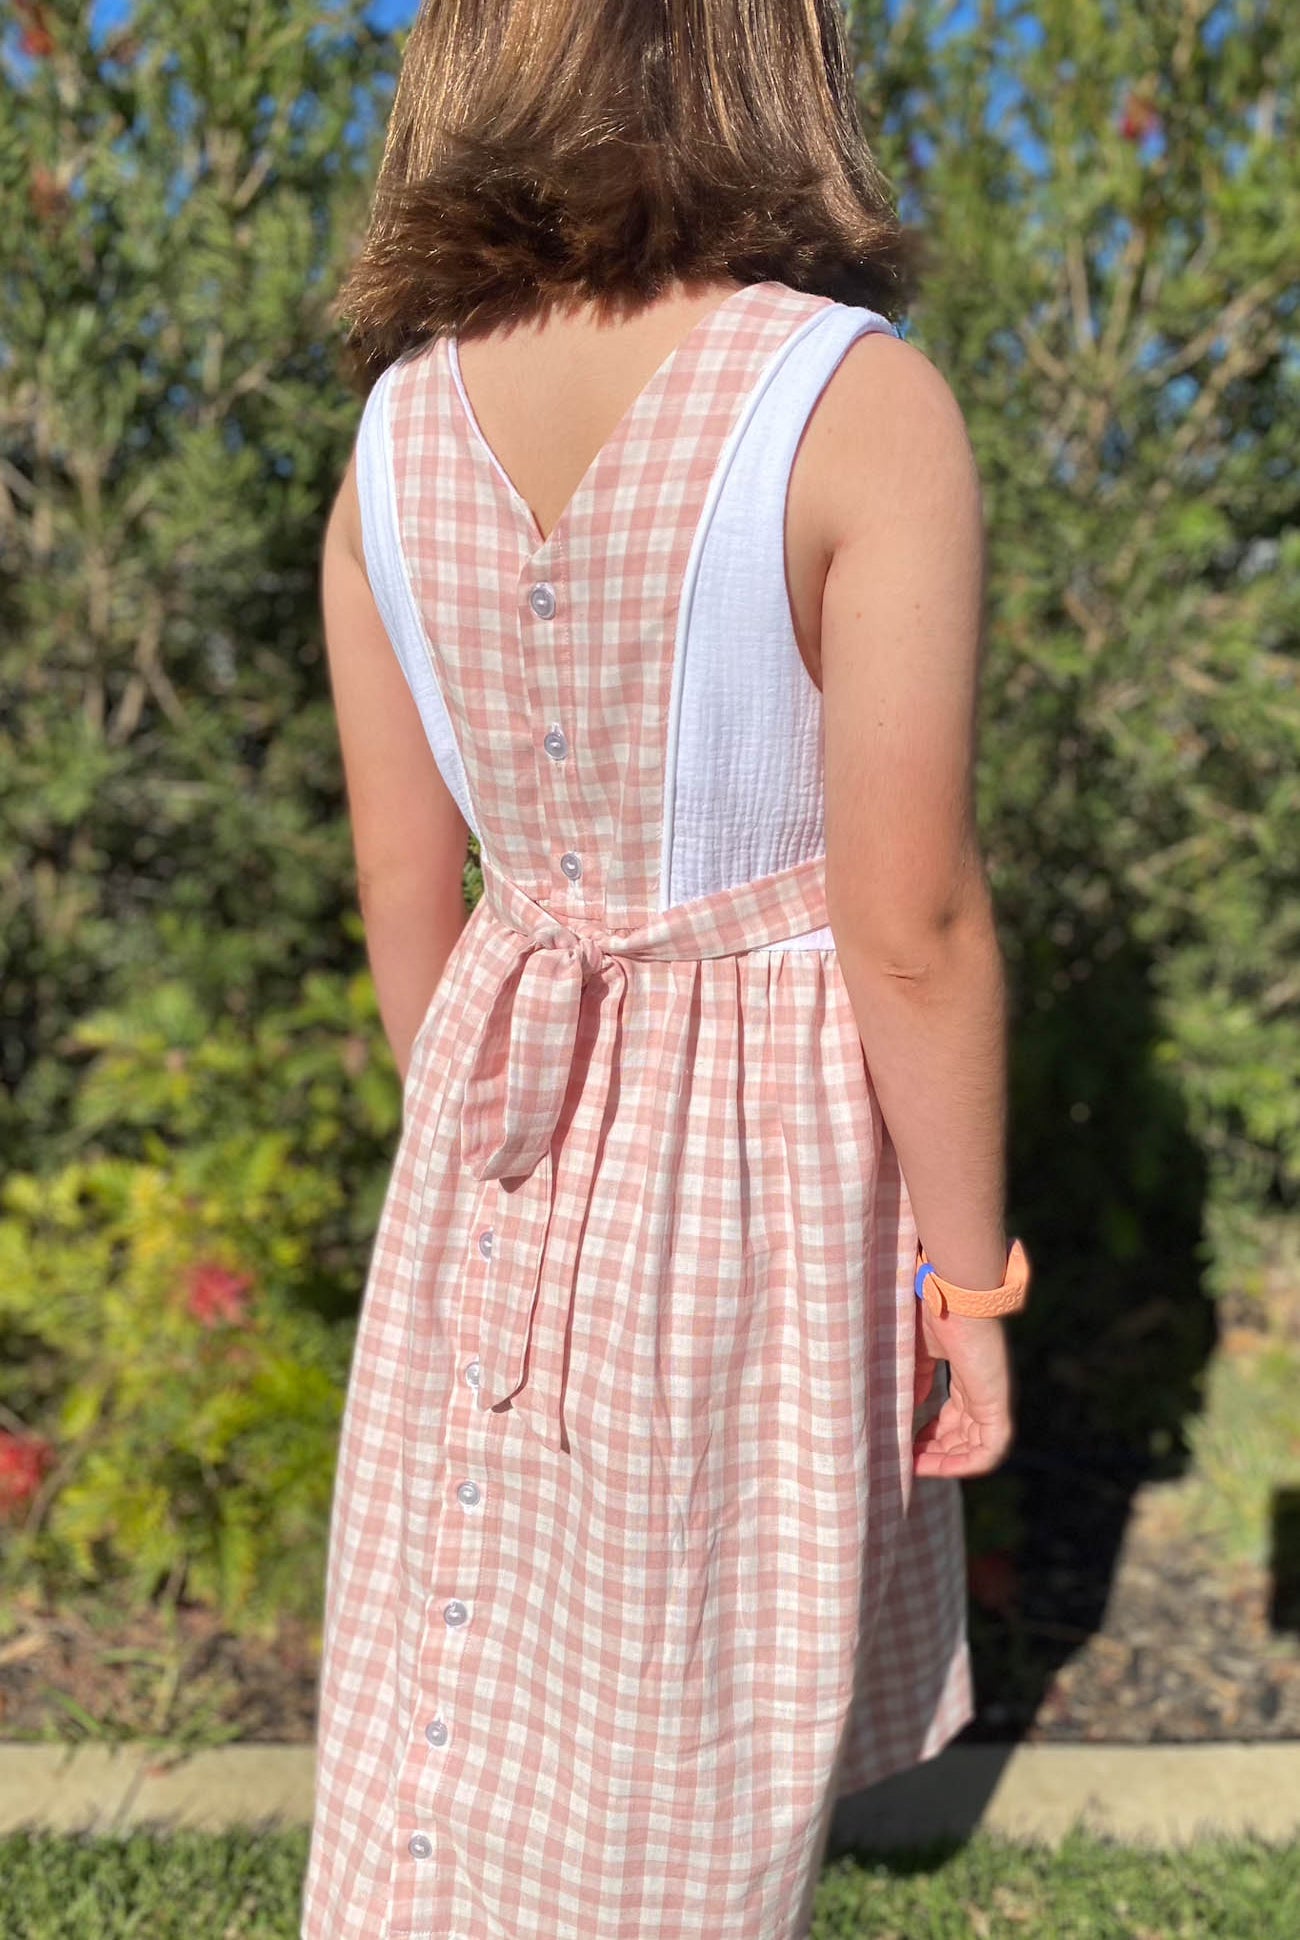
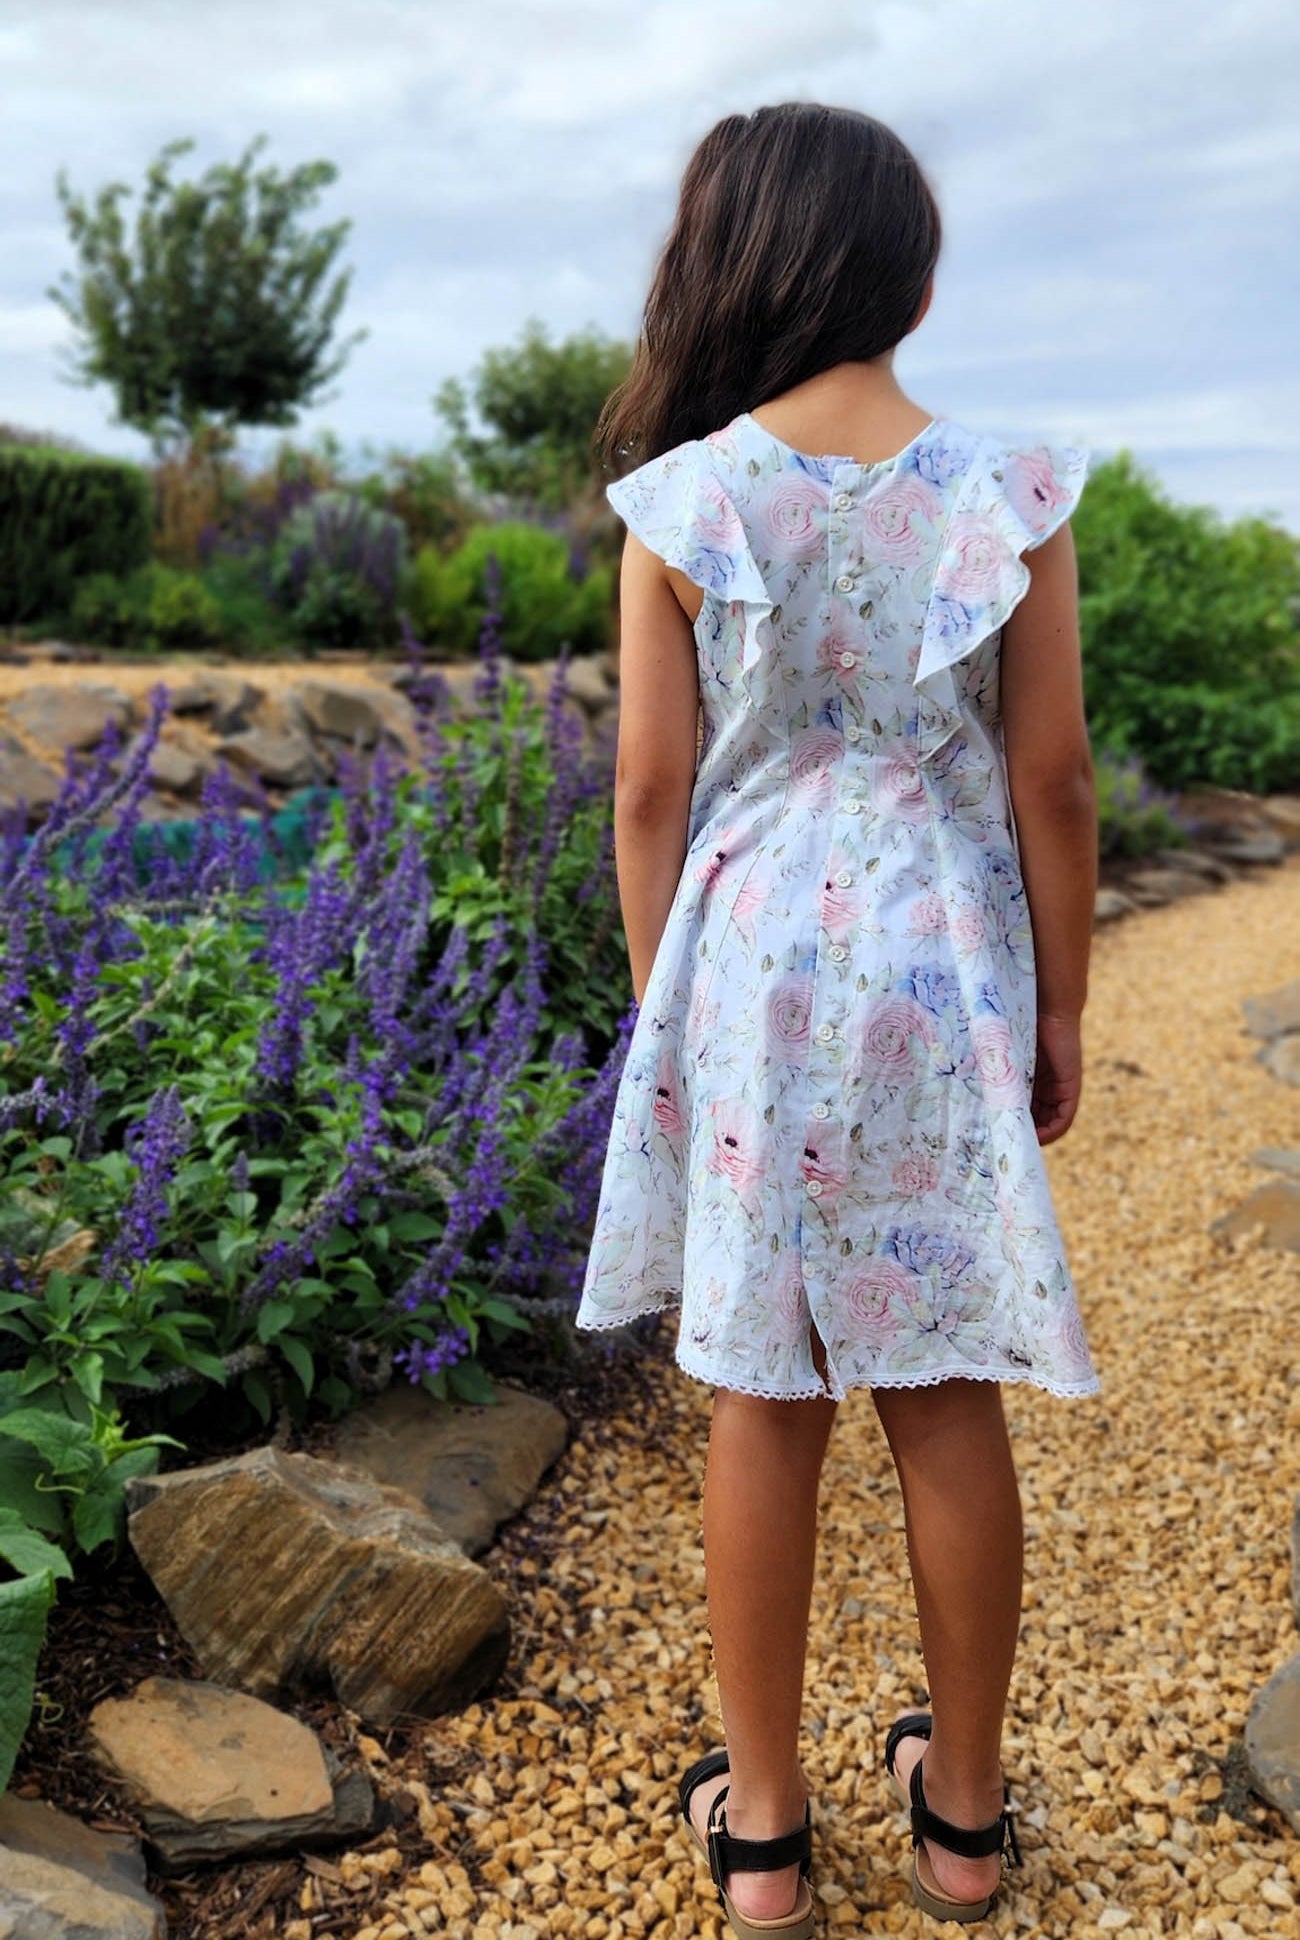
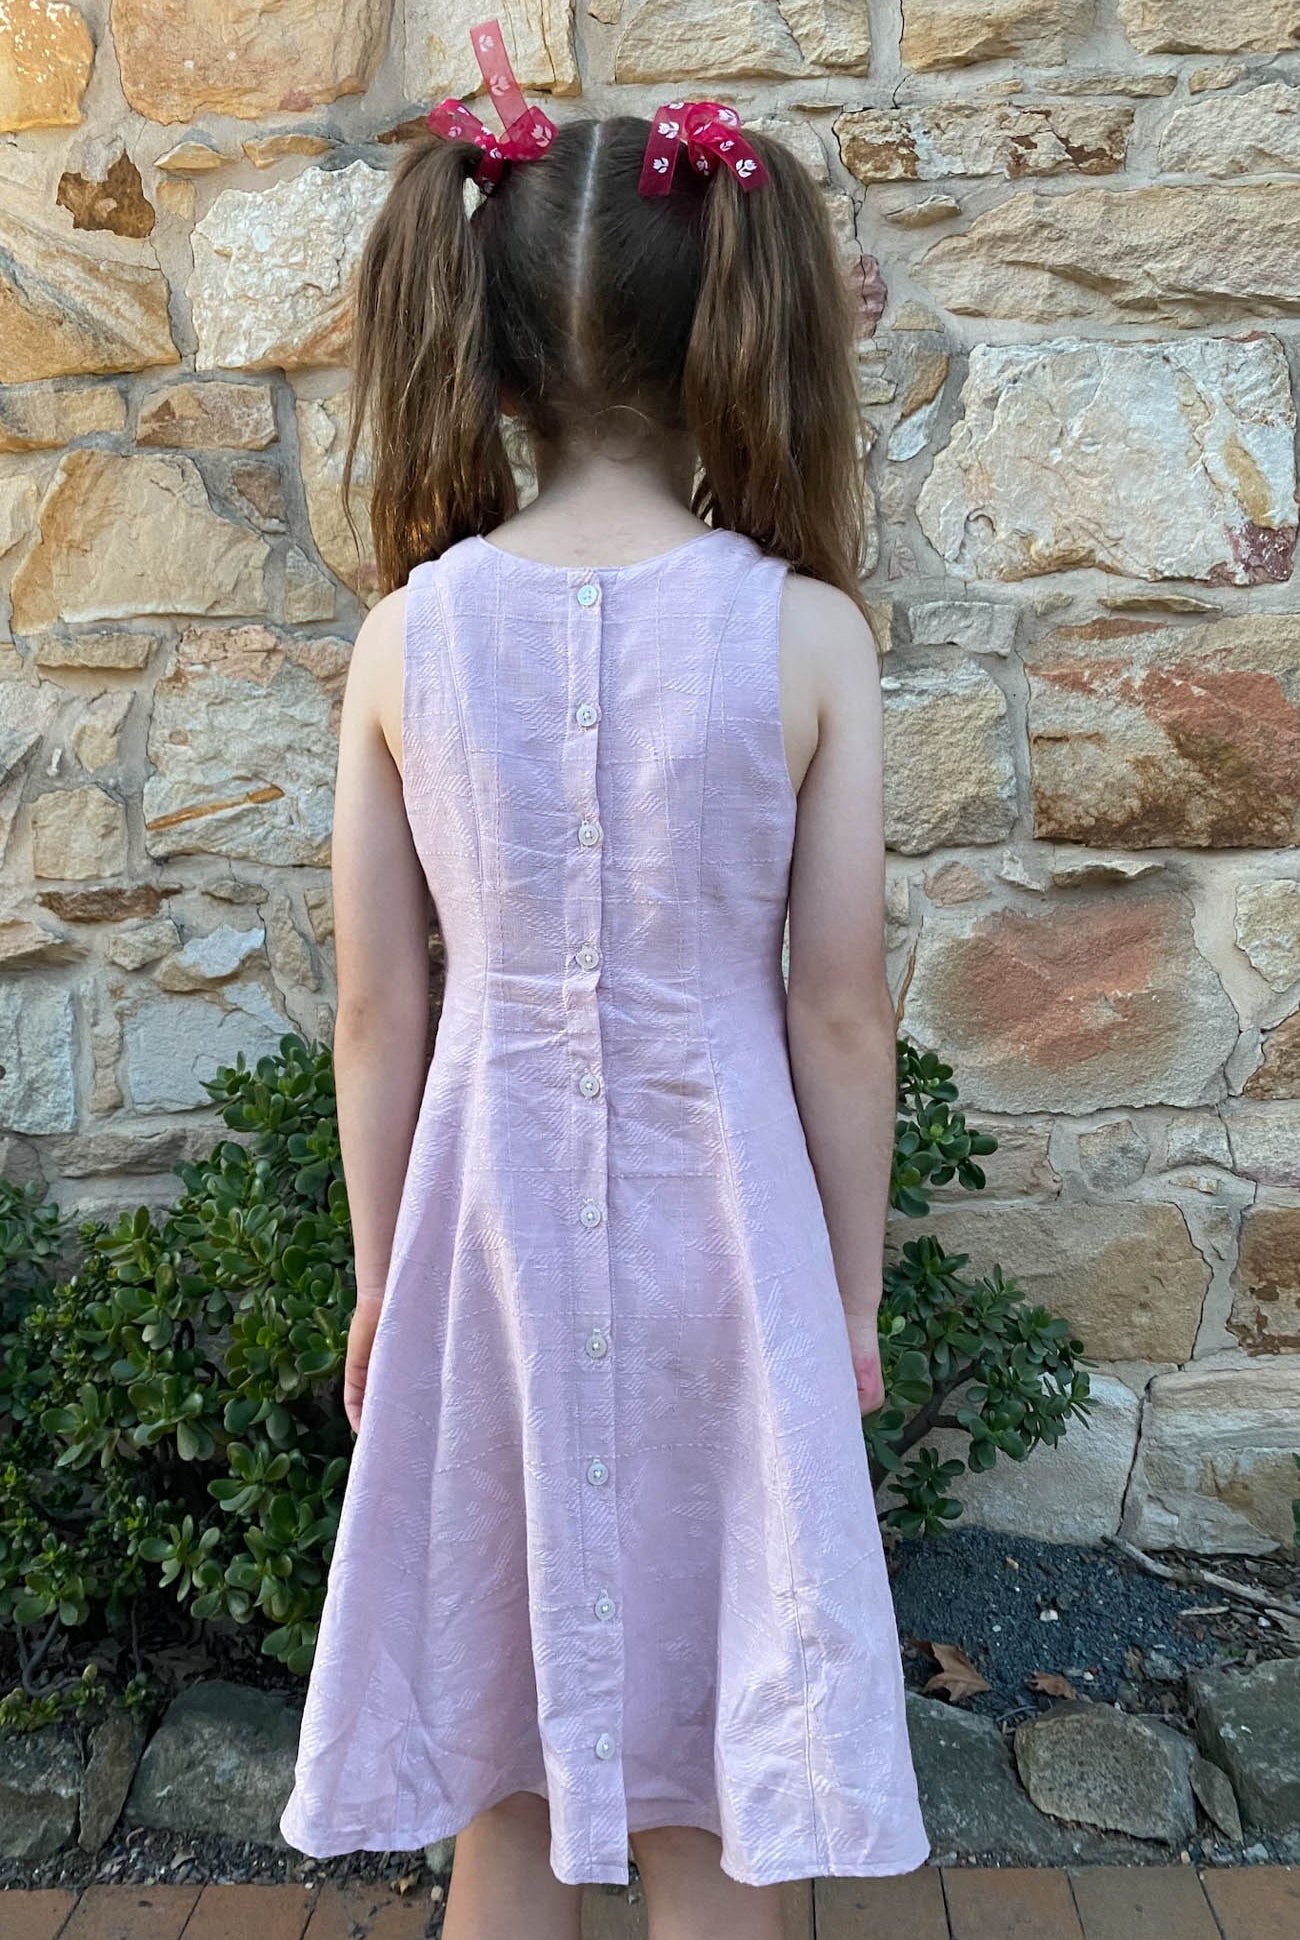
Finish off your buttons or snaps and Tadah!! You're done!!
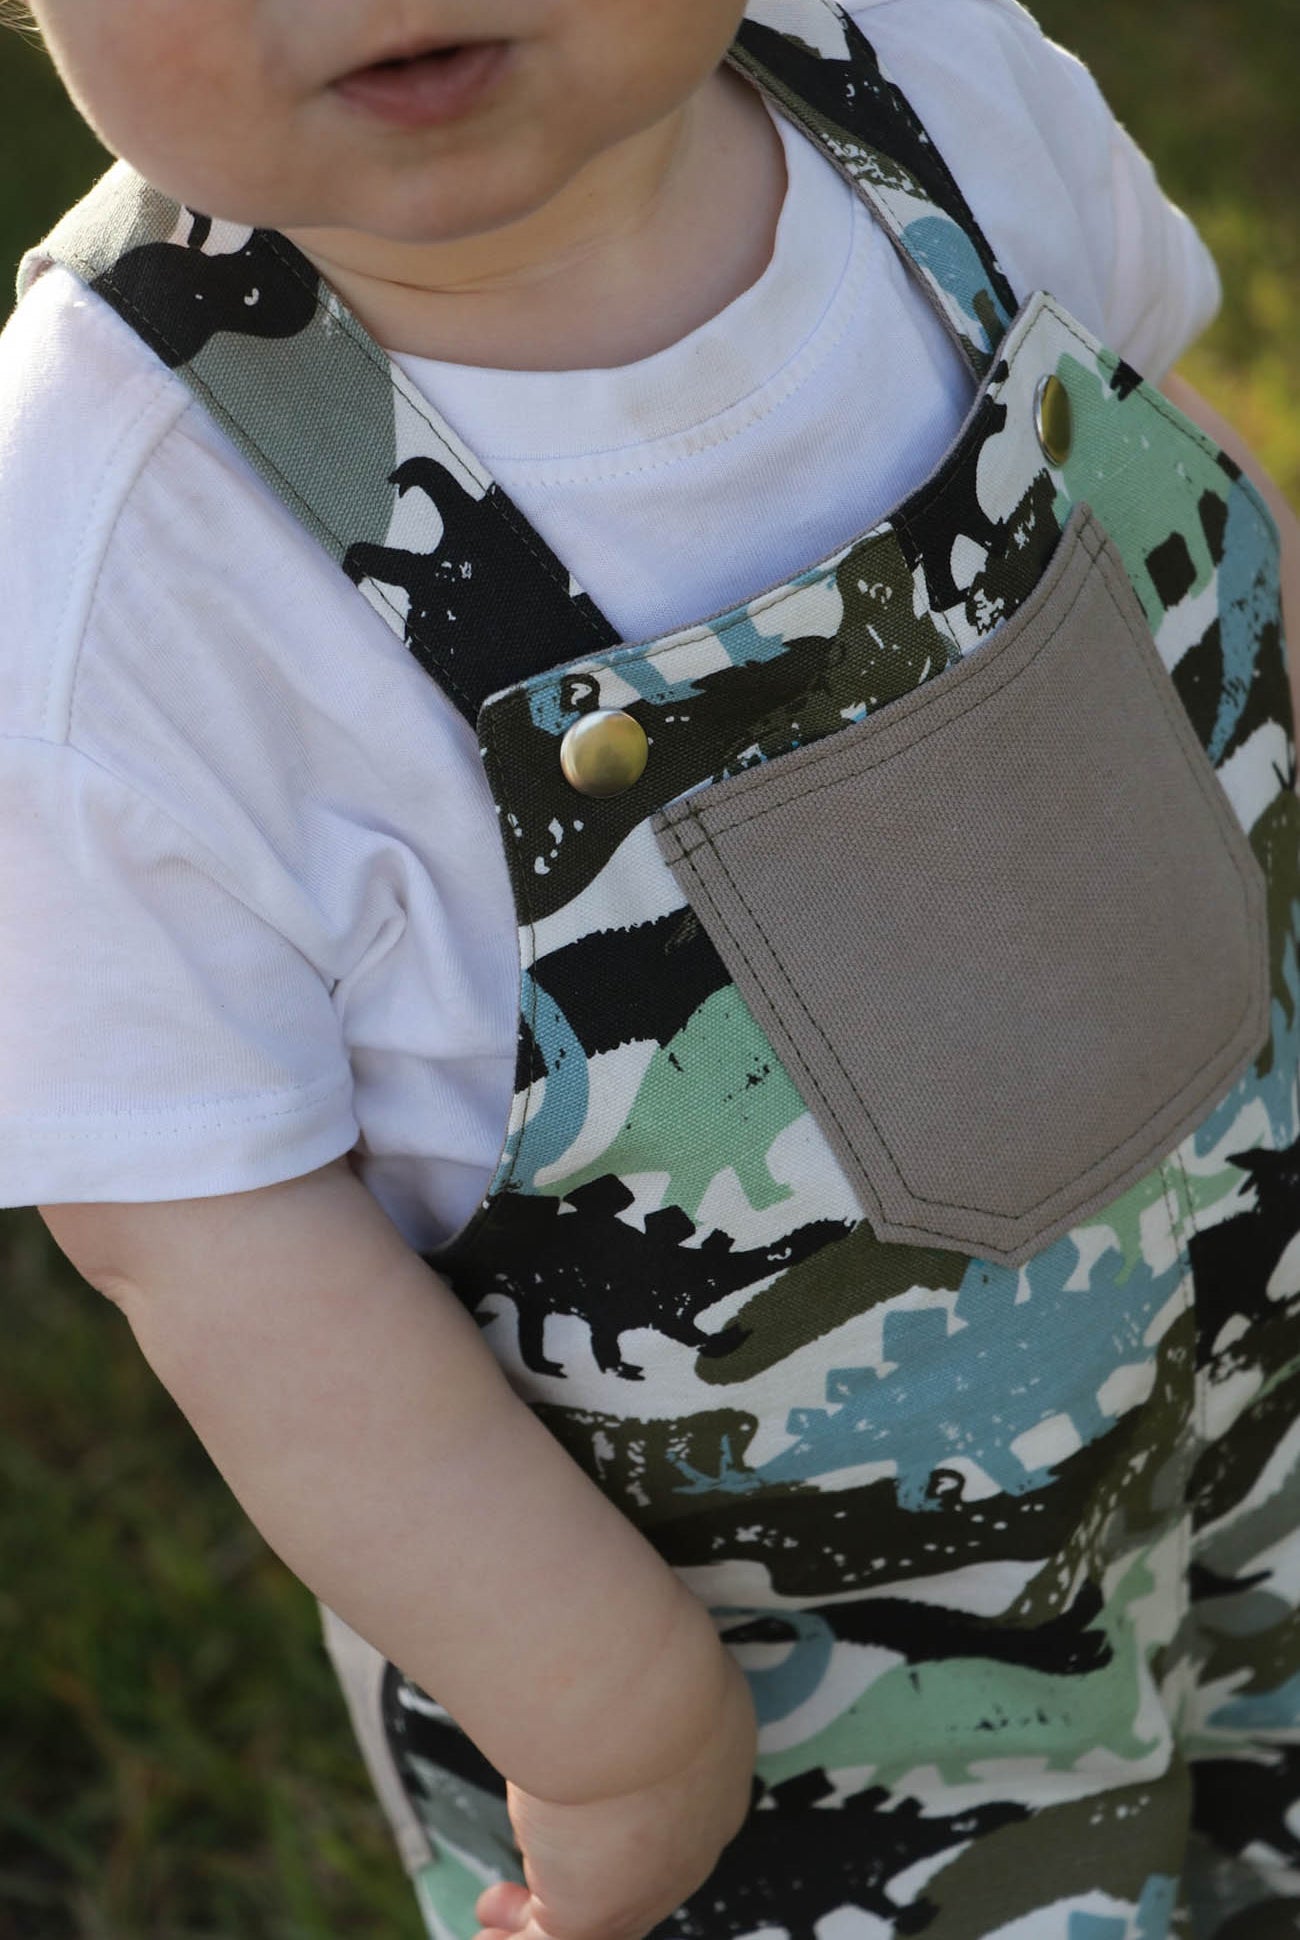
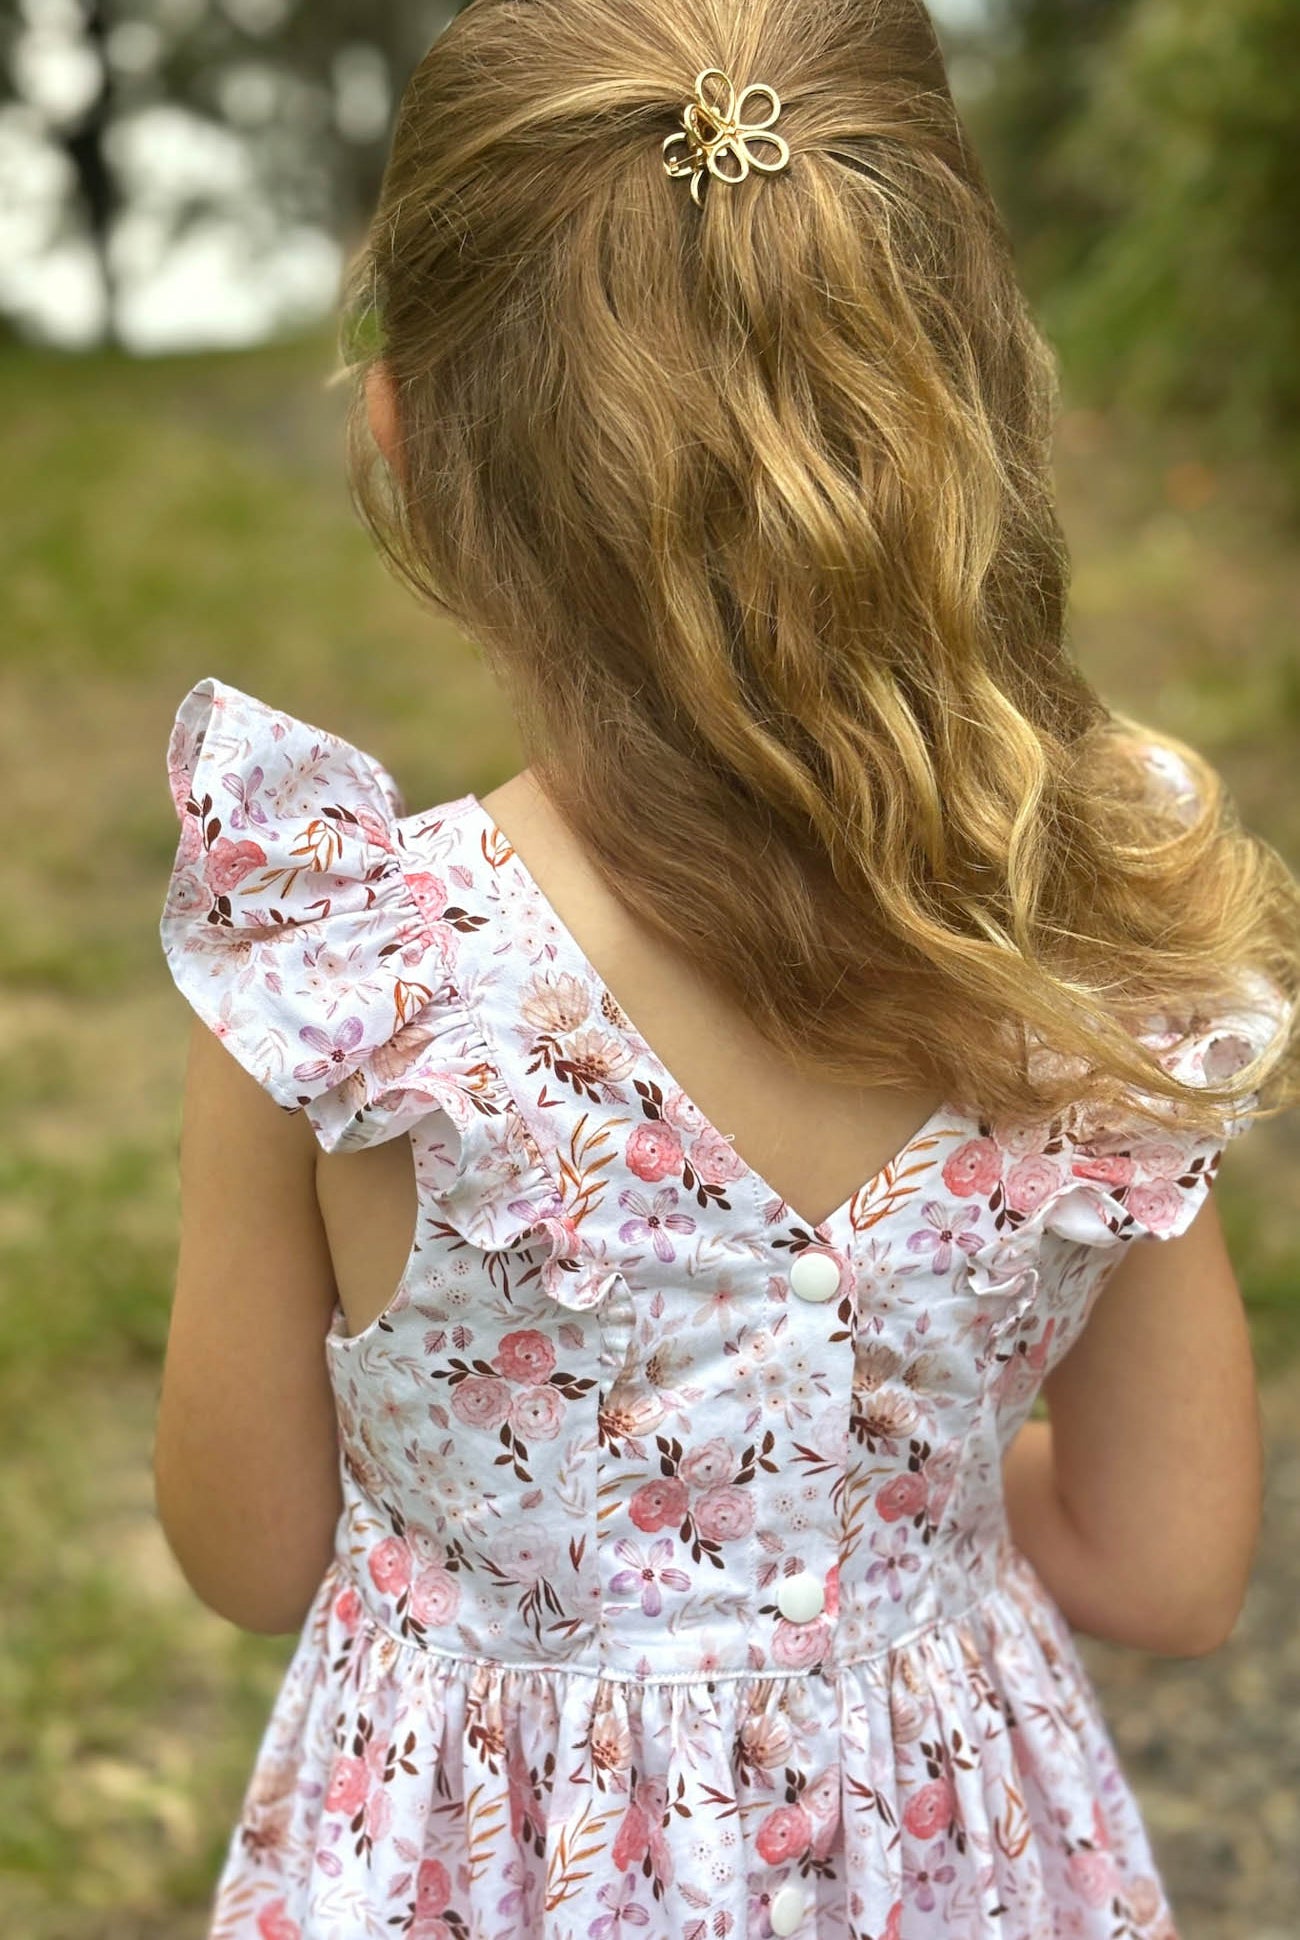
I used snaps on mine below - using a tutorial from Issue 14 of One Thimble on how to cover snaps with fabric - I've developed a little obsession with these now!

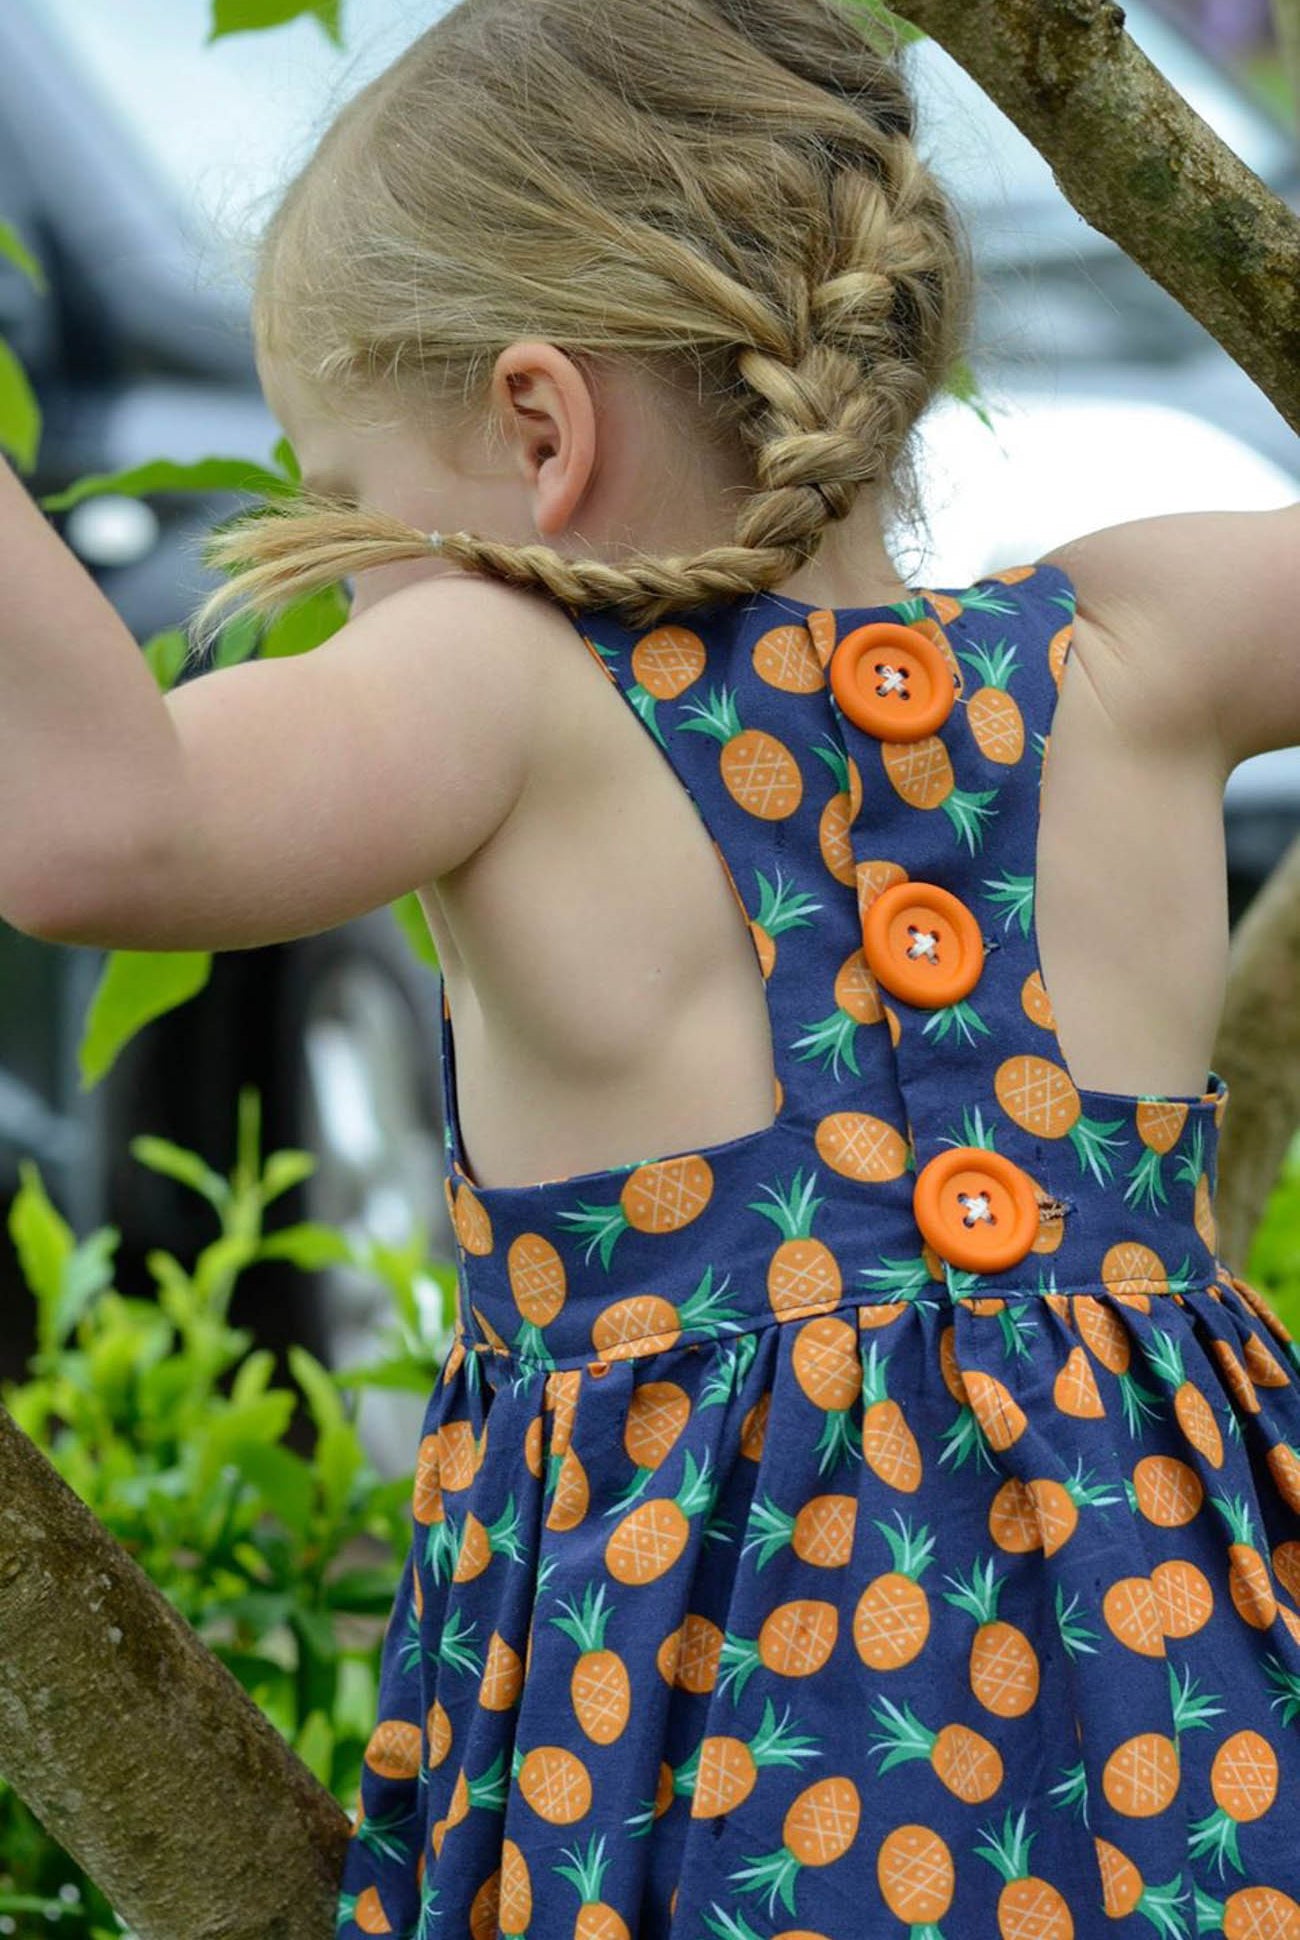
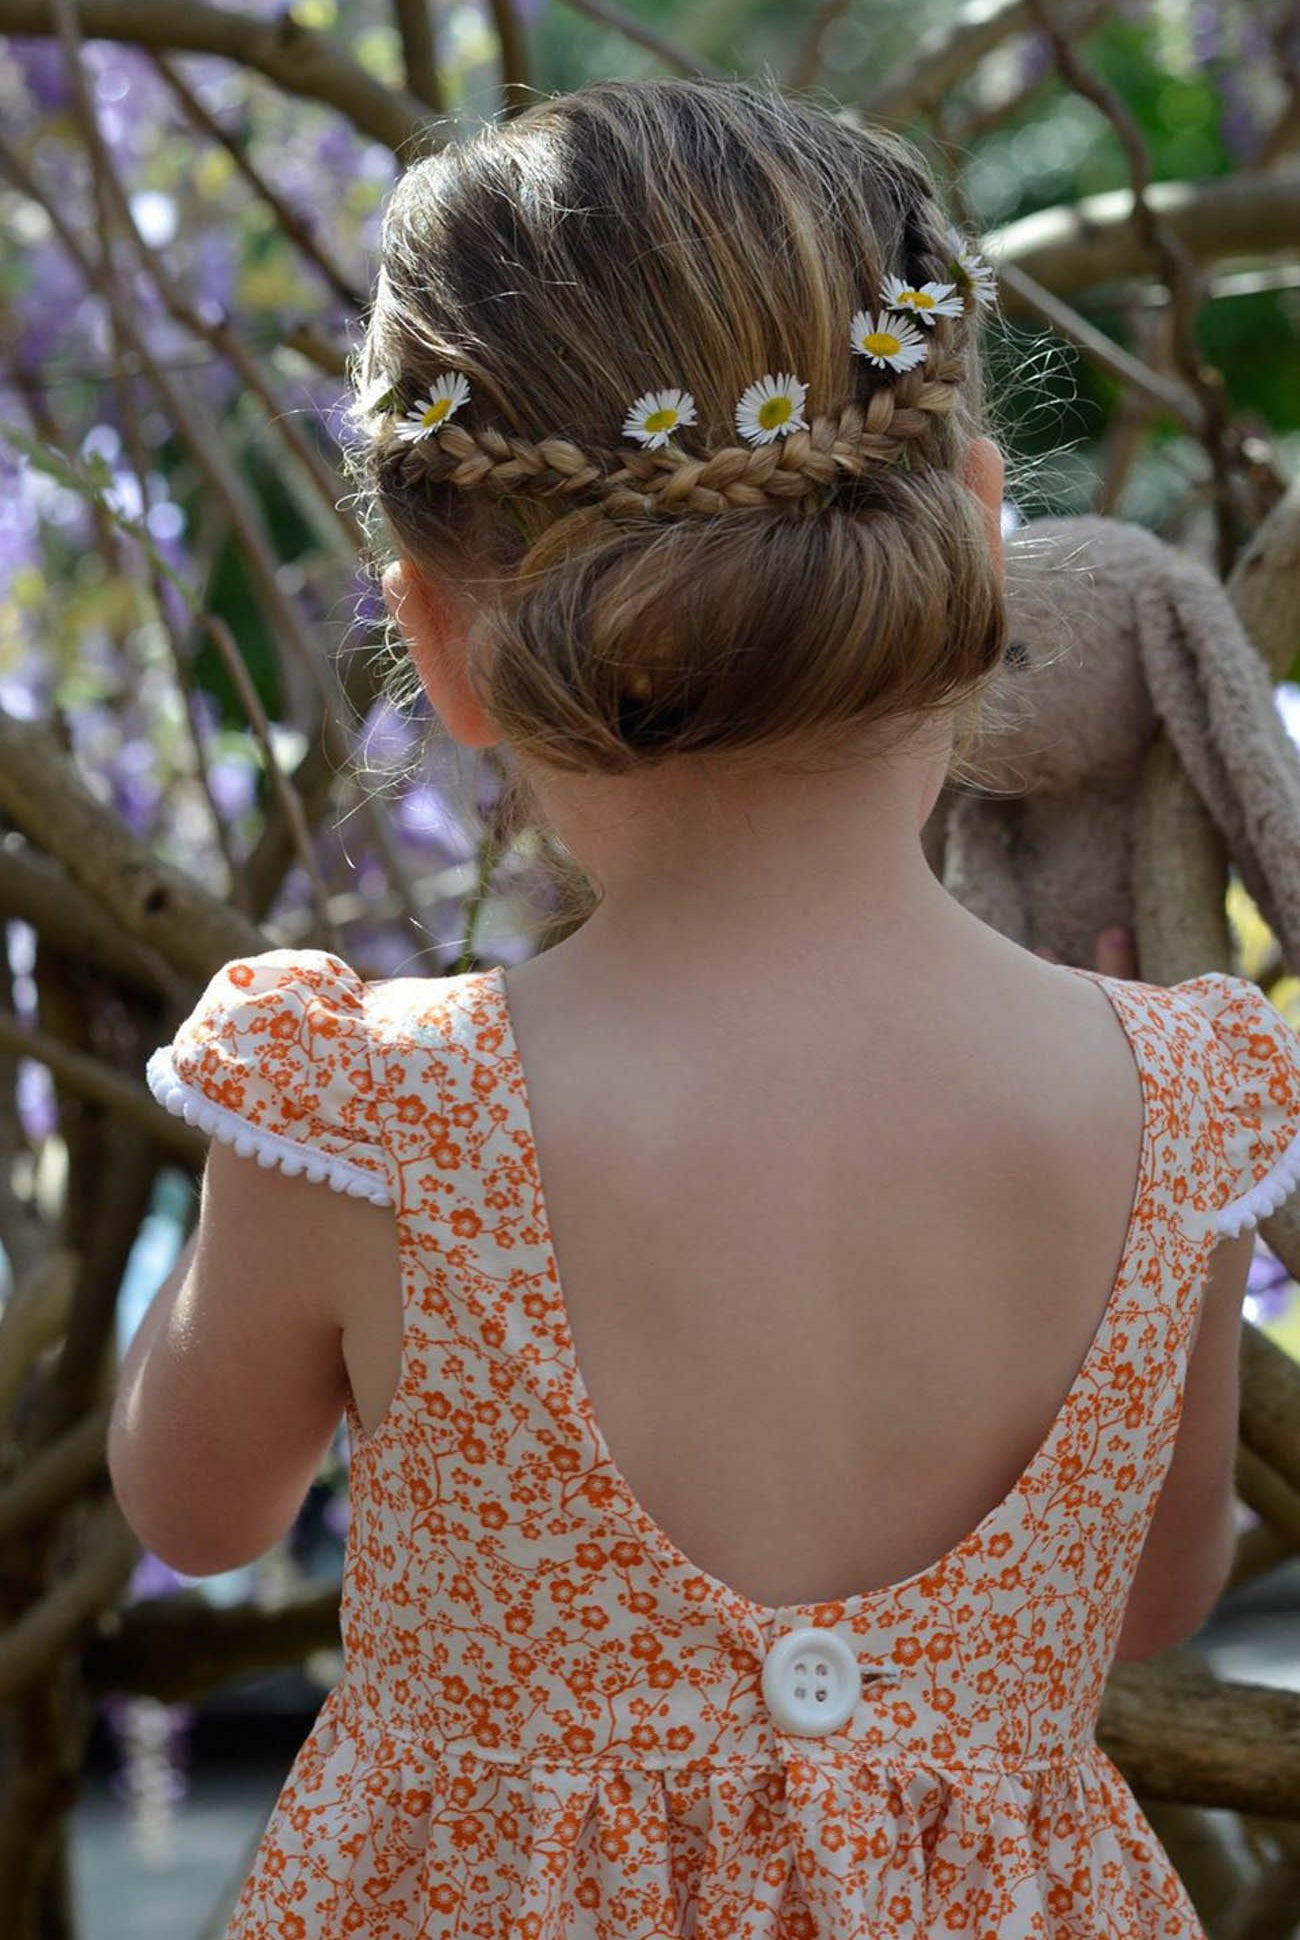
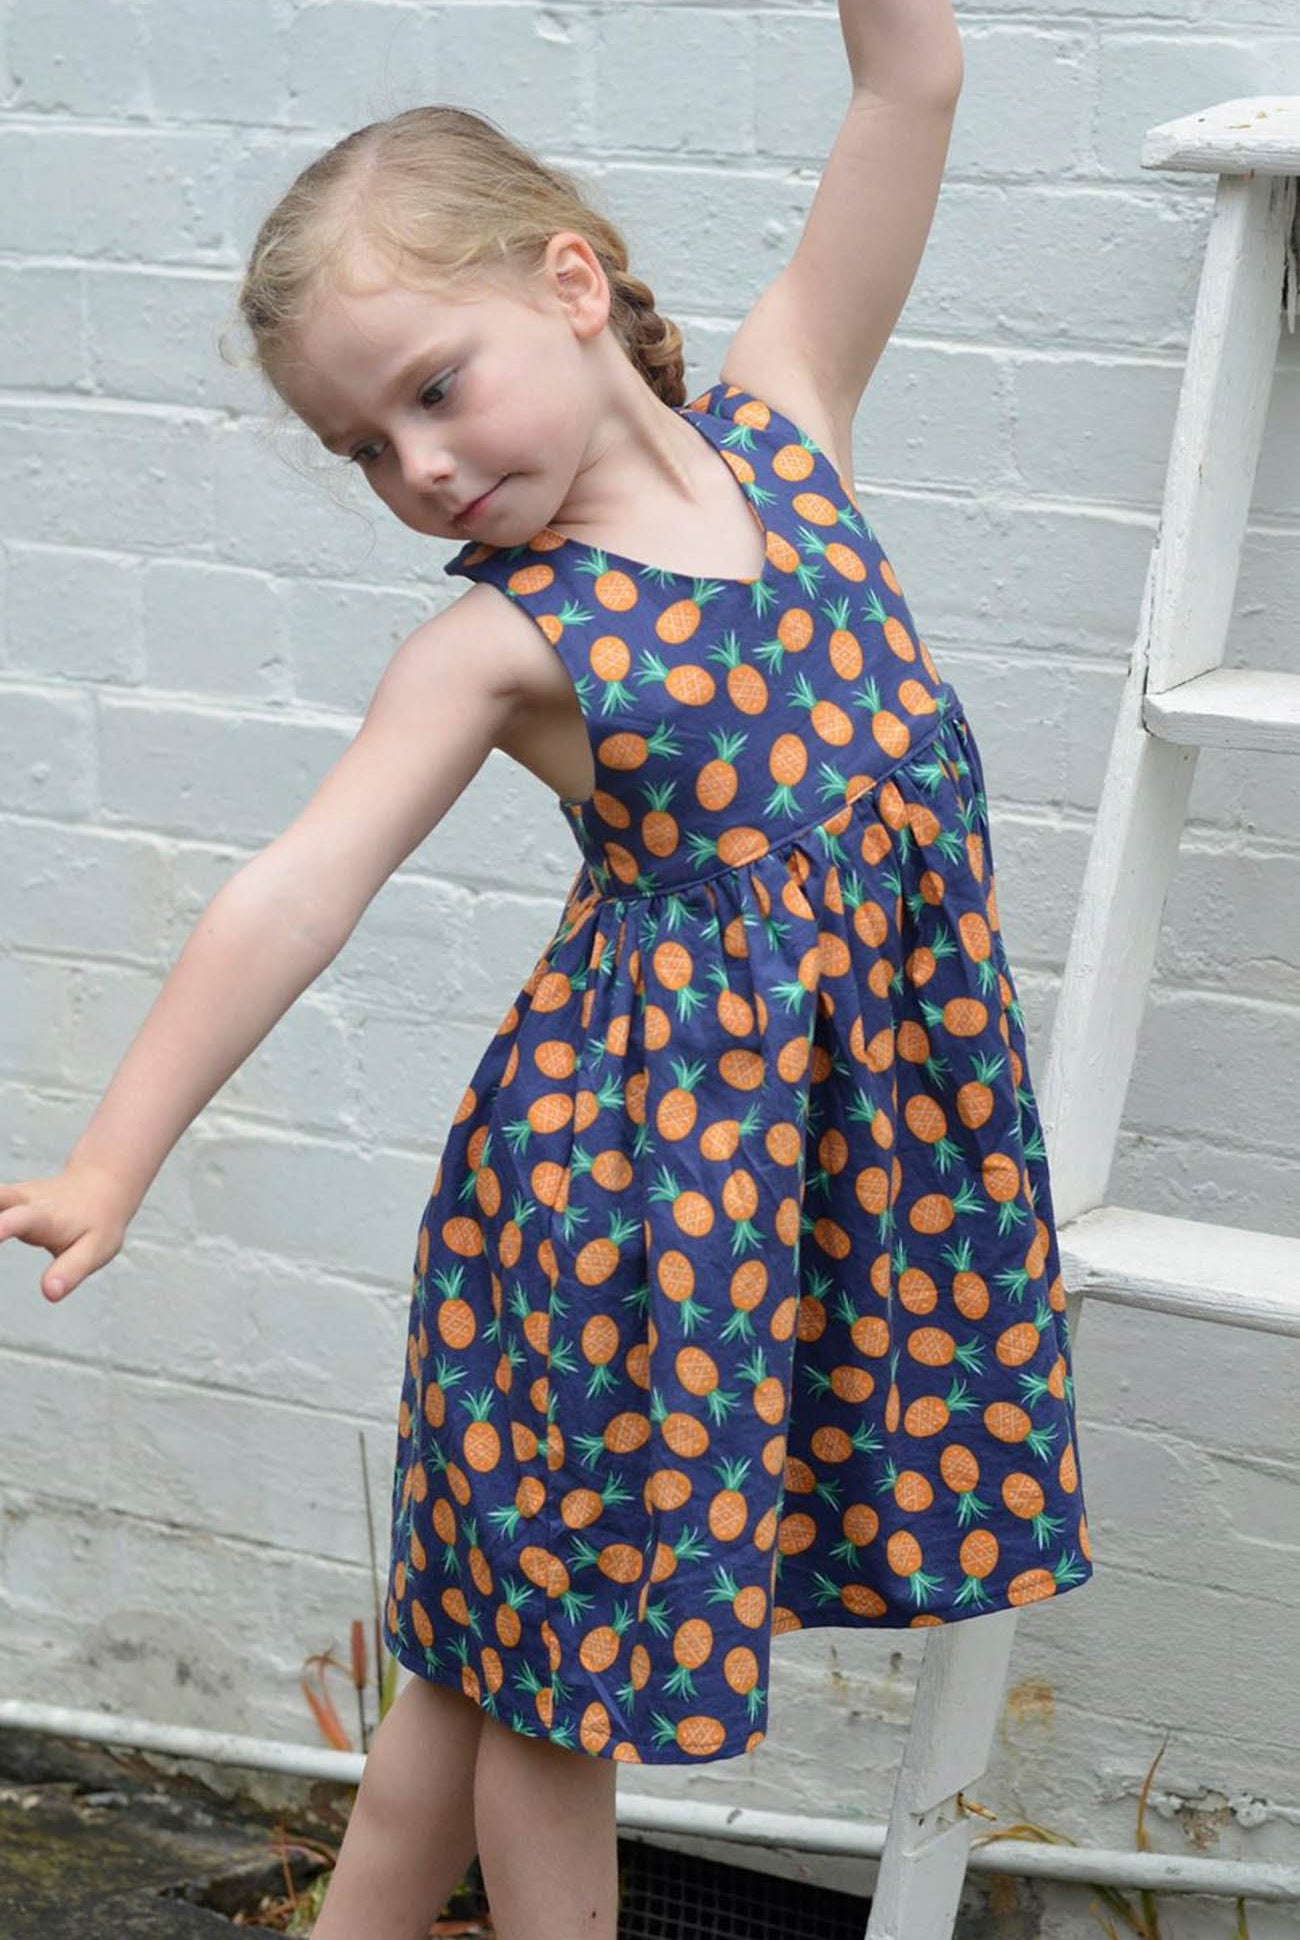
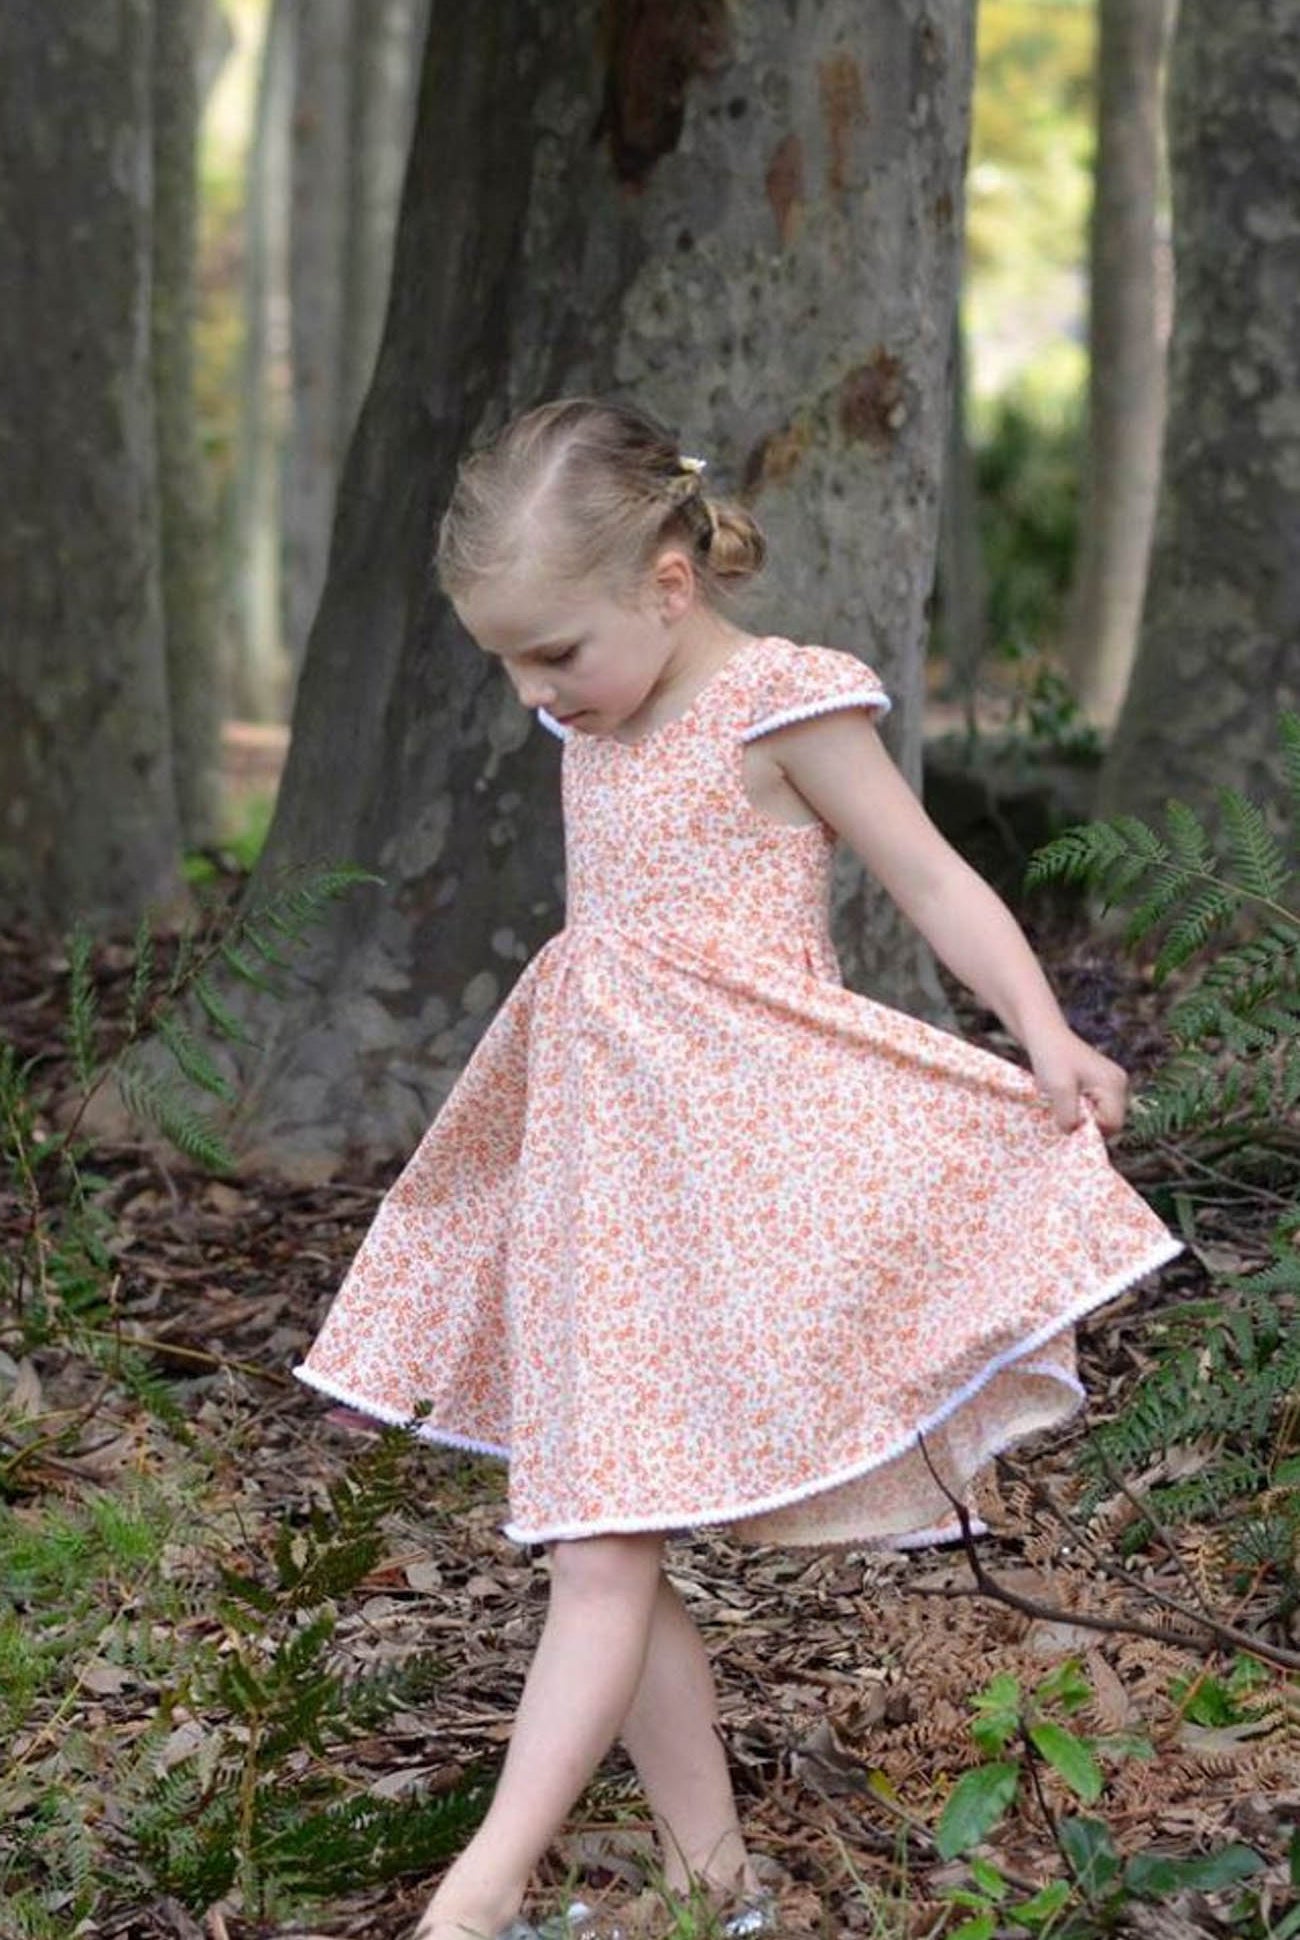
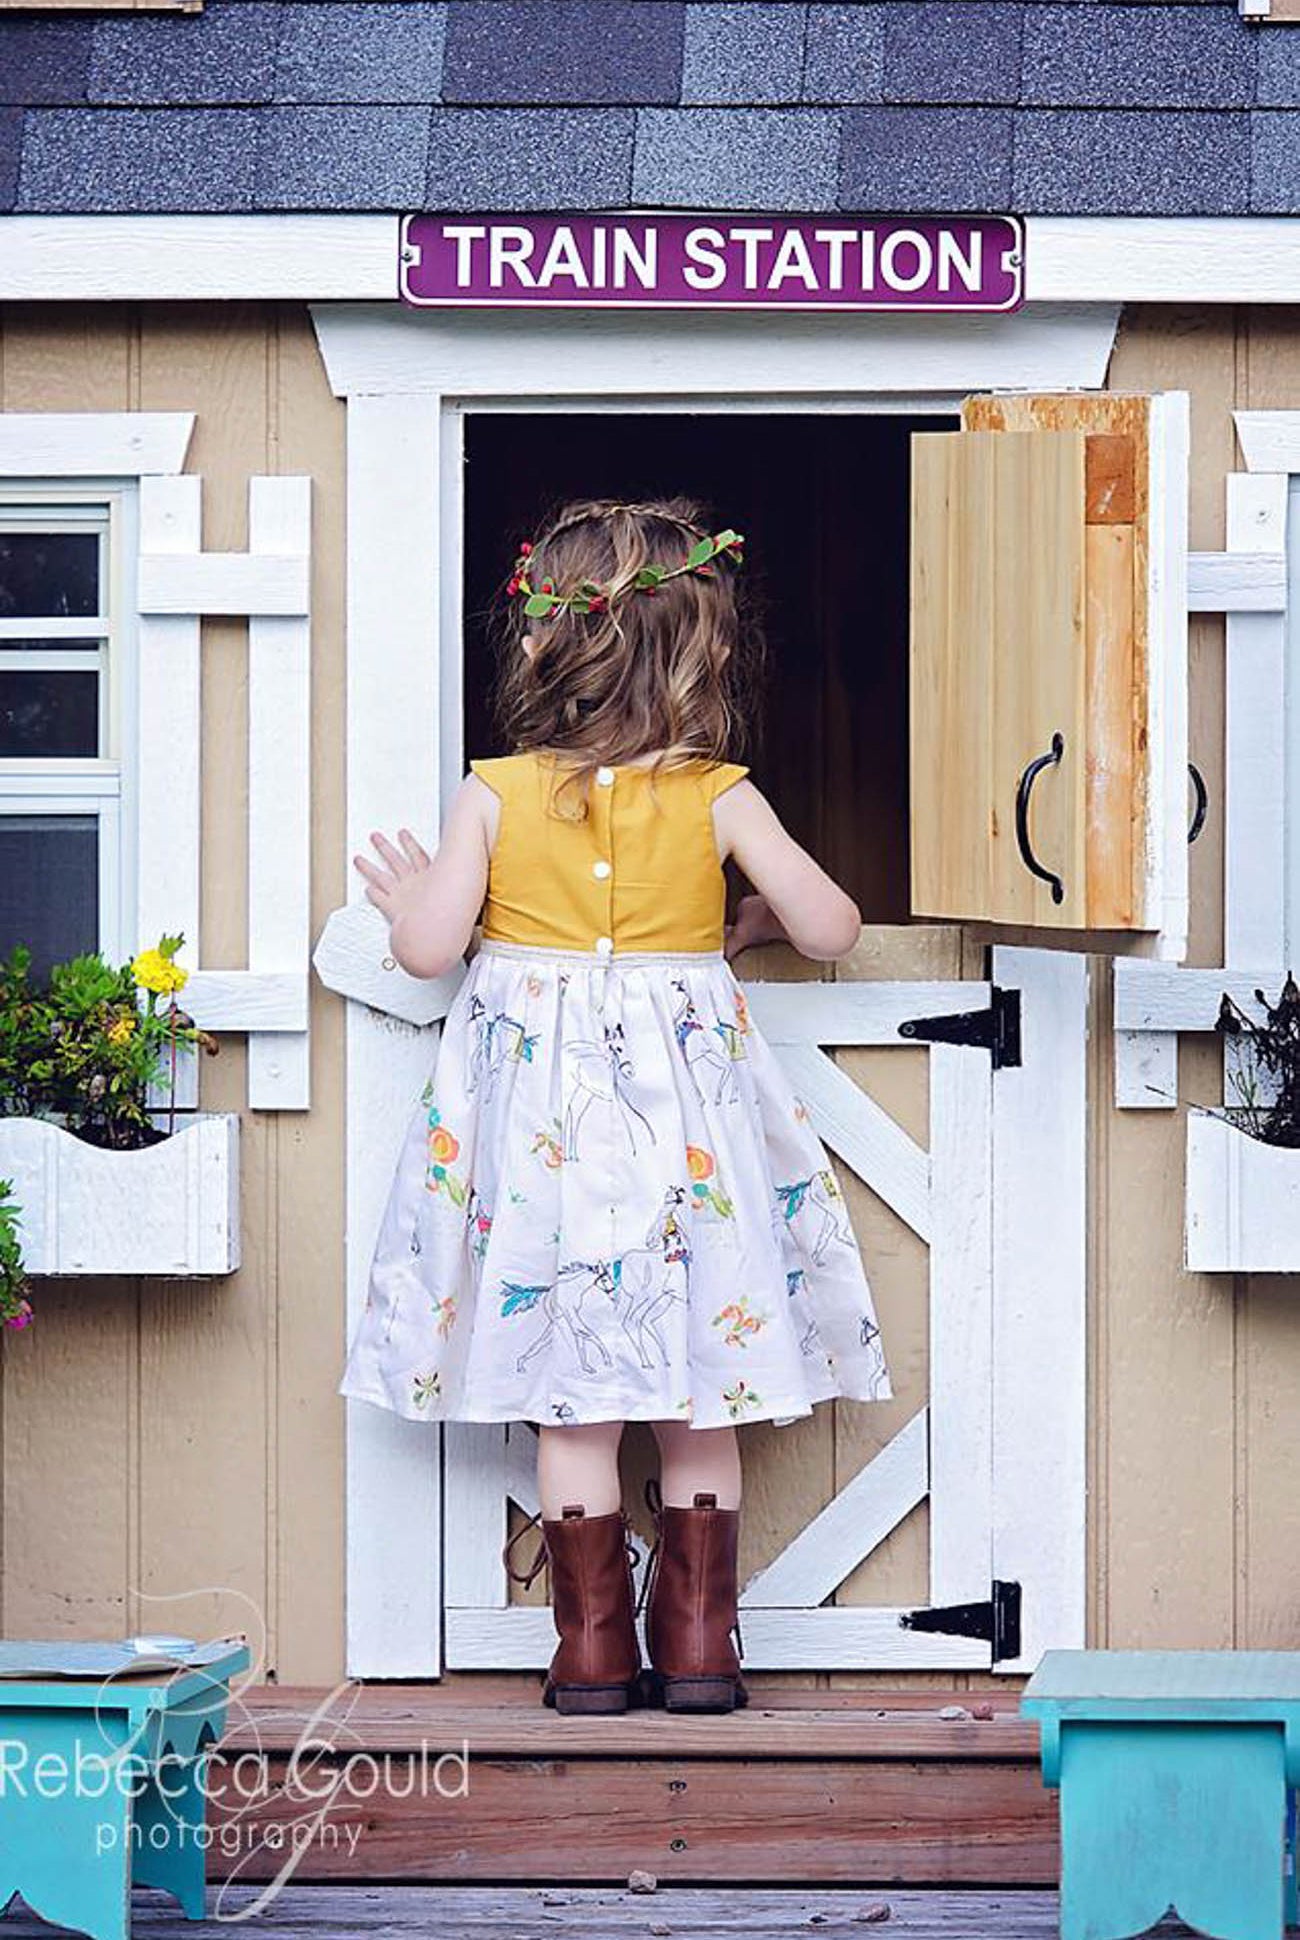
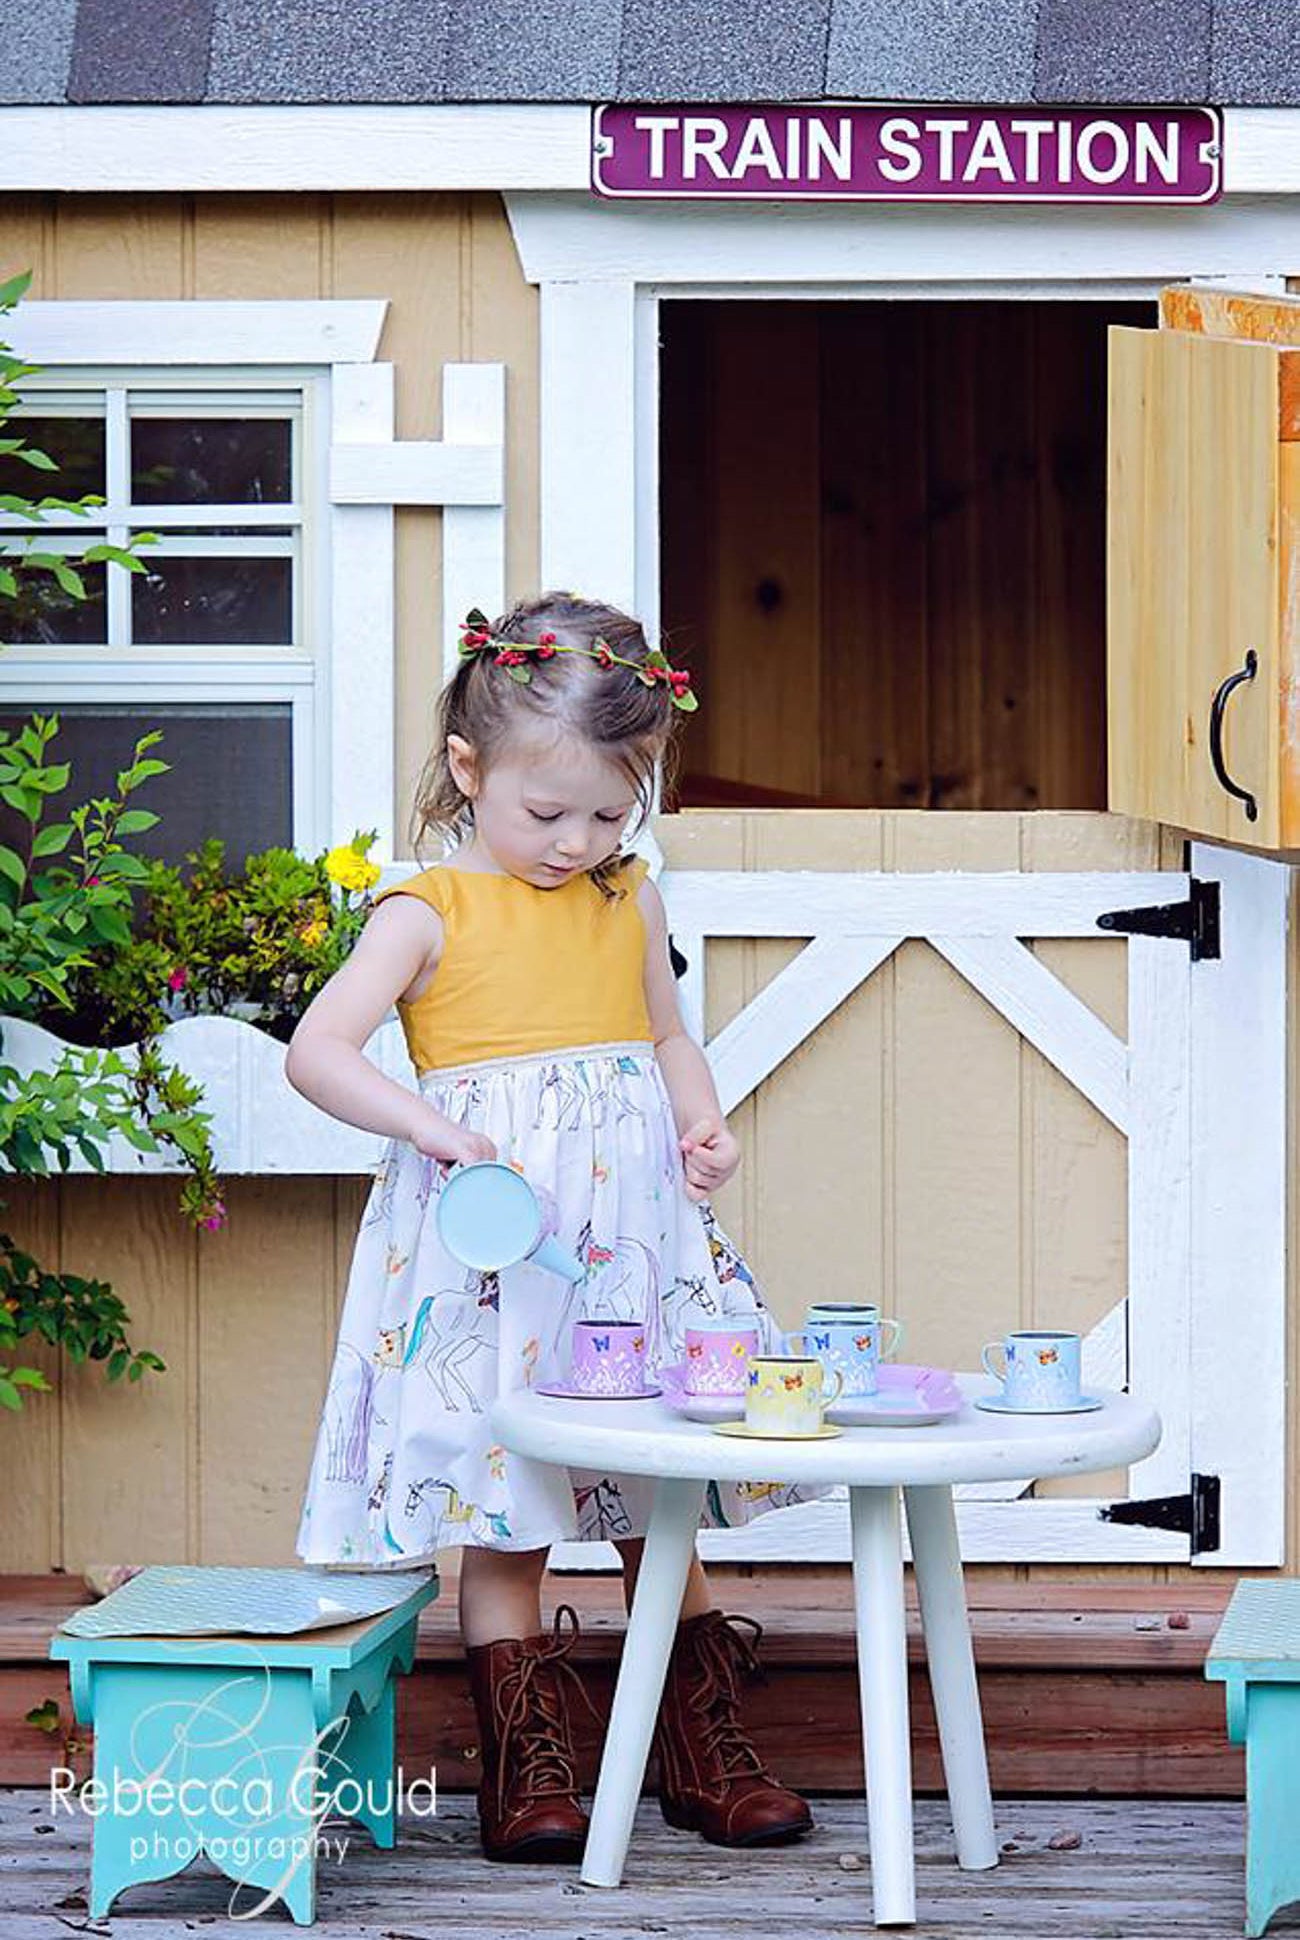
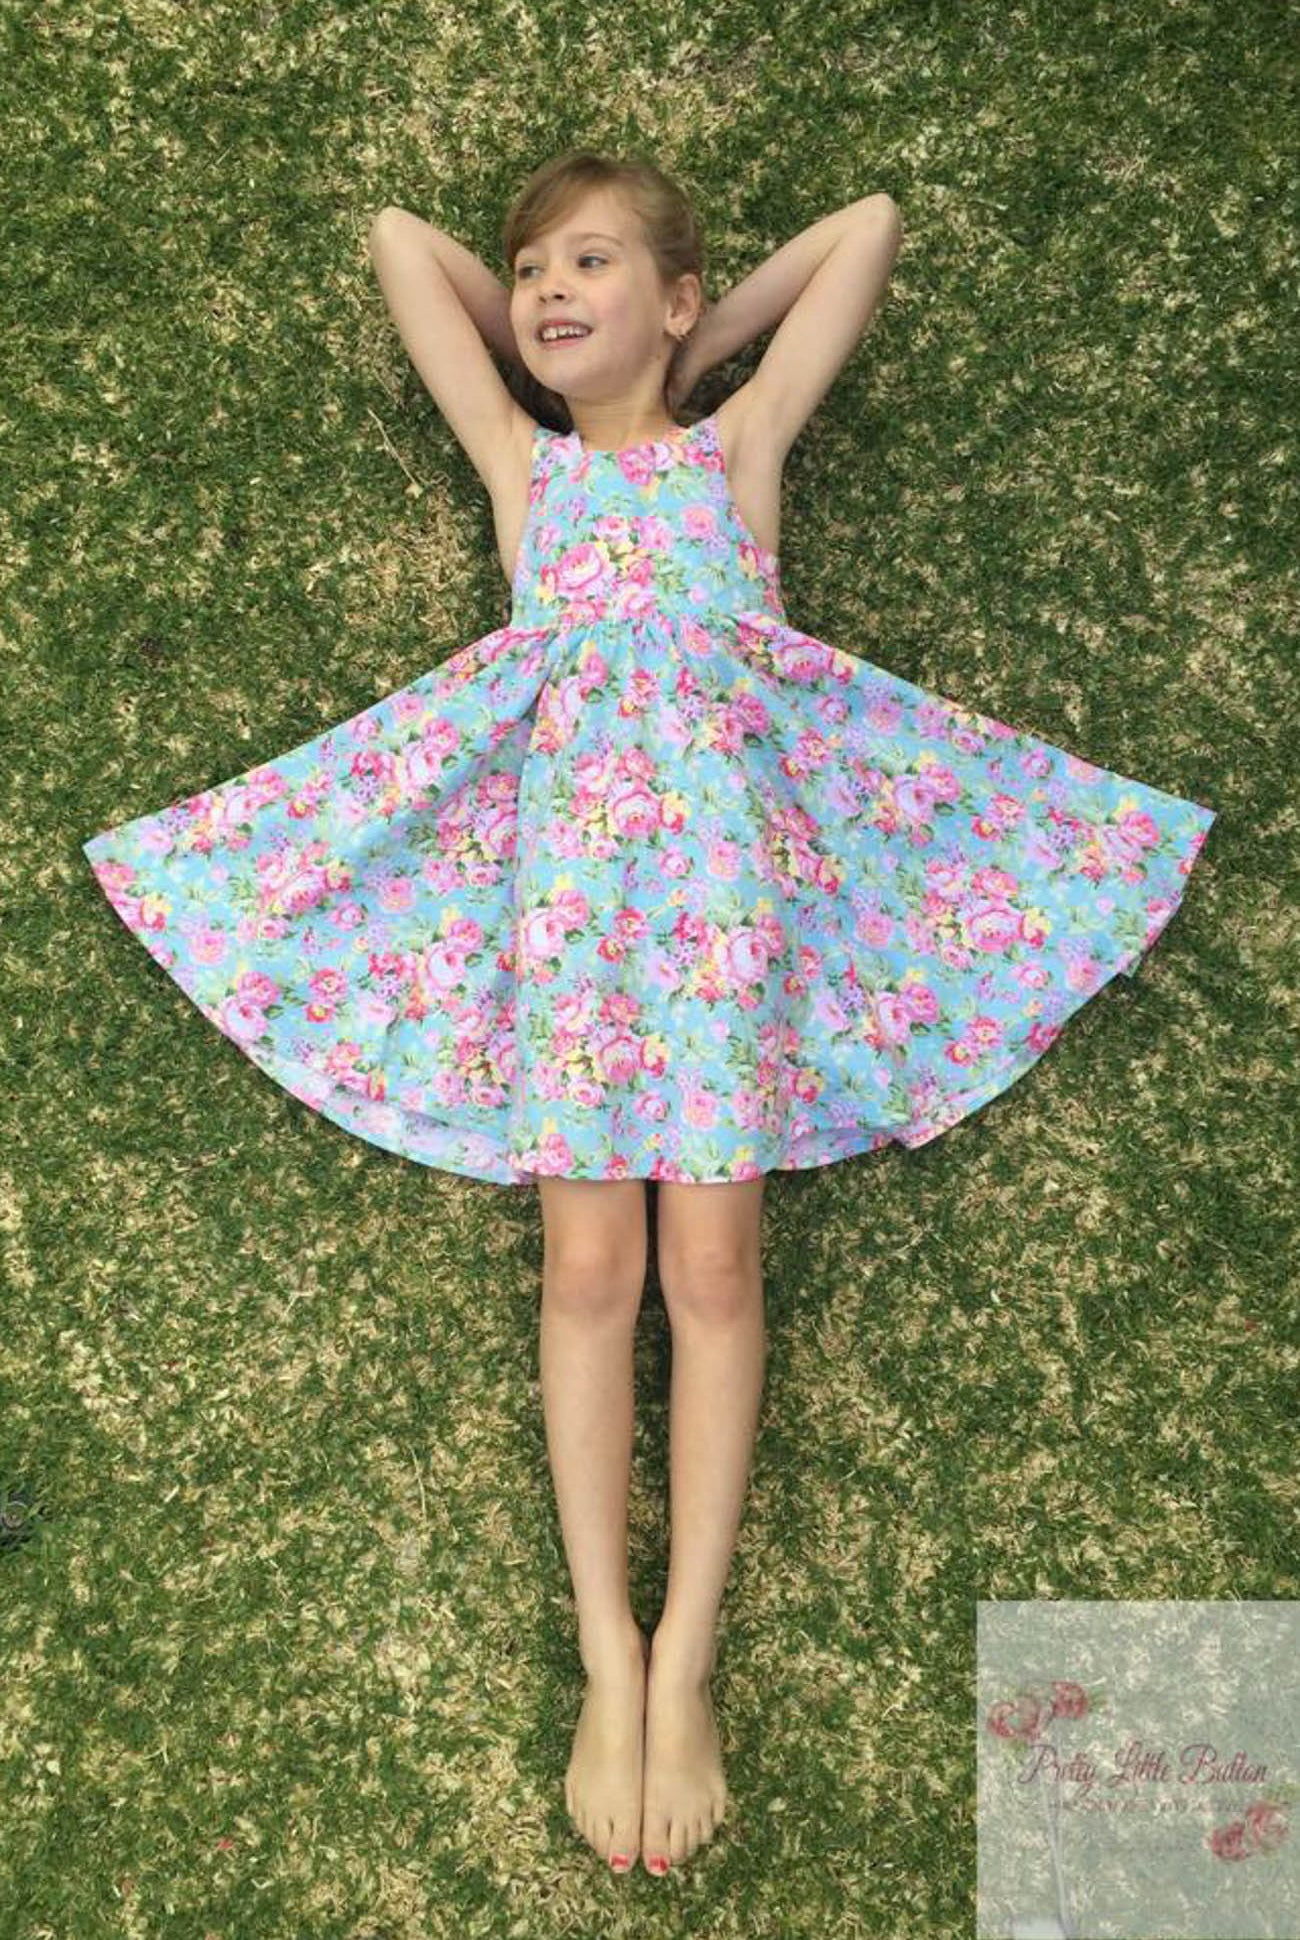
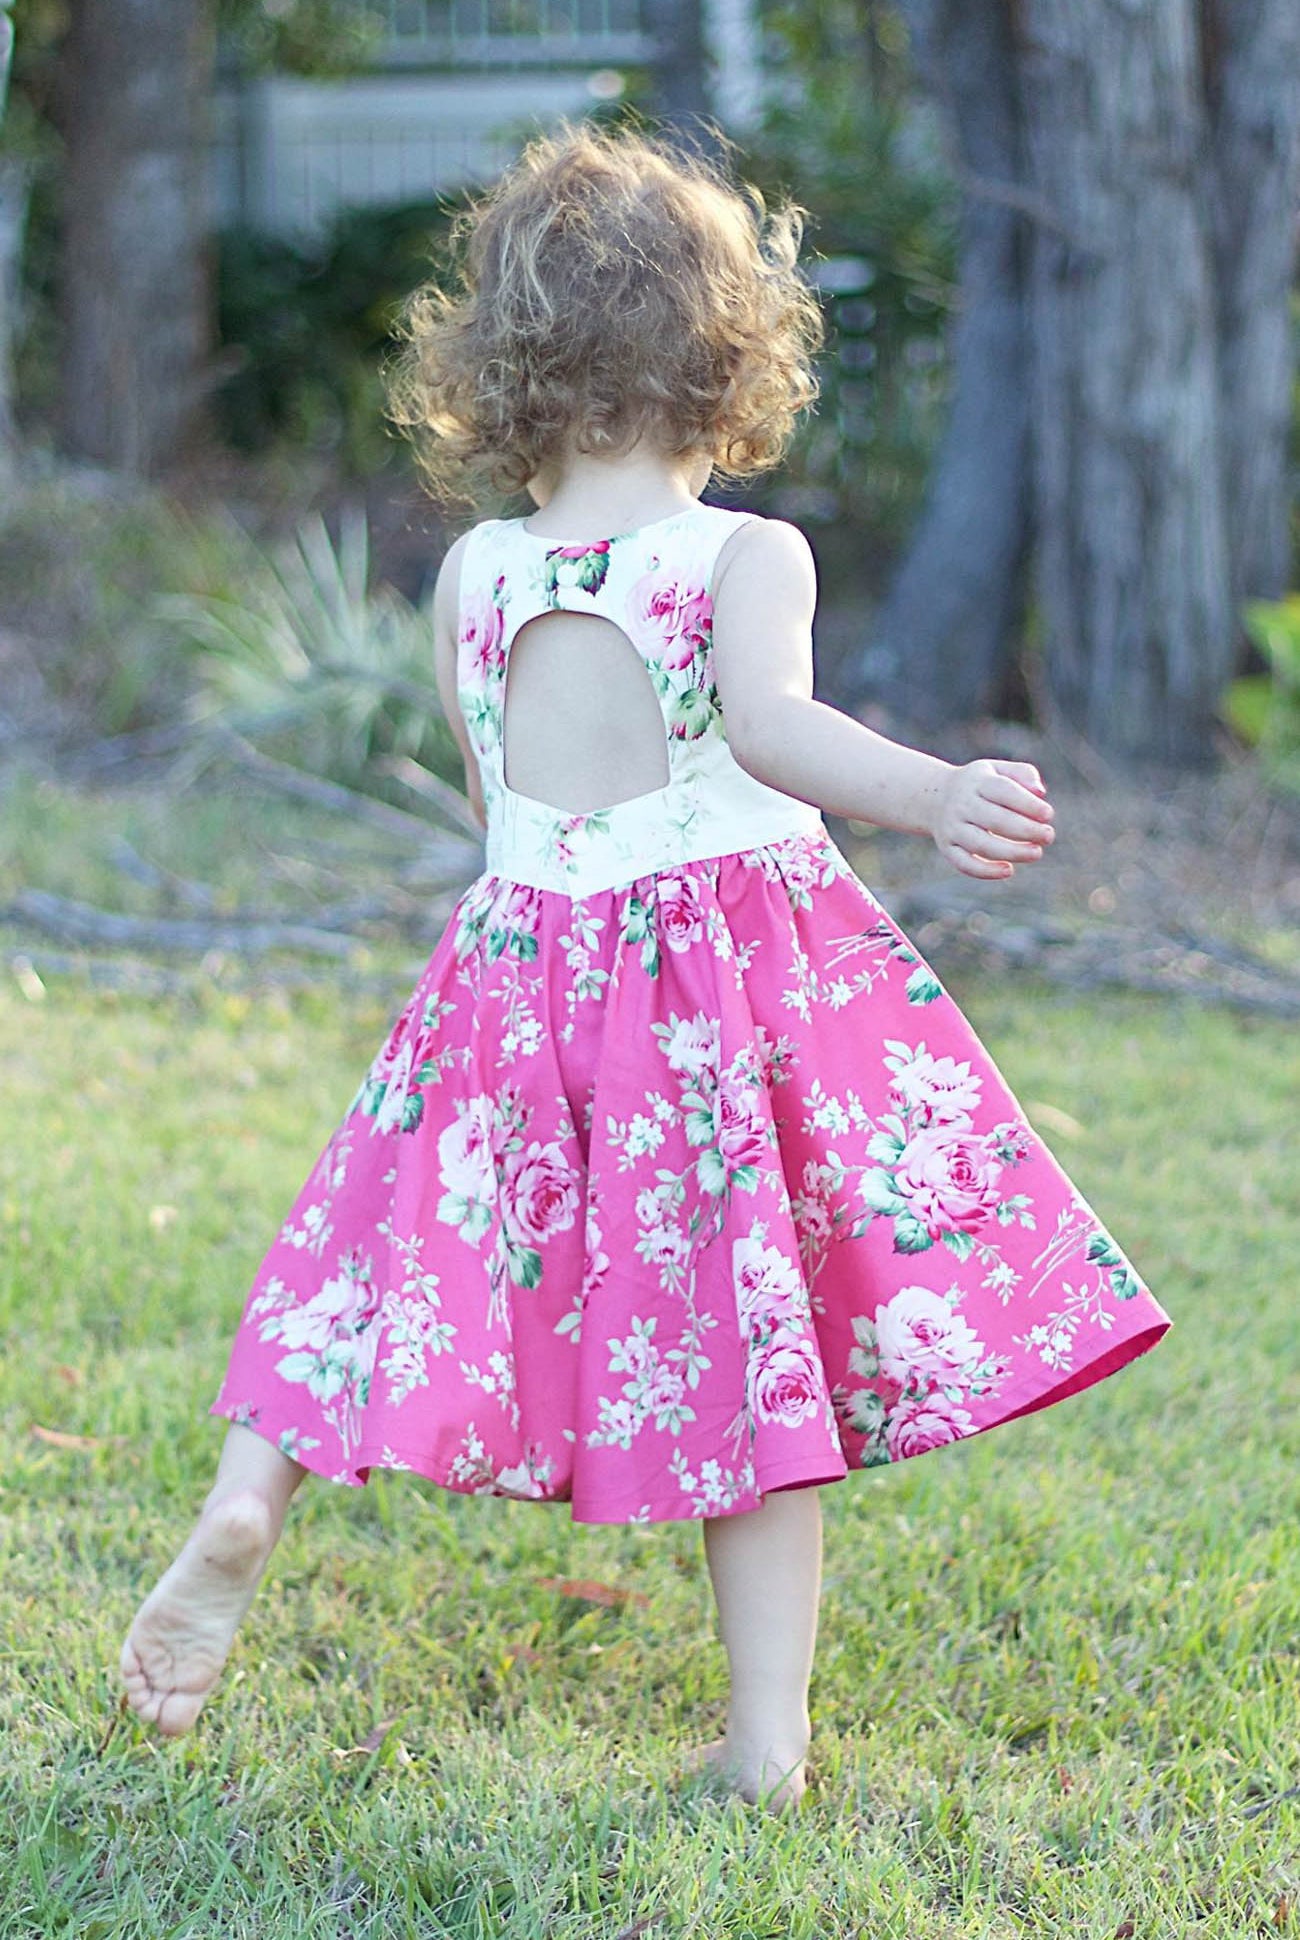
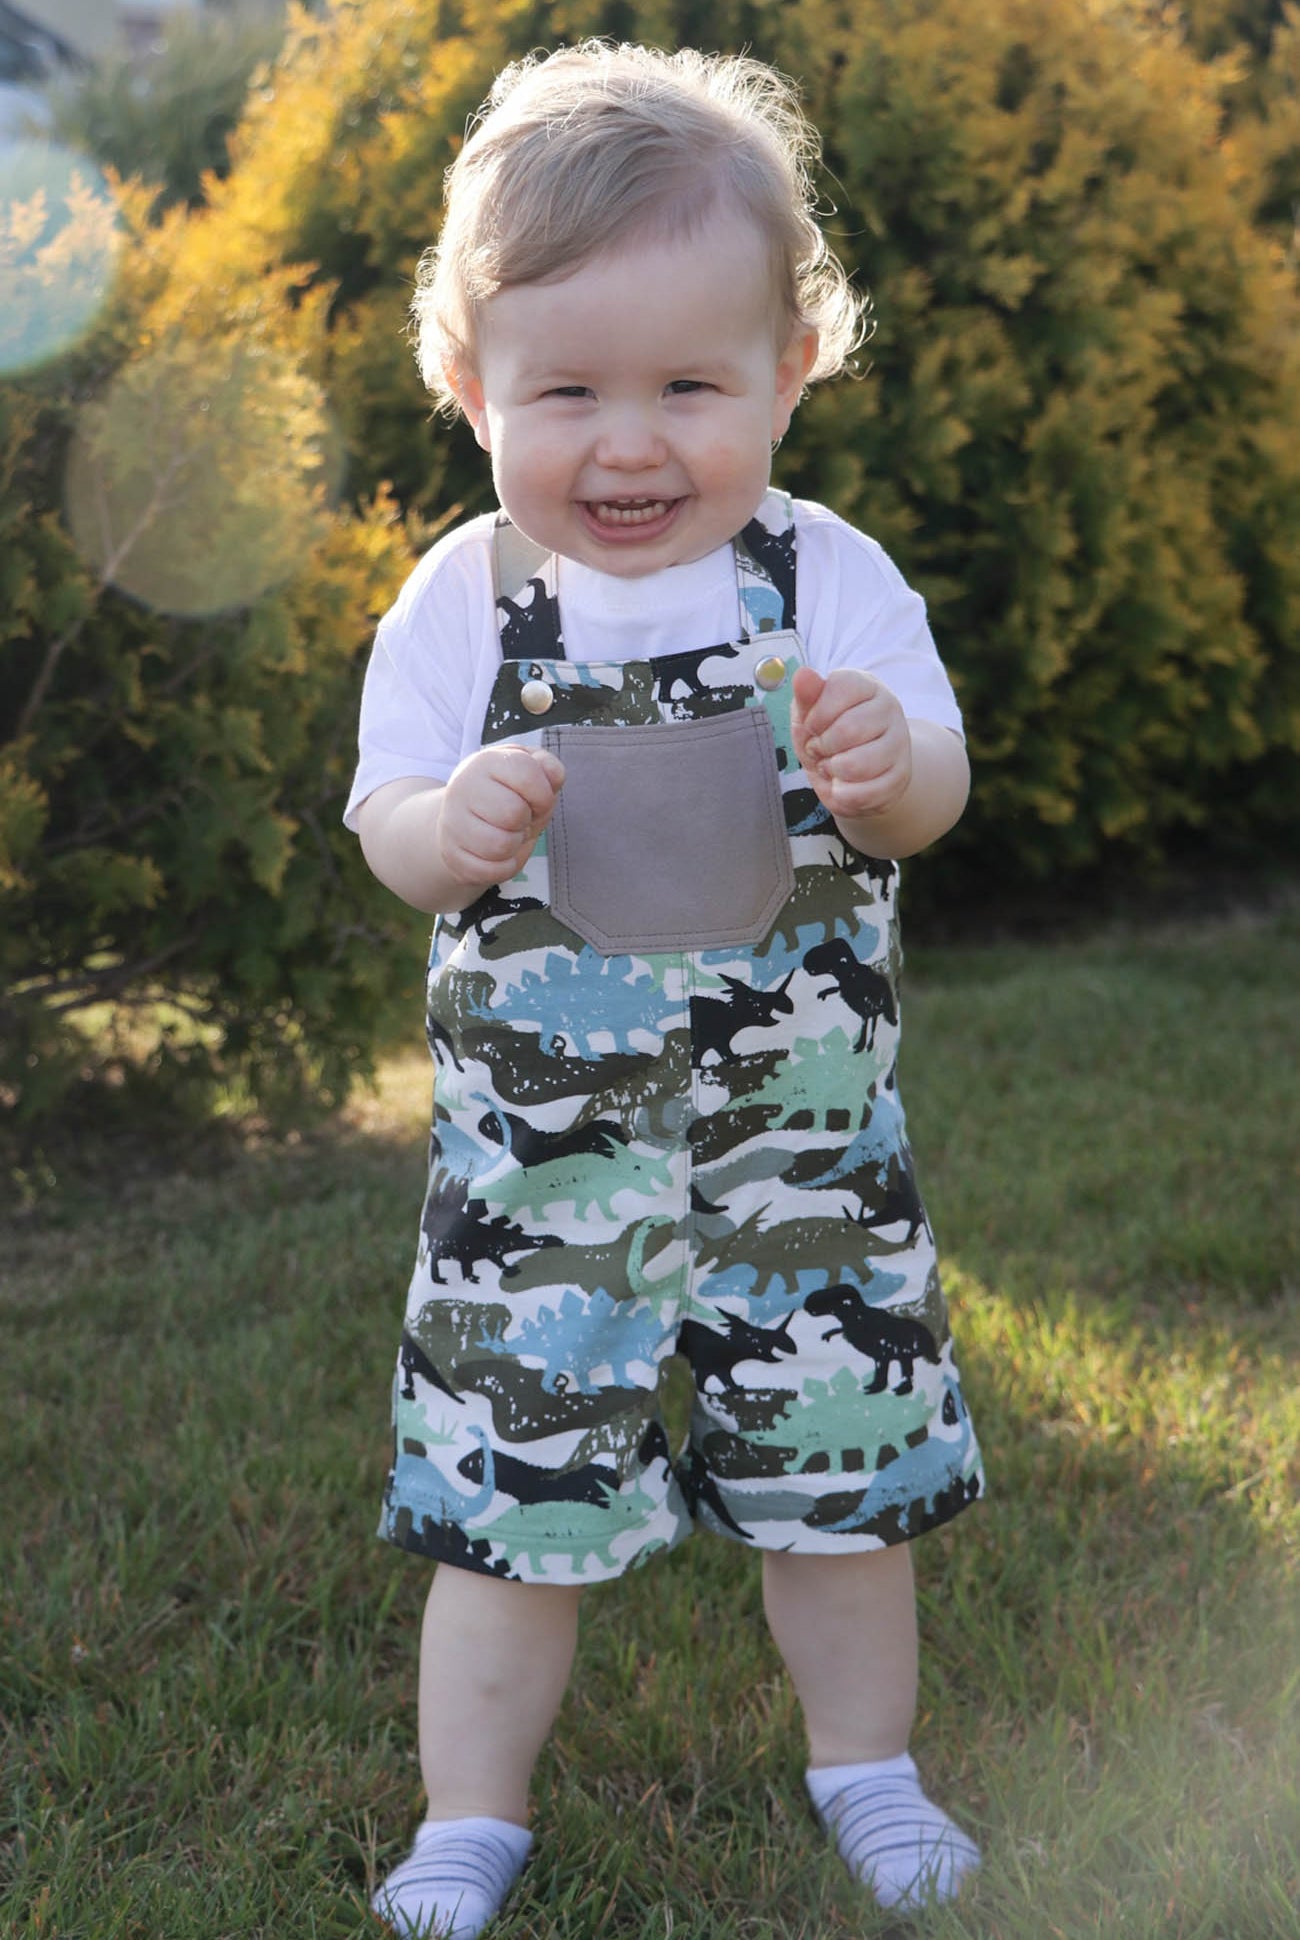
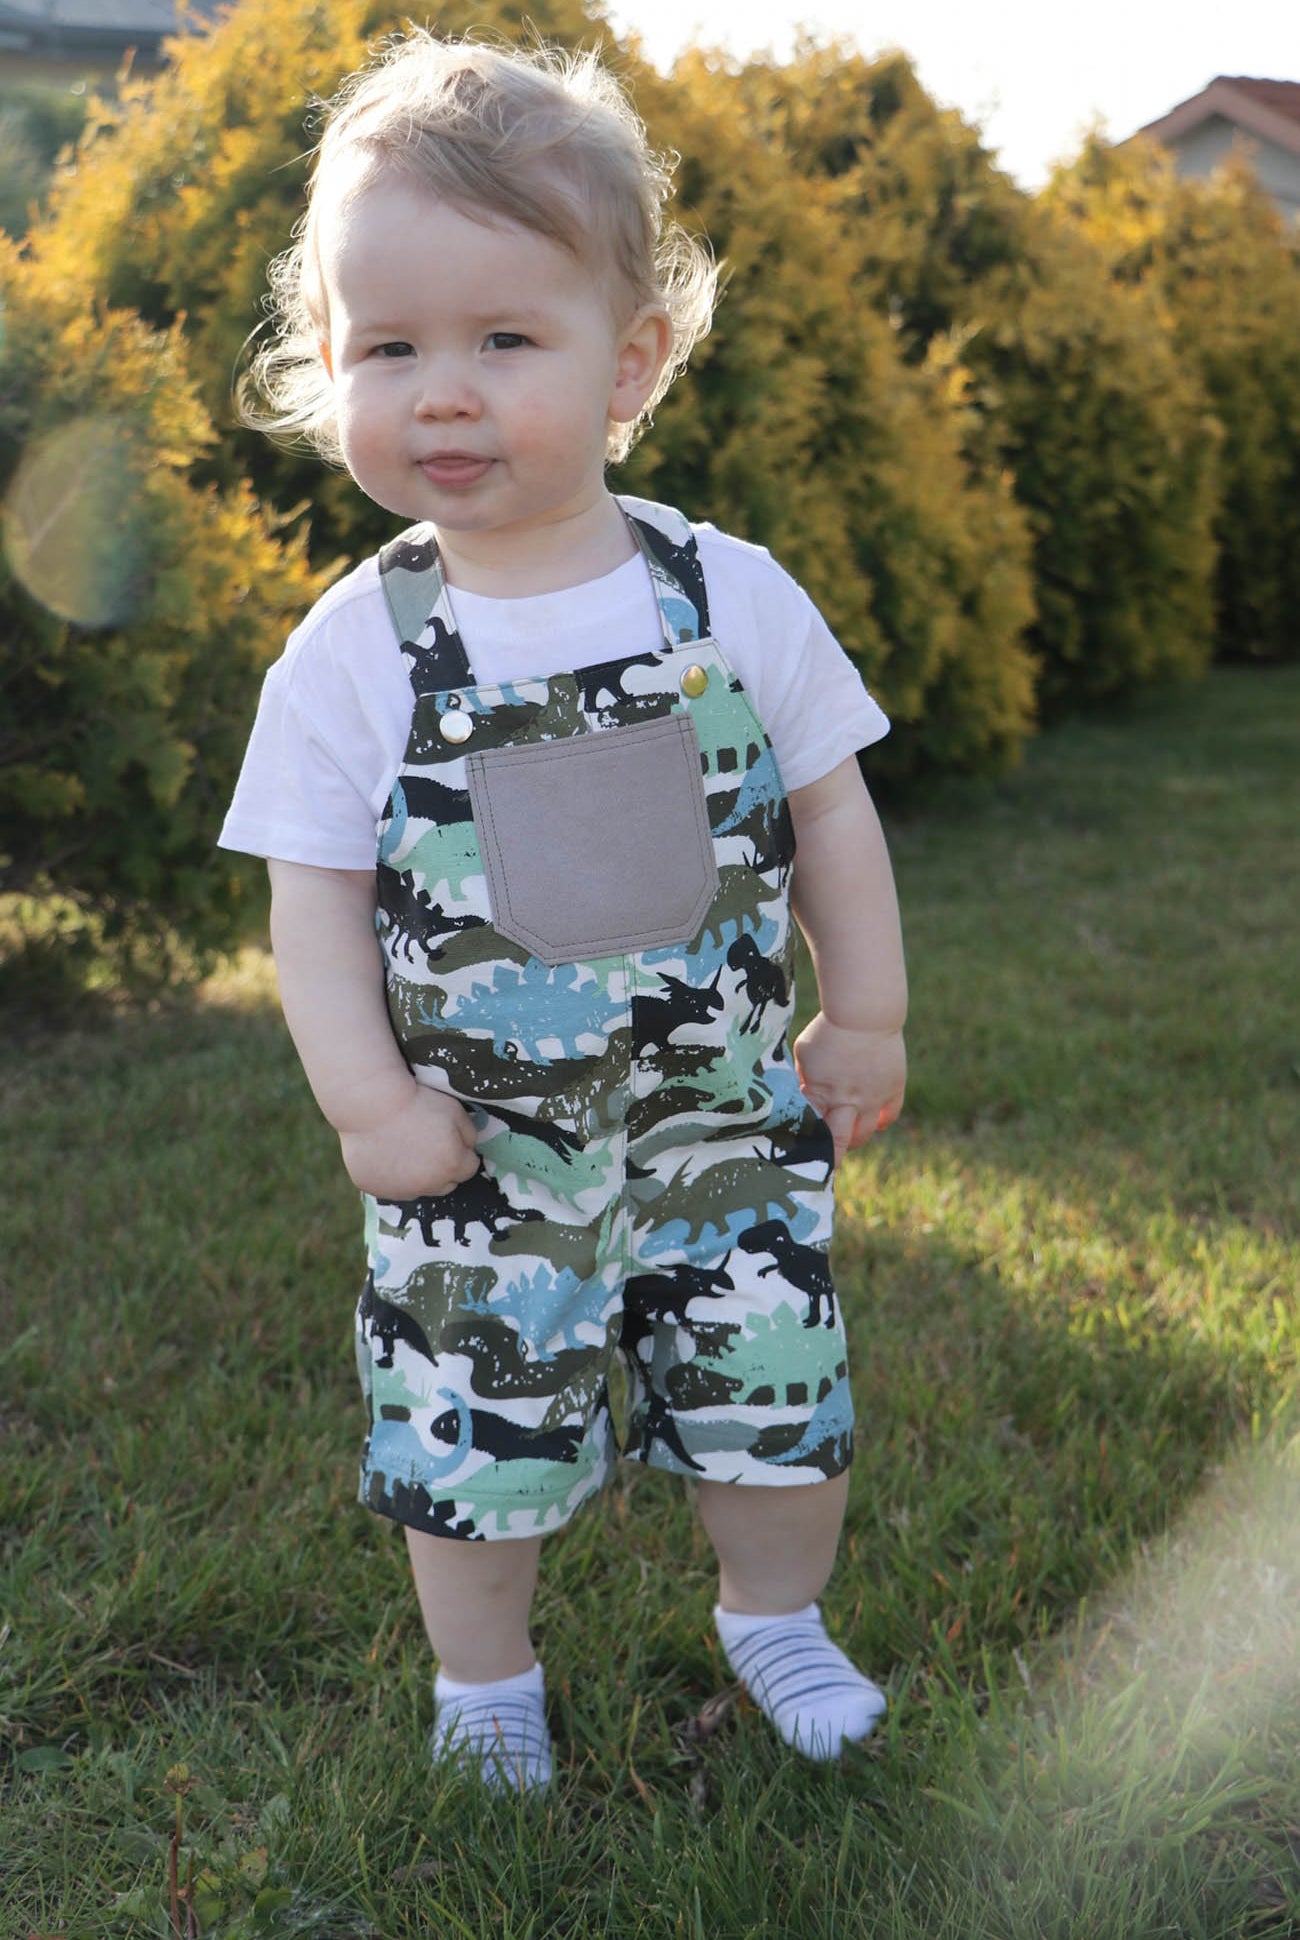
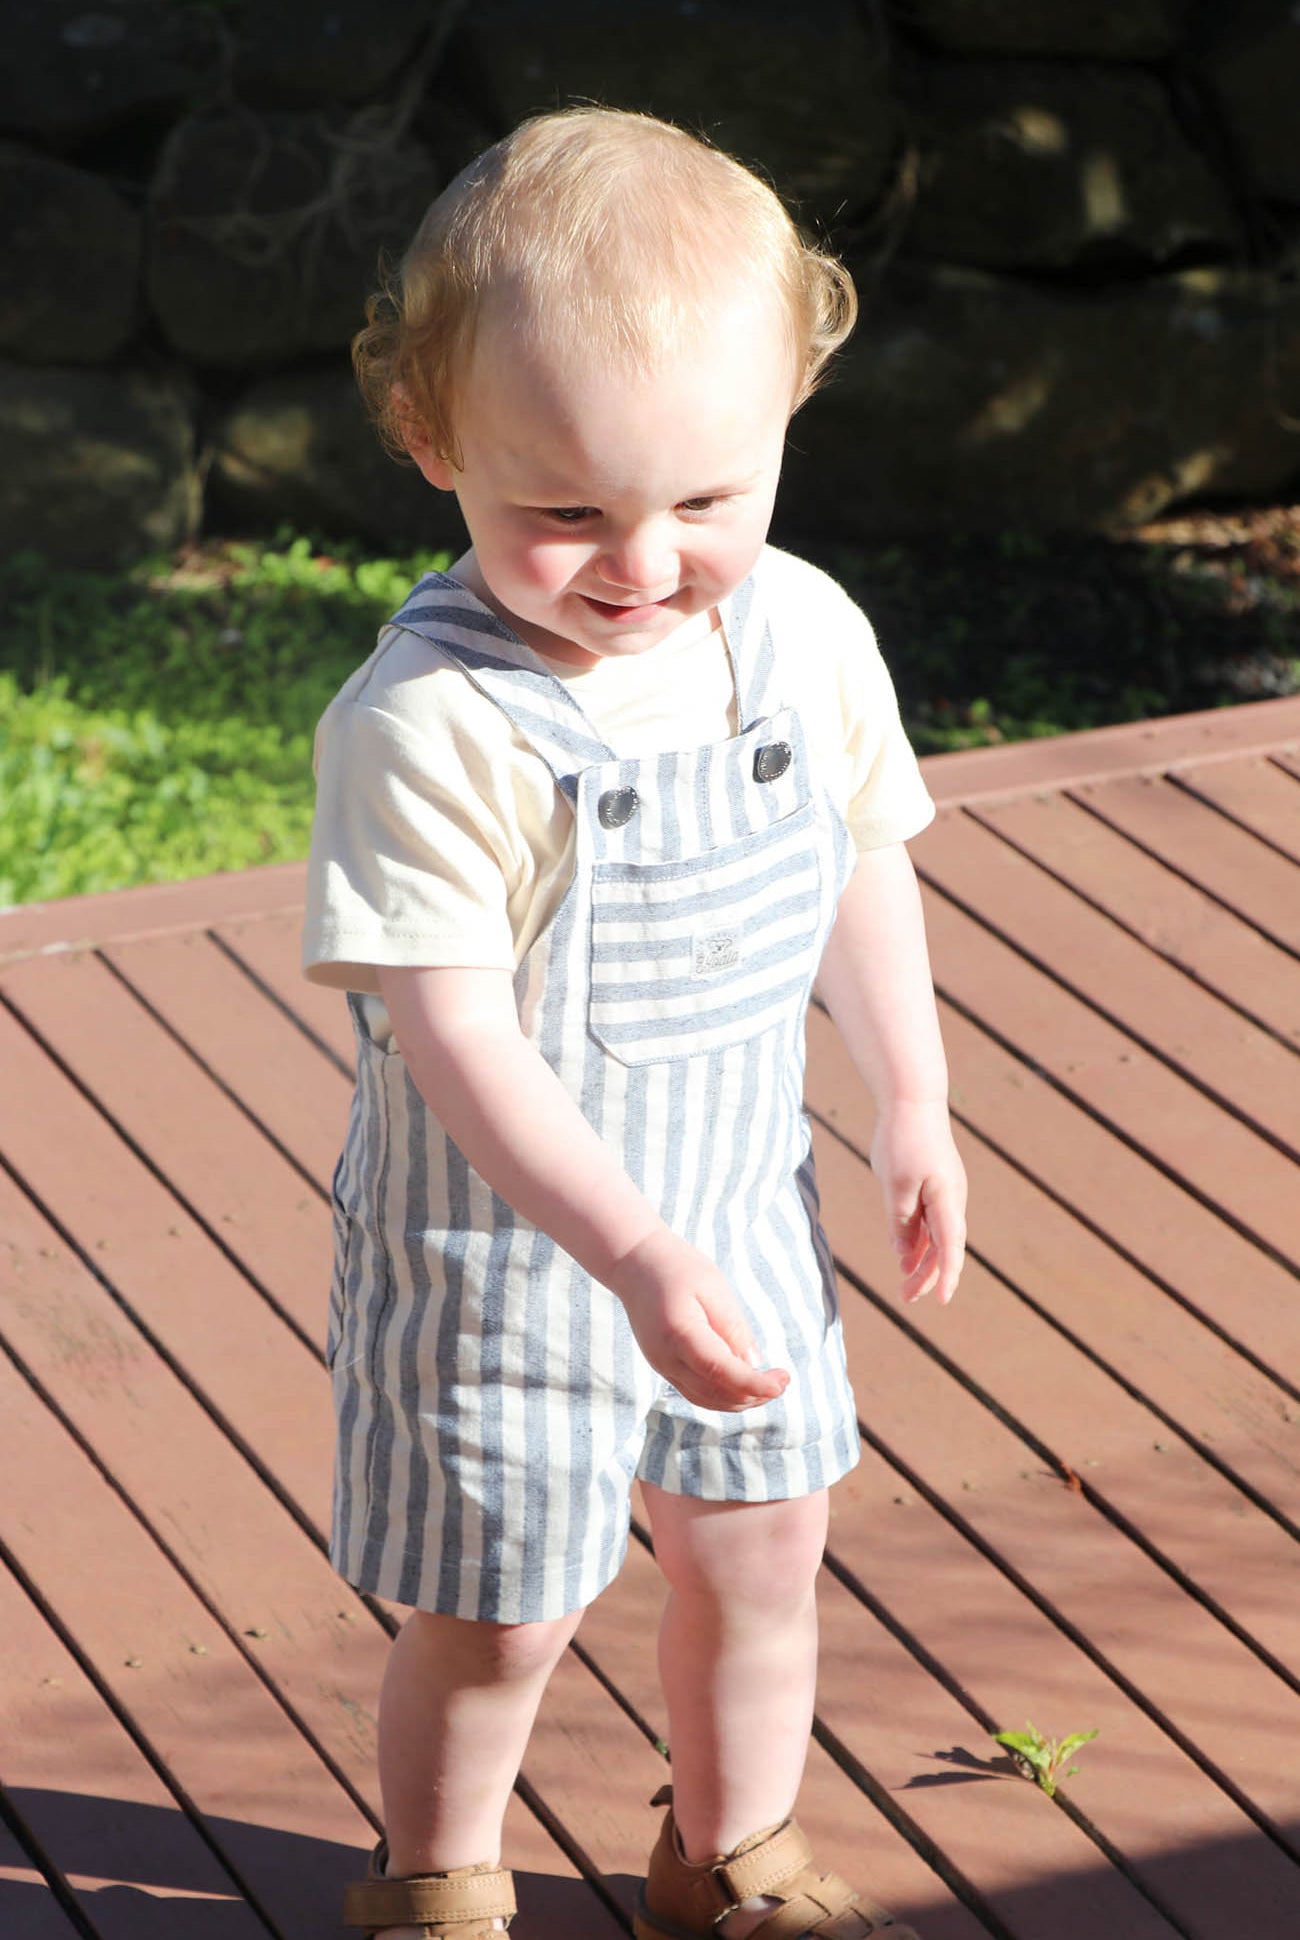
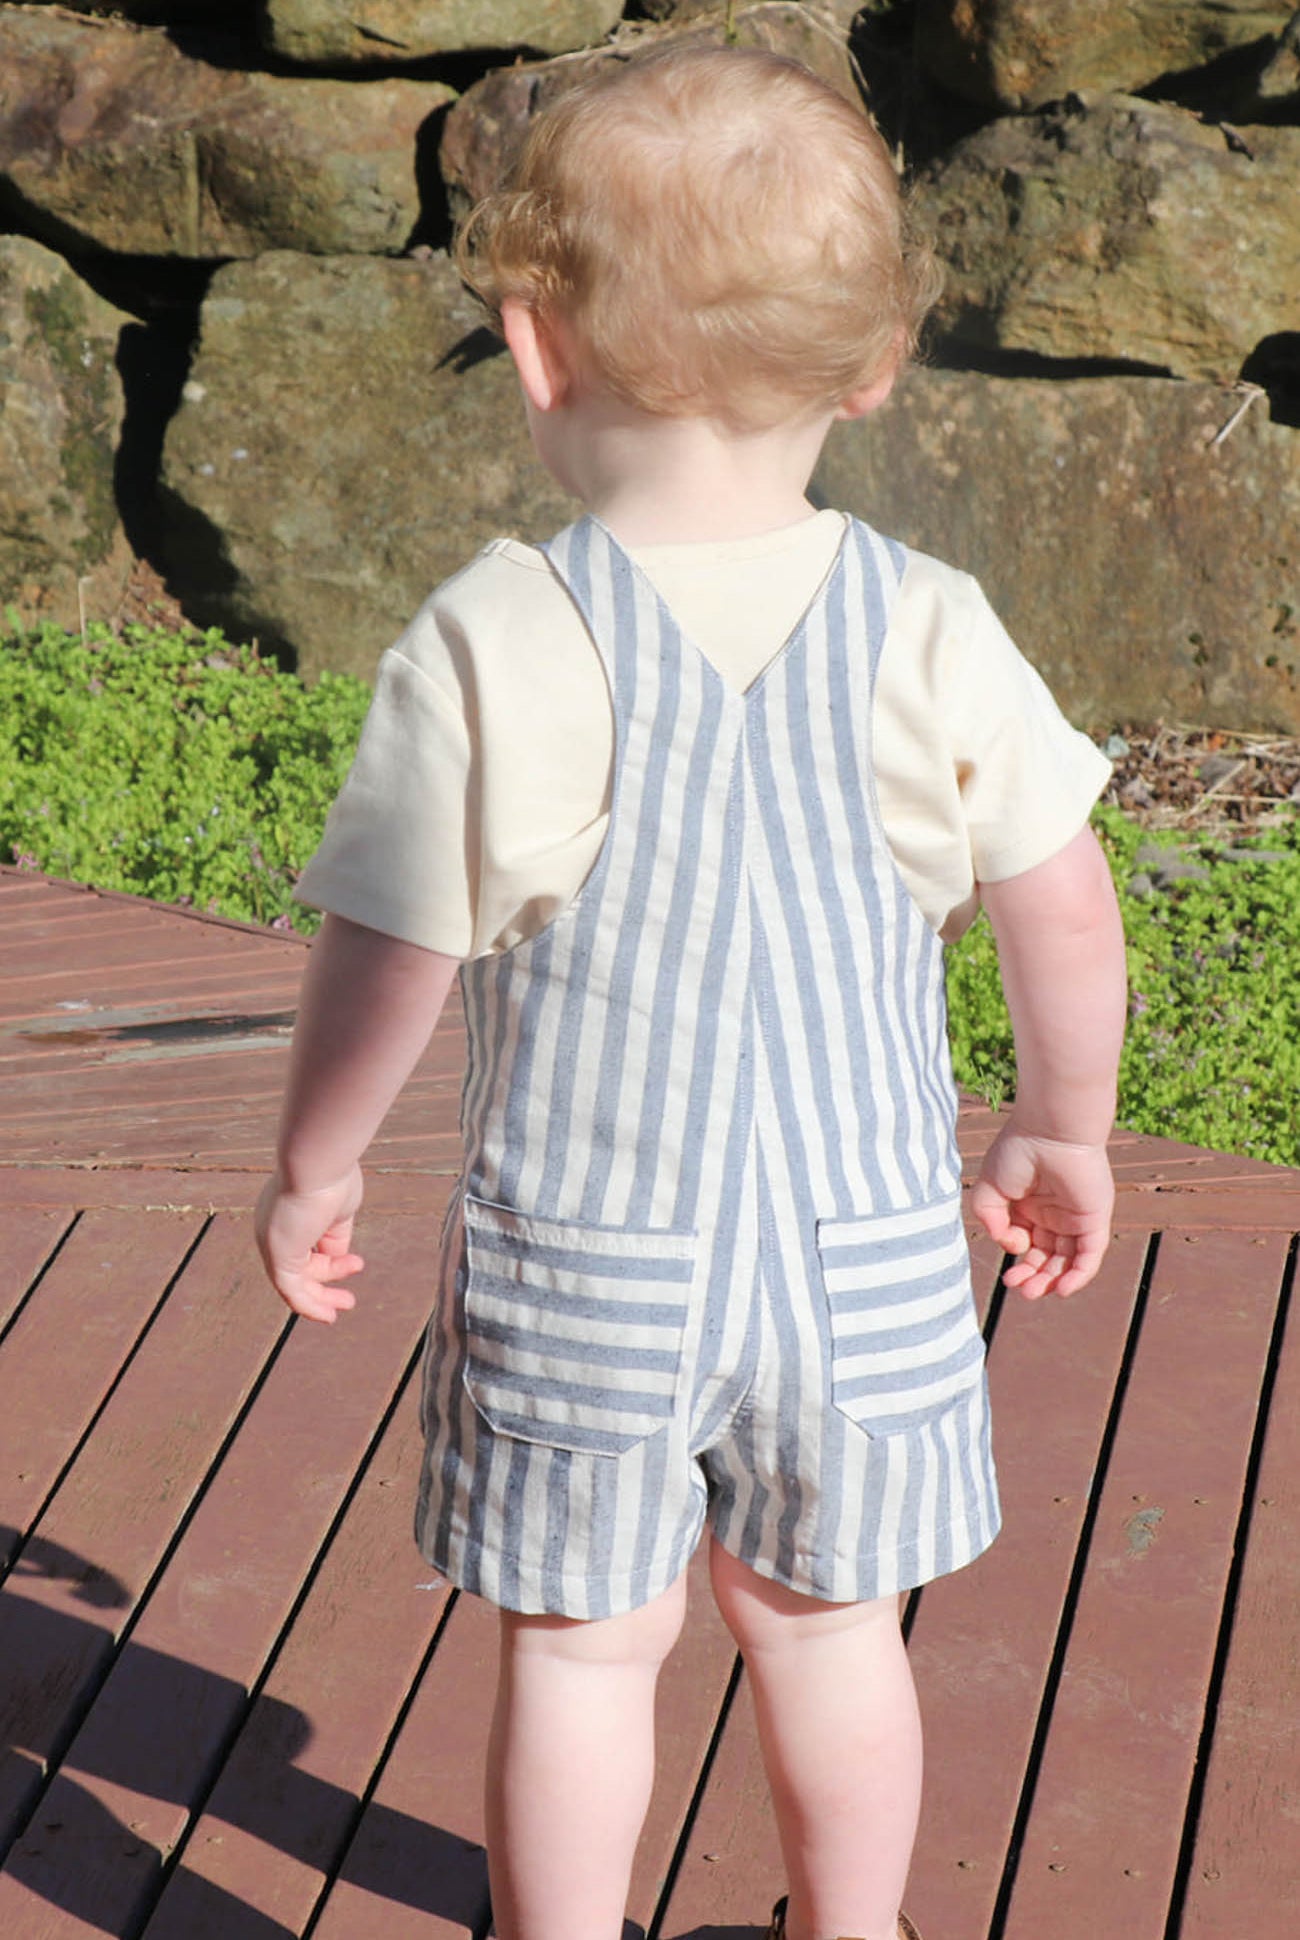
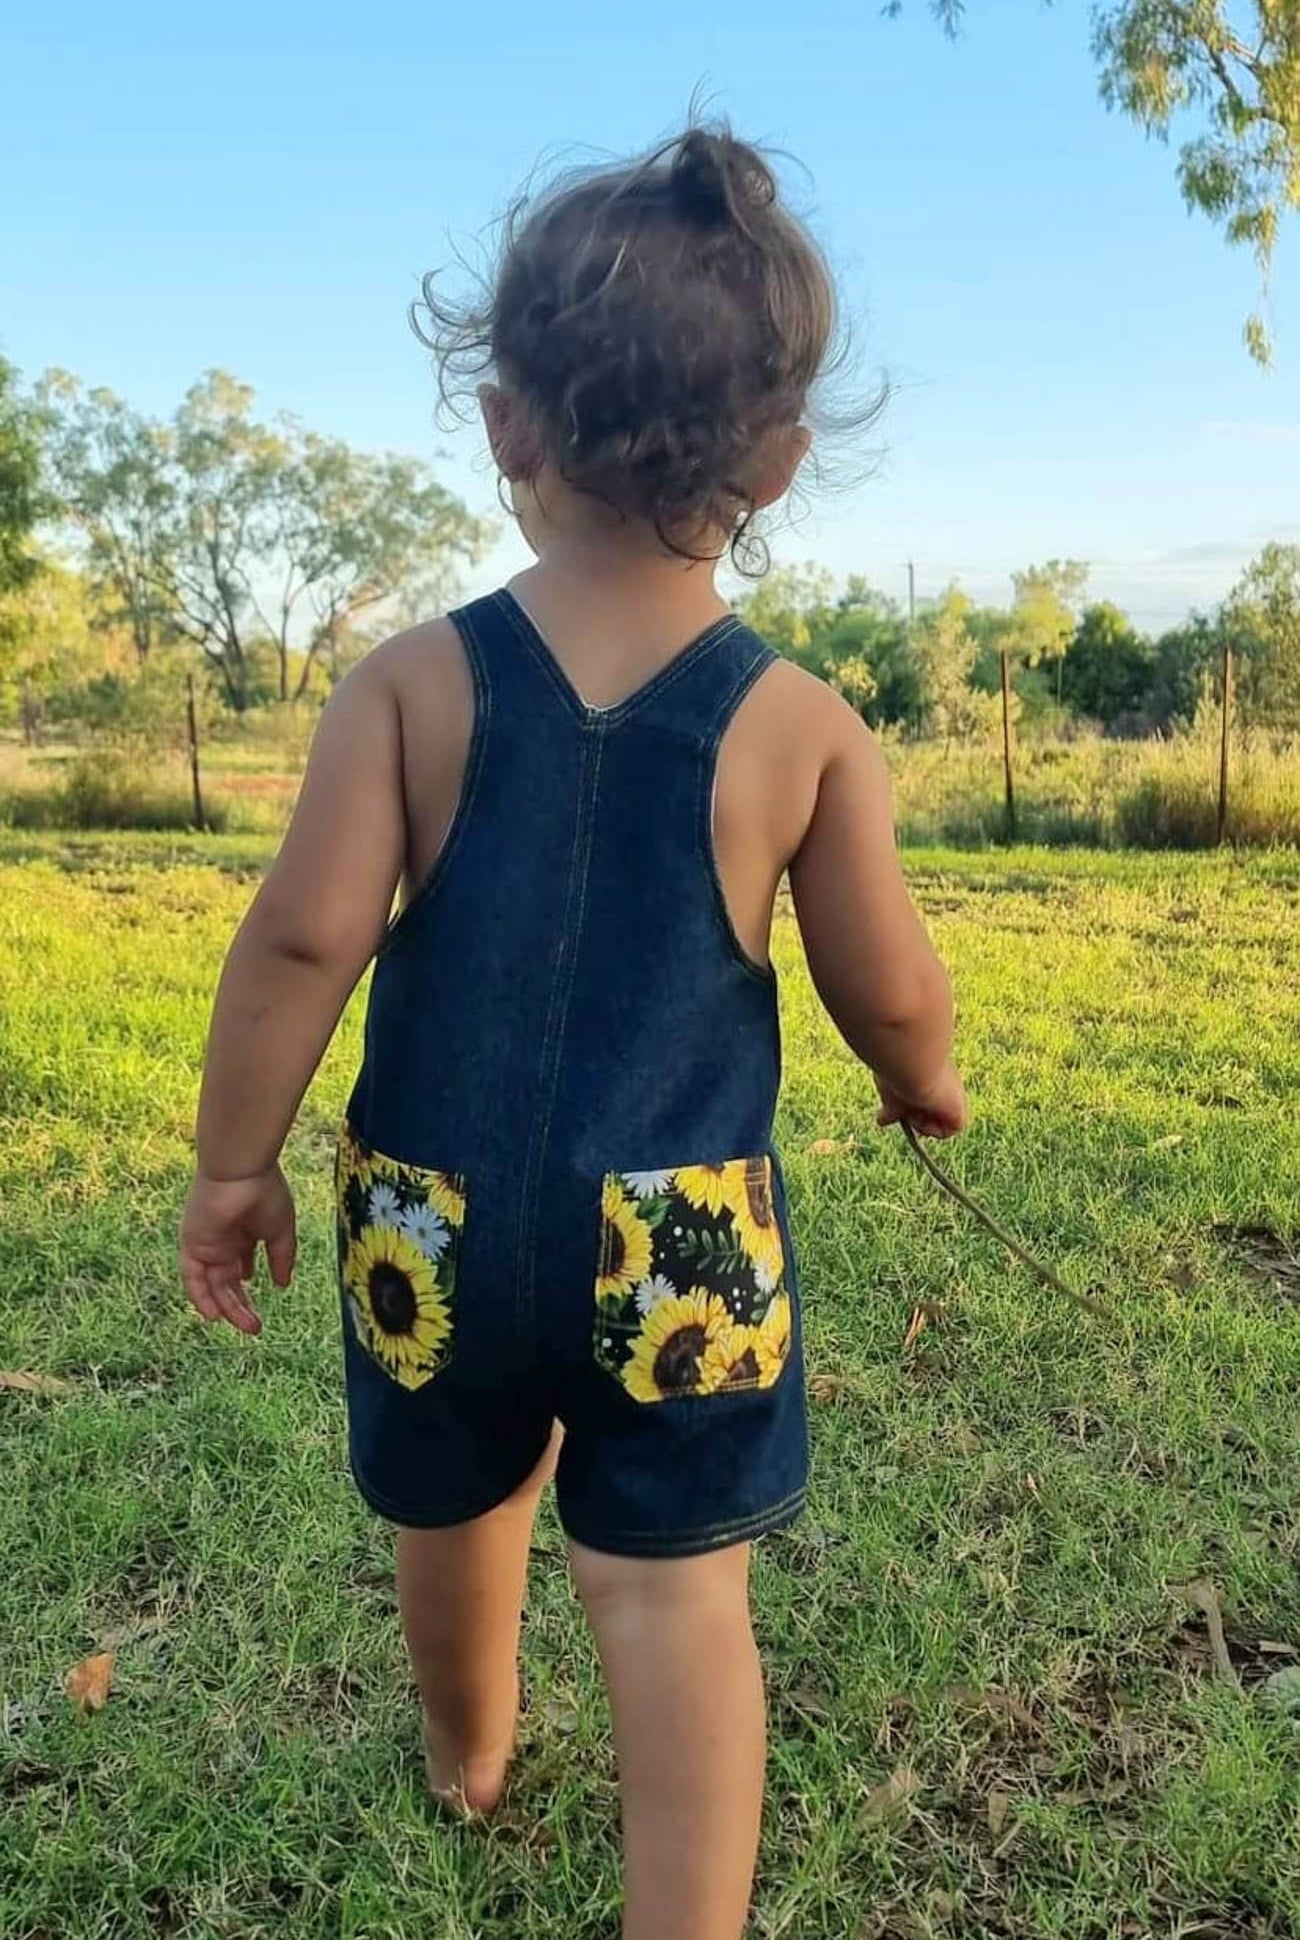
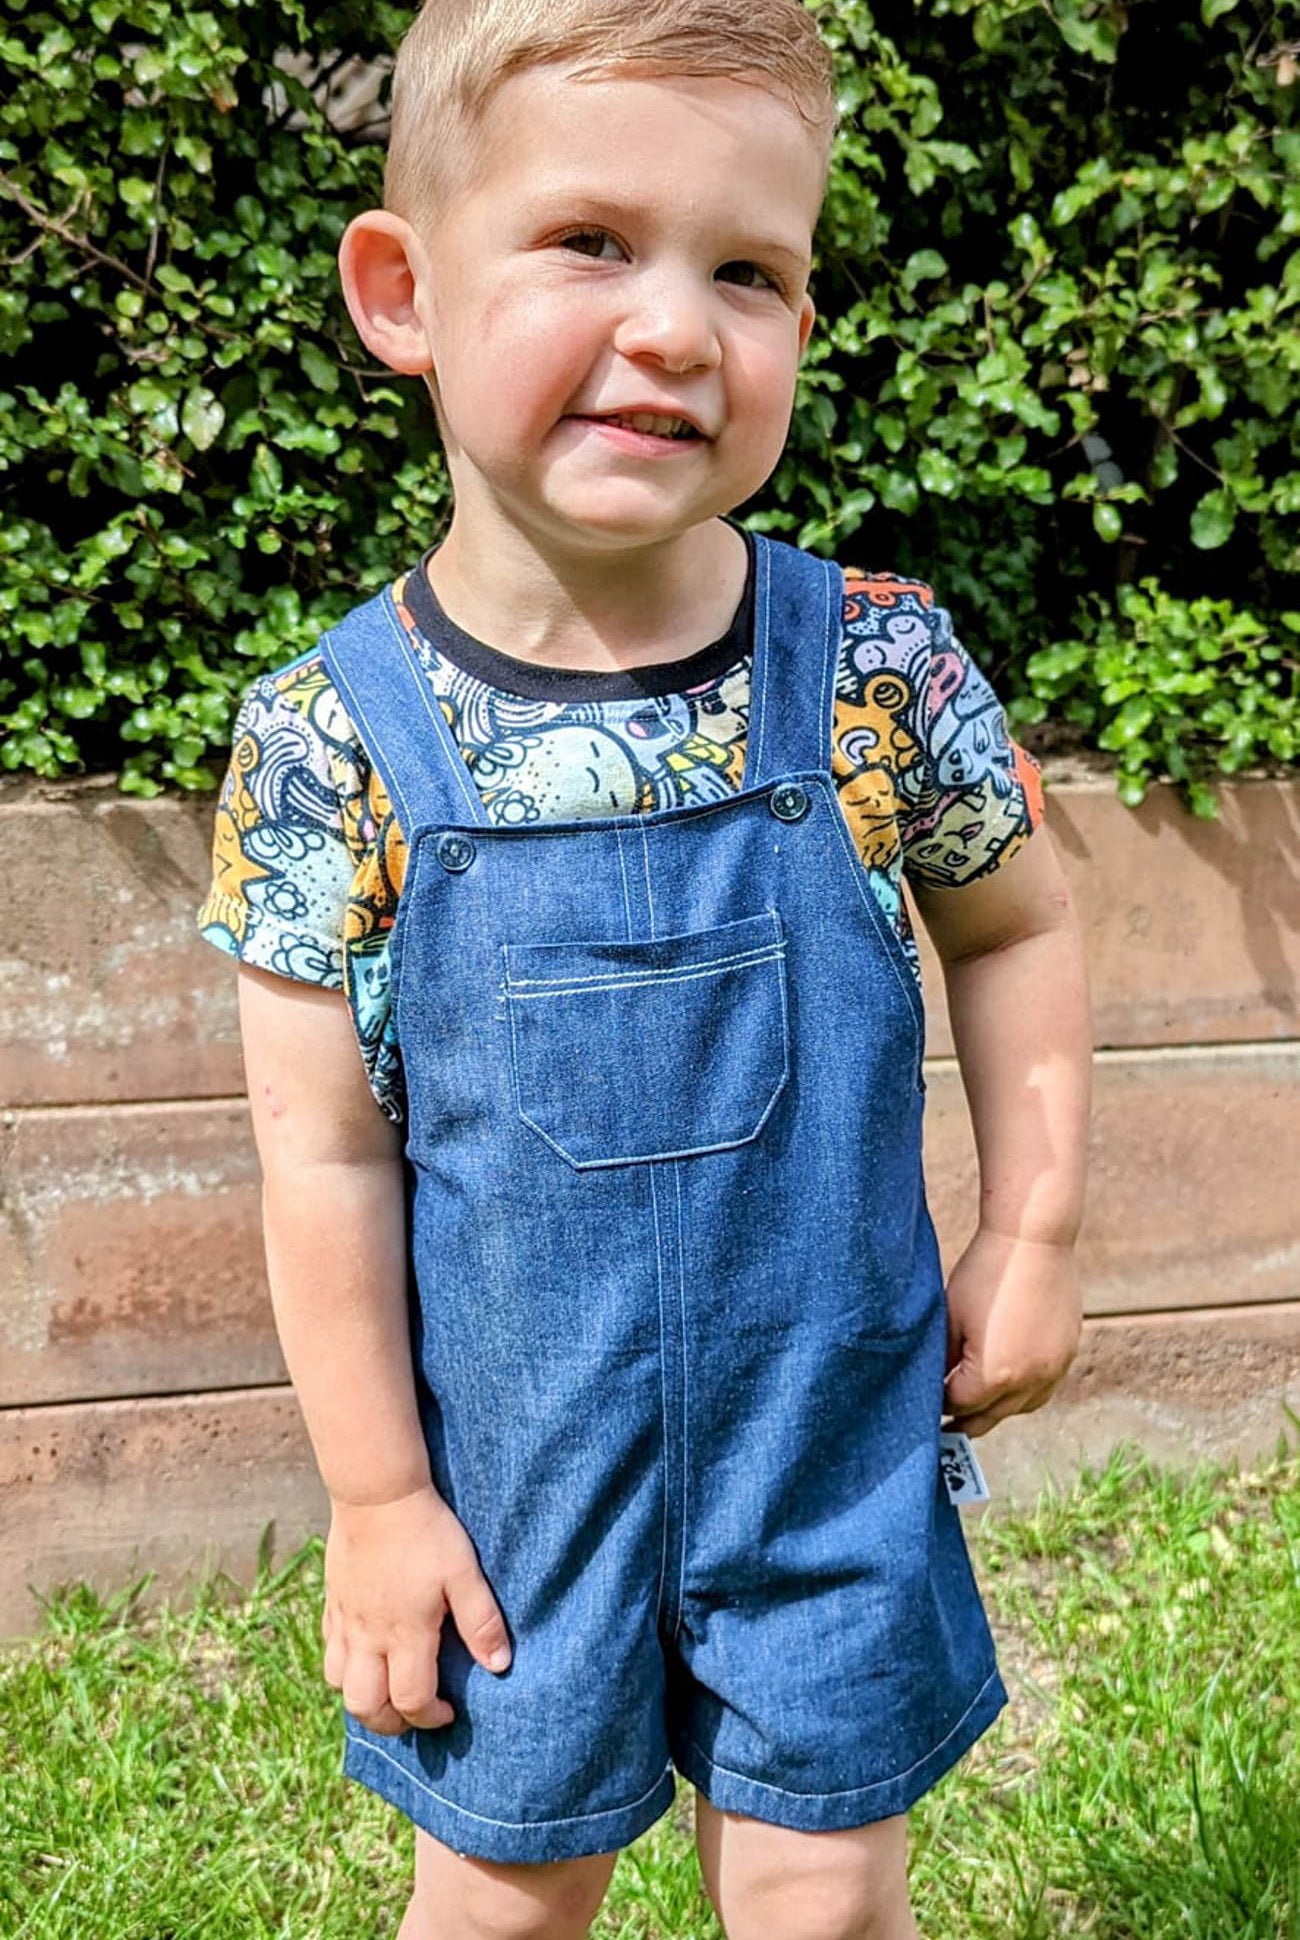
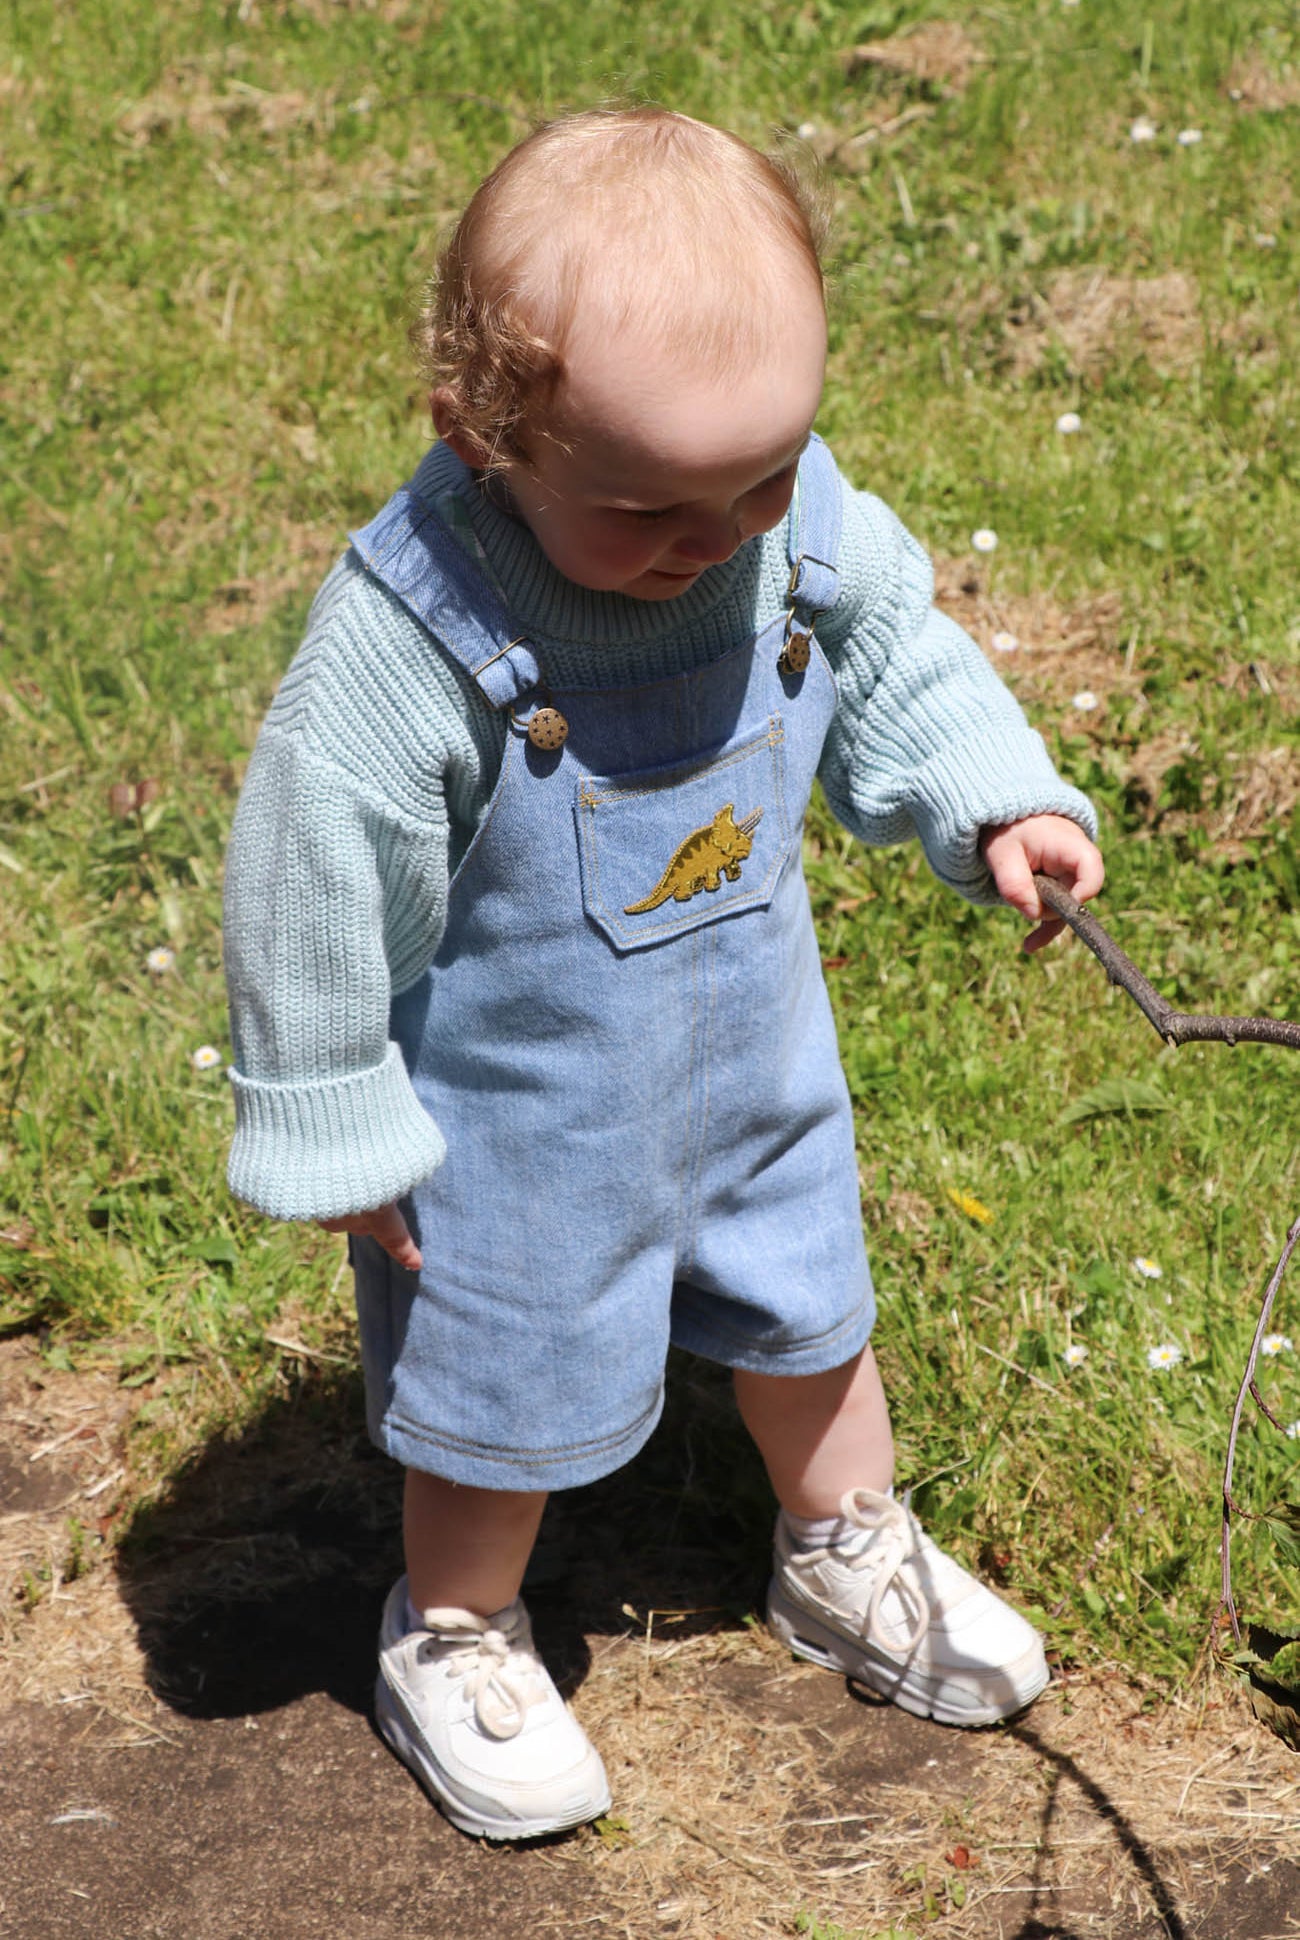
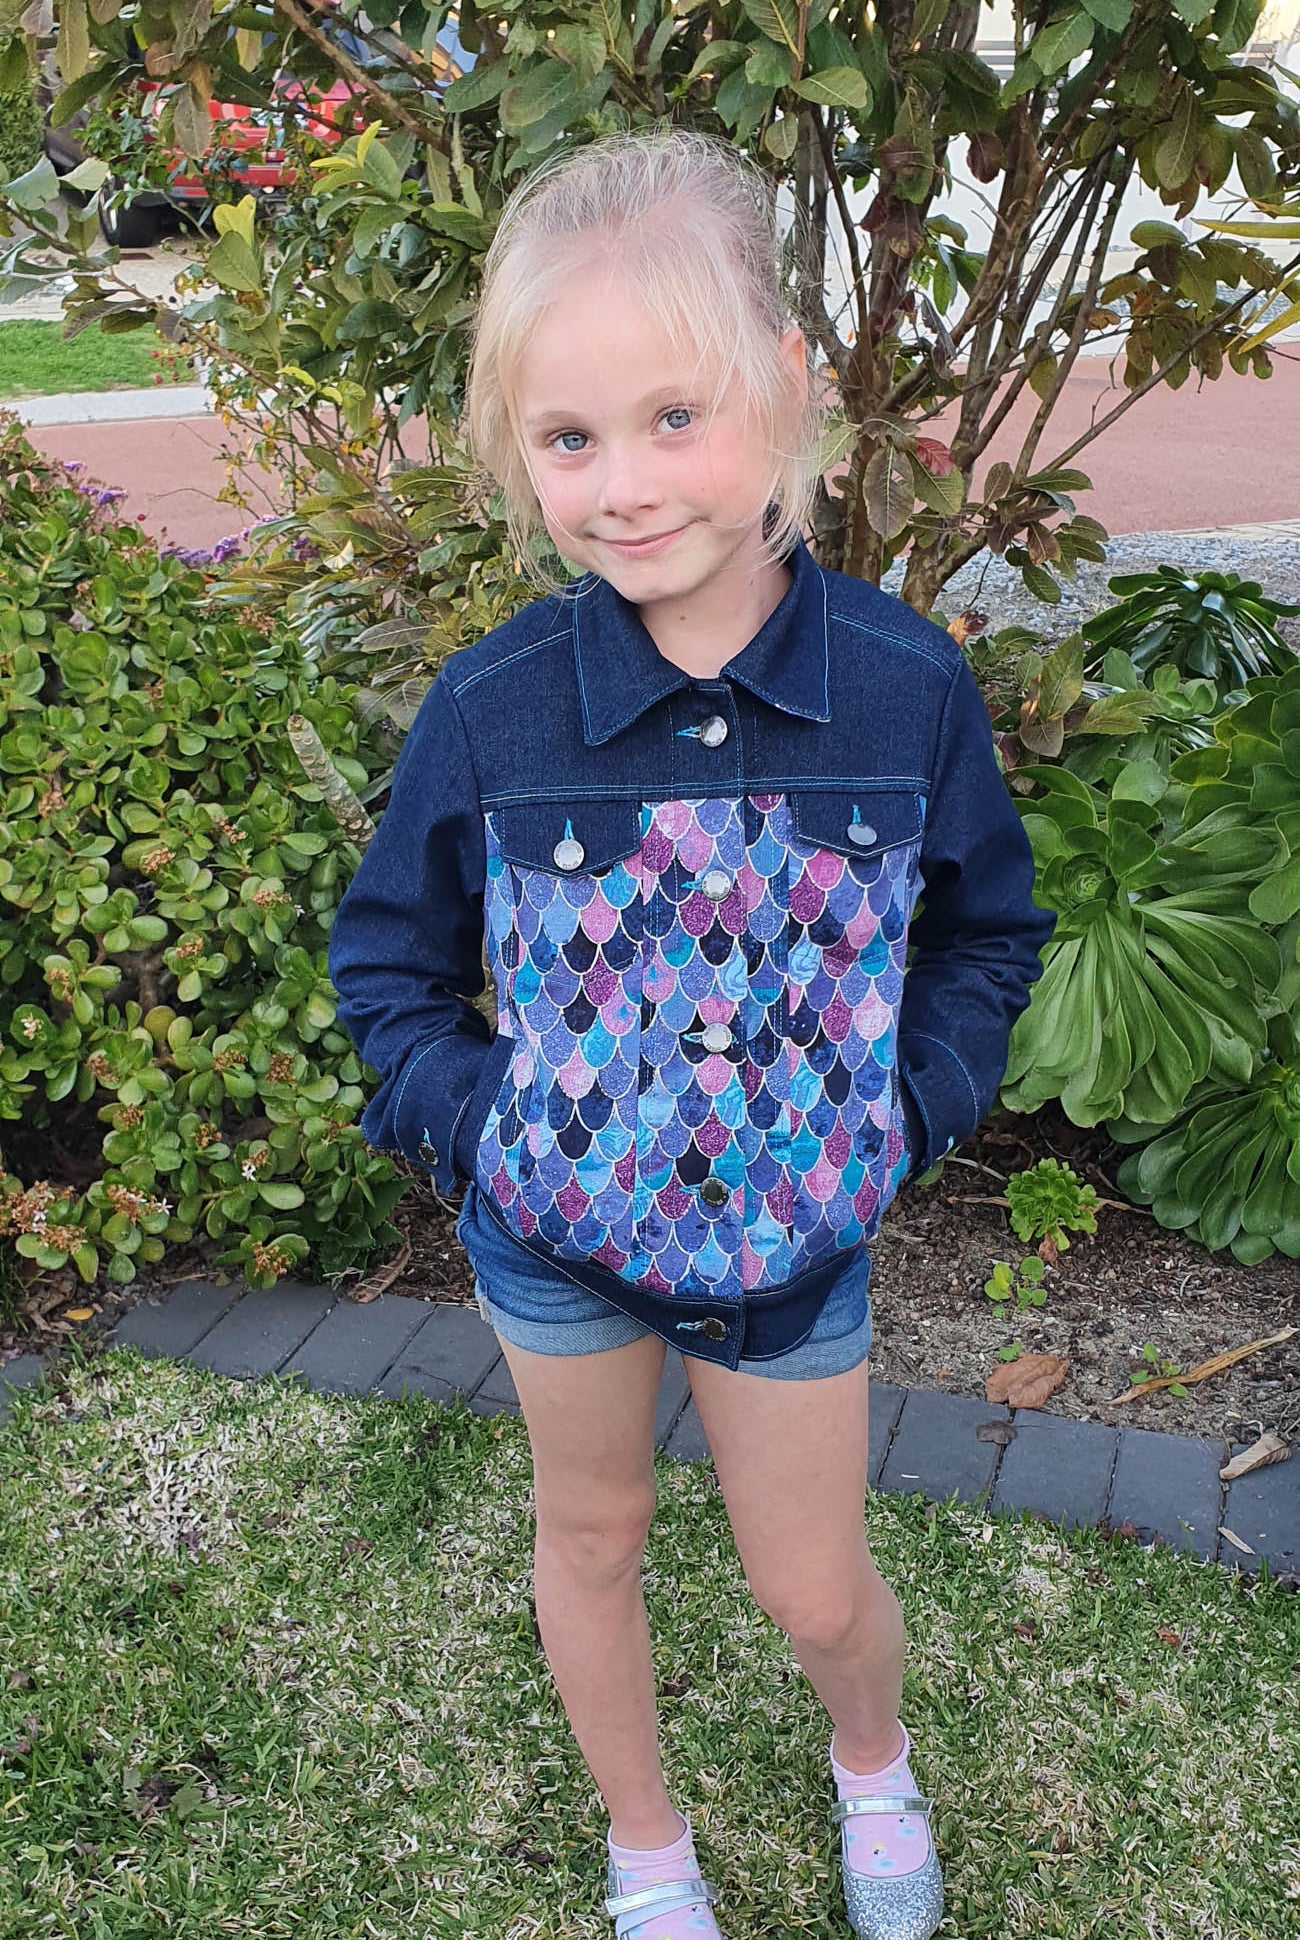
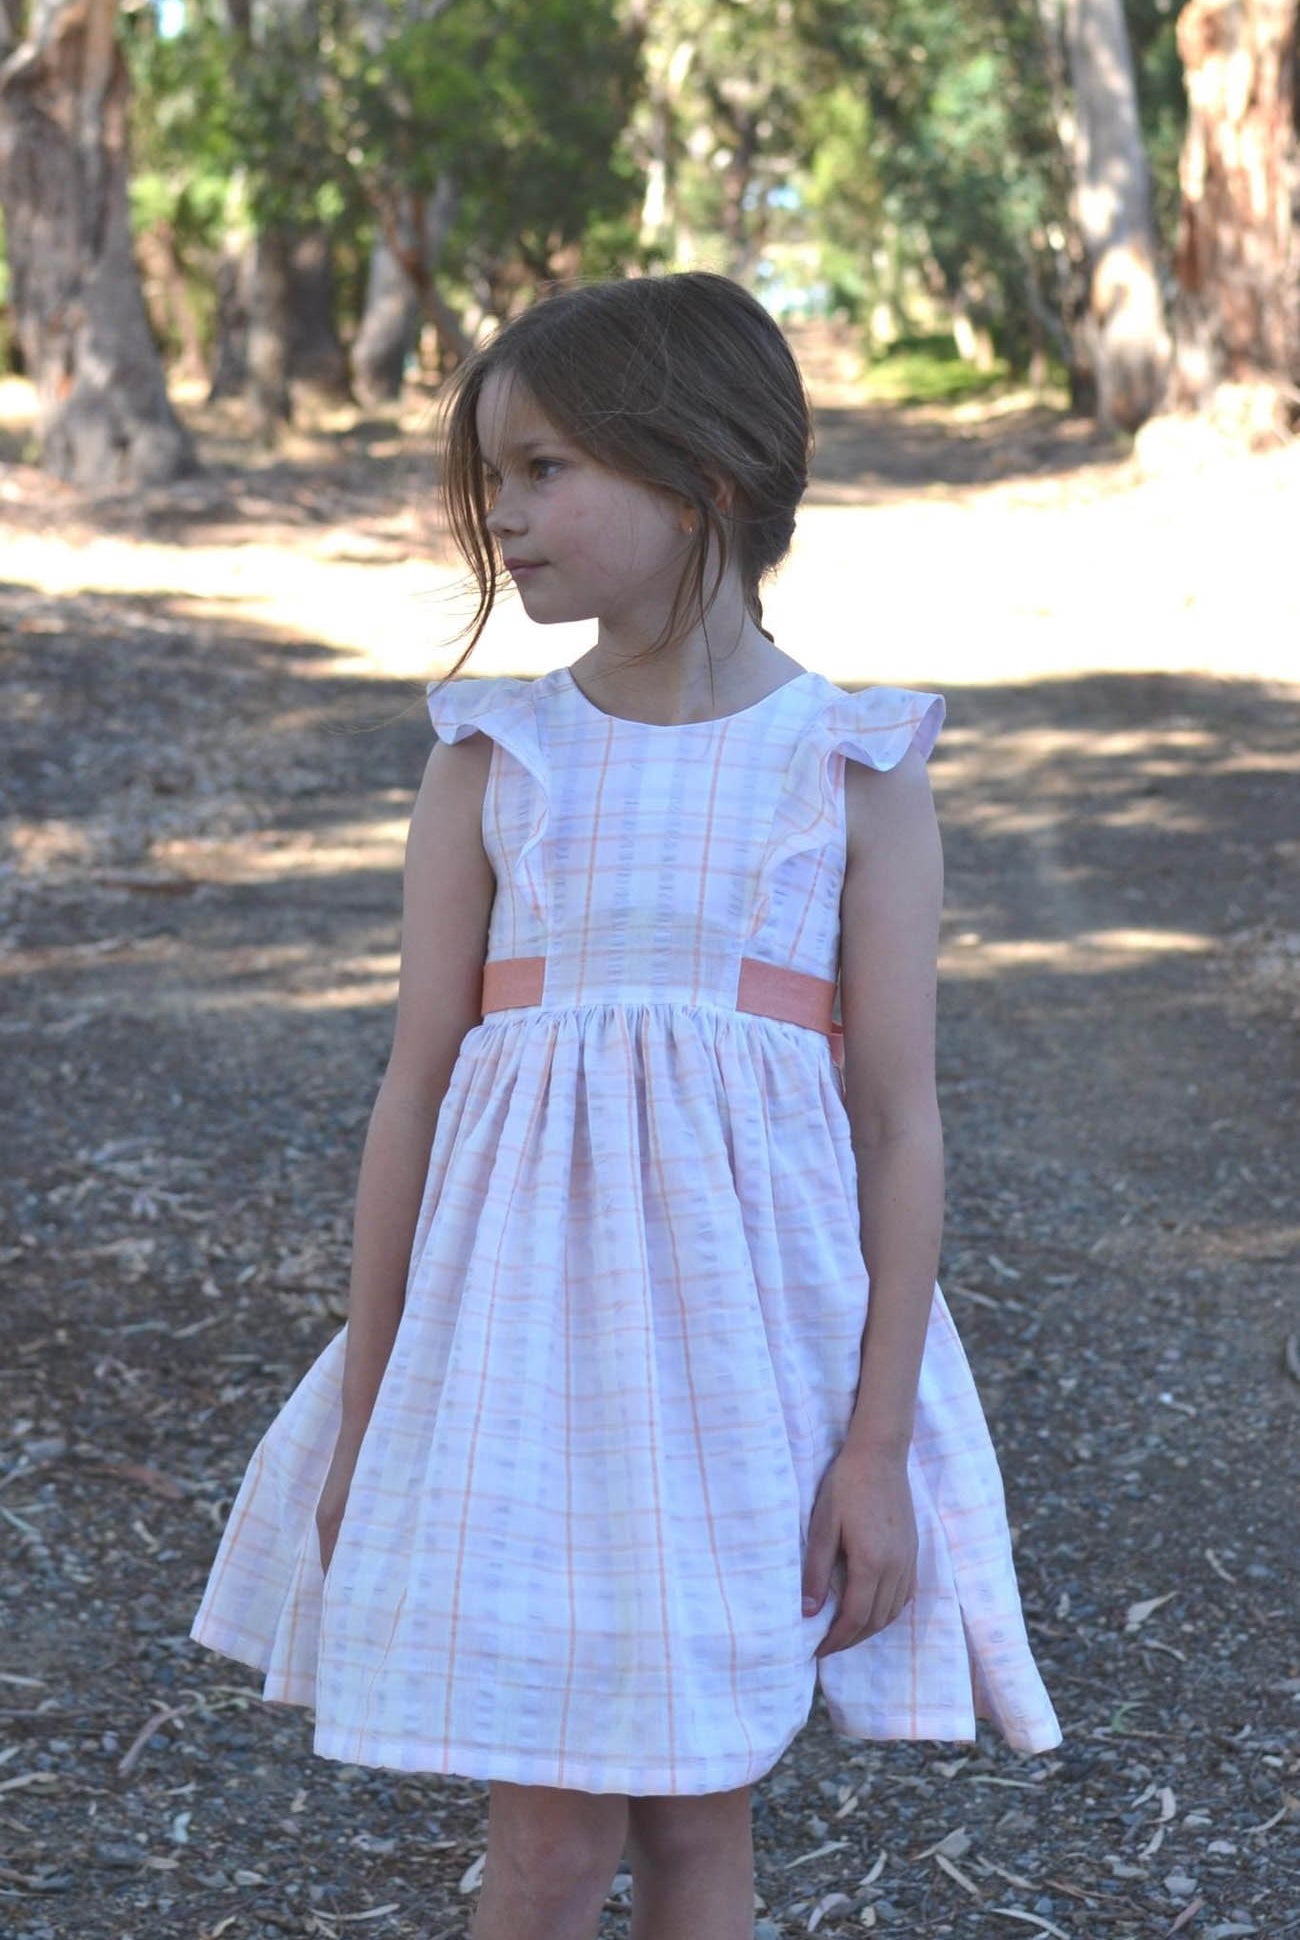
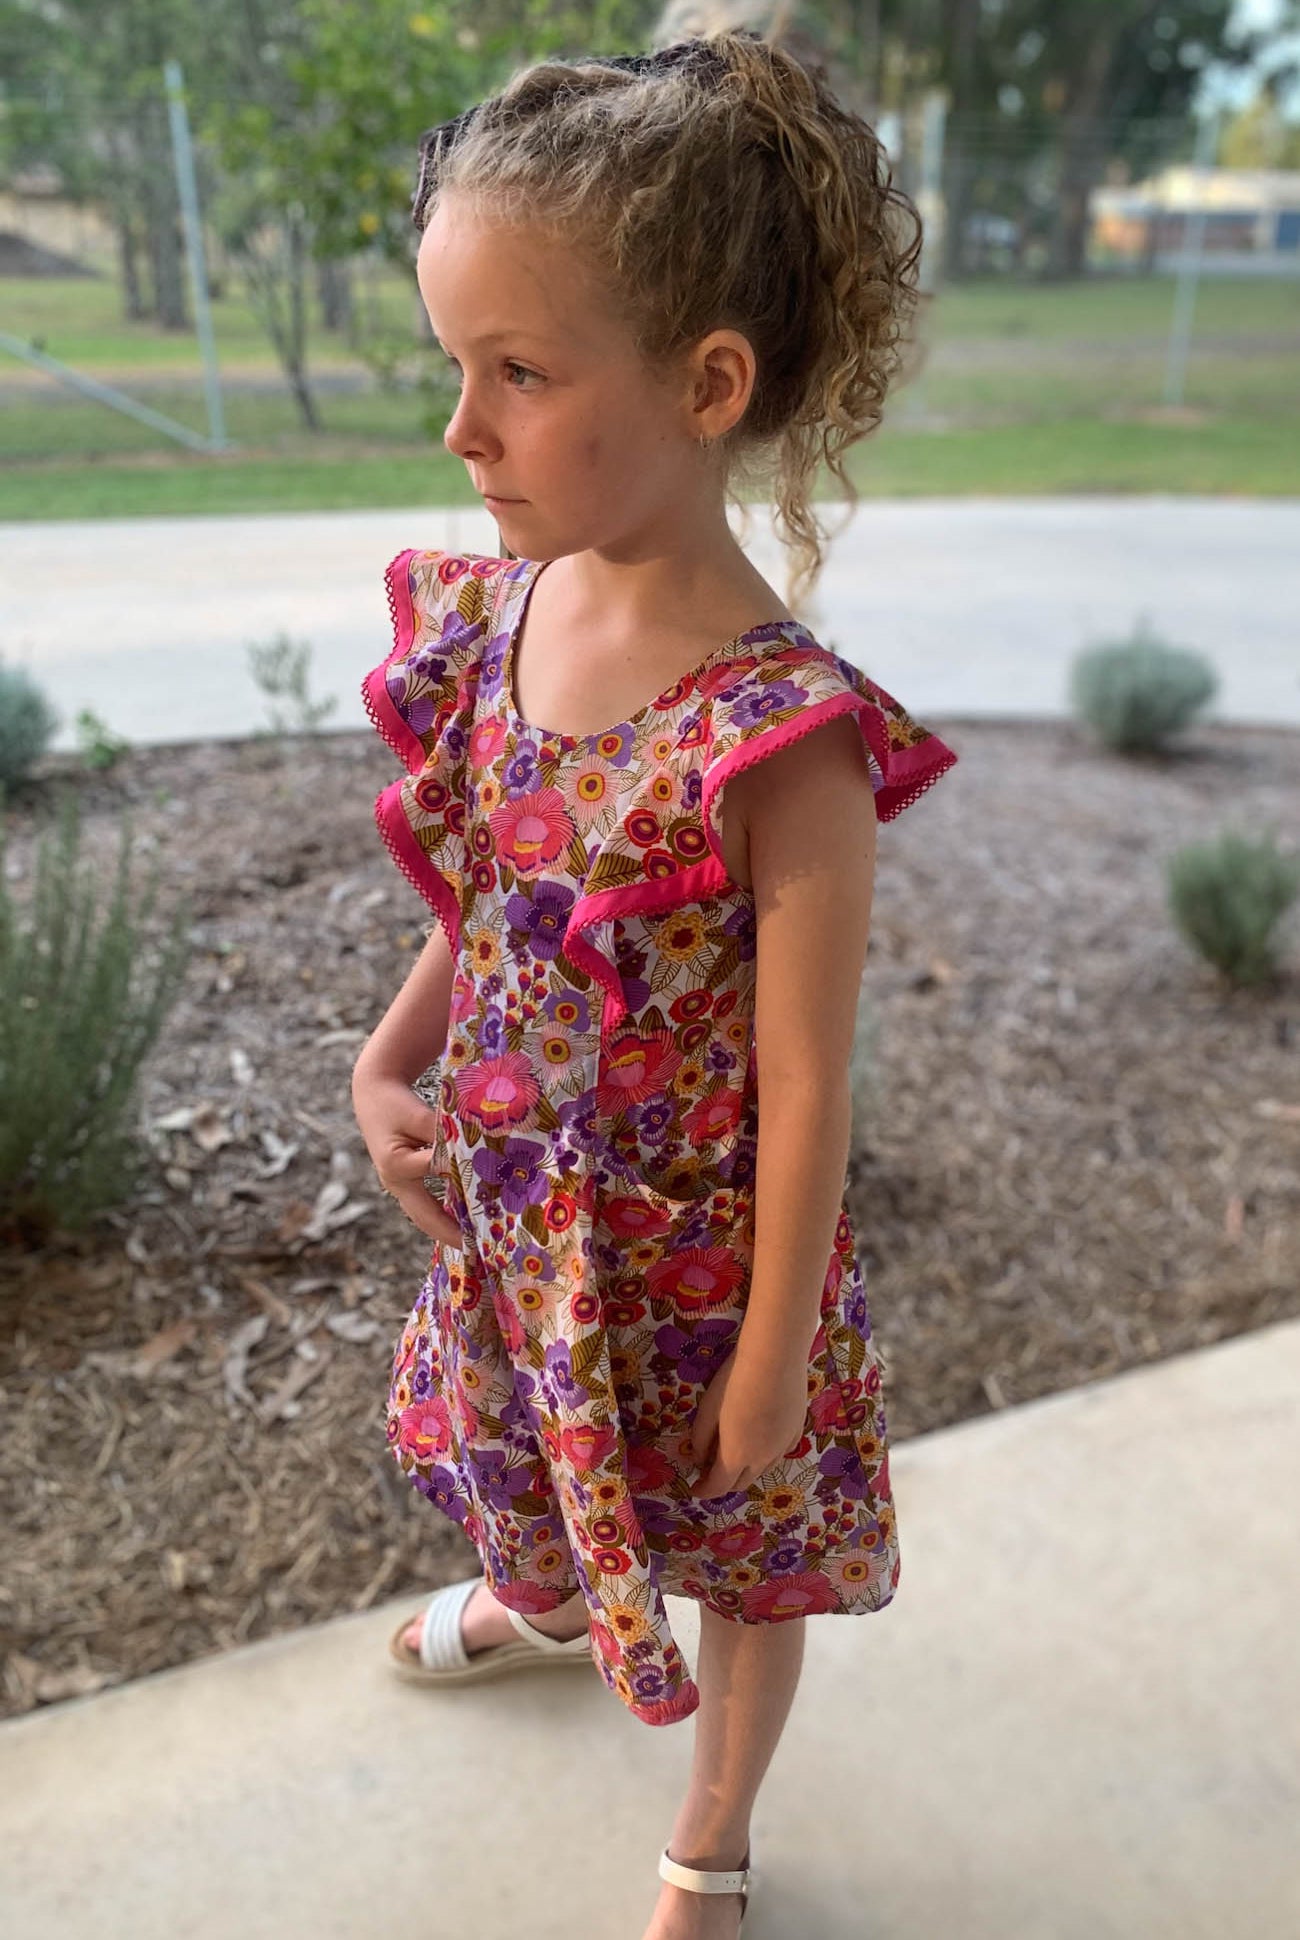
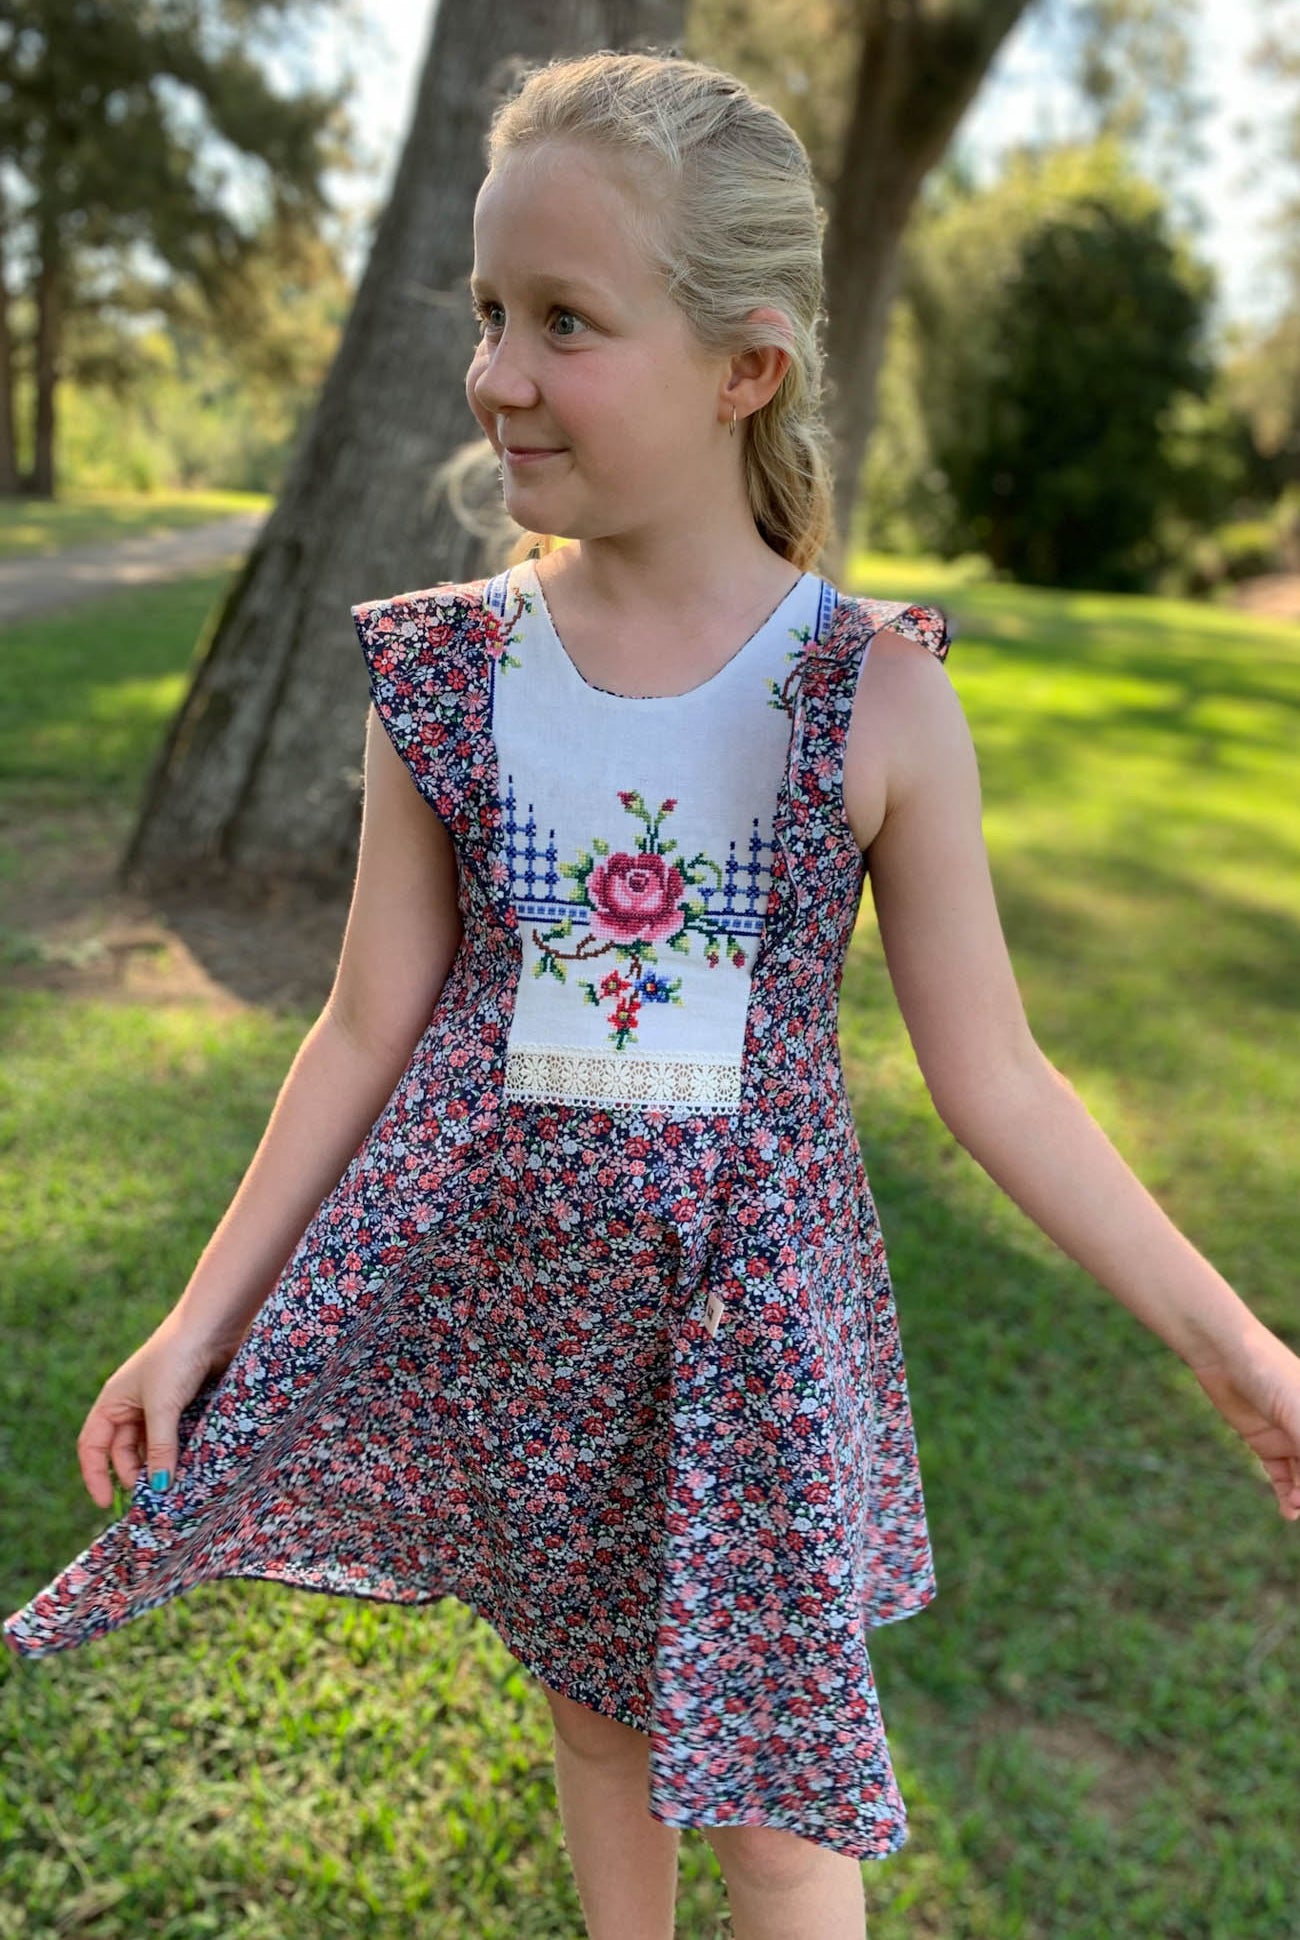
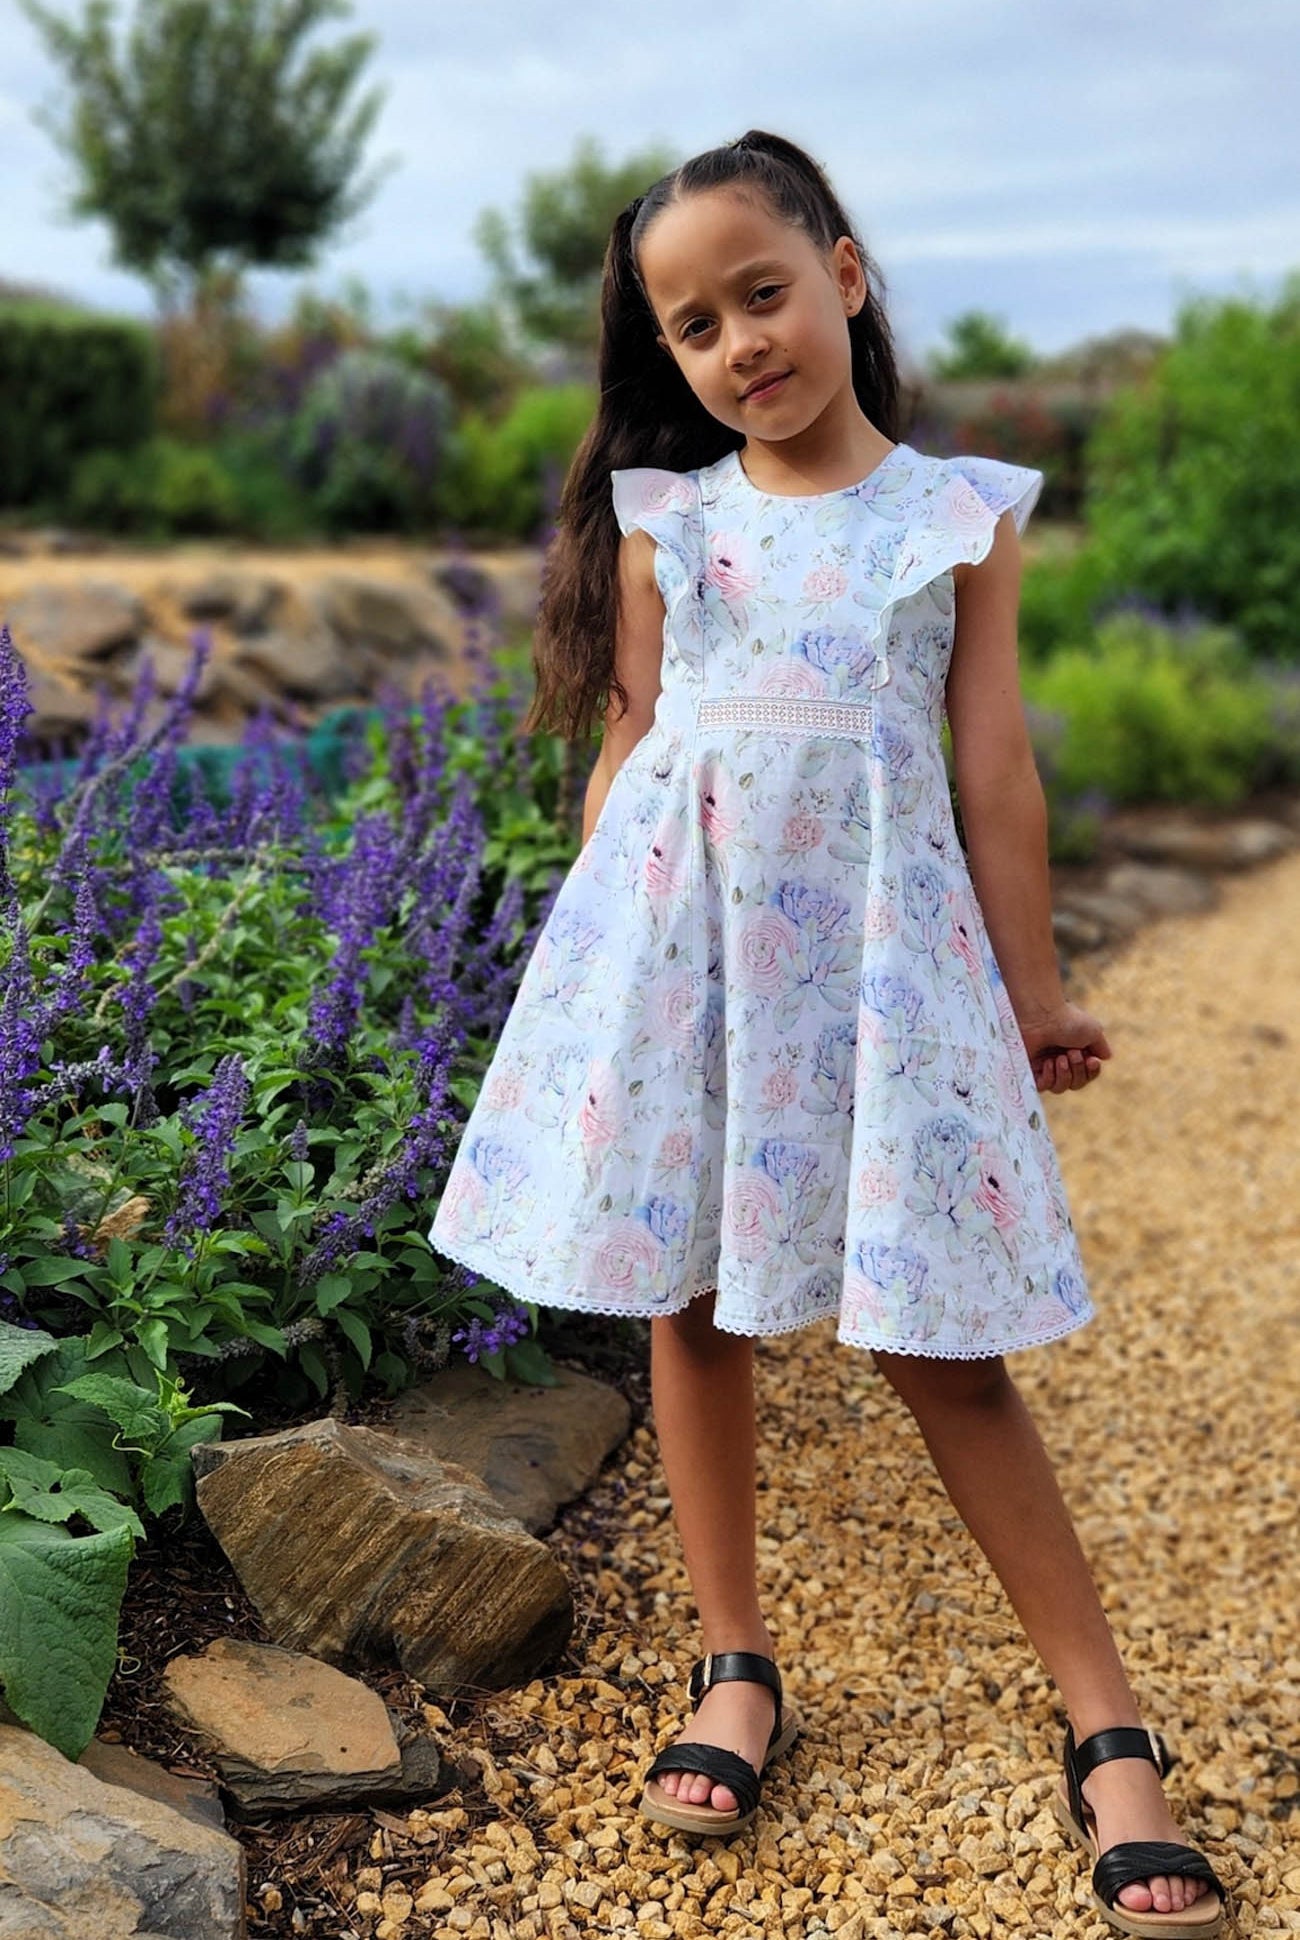
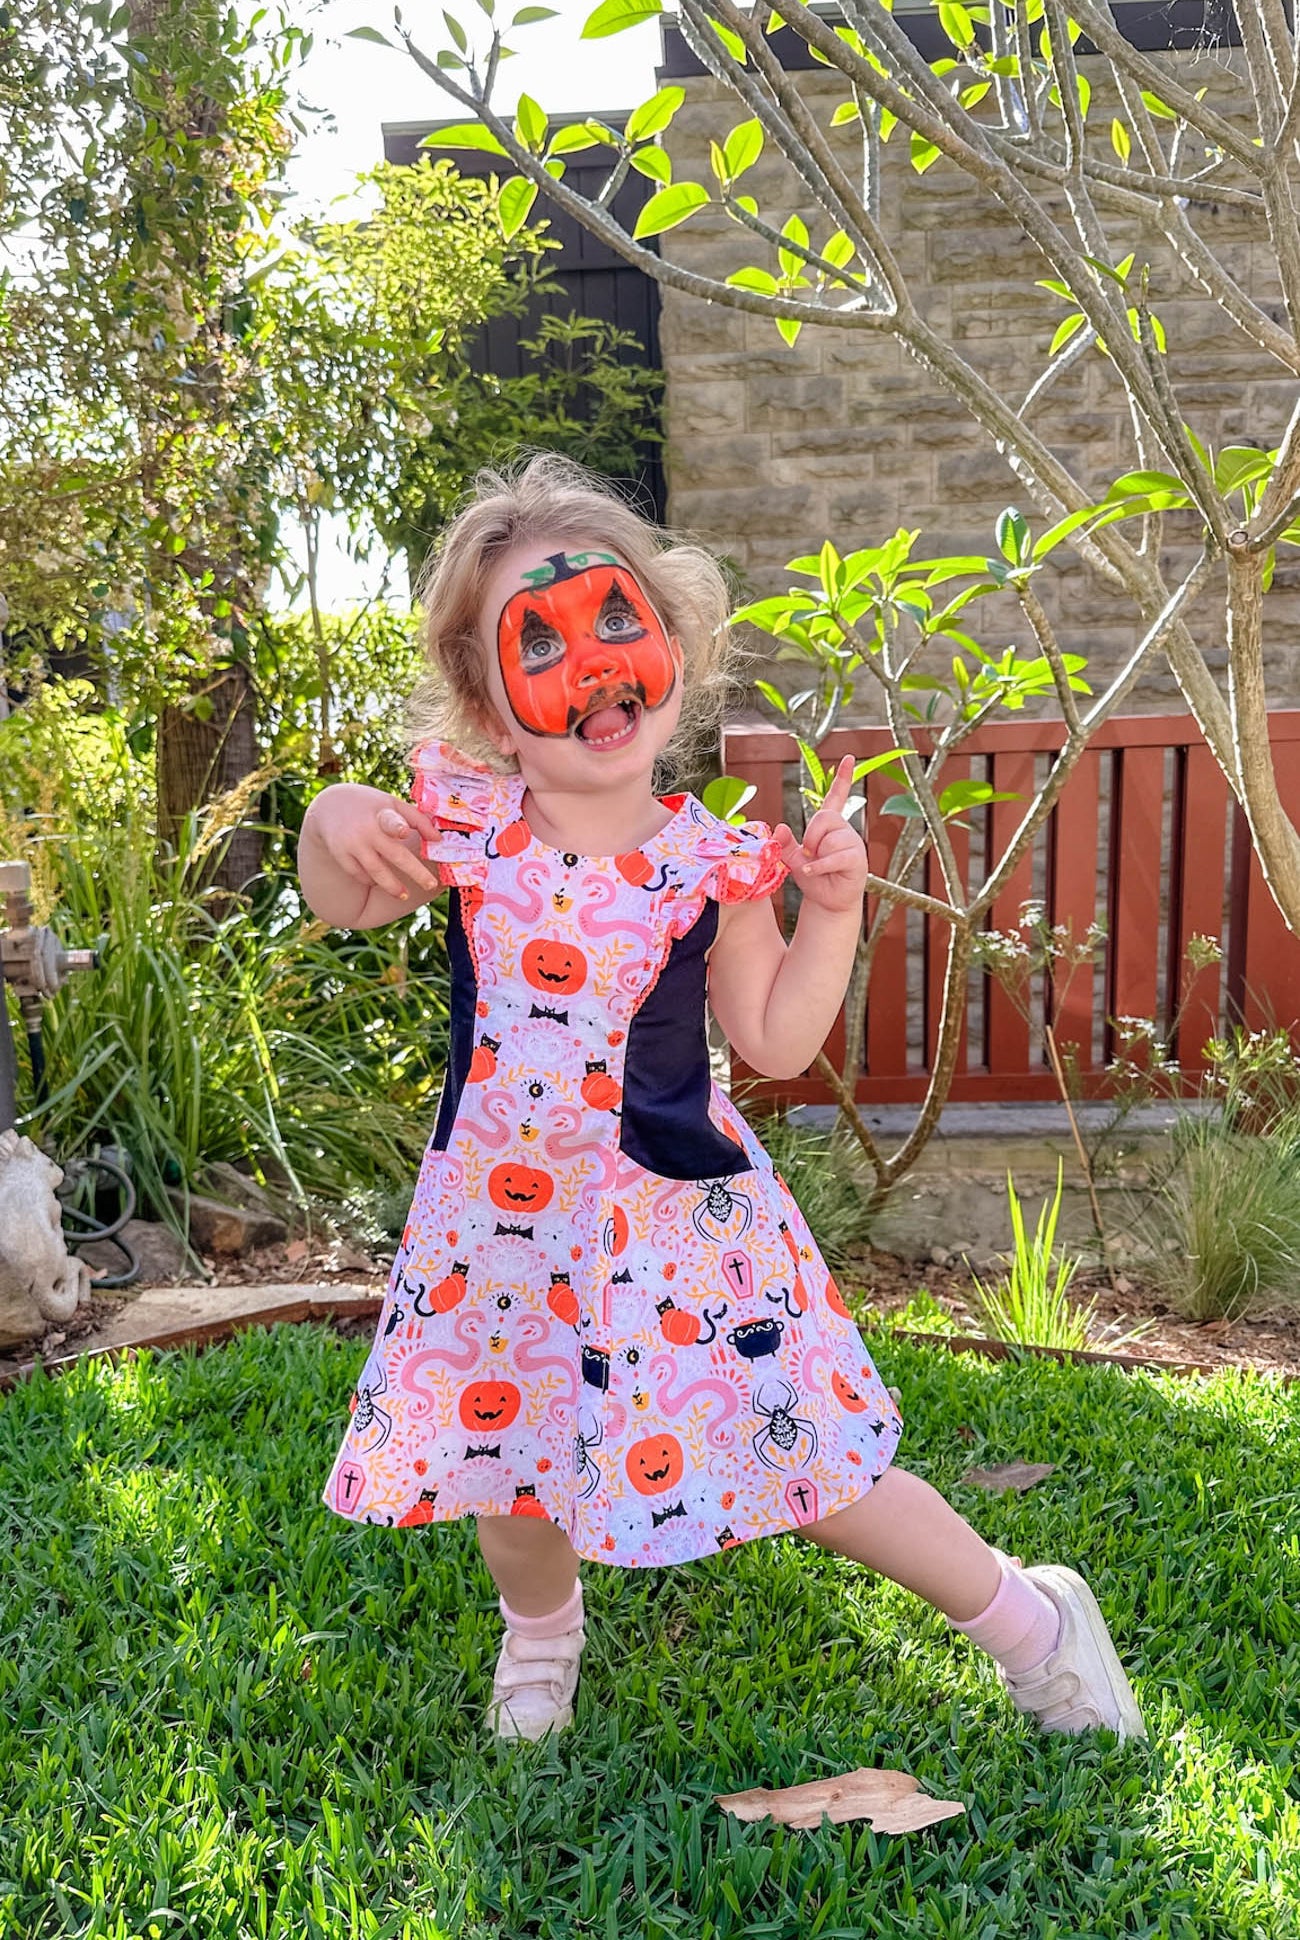
And how cahhhhhute is my friends adorably bubba wearing it - I mean, she is seriously THE cutest <3

Happy Sewing
T xx


Comments
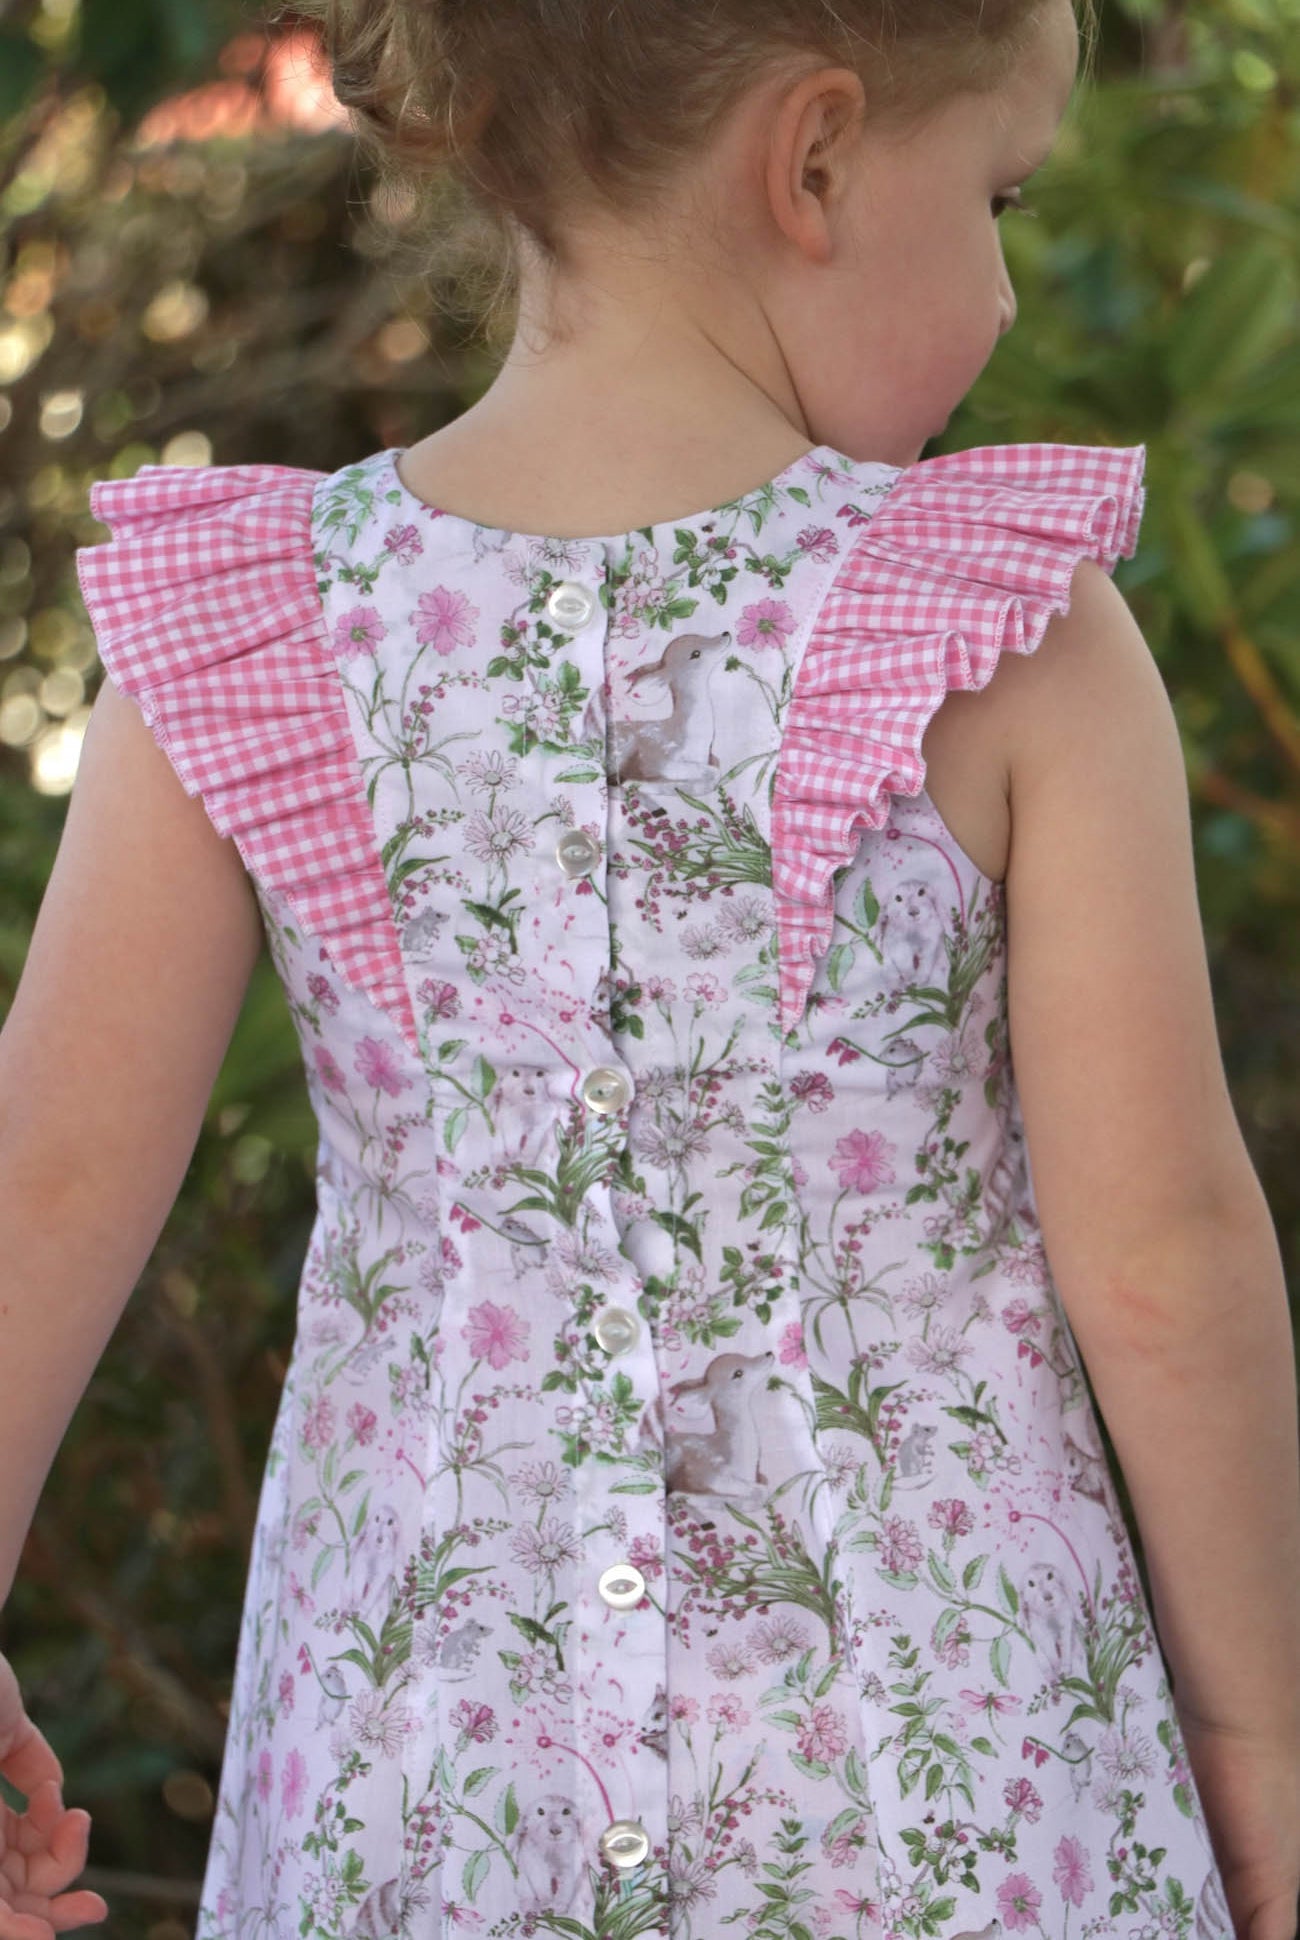
I just finished this hack with buttons in front on the TPD, size 5, but I did snaps all the way down the front. The dress is so beautiful!!! Thank you for the information on how to do this hack. Now I am off to make more!
Just wondering if anyone has made this romper on cotton lycra knot
If you wanted to make the dress button all the way down, would you add instead of take away from the skirt and how much?
would be nice to download these pattern hacks