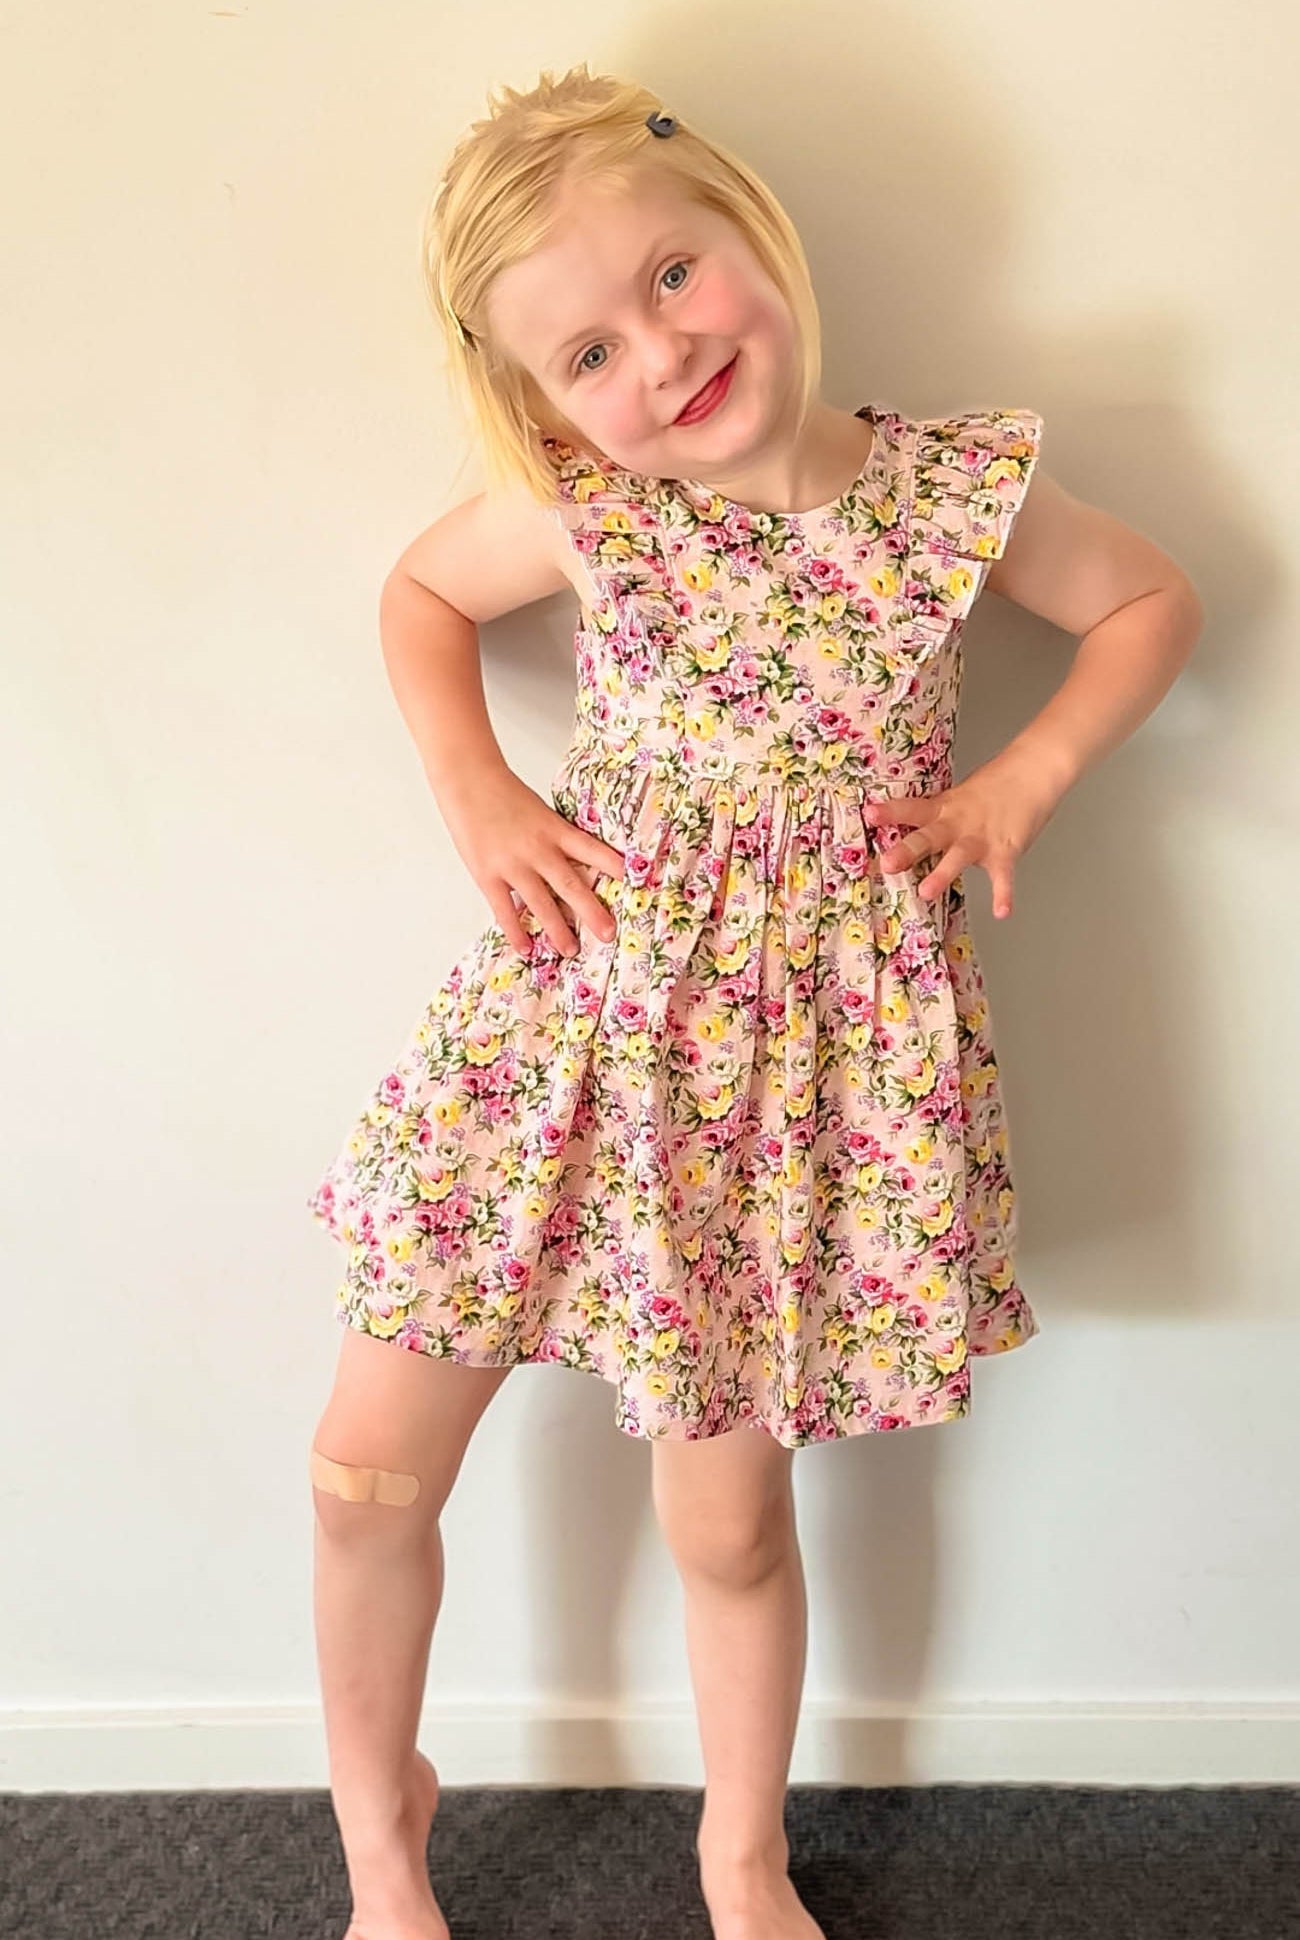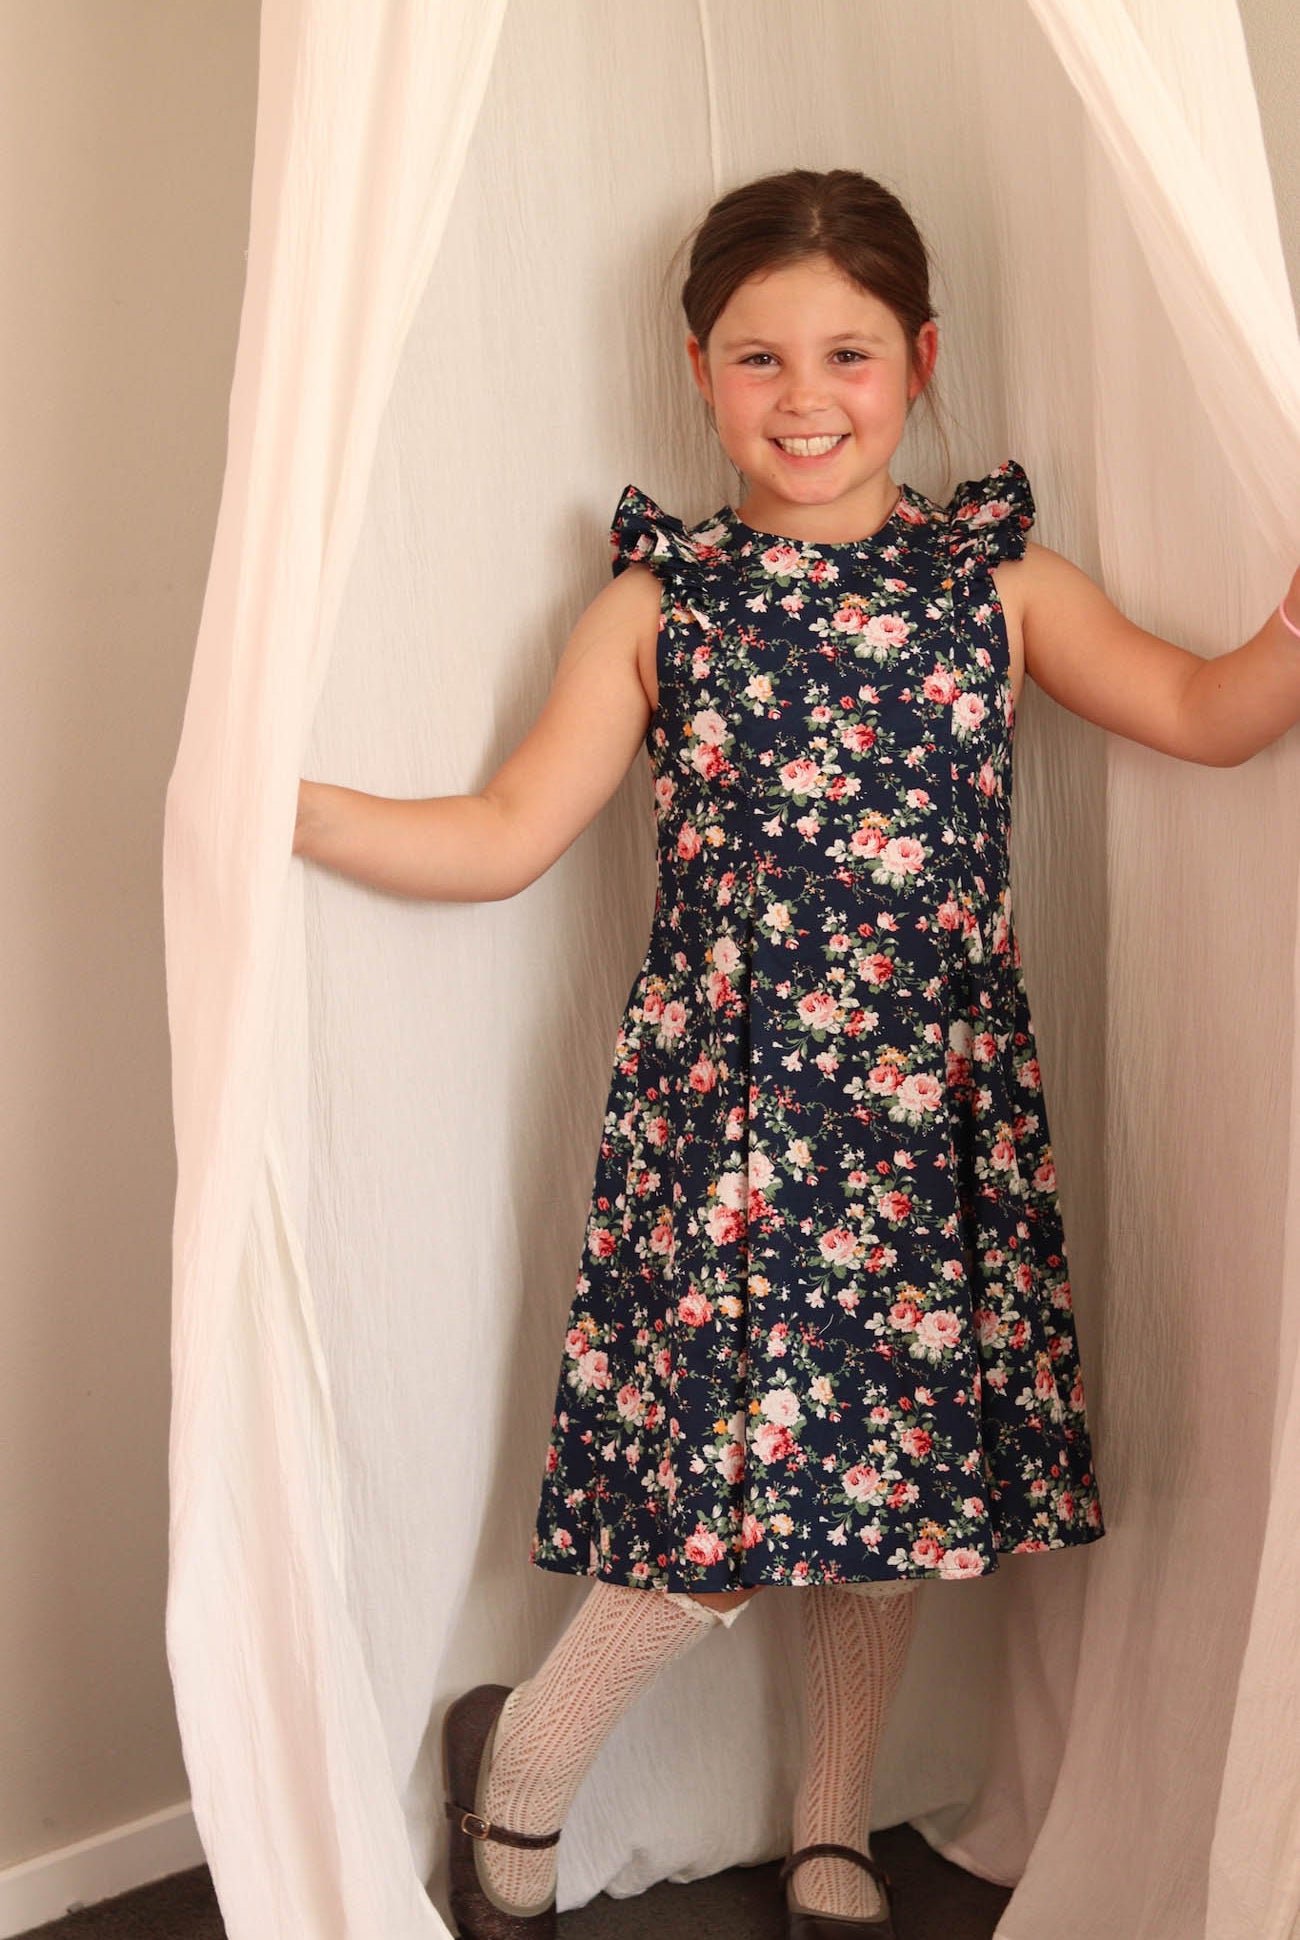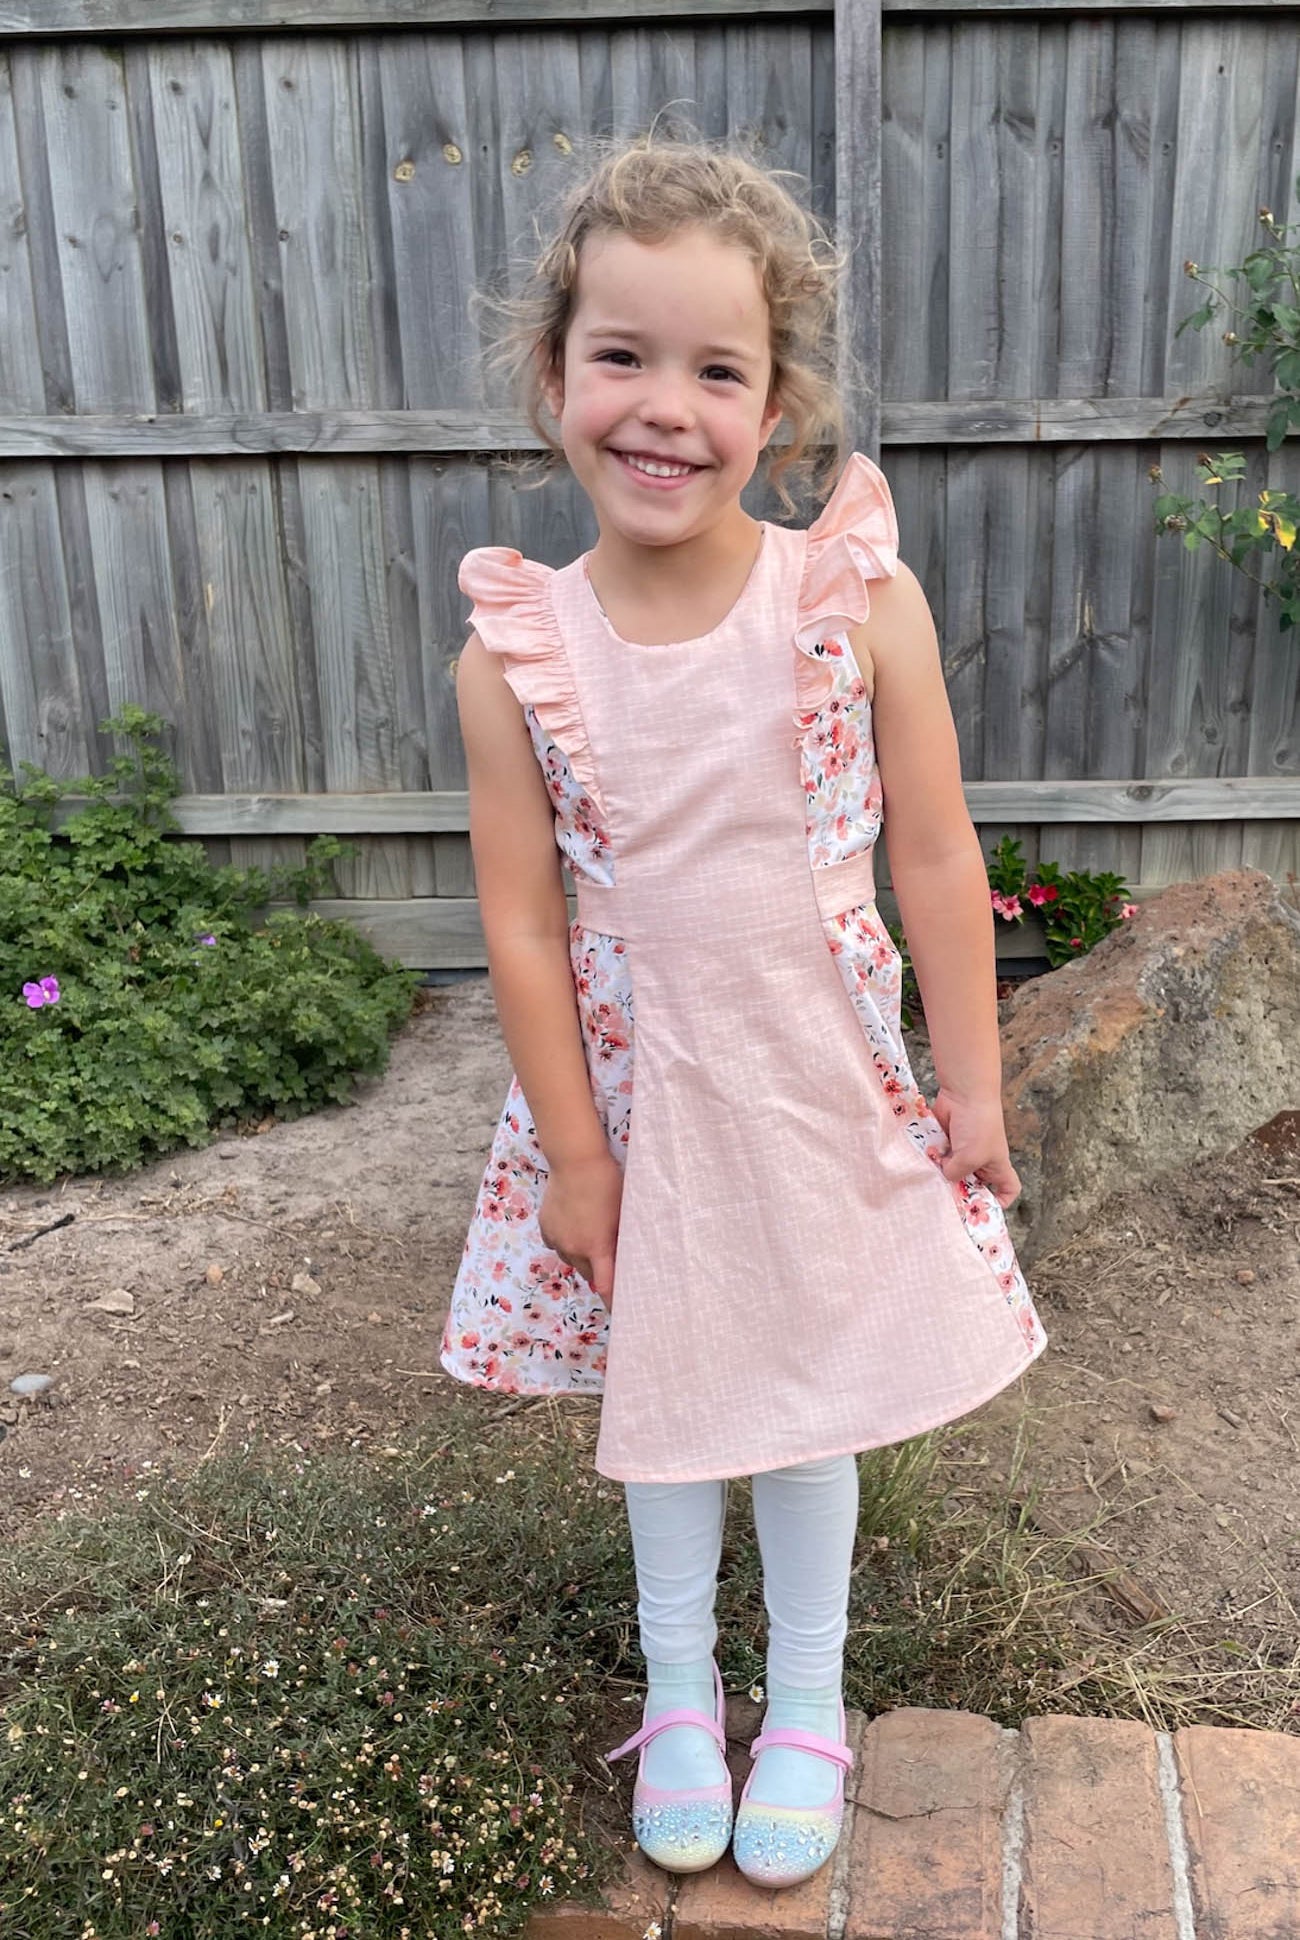


Welcome to Day 2! Today we will be covering steps 4-6 which is putting the sleeves onto the bodice and sewing up the bodice side seams - by the end of today we will have a completed bodice!!
2 of the 5 (yes, I'm nuts) dresses I'm making will have a tulle overlay on them, so I've done up a small video of how to cut your tulle overlay so you don't have to sew side seams. This is just the way I've done more, if you have a better or easier way, you are most welcome to do it your way (and let me in on your secret!)
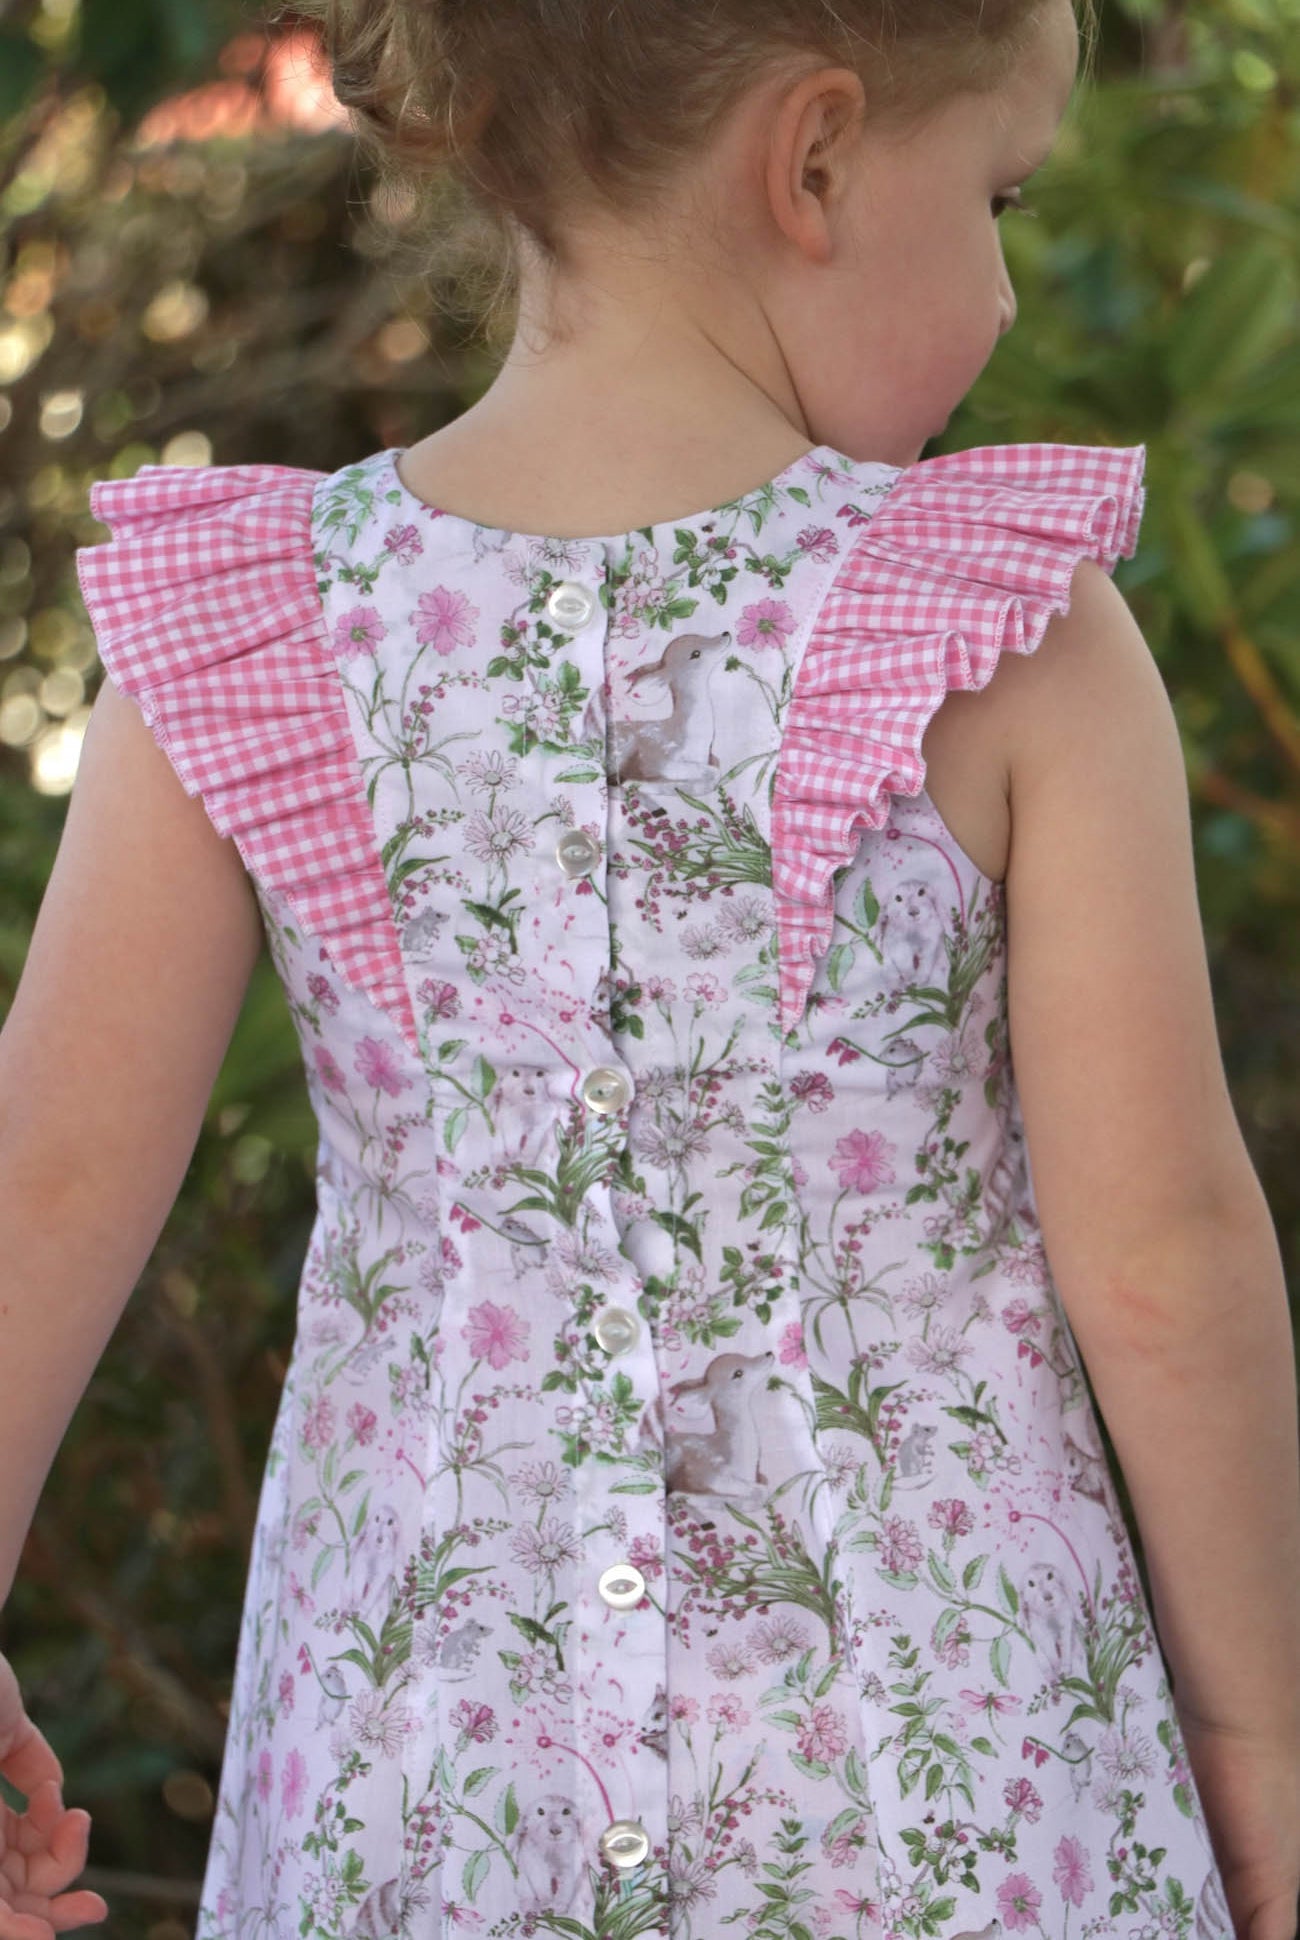
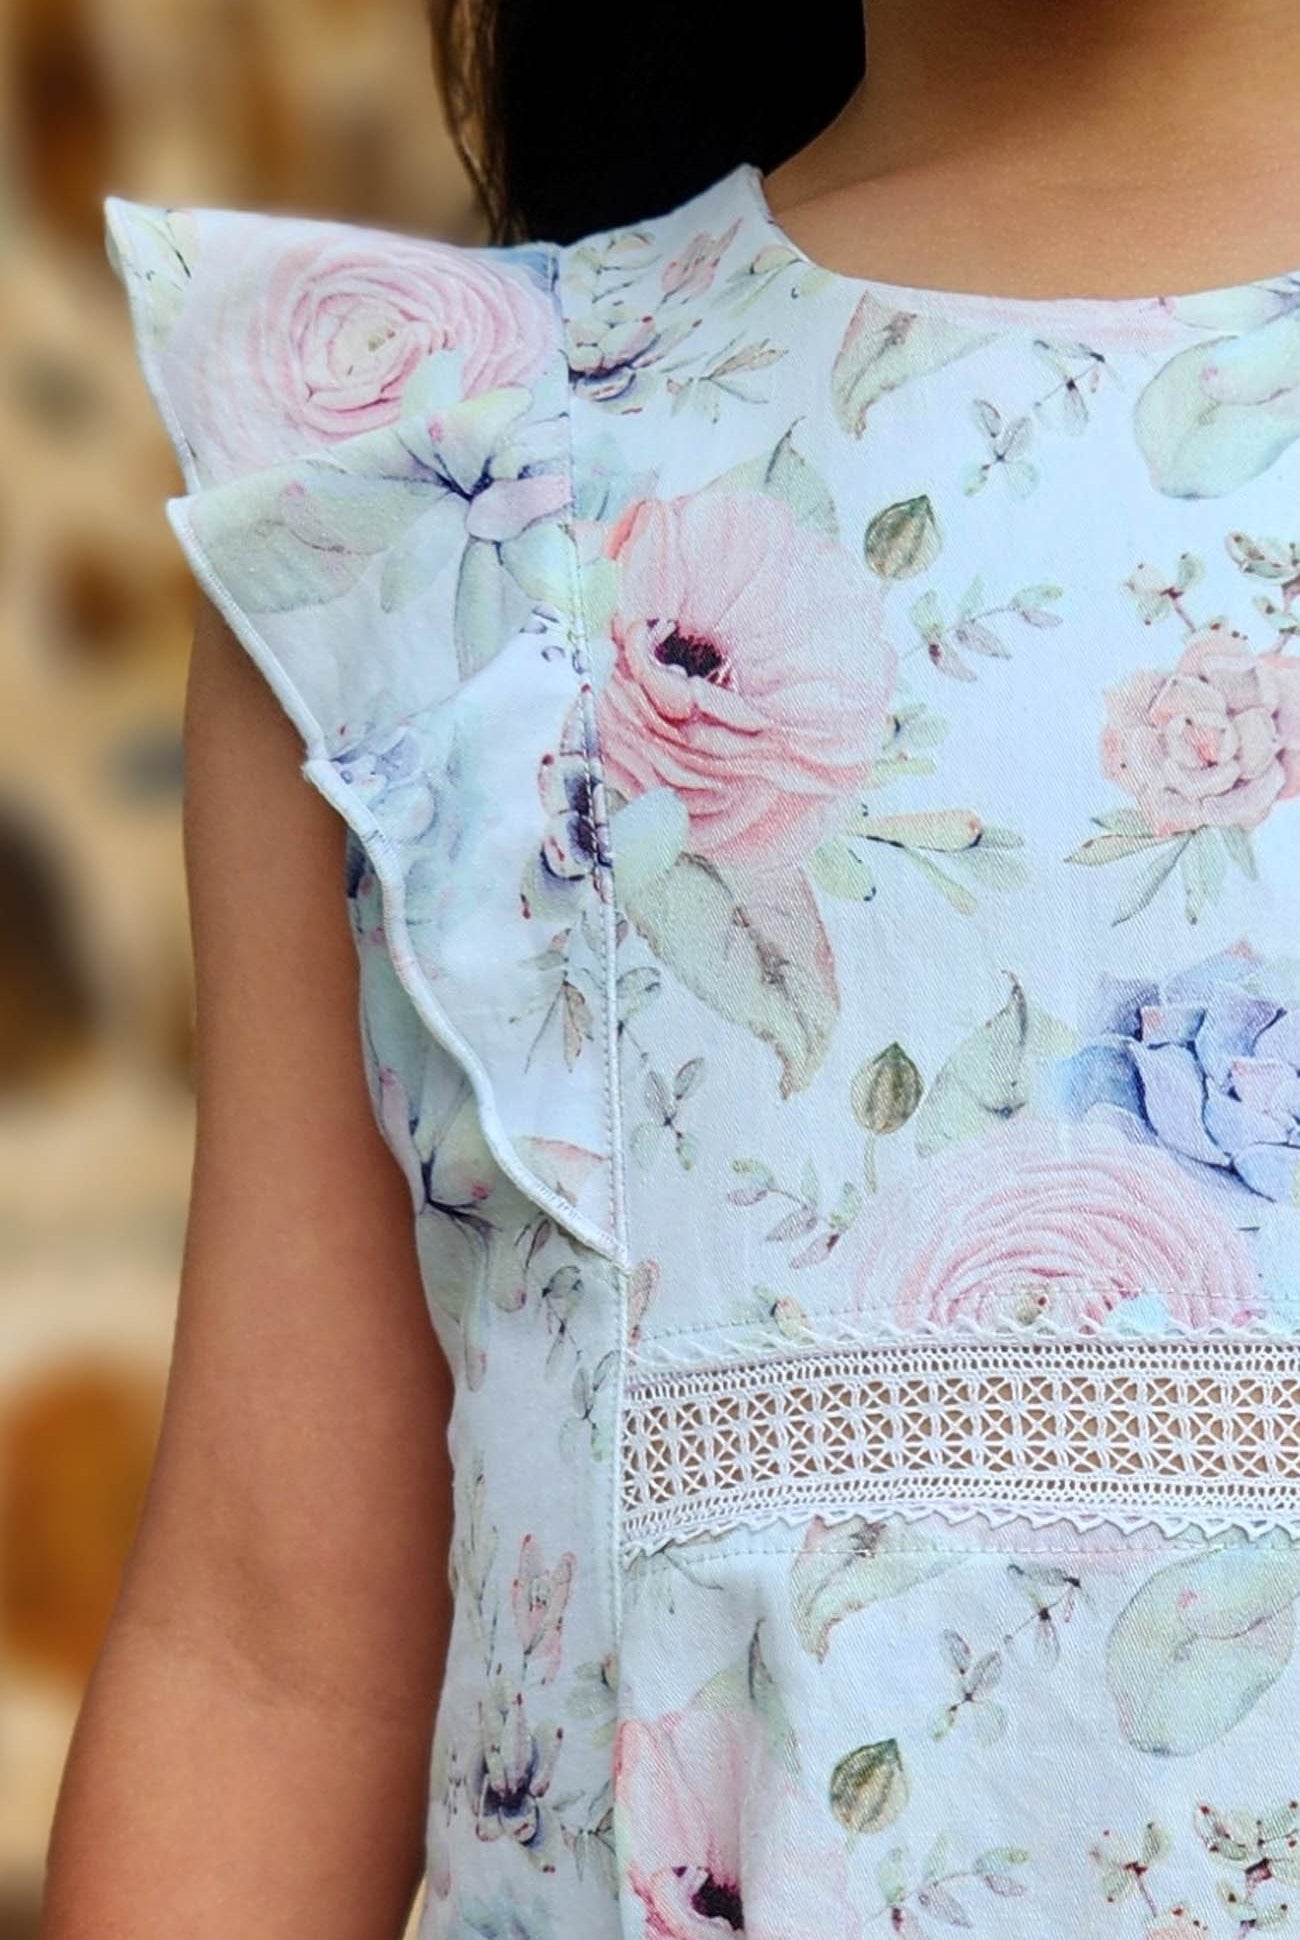
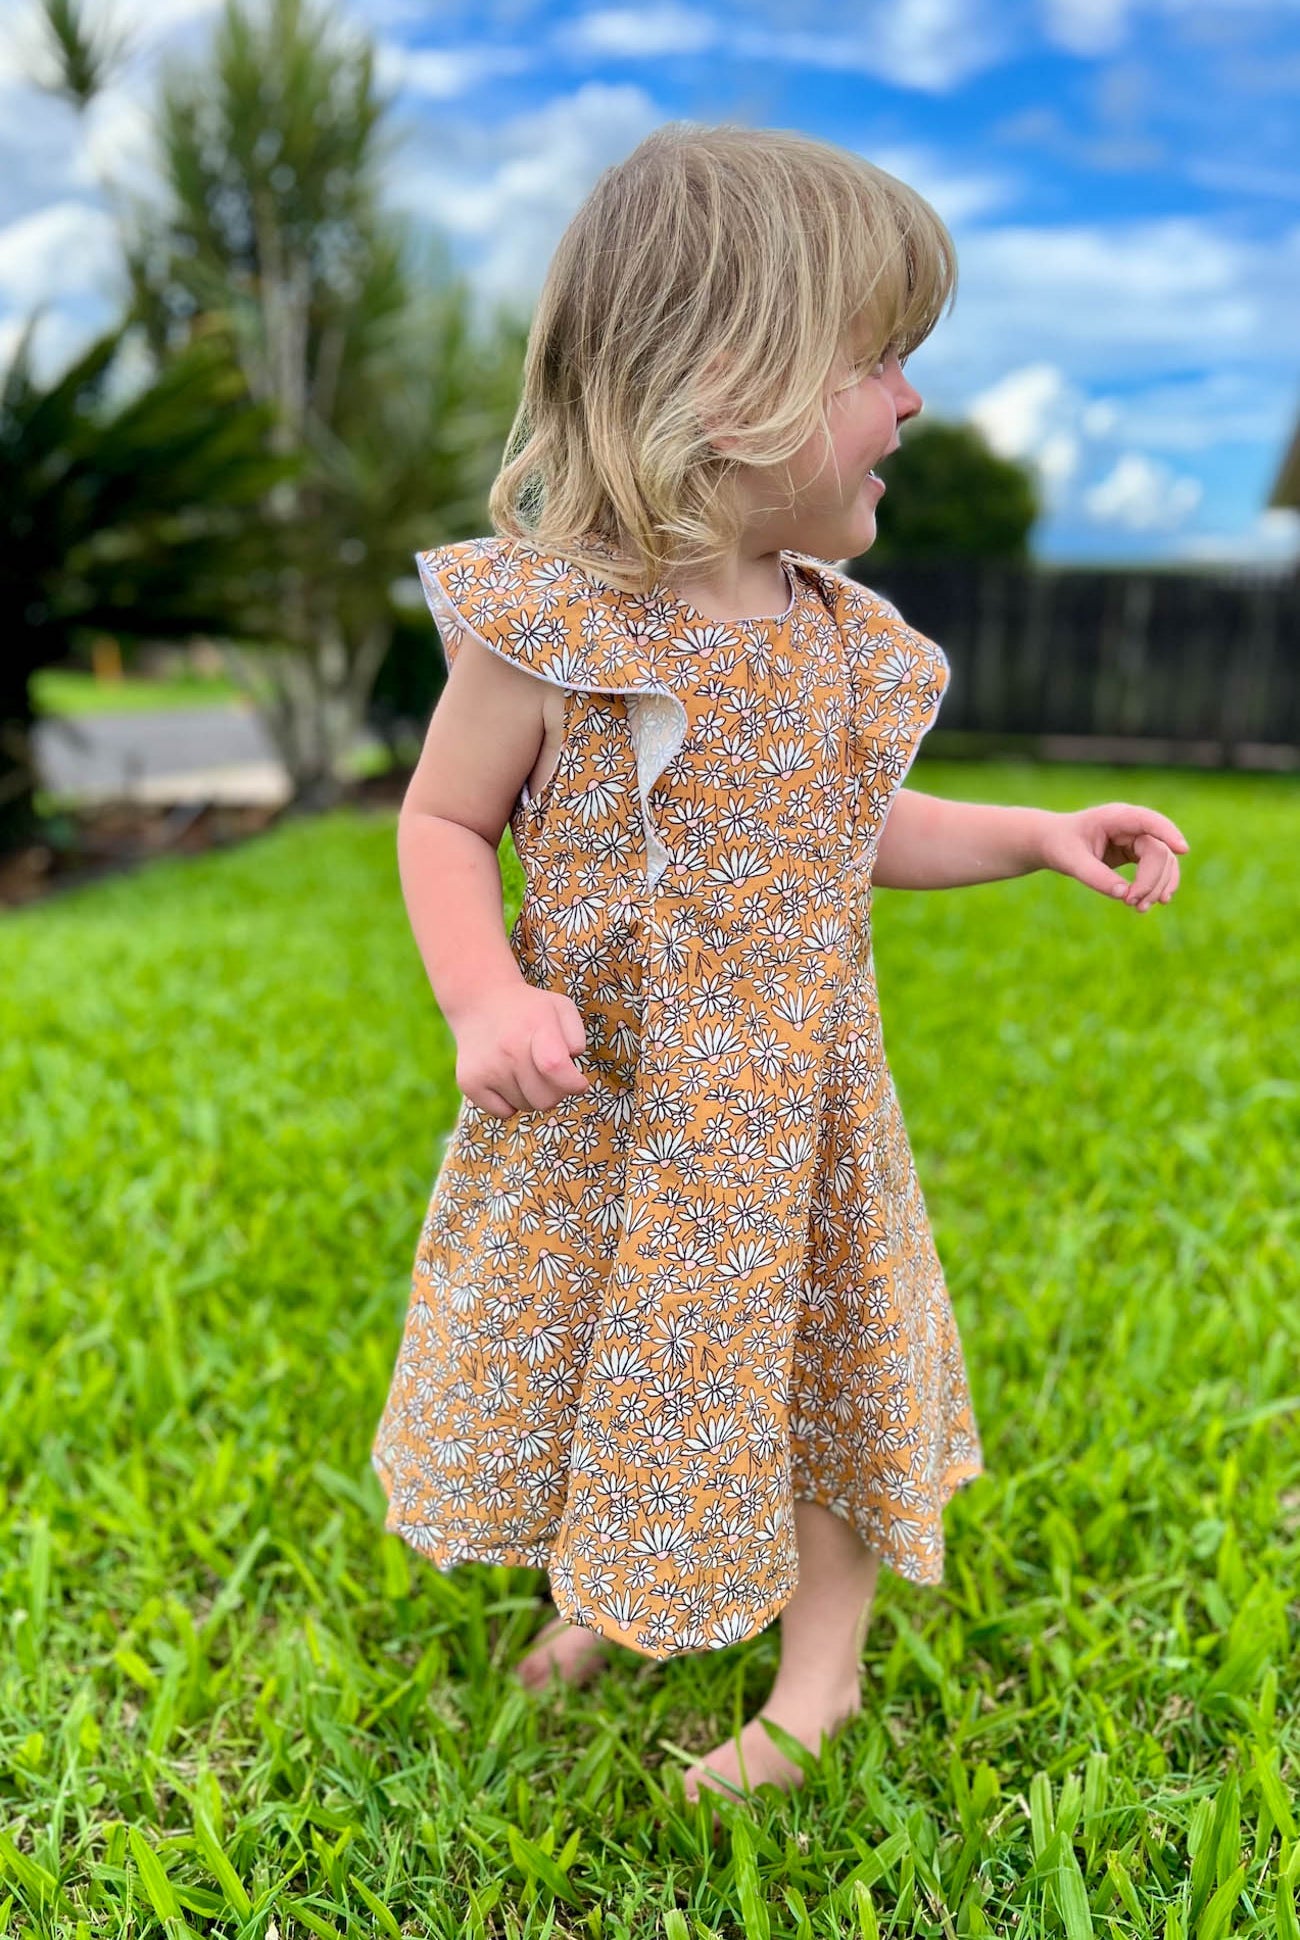
Ok, So onto todays steps! Step 4 is basically attaching the sleeve. I've broken it down into 3 videos to cover off marking your notches and pinning the sleeve together and then actually sewing/overlocking your sleeve on. I wanted to break it down because each of these steps are equally important to achieving a good sleeve attachment.
So, lets start with prepping the sleeve
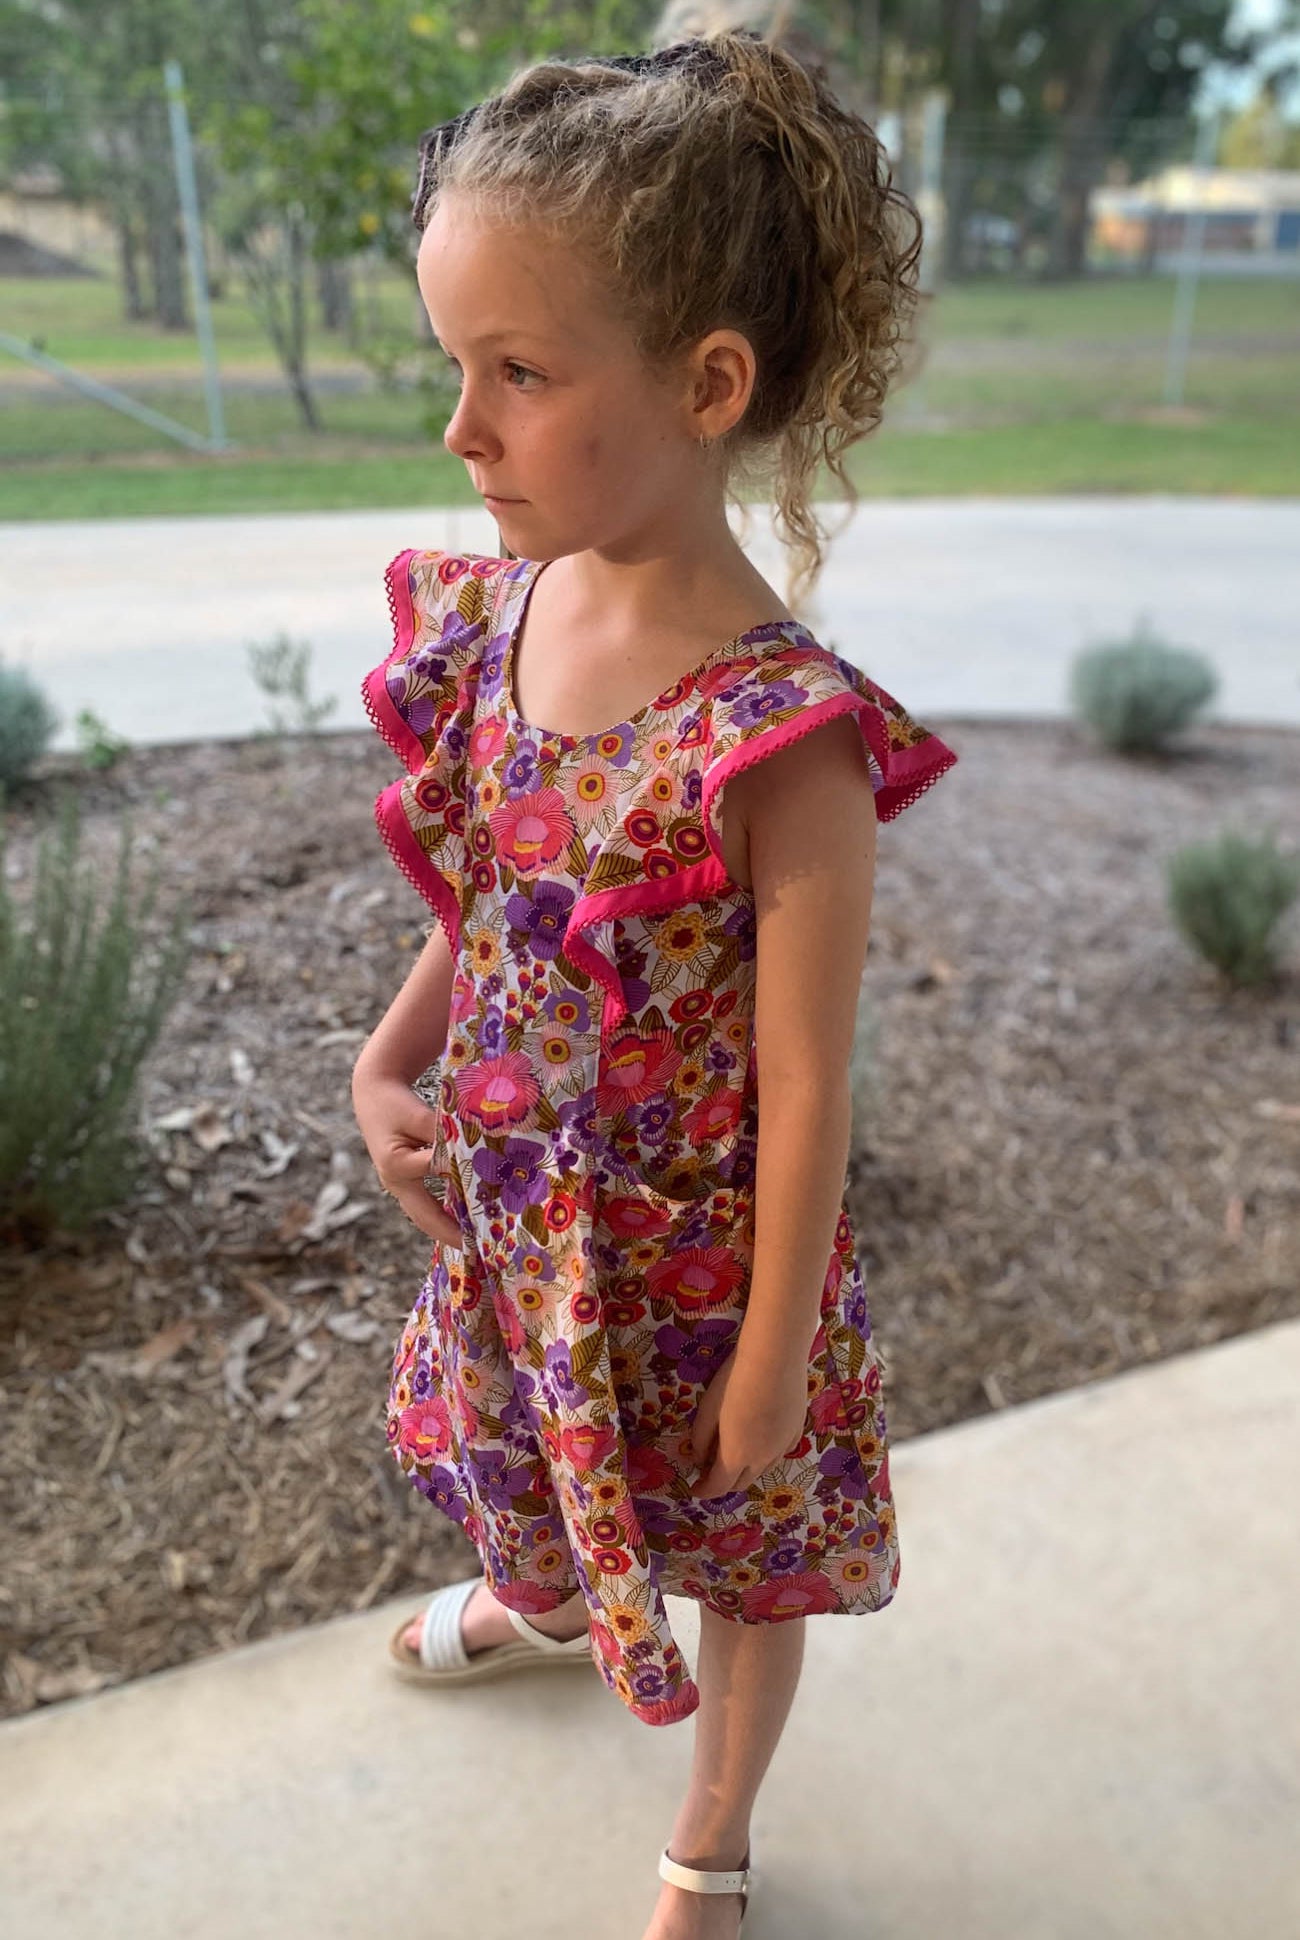
Then lets pin the sleeve onto the bodice
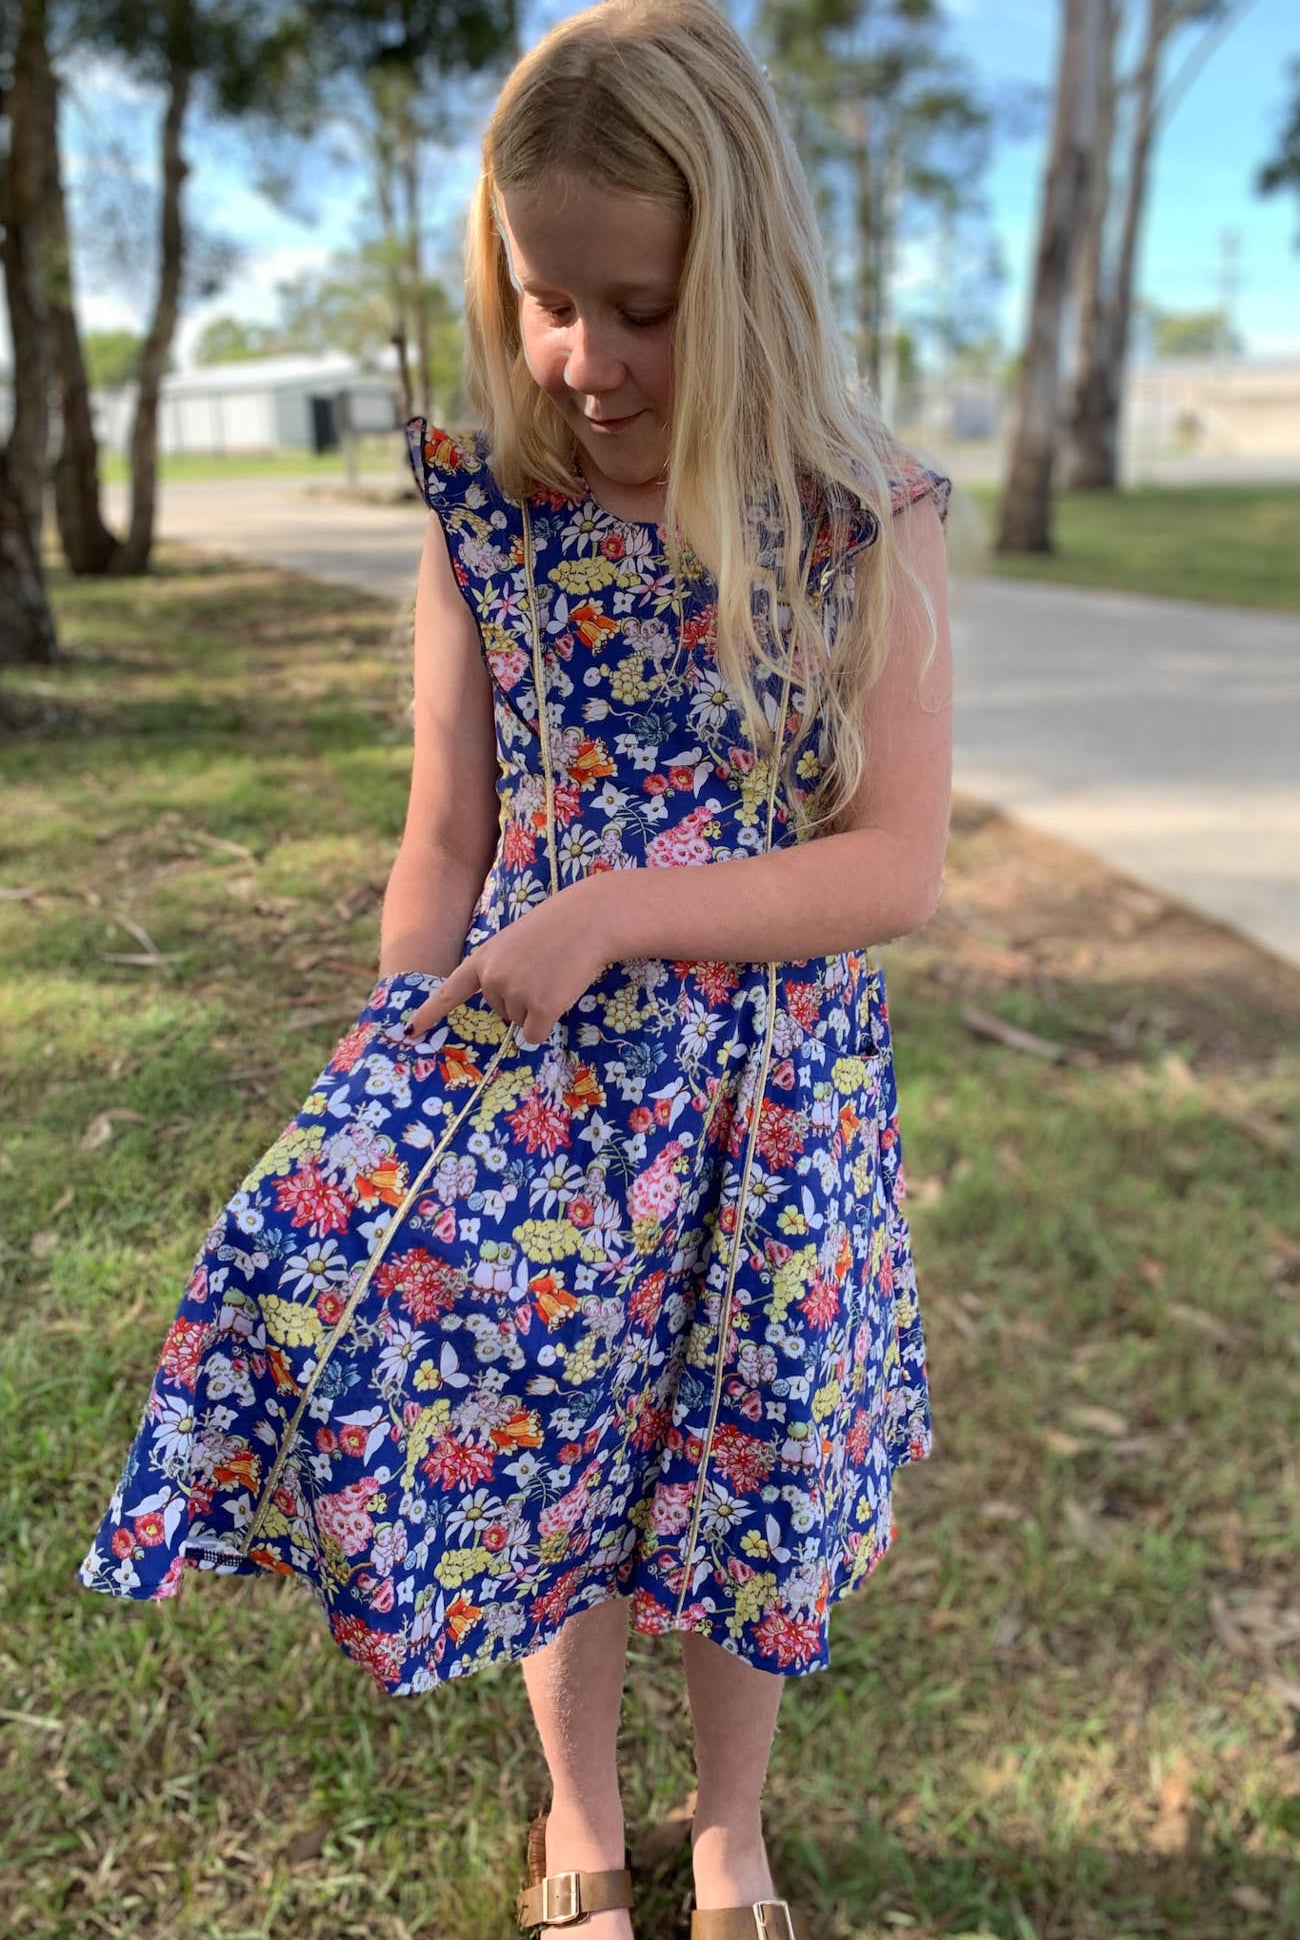
Then lets overlock or sew that sleeve on!
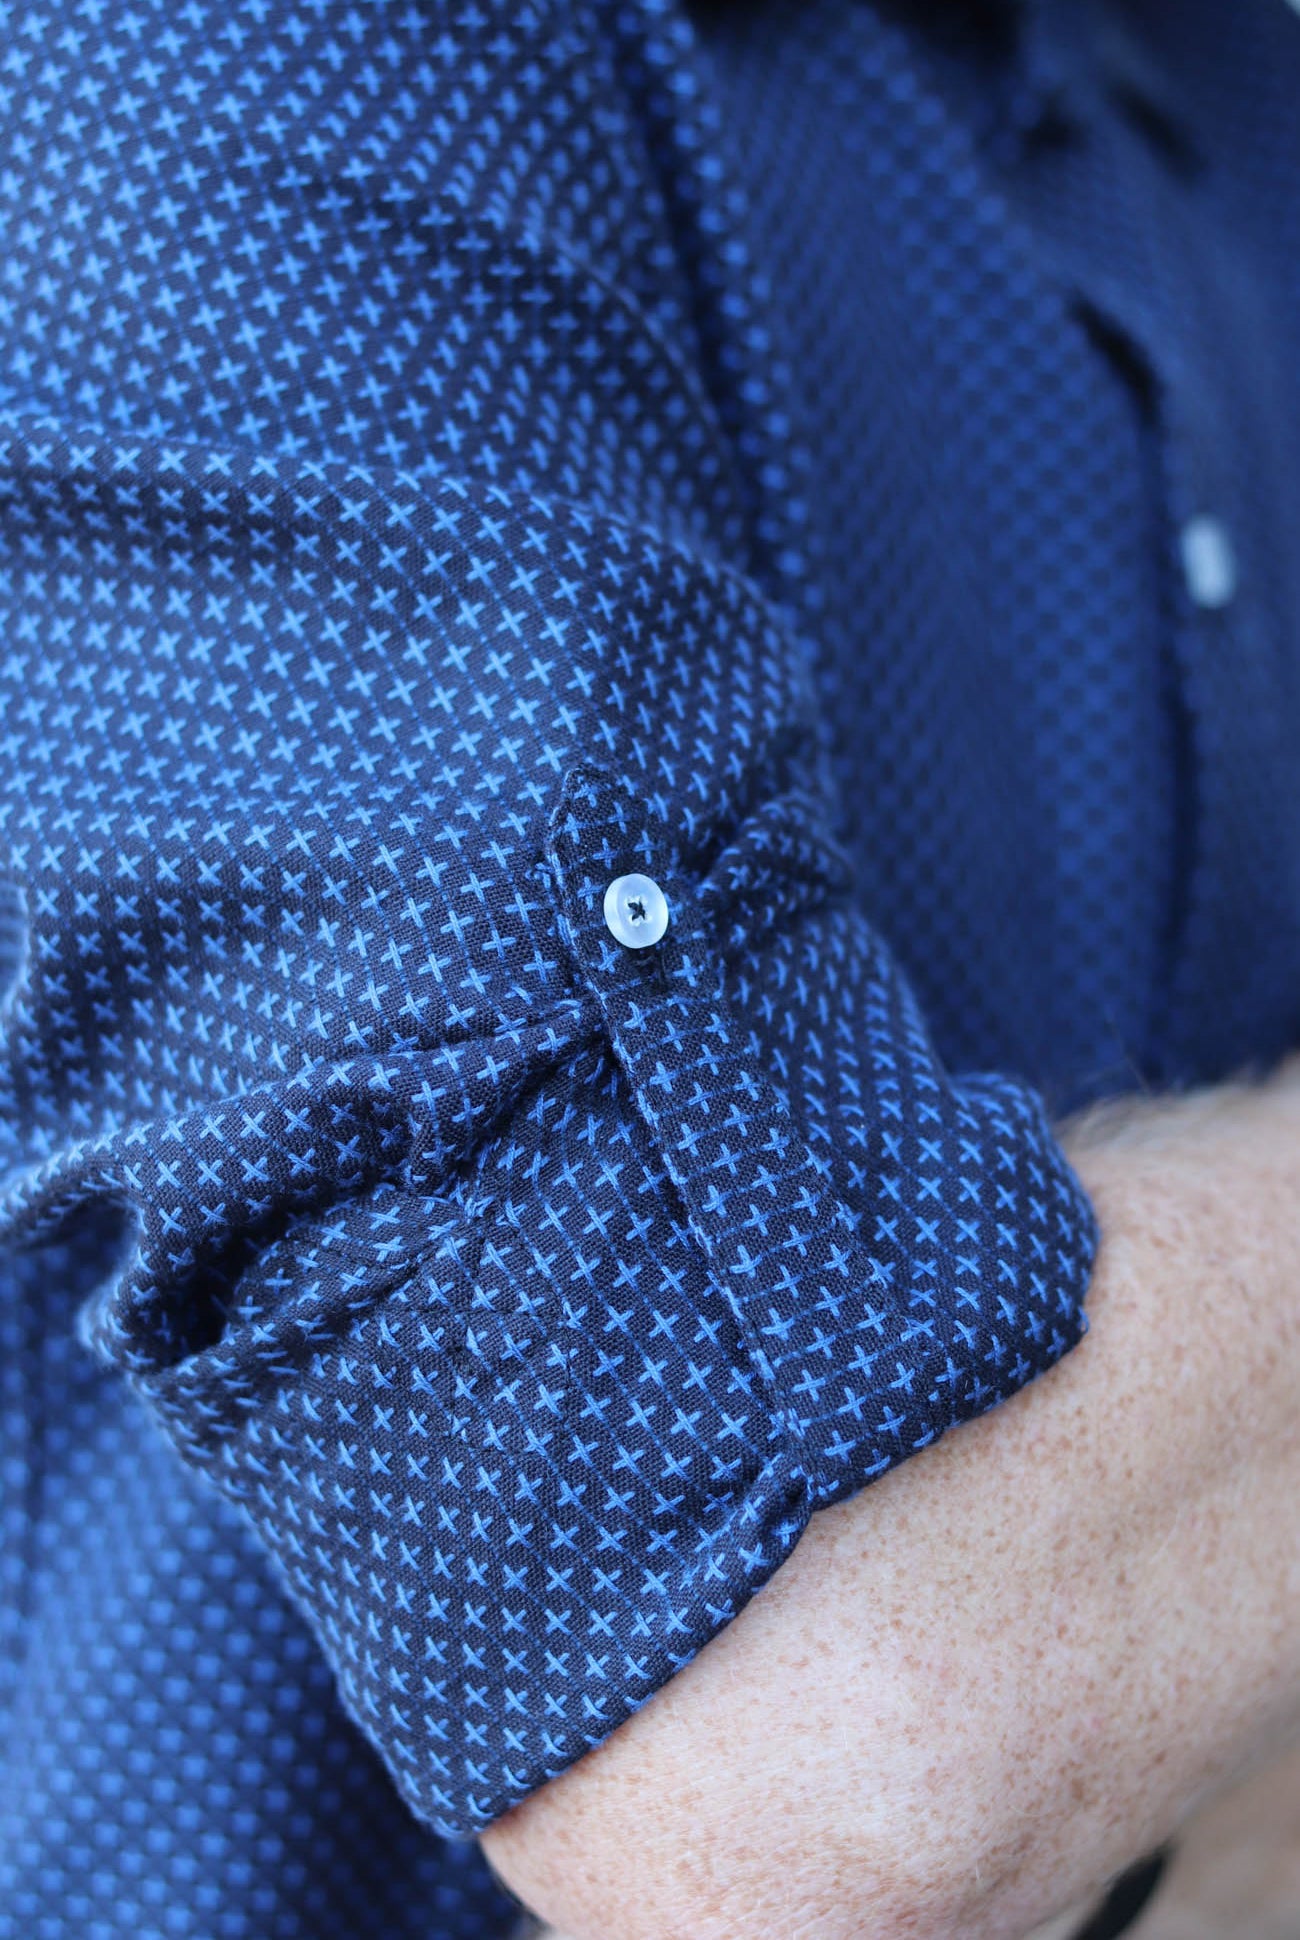
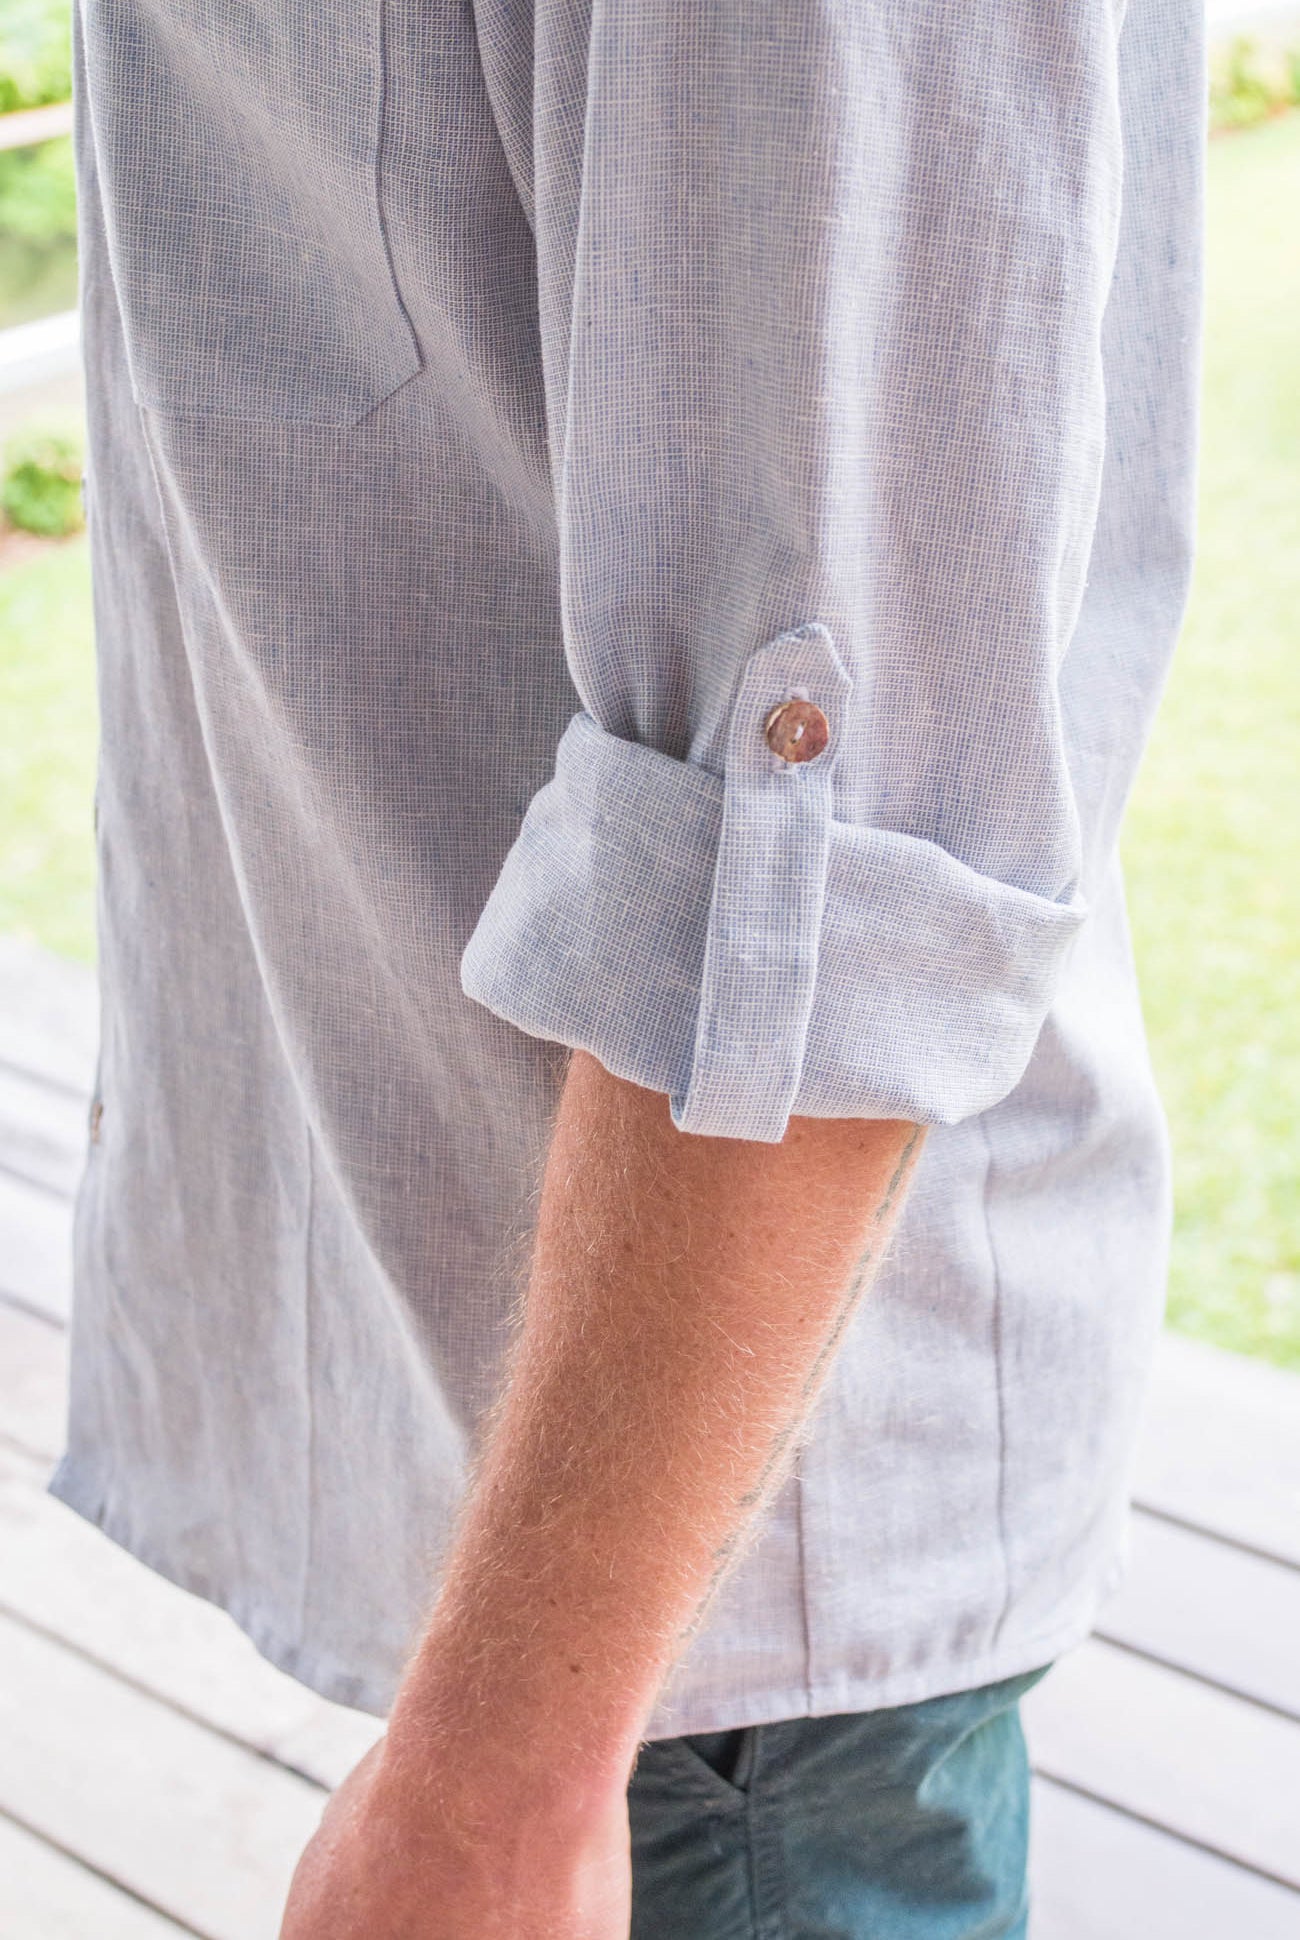
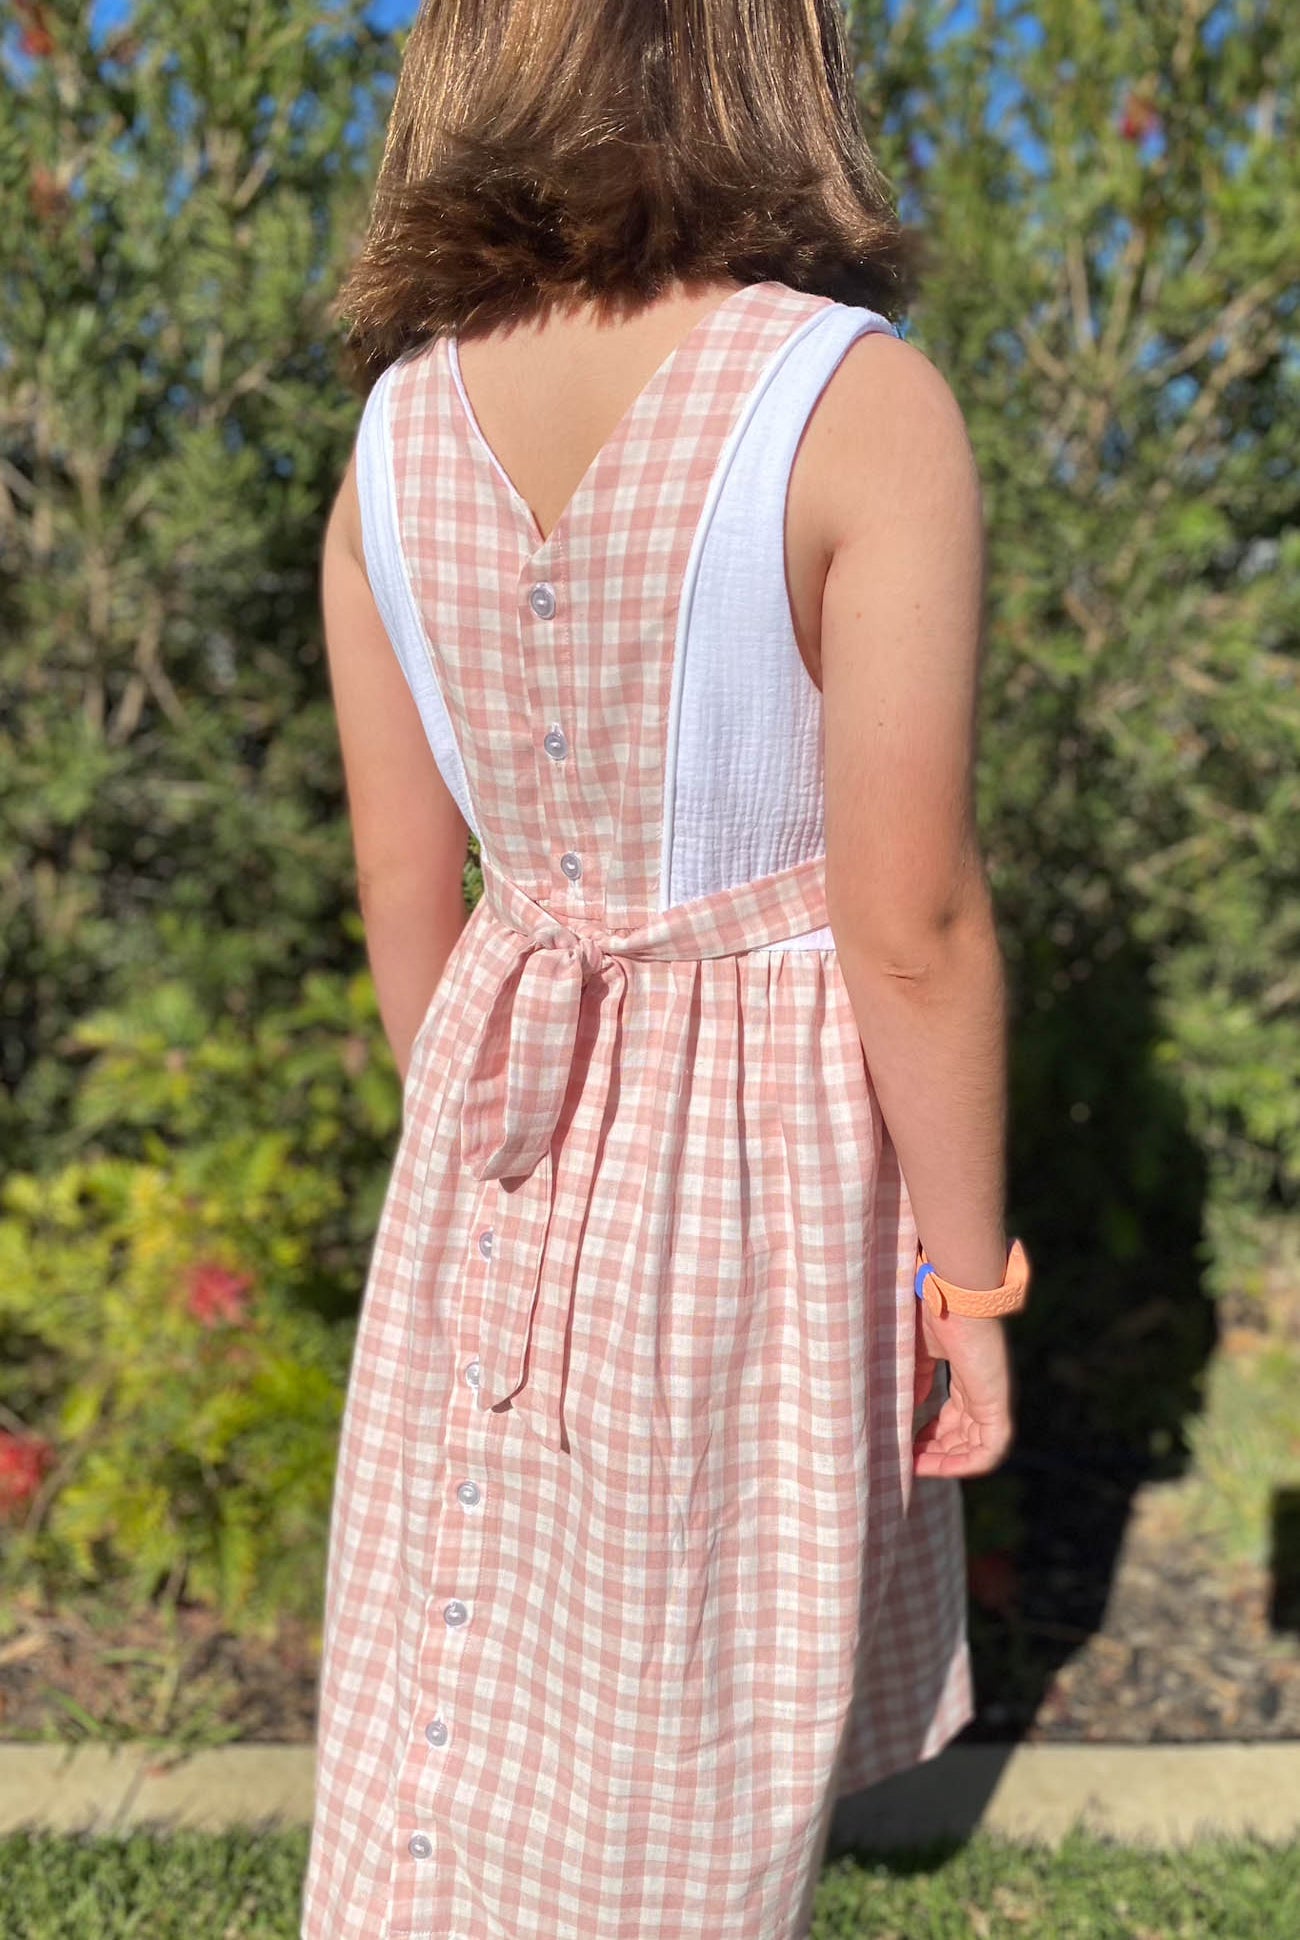
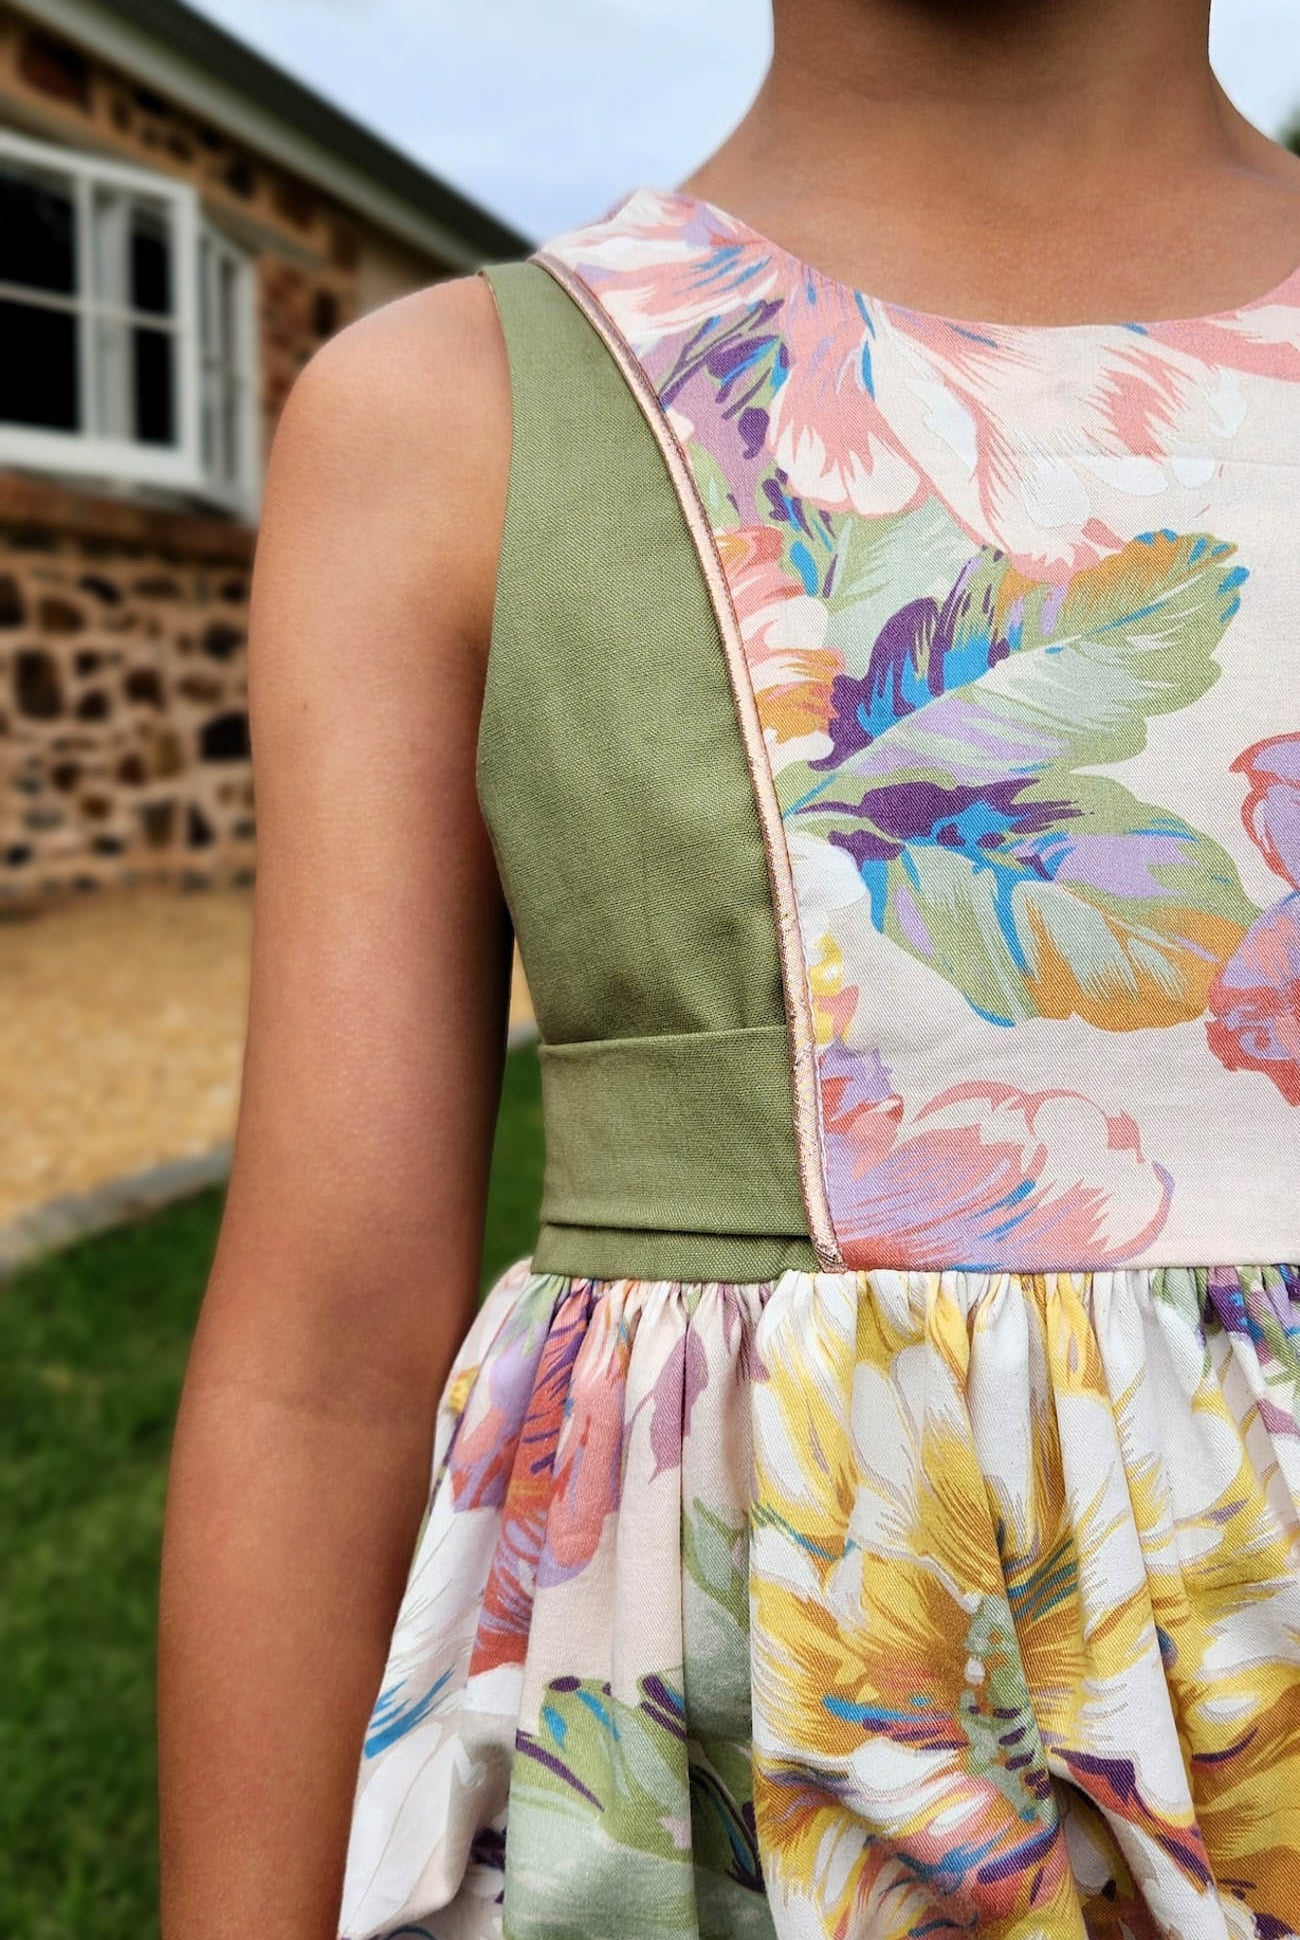
Once we're done with that, repeat it for the other sleeve and lets move onto the side seams and how to secure the overlocking at the wrist cuffs.
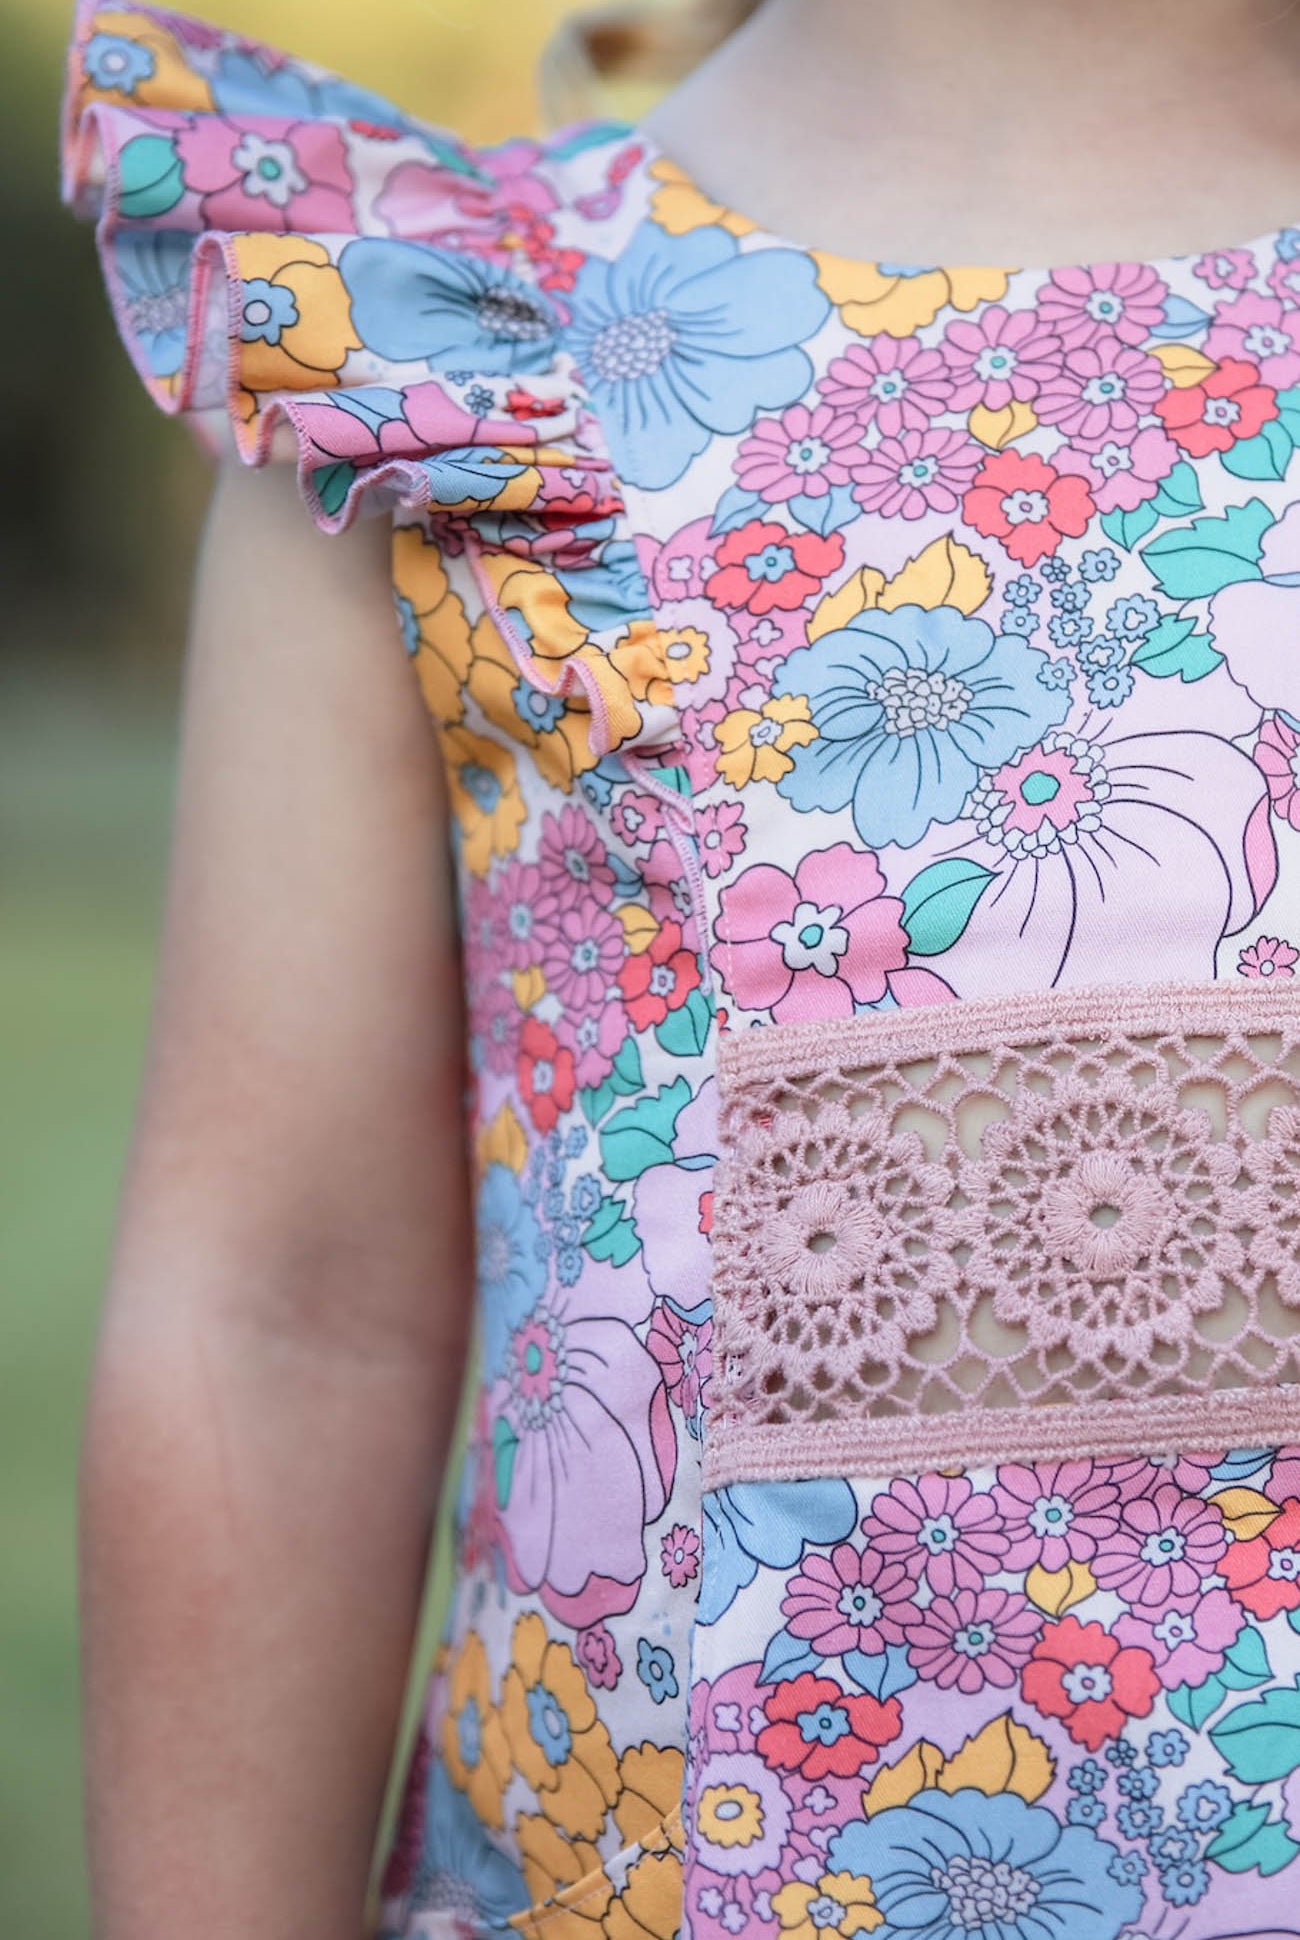
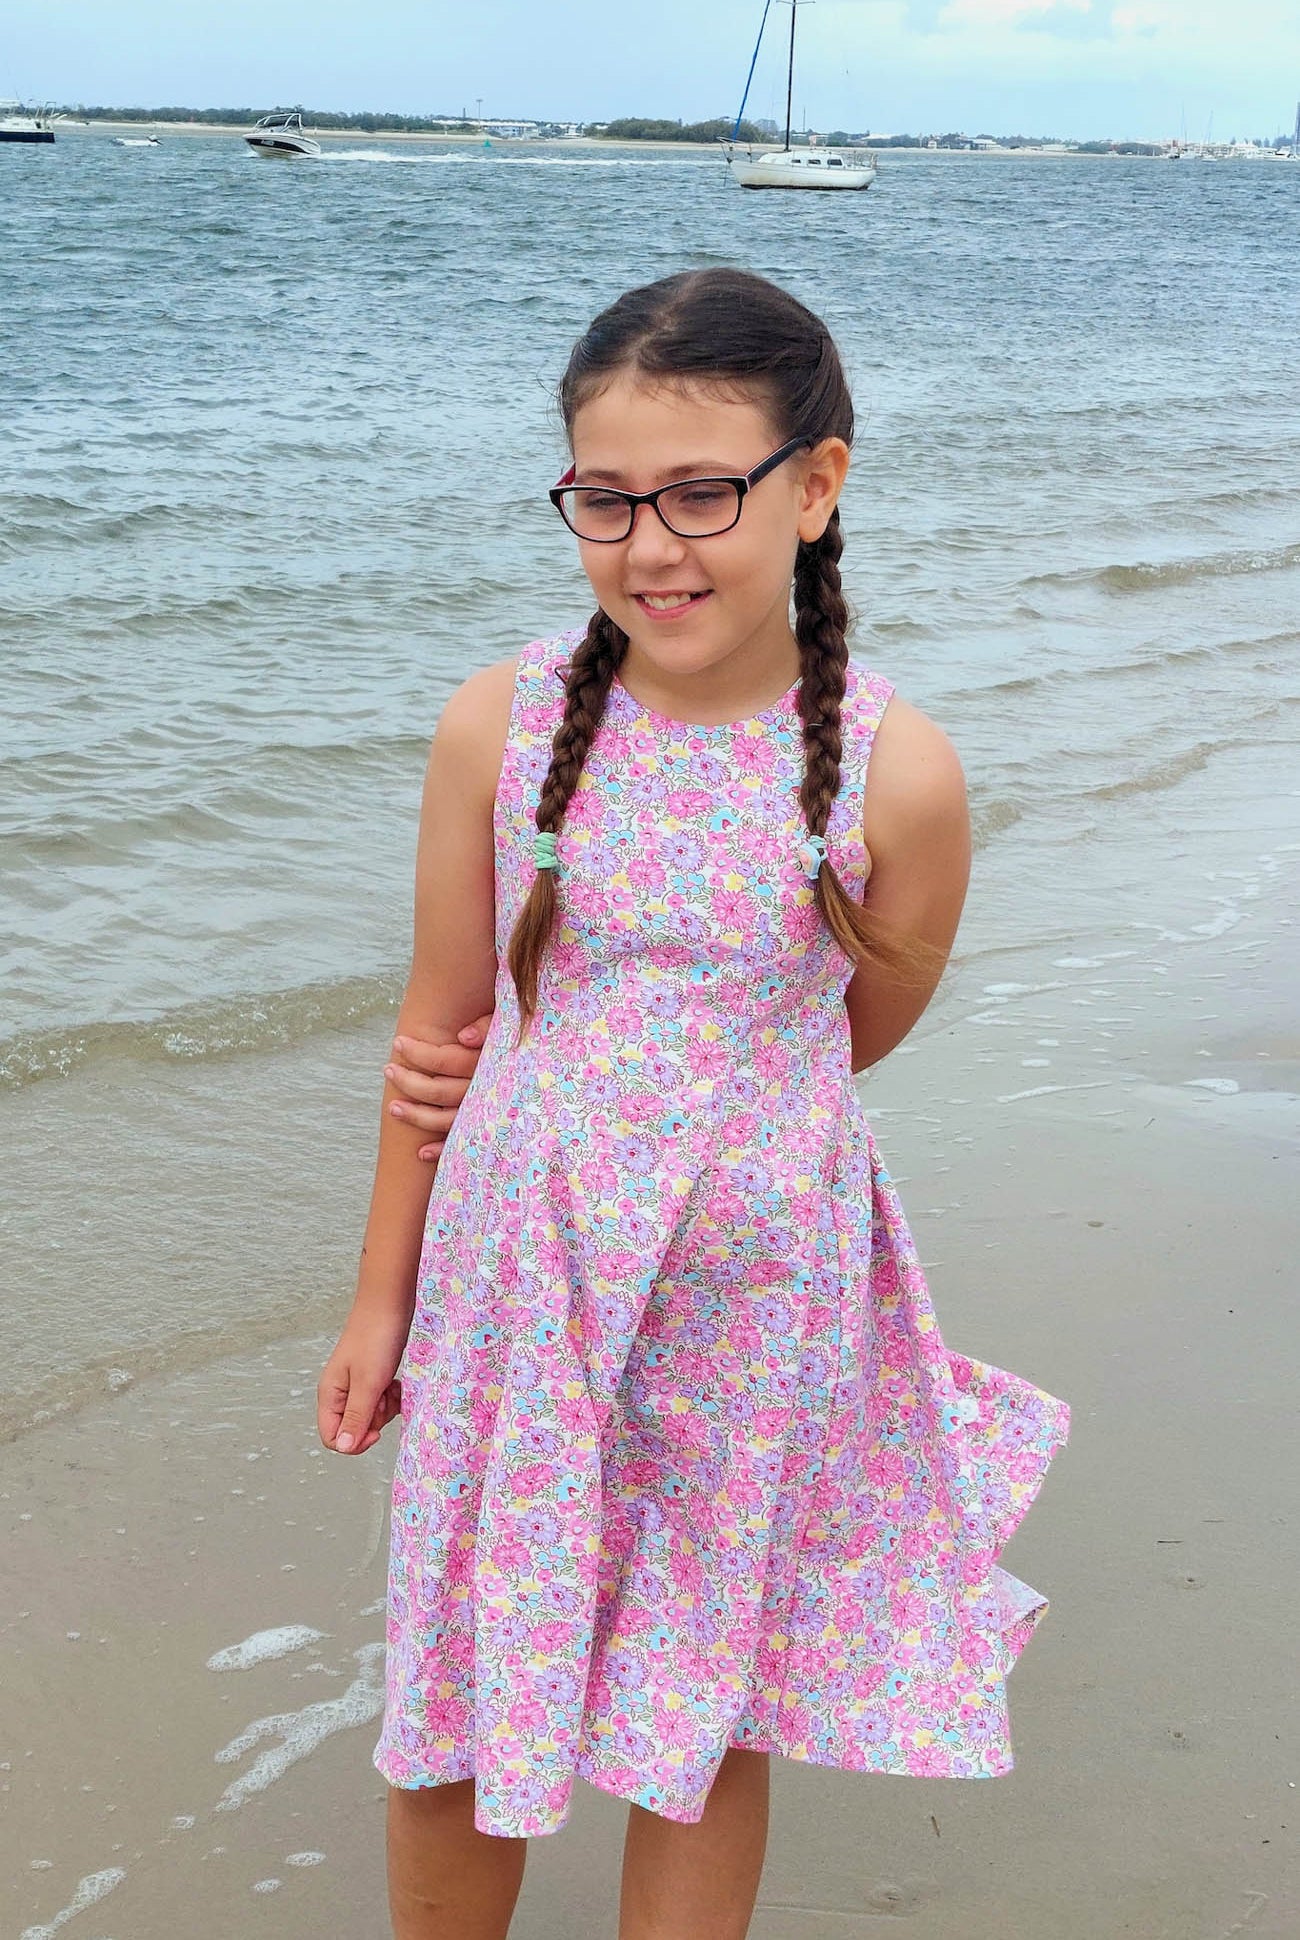
Repeat for the other side and we're DONE! I can't believe how long that took me today - I had the most insane internet issues! I think I'll go to a library tomorrow and upload from there!!
Happy Sewing and apologies for the lateness
T xx