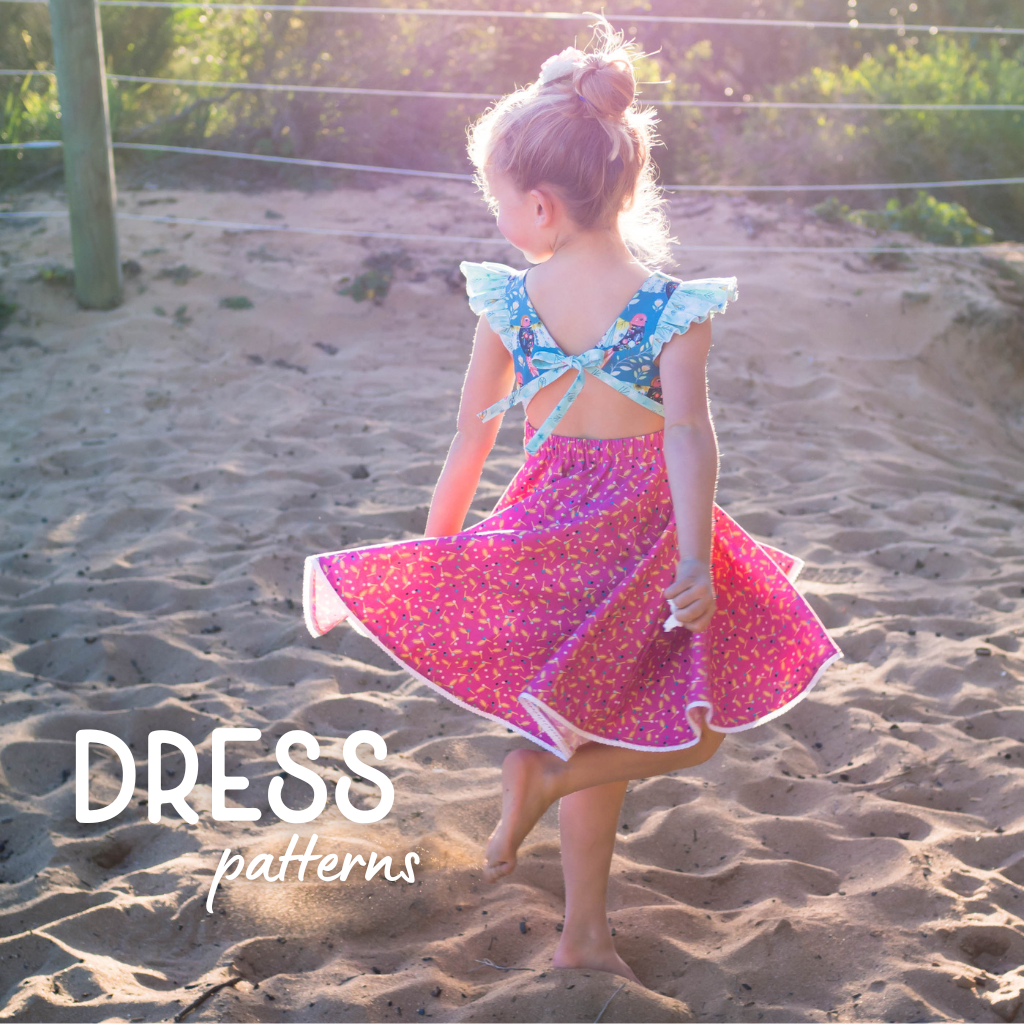
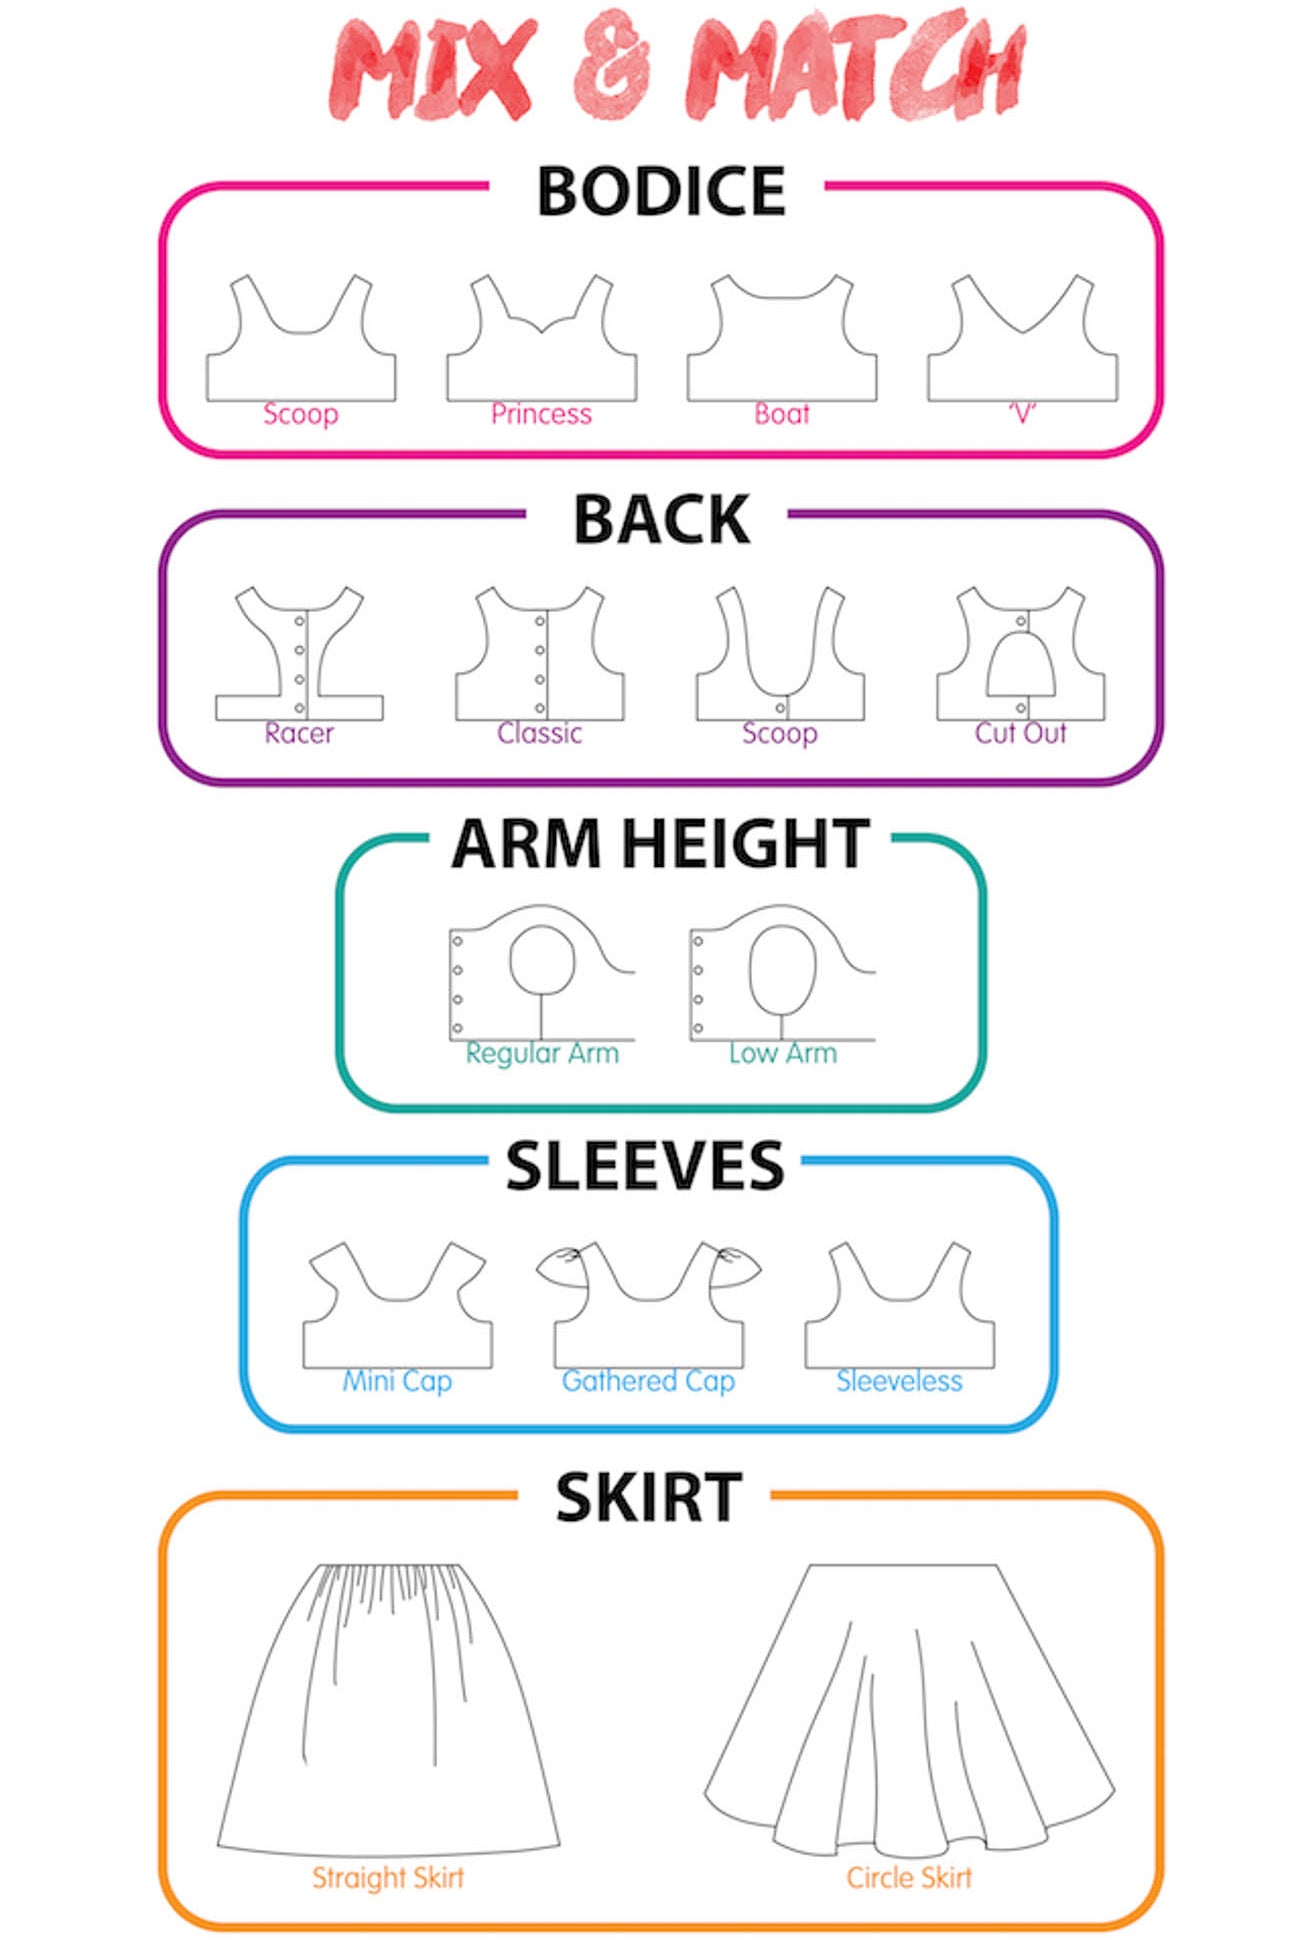
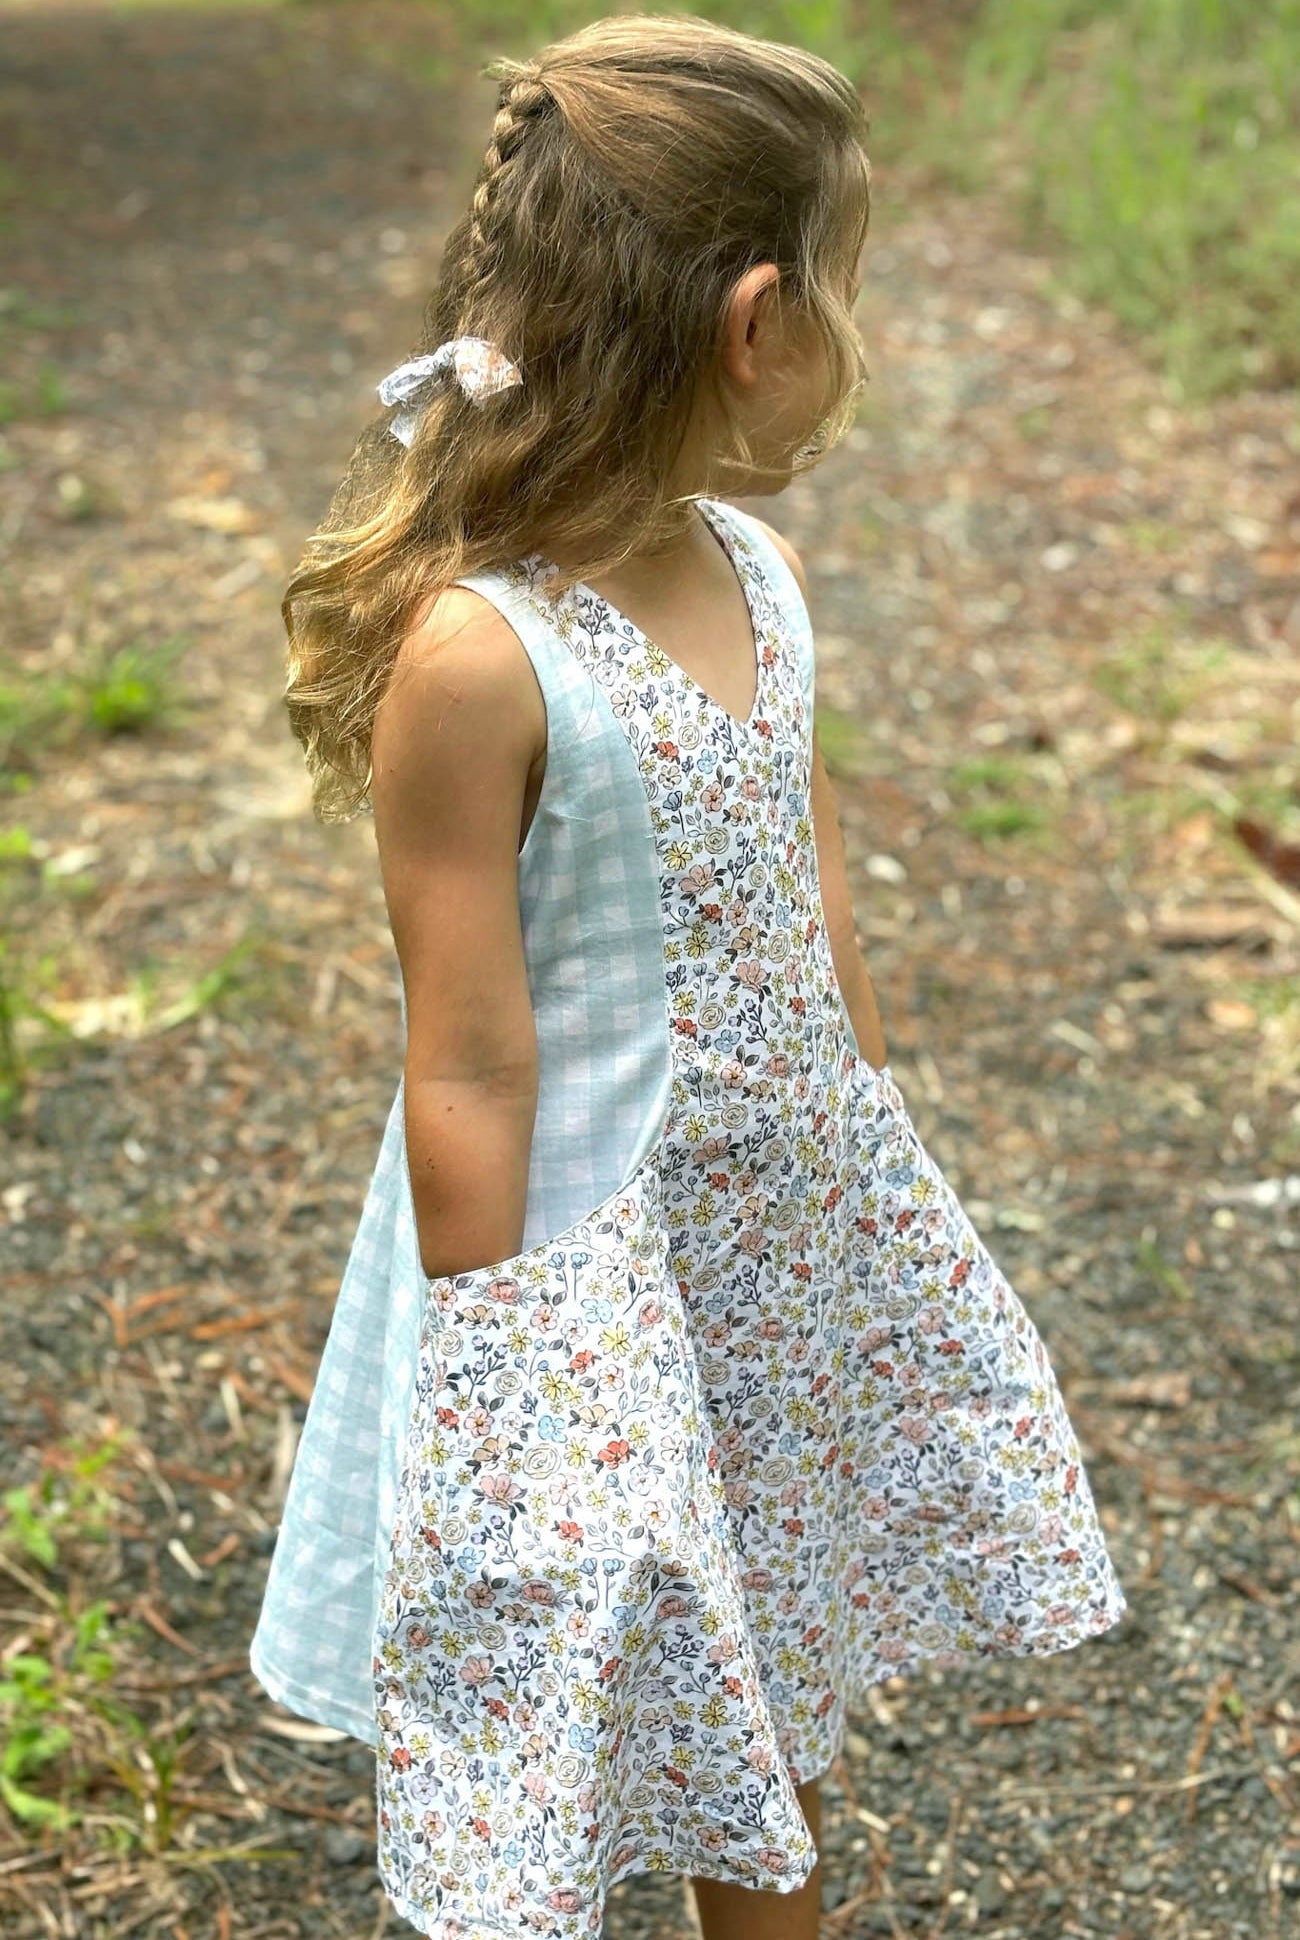
Today we will be constructing the bodice. I'll be covering:
* adding a sleeve the tricky method and a totally non enclosed method that isn't in the pattern (later tonight)
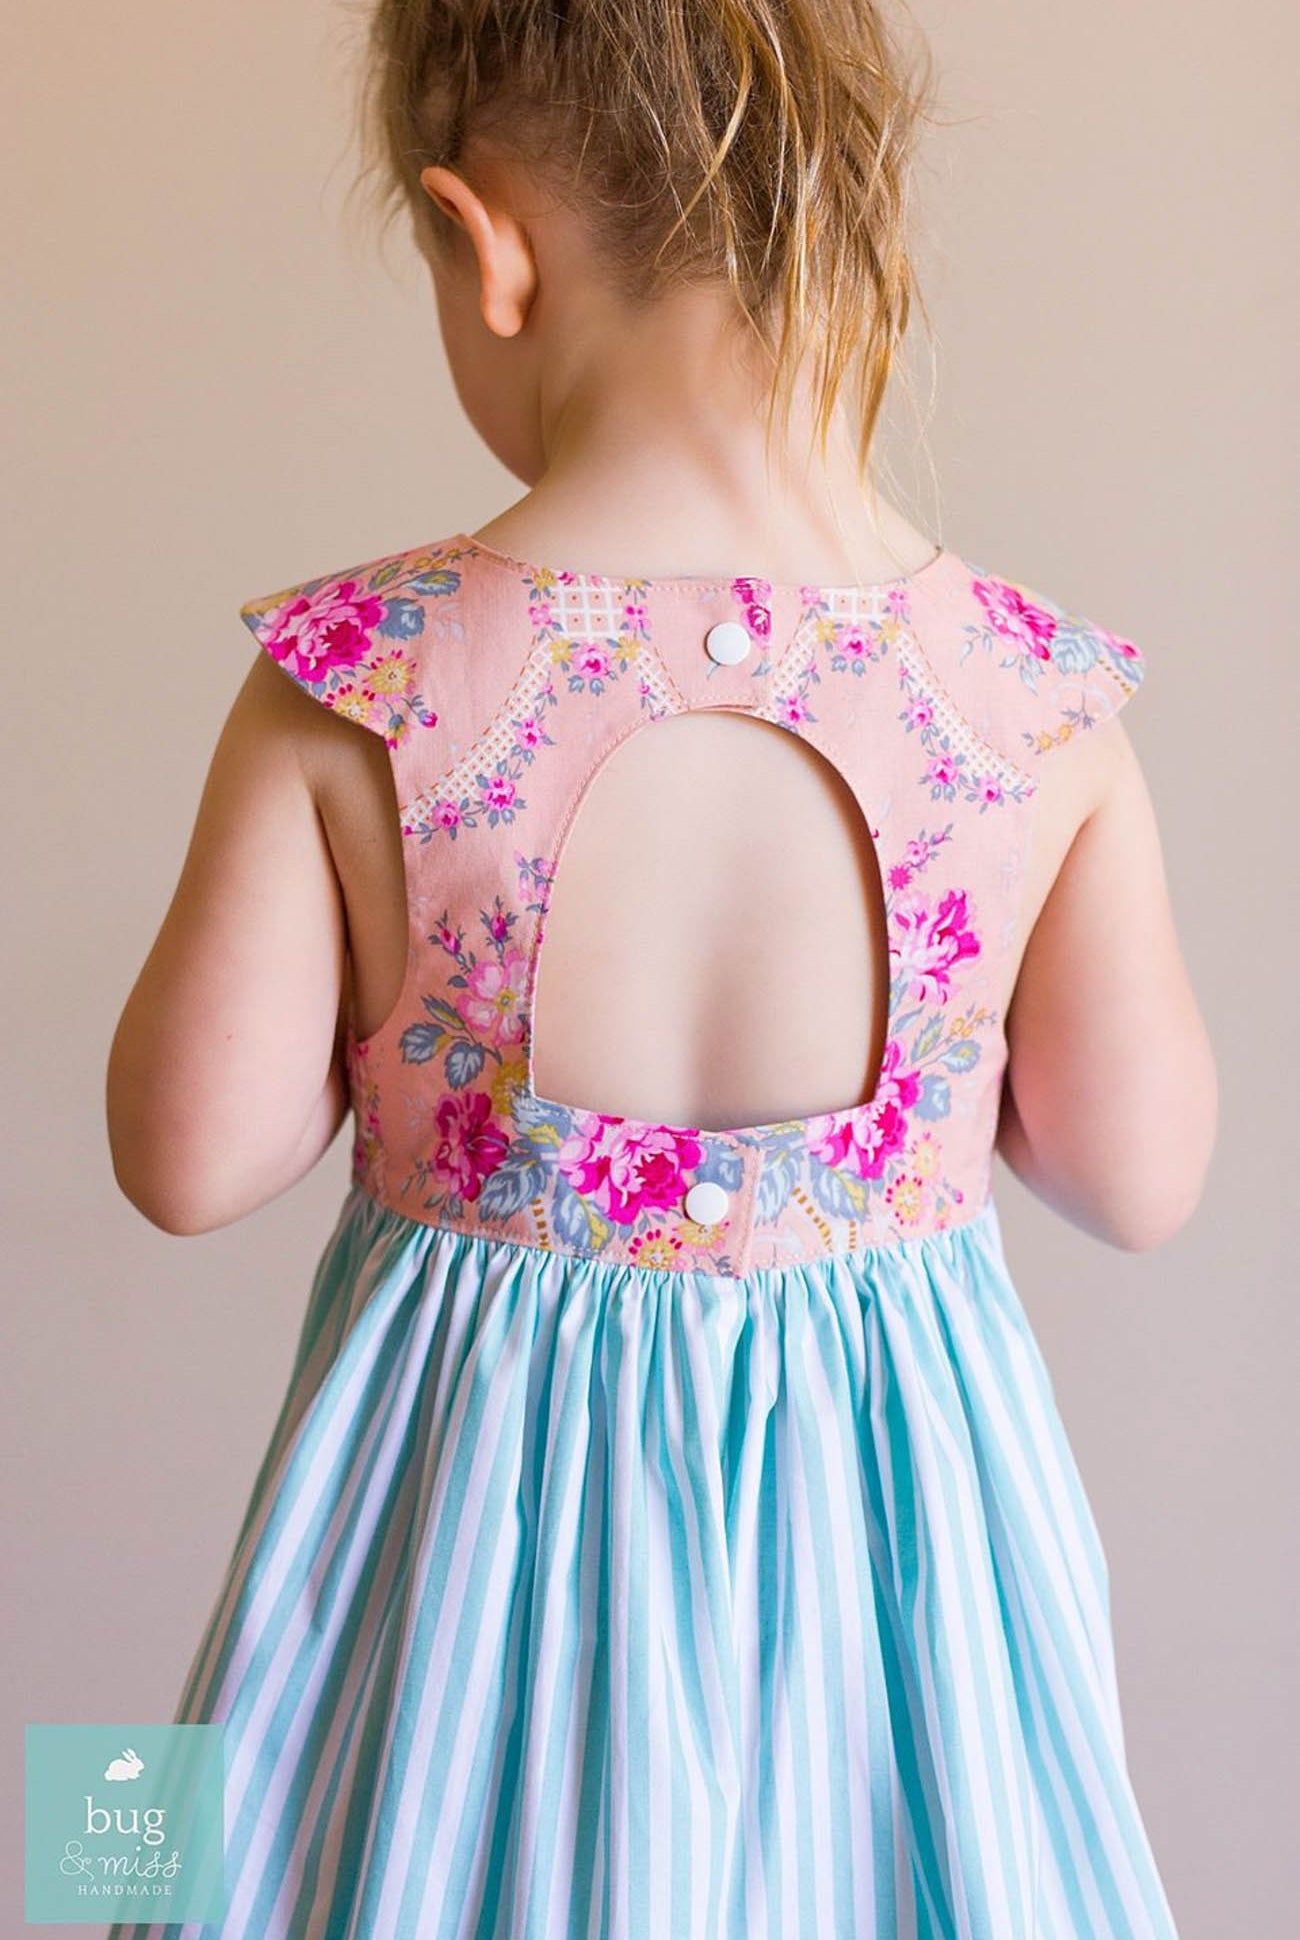
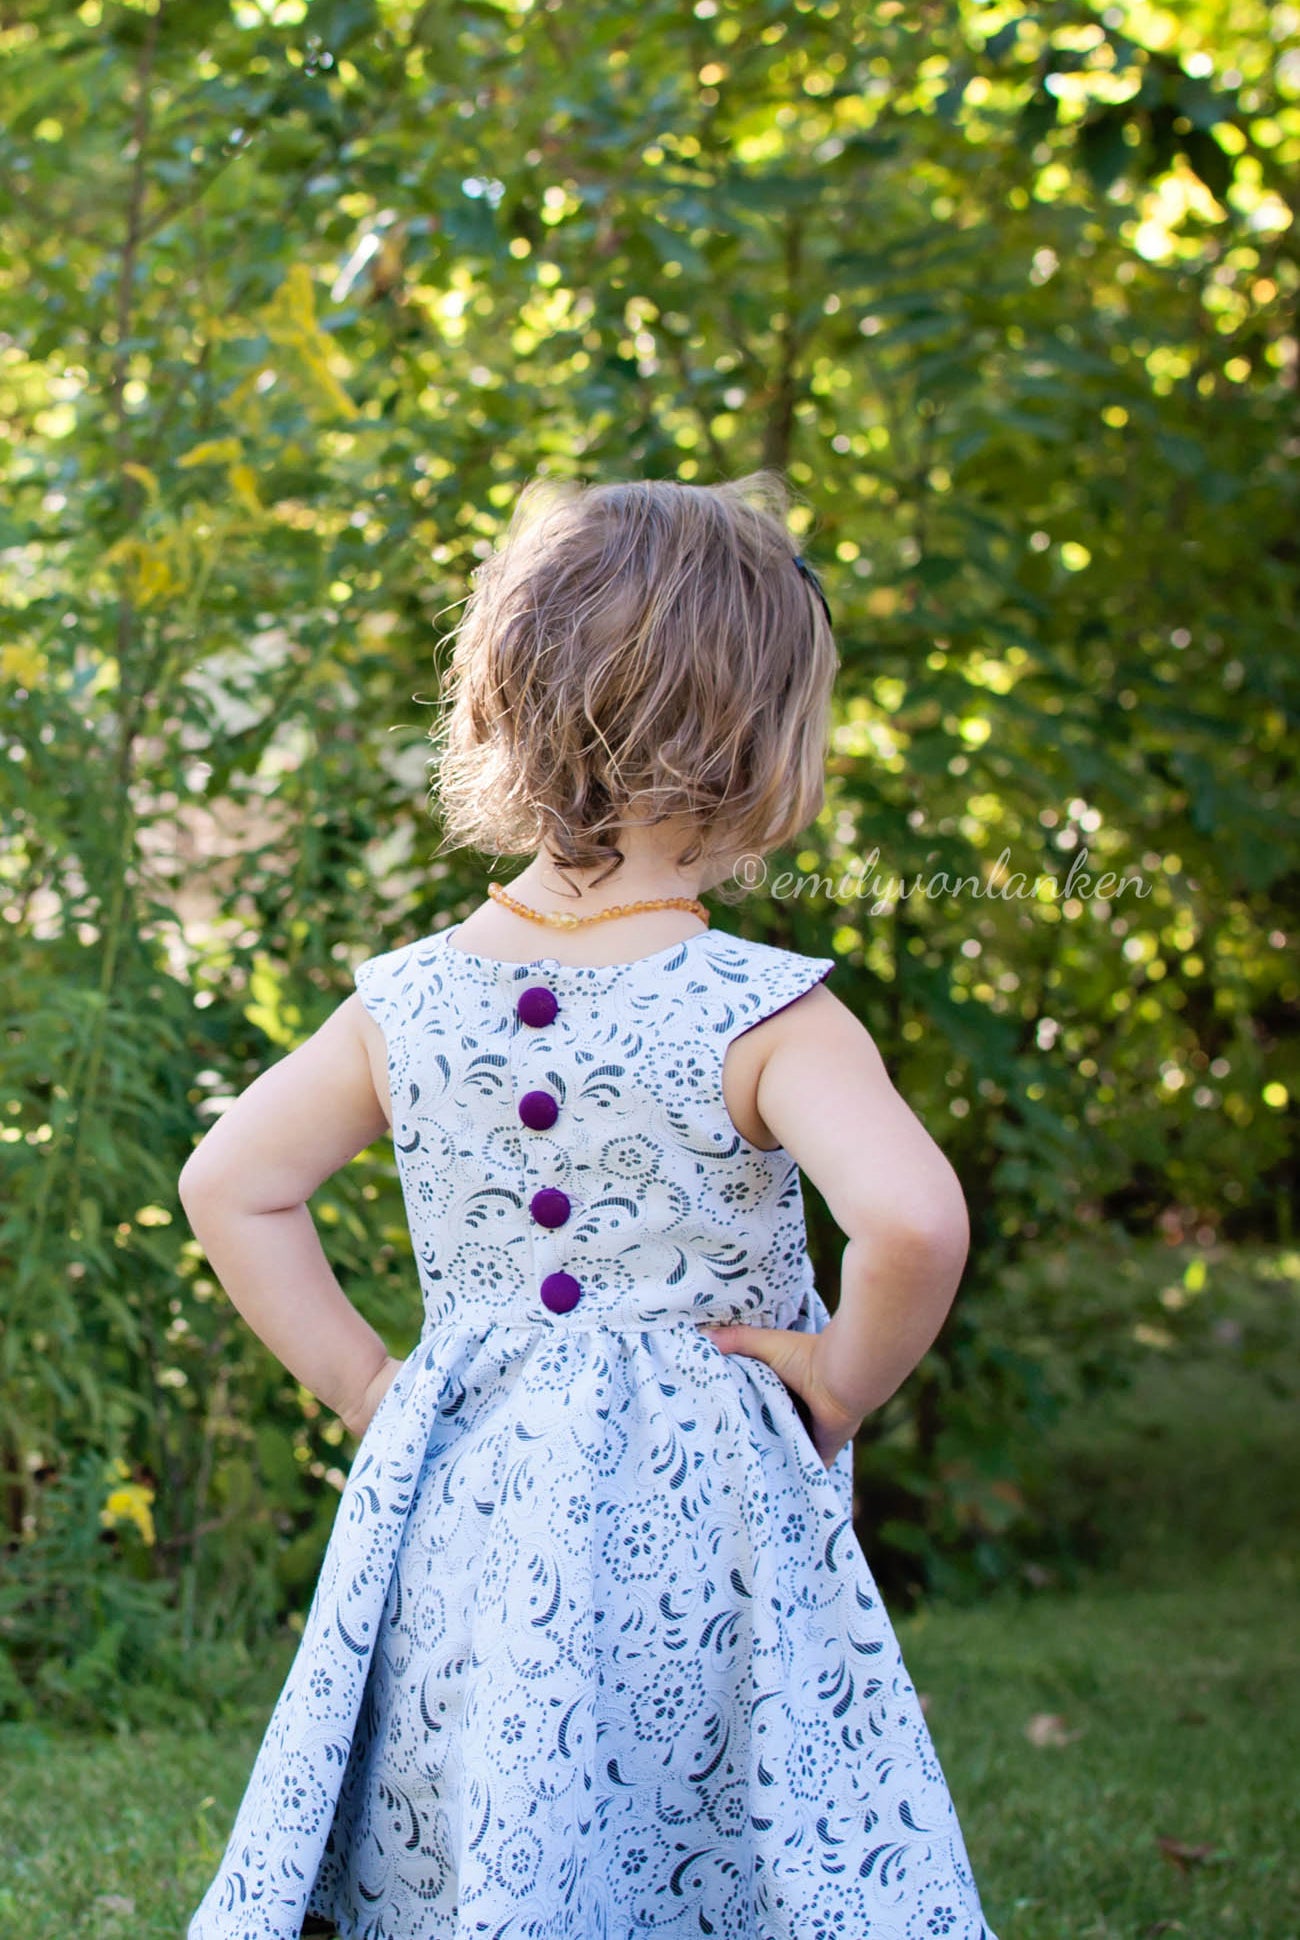
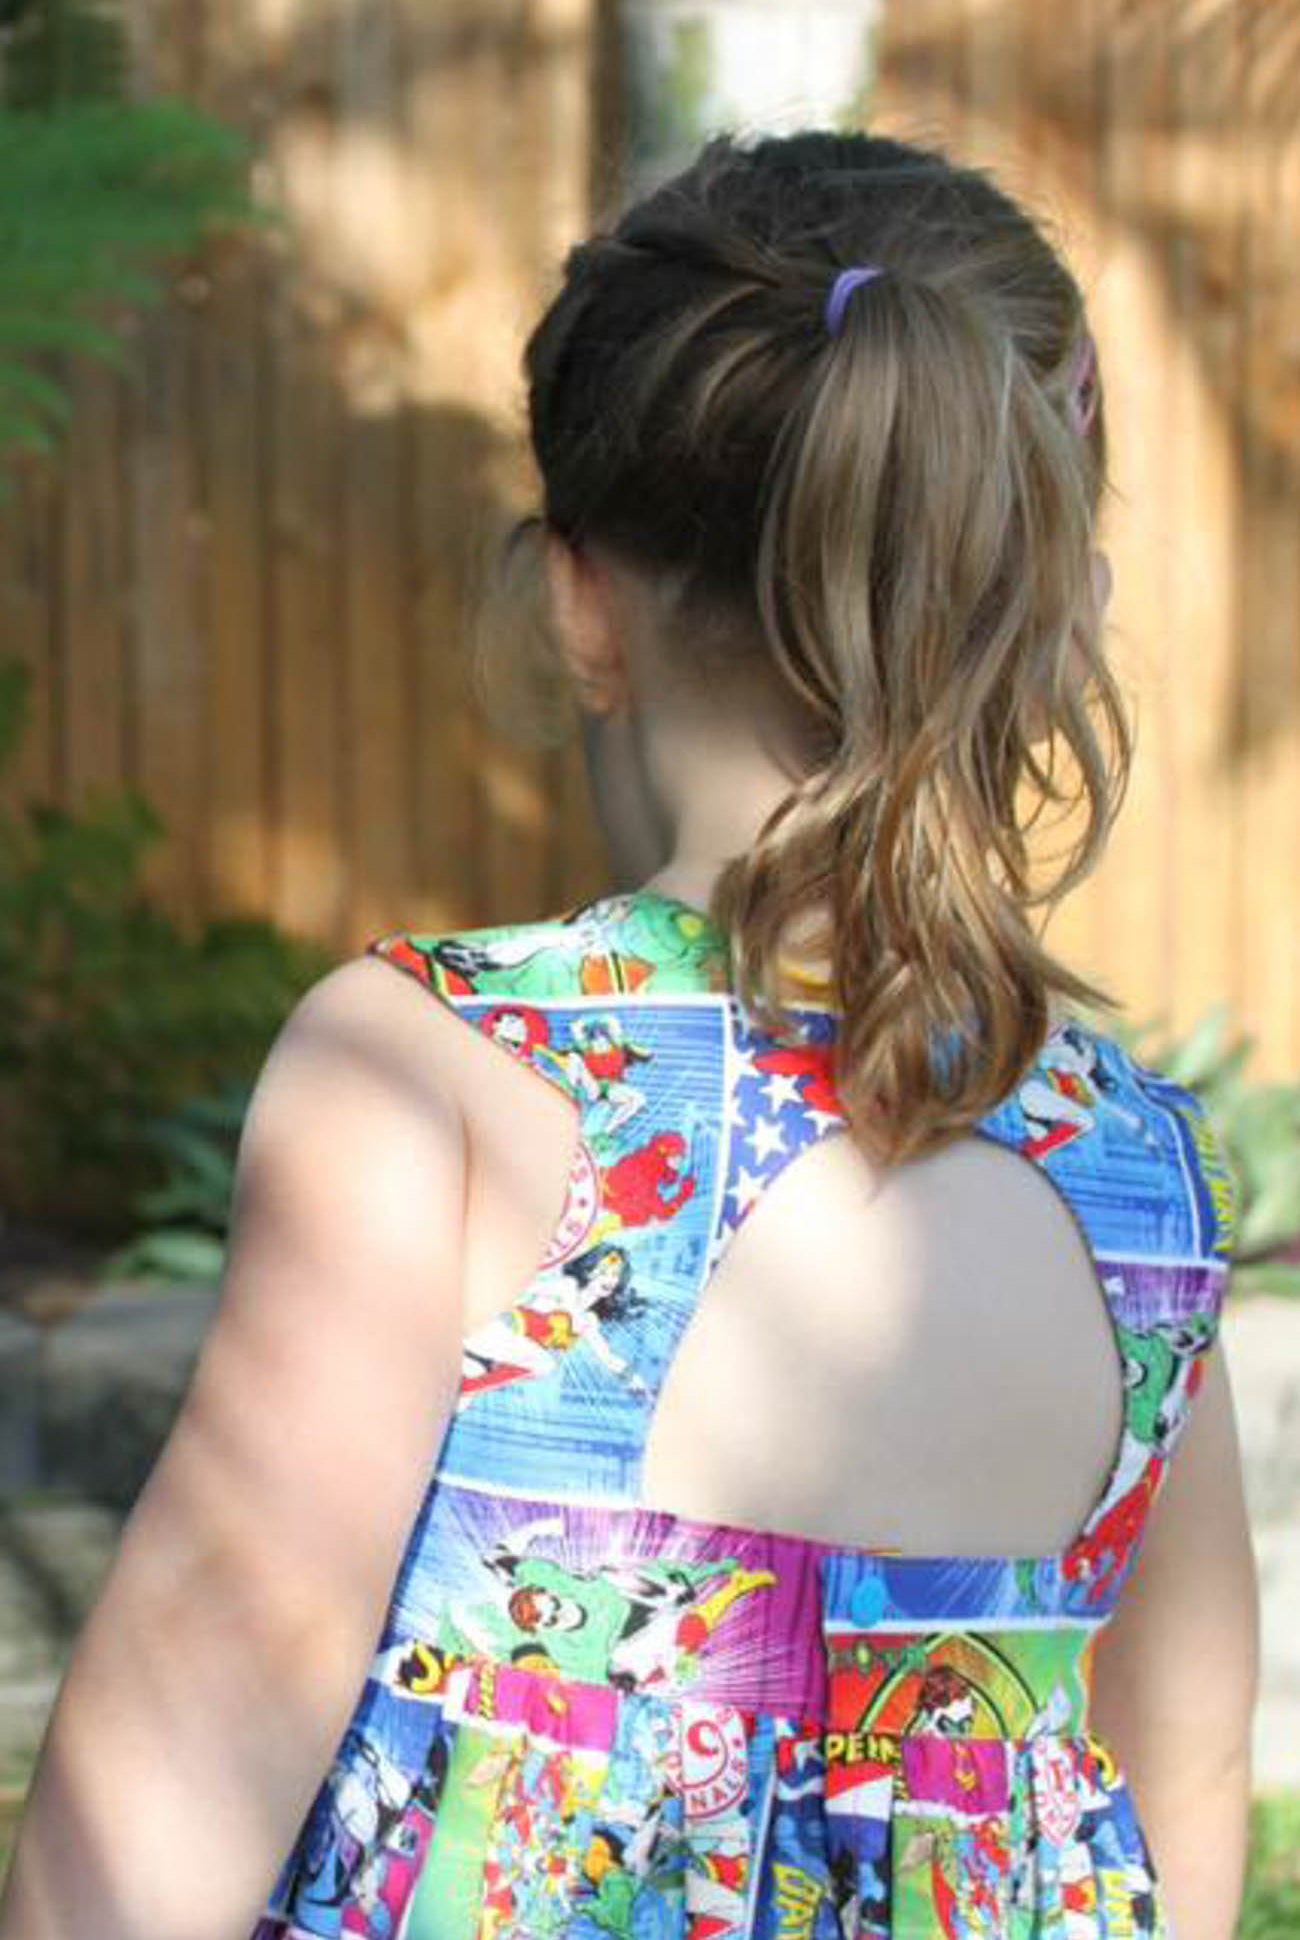
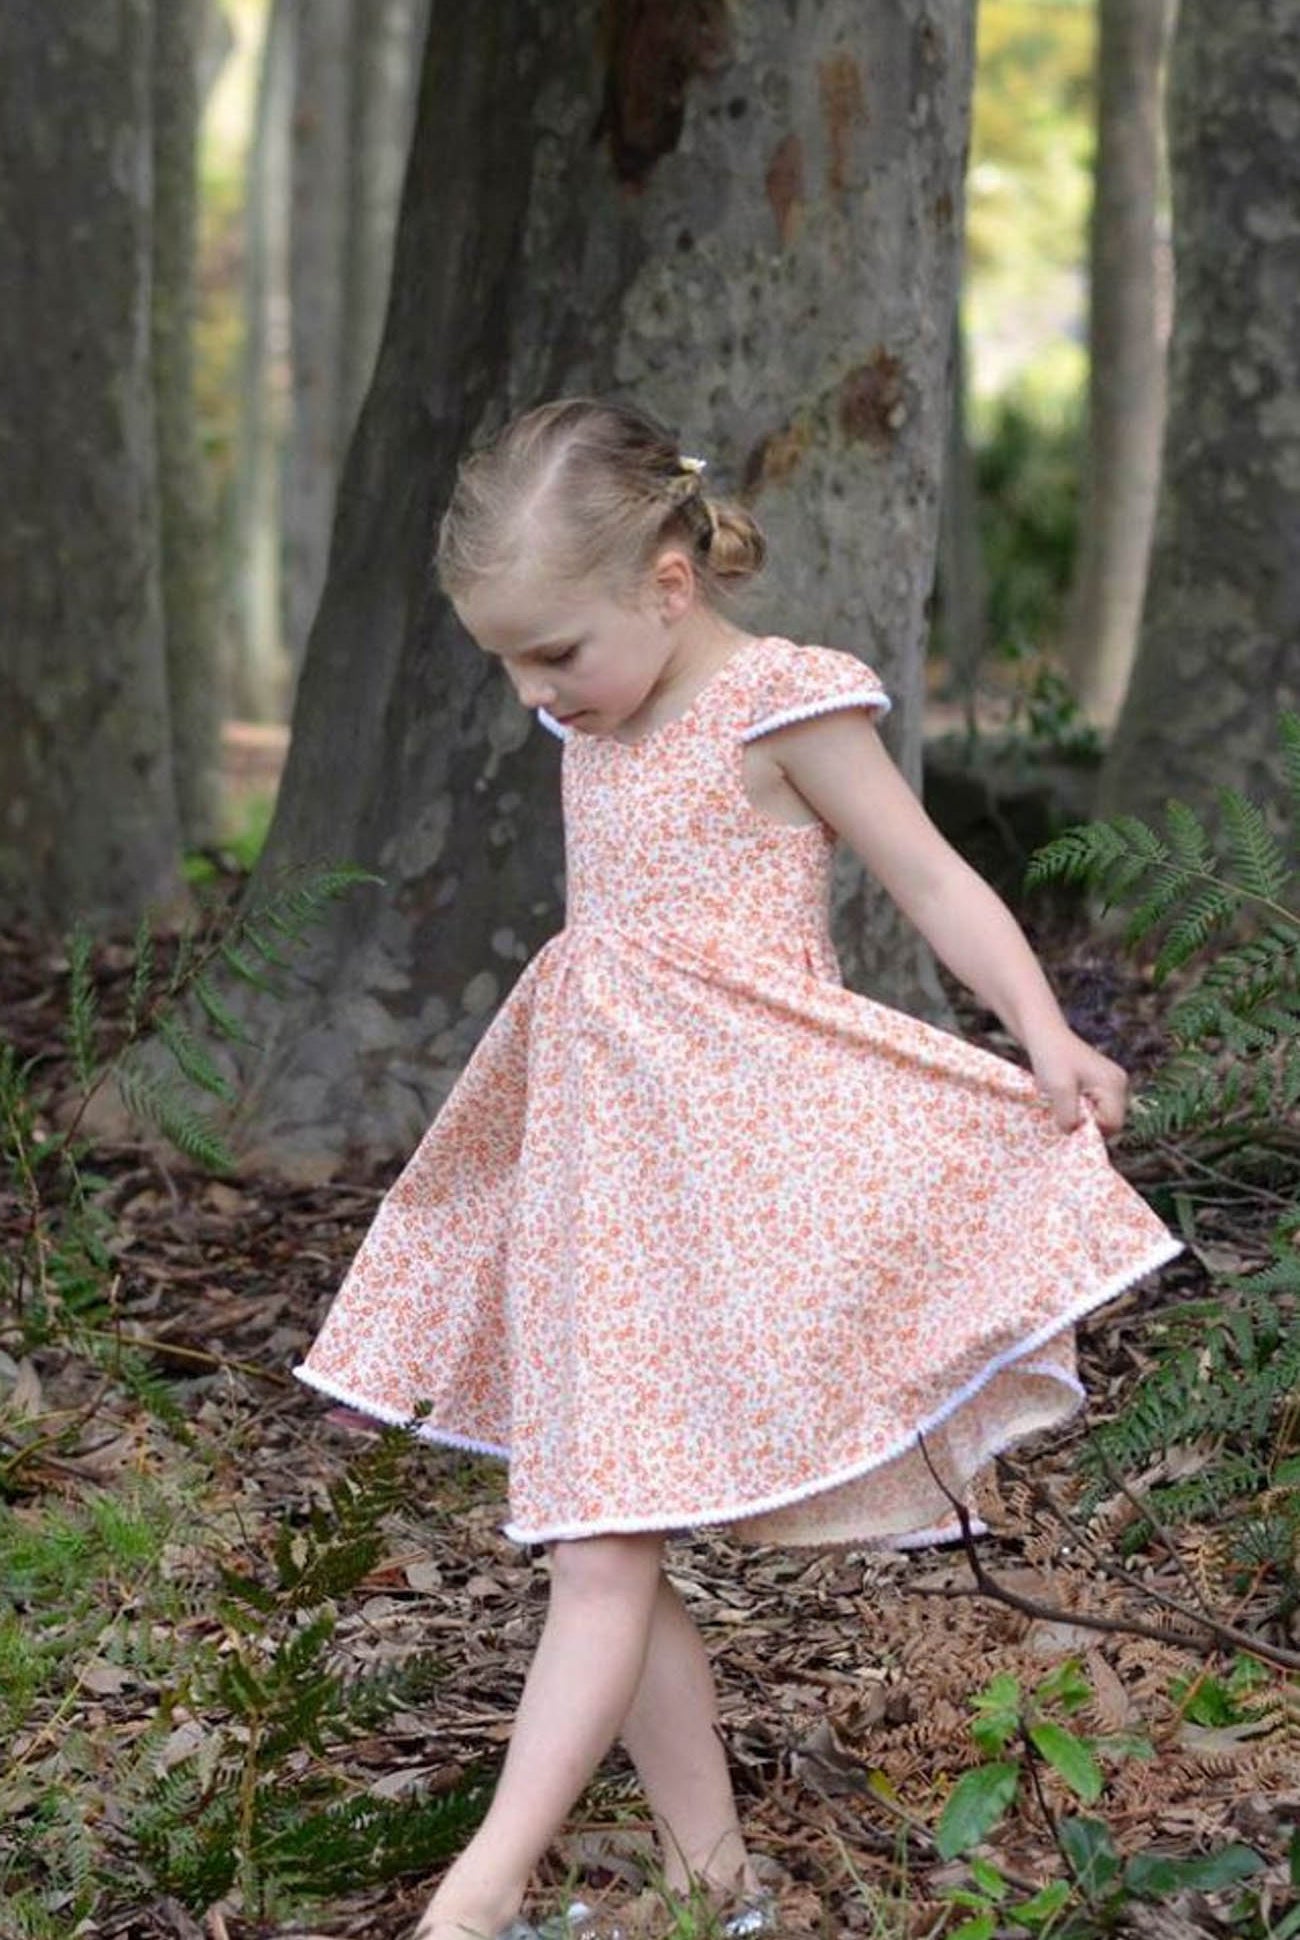
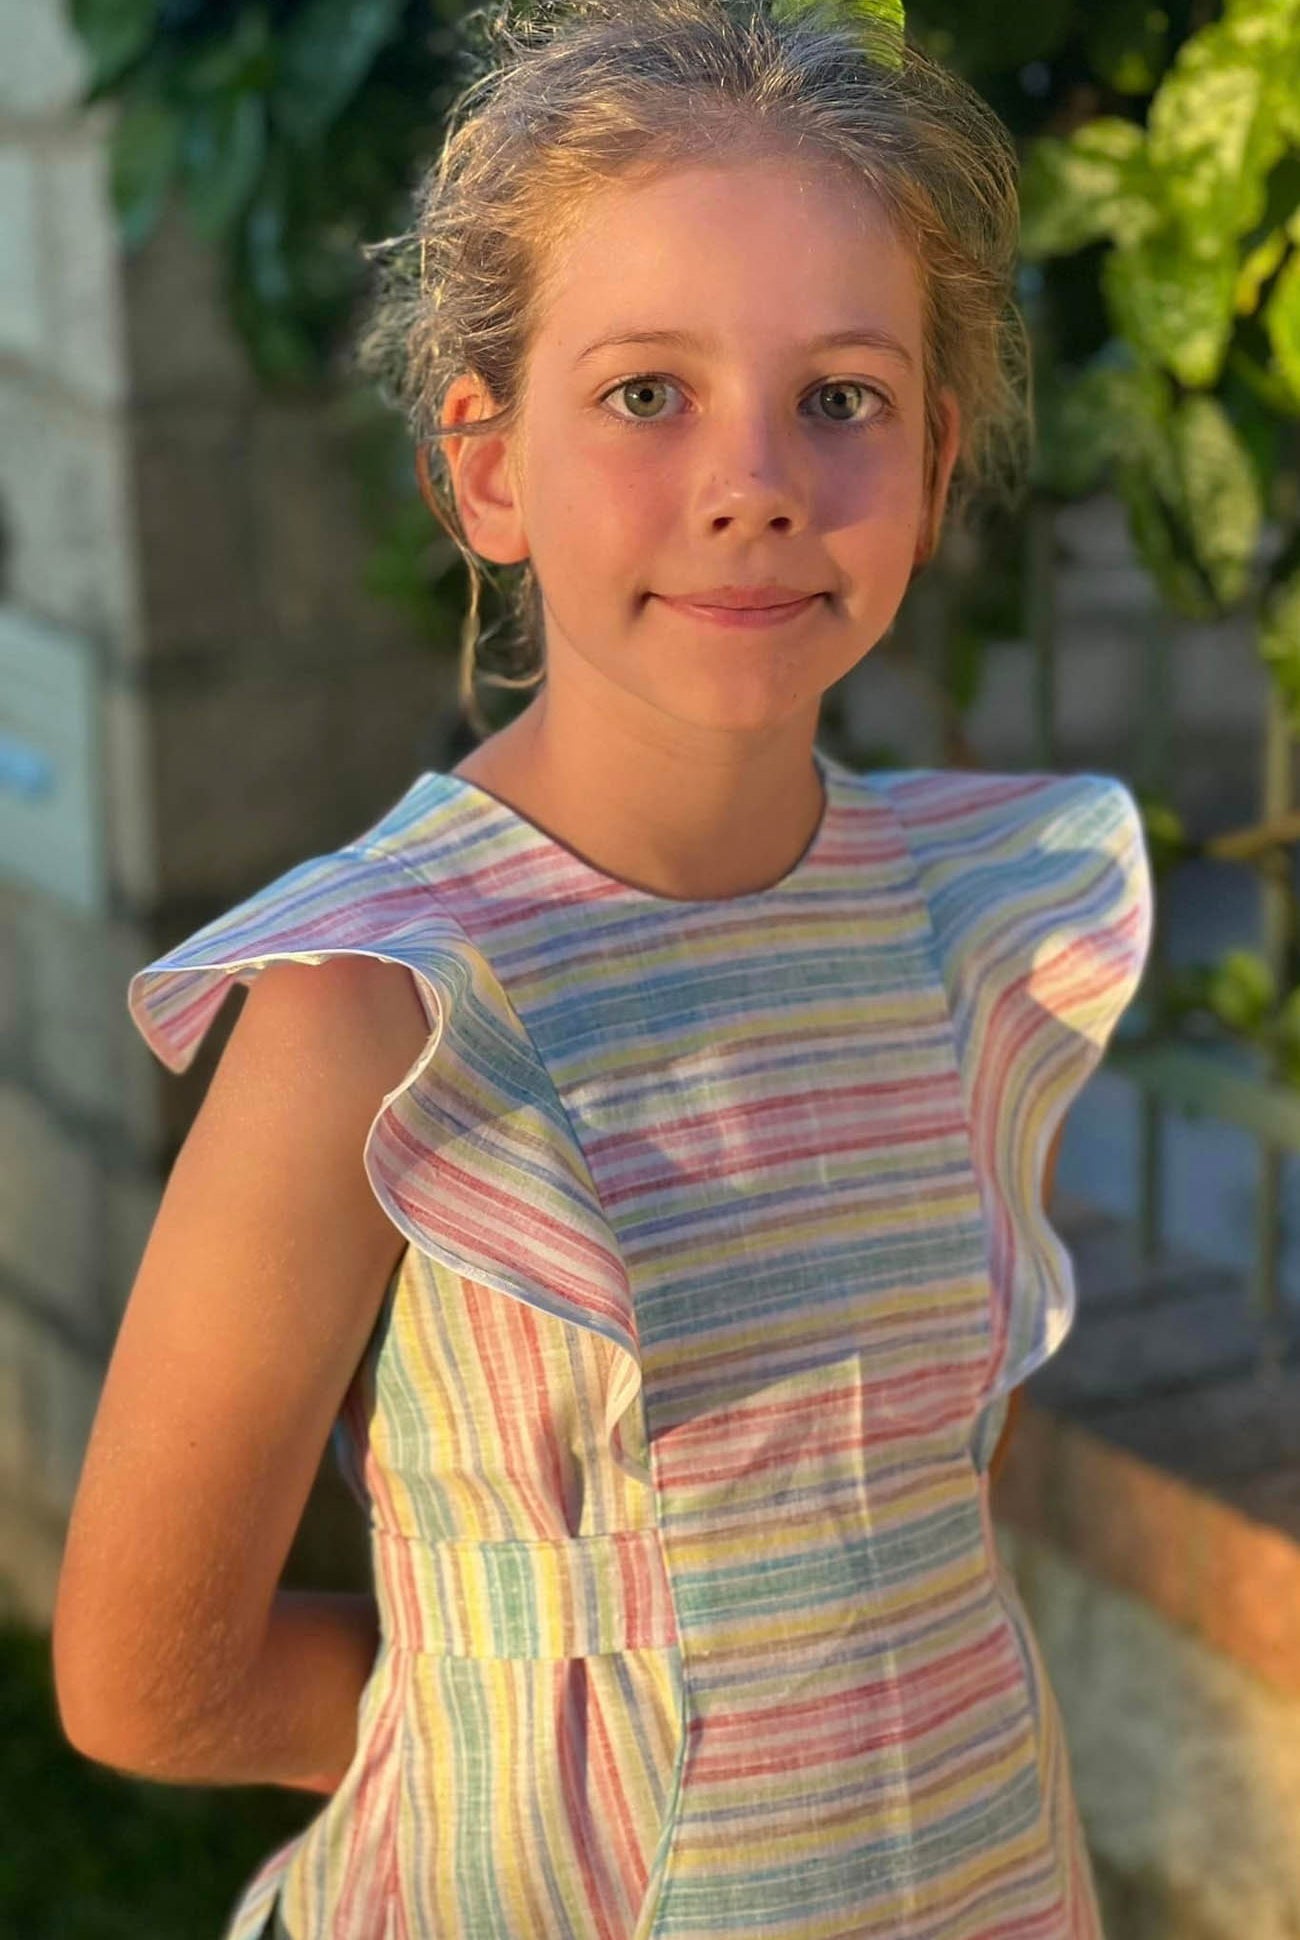
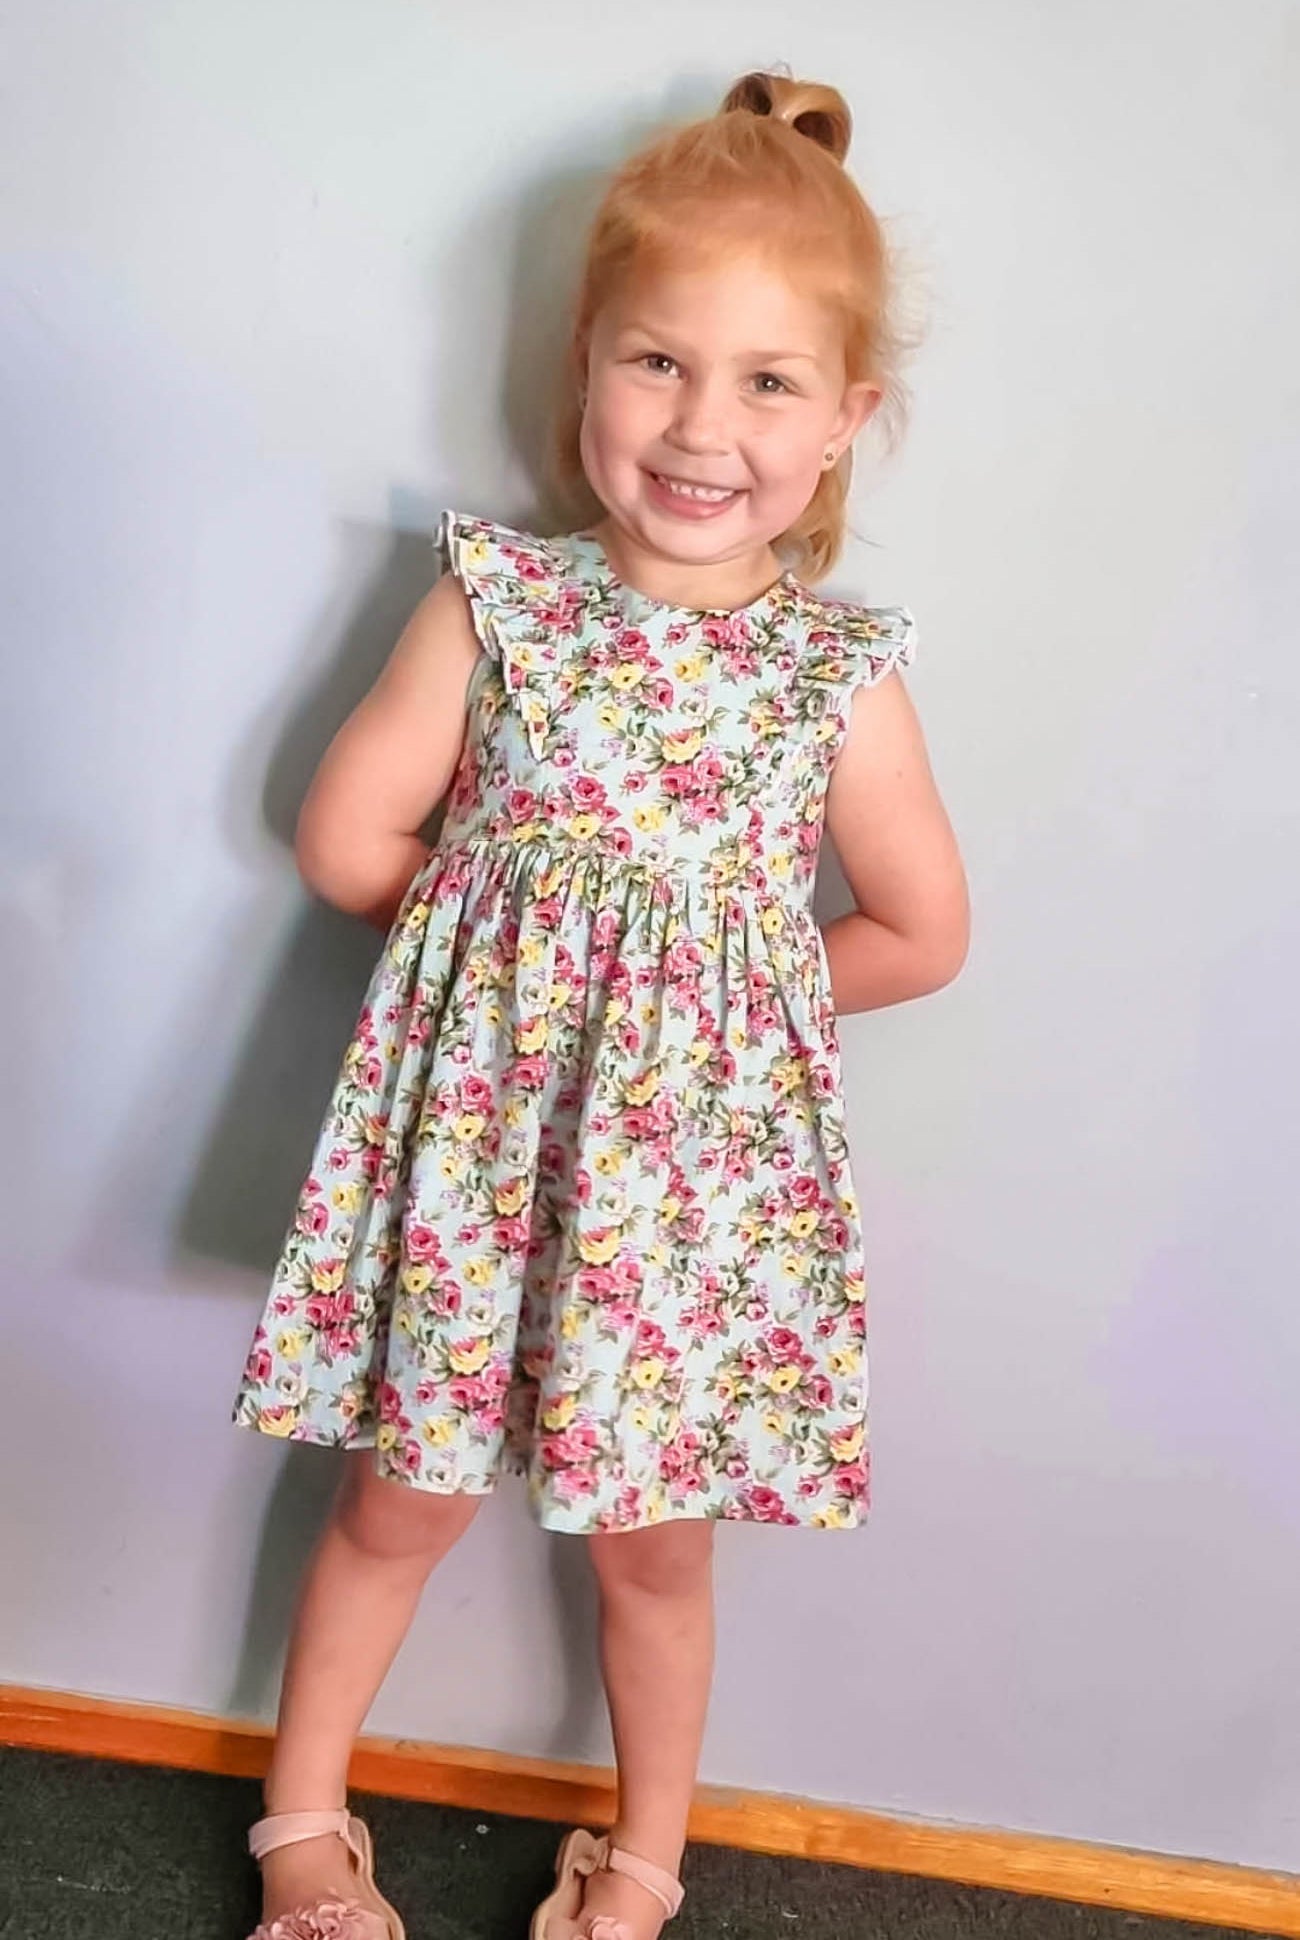
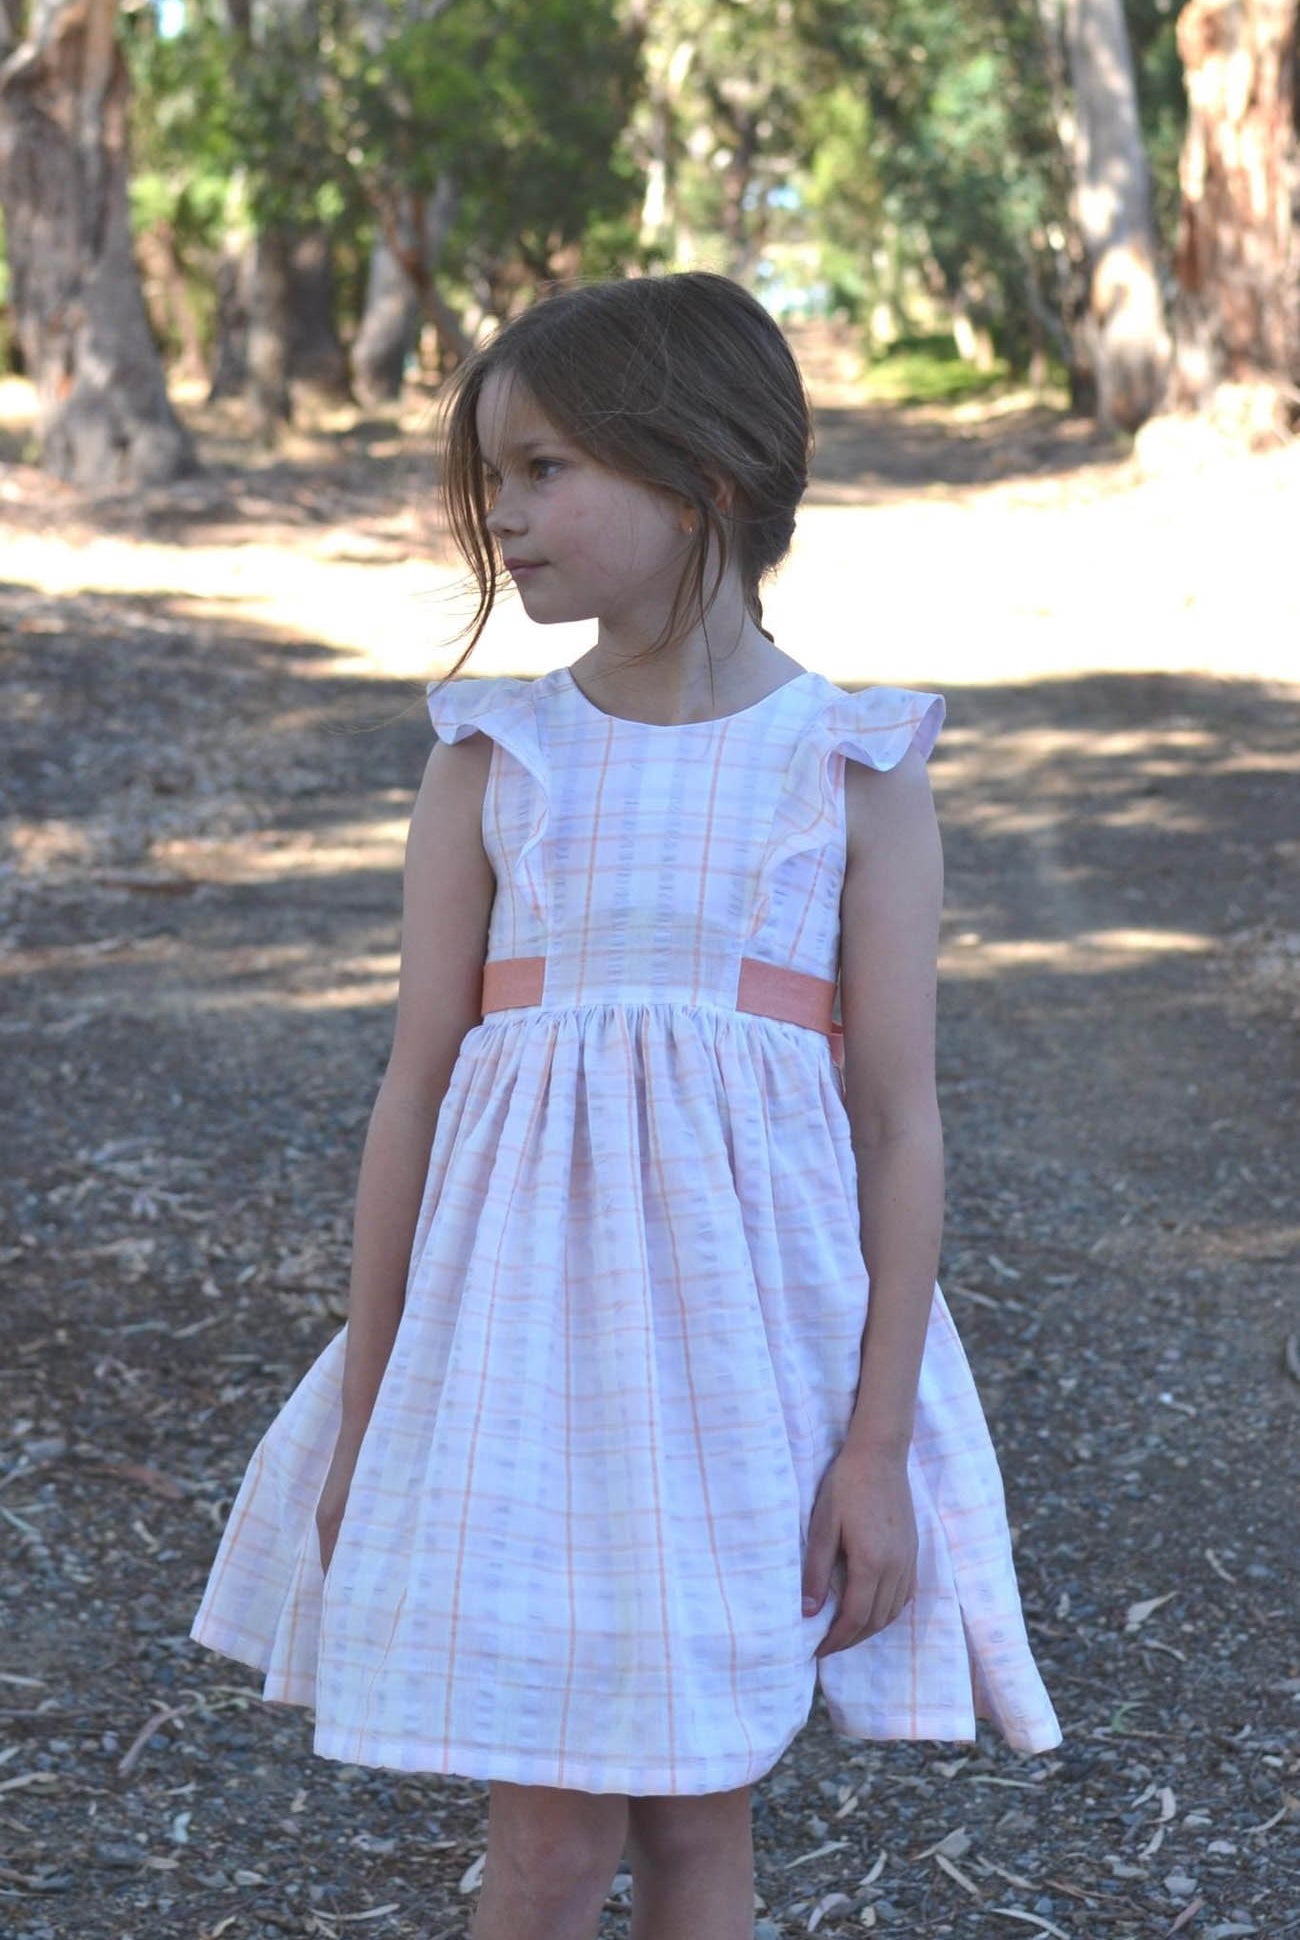
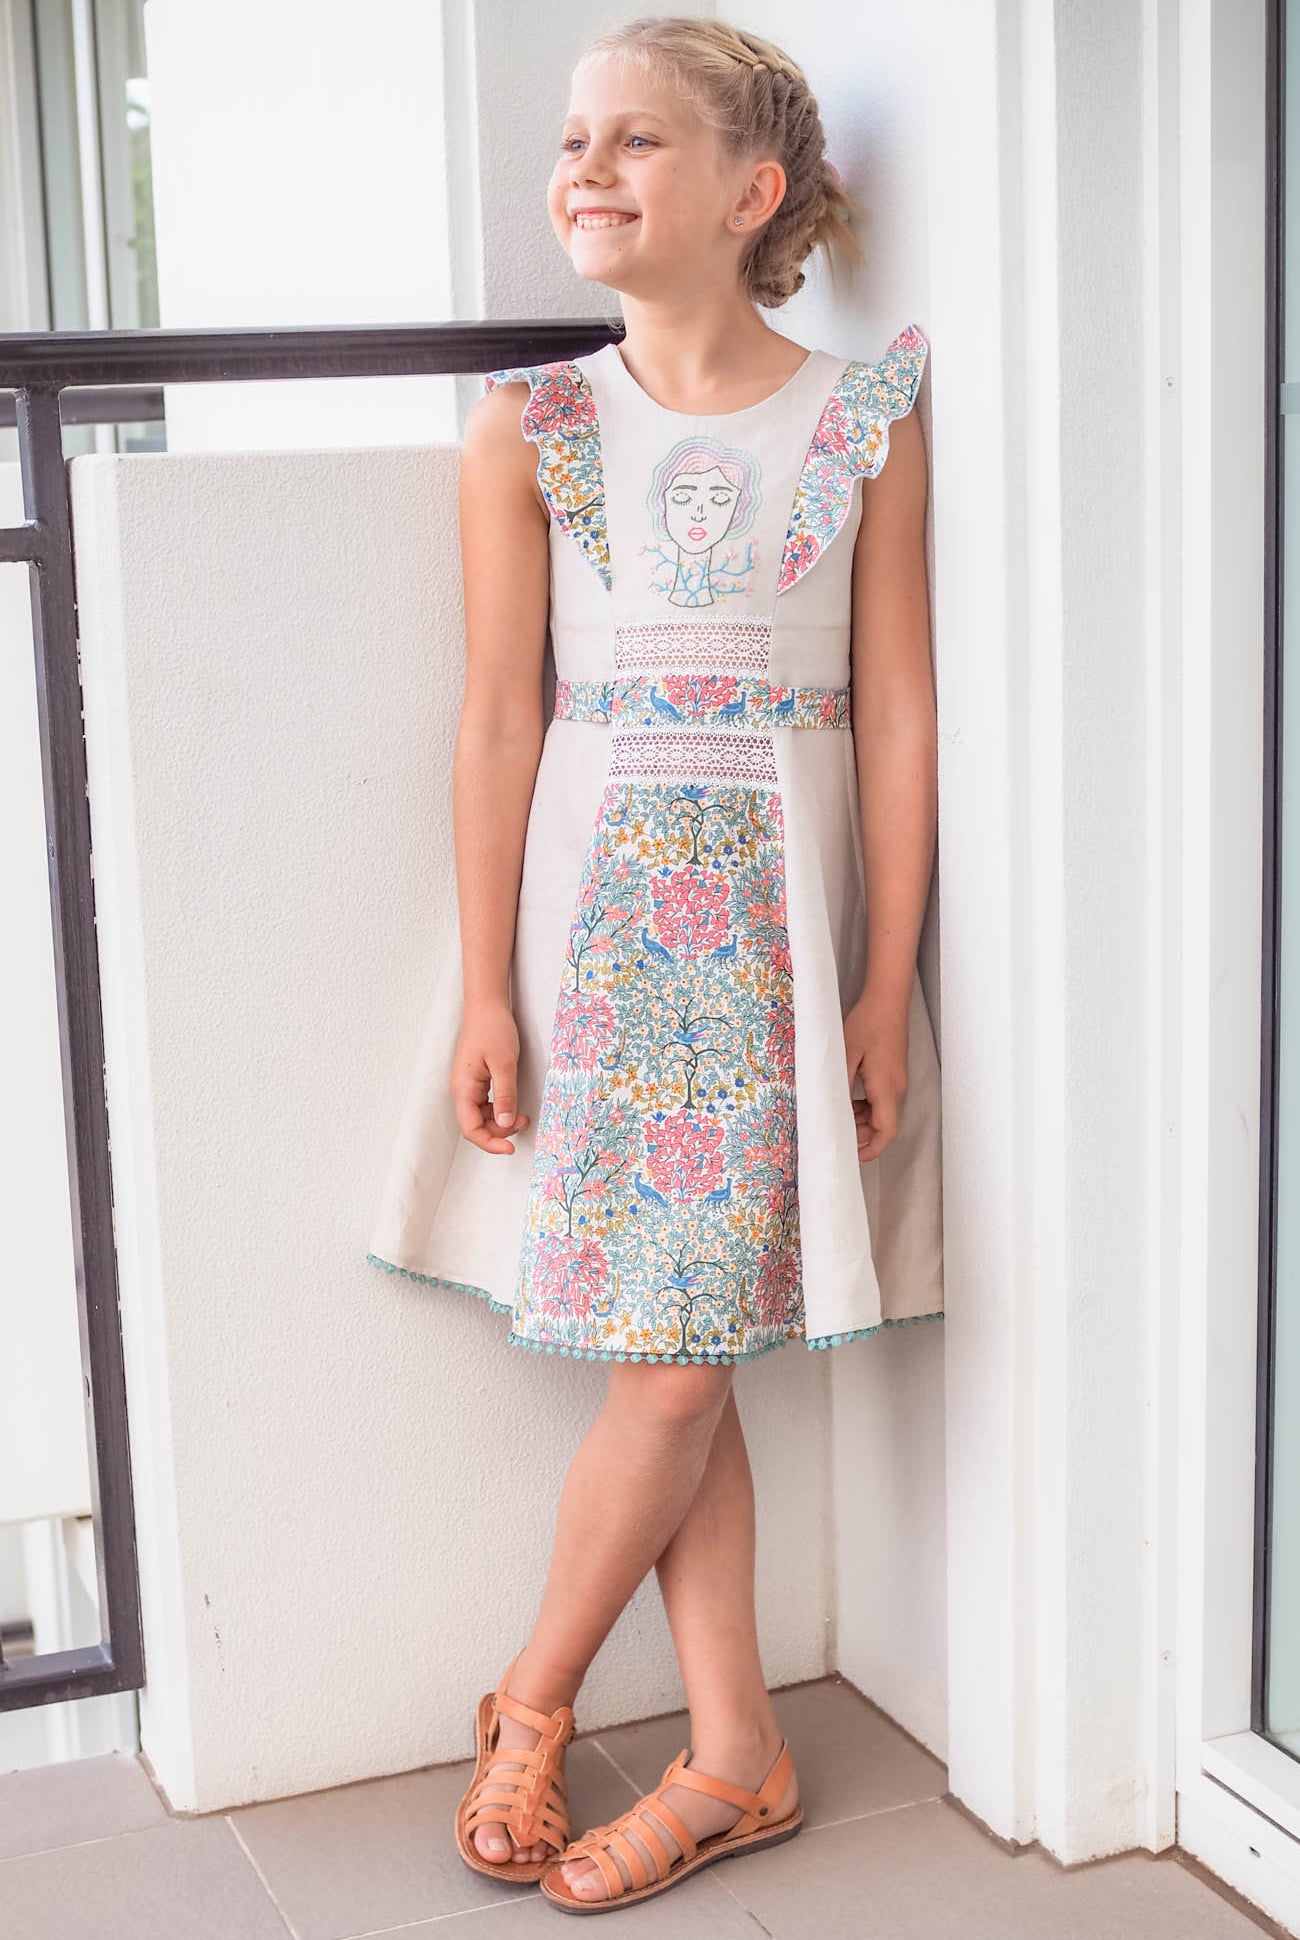
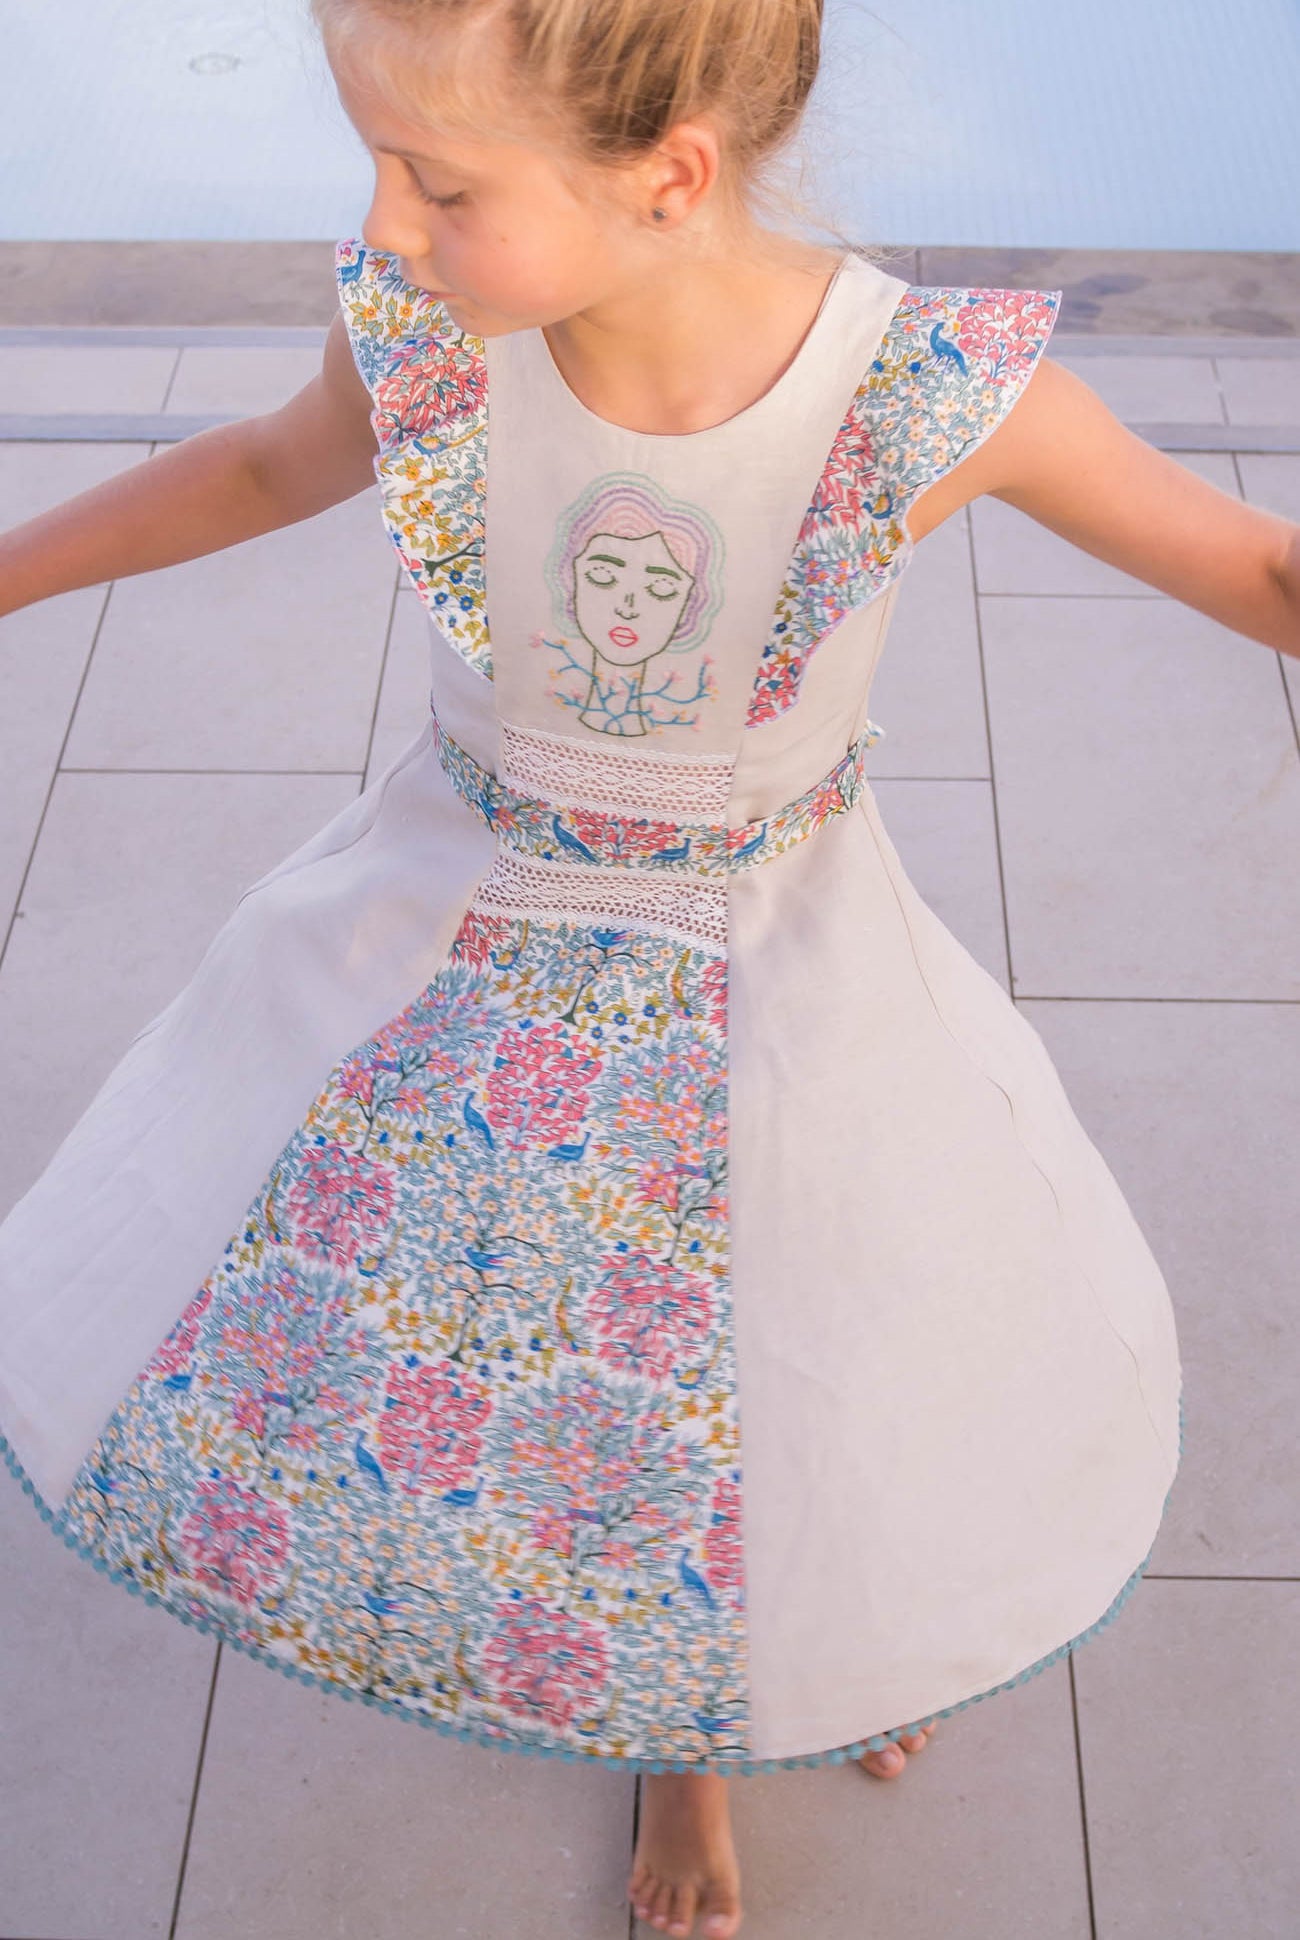
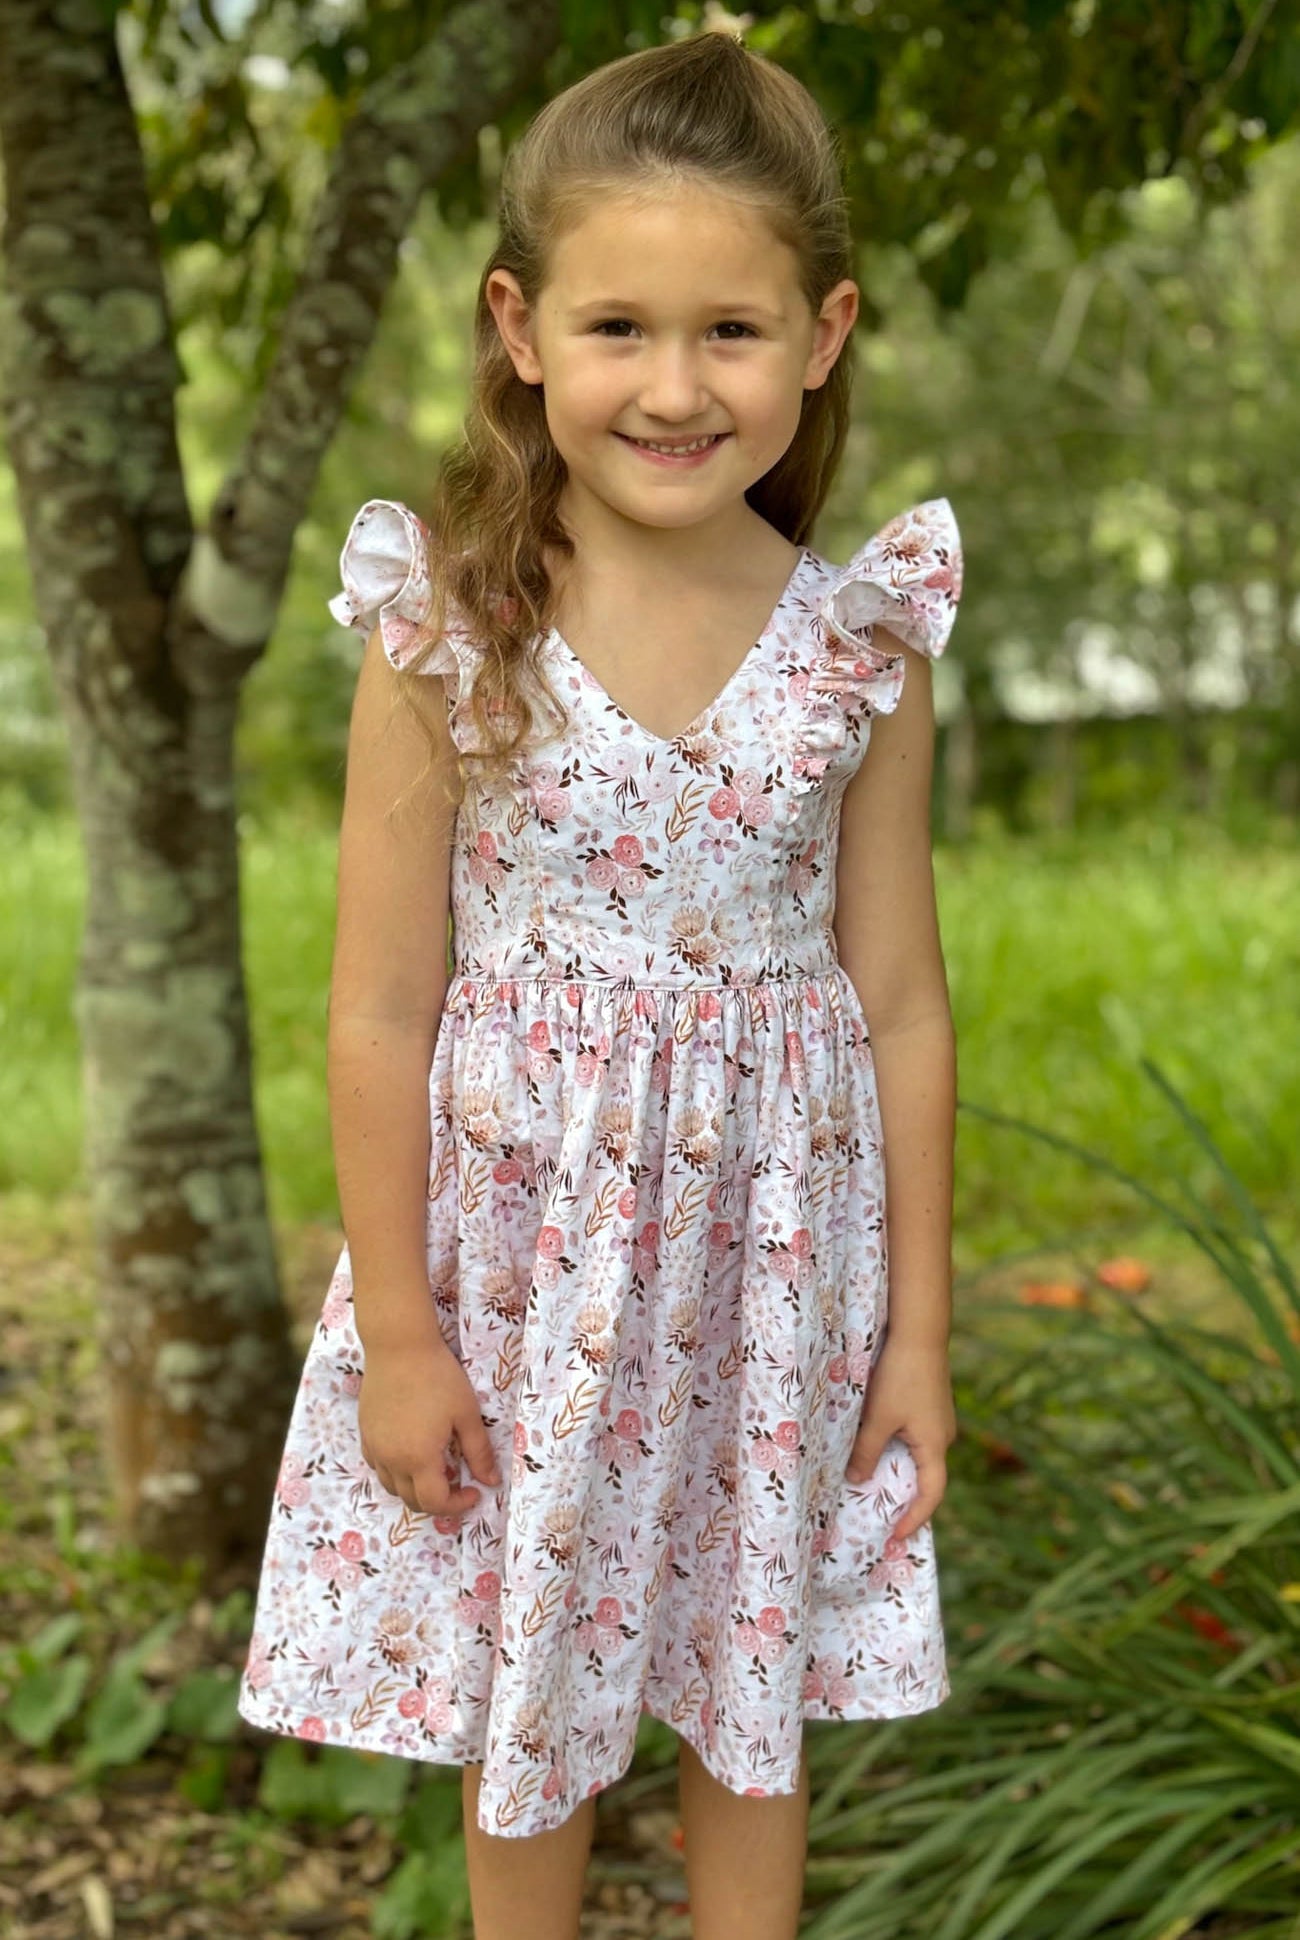
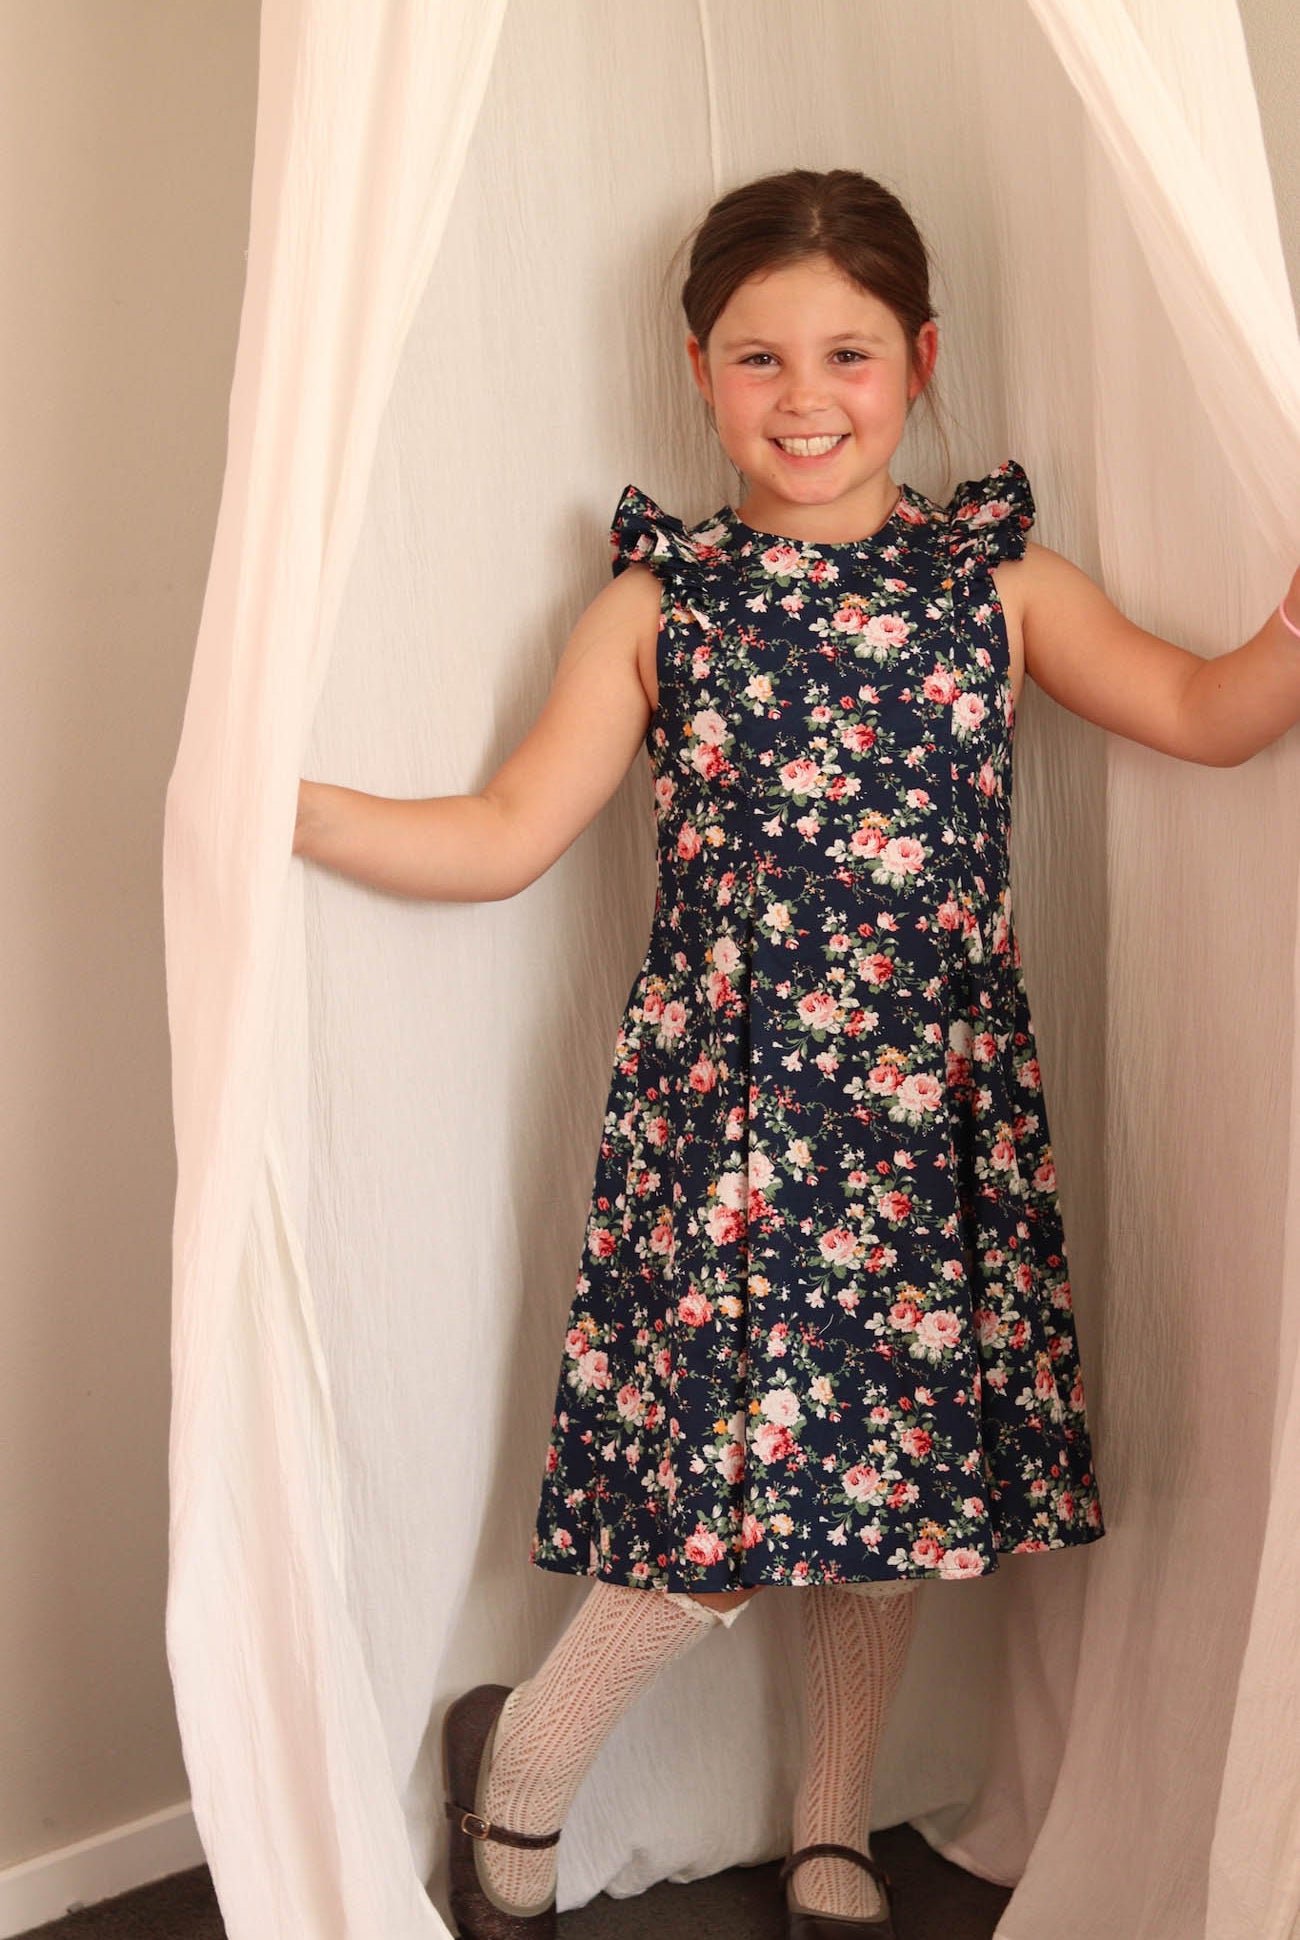
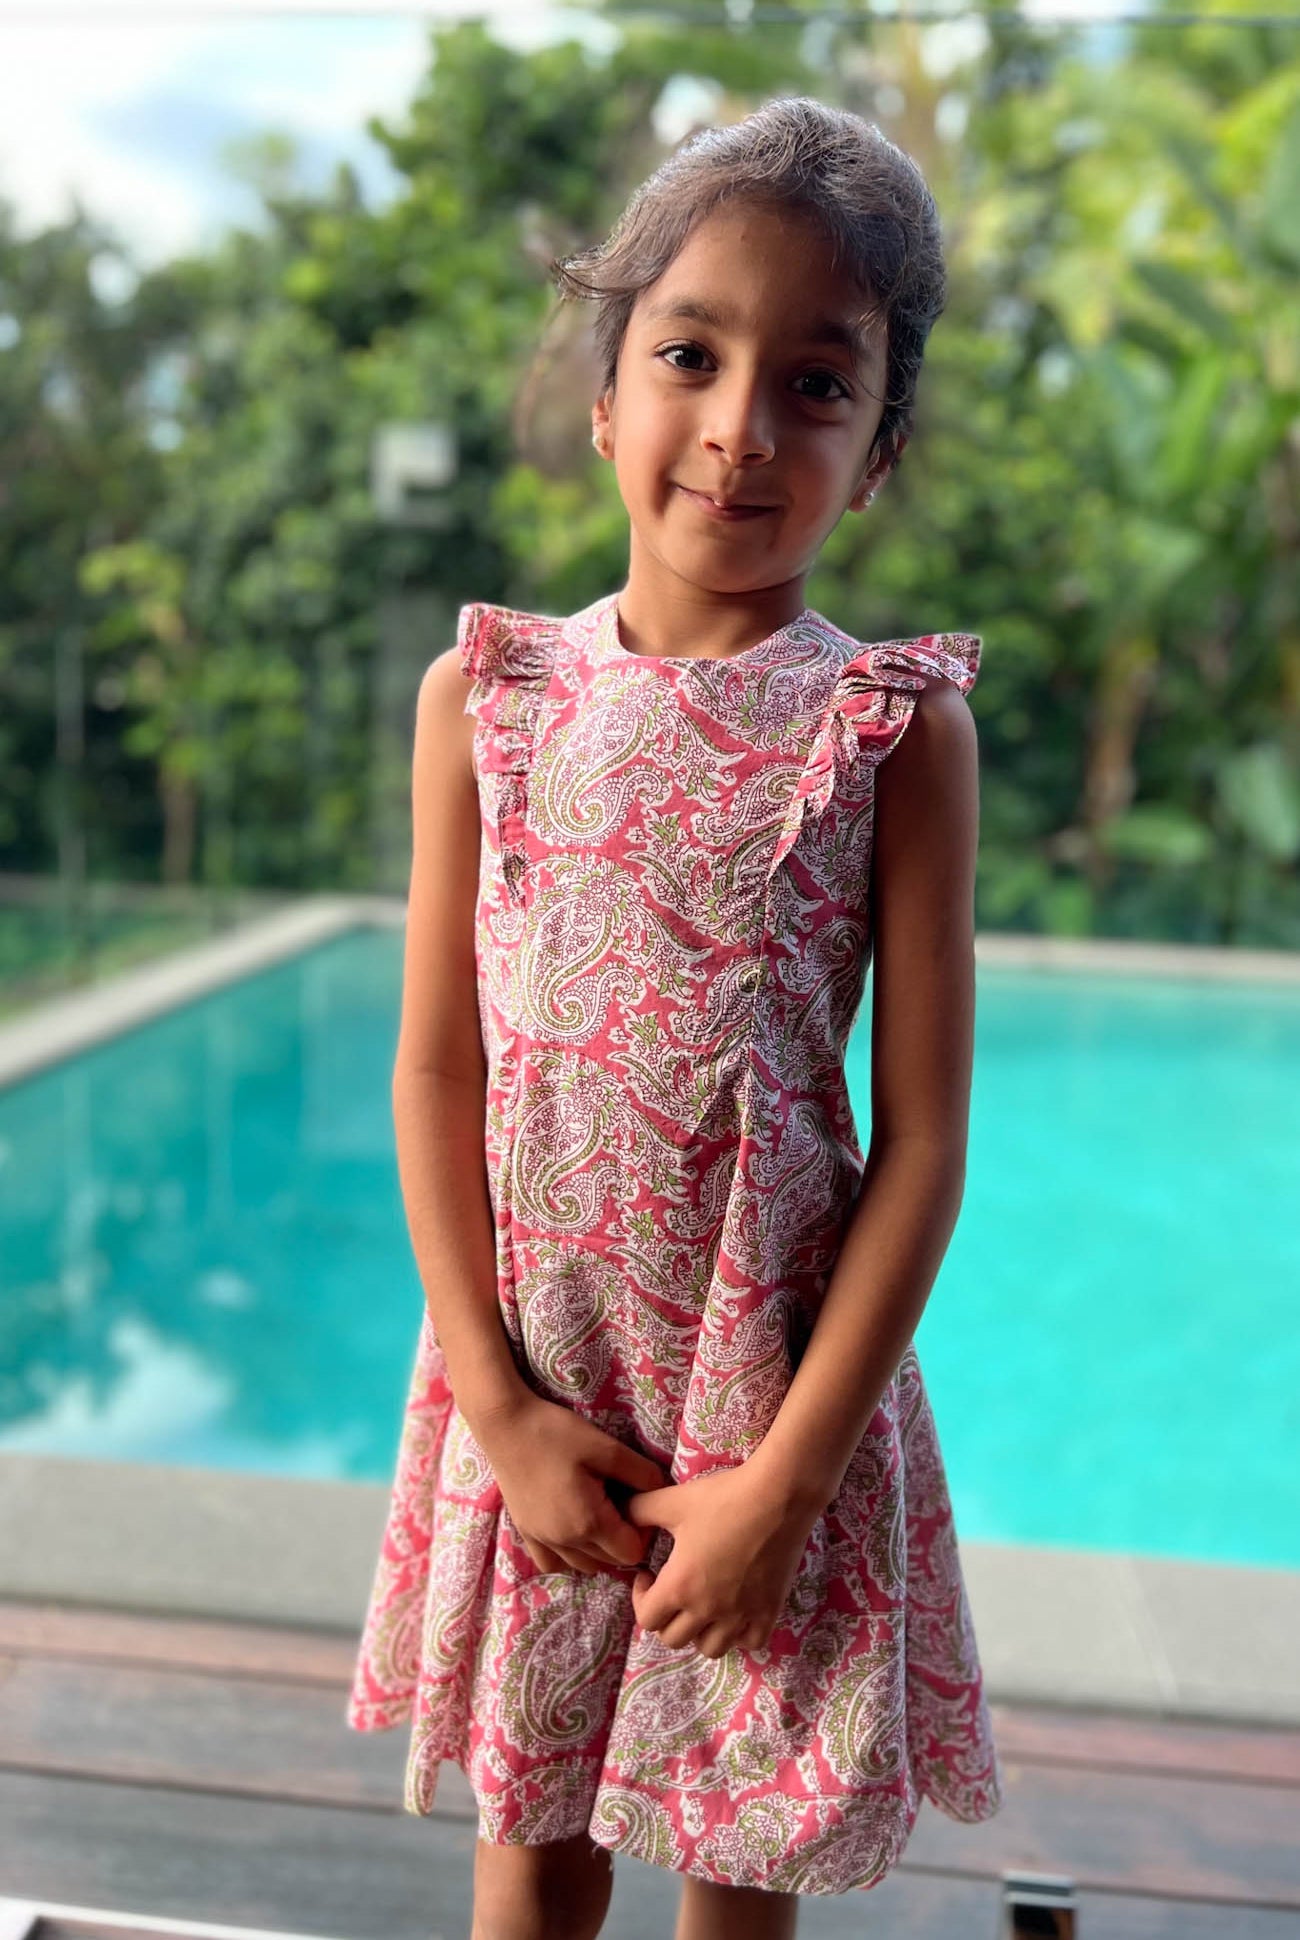
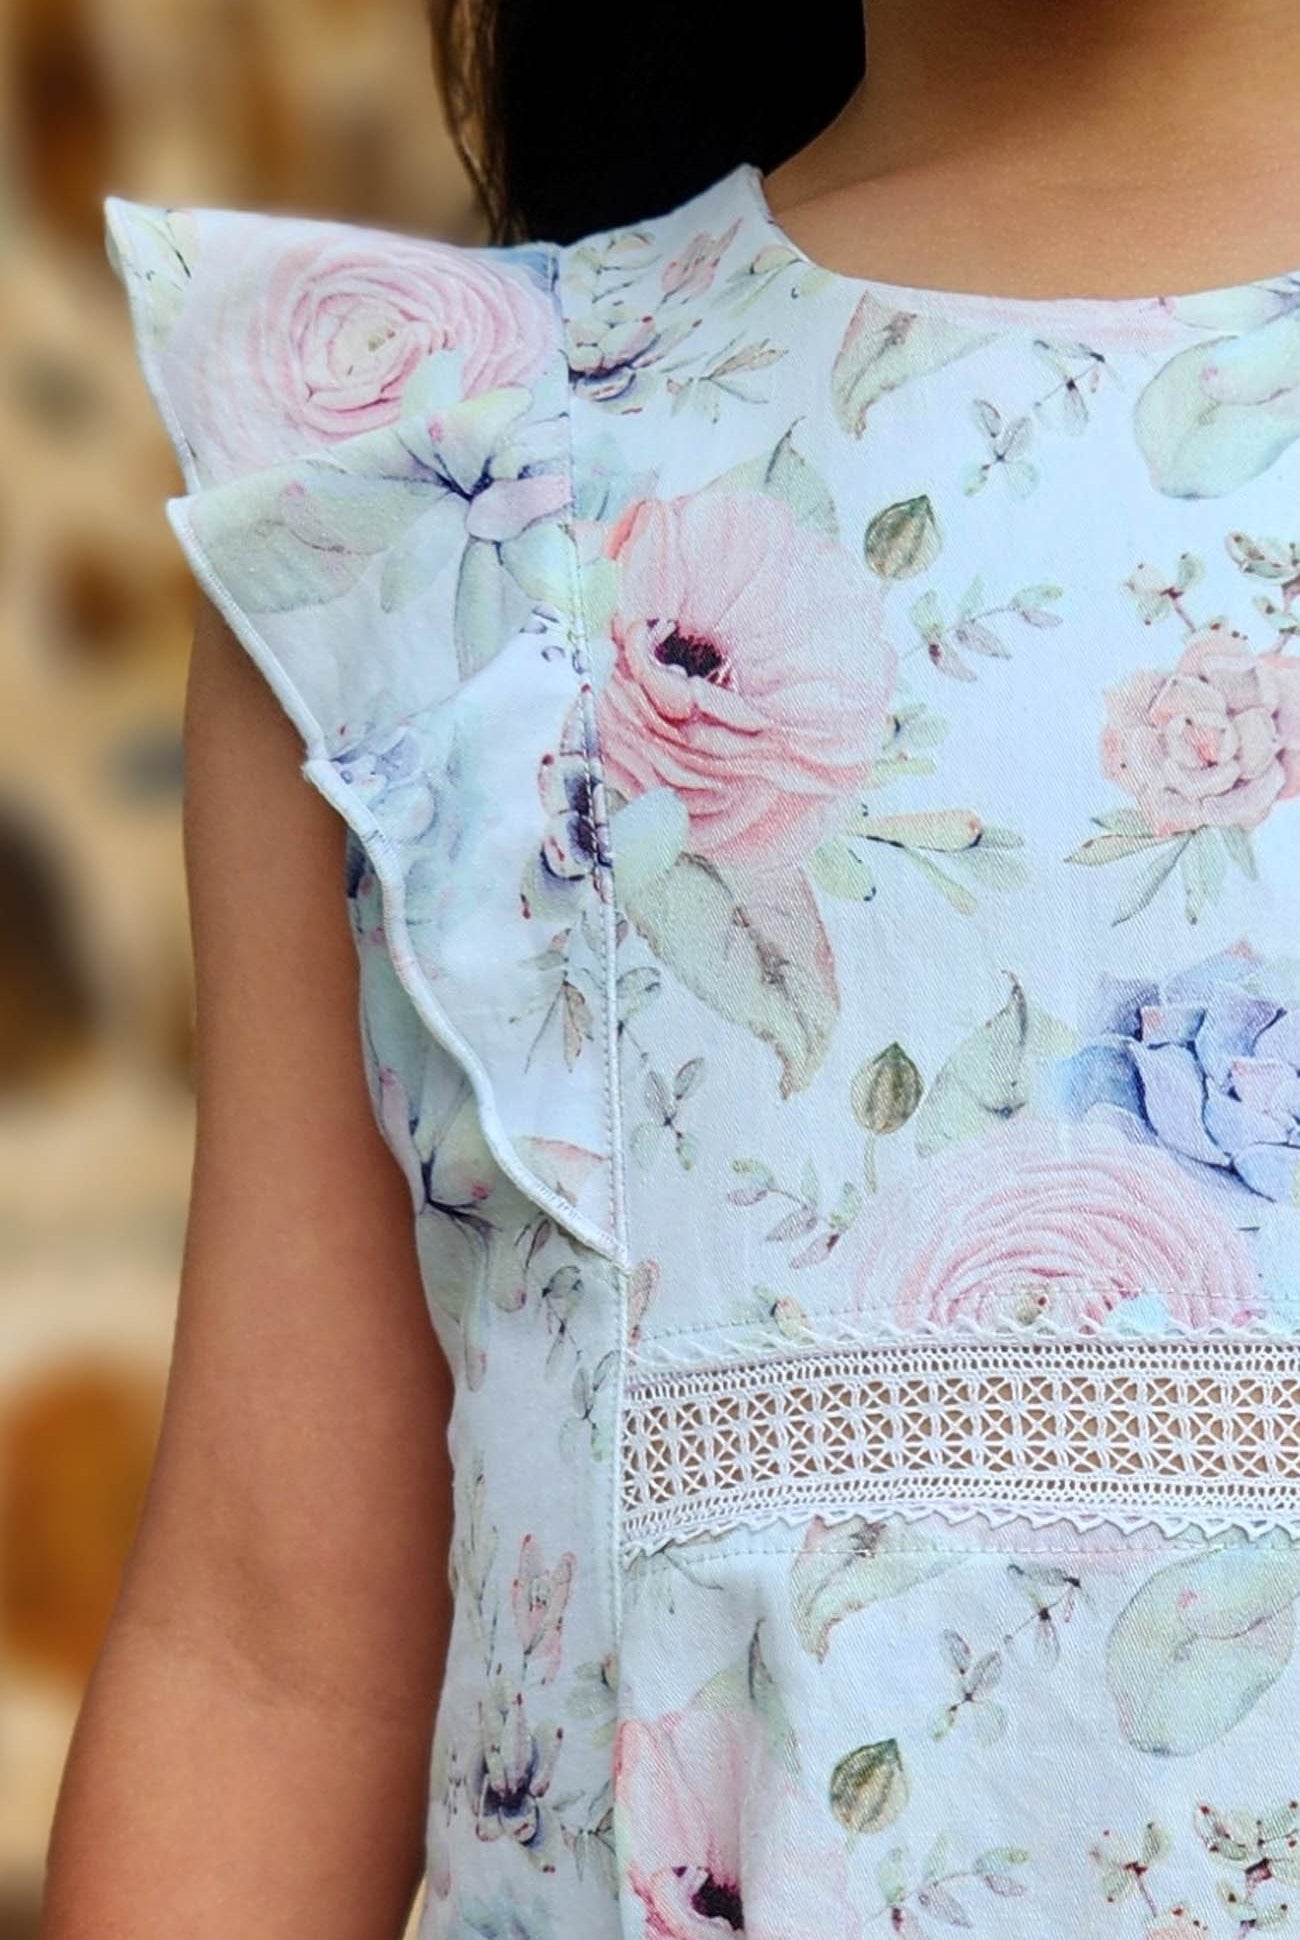
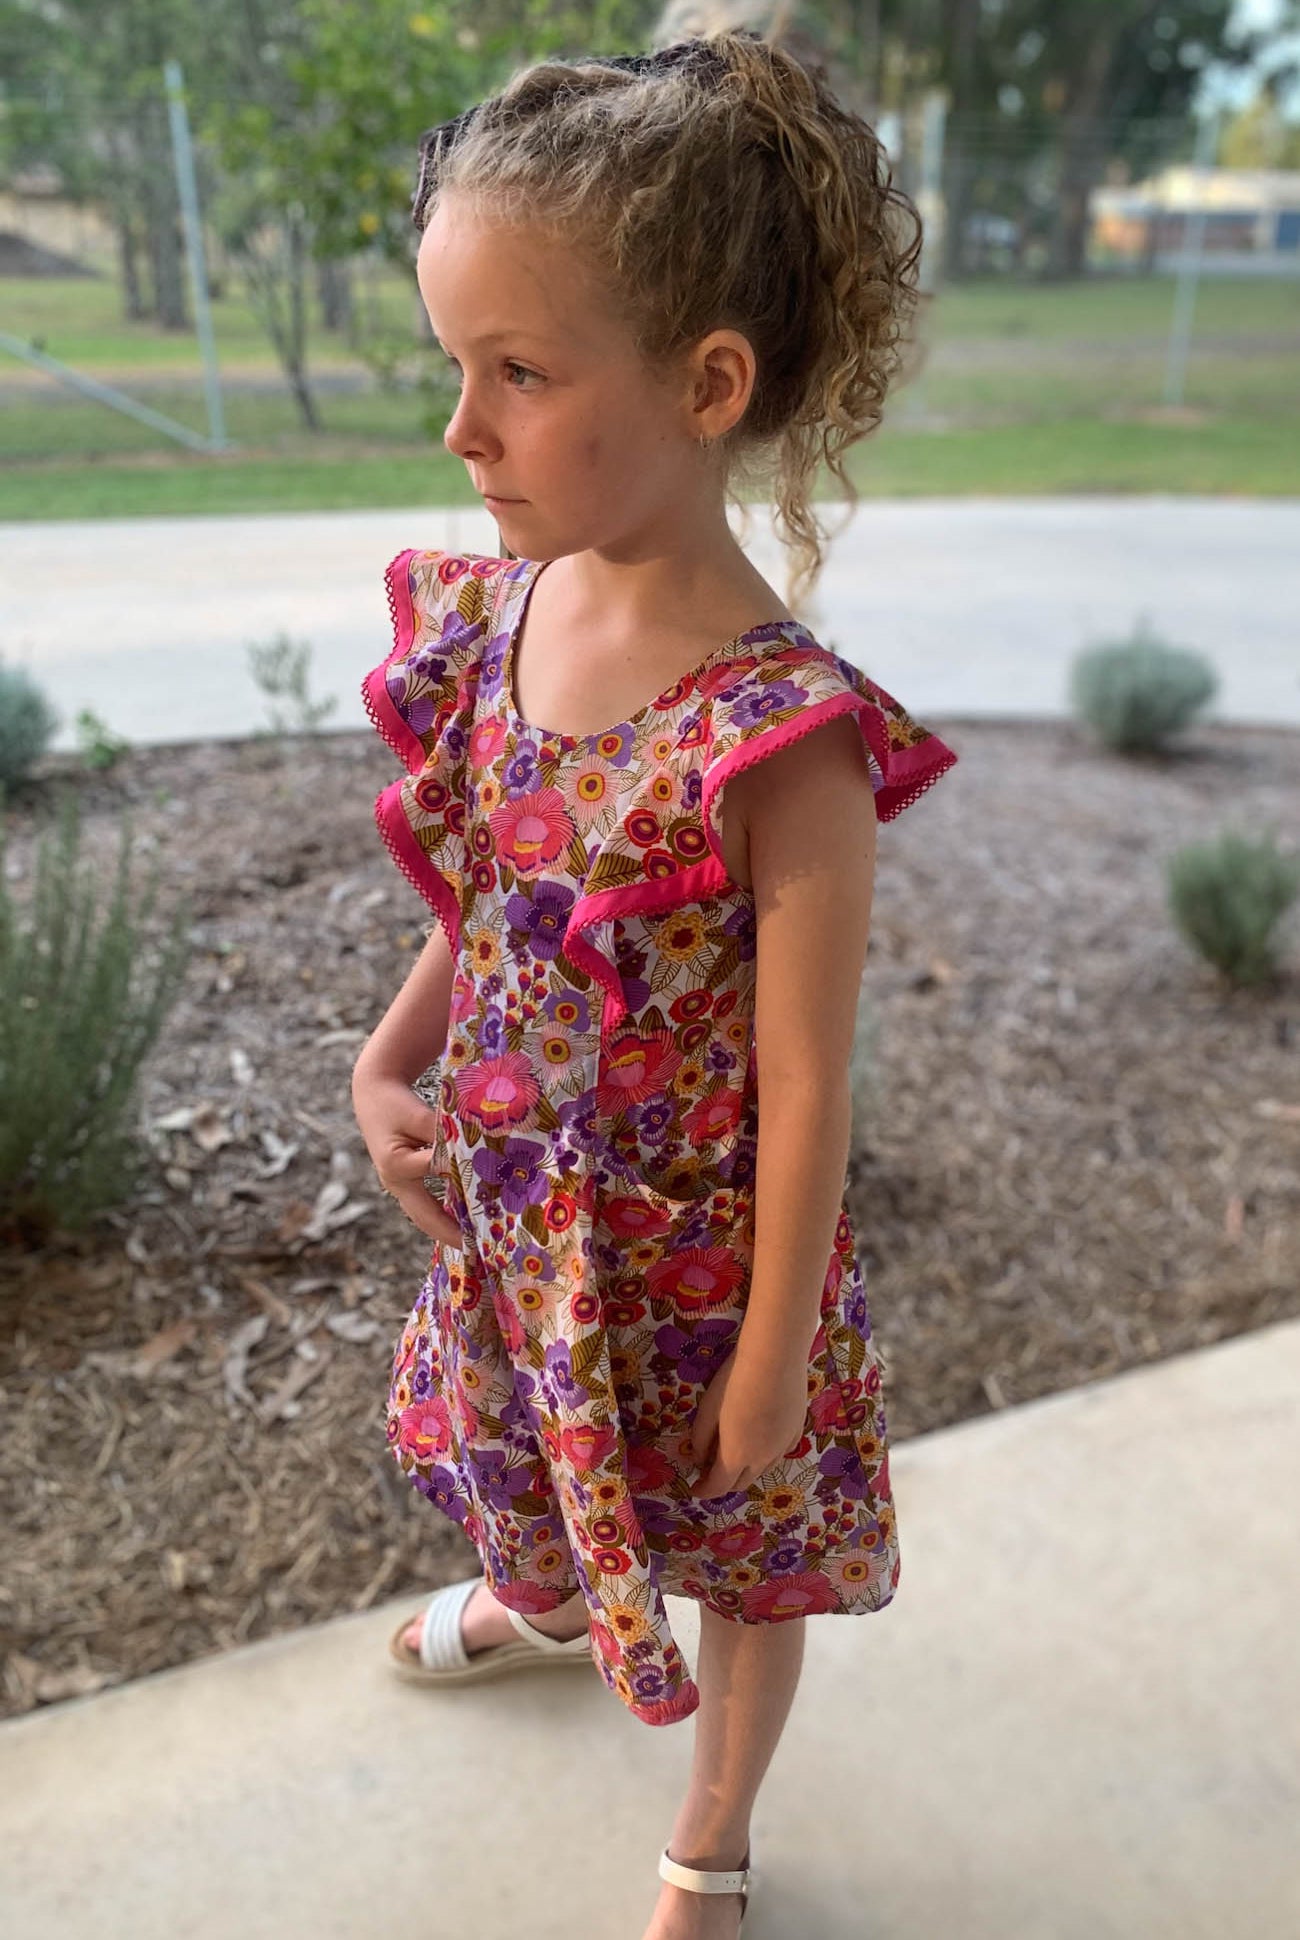
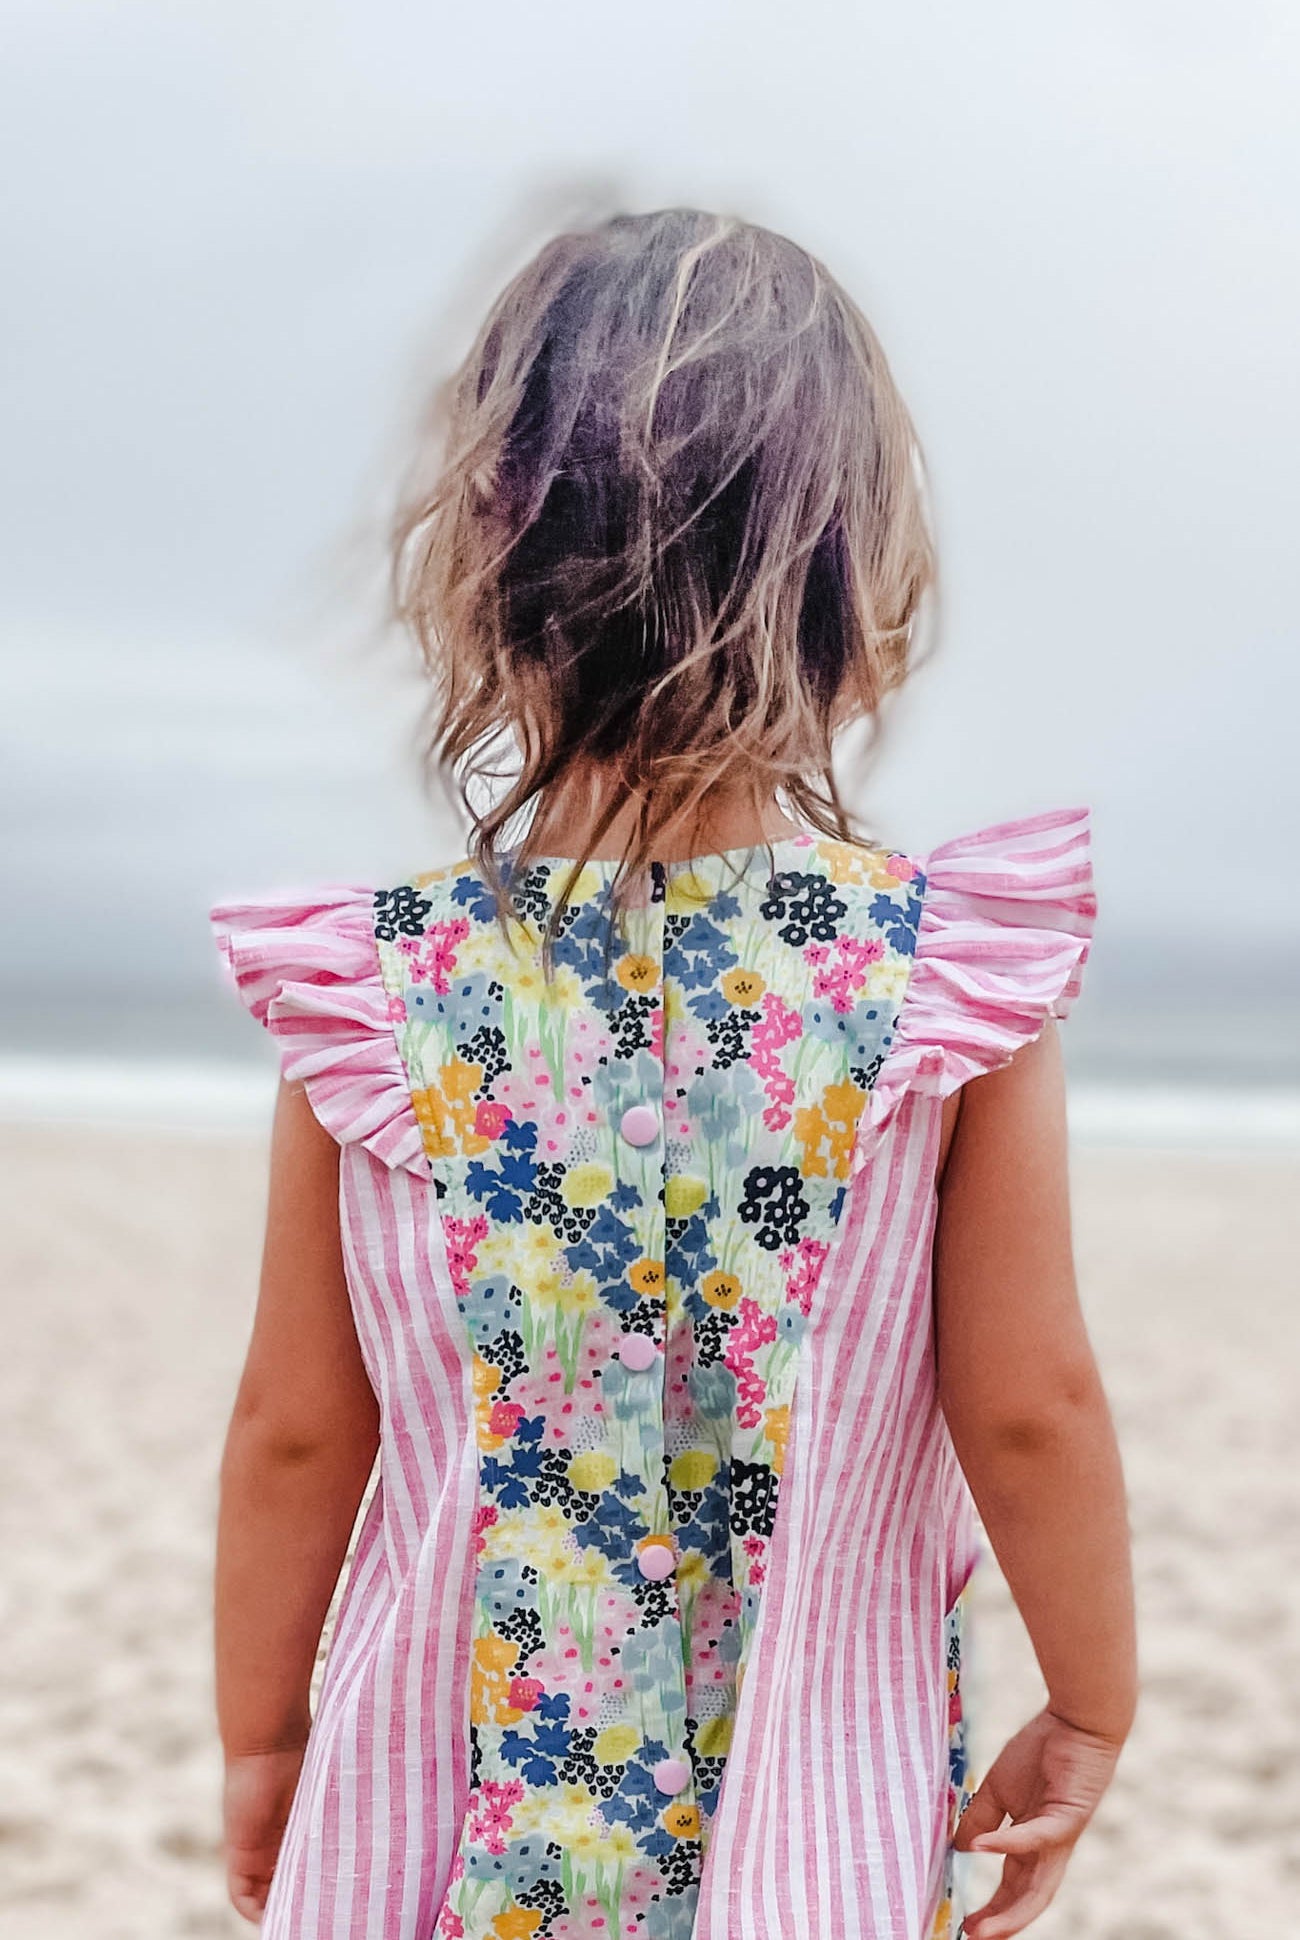
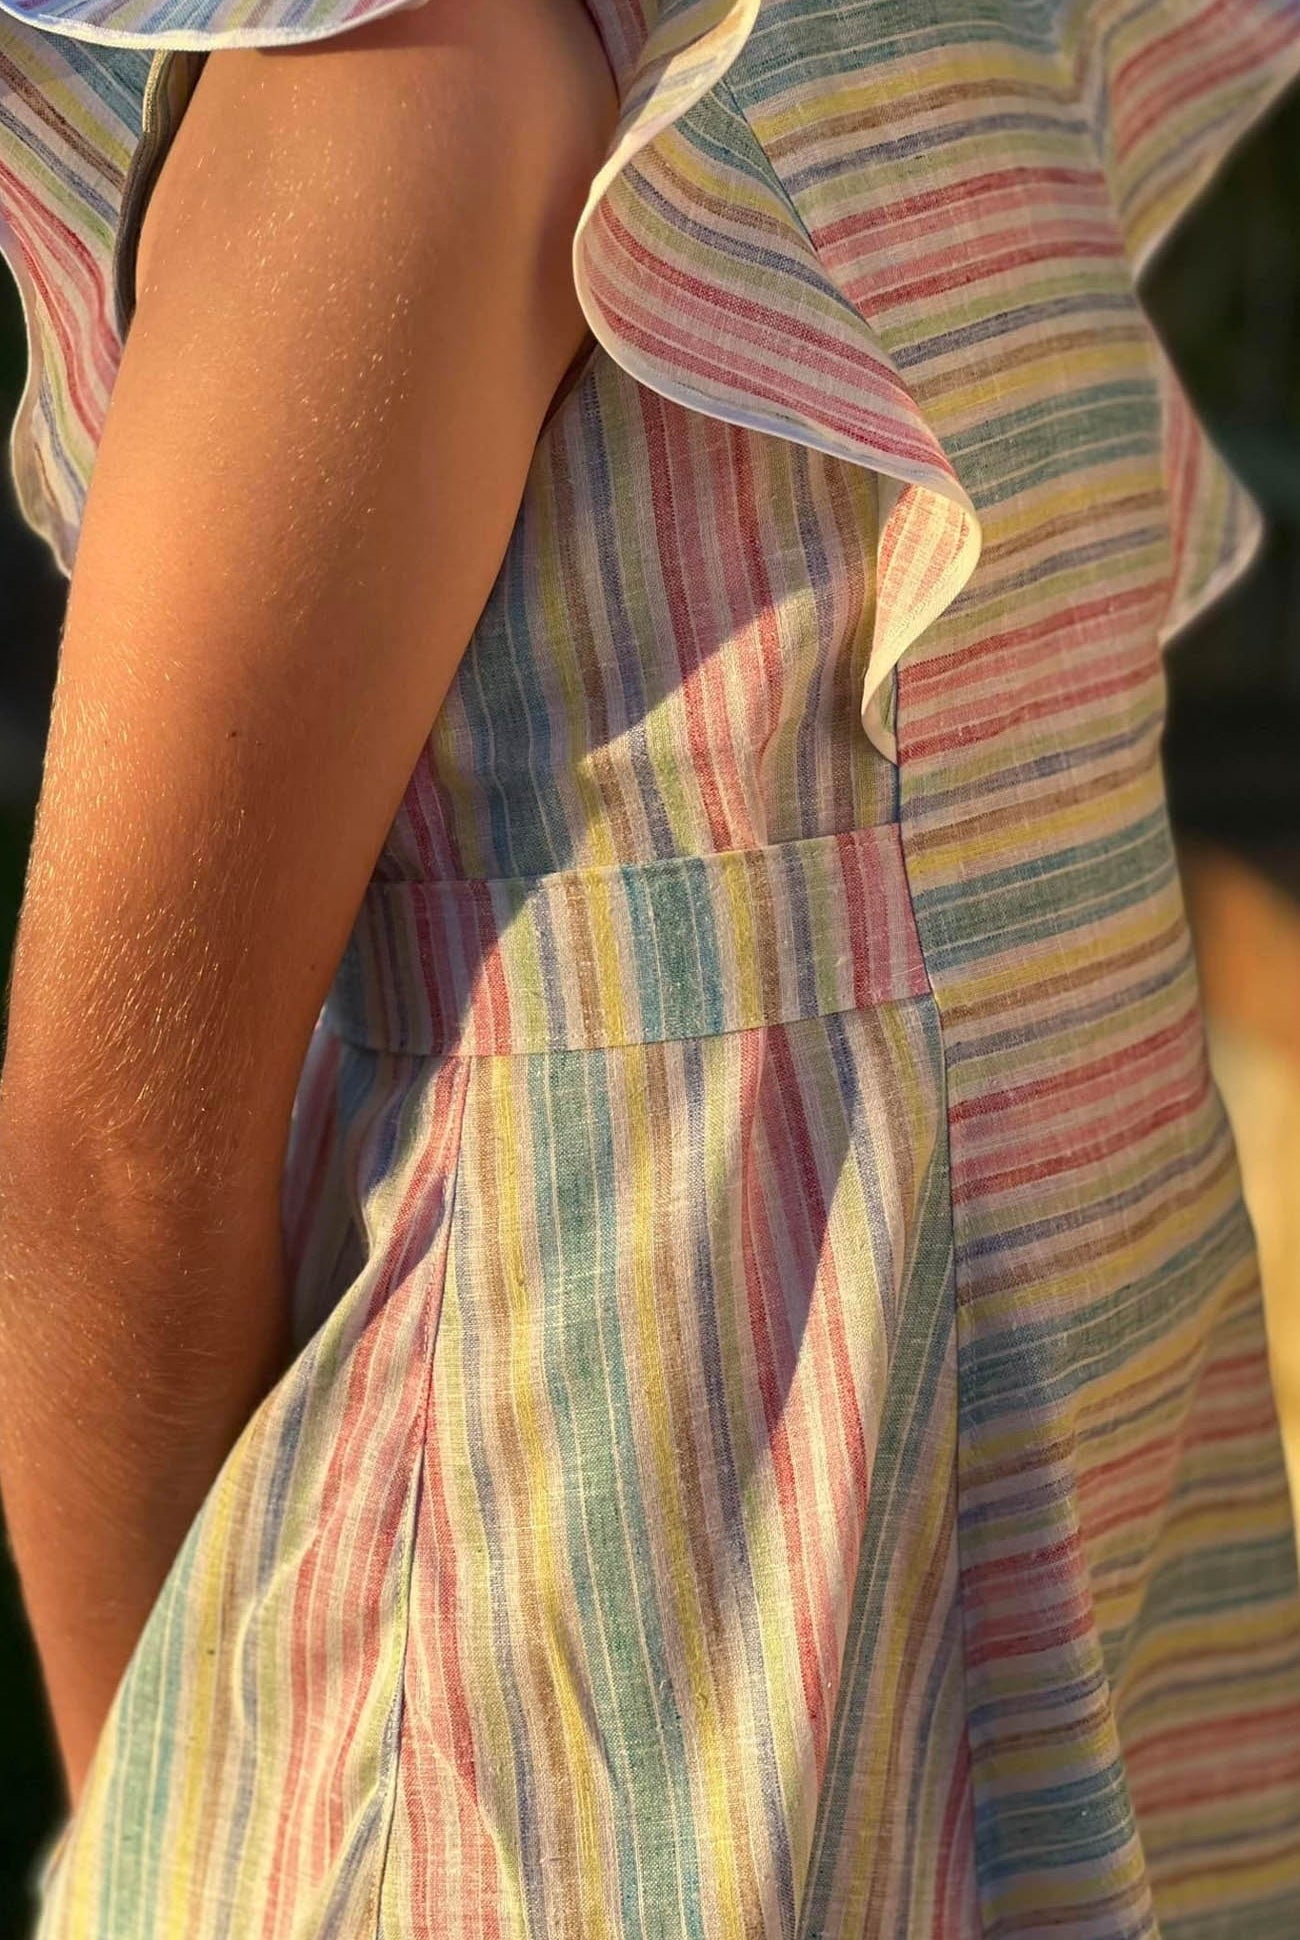
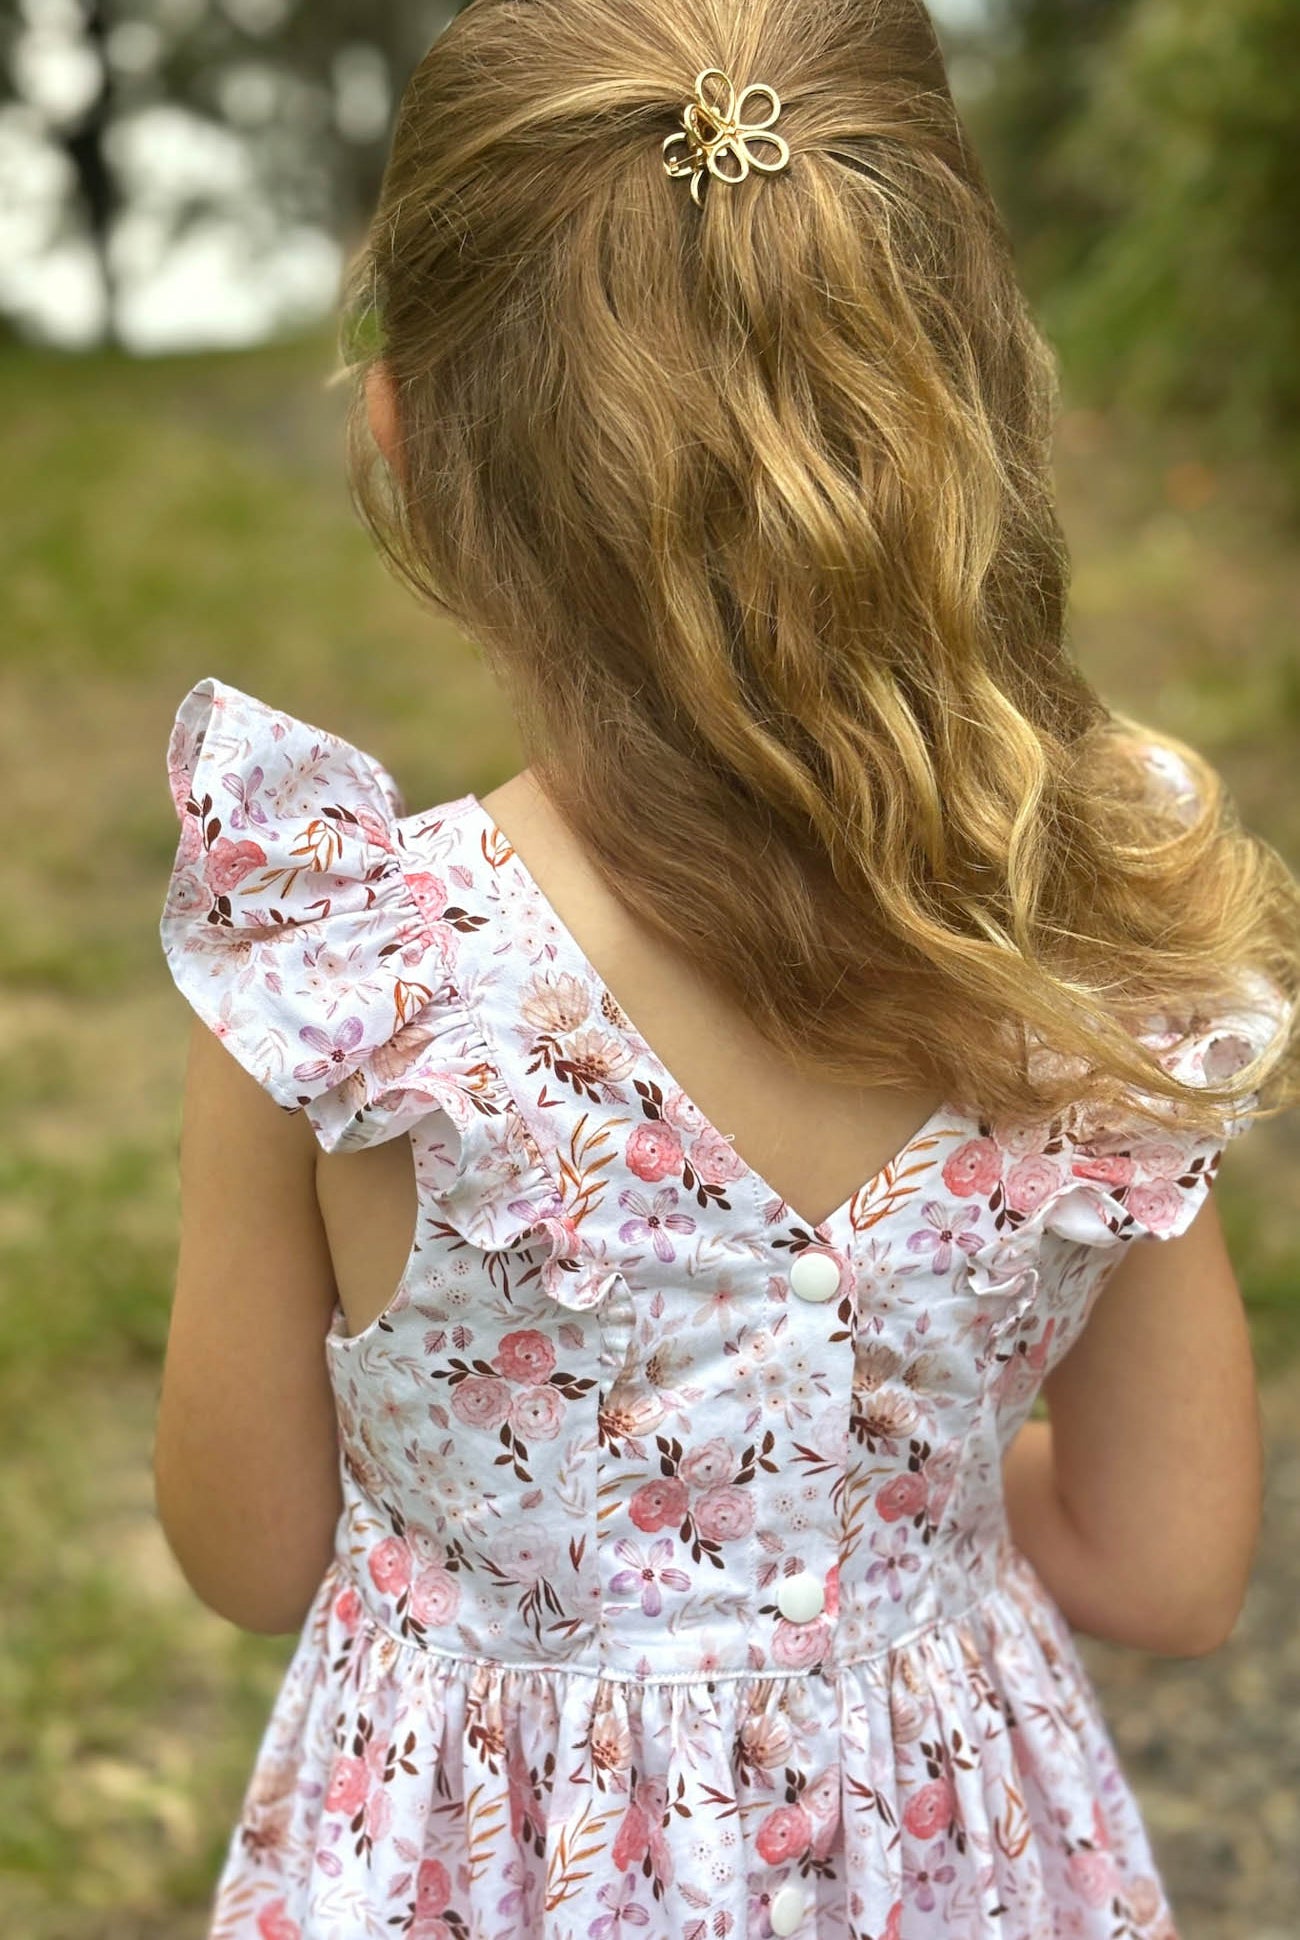
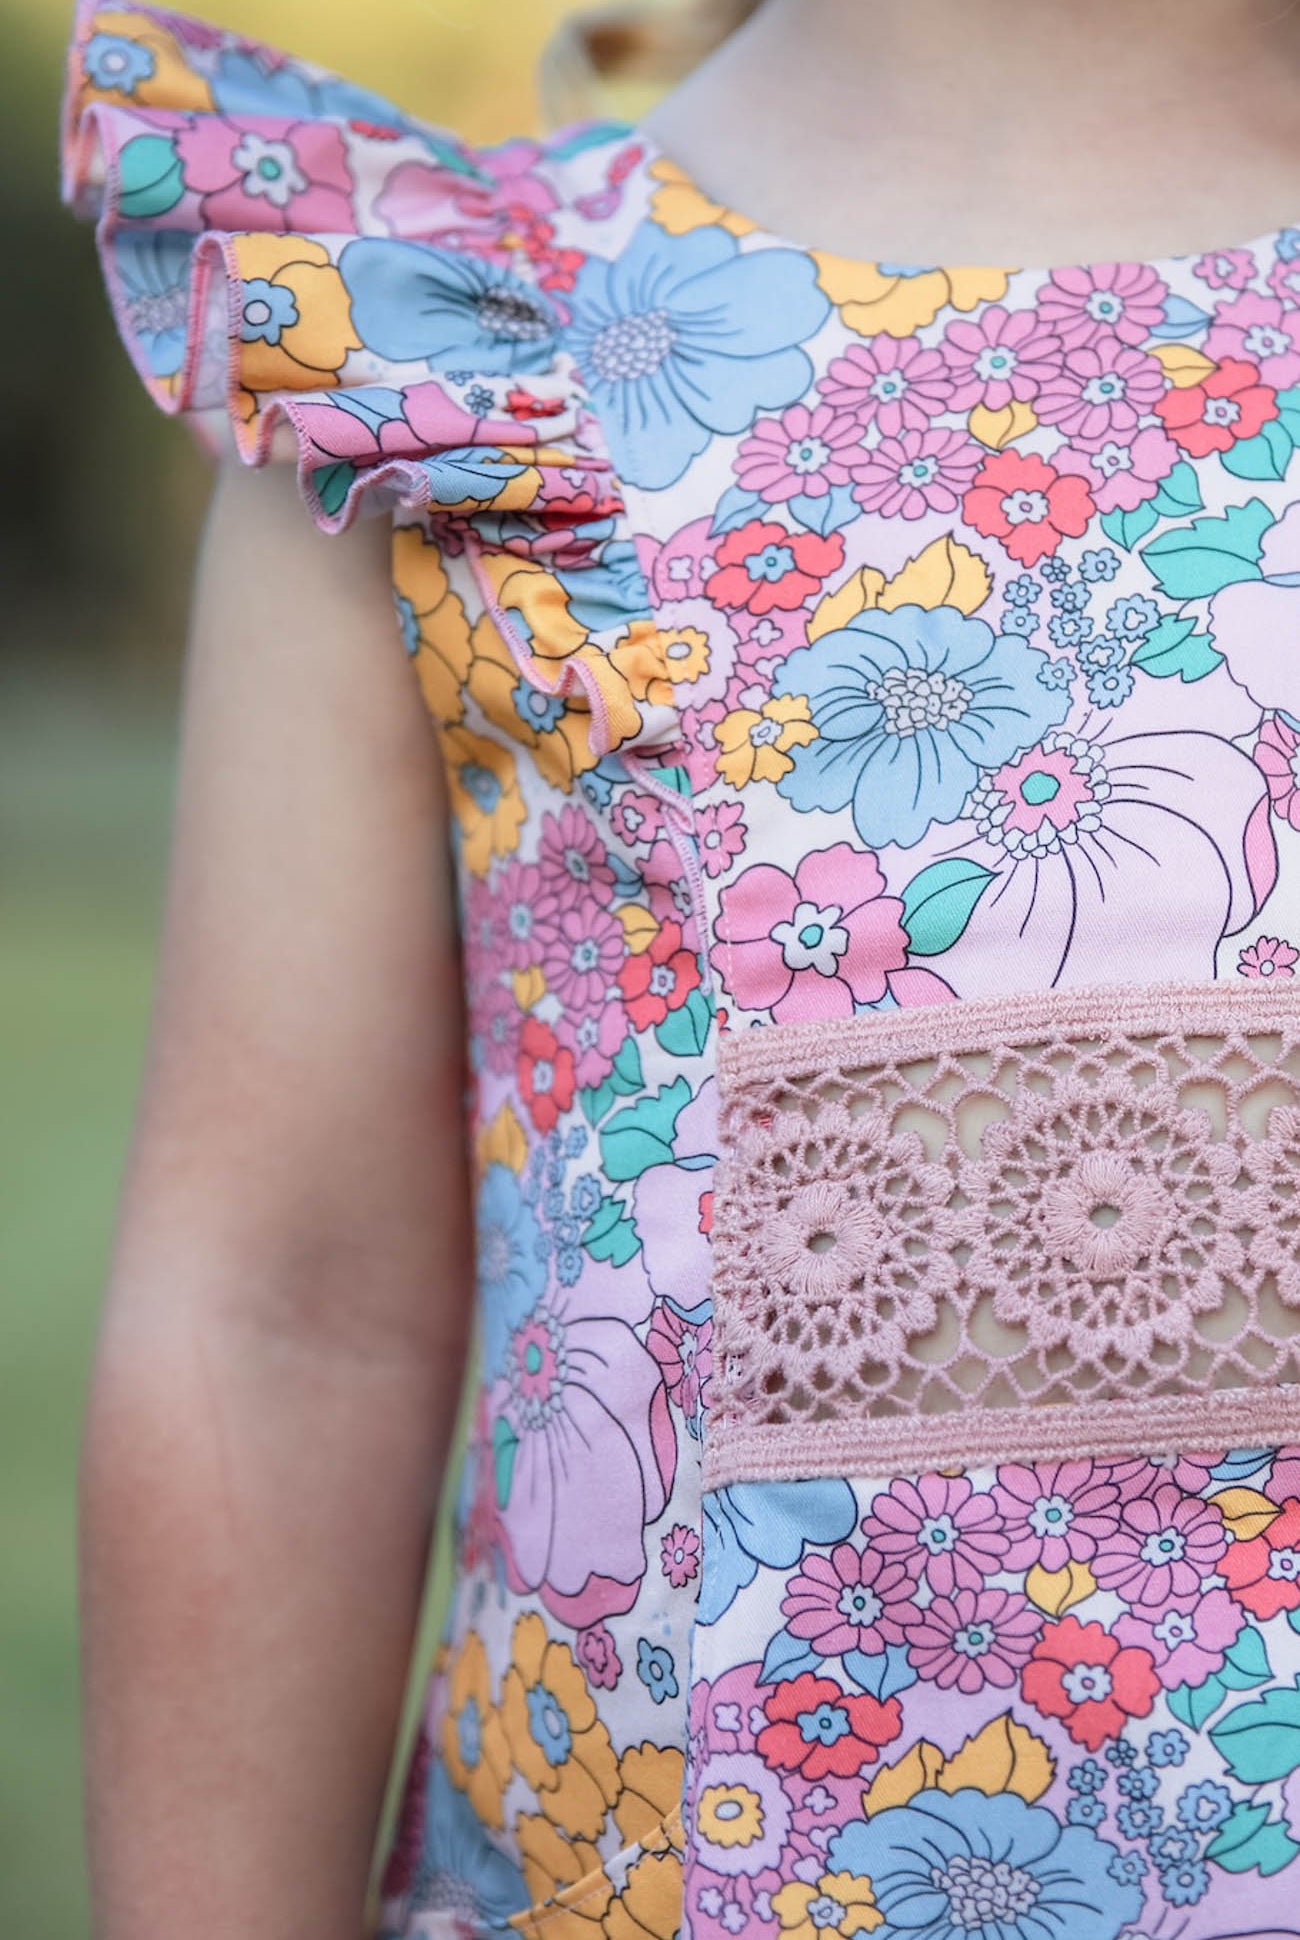
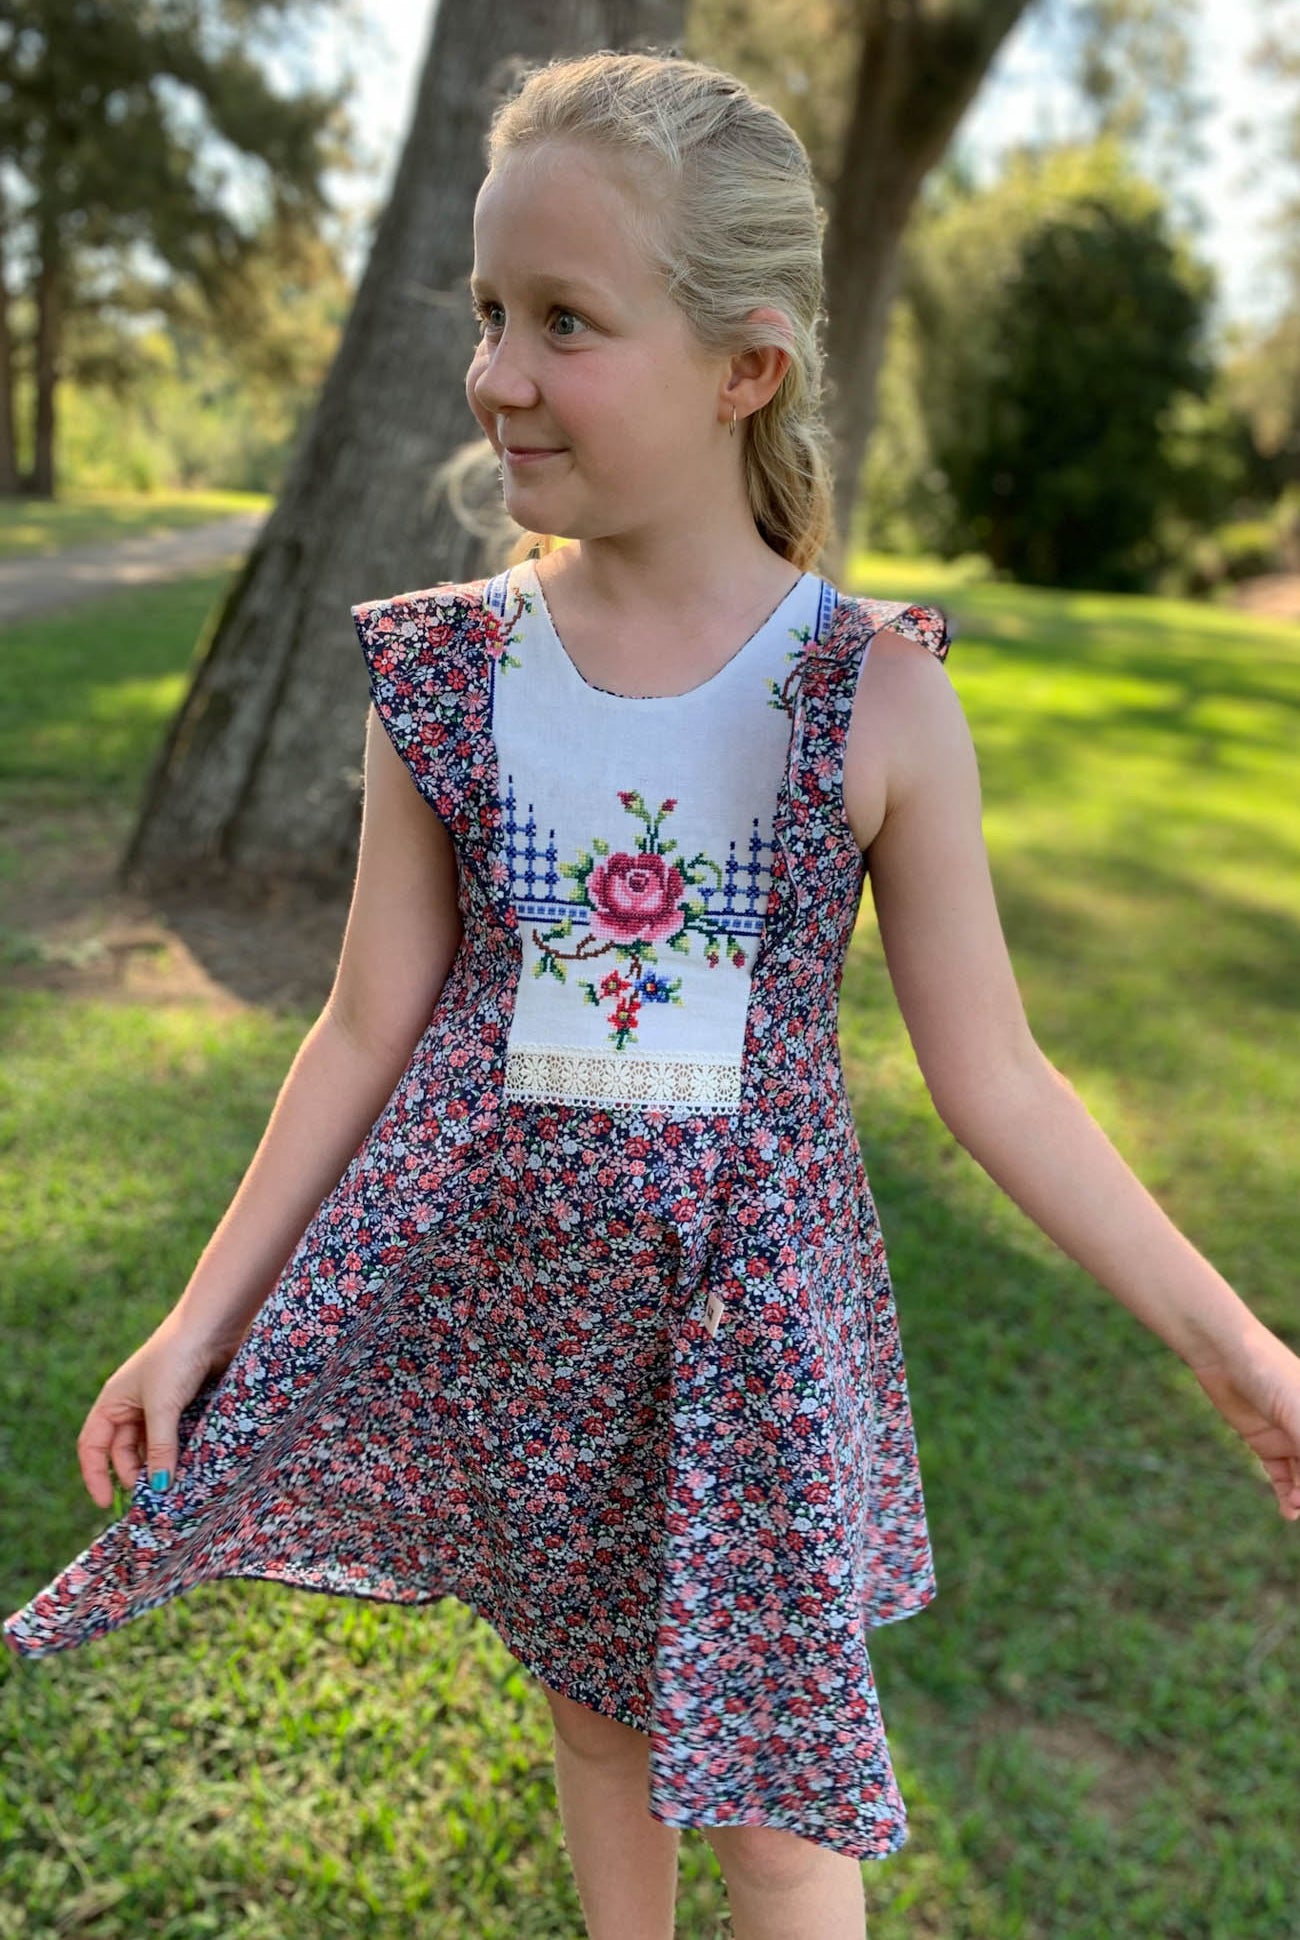
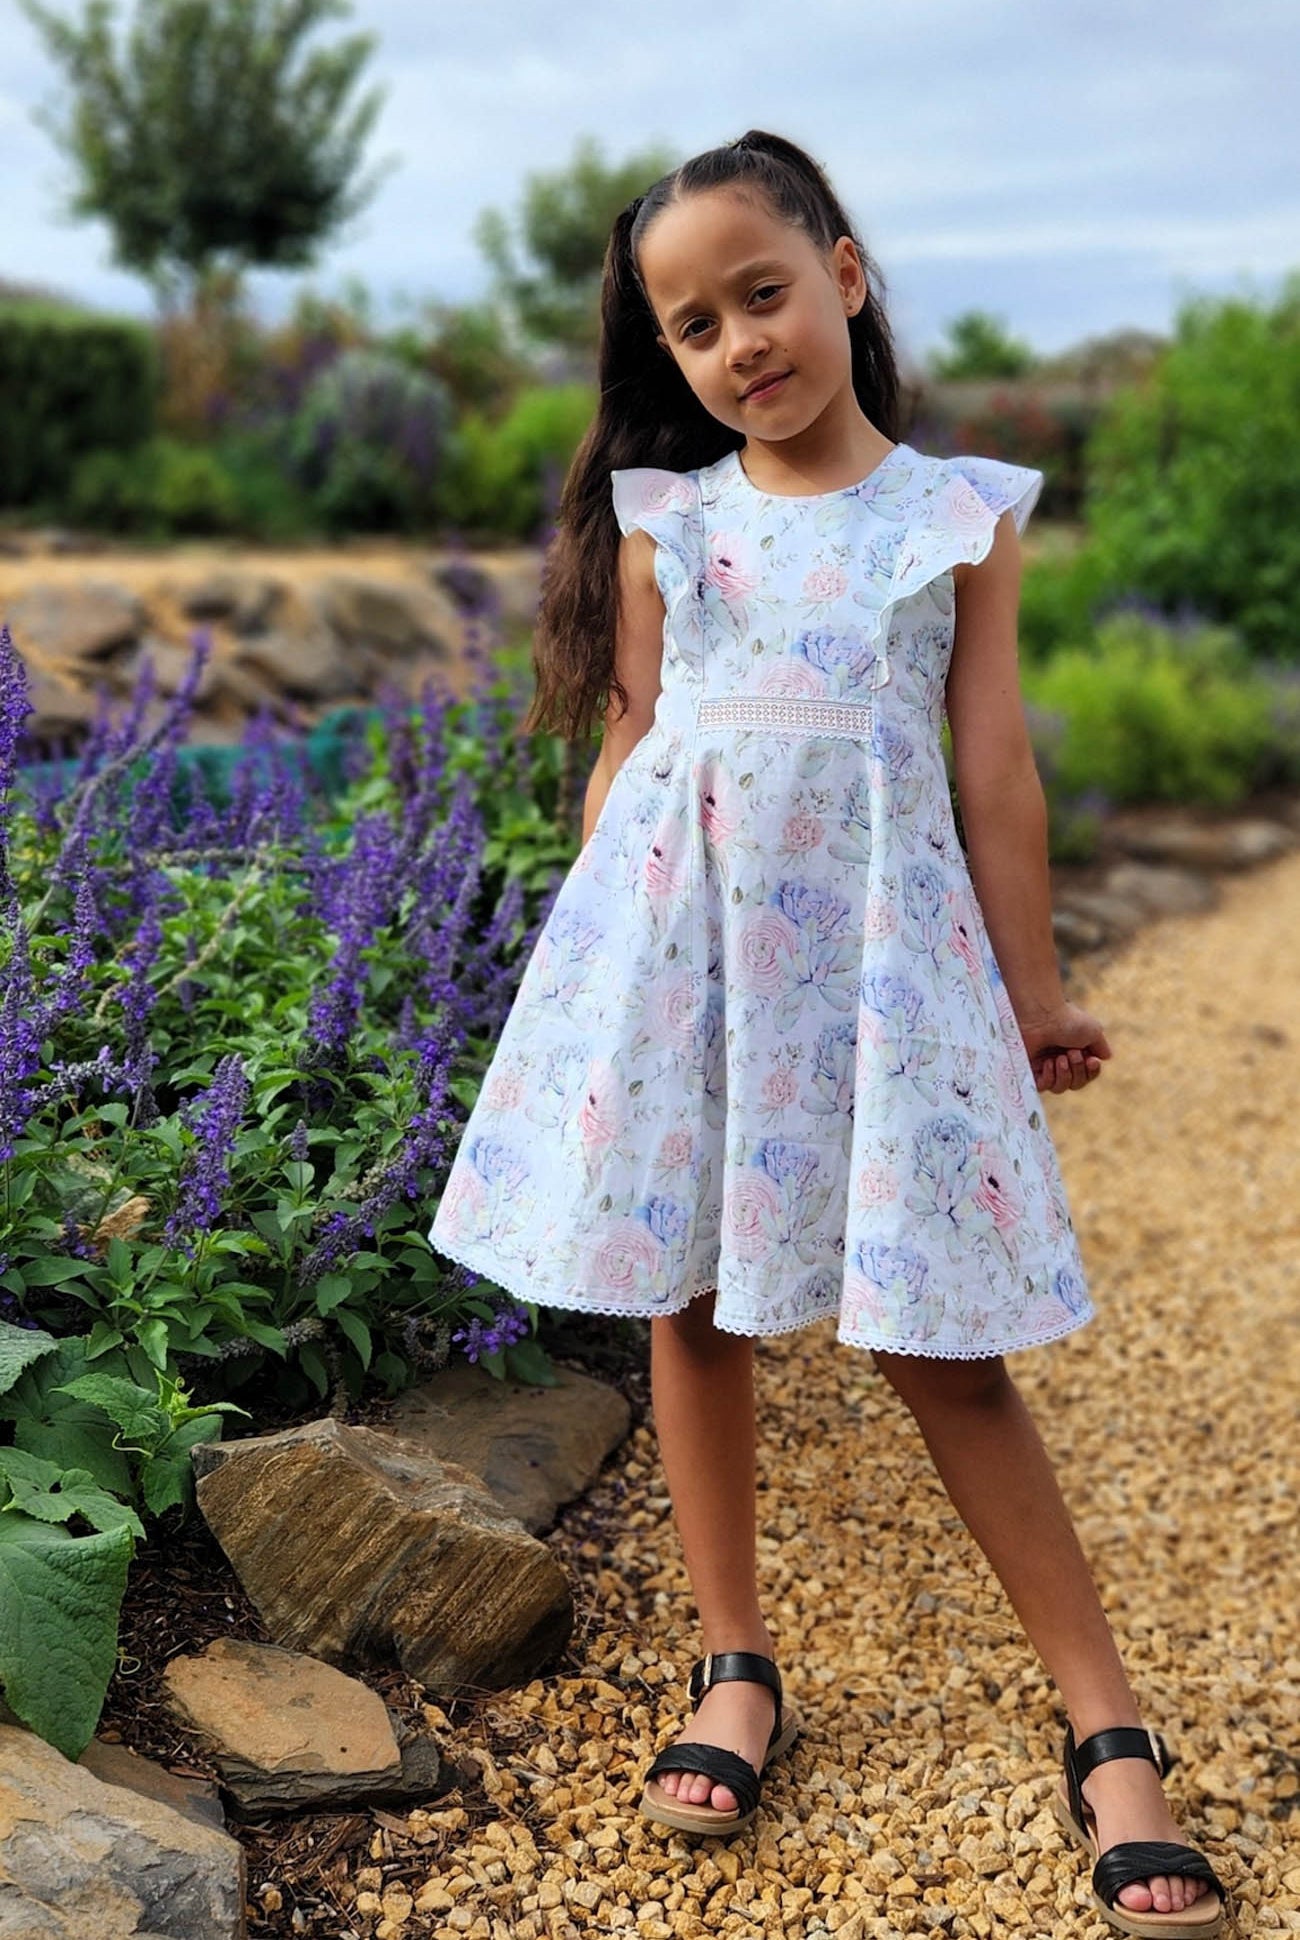
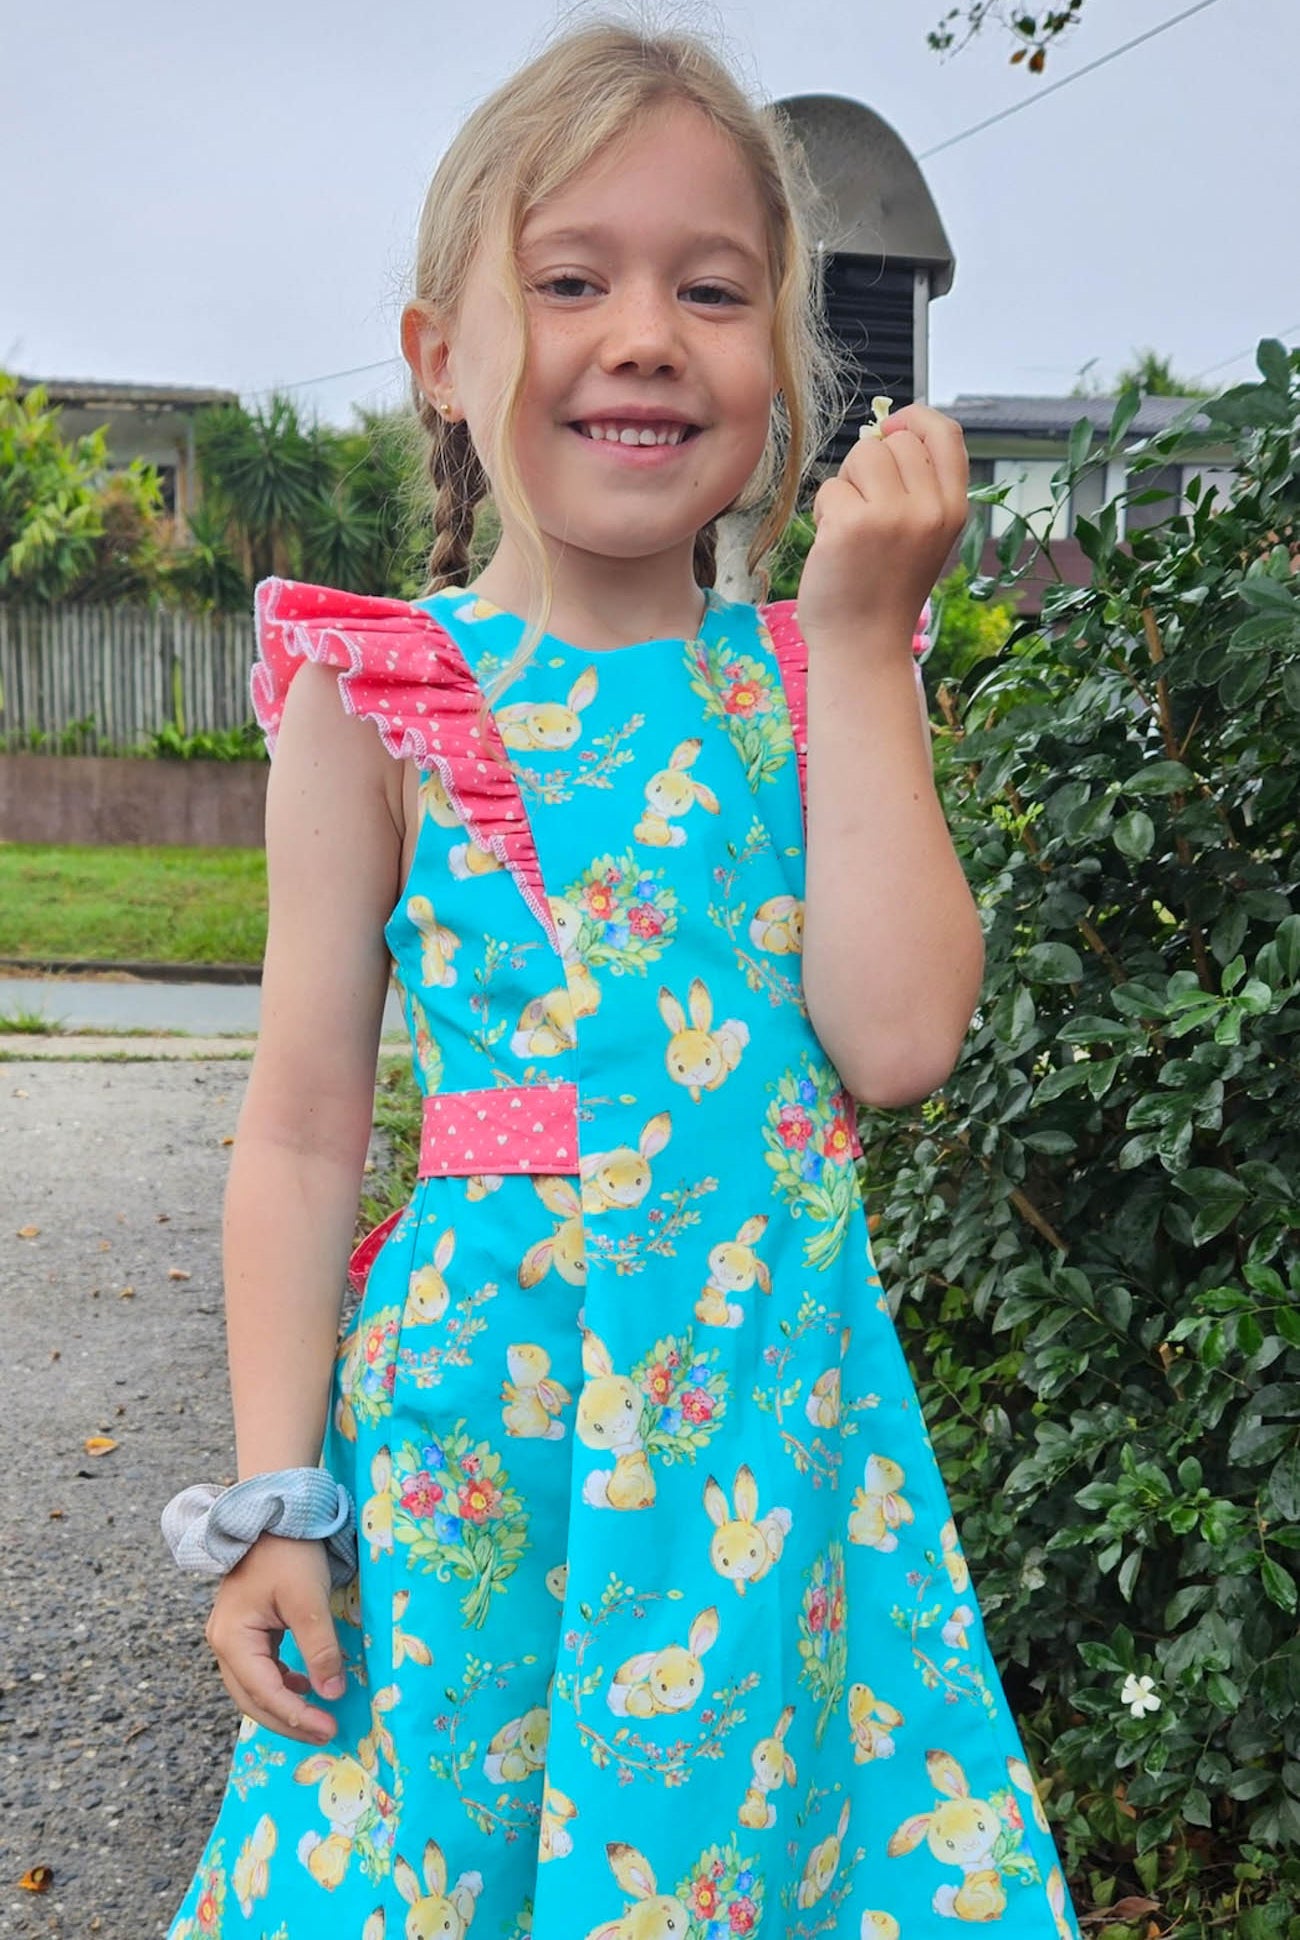
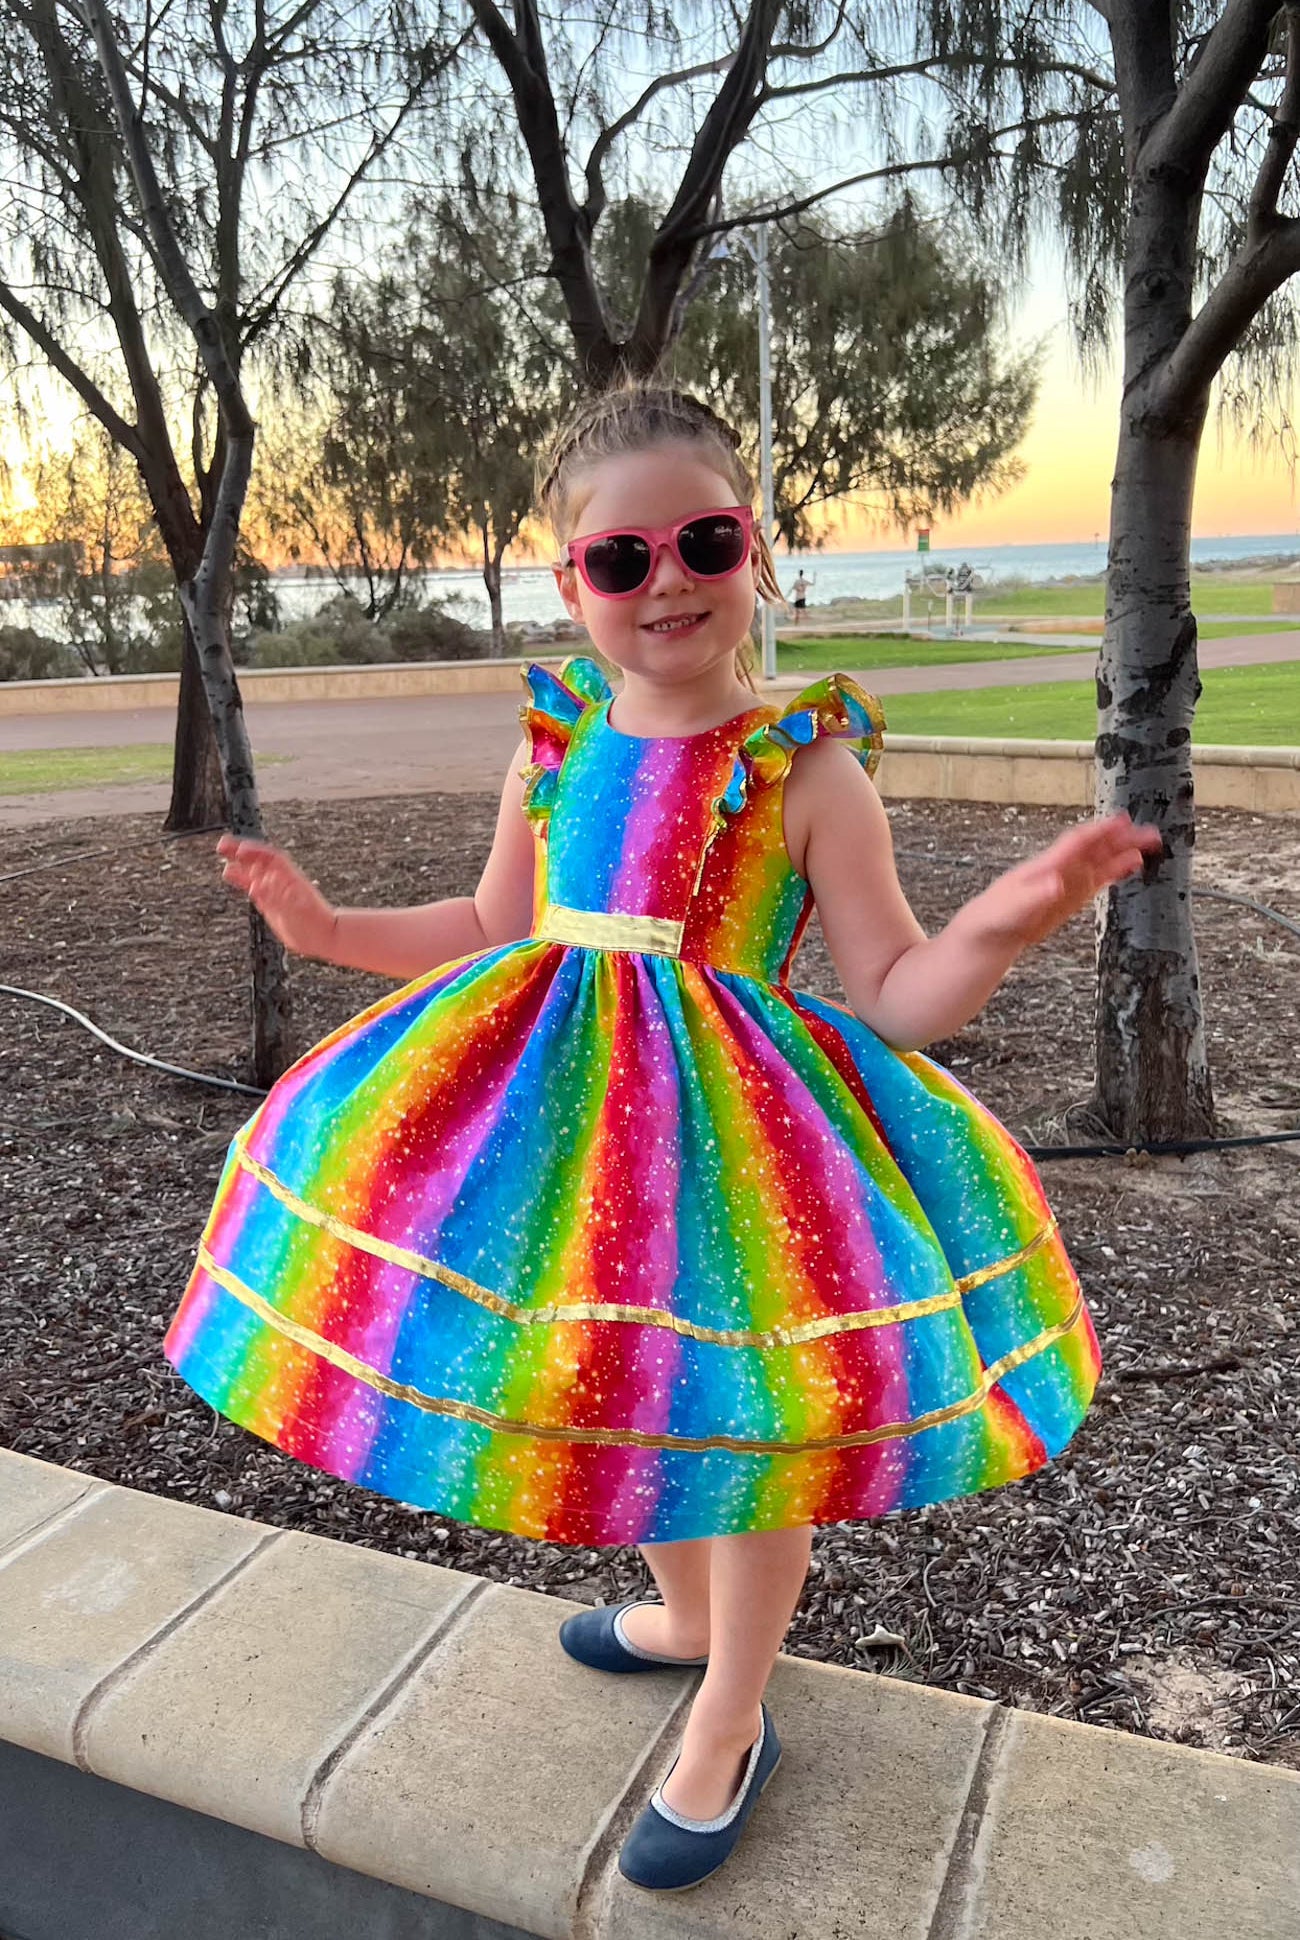
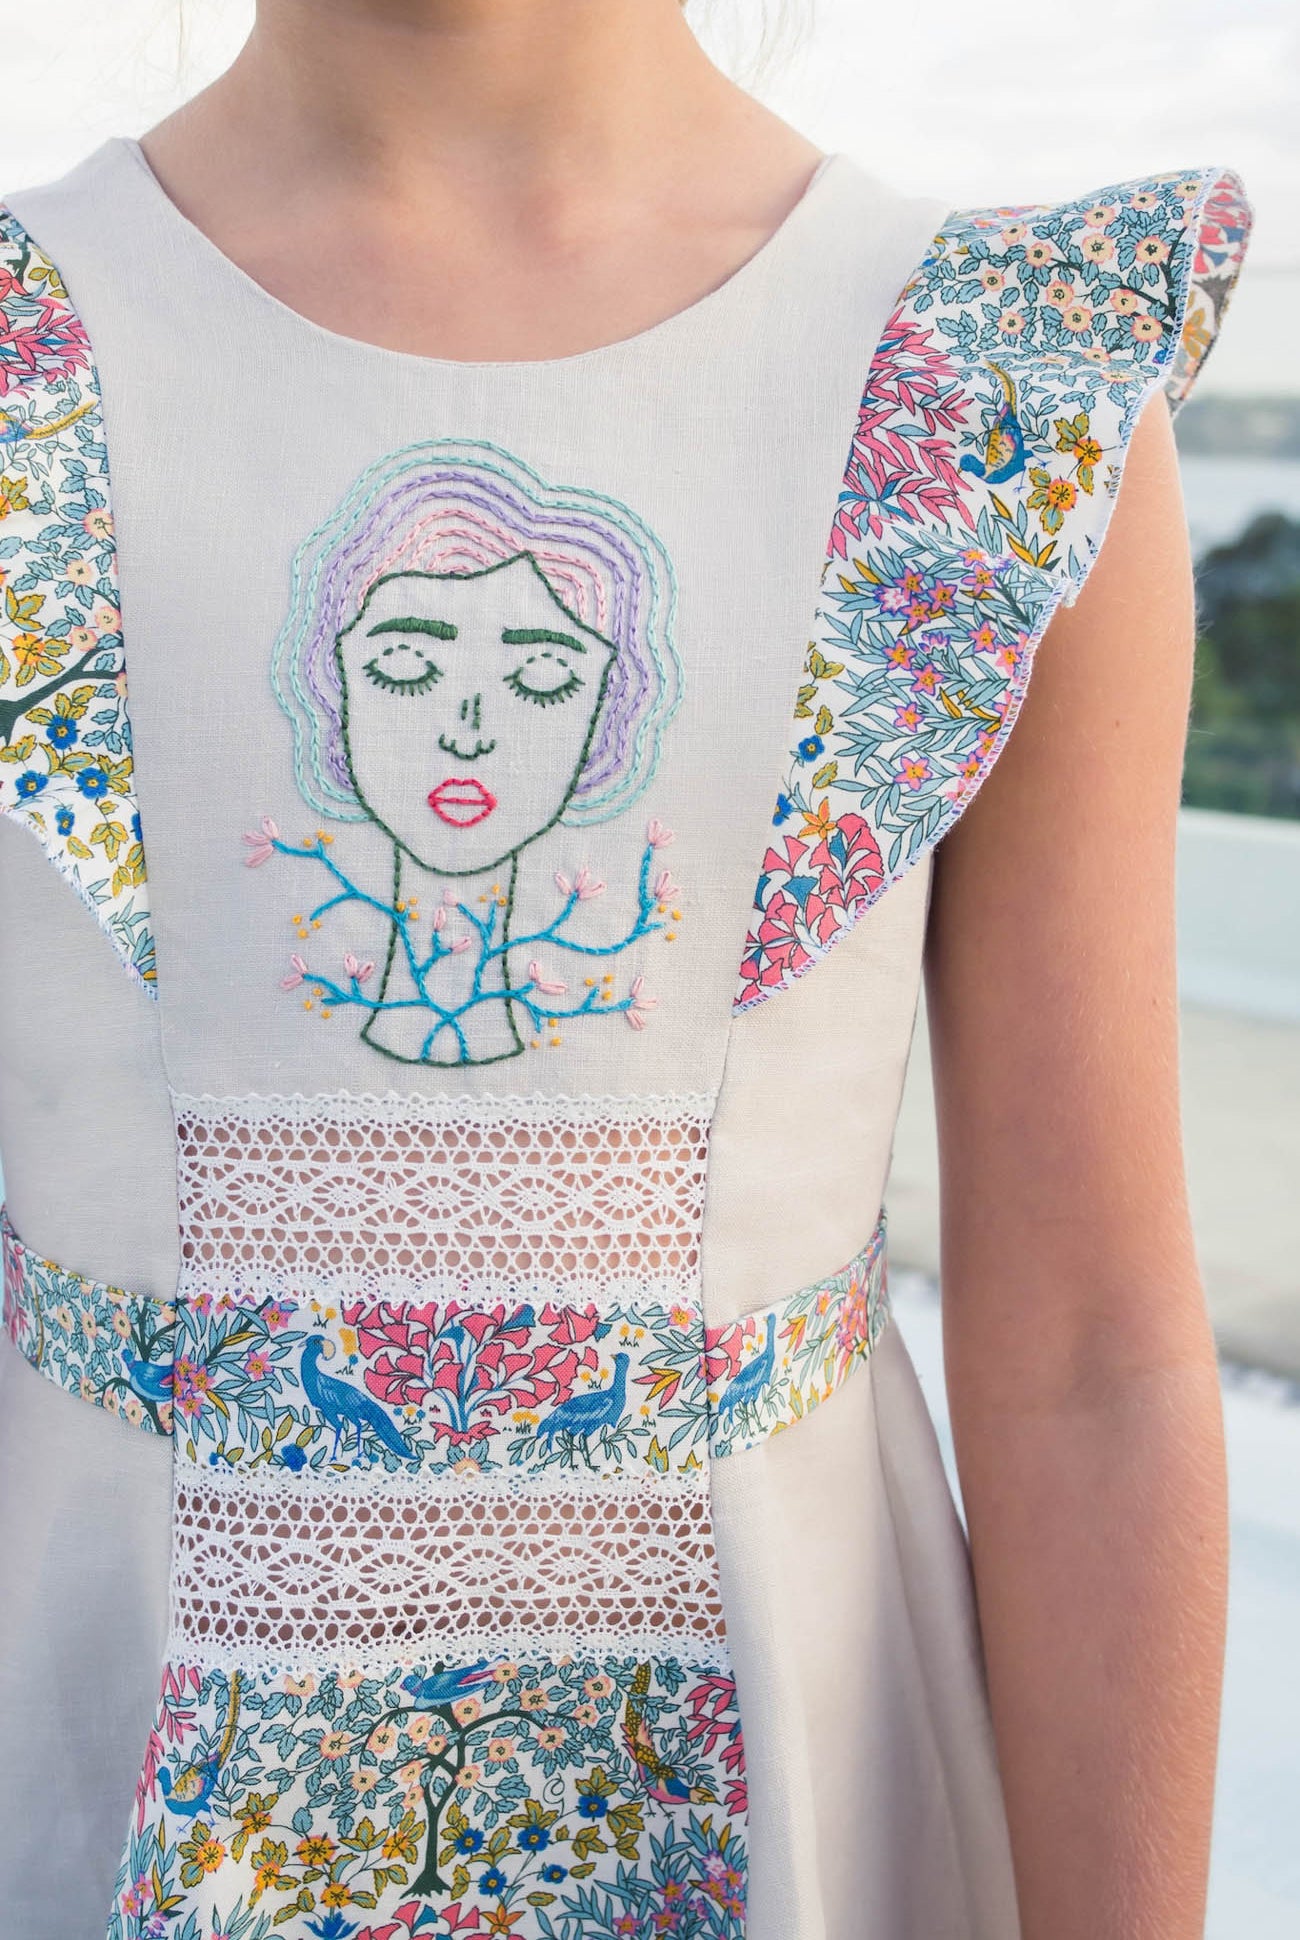
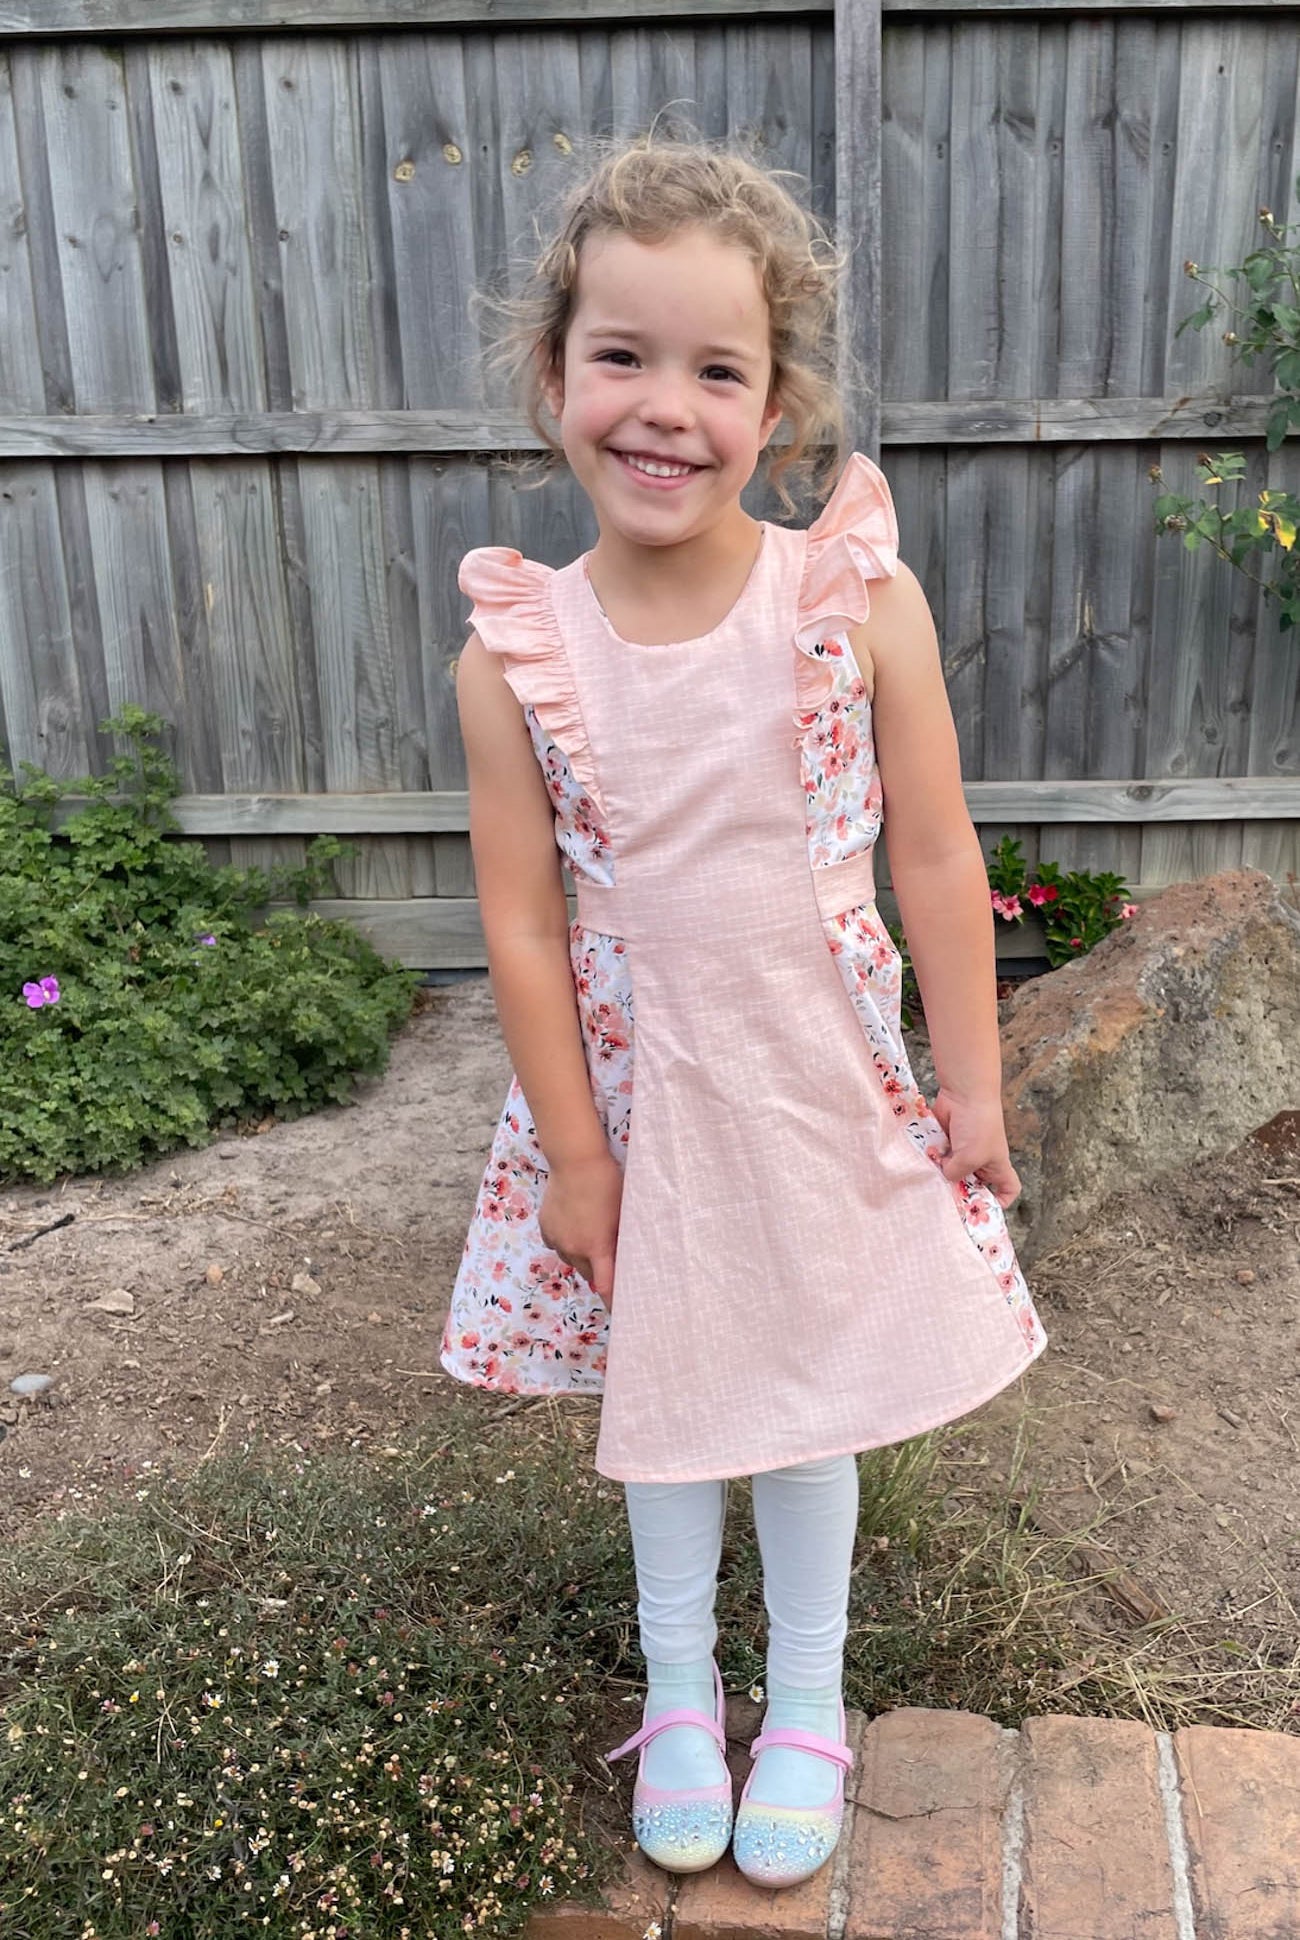
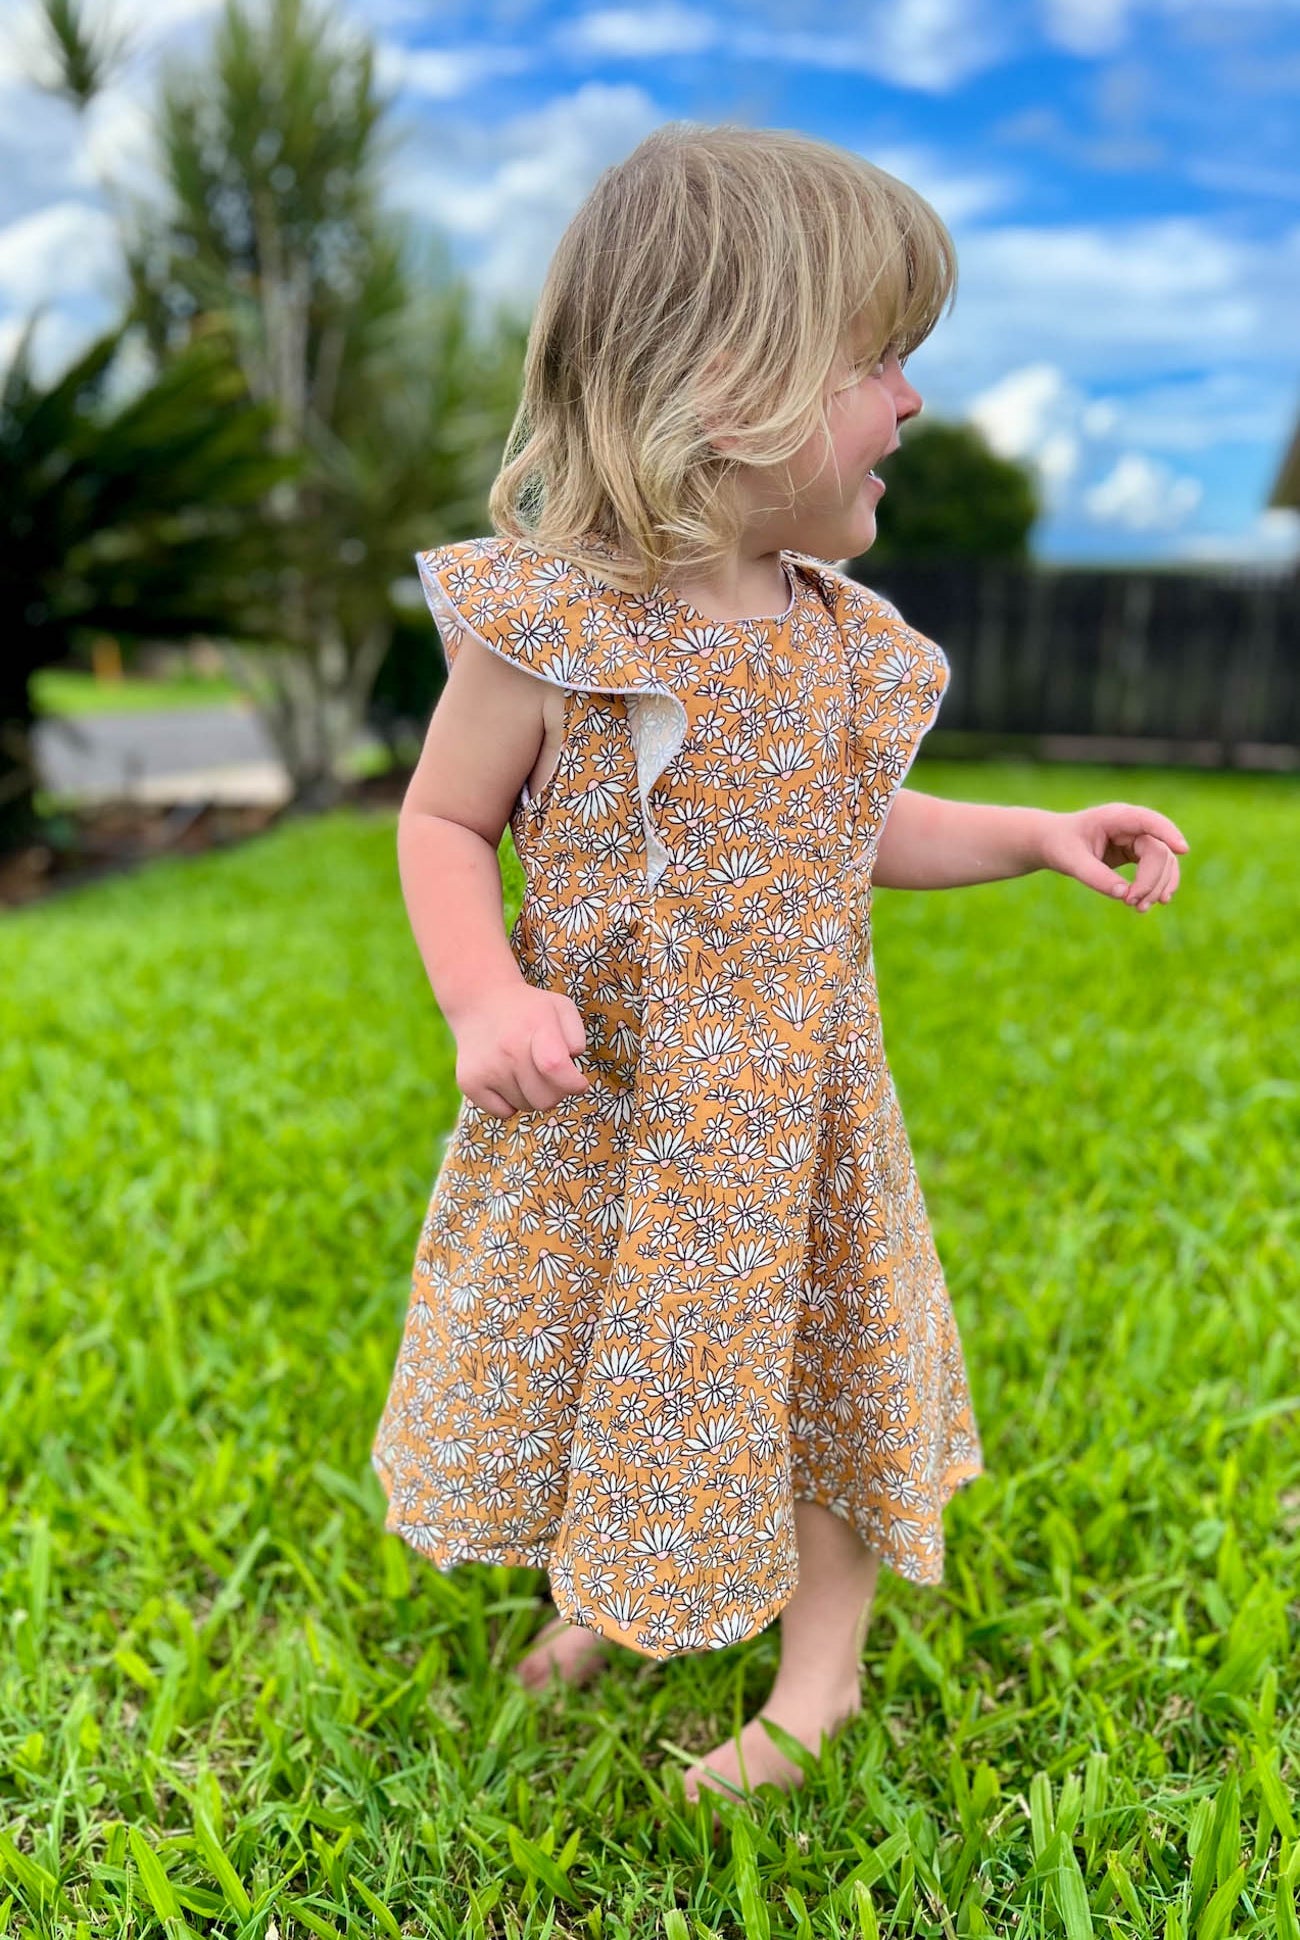
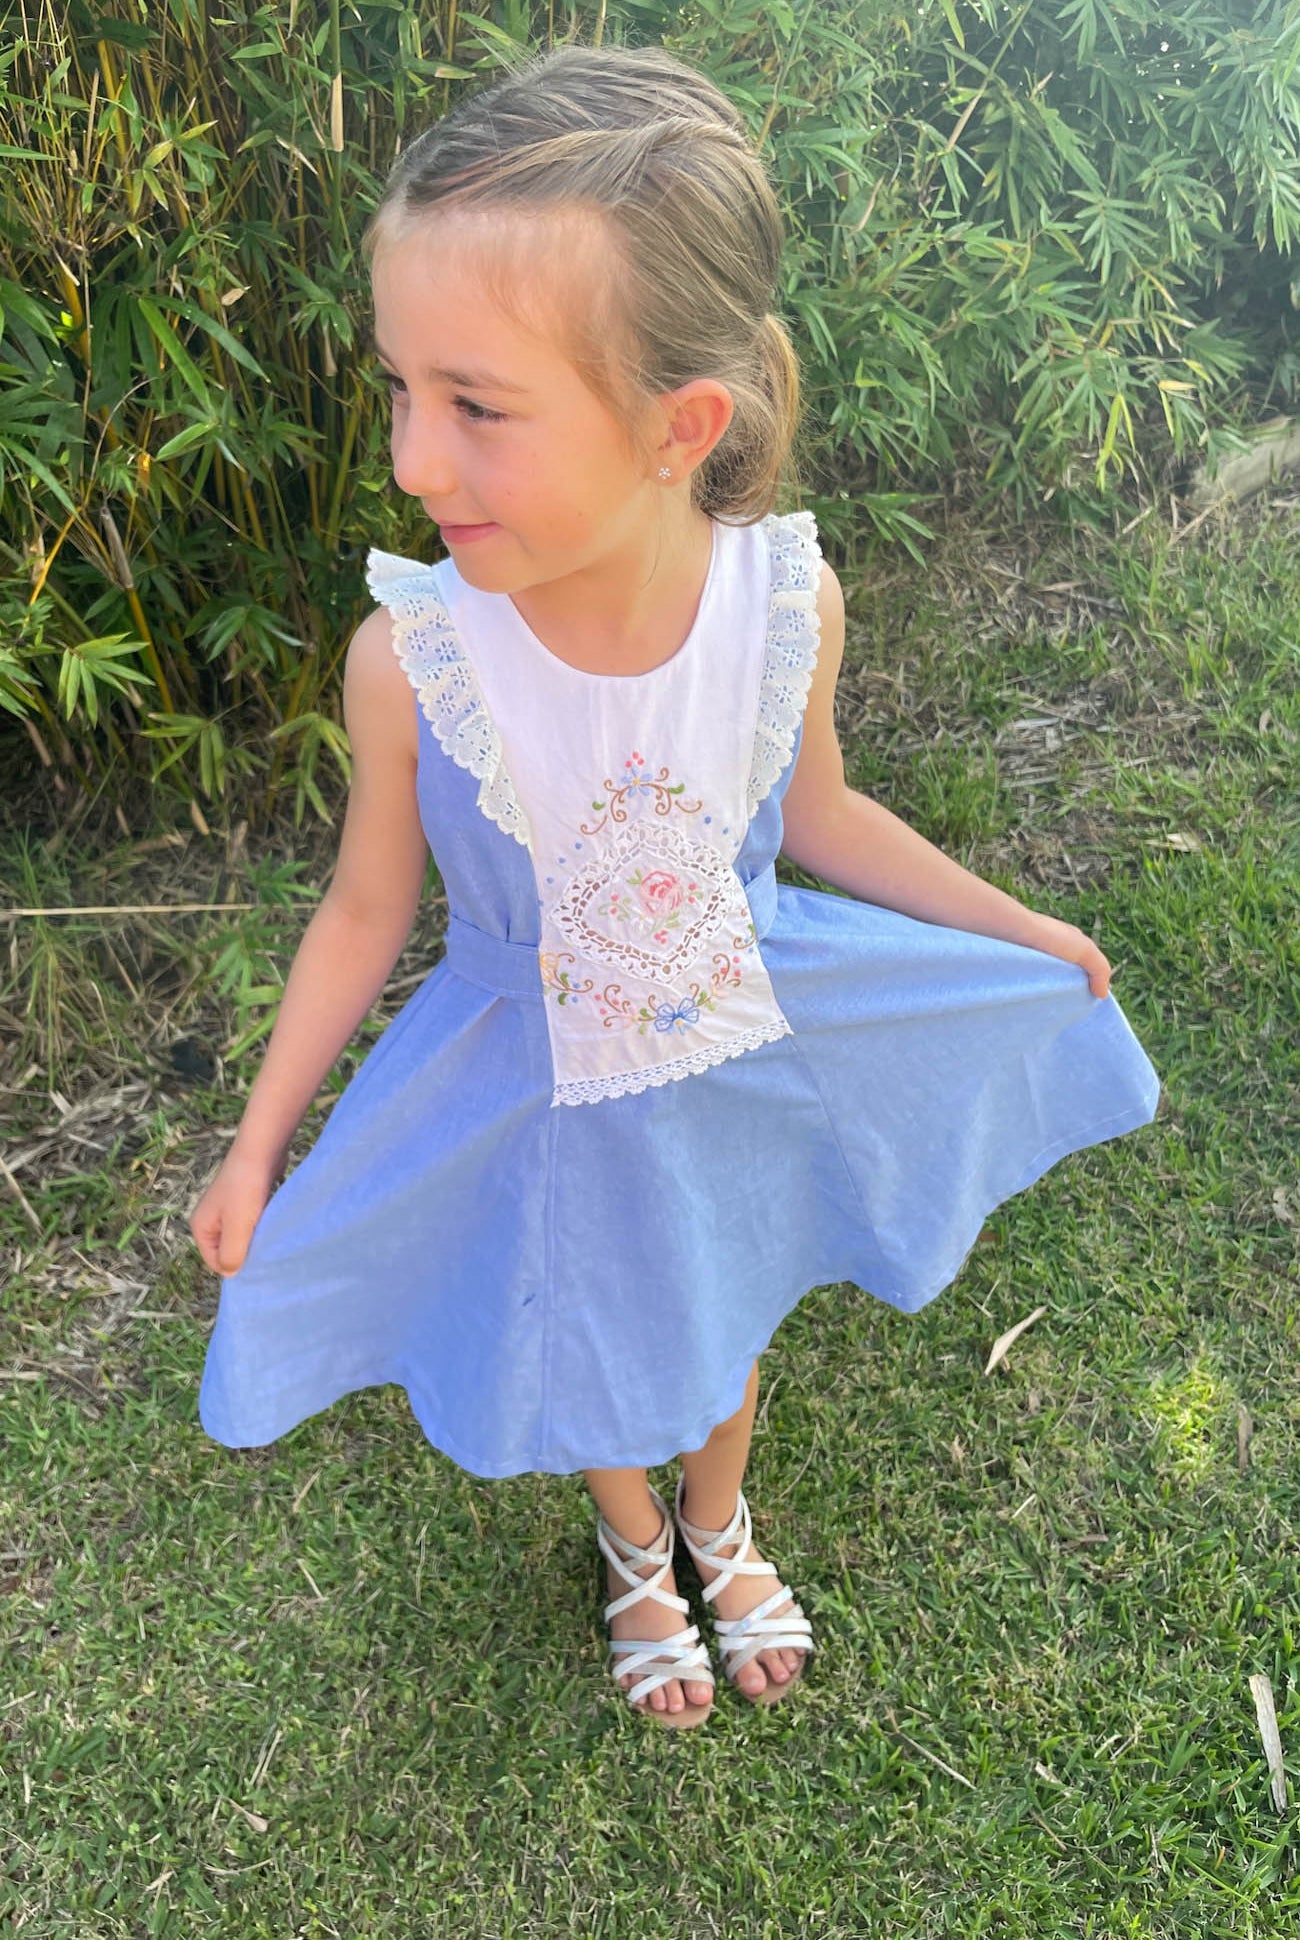
* adding a flutter - enclosed
* how to prep your pieces for an alternative skirt attachment - if you struggle catching all the lining fabric on the inside, you may want to stick around for this one :-)
Today is going to be a long day! Let's start with a video
Once you're done with that - iron your shoulder seams flat
Press up your lining 3/8' for both the front and back pieces
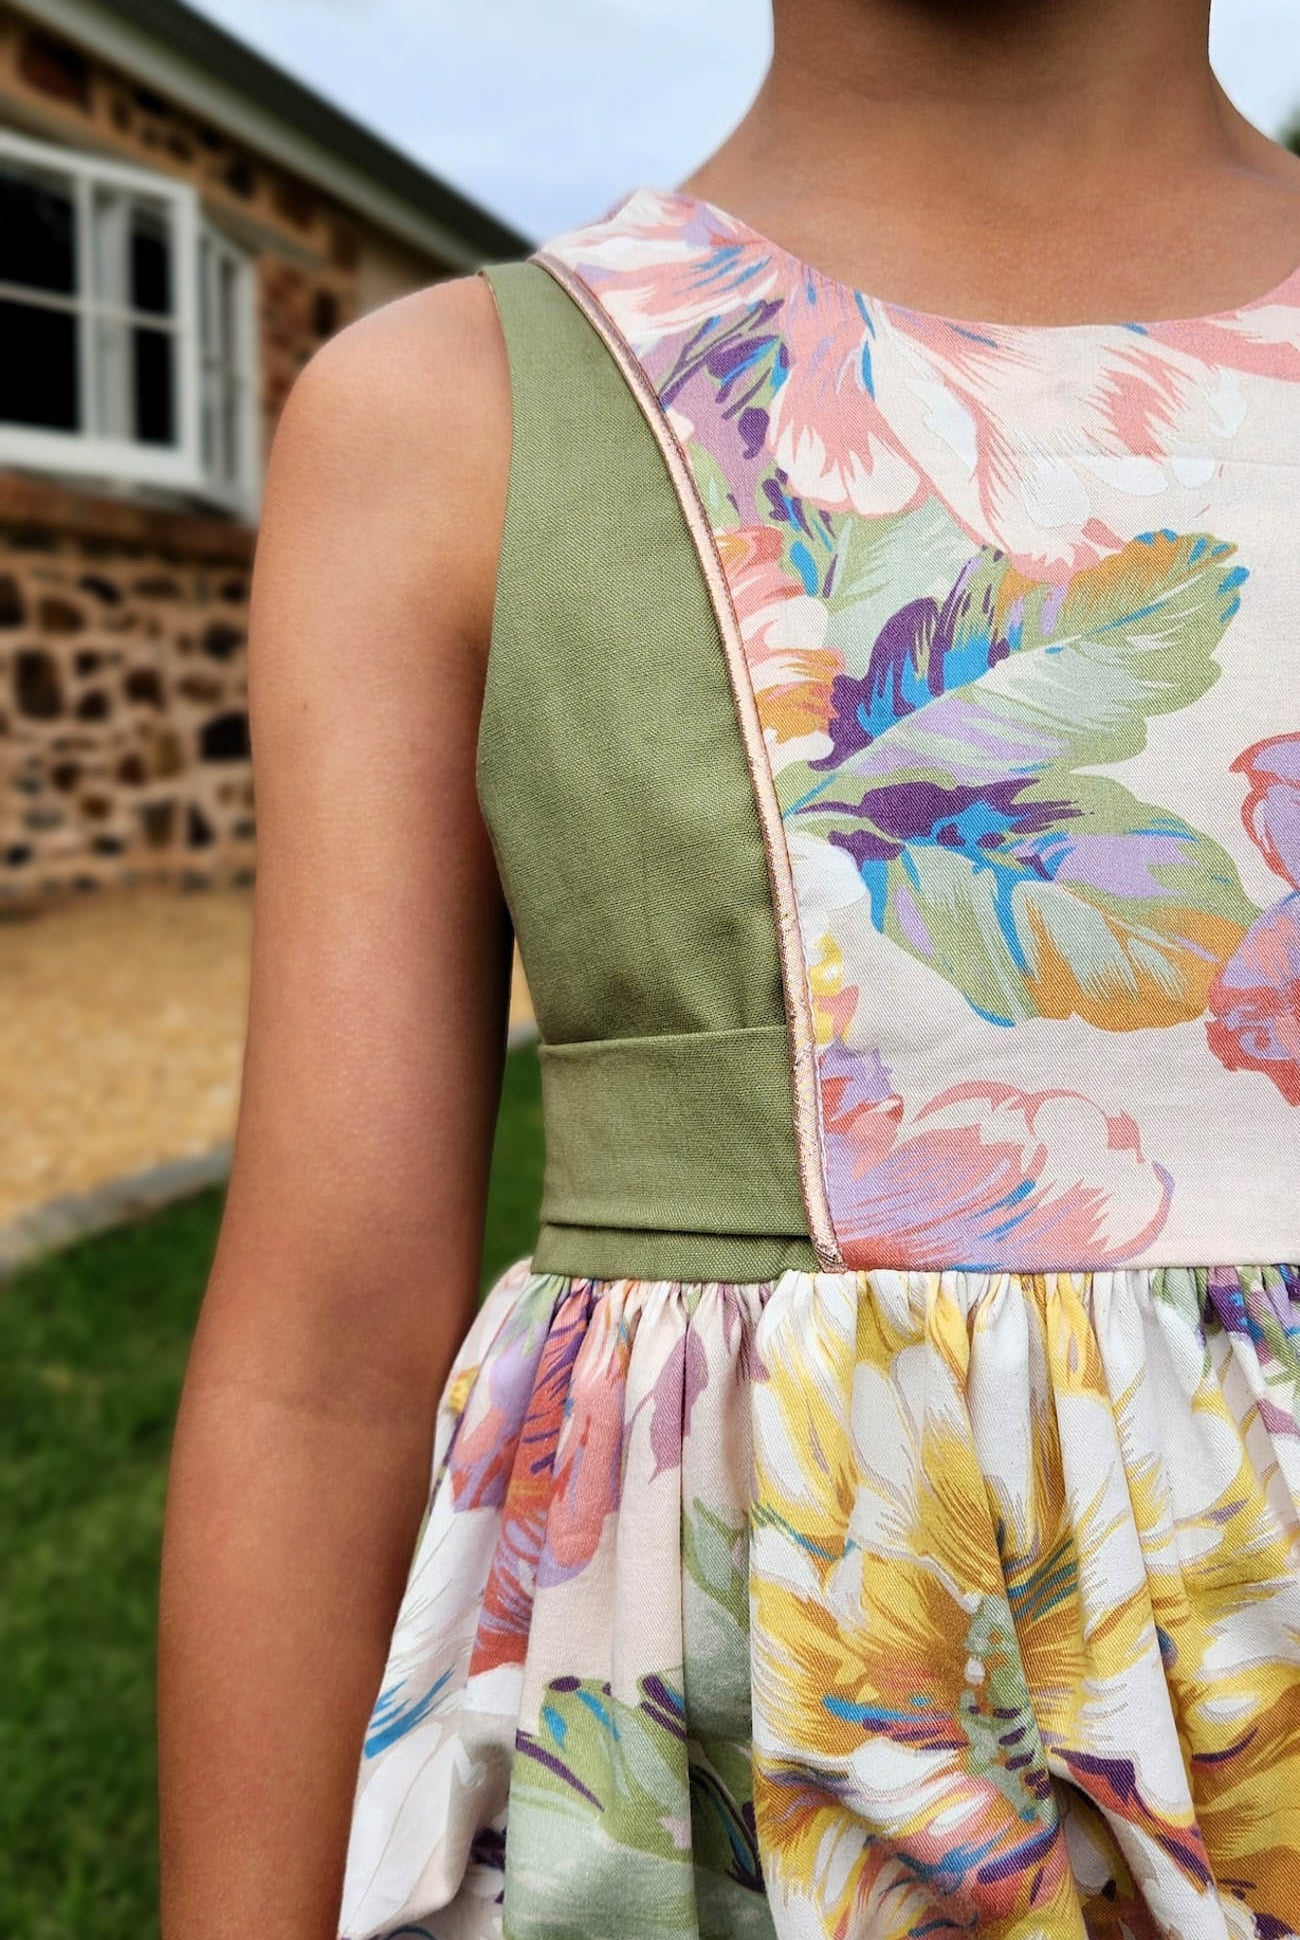
* NOTE: If you want to try the alternative bodice attachment press up the OUTER pieces instead of the lining.
If your making flutters or sleeves put a gather stitch in them, mark the center with a pen or pin and now pin that Center to your shoulder seam, line up the ends of your sleeve with the armhole of the bodice and pin and then pull your gather threads to fit.
I like to put a pin at the 1.5" mark where I'm going to leave it open - repeat for the other side
Same deal with the flutter, except you'll line the edges up with the notches on the pattern for flutter placement. If you're like me and adding flutters to the bigger sizes - eyeball the spot you'd like them to go and then make the same mark on the other armhole so you get them even
So, for those of you doing flutters - lay your lining on top of the outer and transfer your pins - we're going to sew the arm holes first
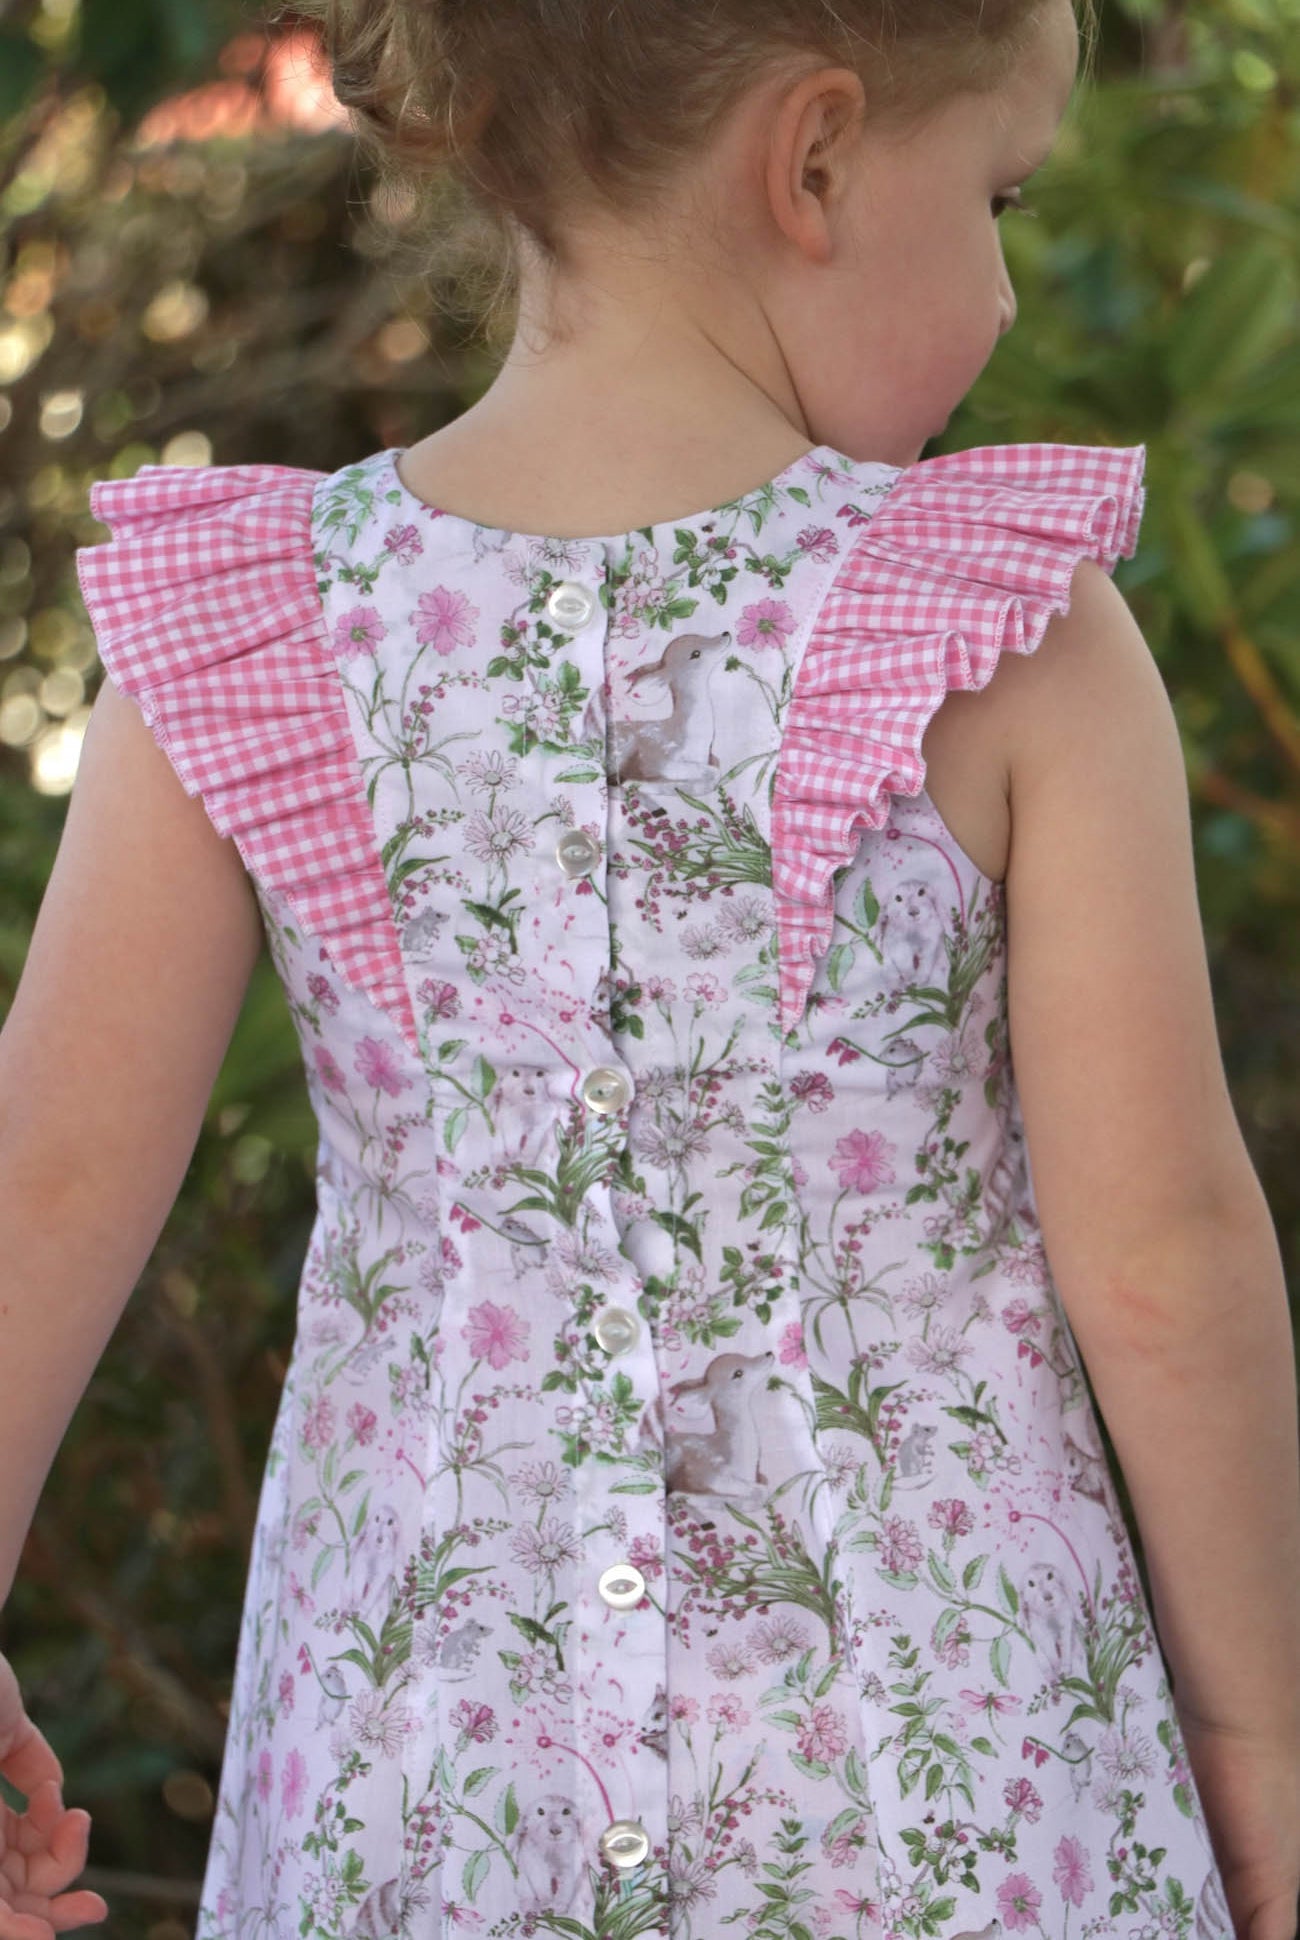
Then we're going to sew up the back/neck line - if you're doing flutters make sure you tuck them well out of the way. If you're doing sleeves - I haven't started those yet so these bits don't apply you yet
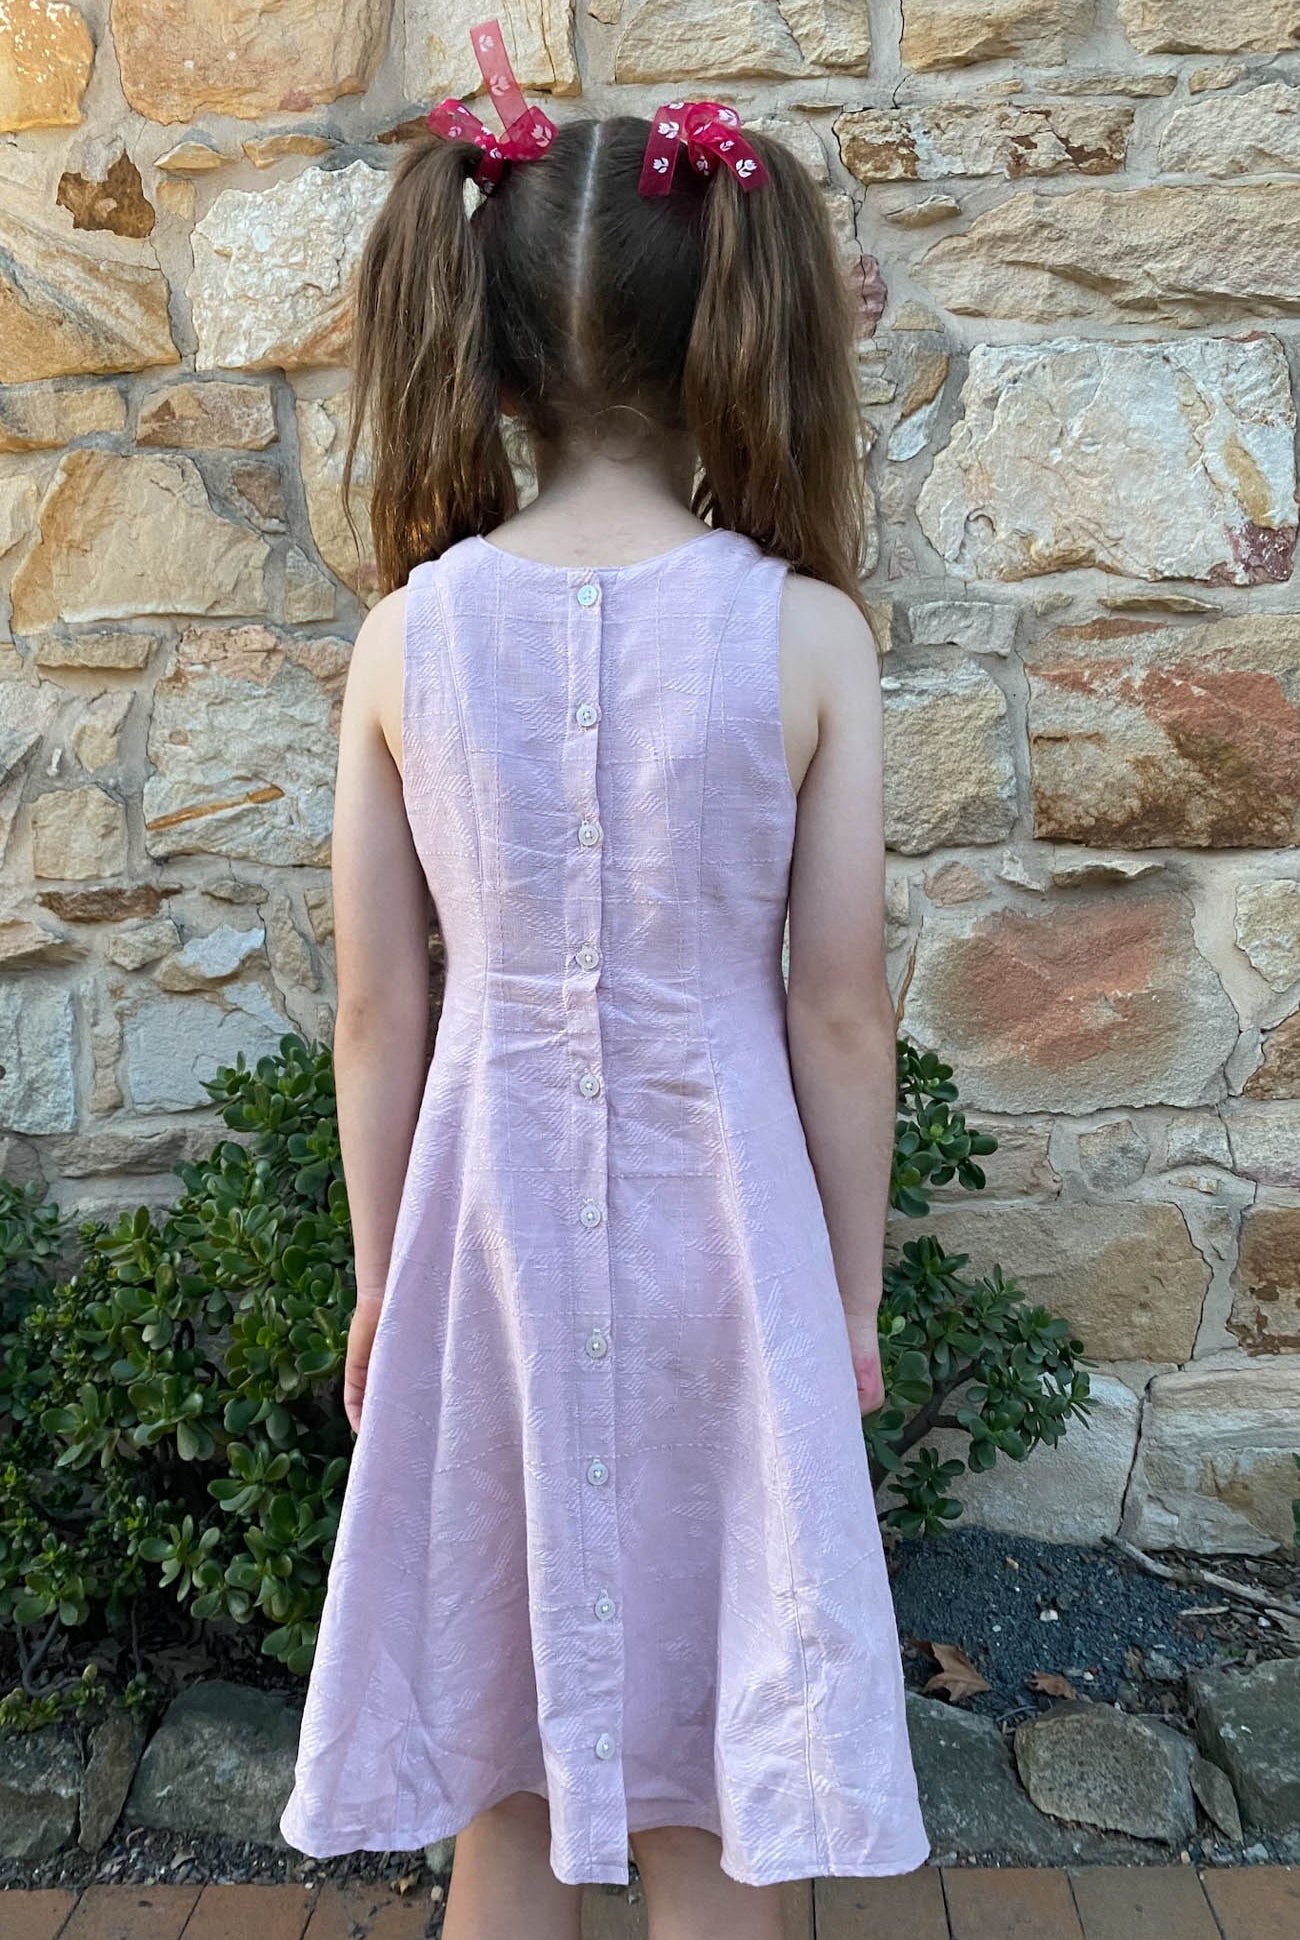
ZIP - if you're doing a zip DO NOT sew down the centre back (where my machine foot is sitting currently)
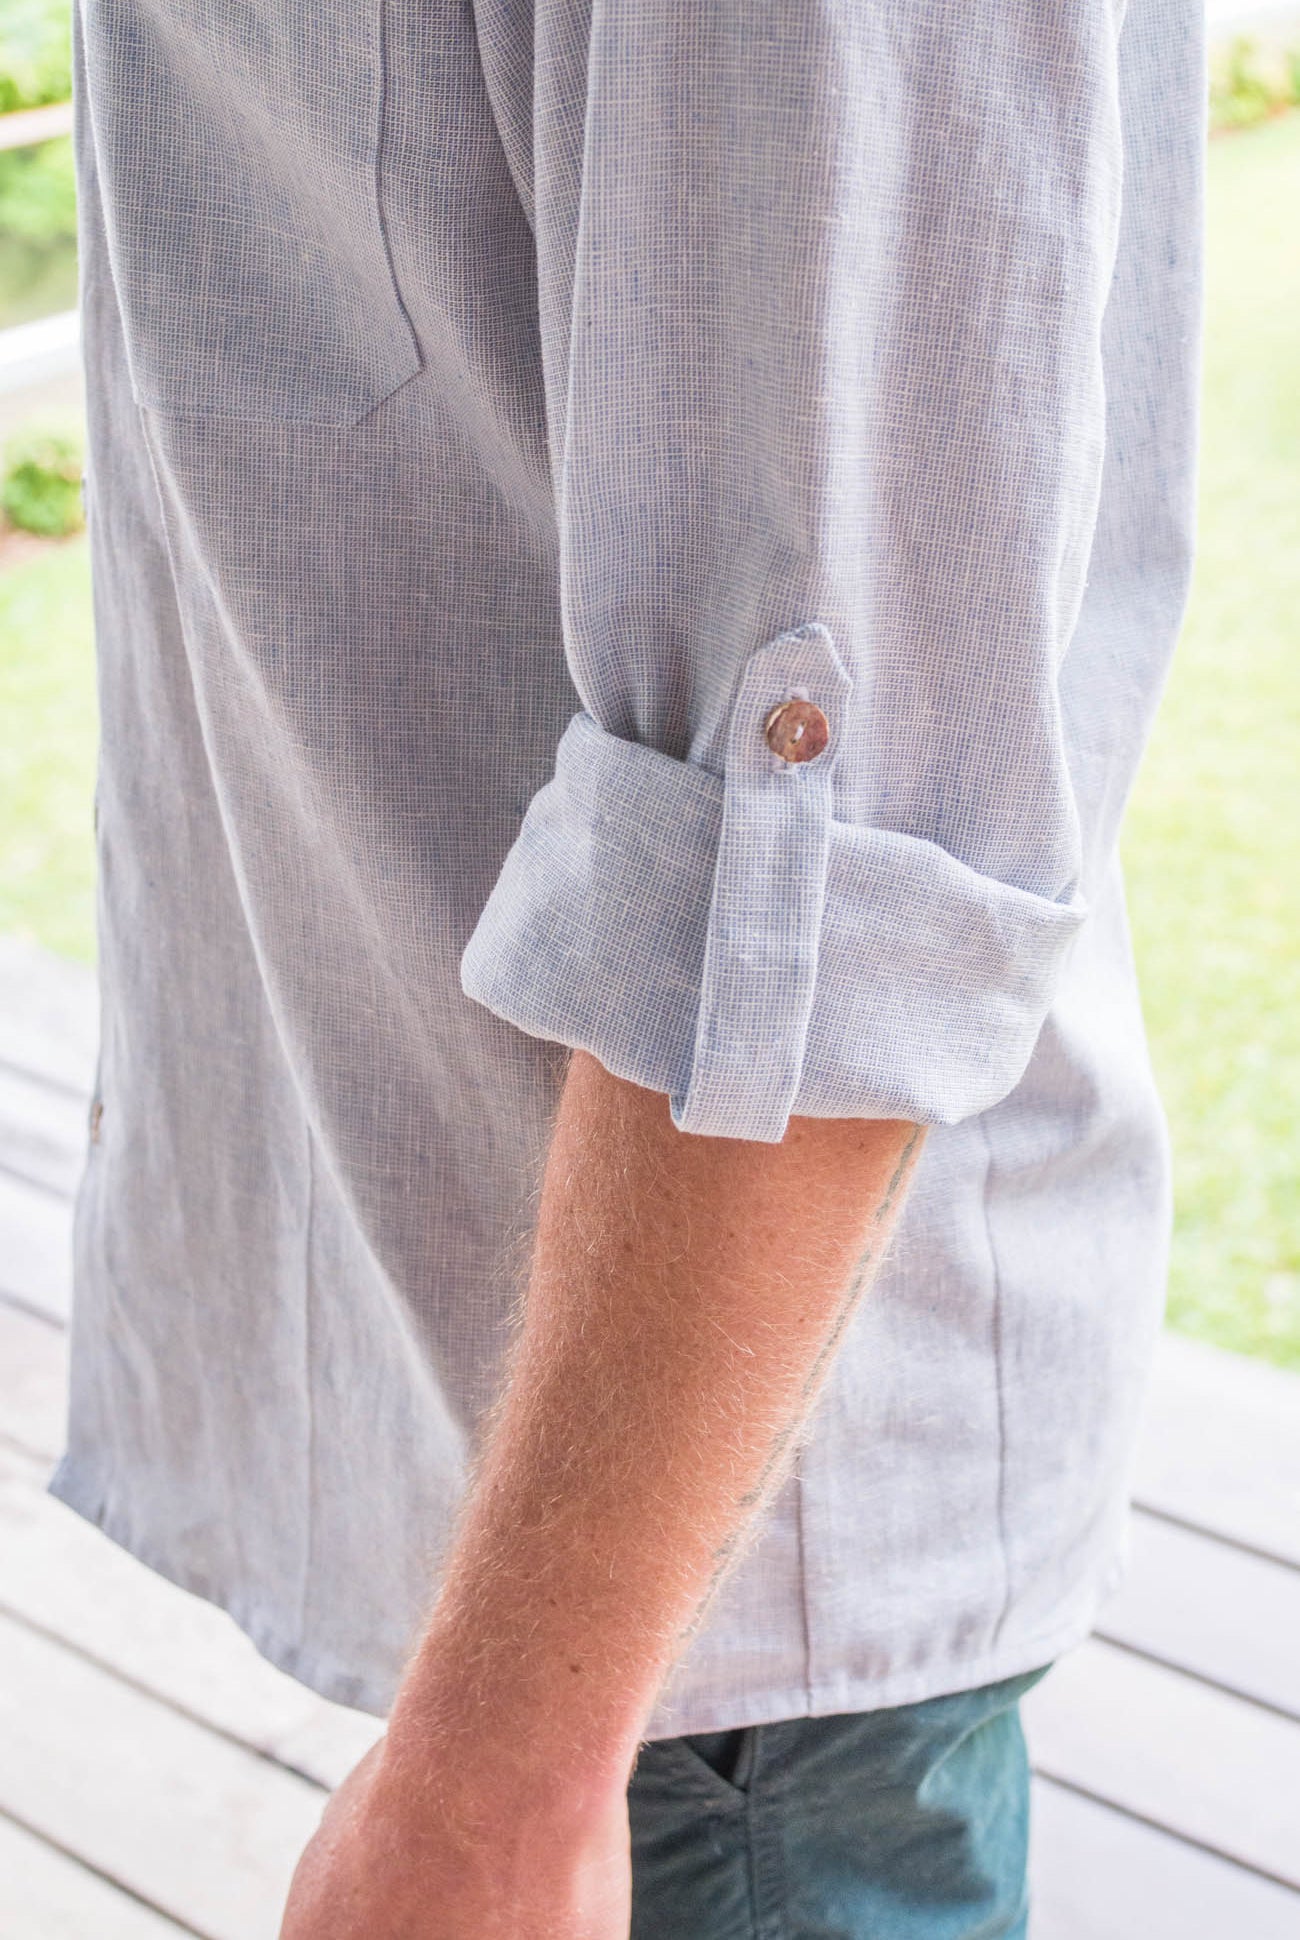
Onto the sleeve - tricky method - start basting the sleeve on 1.5" from the end of the armhole - repeat for the other side
So those of you making the sleeves - this is how your sleeve should look after basting it - the sleeves will not be sewn down all the way to the end of the armhole
Pop your lining on top and pin the armholes
Sew down your armholes - start at the 1.5" mark and end at the other 1.5" mark that you basted the sleeve on earlier. I like to sew with my outer up - so I can see if any of the fabric is puckering
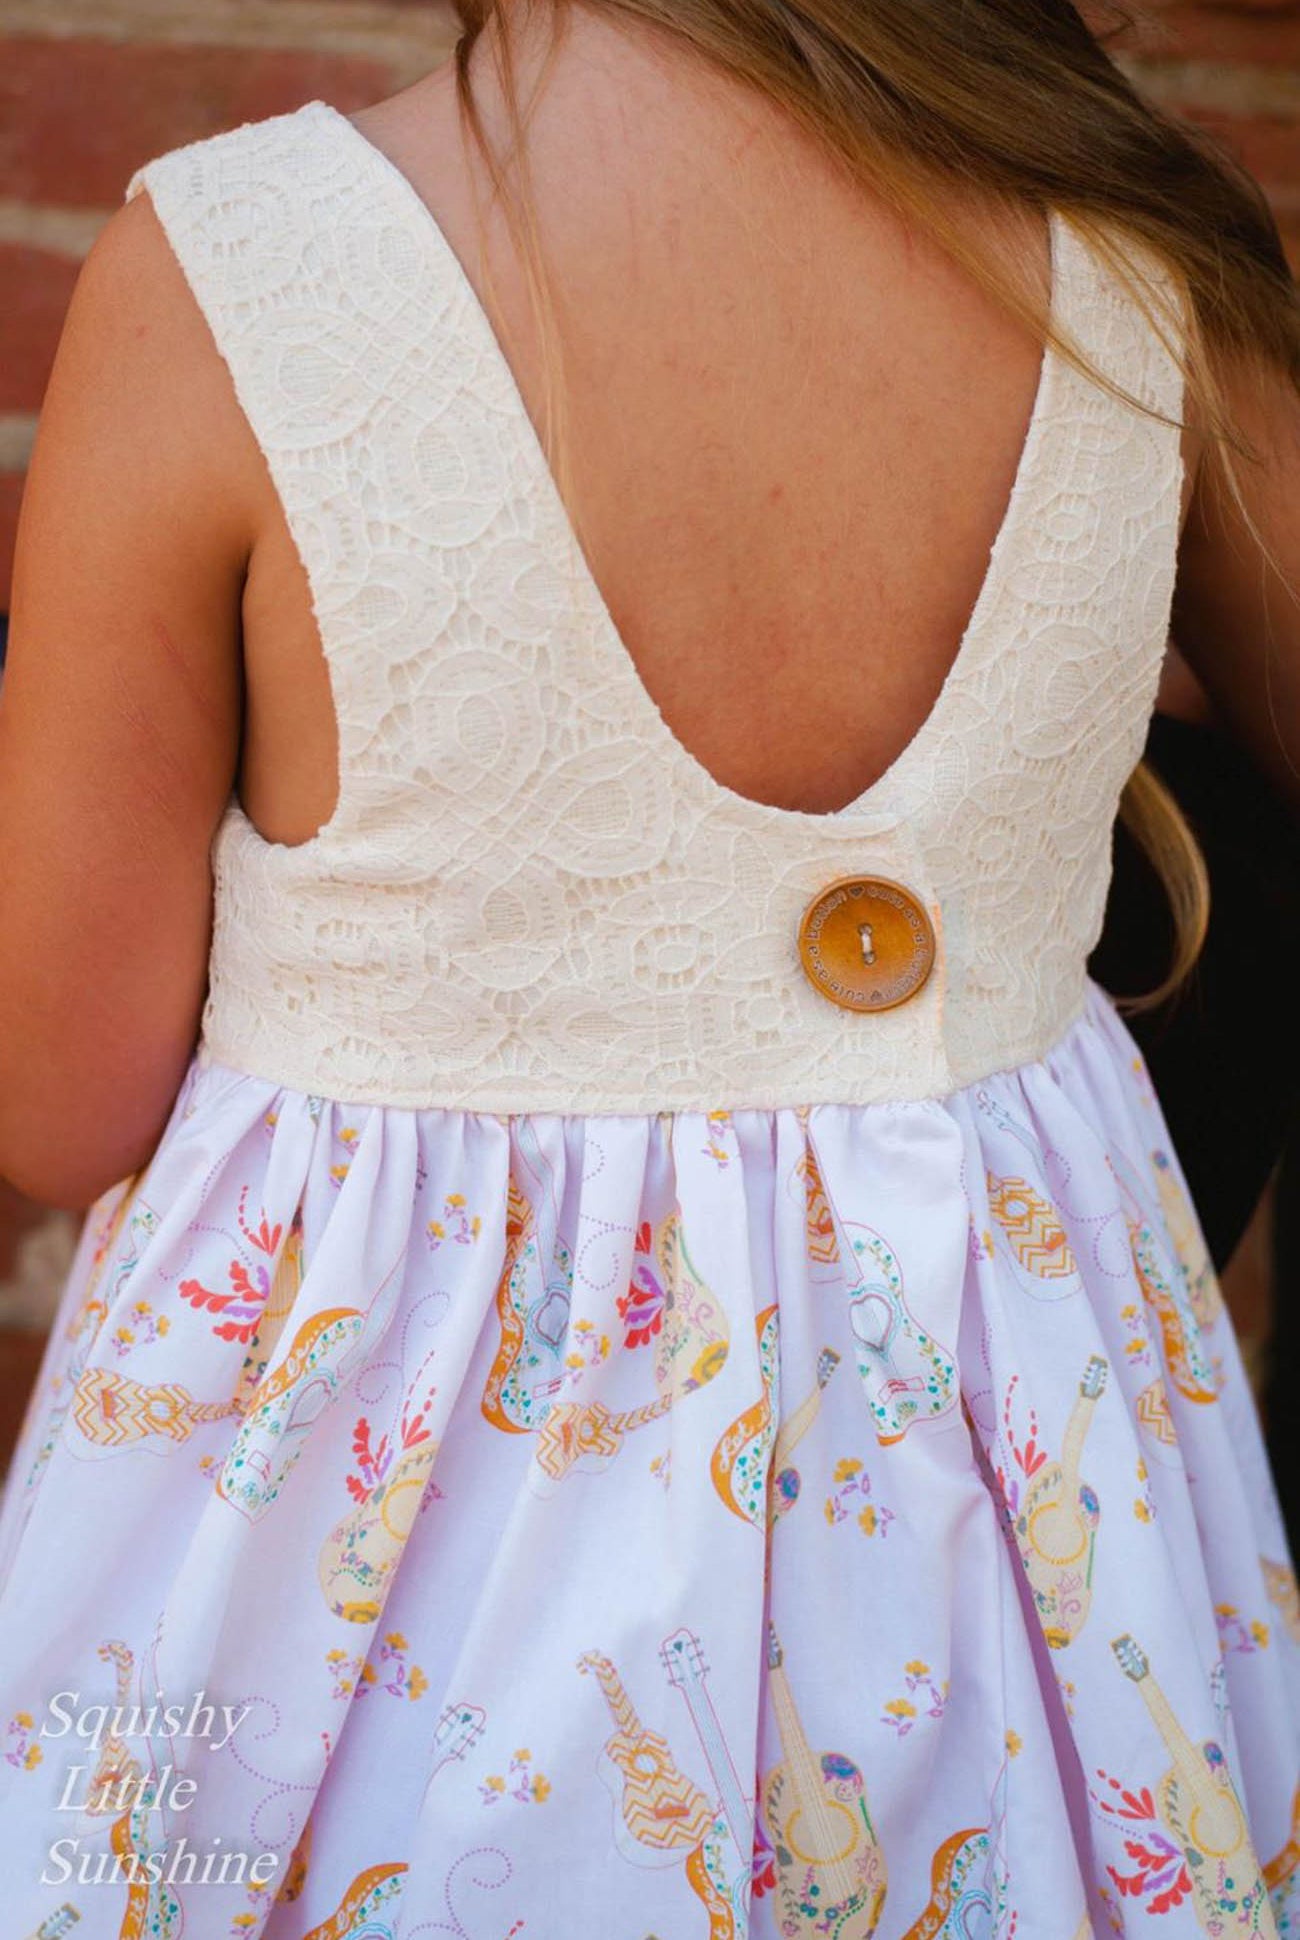
Ok, so once you're done with the armholes - pin down your neck/back - we're going to sew these down
ZIP- if you're making the zip version do not sew down the inside back at this step. Where my finger is pointing.
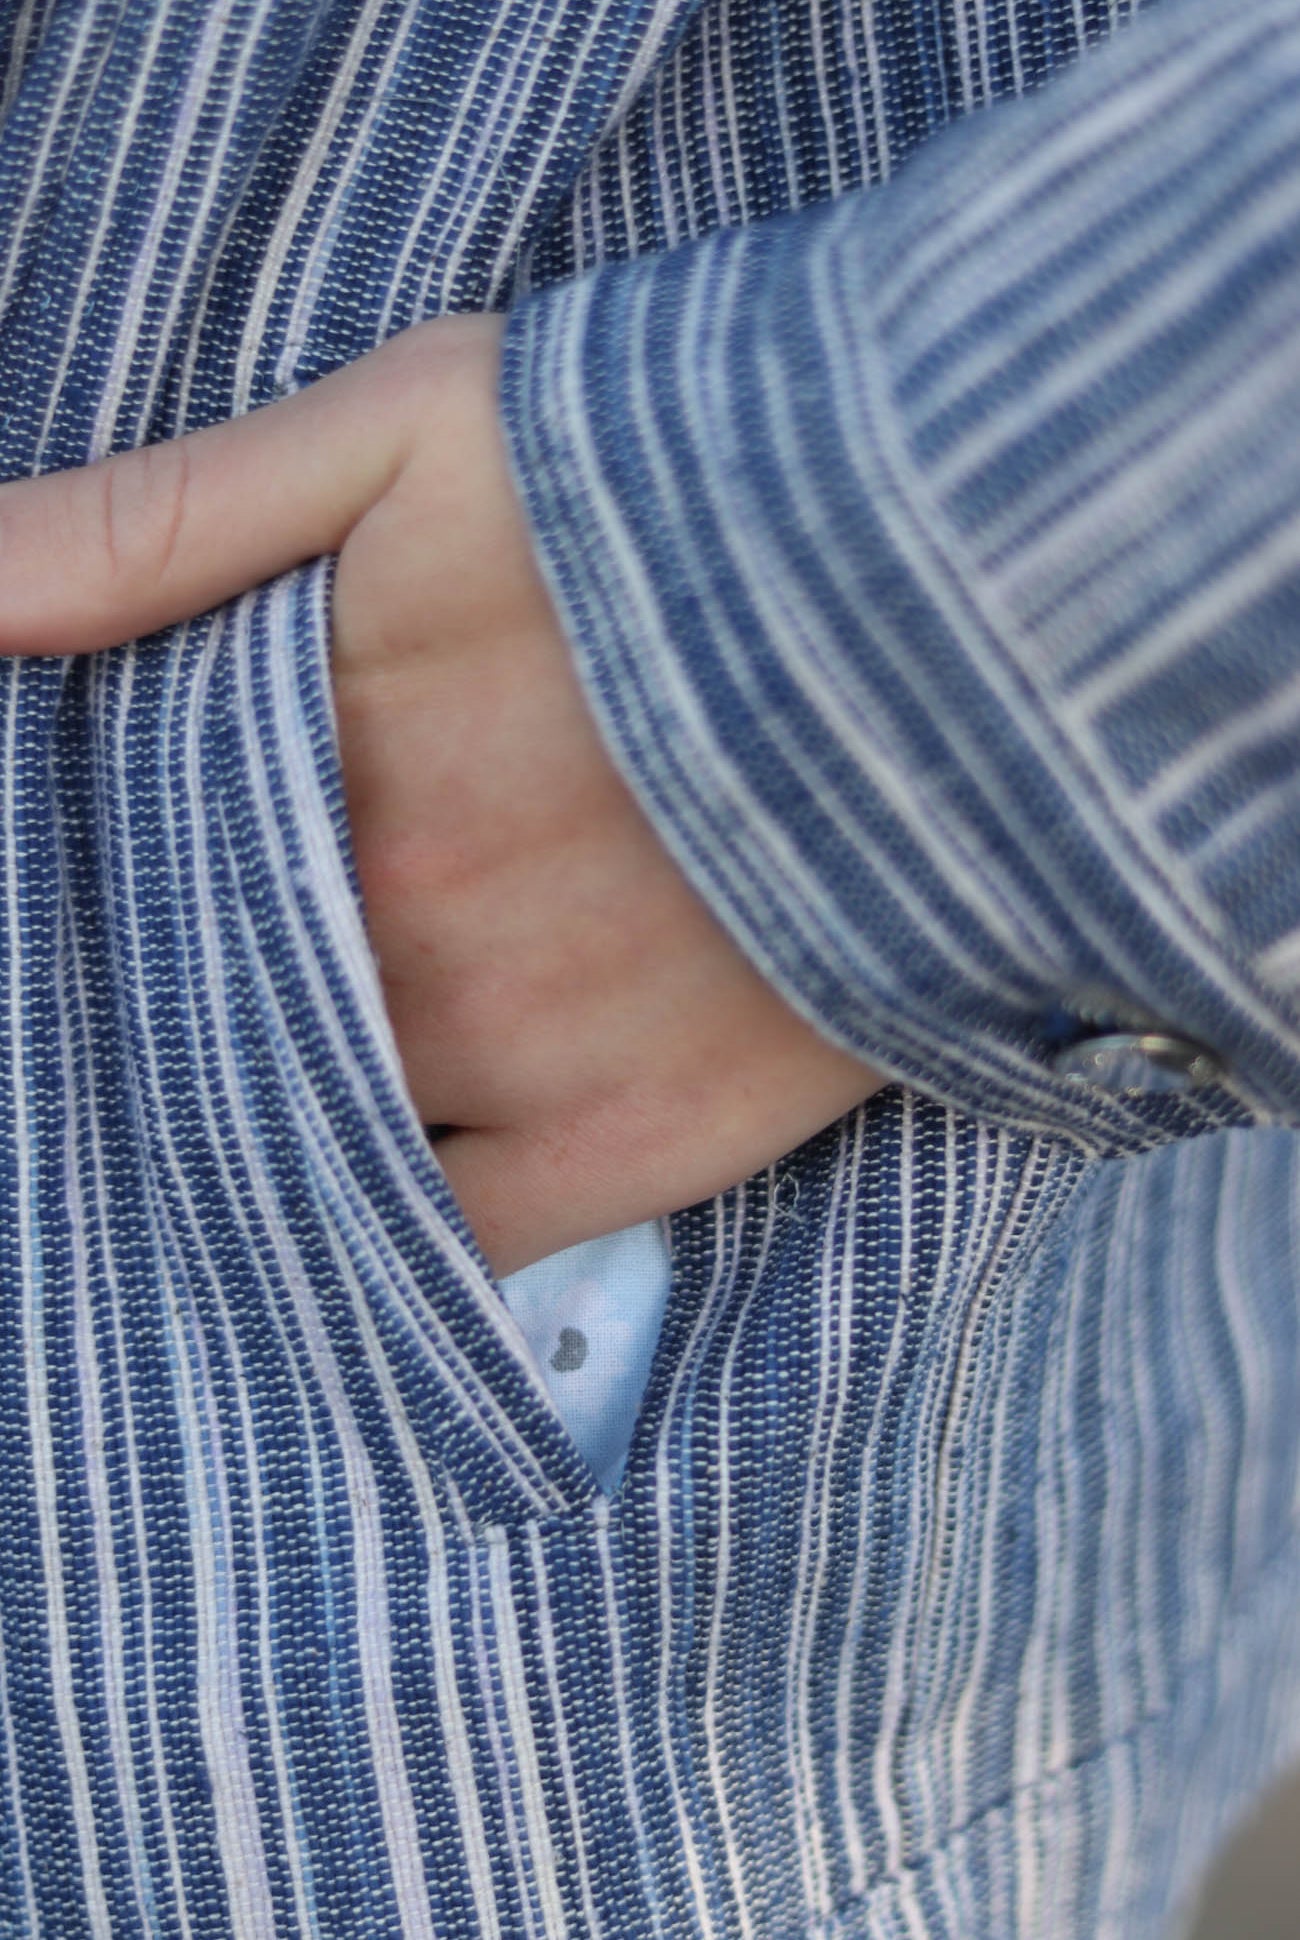
The next step for all options is to clip around the armholes and neckline - clipping is making a small cut that ends just before the seam allowance - don't cut into the seam line :) in
Is you have a set of pinking shears - they work a treat too and take about 1/12th of the time clipping does :)
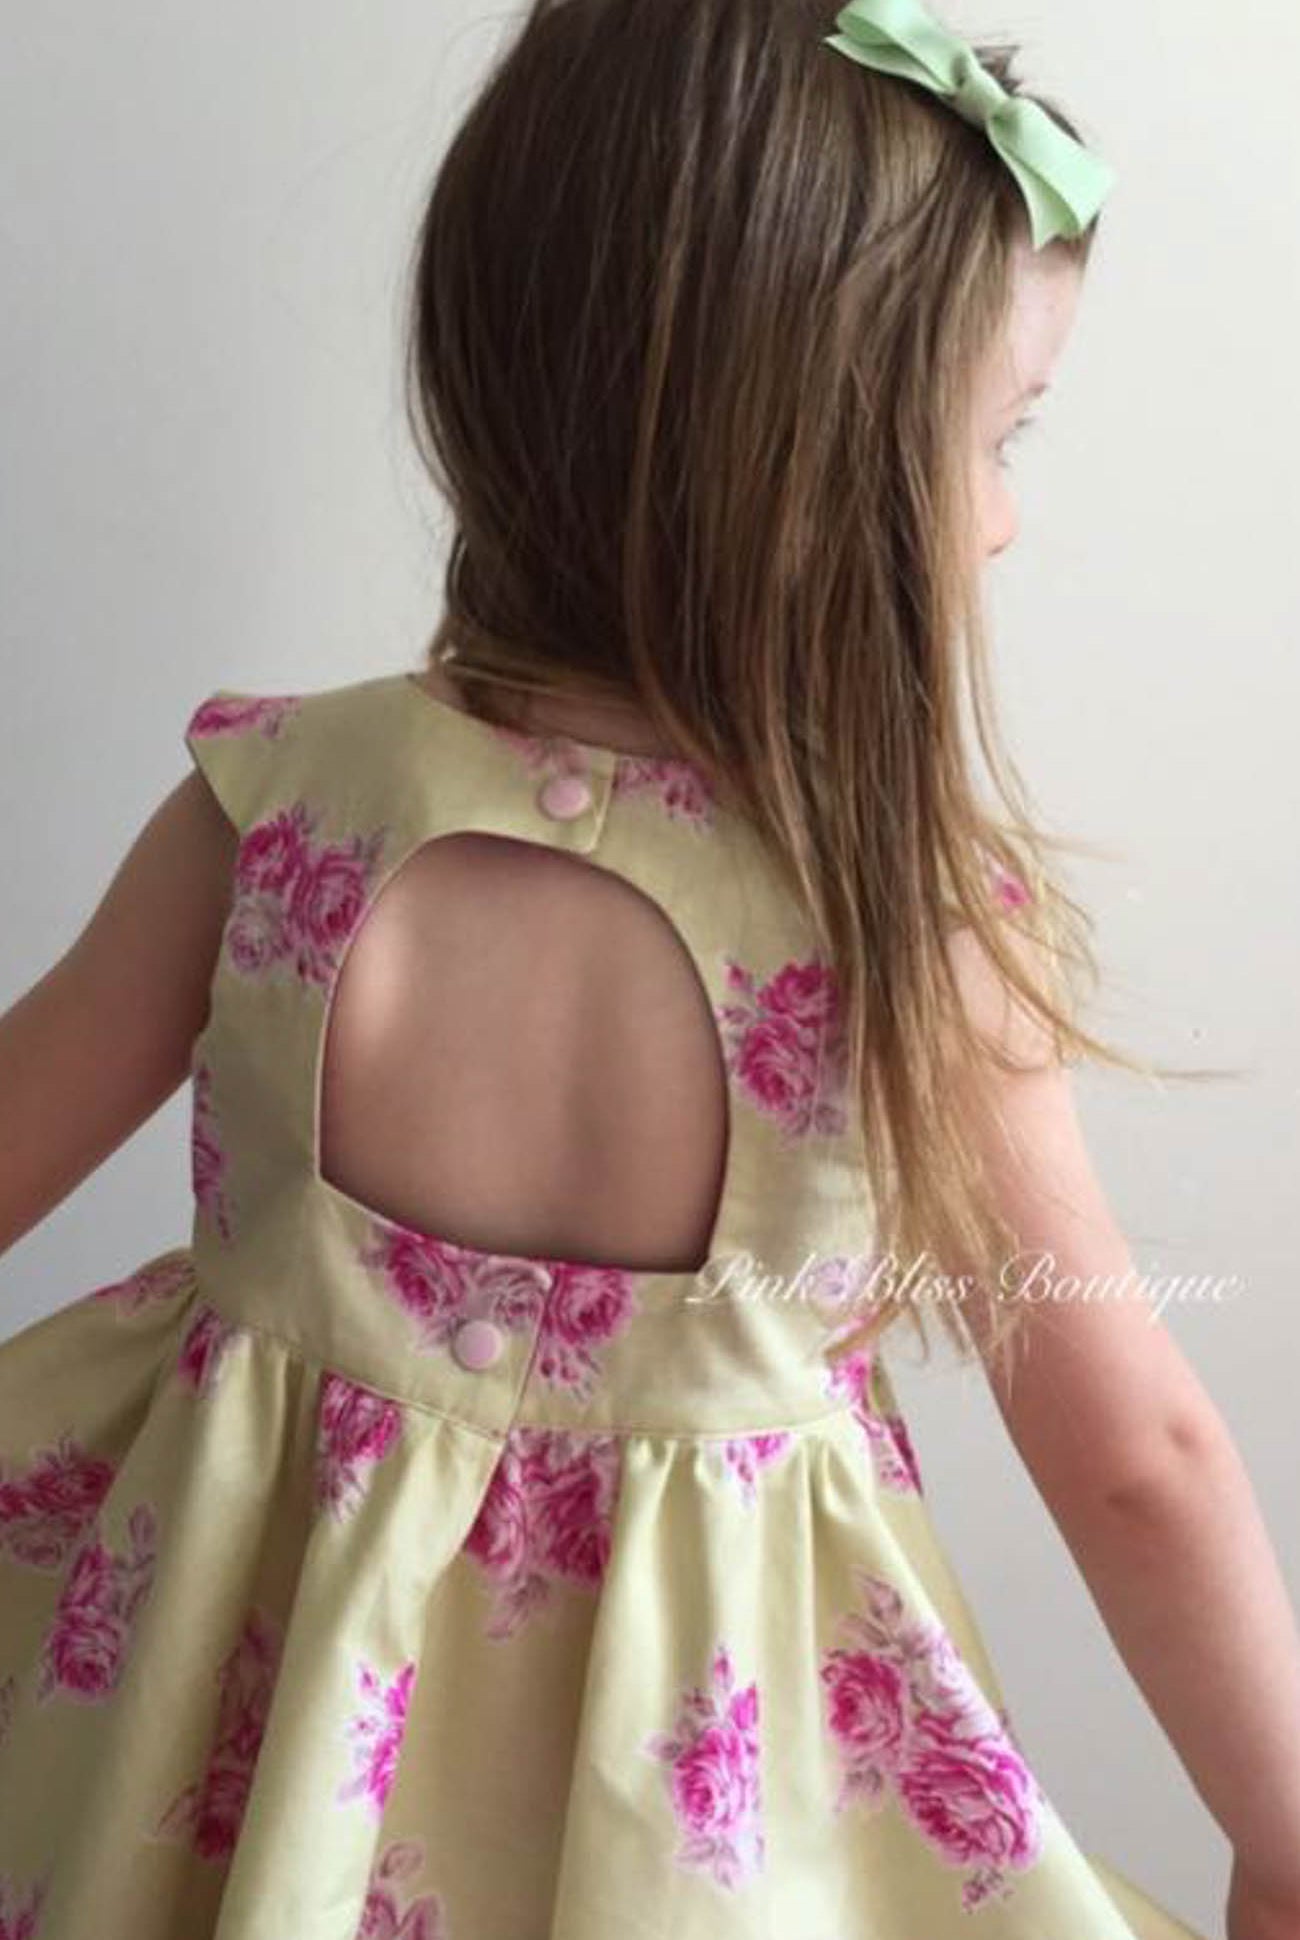
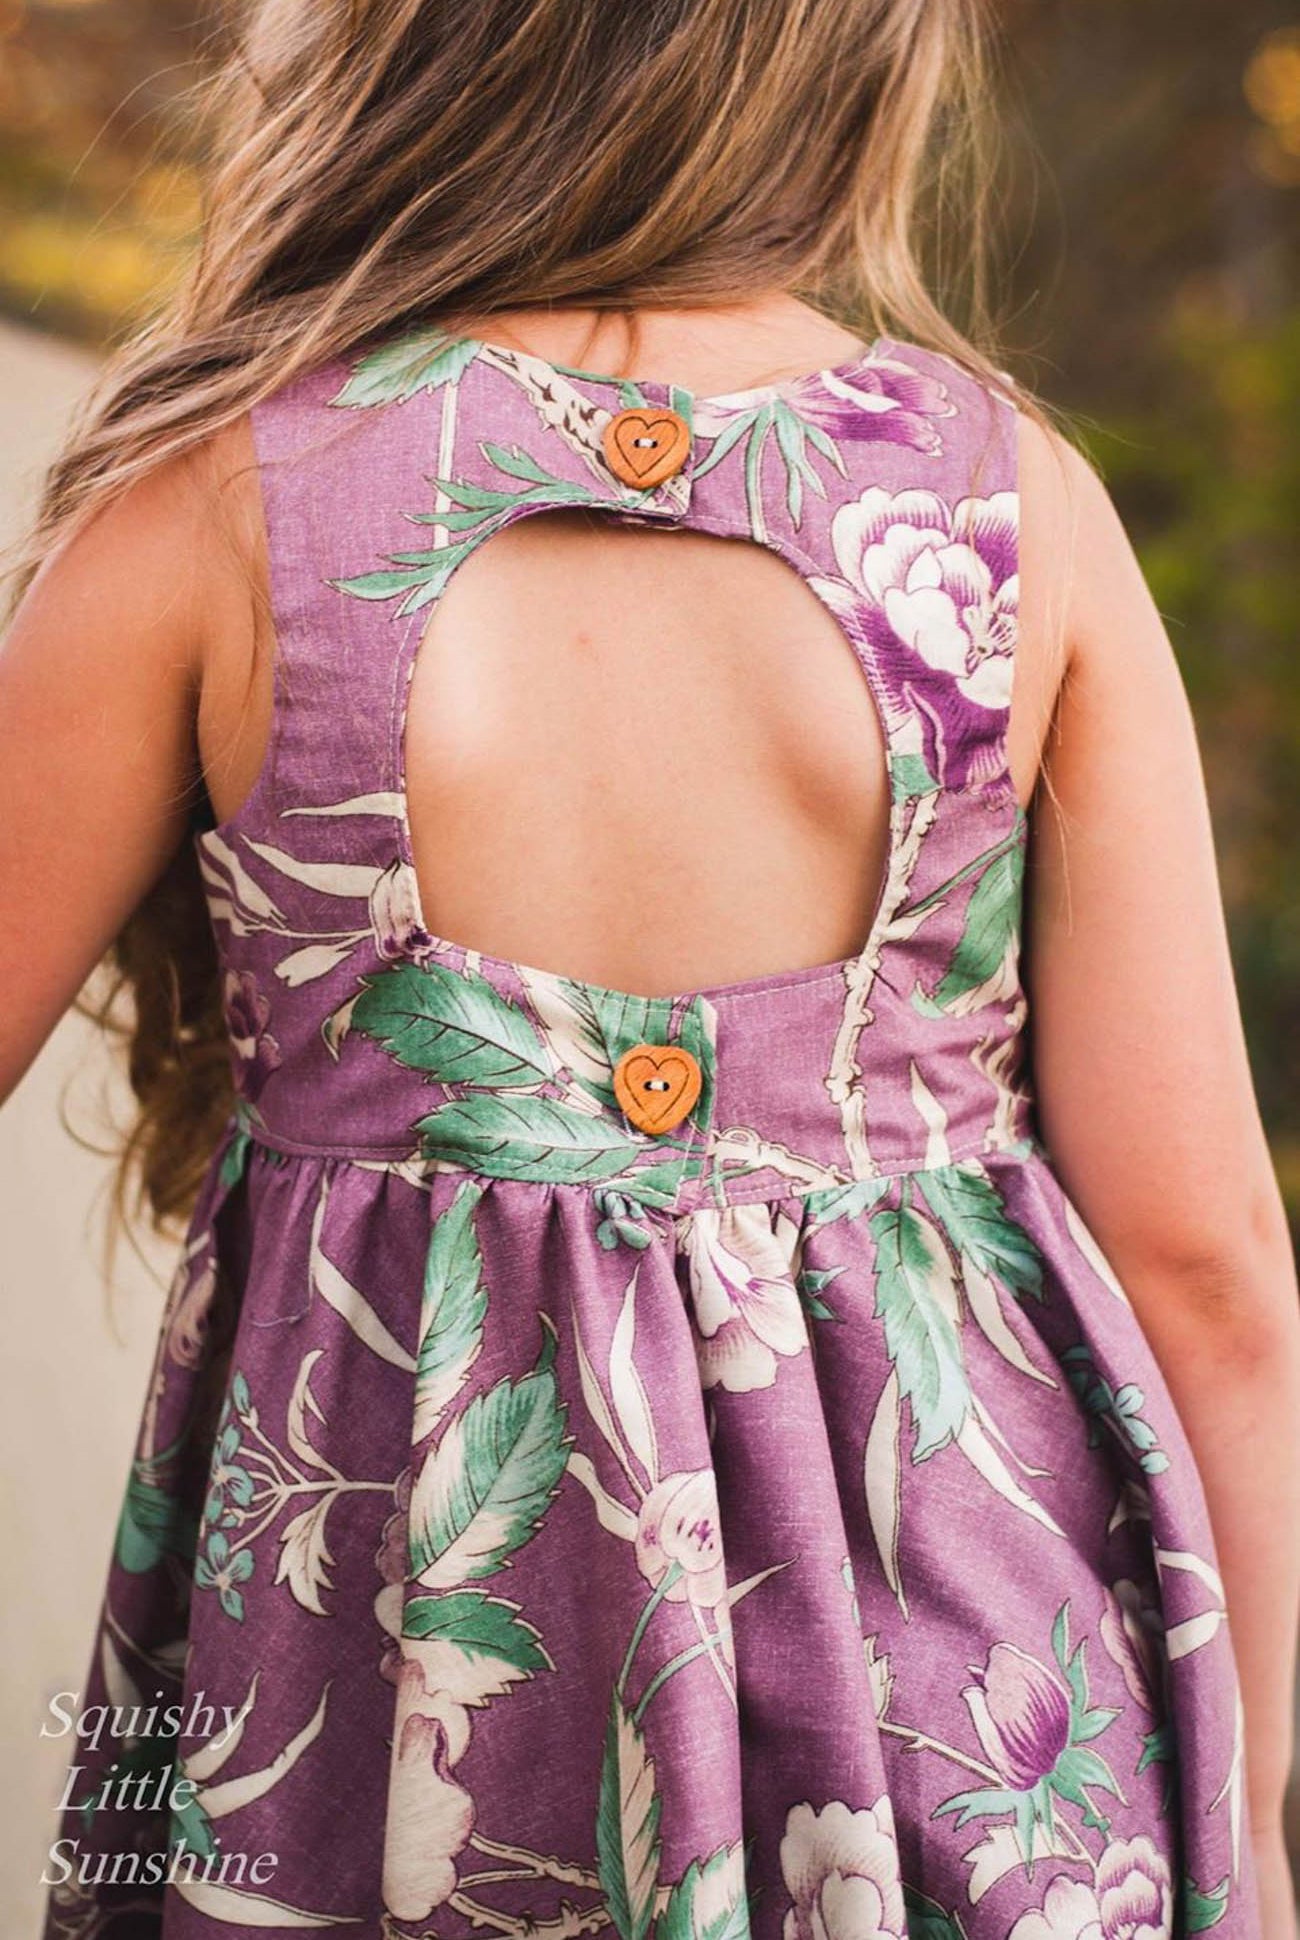
So after the clipping comes the turning out of the bodice. After you're done with this step press your bodices
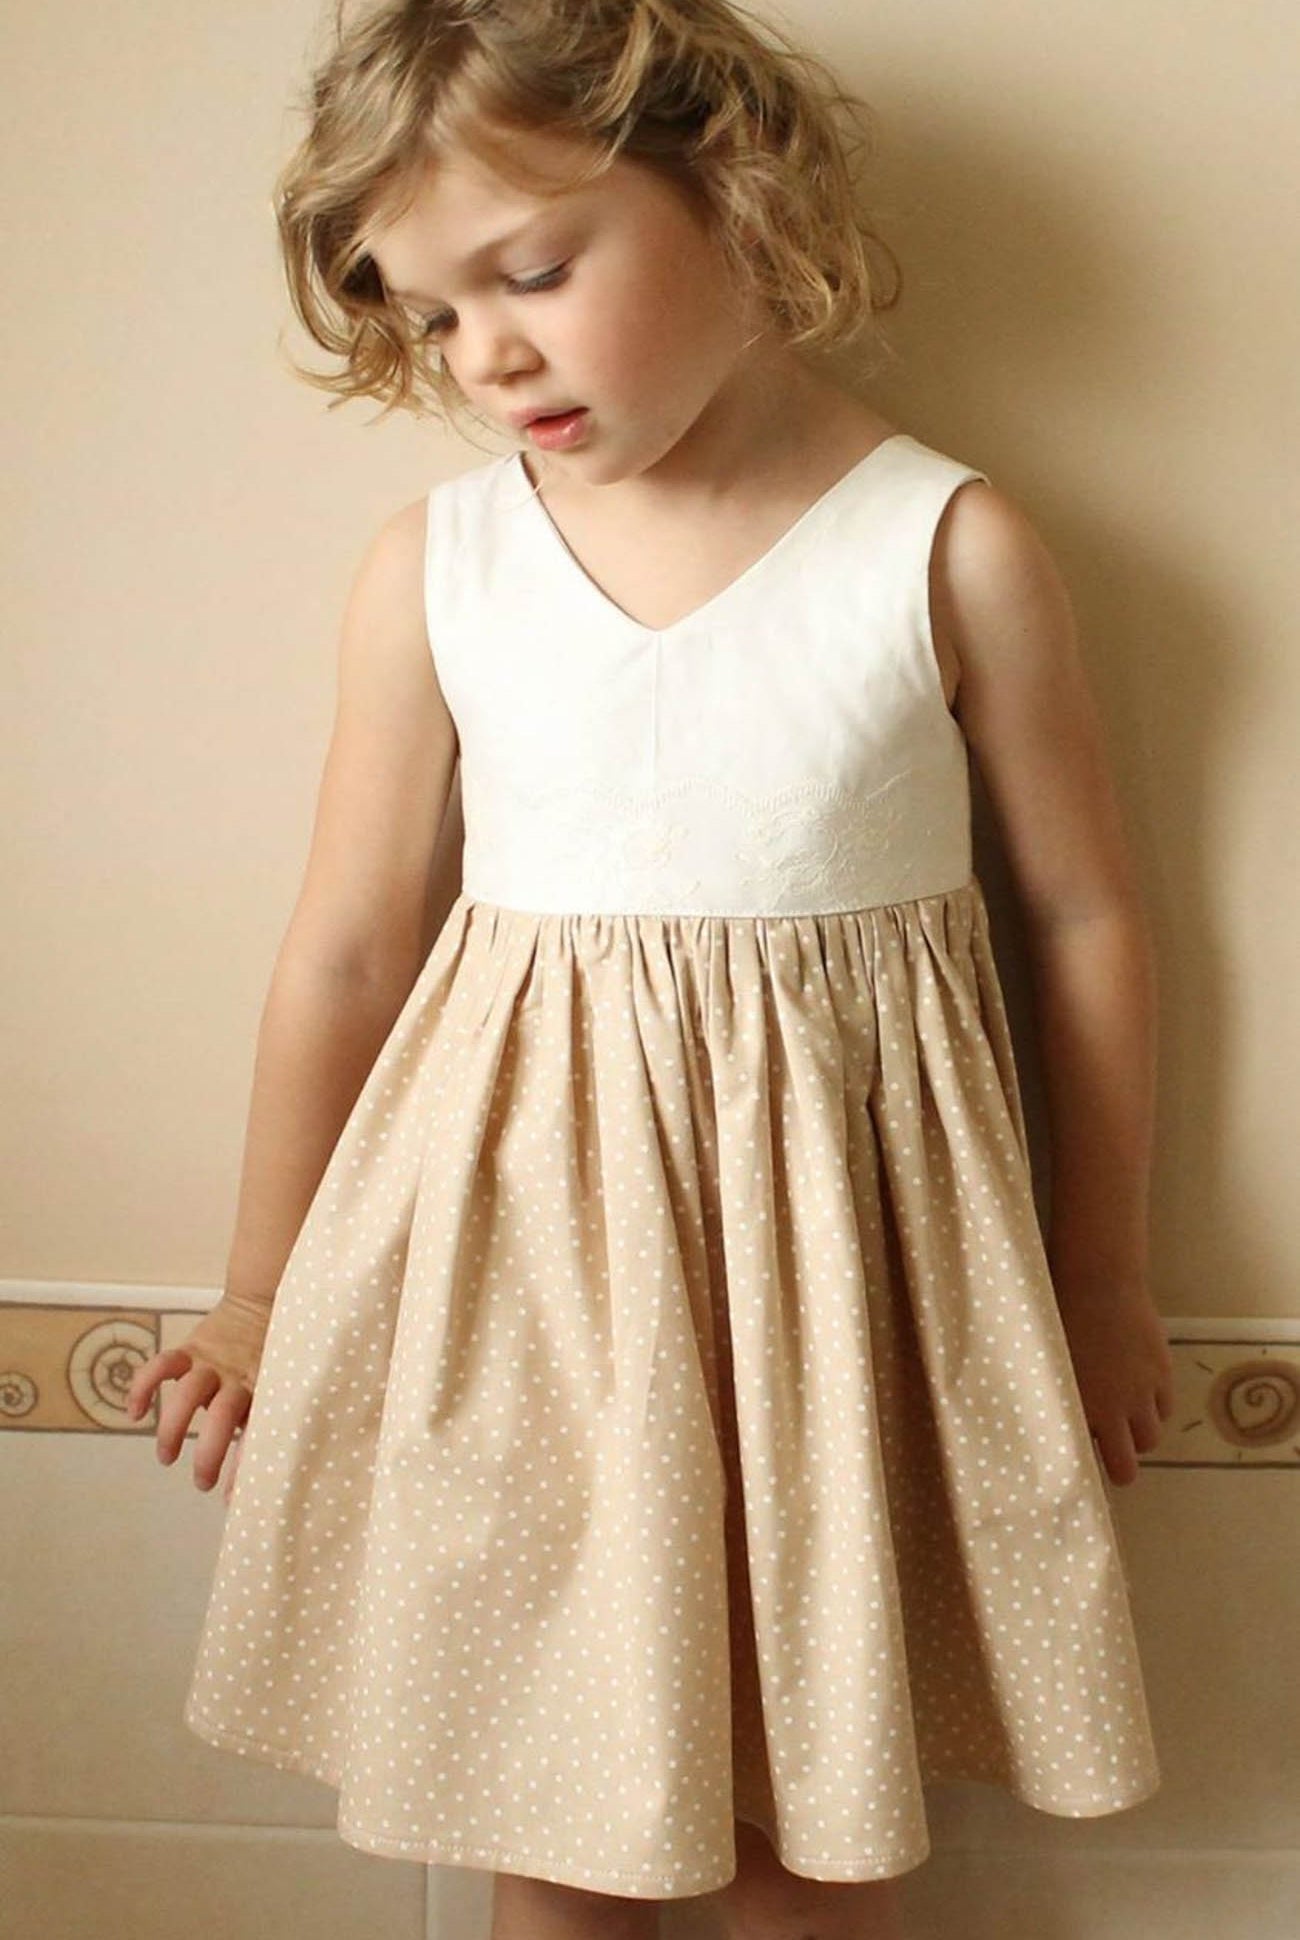
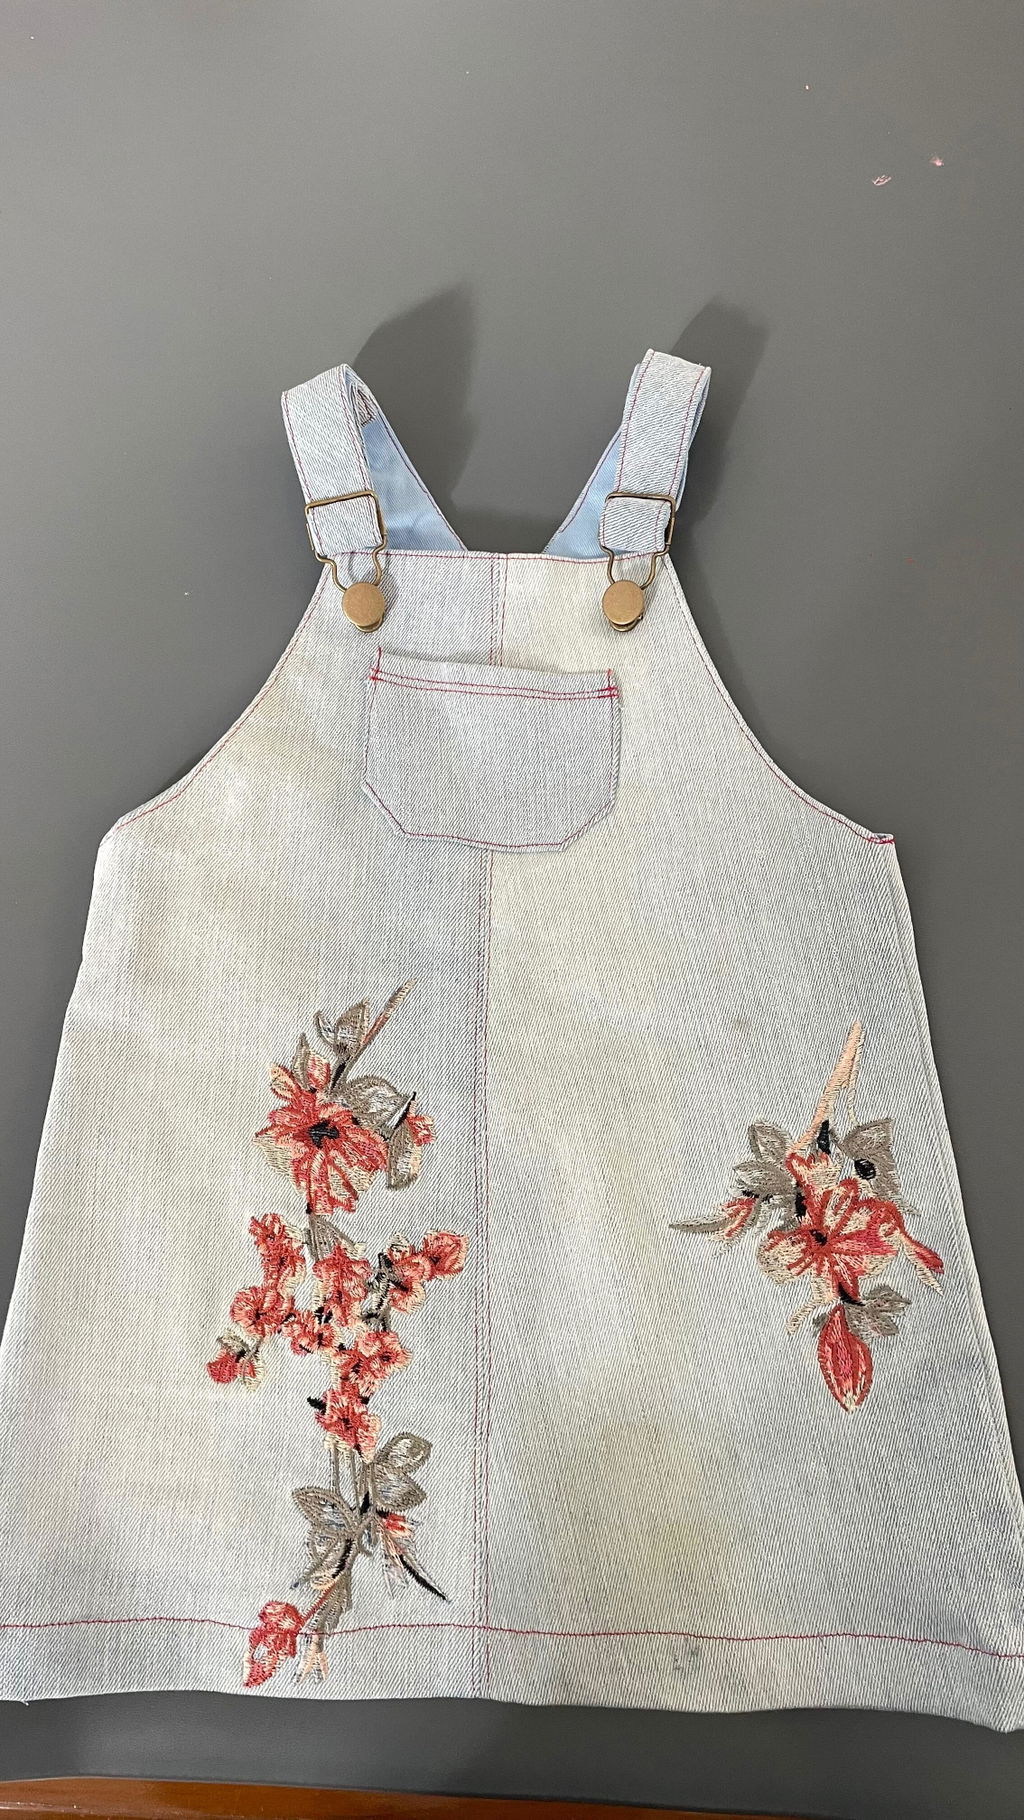
Once you've pressed the bodice anyone doing the flutters or sleeveless, you're done for the day. Anyone doing the tricky sleeve method I've got some videos for you - 4 videos, sorry some of them overlap a little as I shot it as one long video and then couldn't upload it anywhere!! technology gah!!
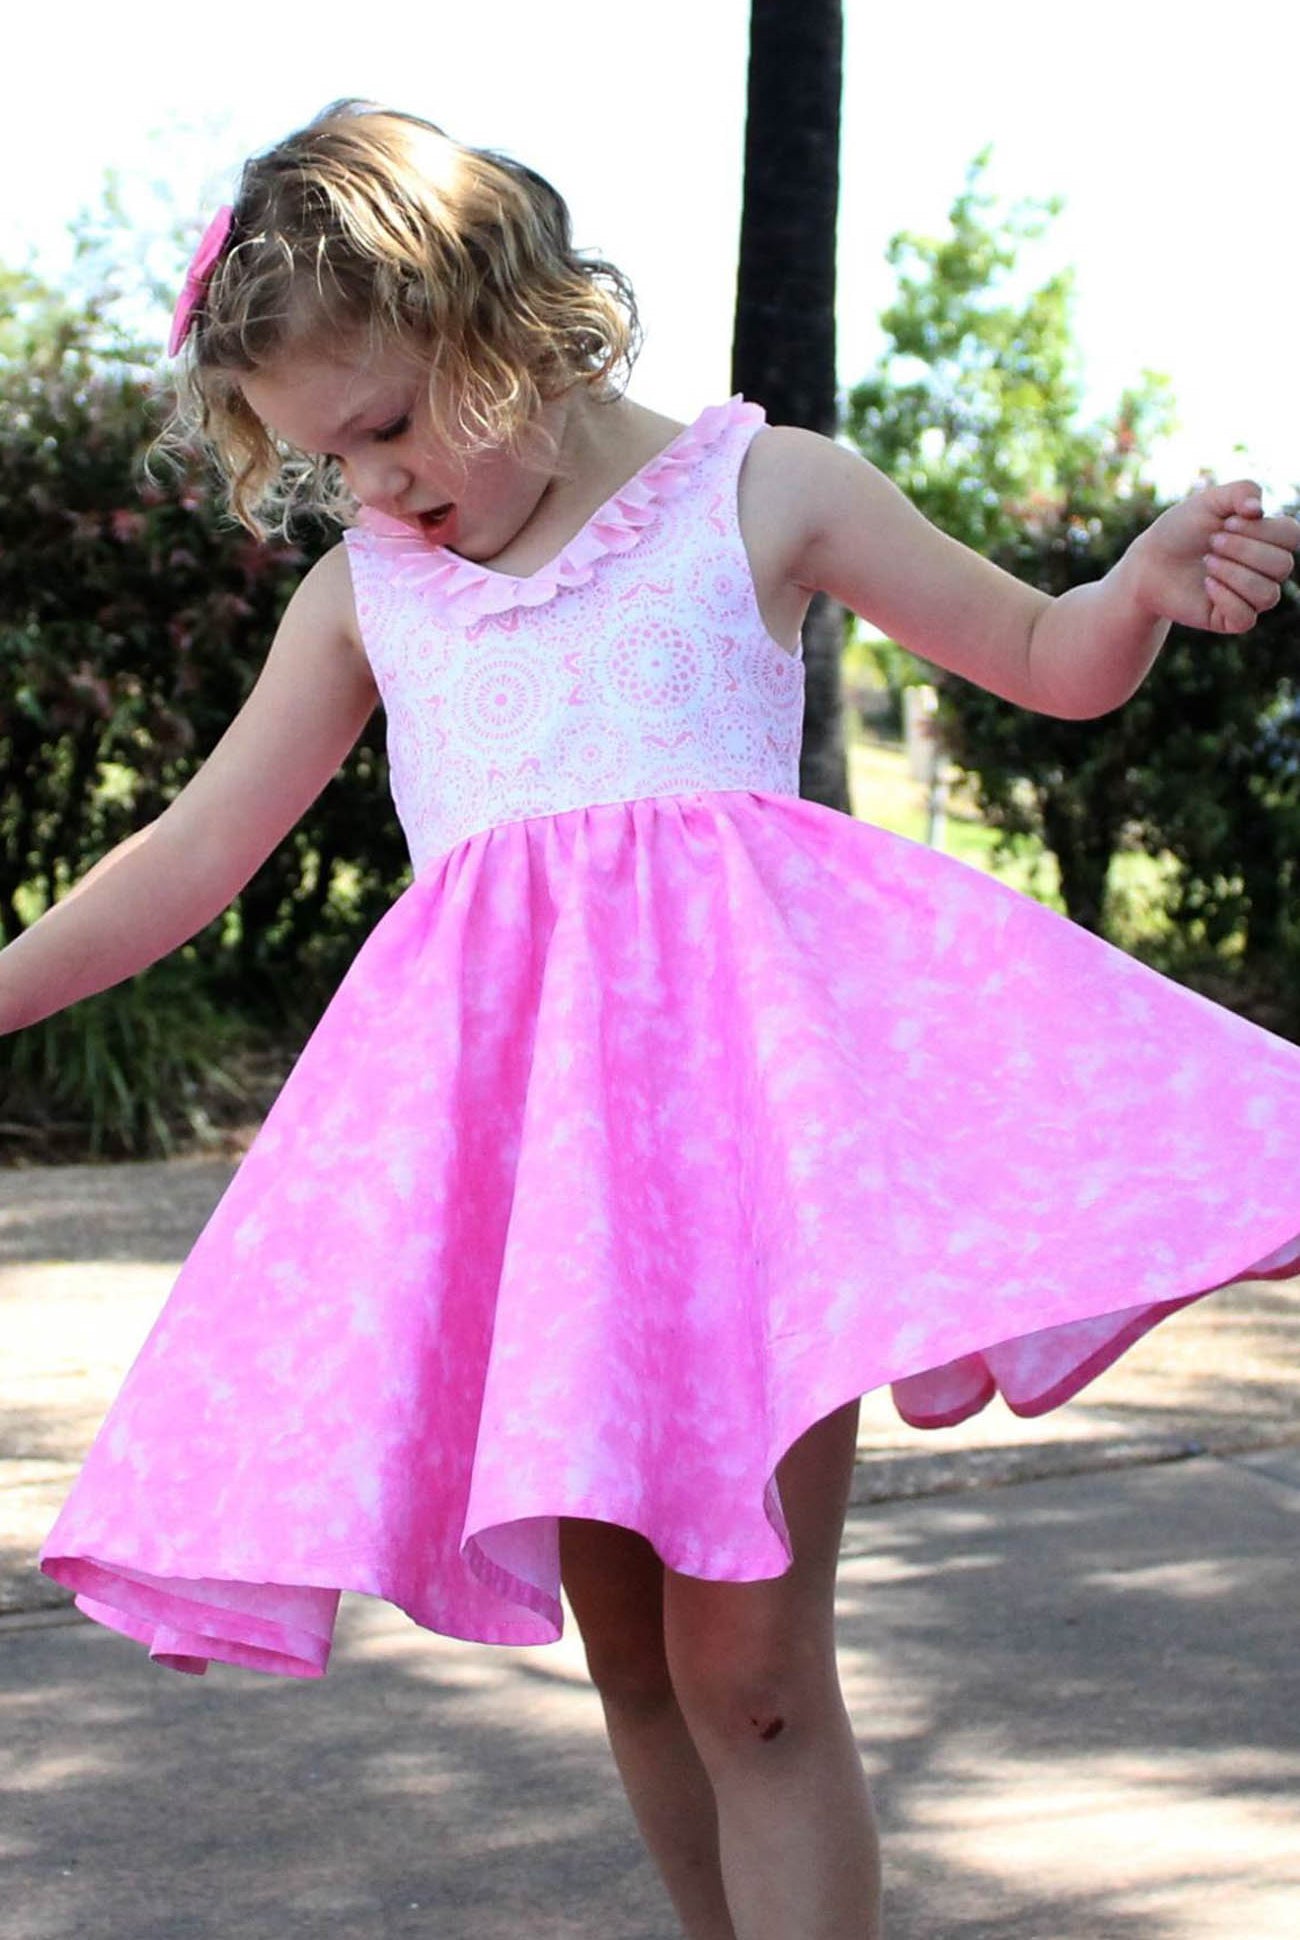
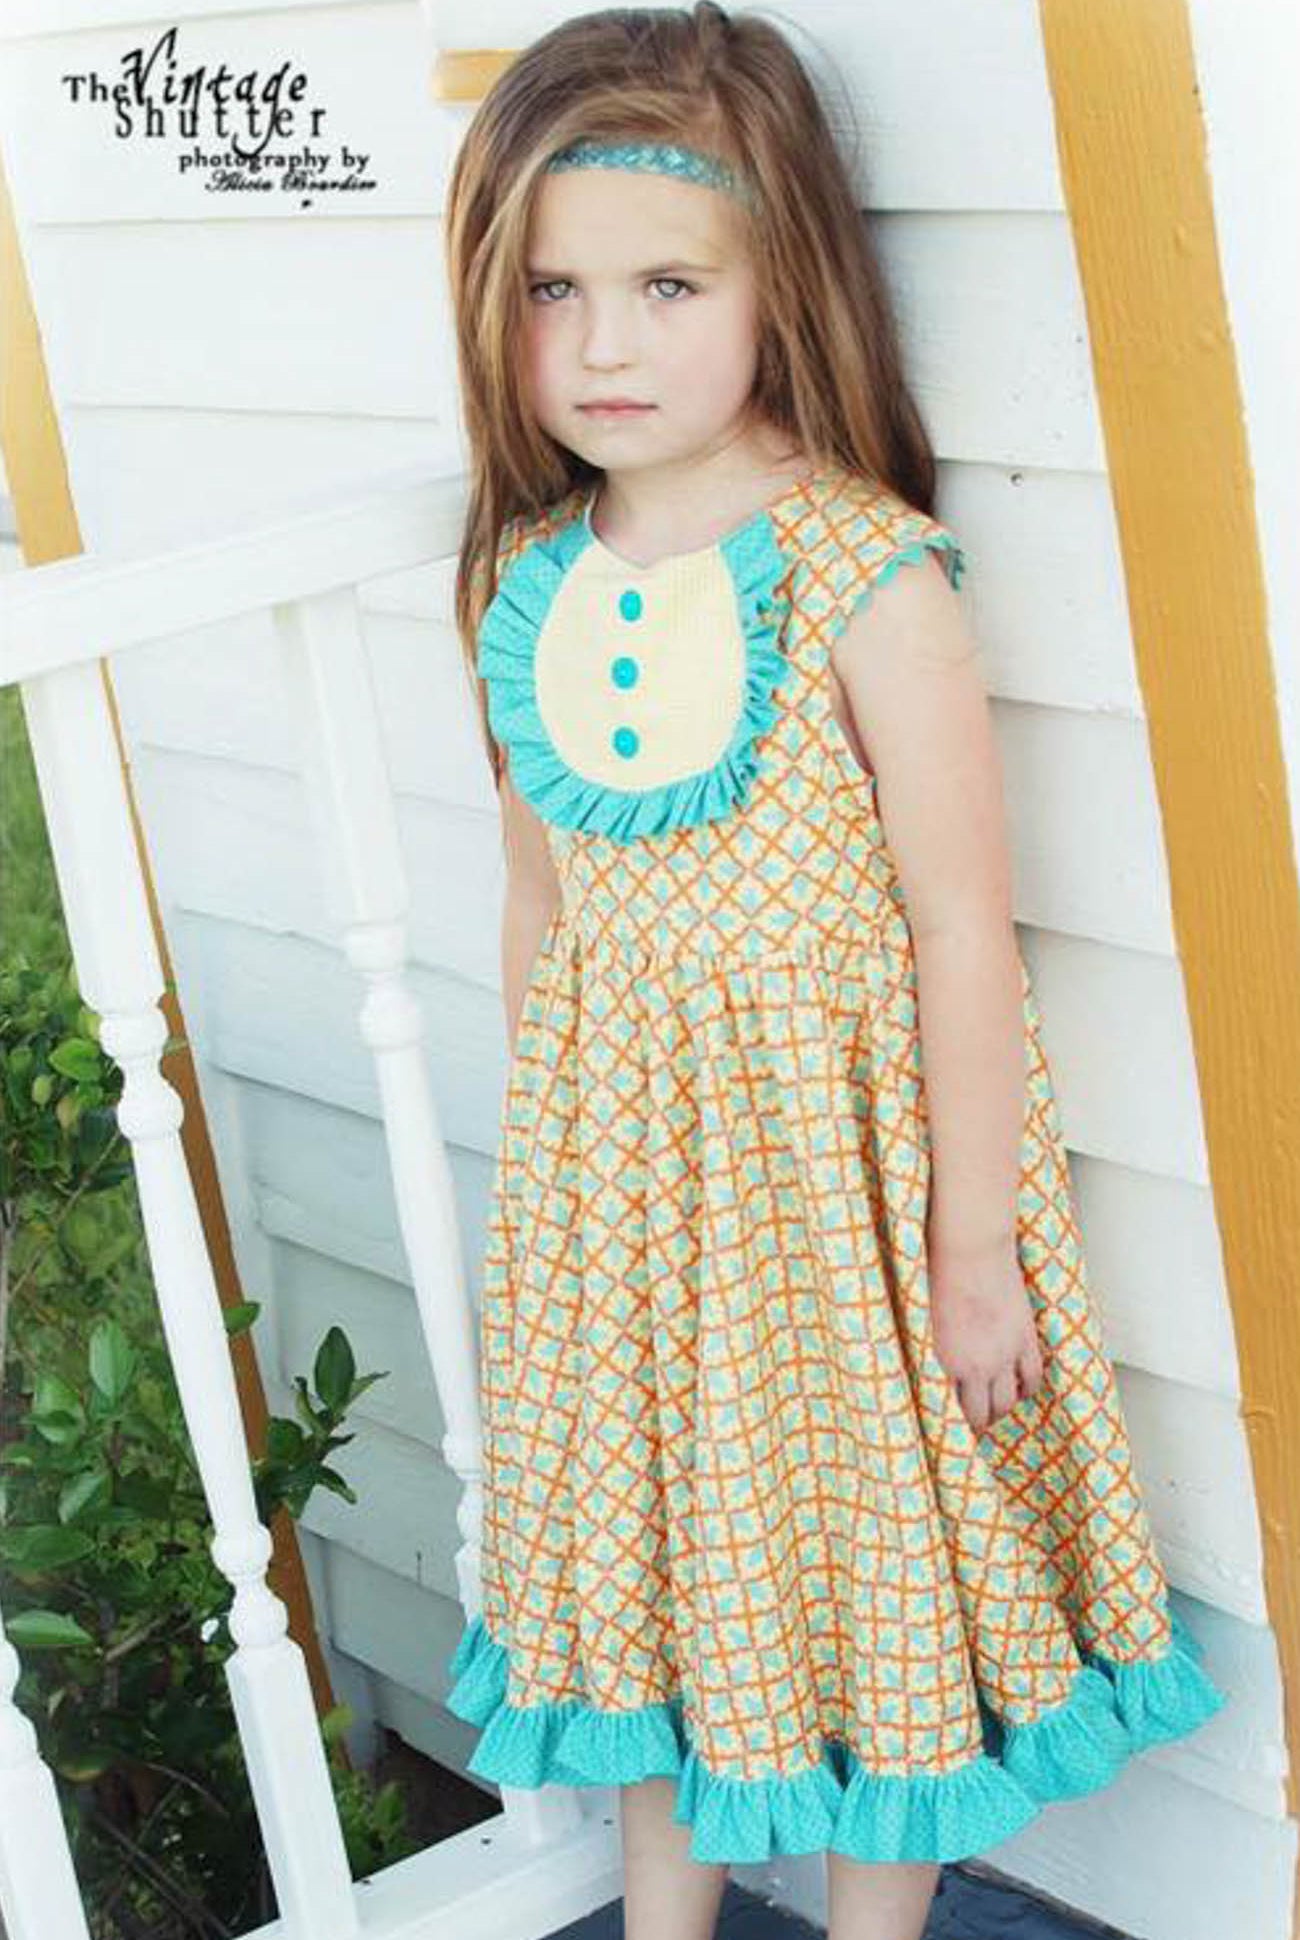
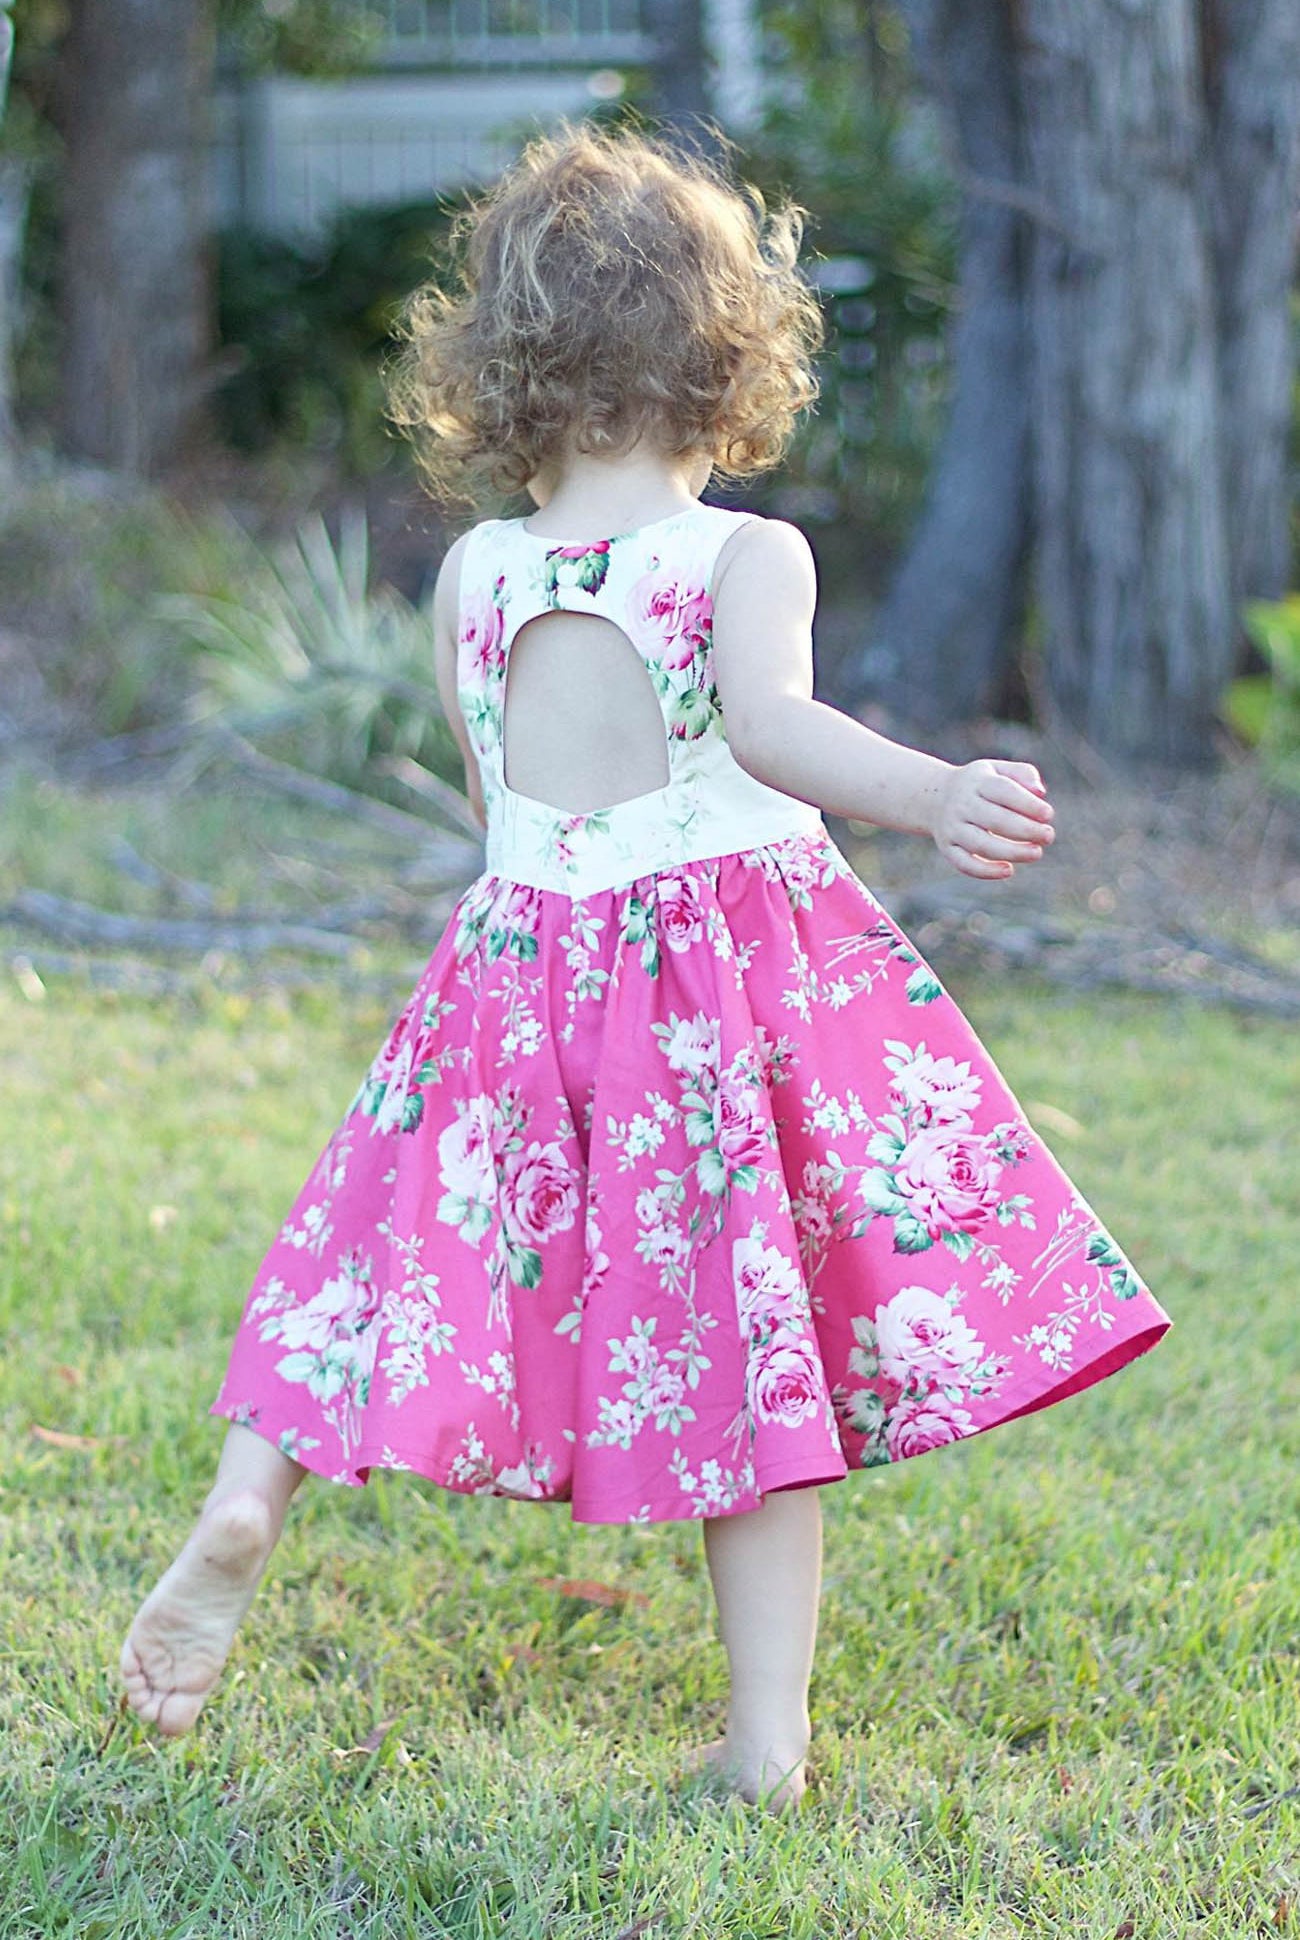
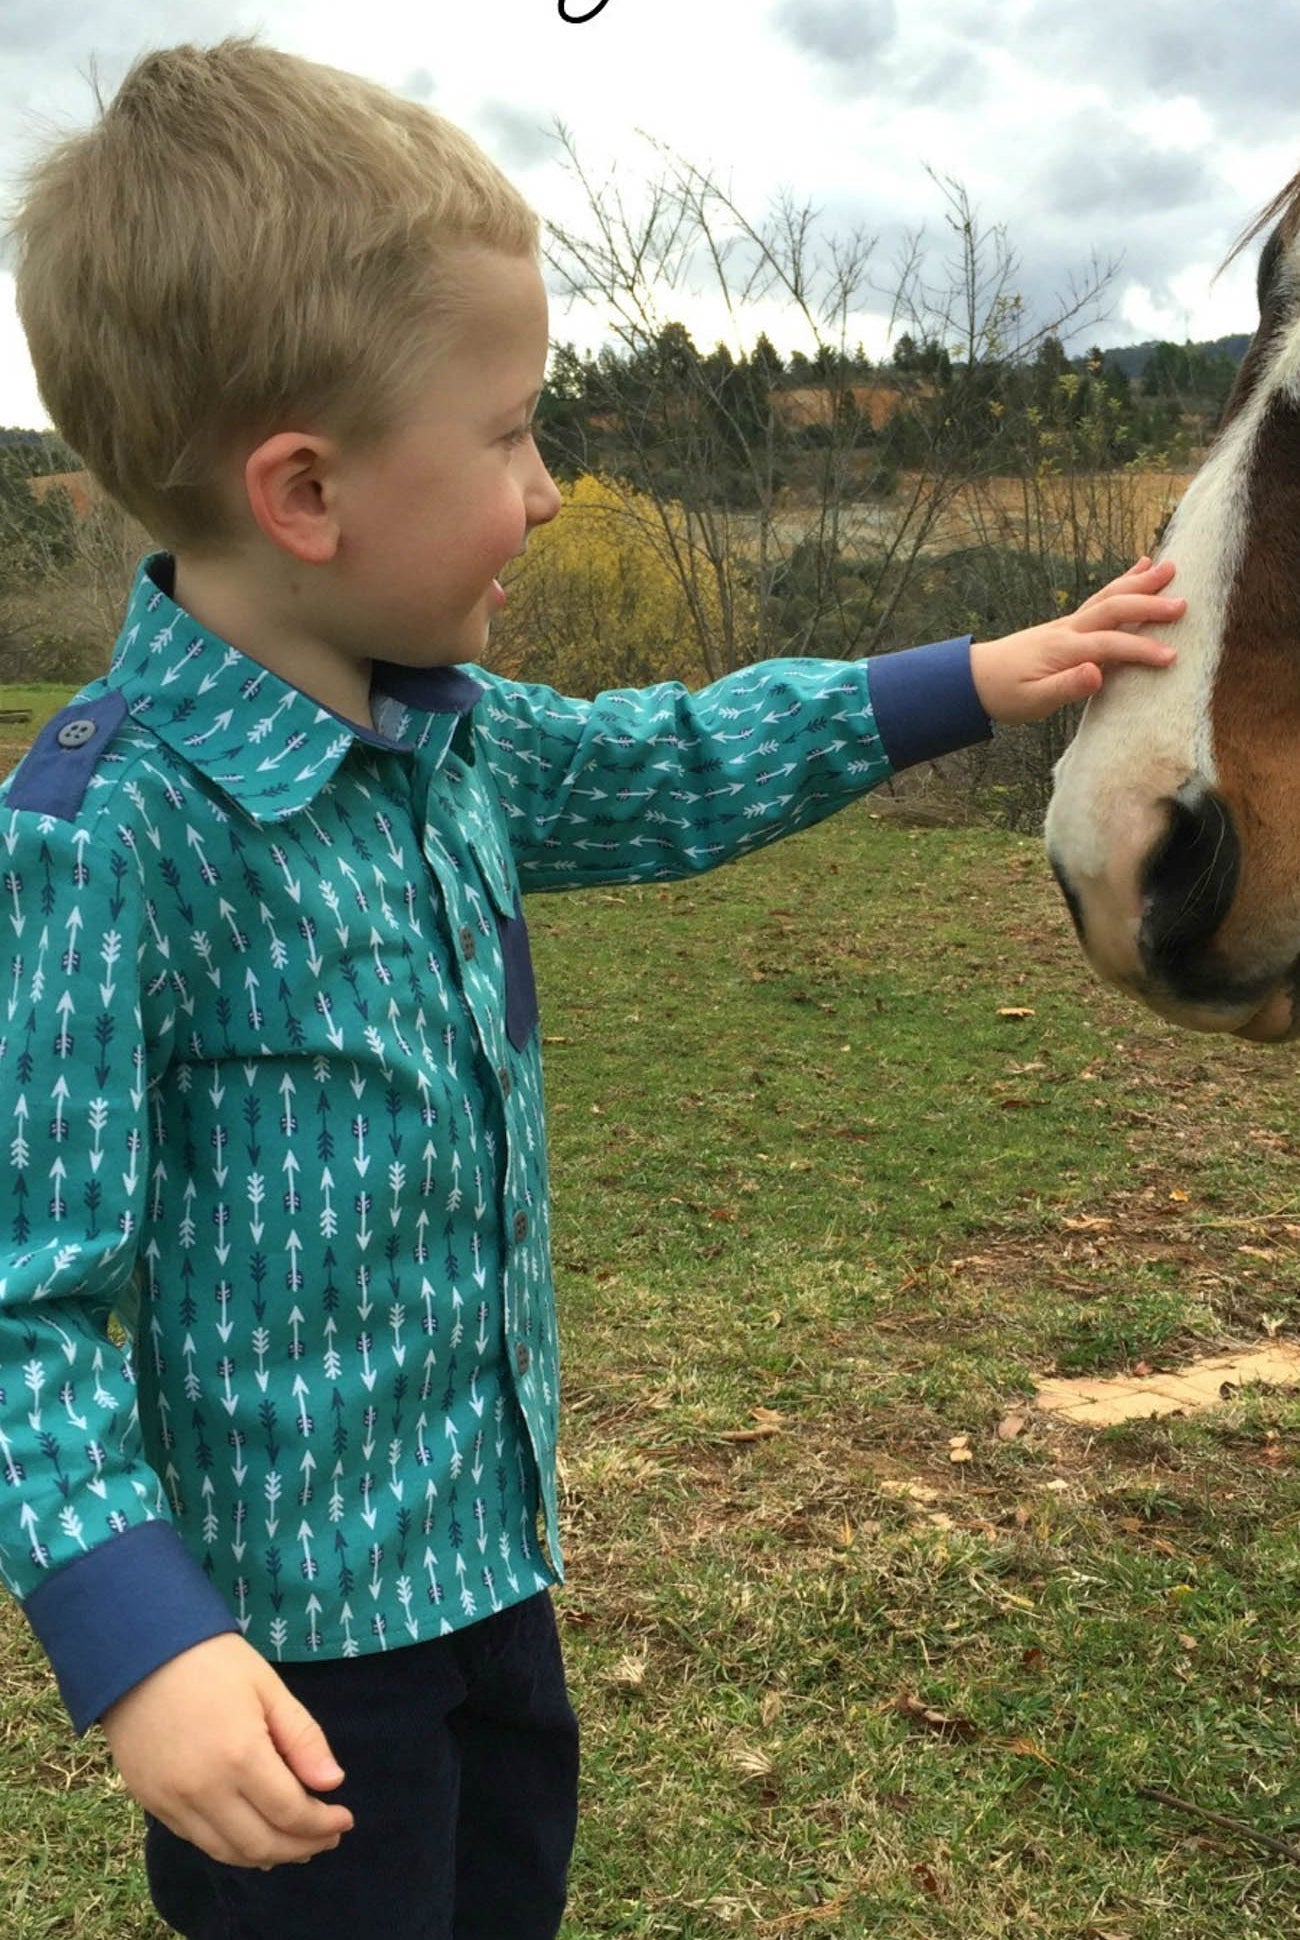
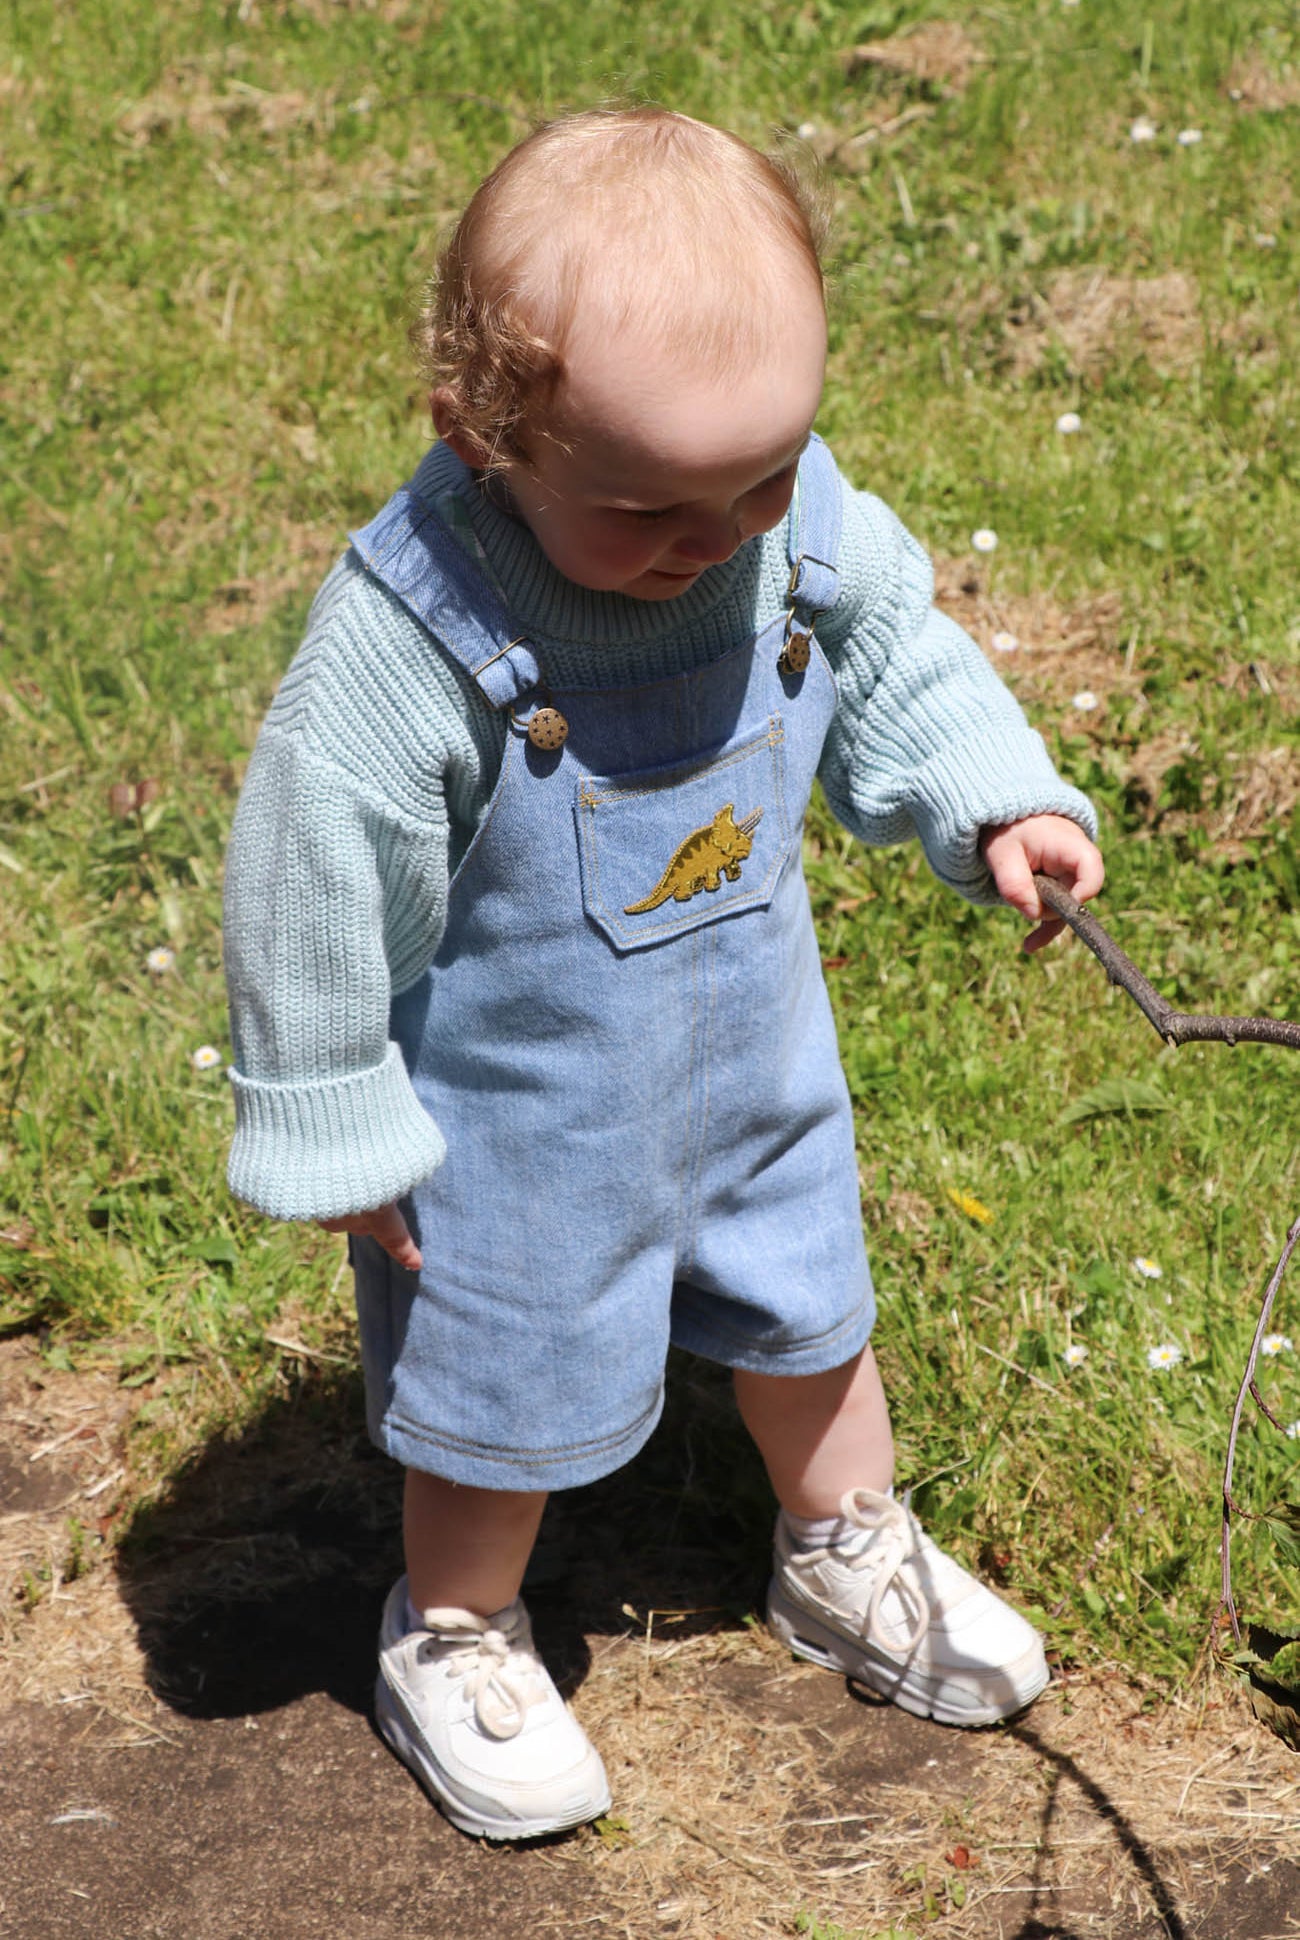
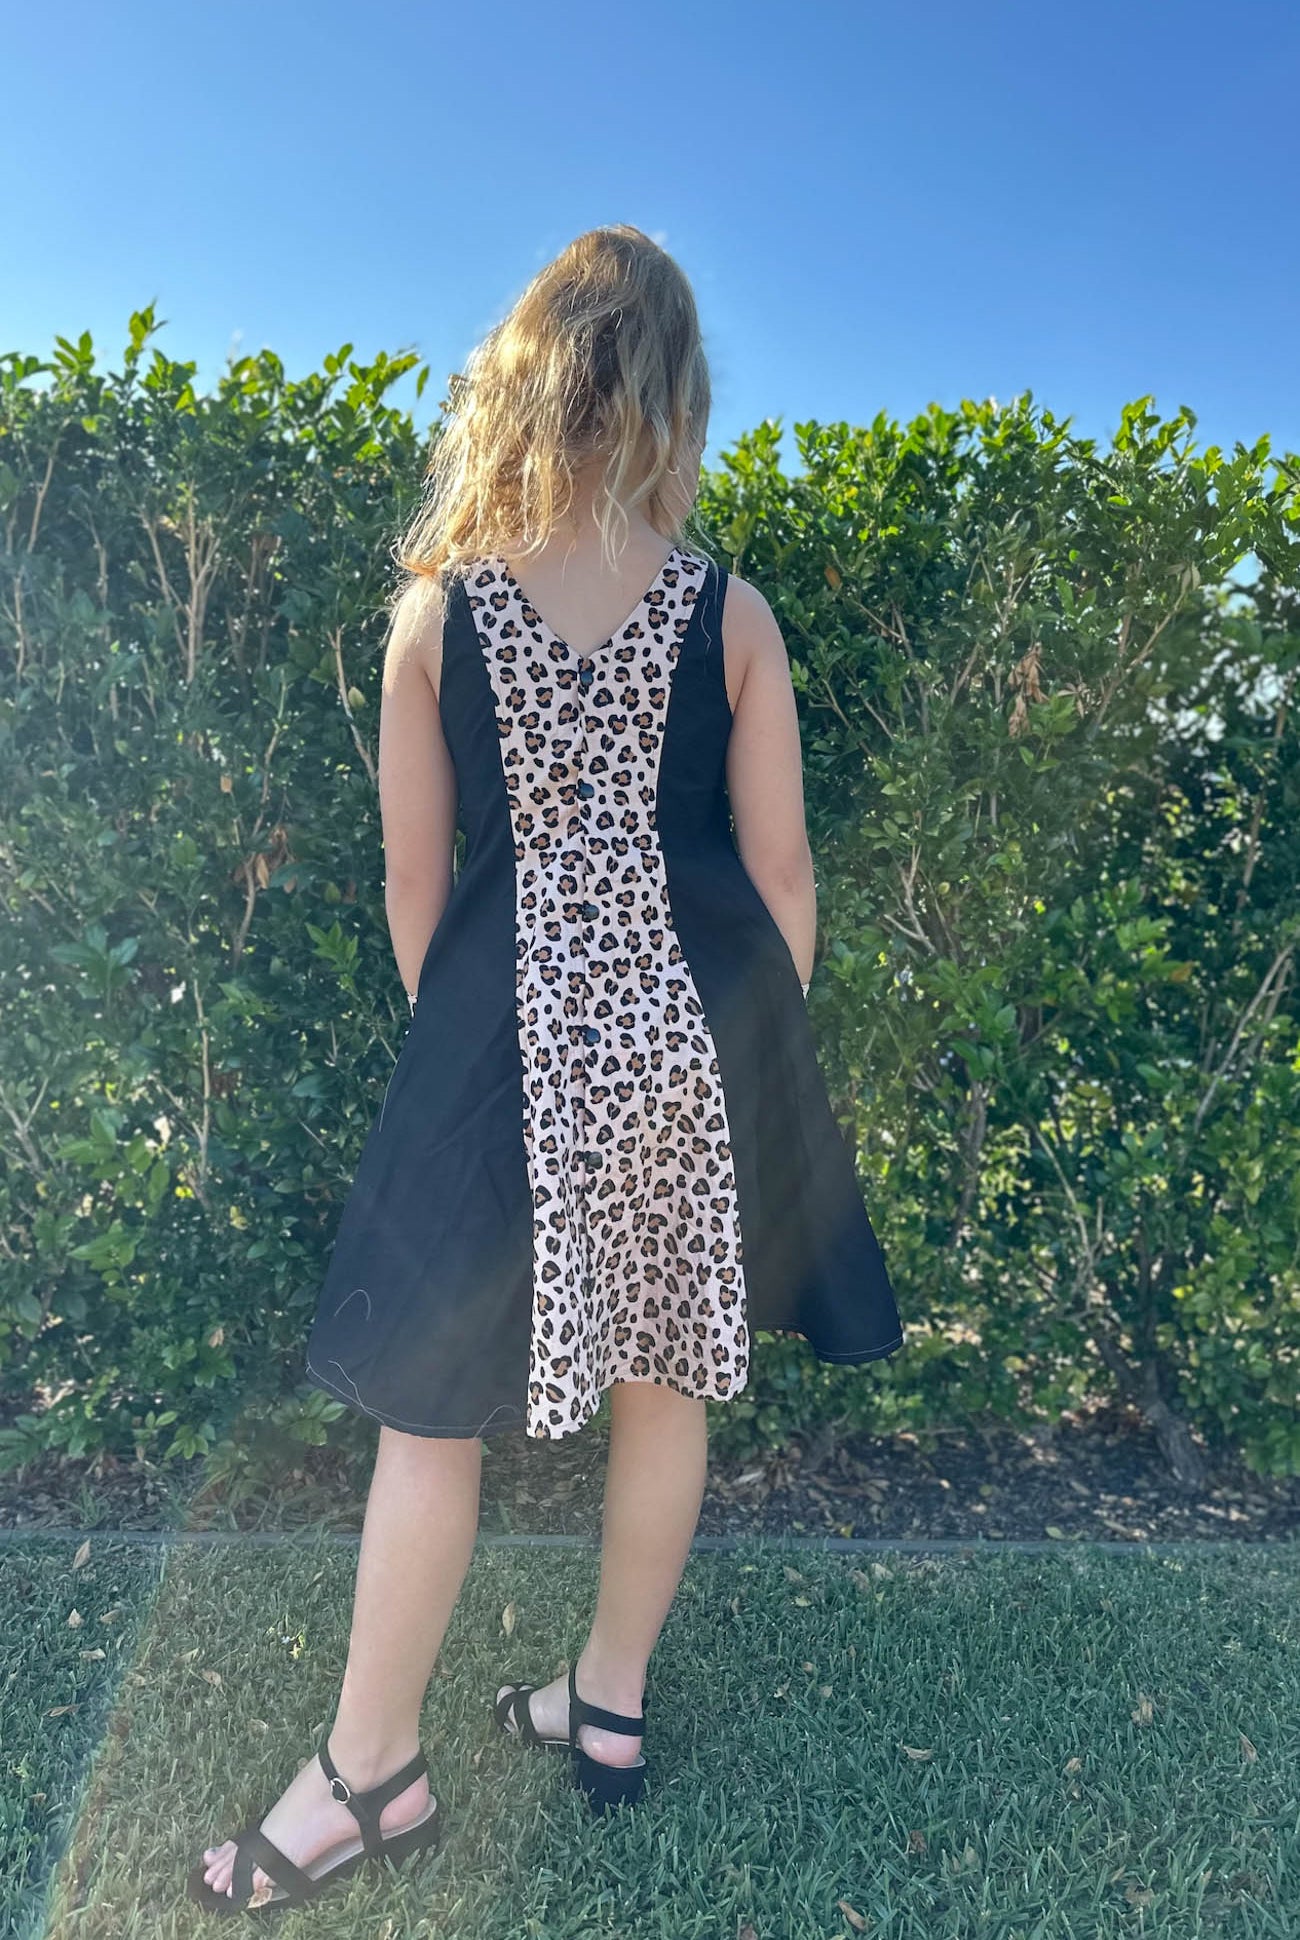
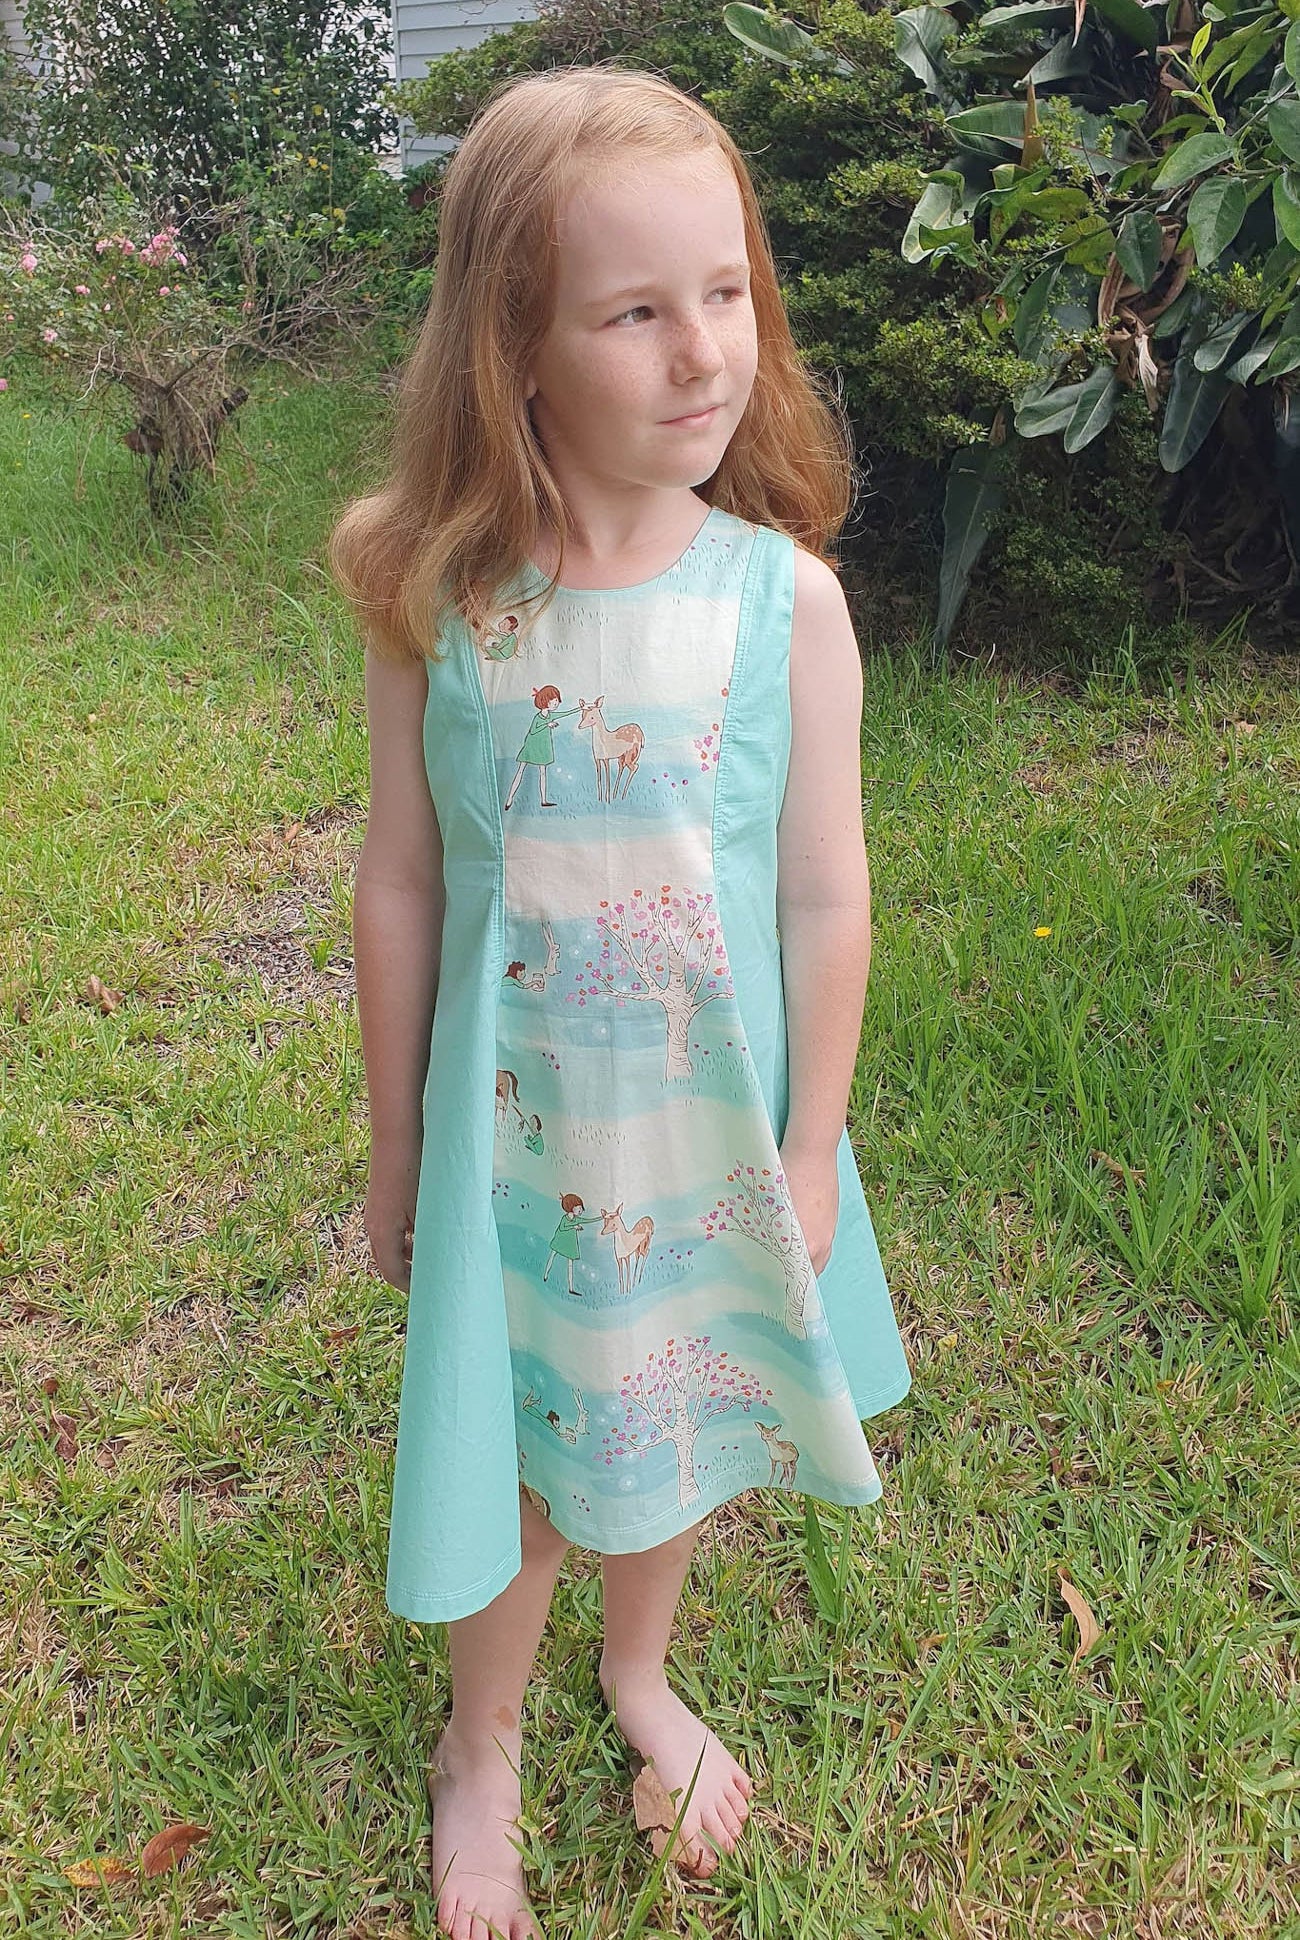
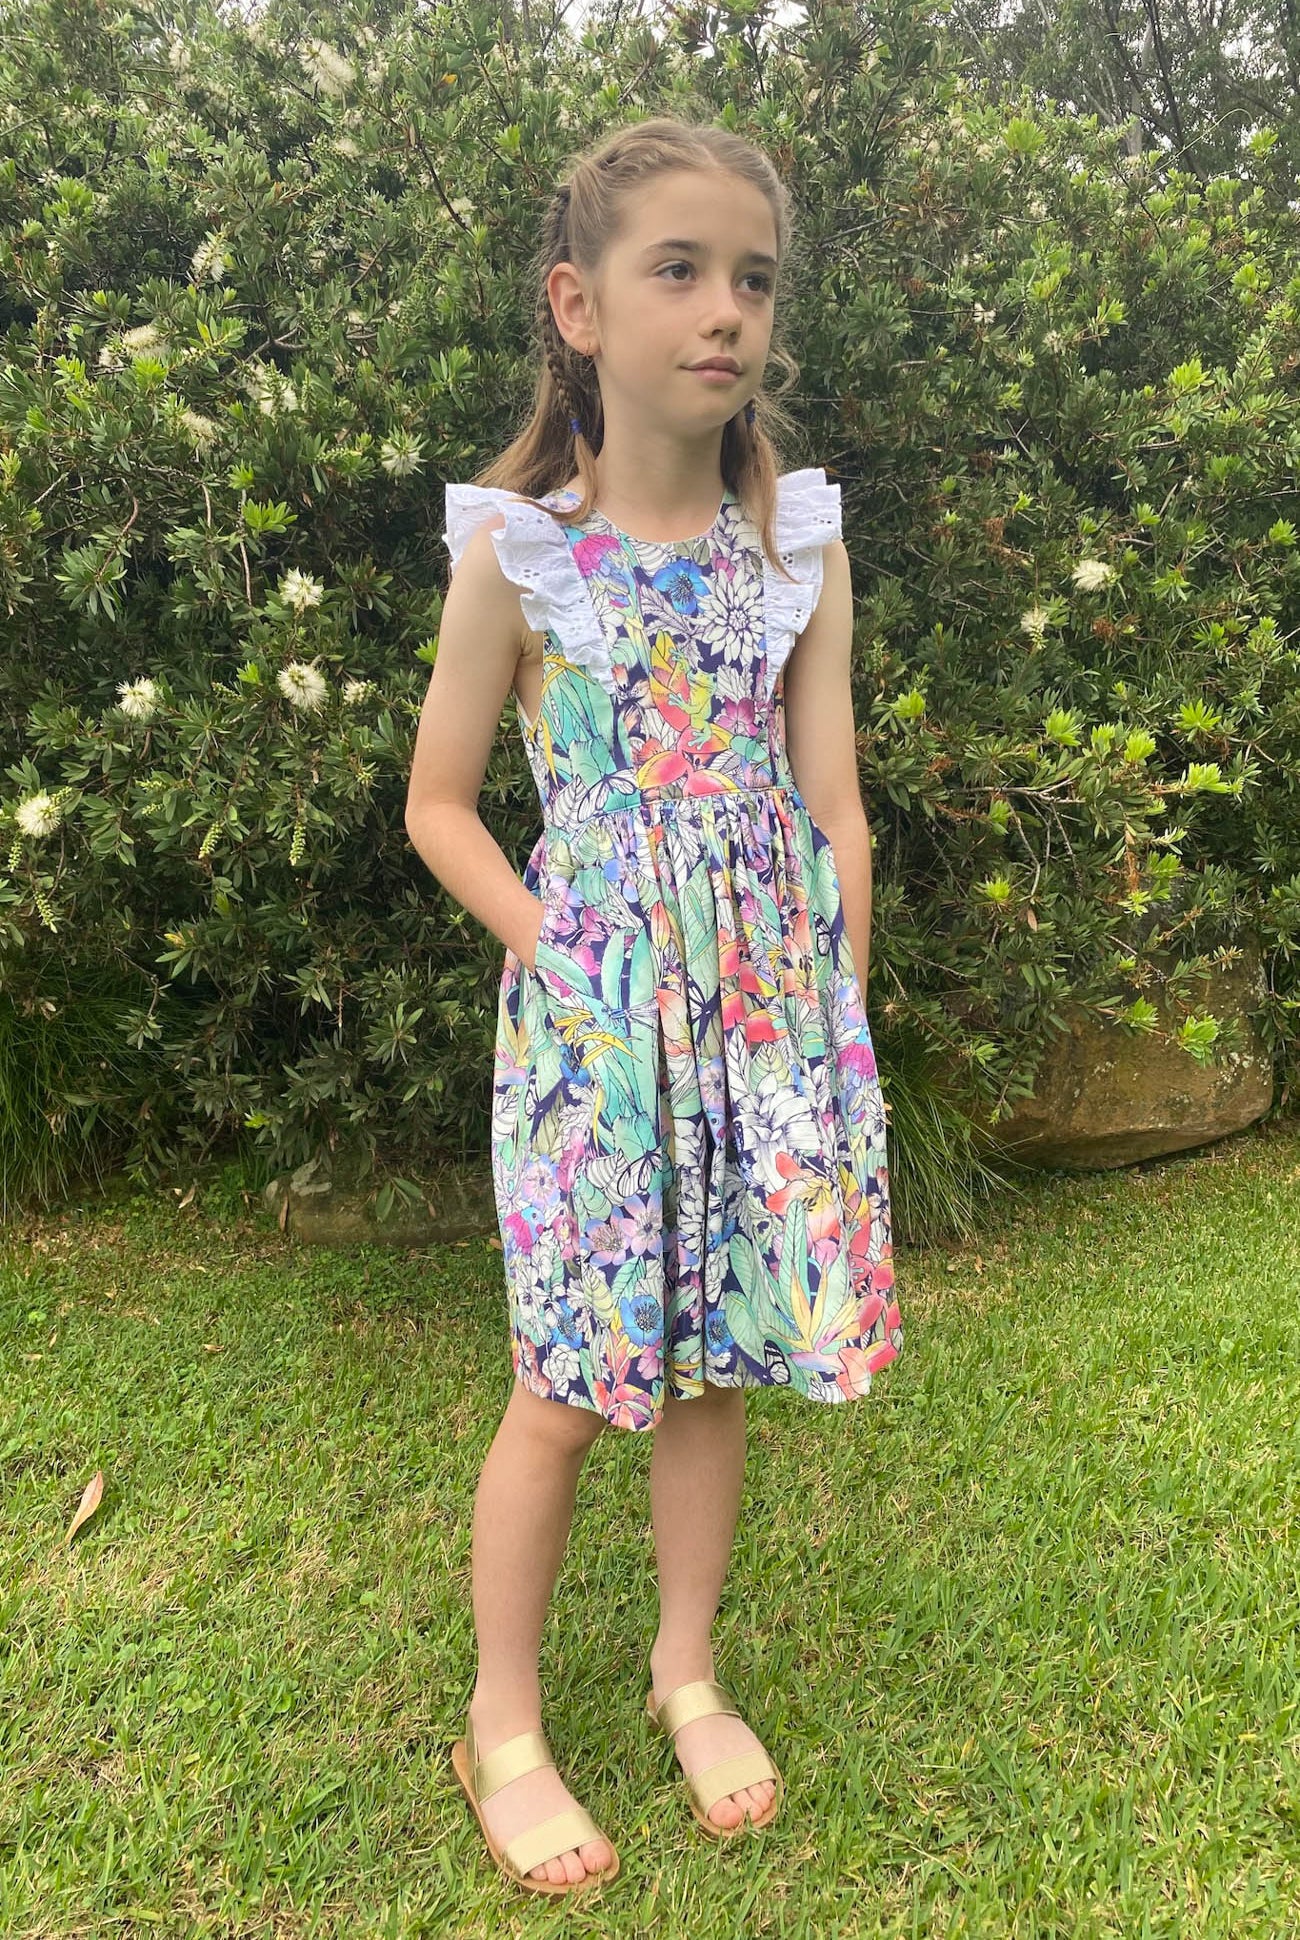
I have made 4-6 dresses every year for my granddaughters (and their friends!). It it fantastic, flawless. The recipients live on the other side of the world and the dresses always fit. The eldest granddaughter refuses to hand down her dresse s as she grows to anyone because she loves them too much!
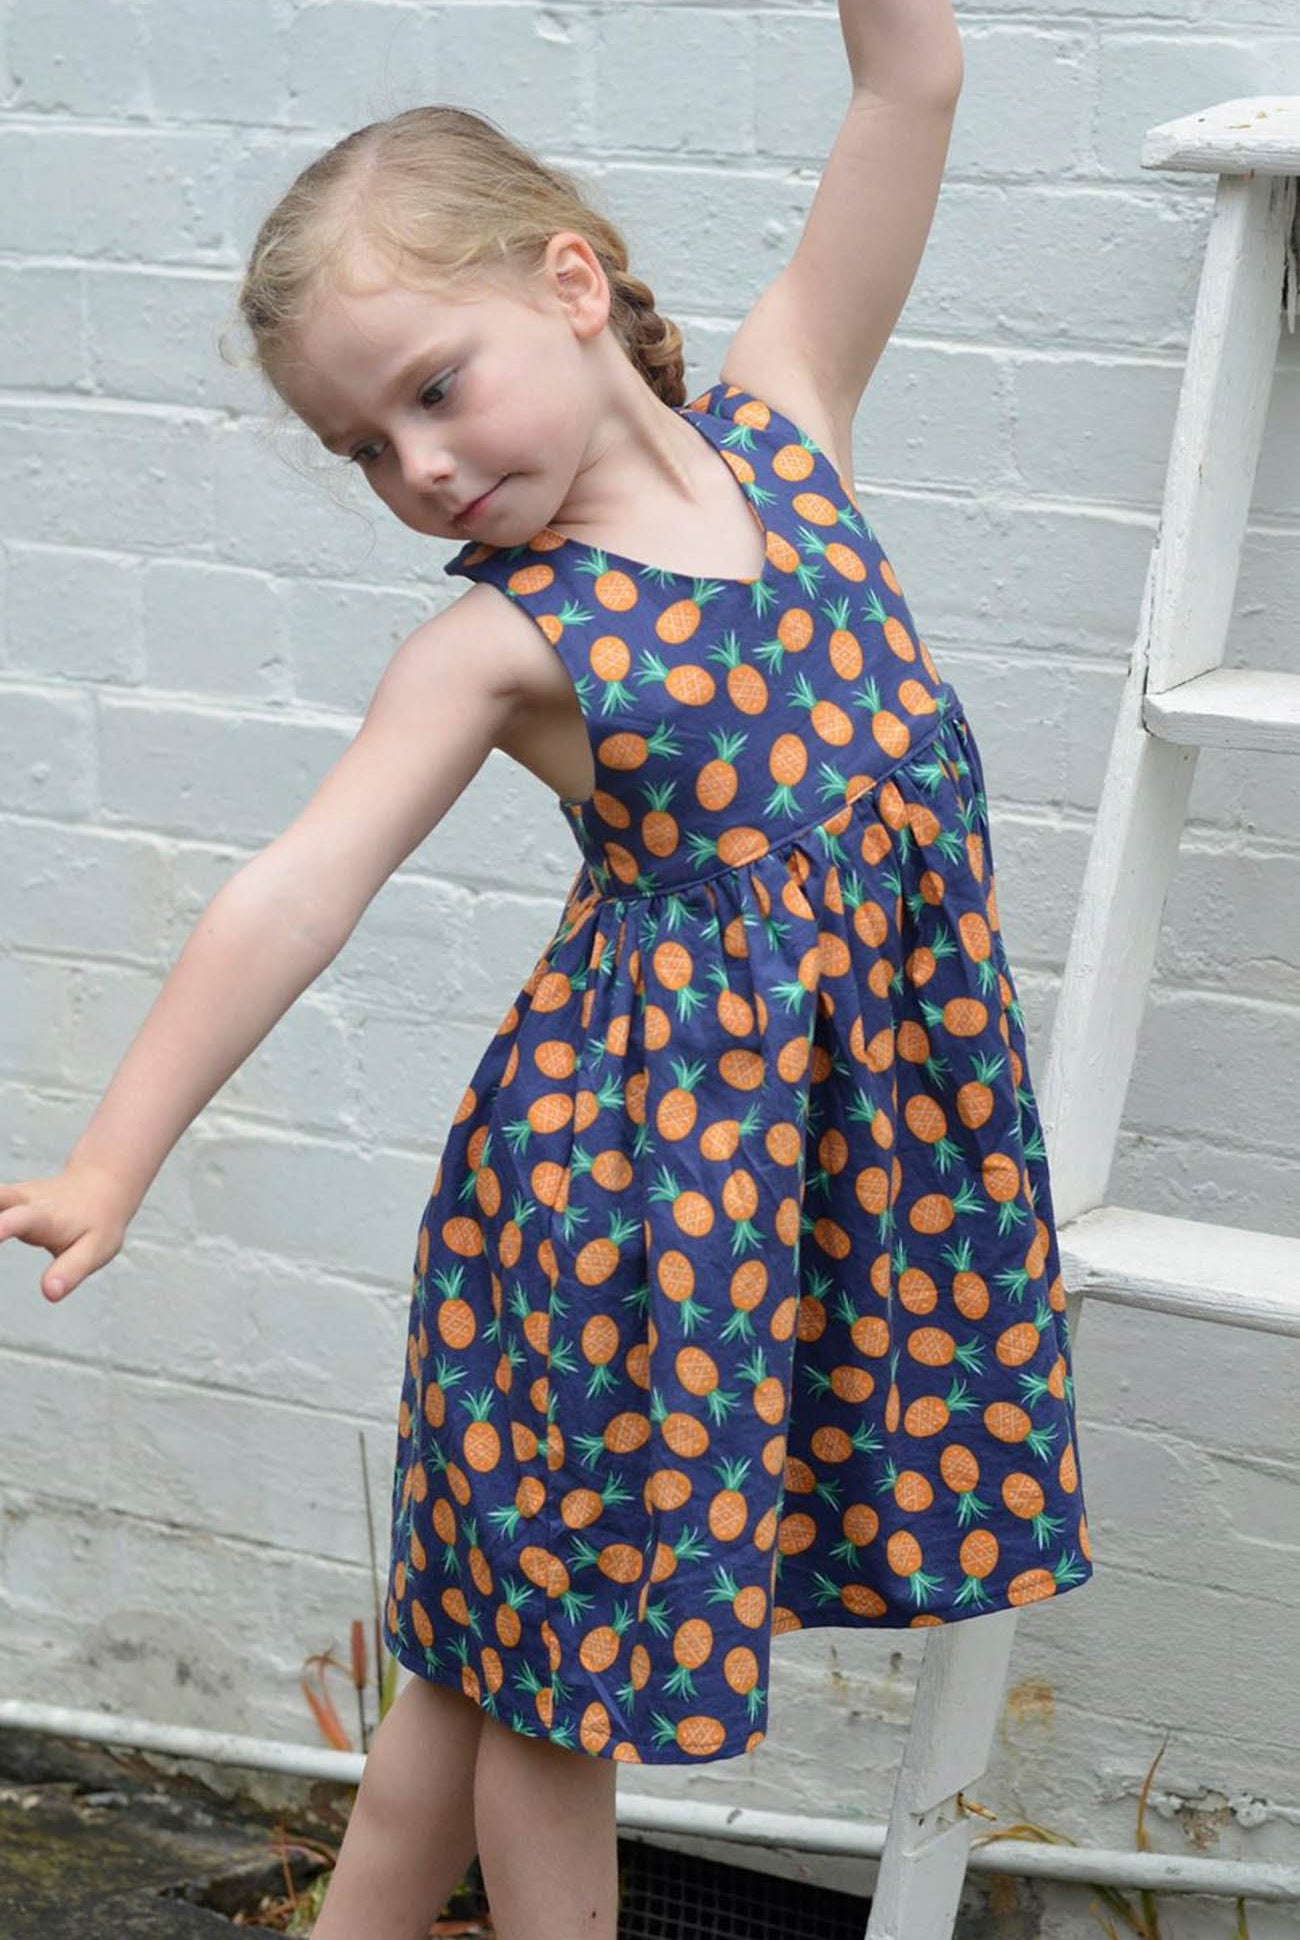
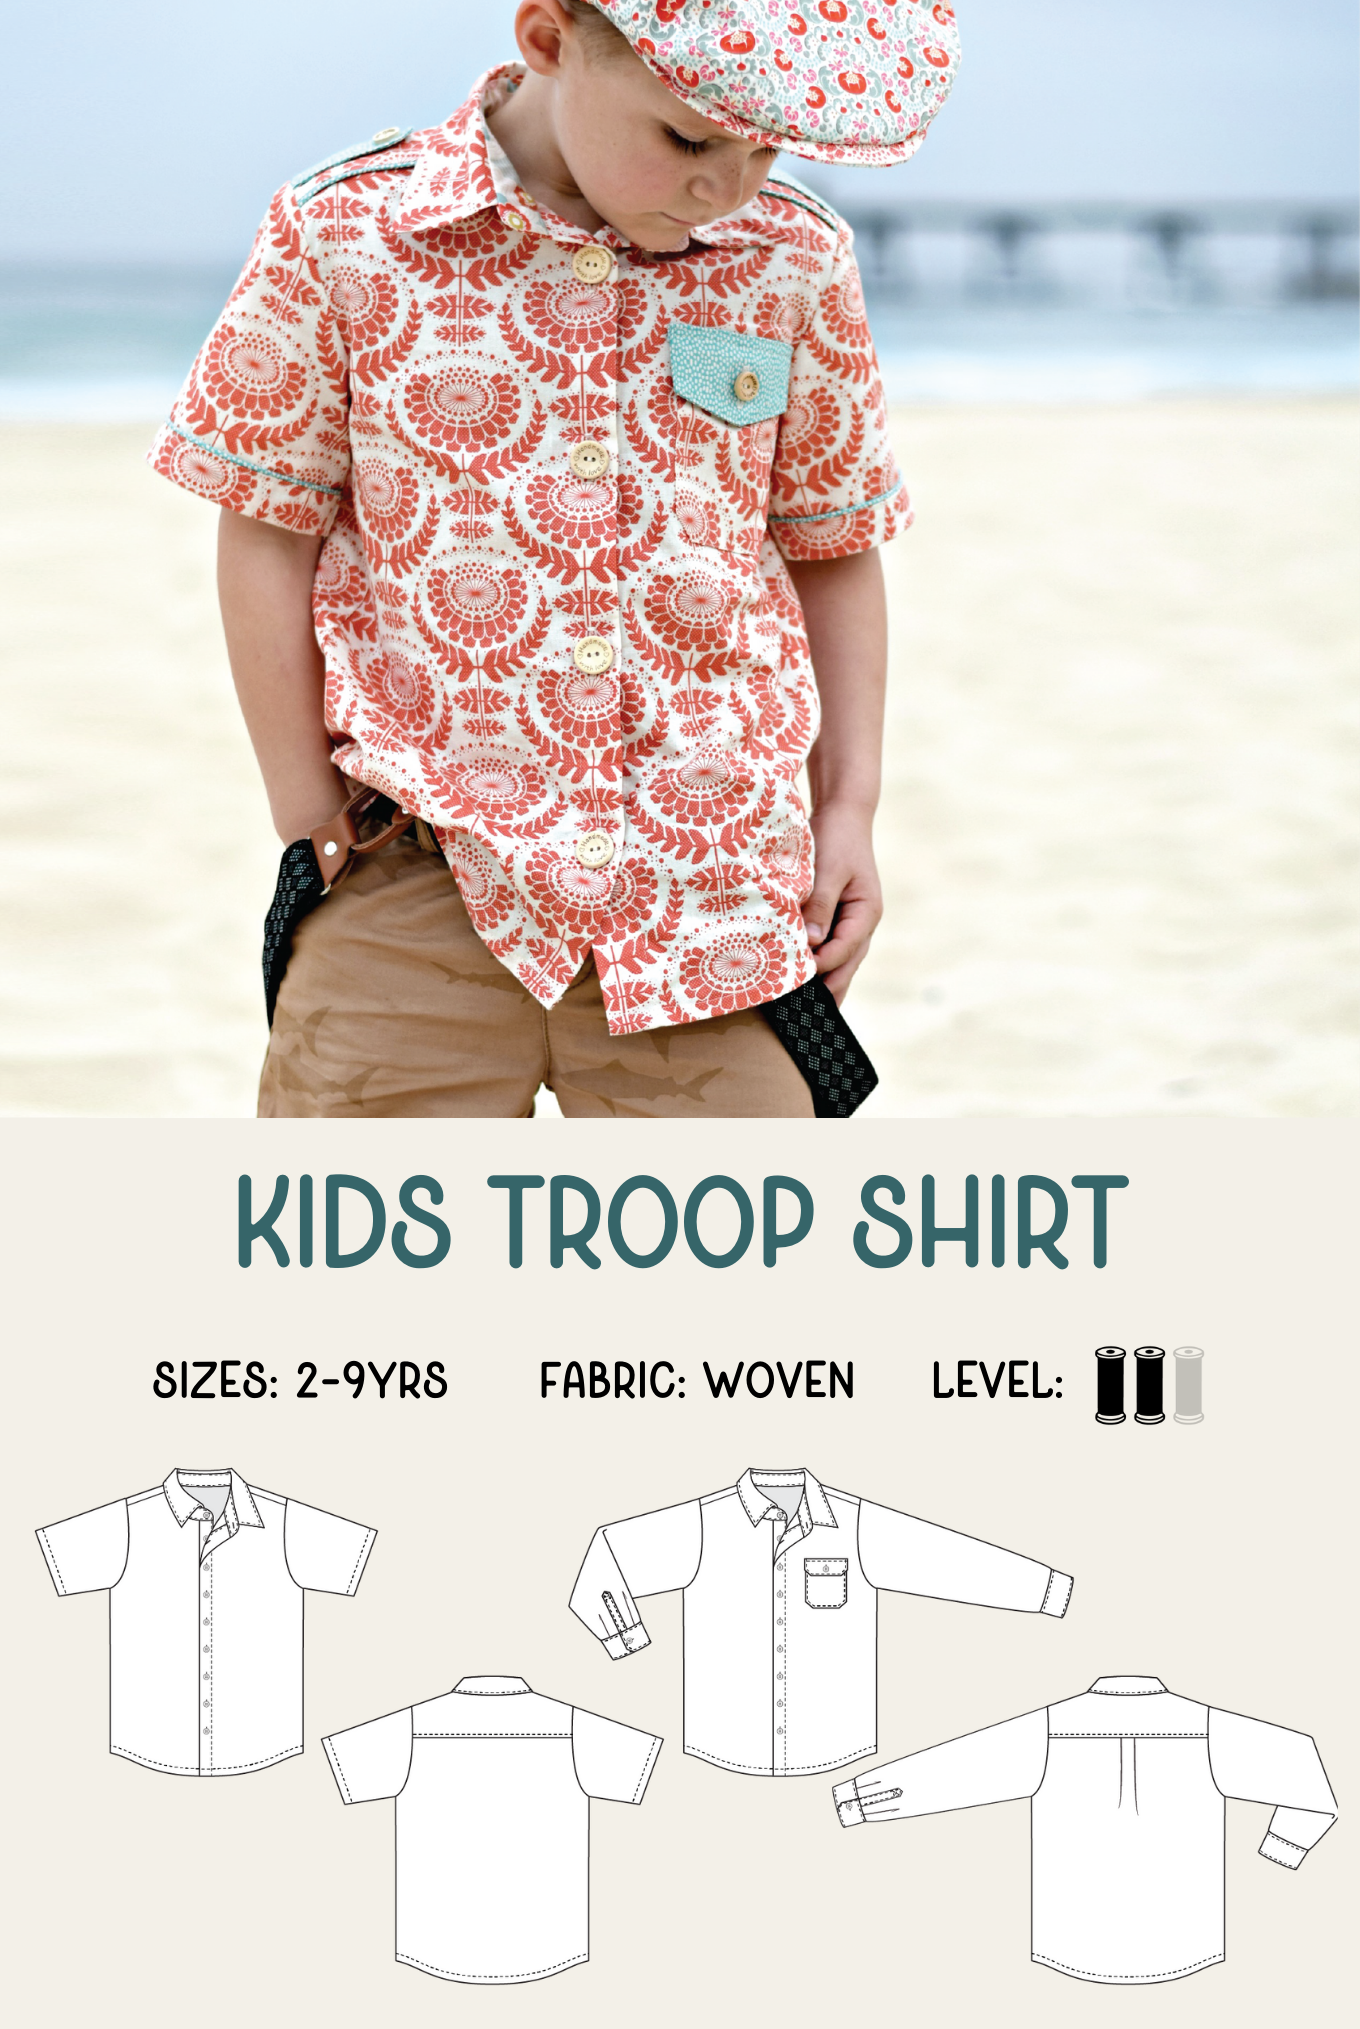
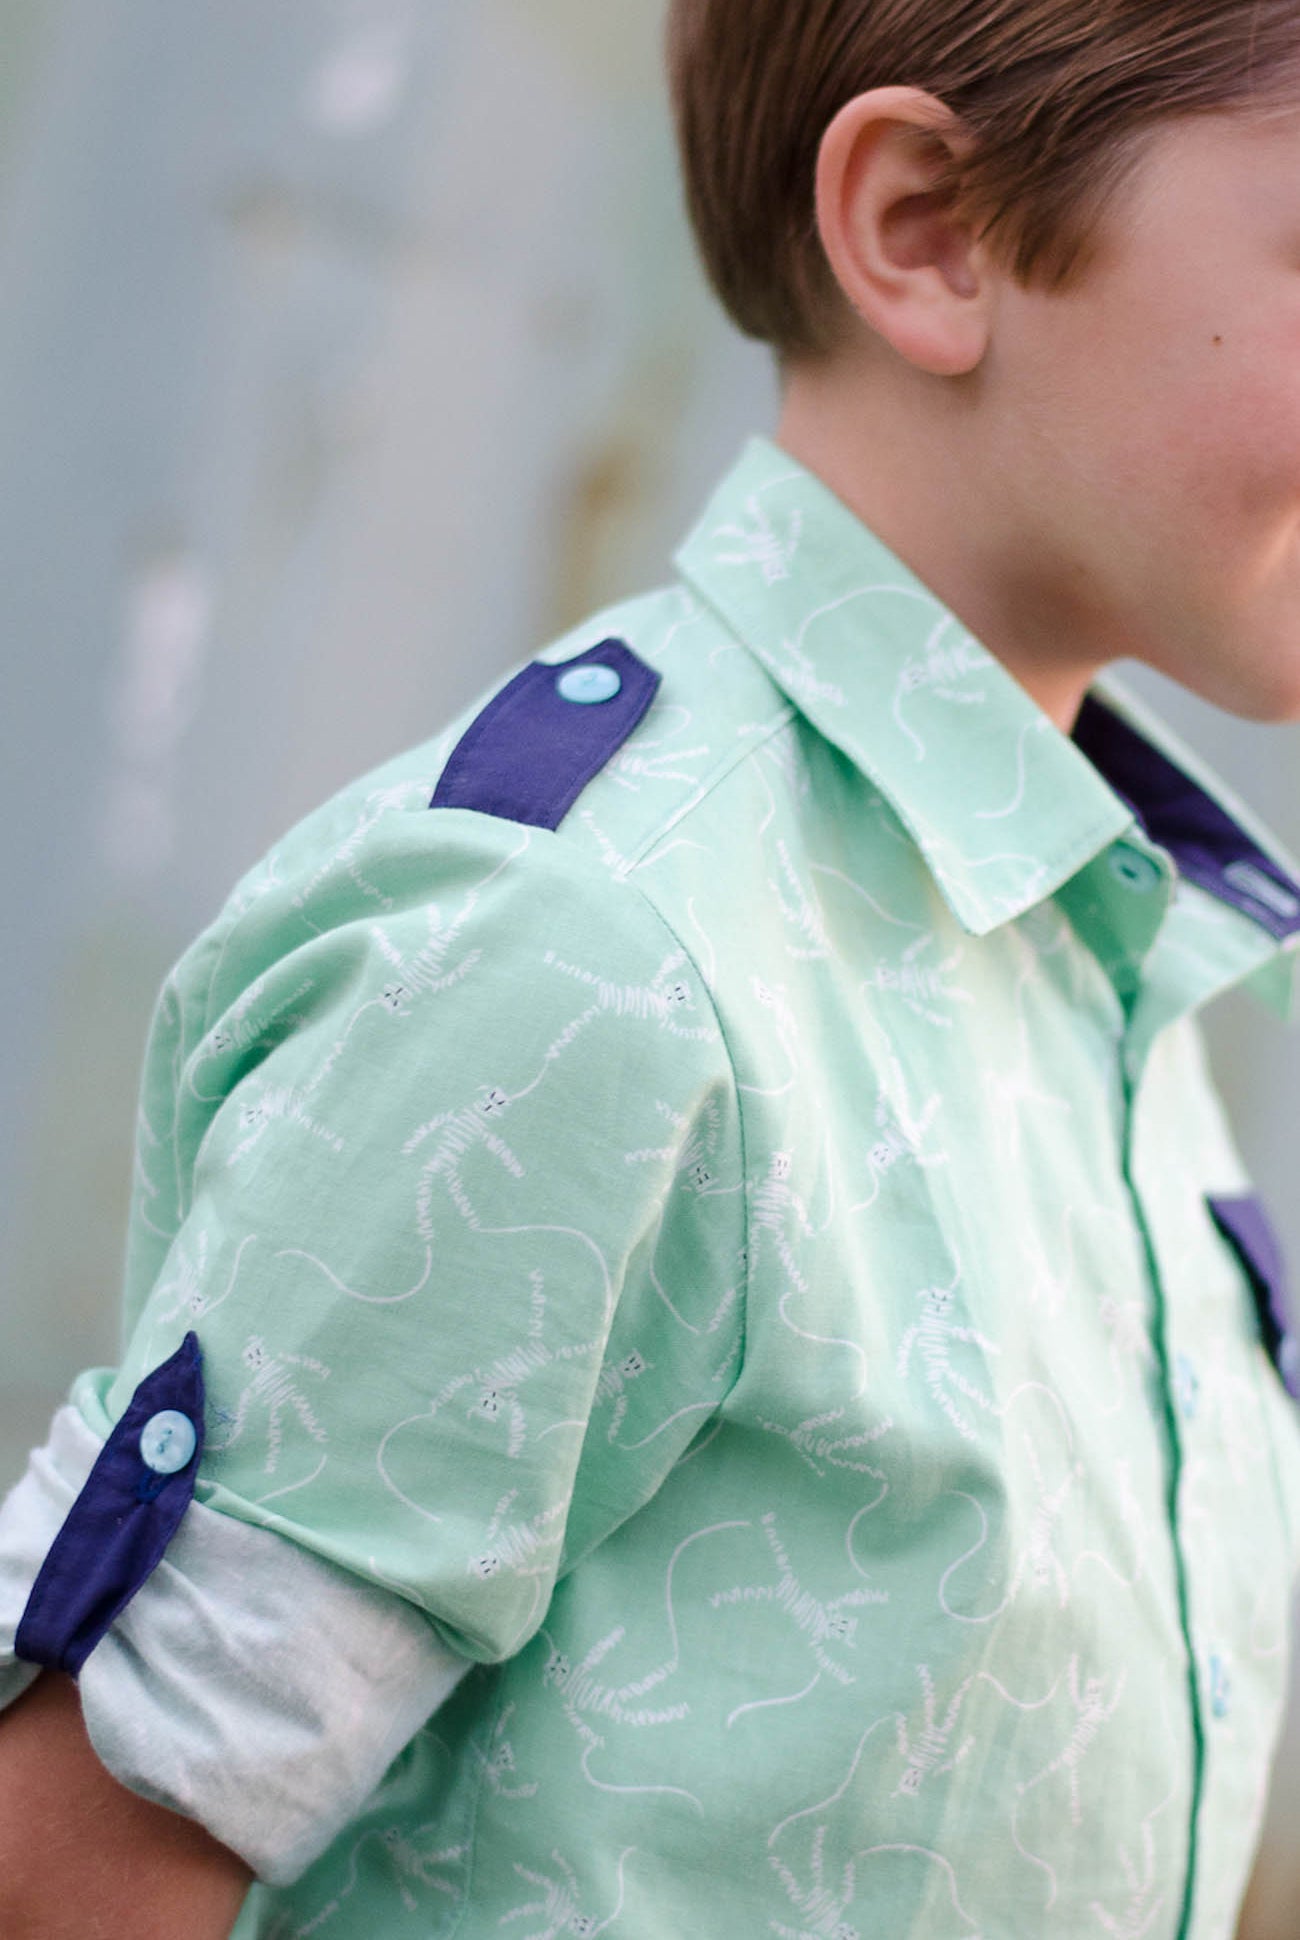
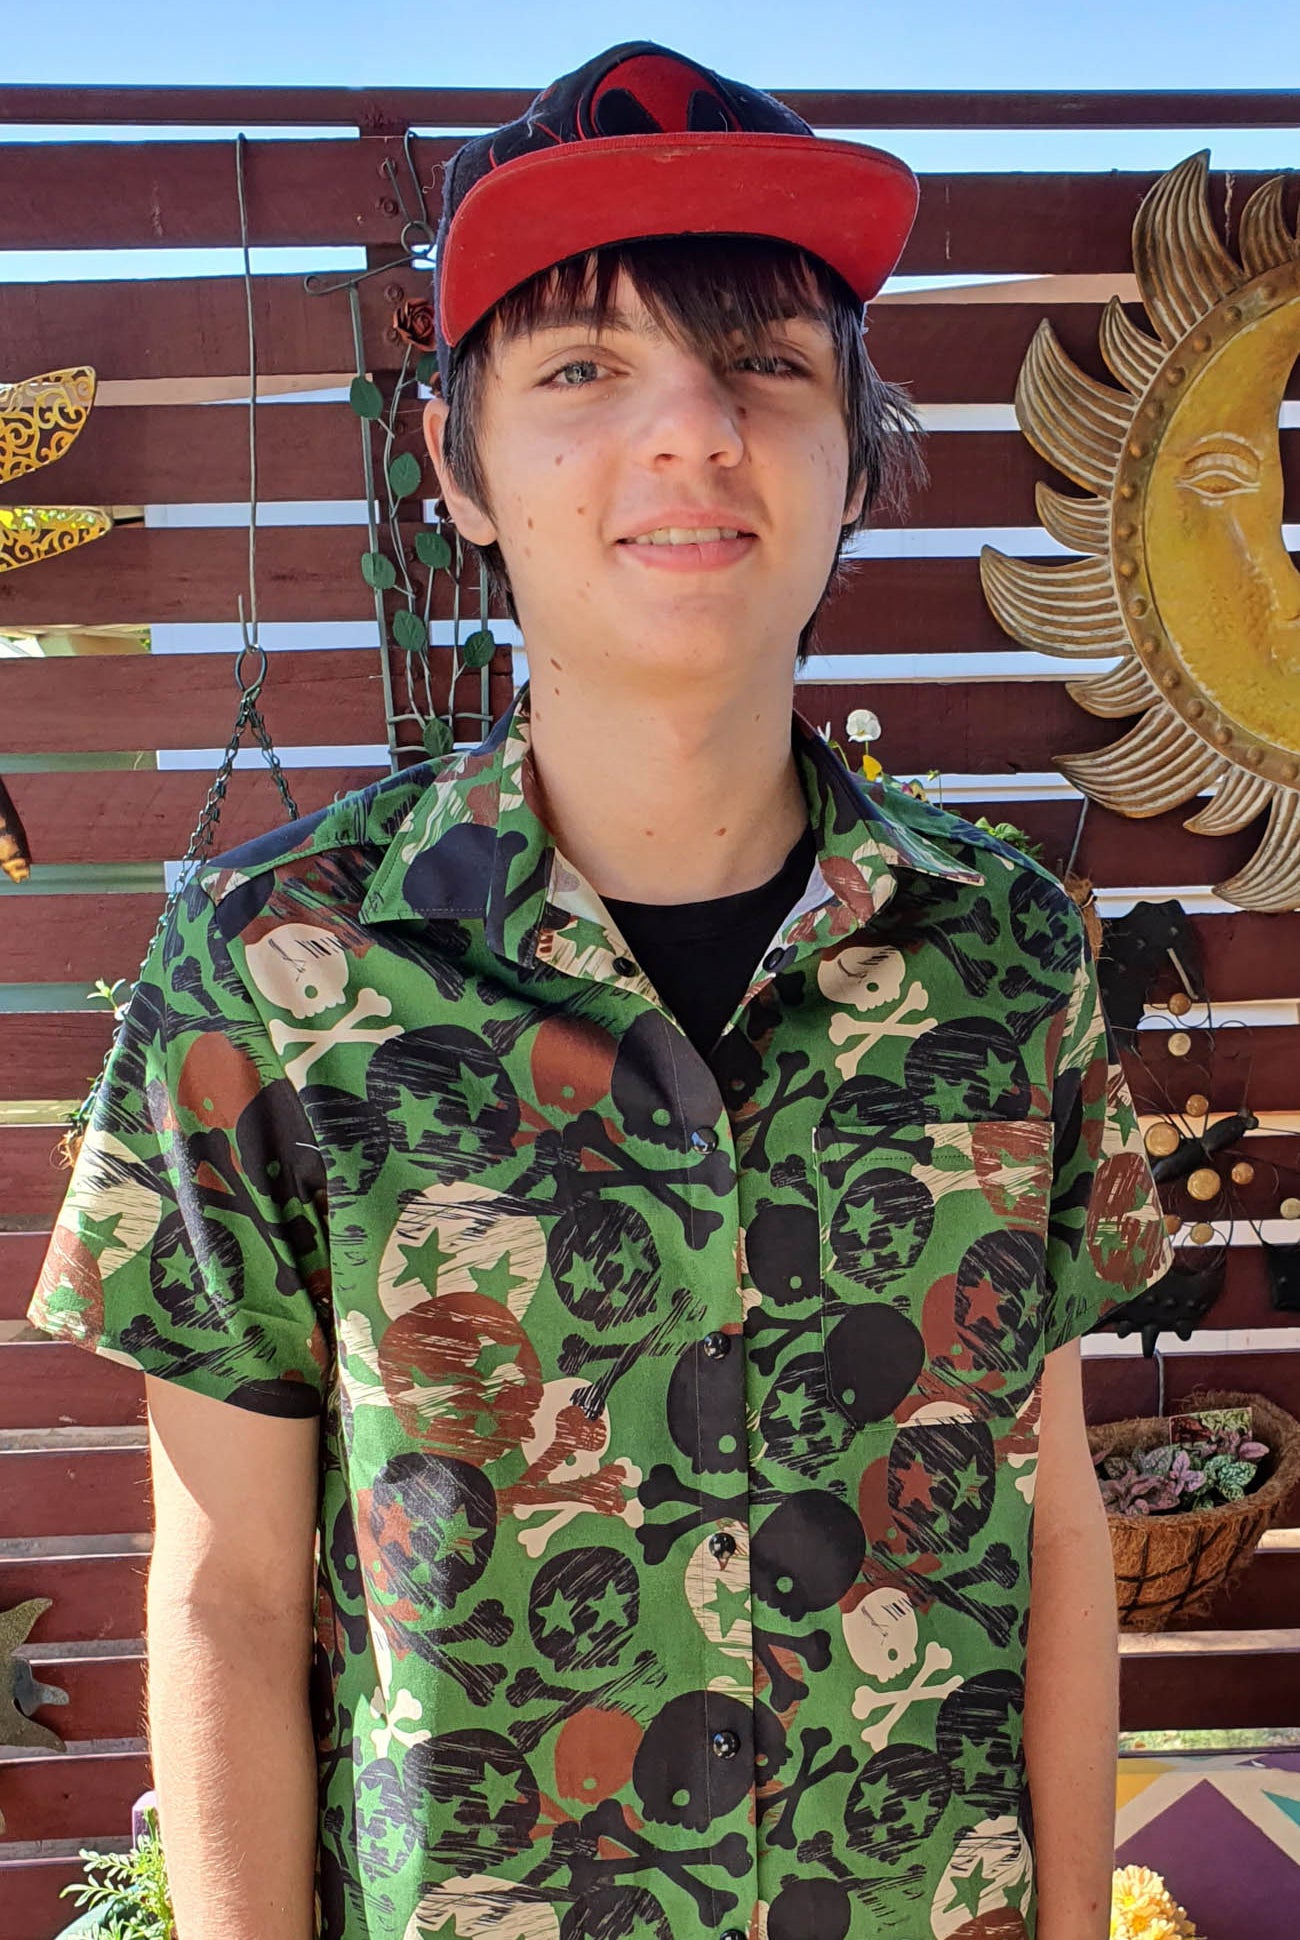
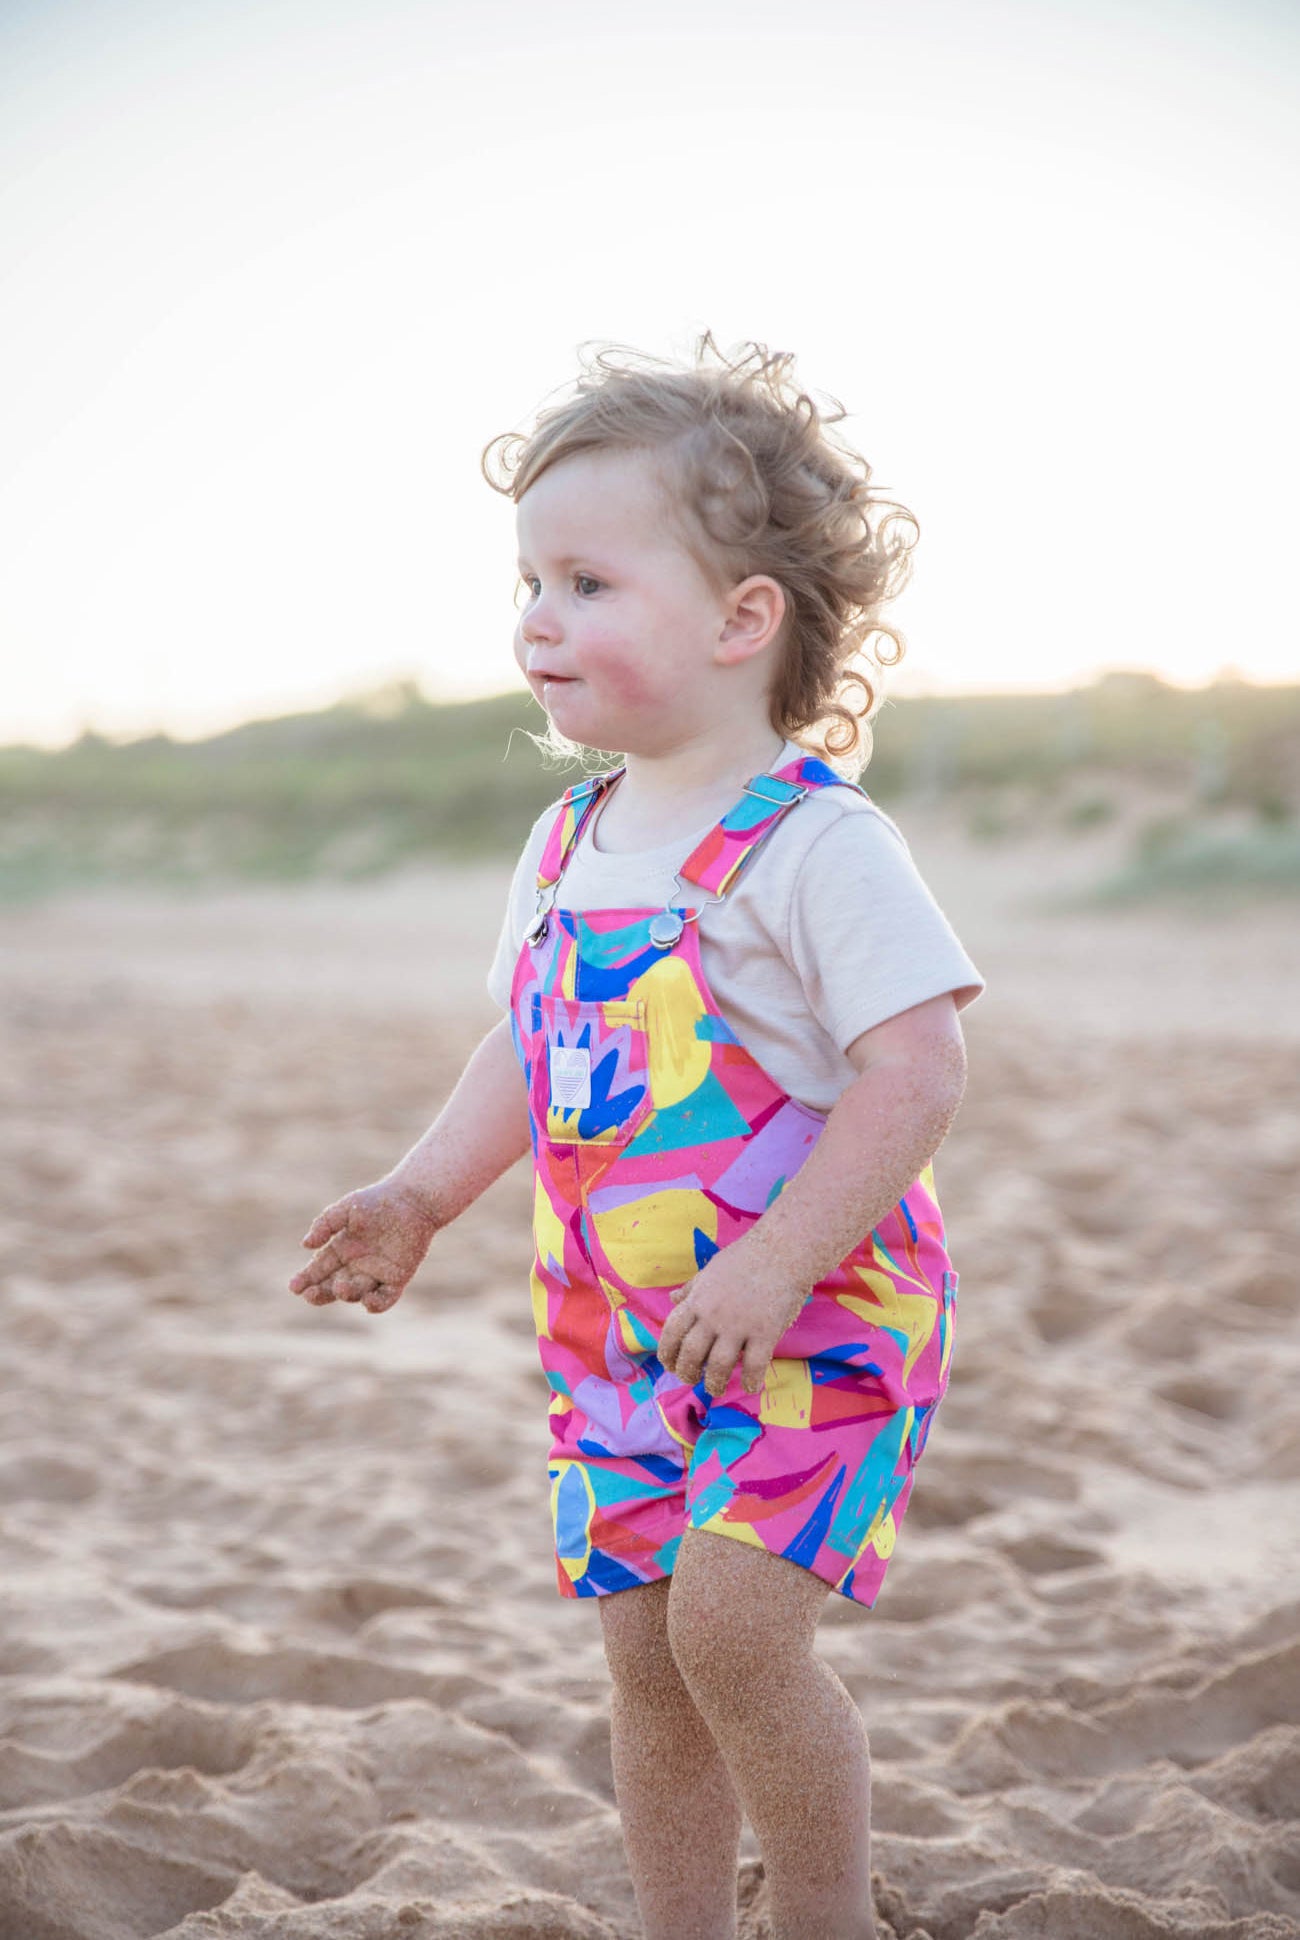
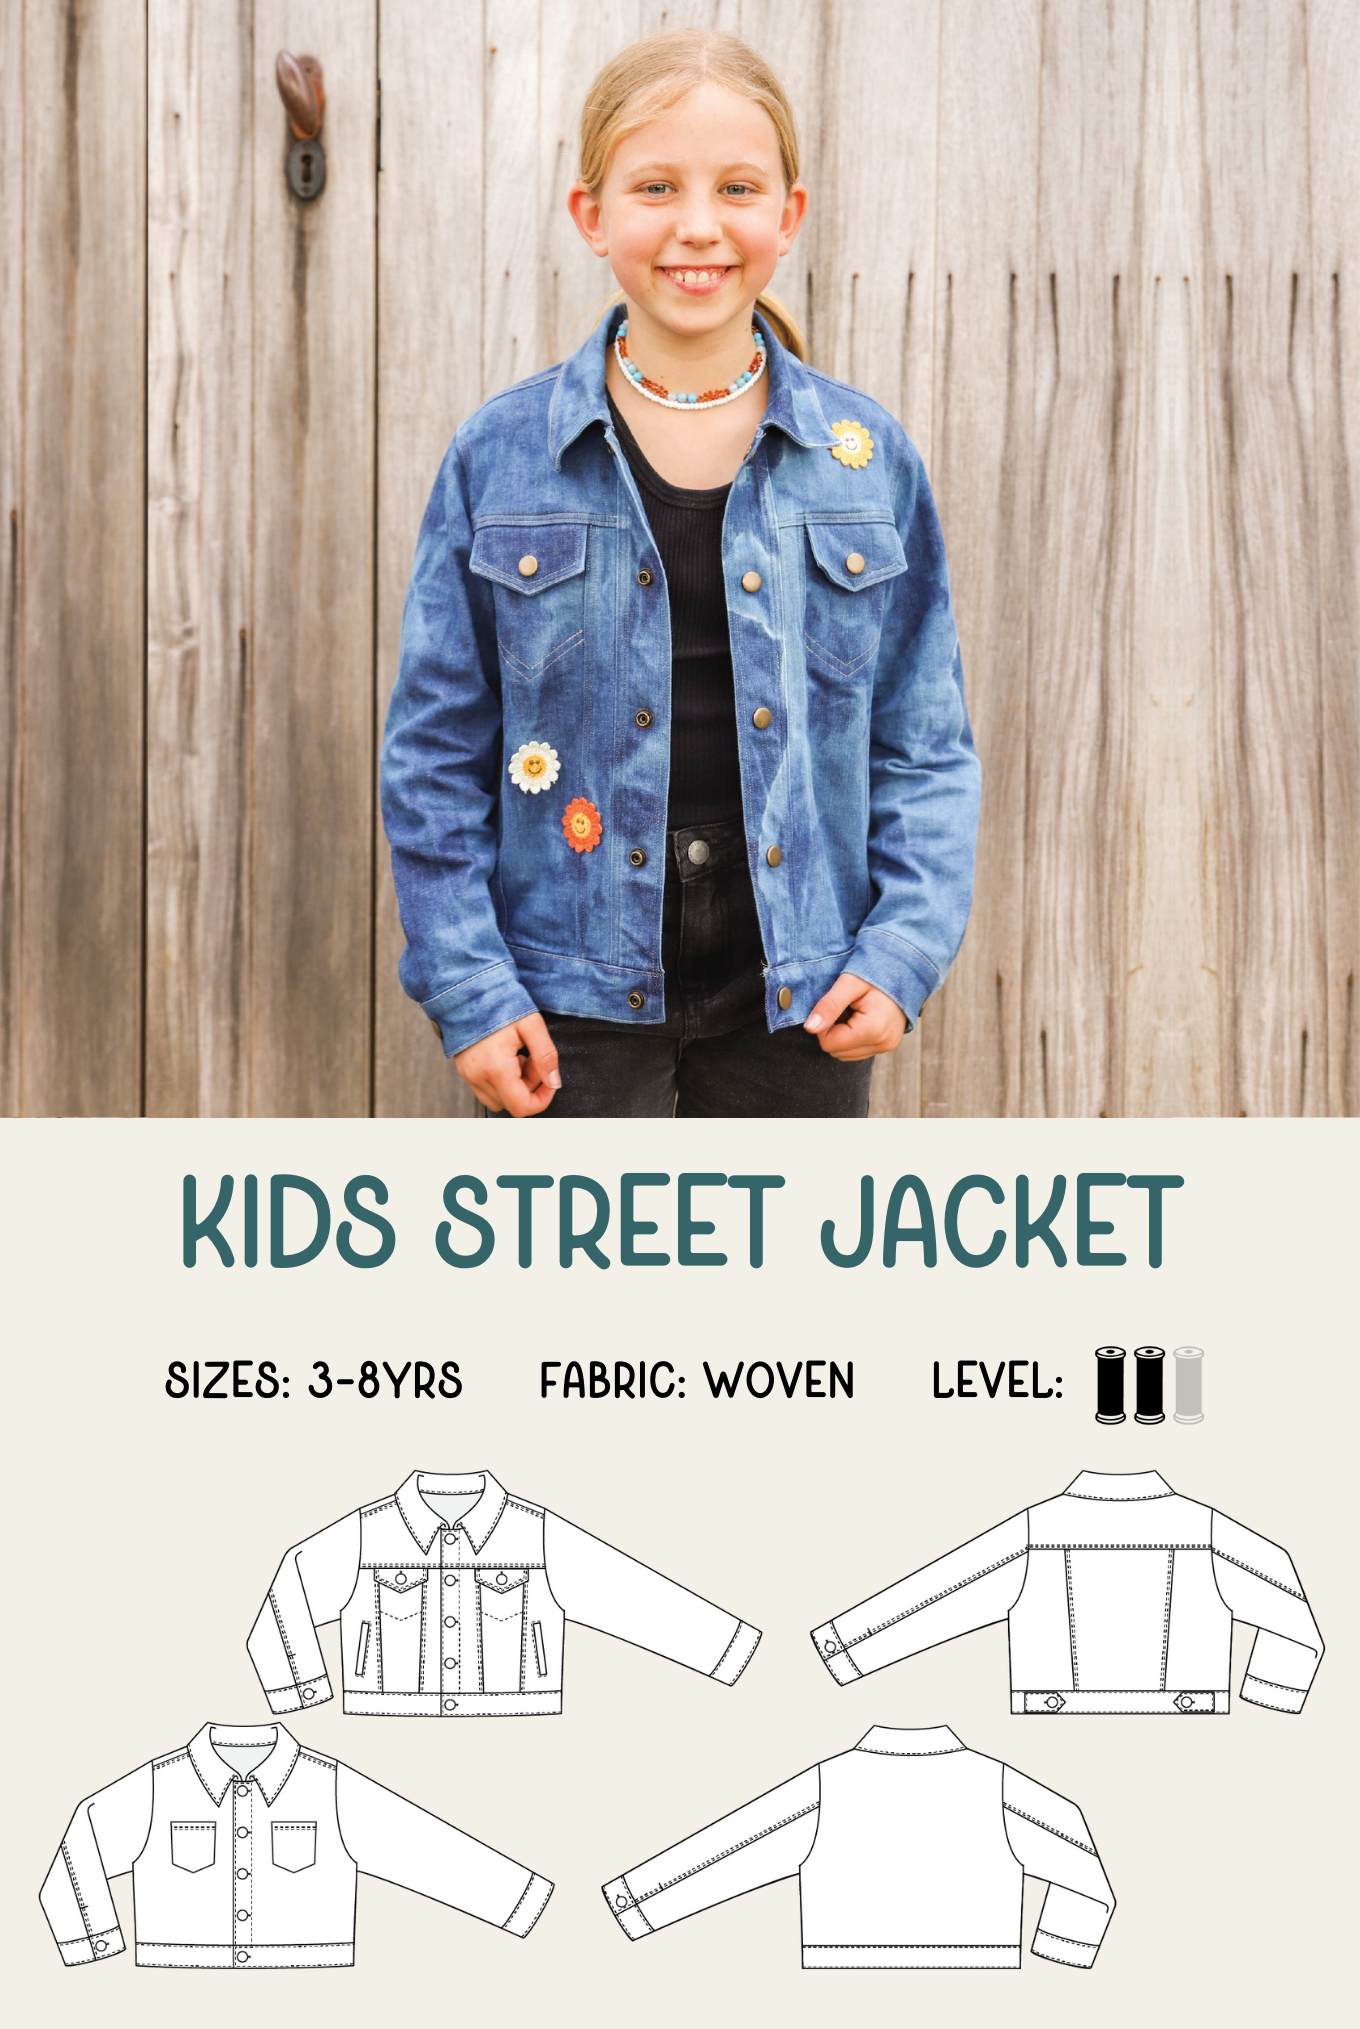
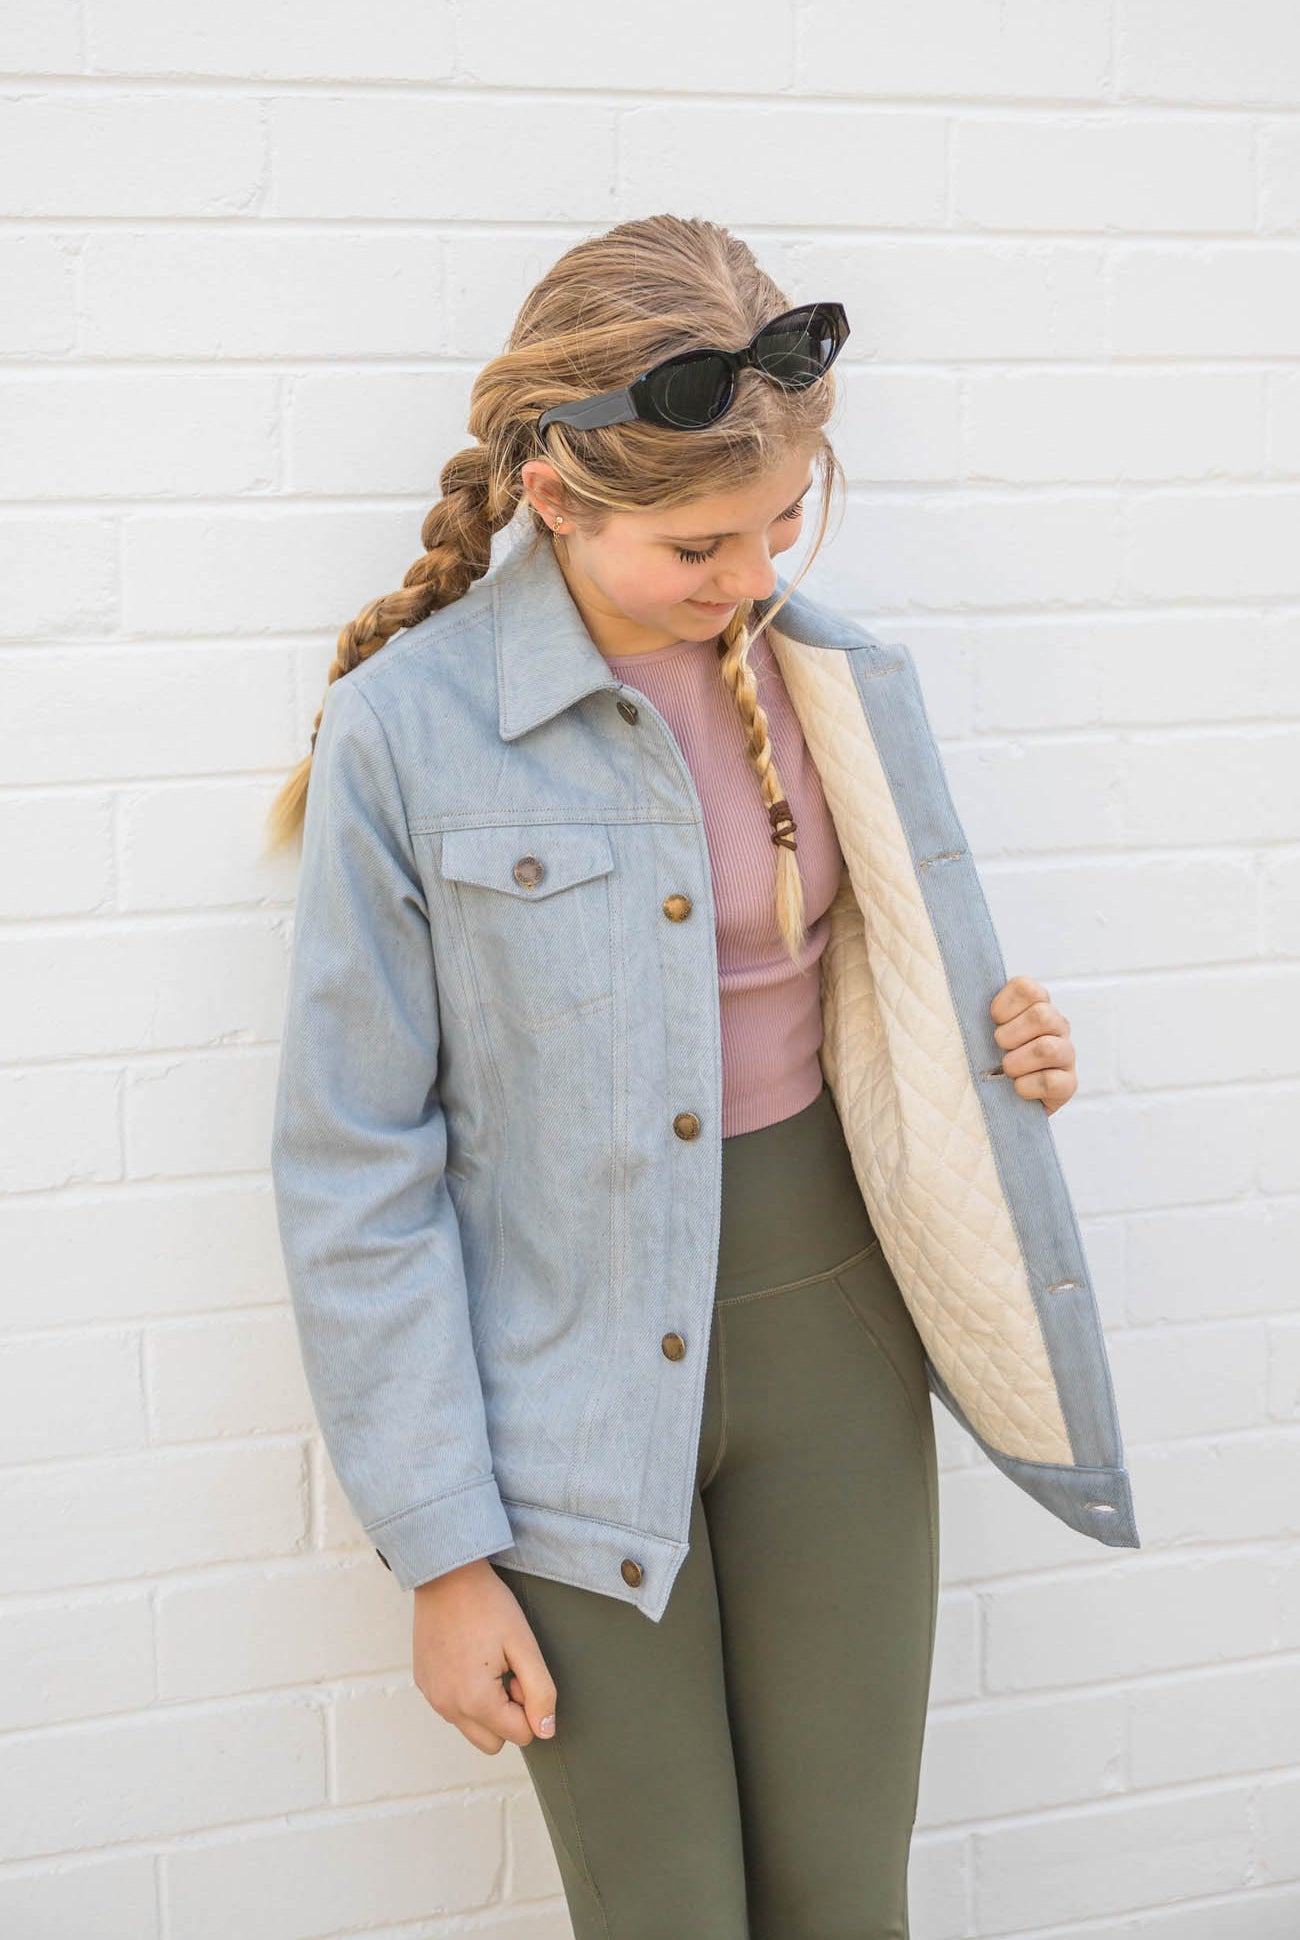
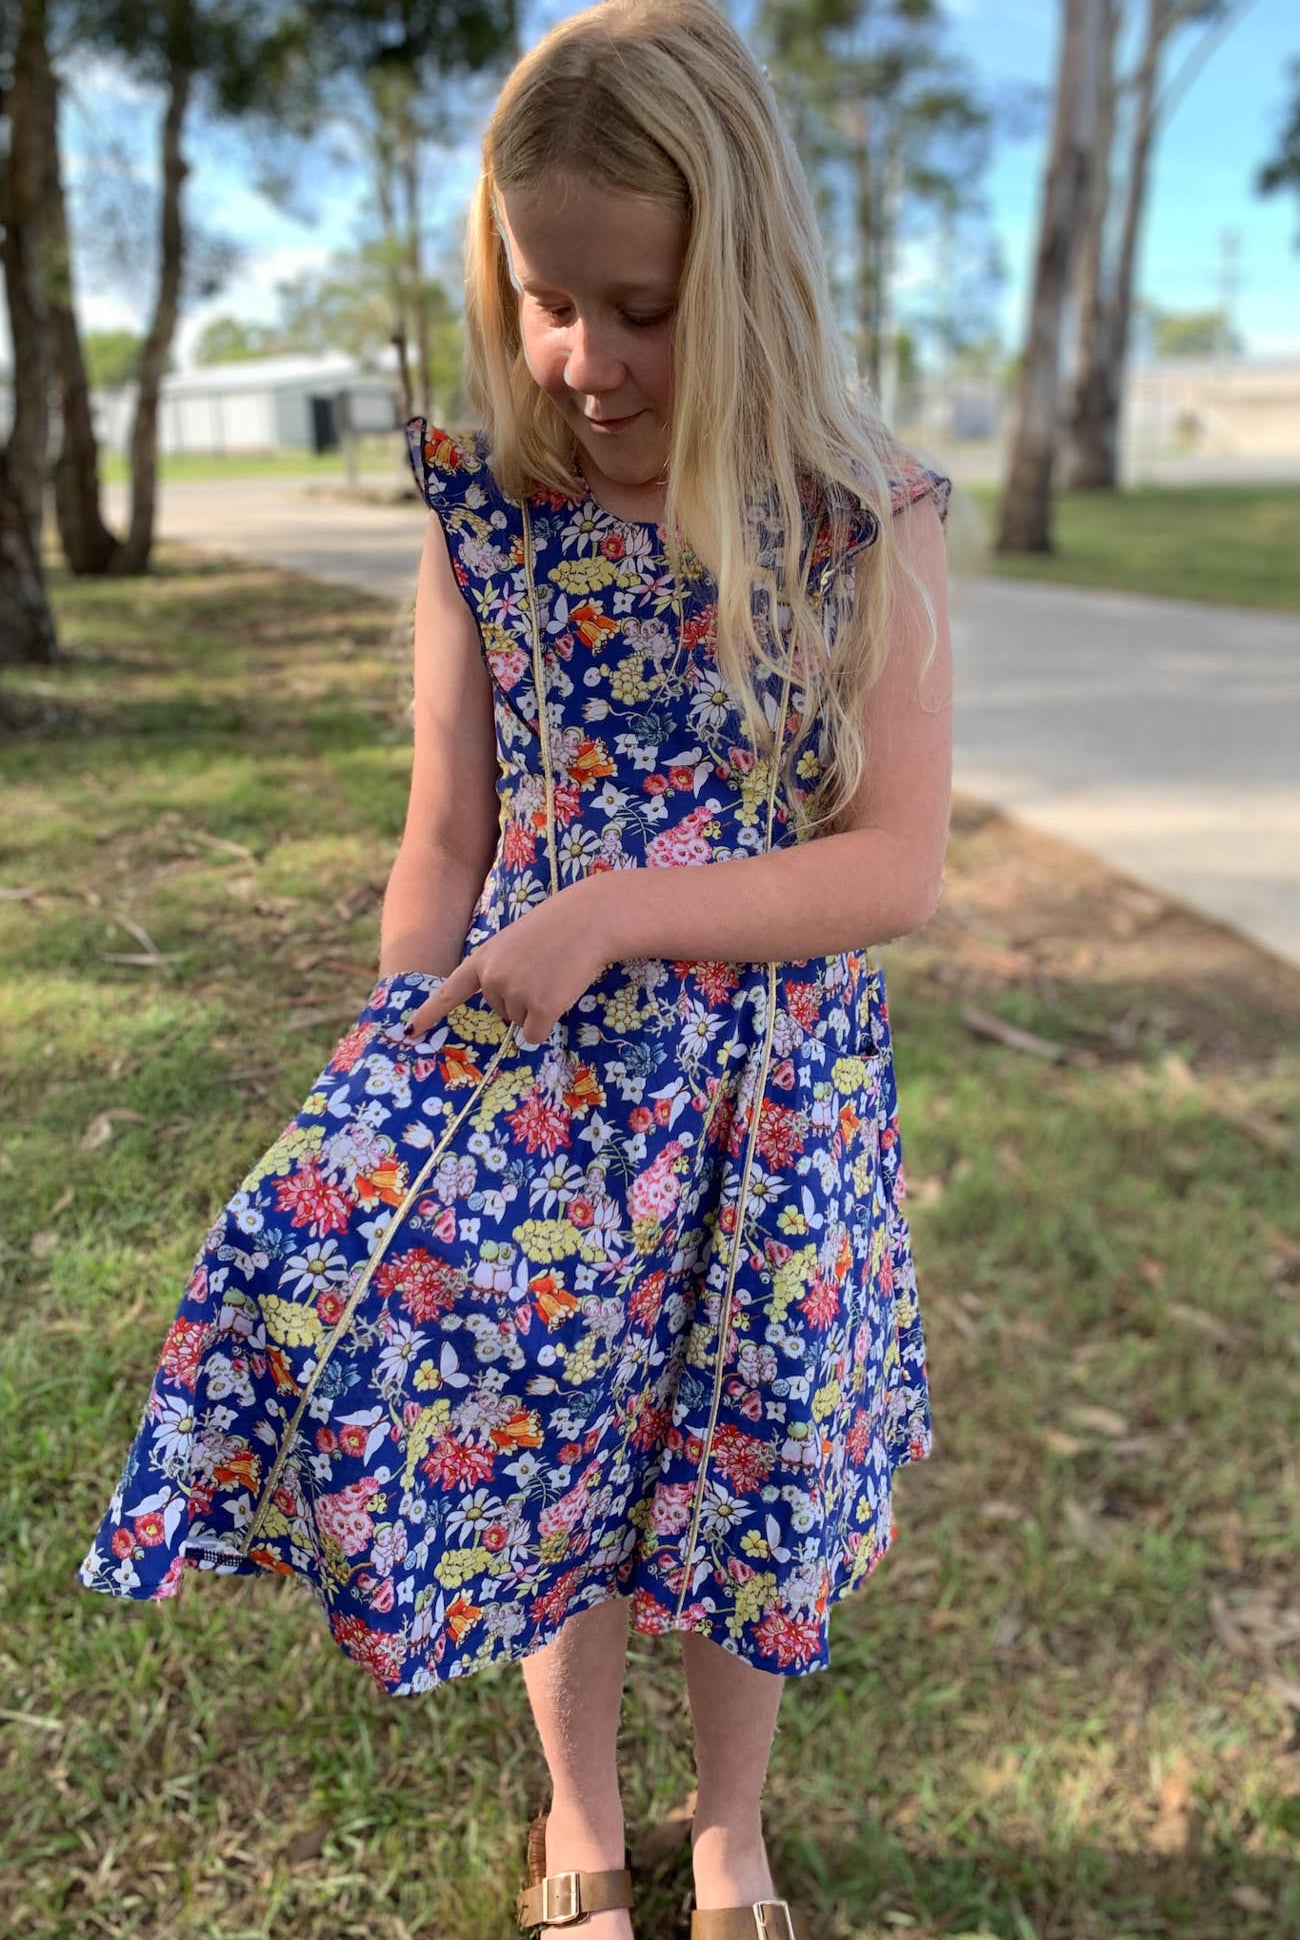
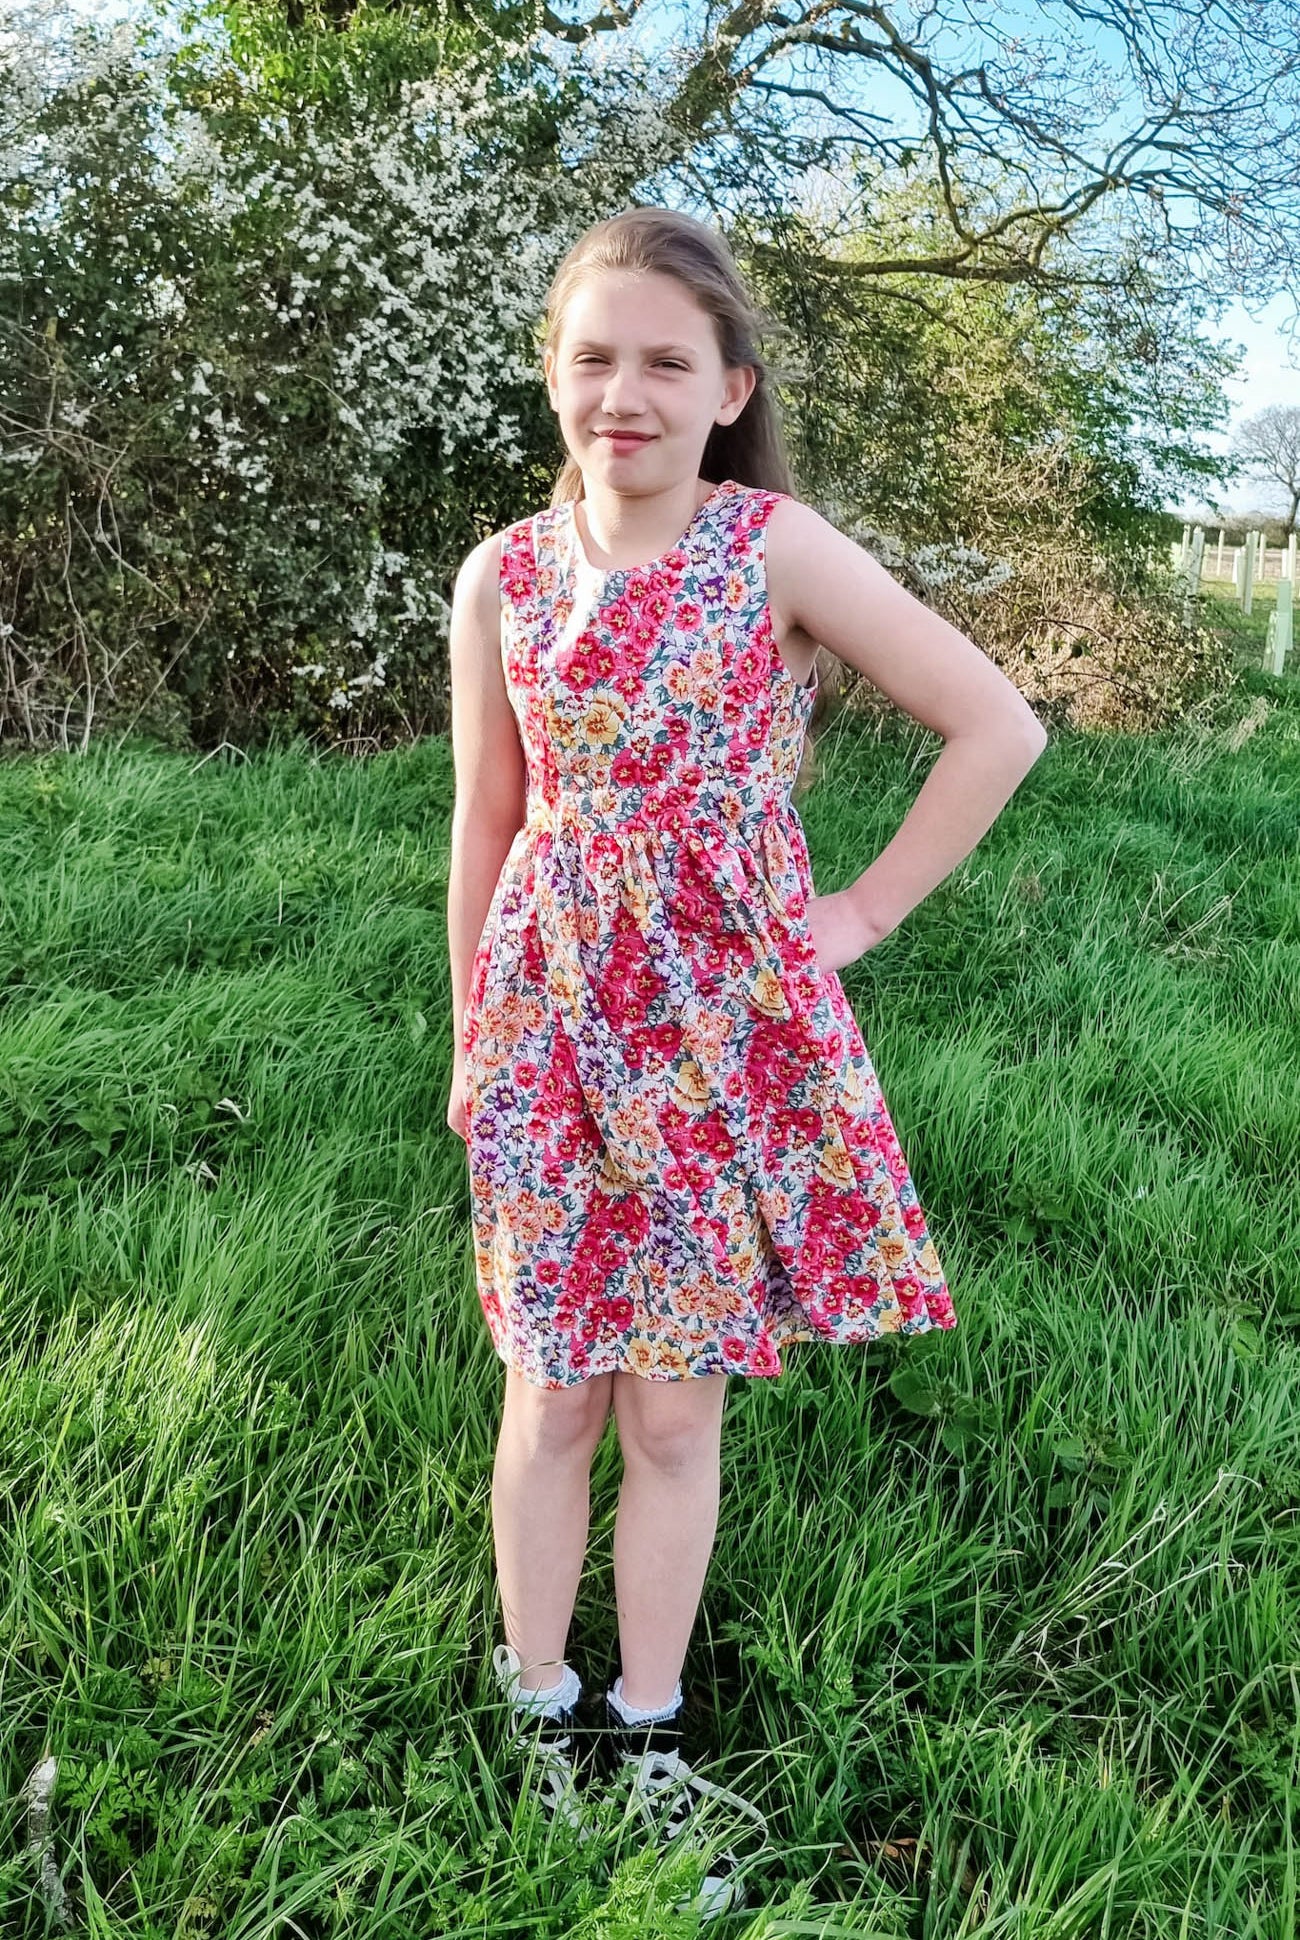
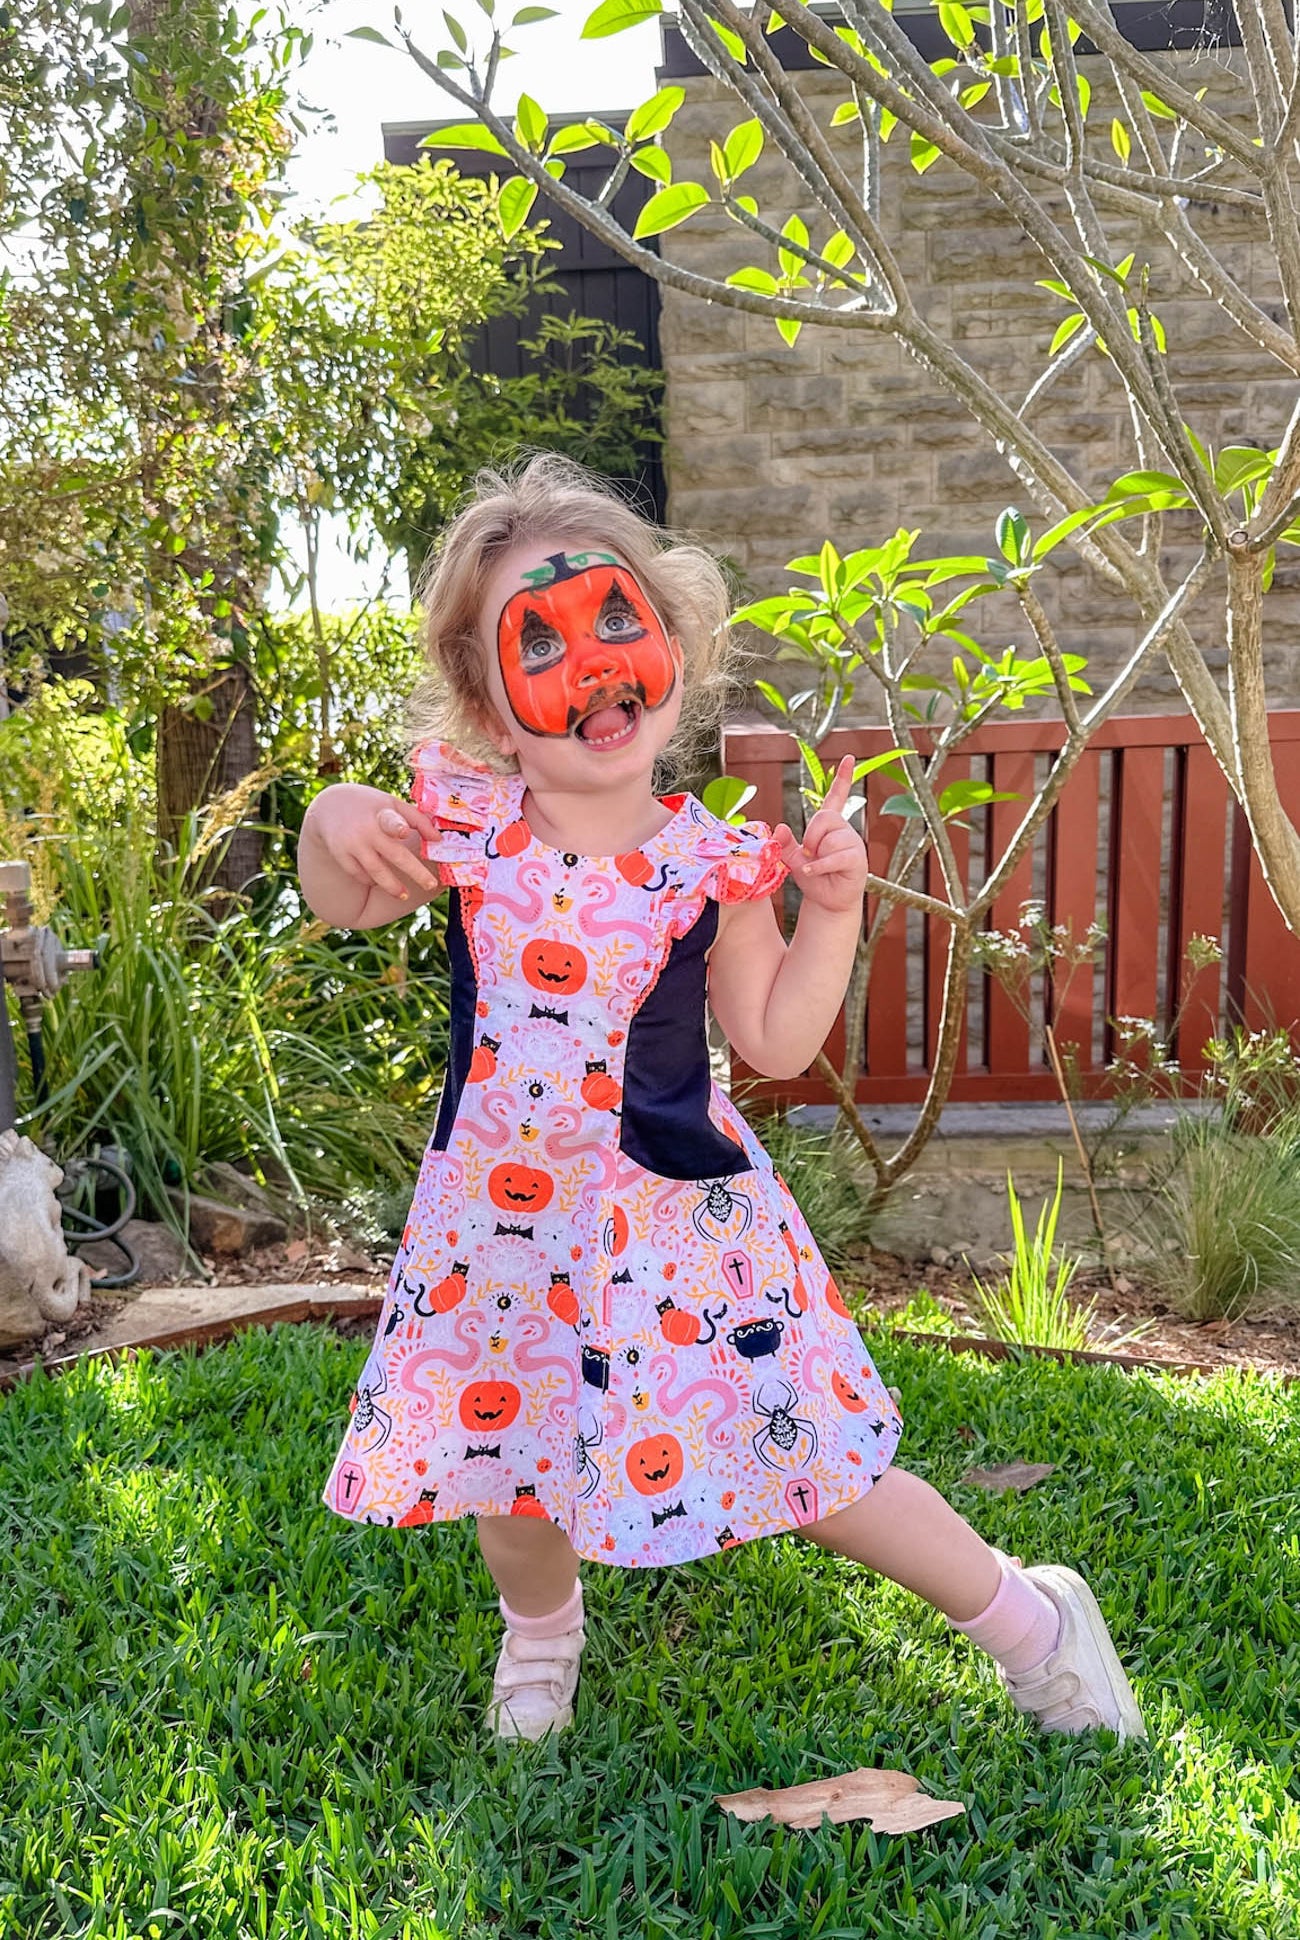
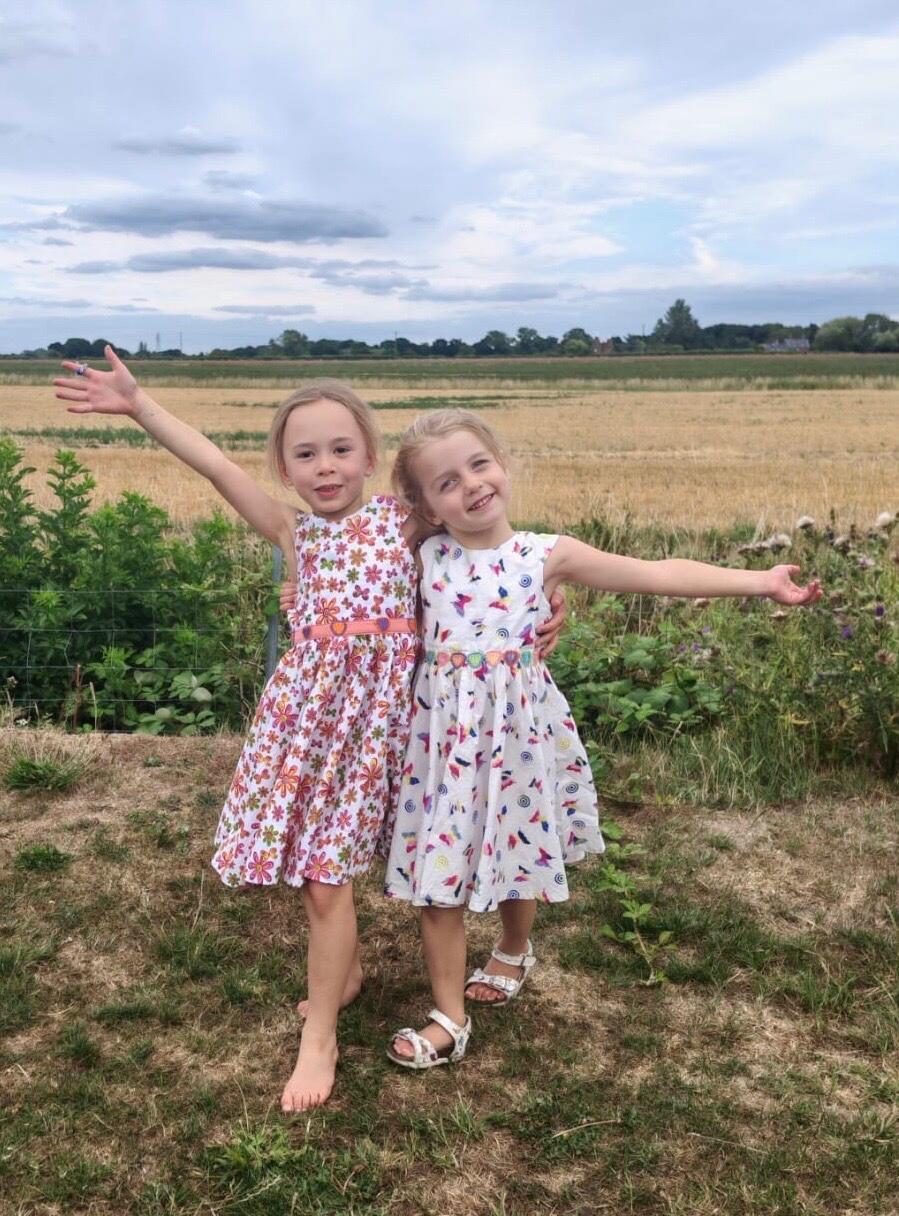
Love this pattern! The instructions (both written and images) are super clear and easy to follow. I really liked the different options to keep it simple or add more detail. The fit is spot on and a great length even for my slightly taller boys. I’ll definitely be making more!
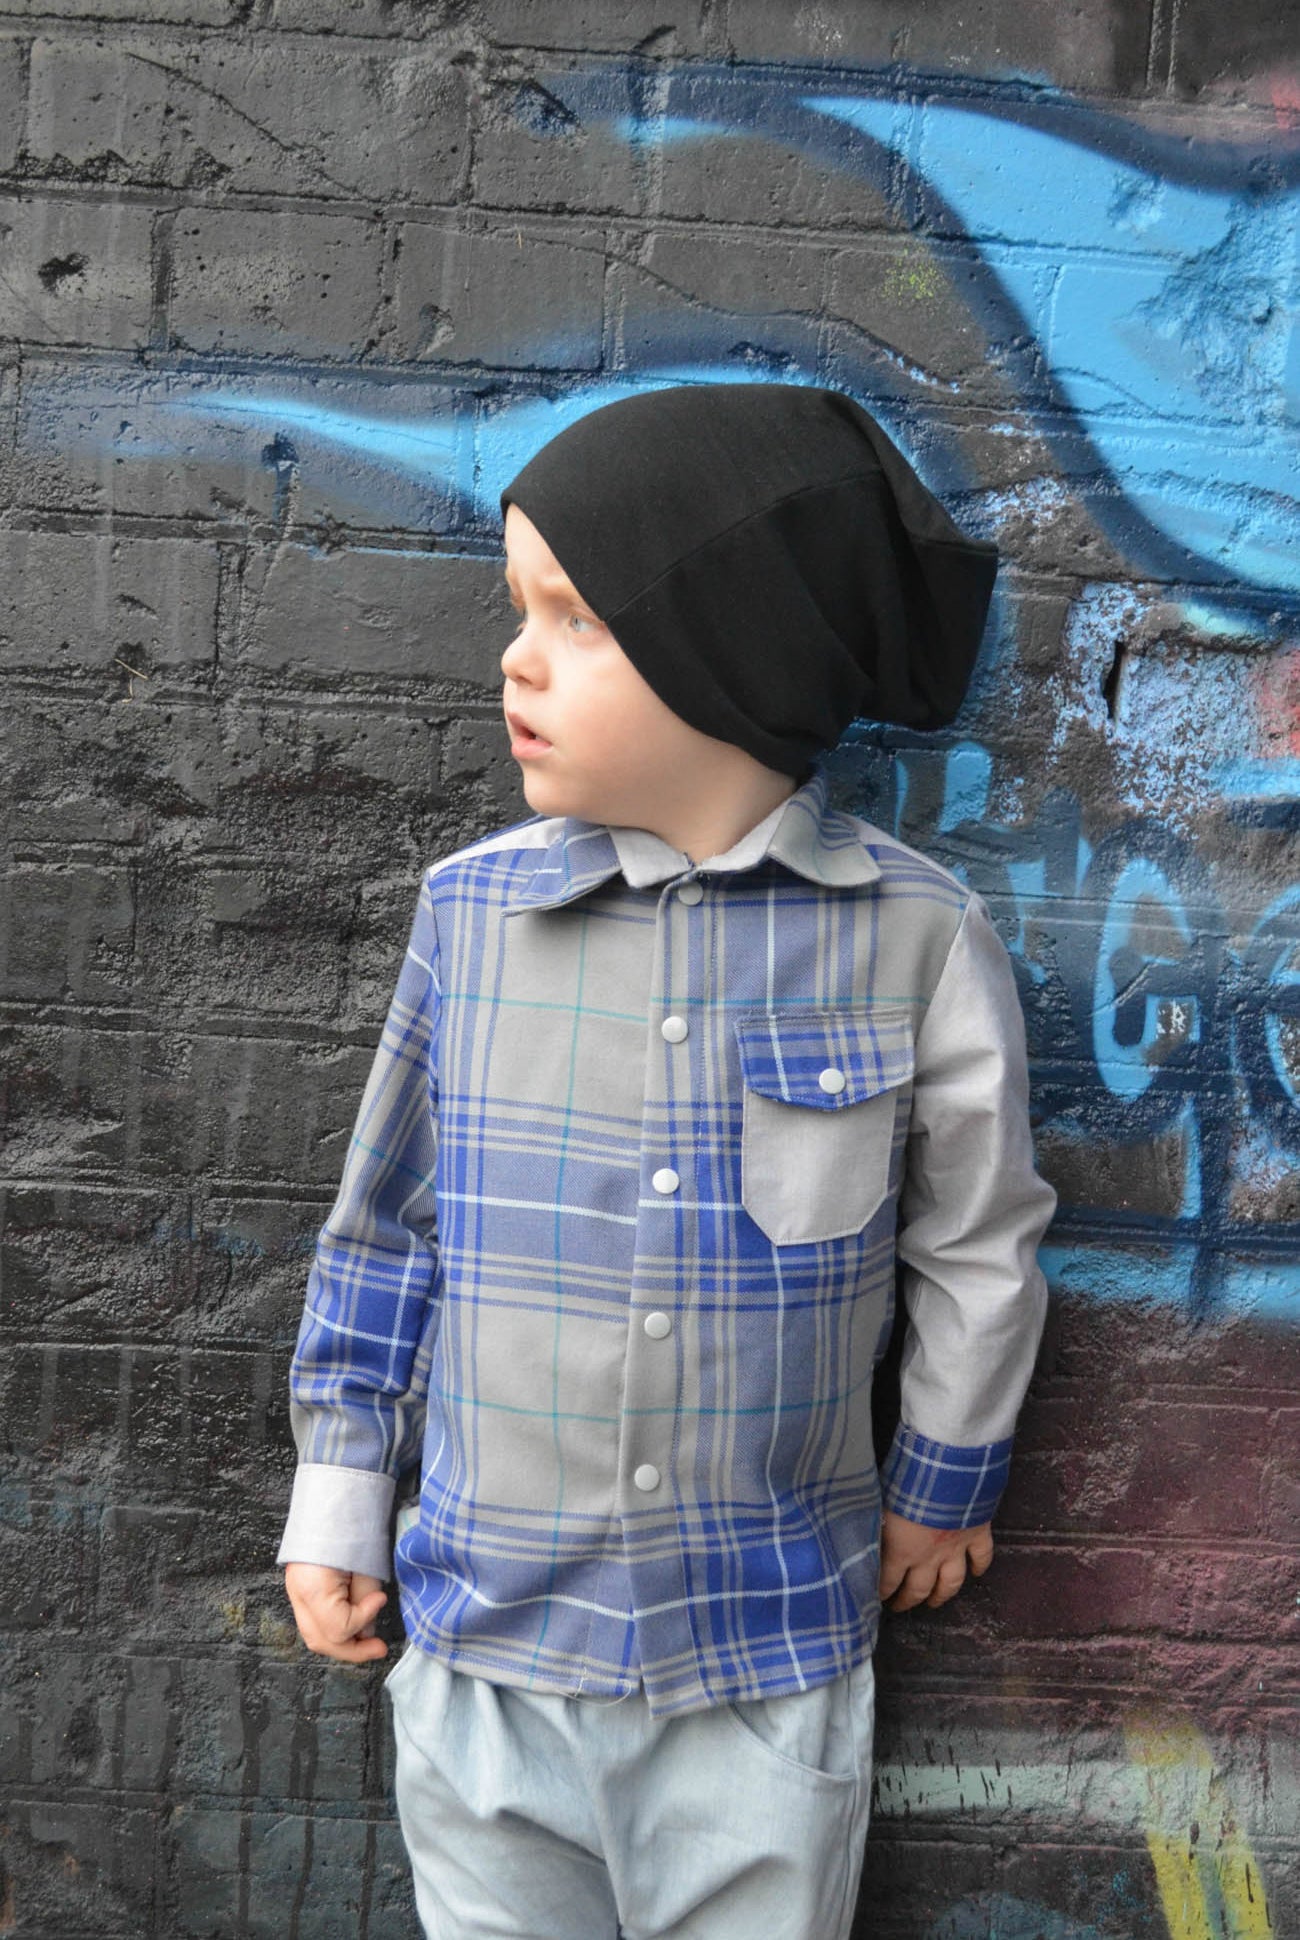
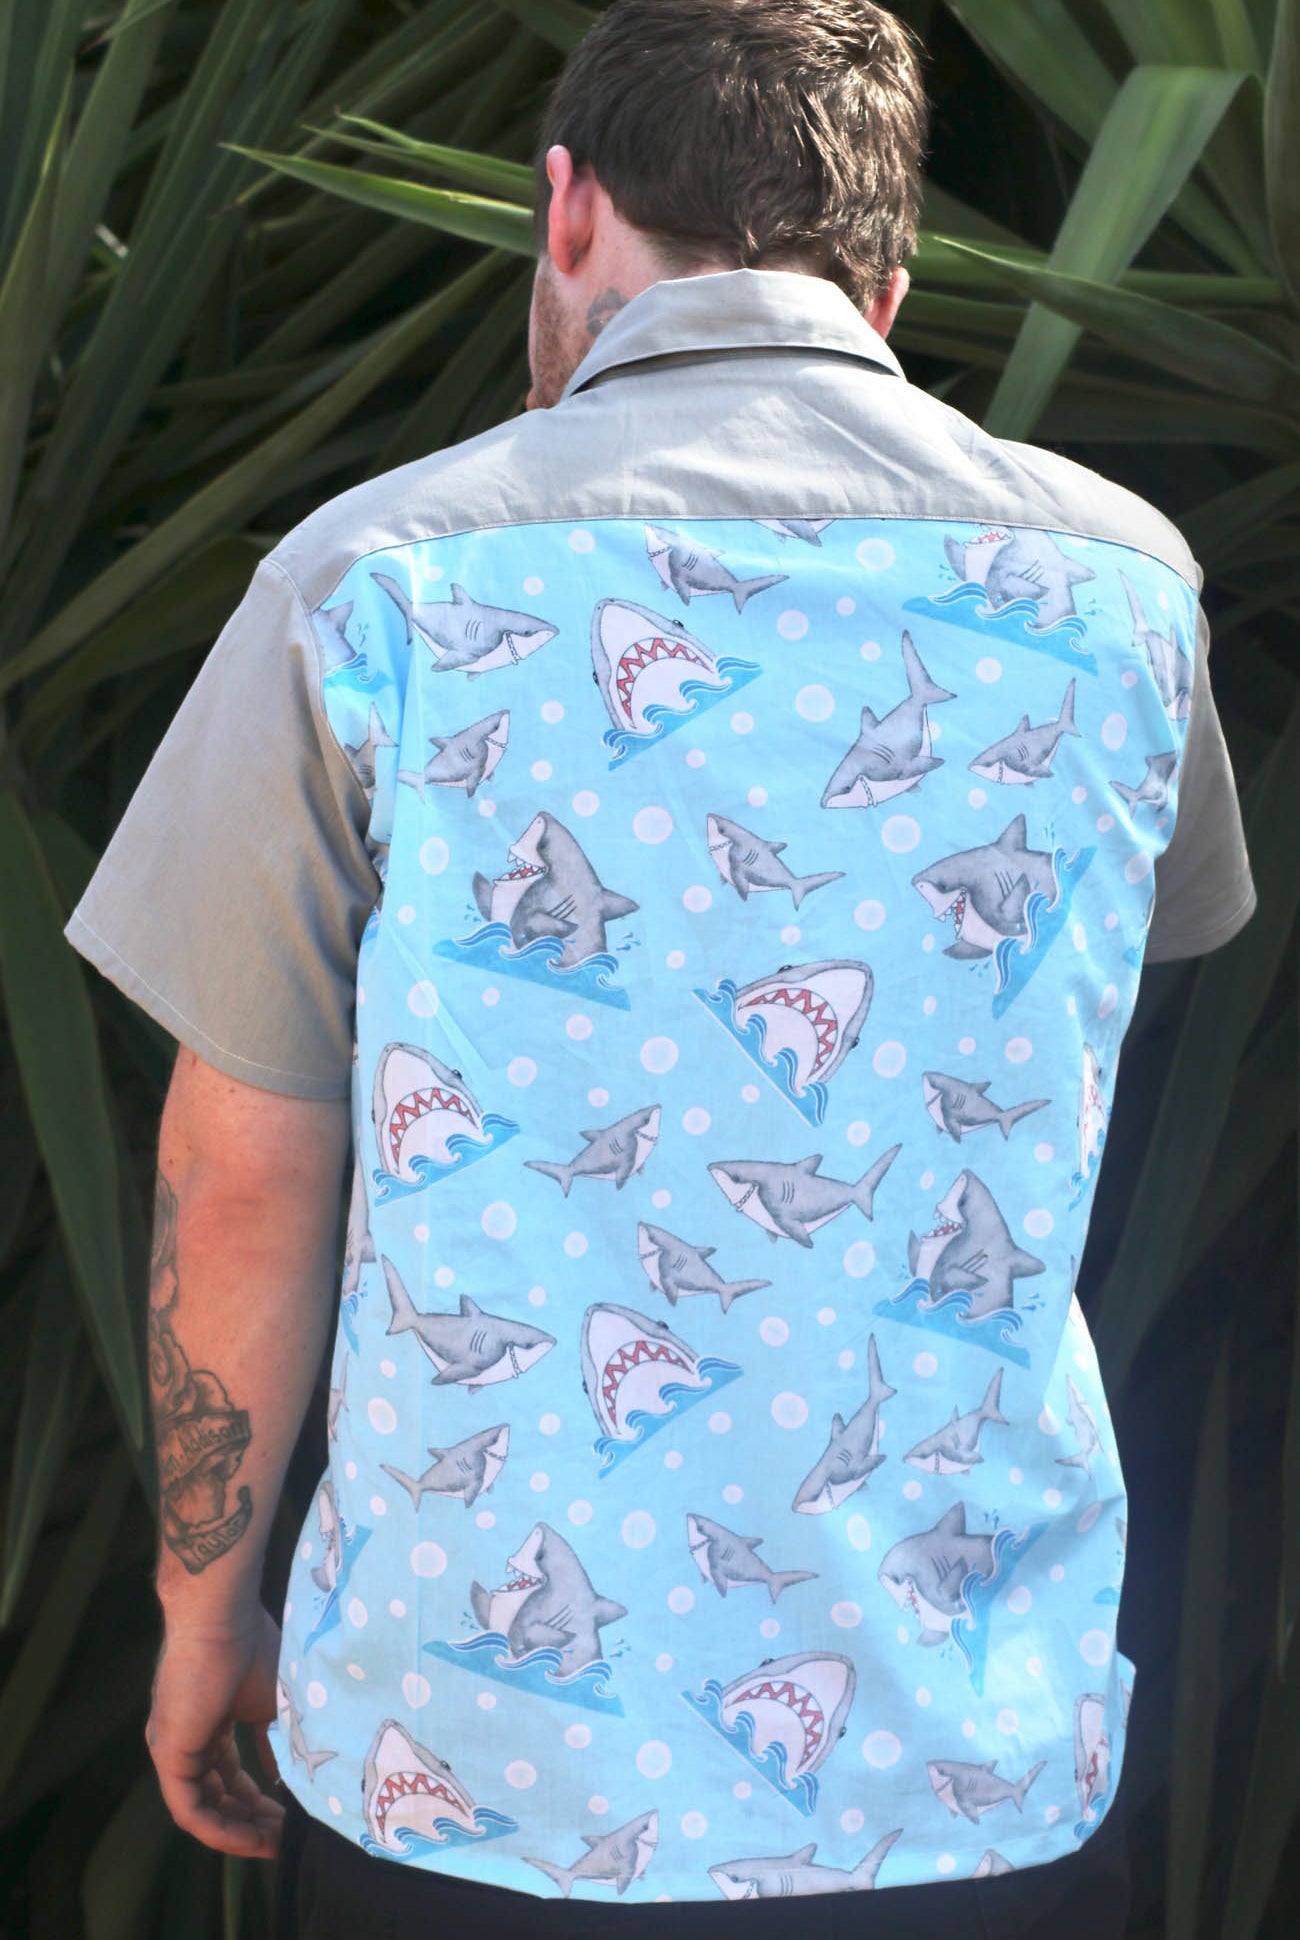
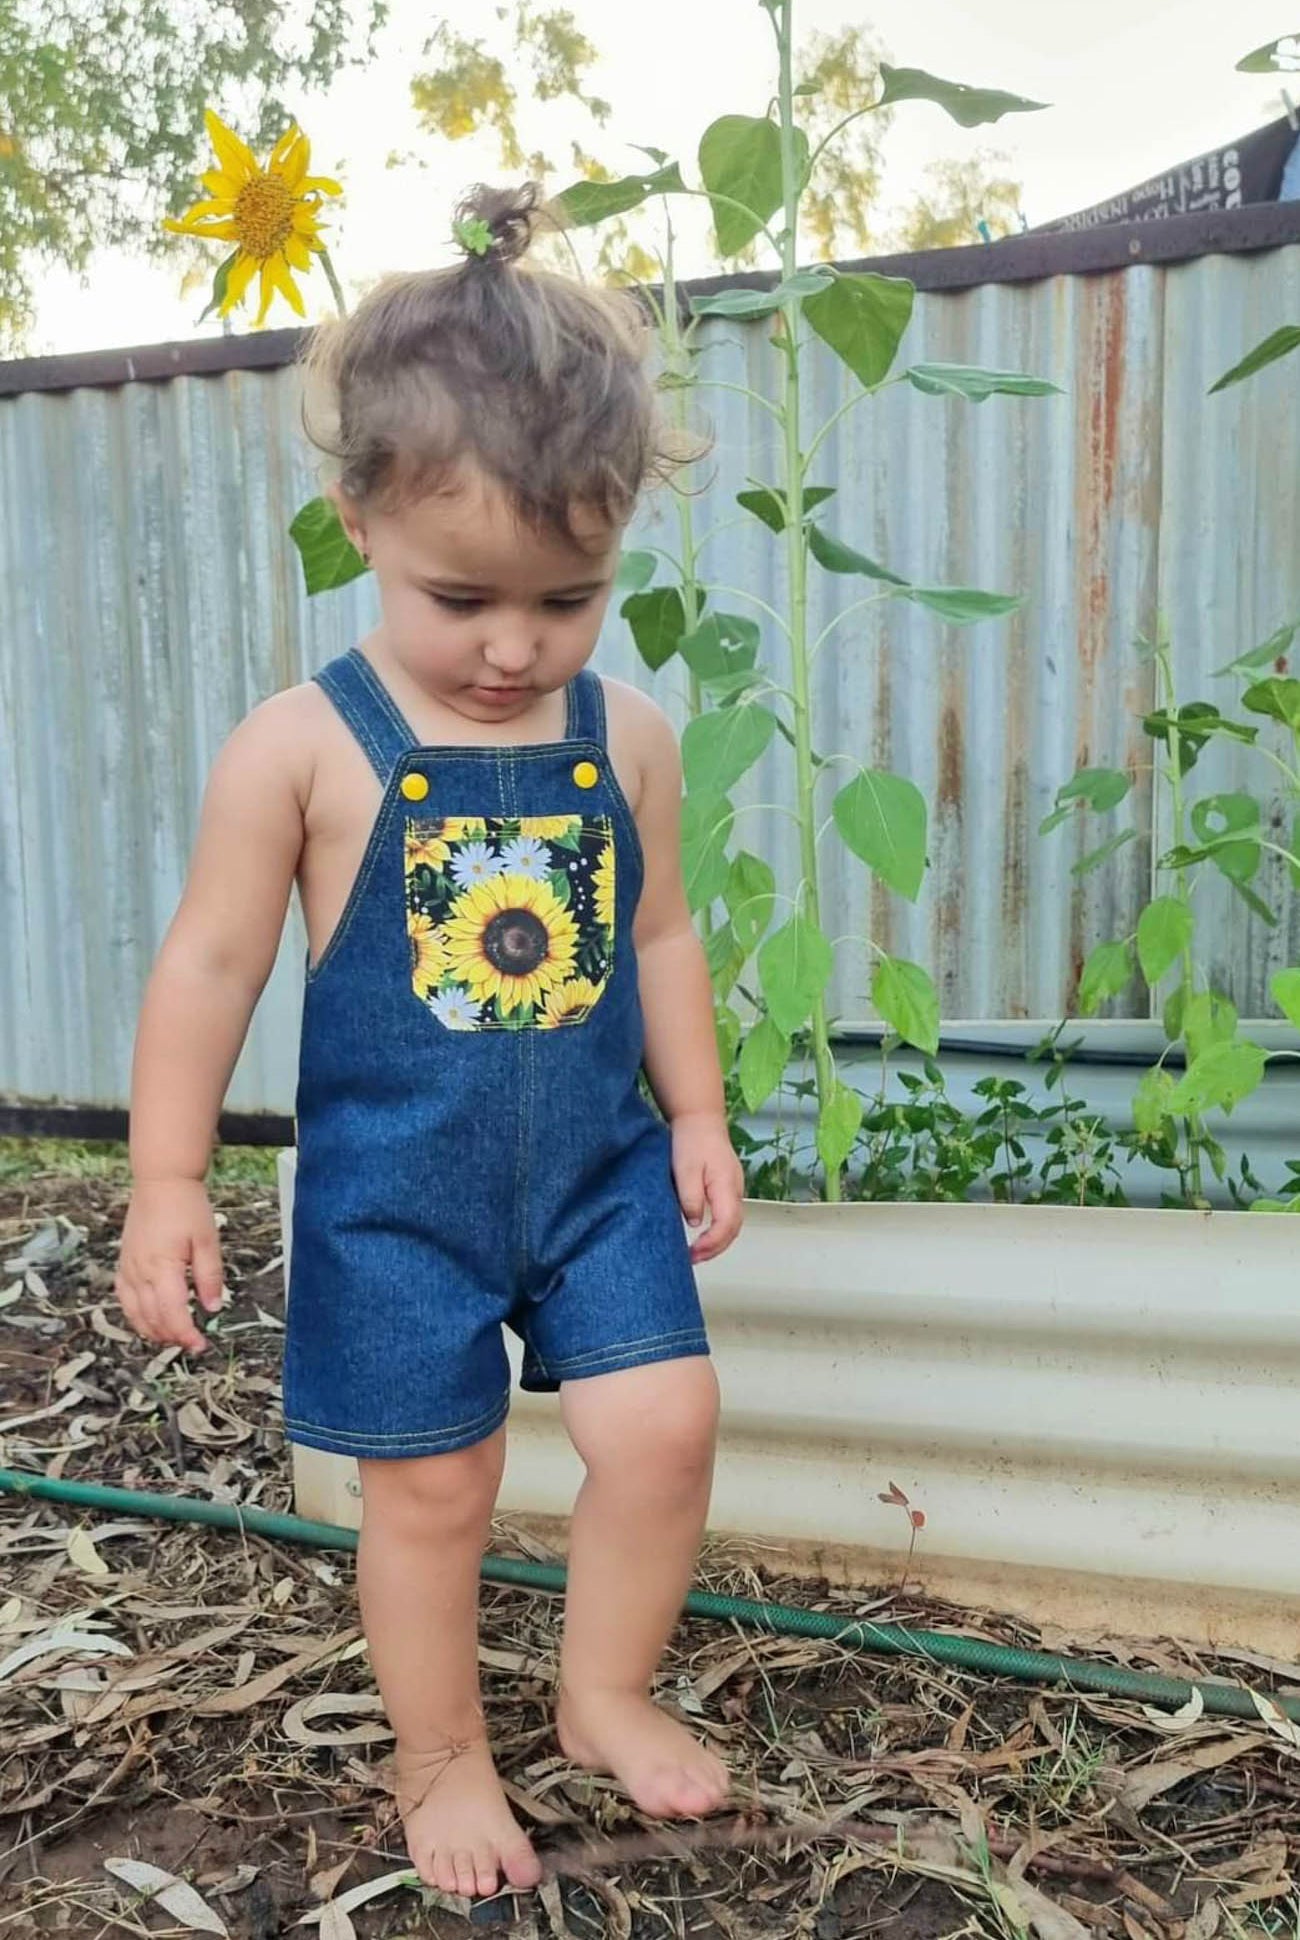
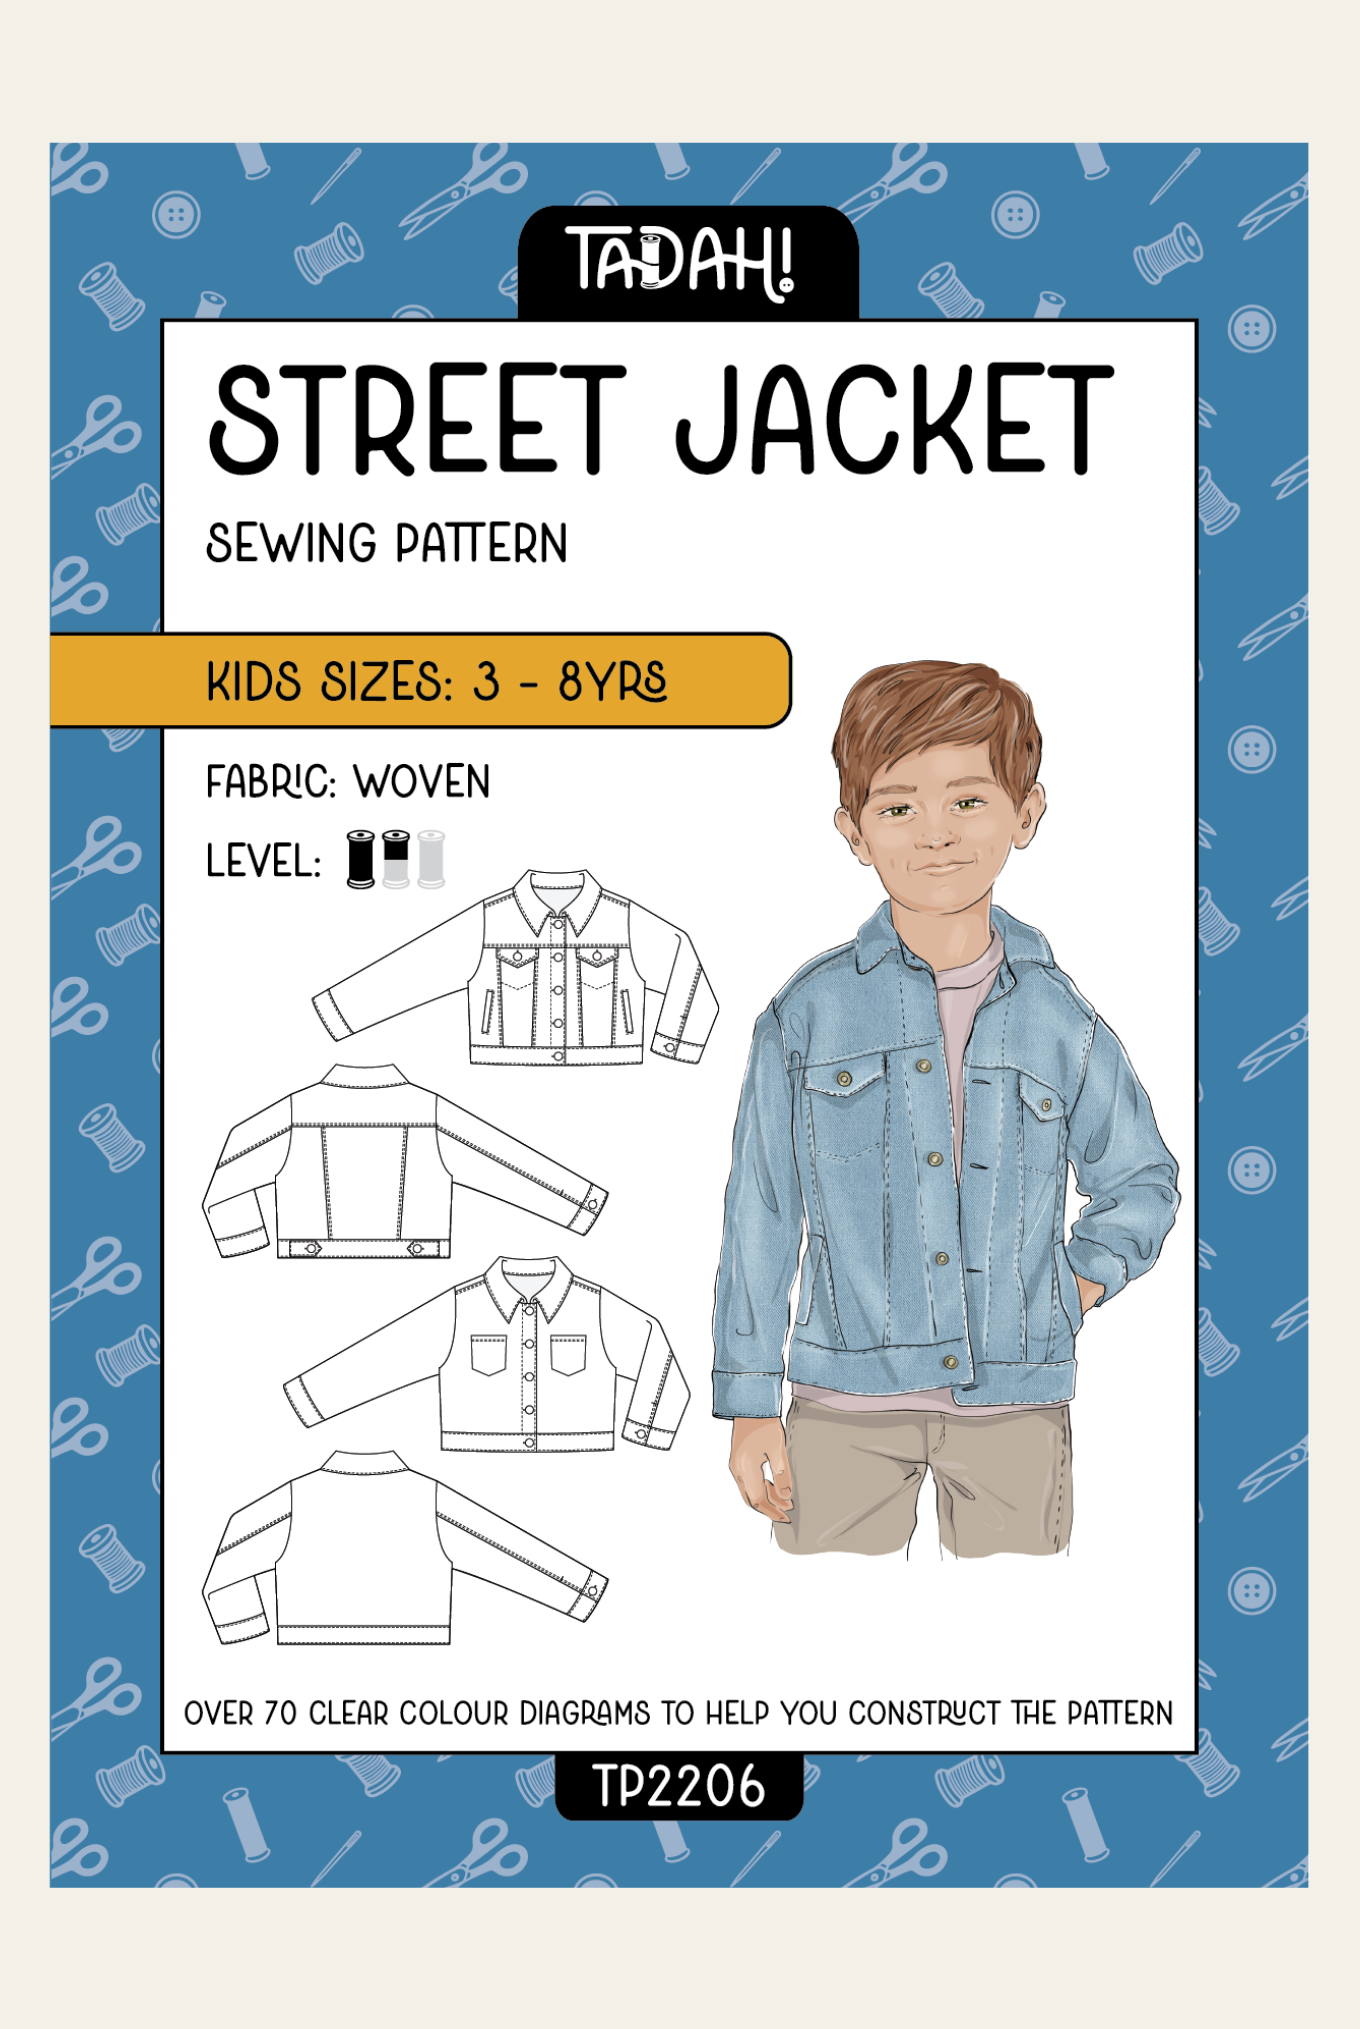
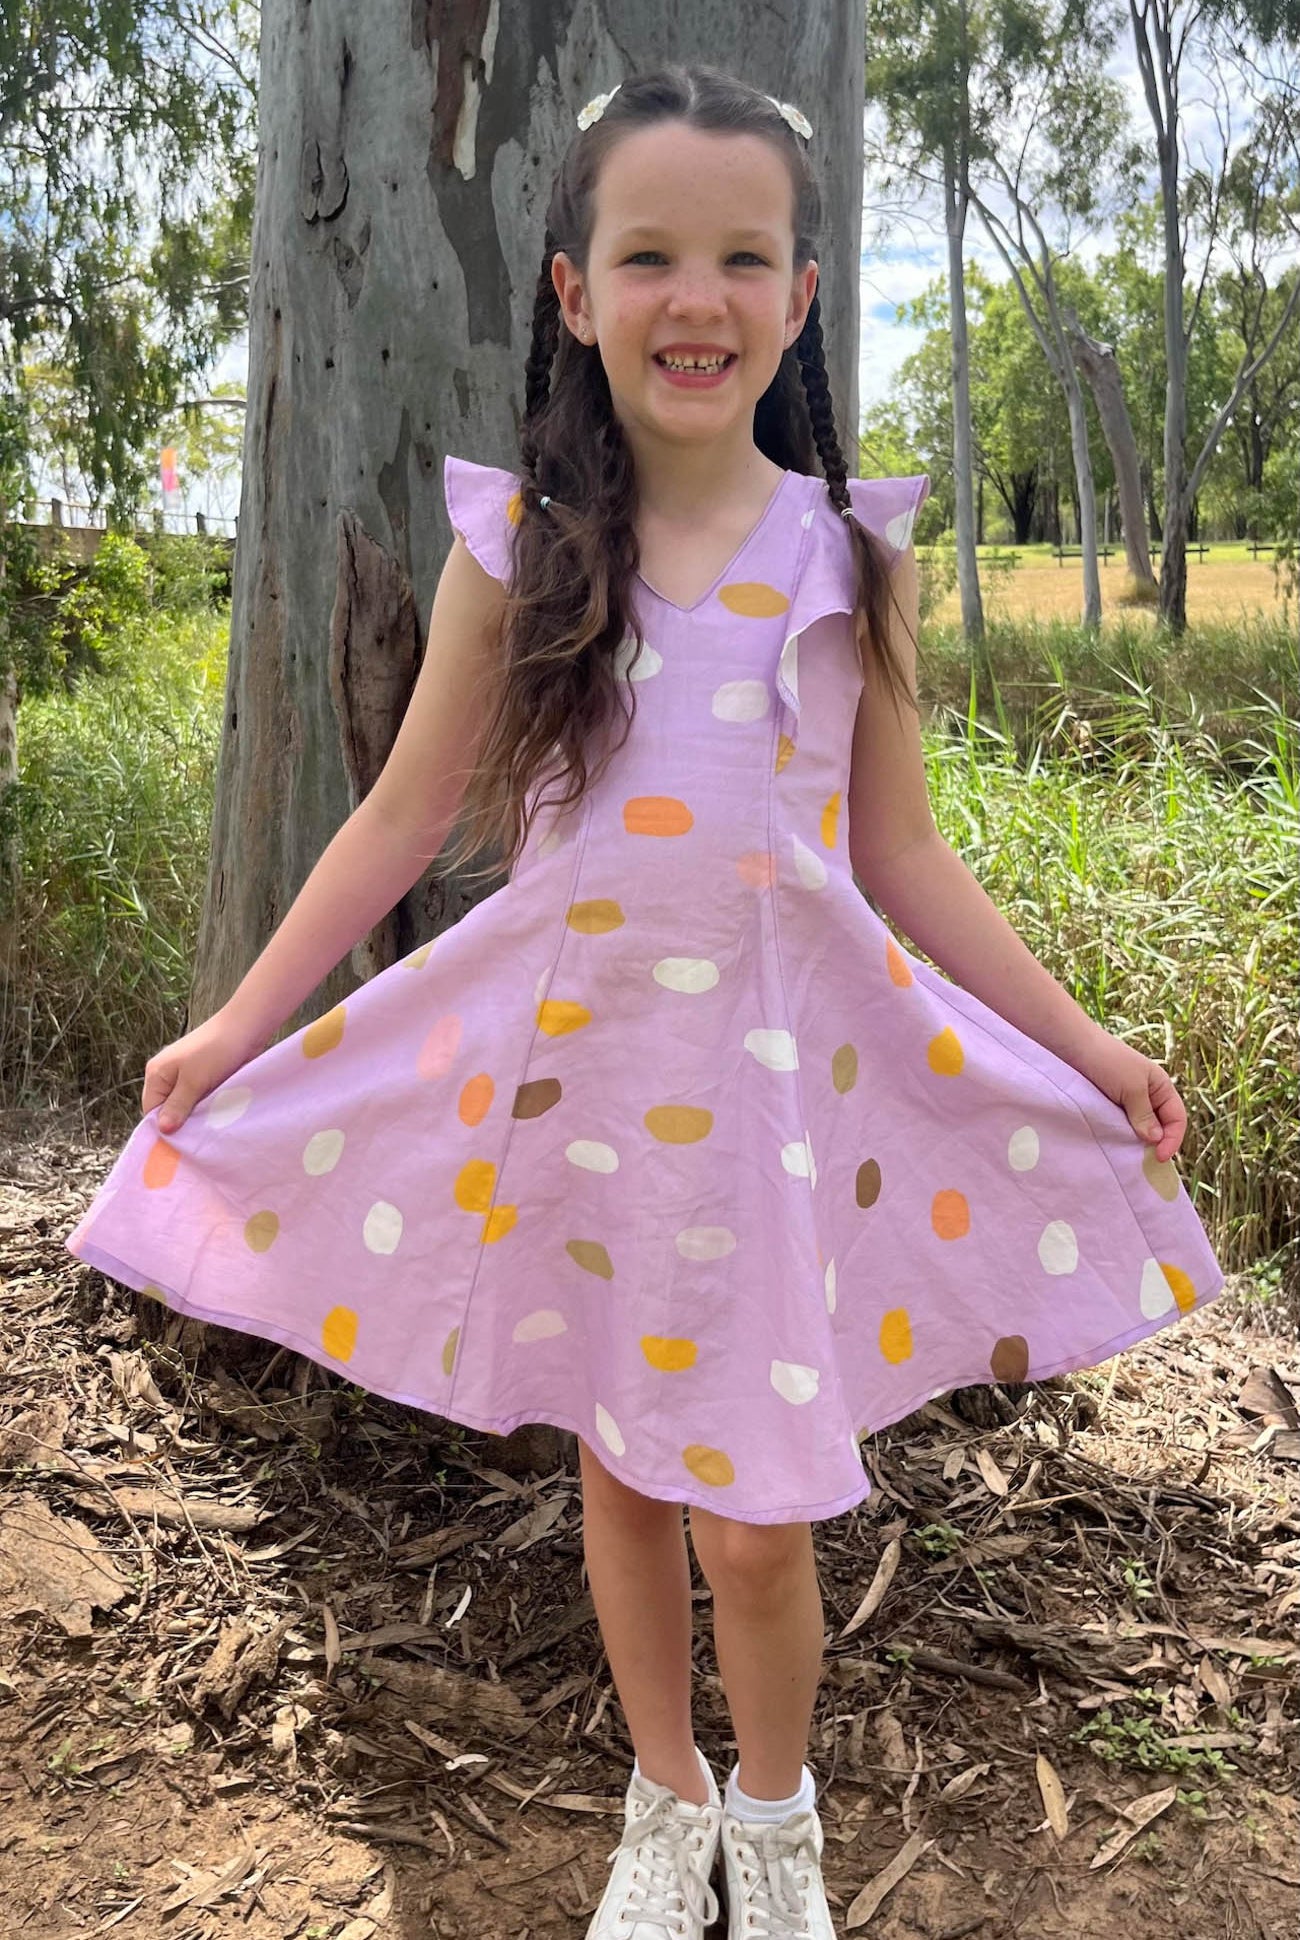
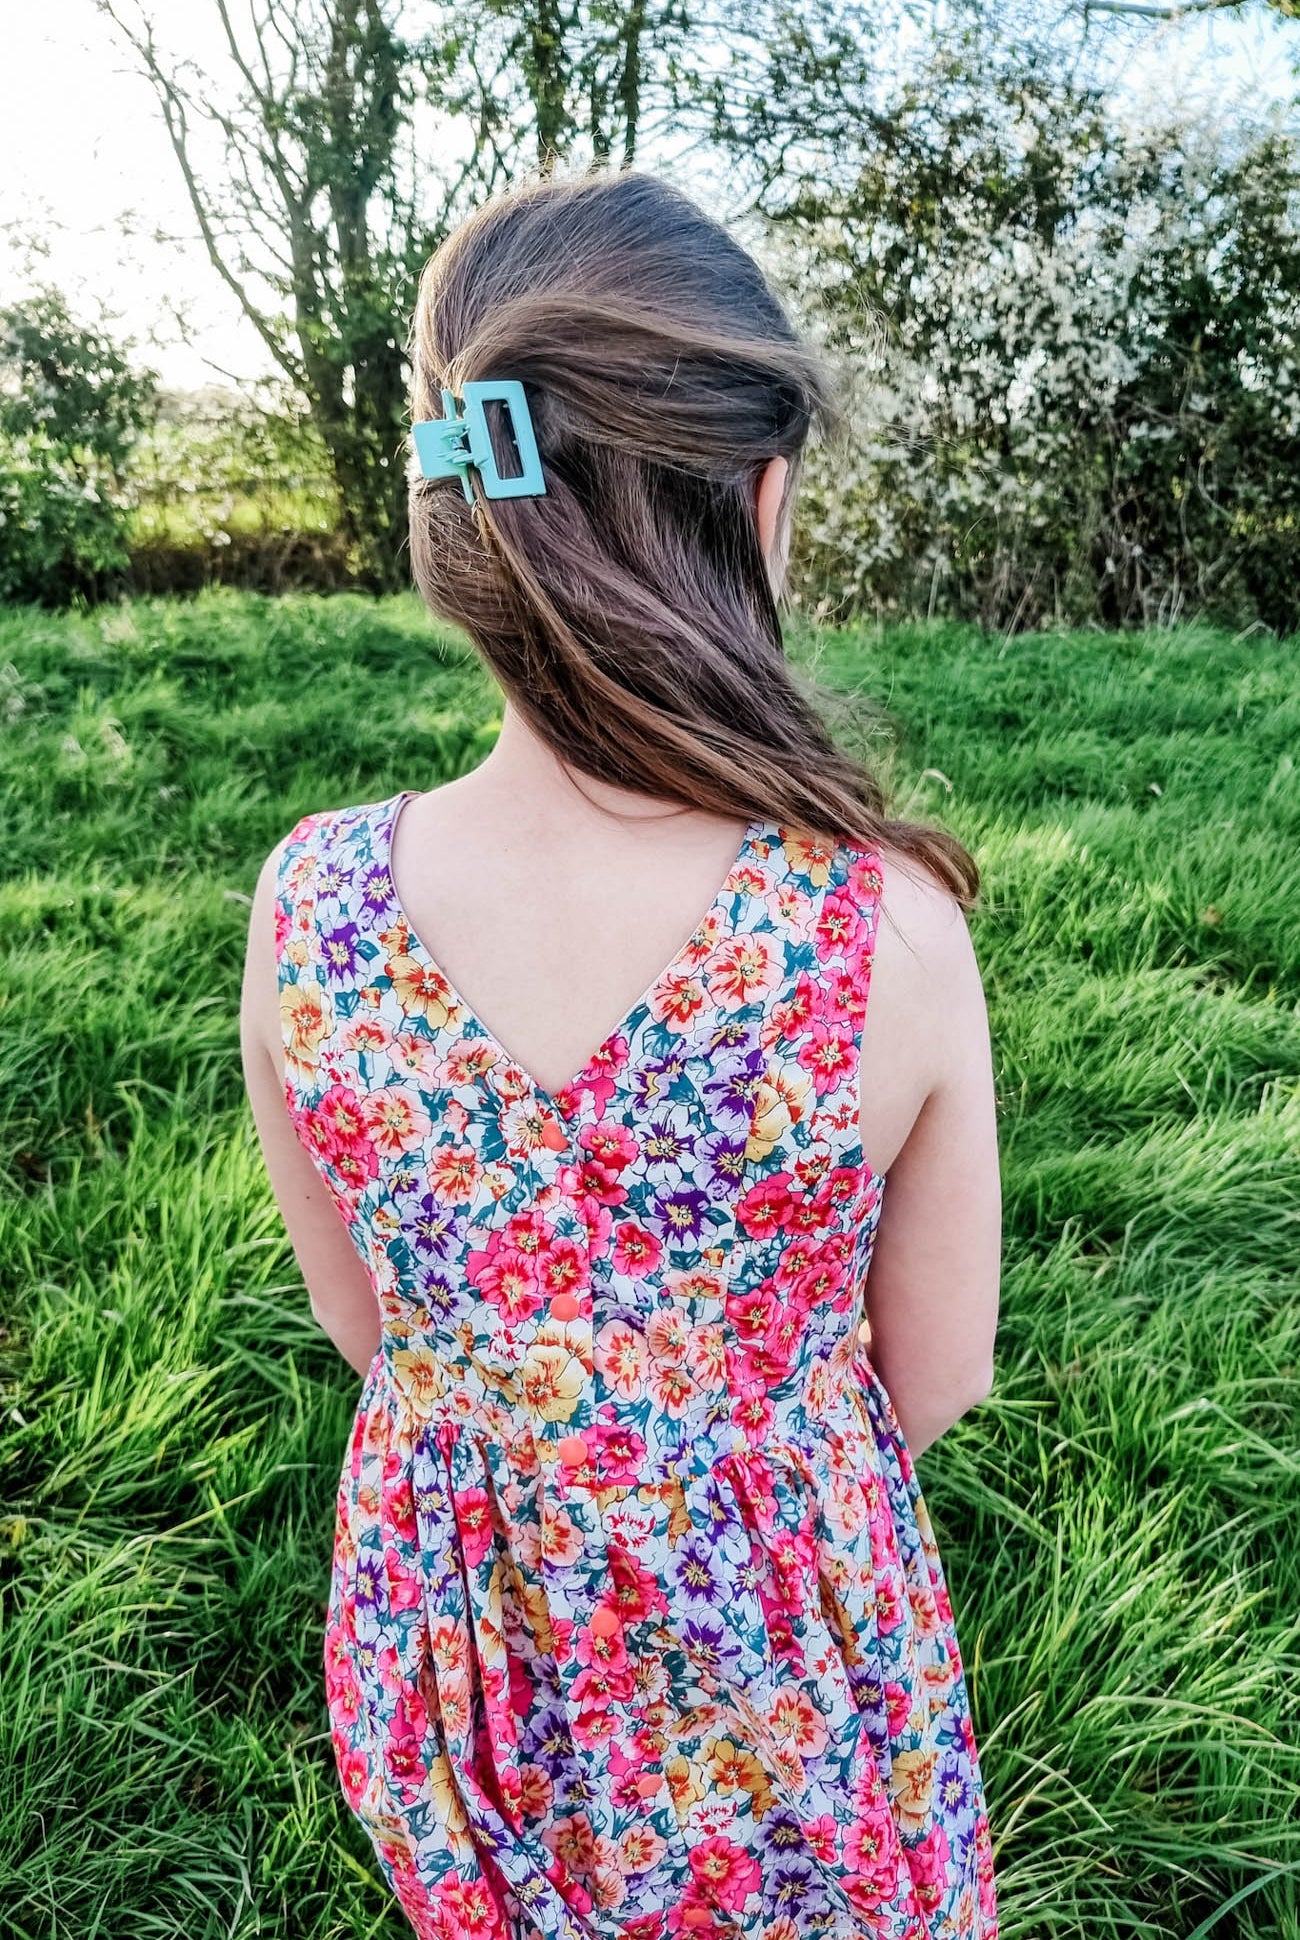
Absolutely love this pattern! Have made three pairs already and they are so cute. Came together smoothly, except I couldn't find the button placement marks where they were supposed to be-- I emailed about this and didn't hear back. Still, fantastic pattern and I would recommend it.